LG G Pad 7.0 LTE Front Facing Camera Replacement
Duration: 45 minutes
Steps: 8 Steps
If your front-facing camera is giving you the cold shoulder or just refuses to power up, no worries! This guide will walk you through swapping it out and getting things back in focus. If at any point you feel stuck, don’t hesitate to schedule a repair for a helping hand.
Step 1
Be extra careful with the front screen and SIM card as you take apart your device. They’re a bit fragile, so handle them with care!
- Before you dive into swapping that battery, make sure to power down your device first—hold the button with the red marker until it asks you to power off, then tap "Power Off" to safely shut it down.
Step 2
Start at the top left corner of your device—it's like a treasure map! This way, you’ll keep the motherboard safe and sound while you navigate around the screen’s edges.
As you gently pry open your device, keep an eye out for the volume rockers, motherboard, and camera. These little guys are sensitive creatures, so treat them with care and avoid any static shocks!
- Slip on an Anti-Static Wrist Strap to keep those delicate electrical components safe. Totally optional, but a smart move!
- To break free the frame from the cover, gently work between the screen and cover using a plastic prying tool. Take it slow, you'll be fine!
Tools Used
Step 3
Handle with care to avoid any damage while working on it.
Keep the cable and connector straight and gentle—they’re delicate little guys.
- Gently nudge the battery connector up with a plastic tool (we've marked it with a red marker for you).
- Carefully pop off the ribbon cables by lifting them up with your trusty plastic pry tool.
Step 4
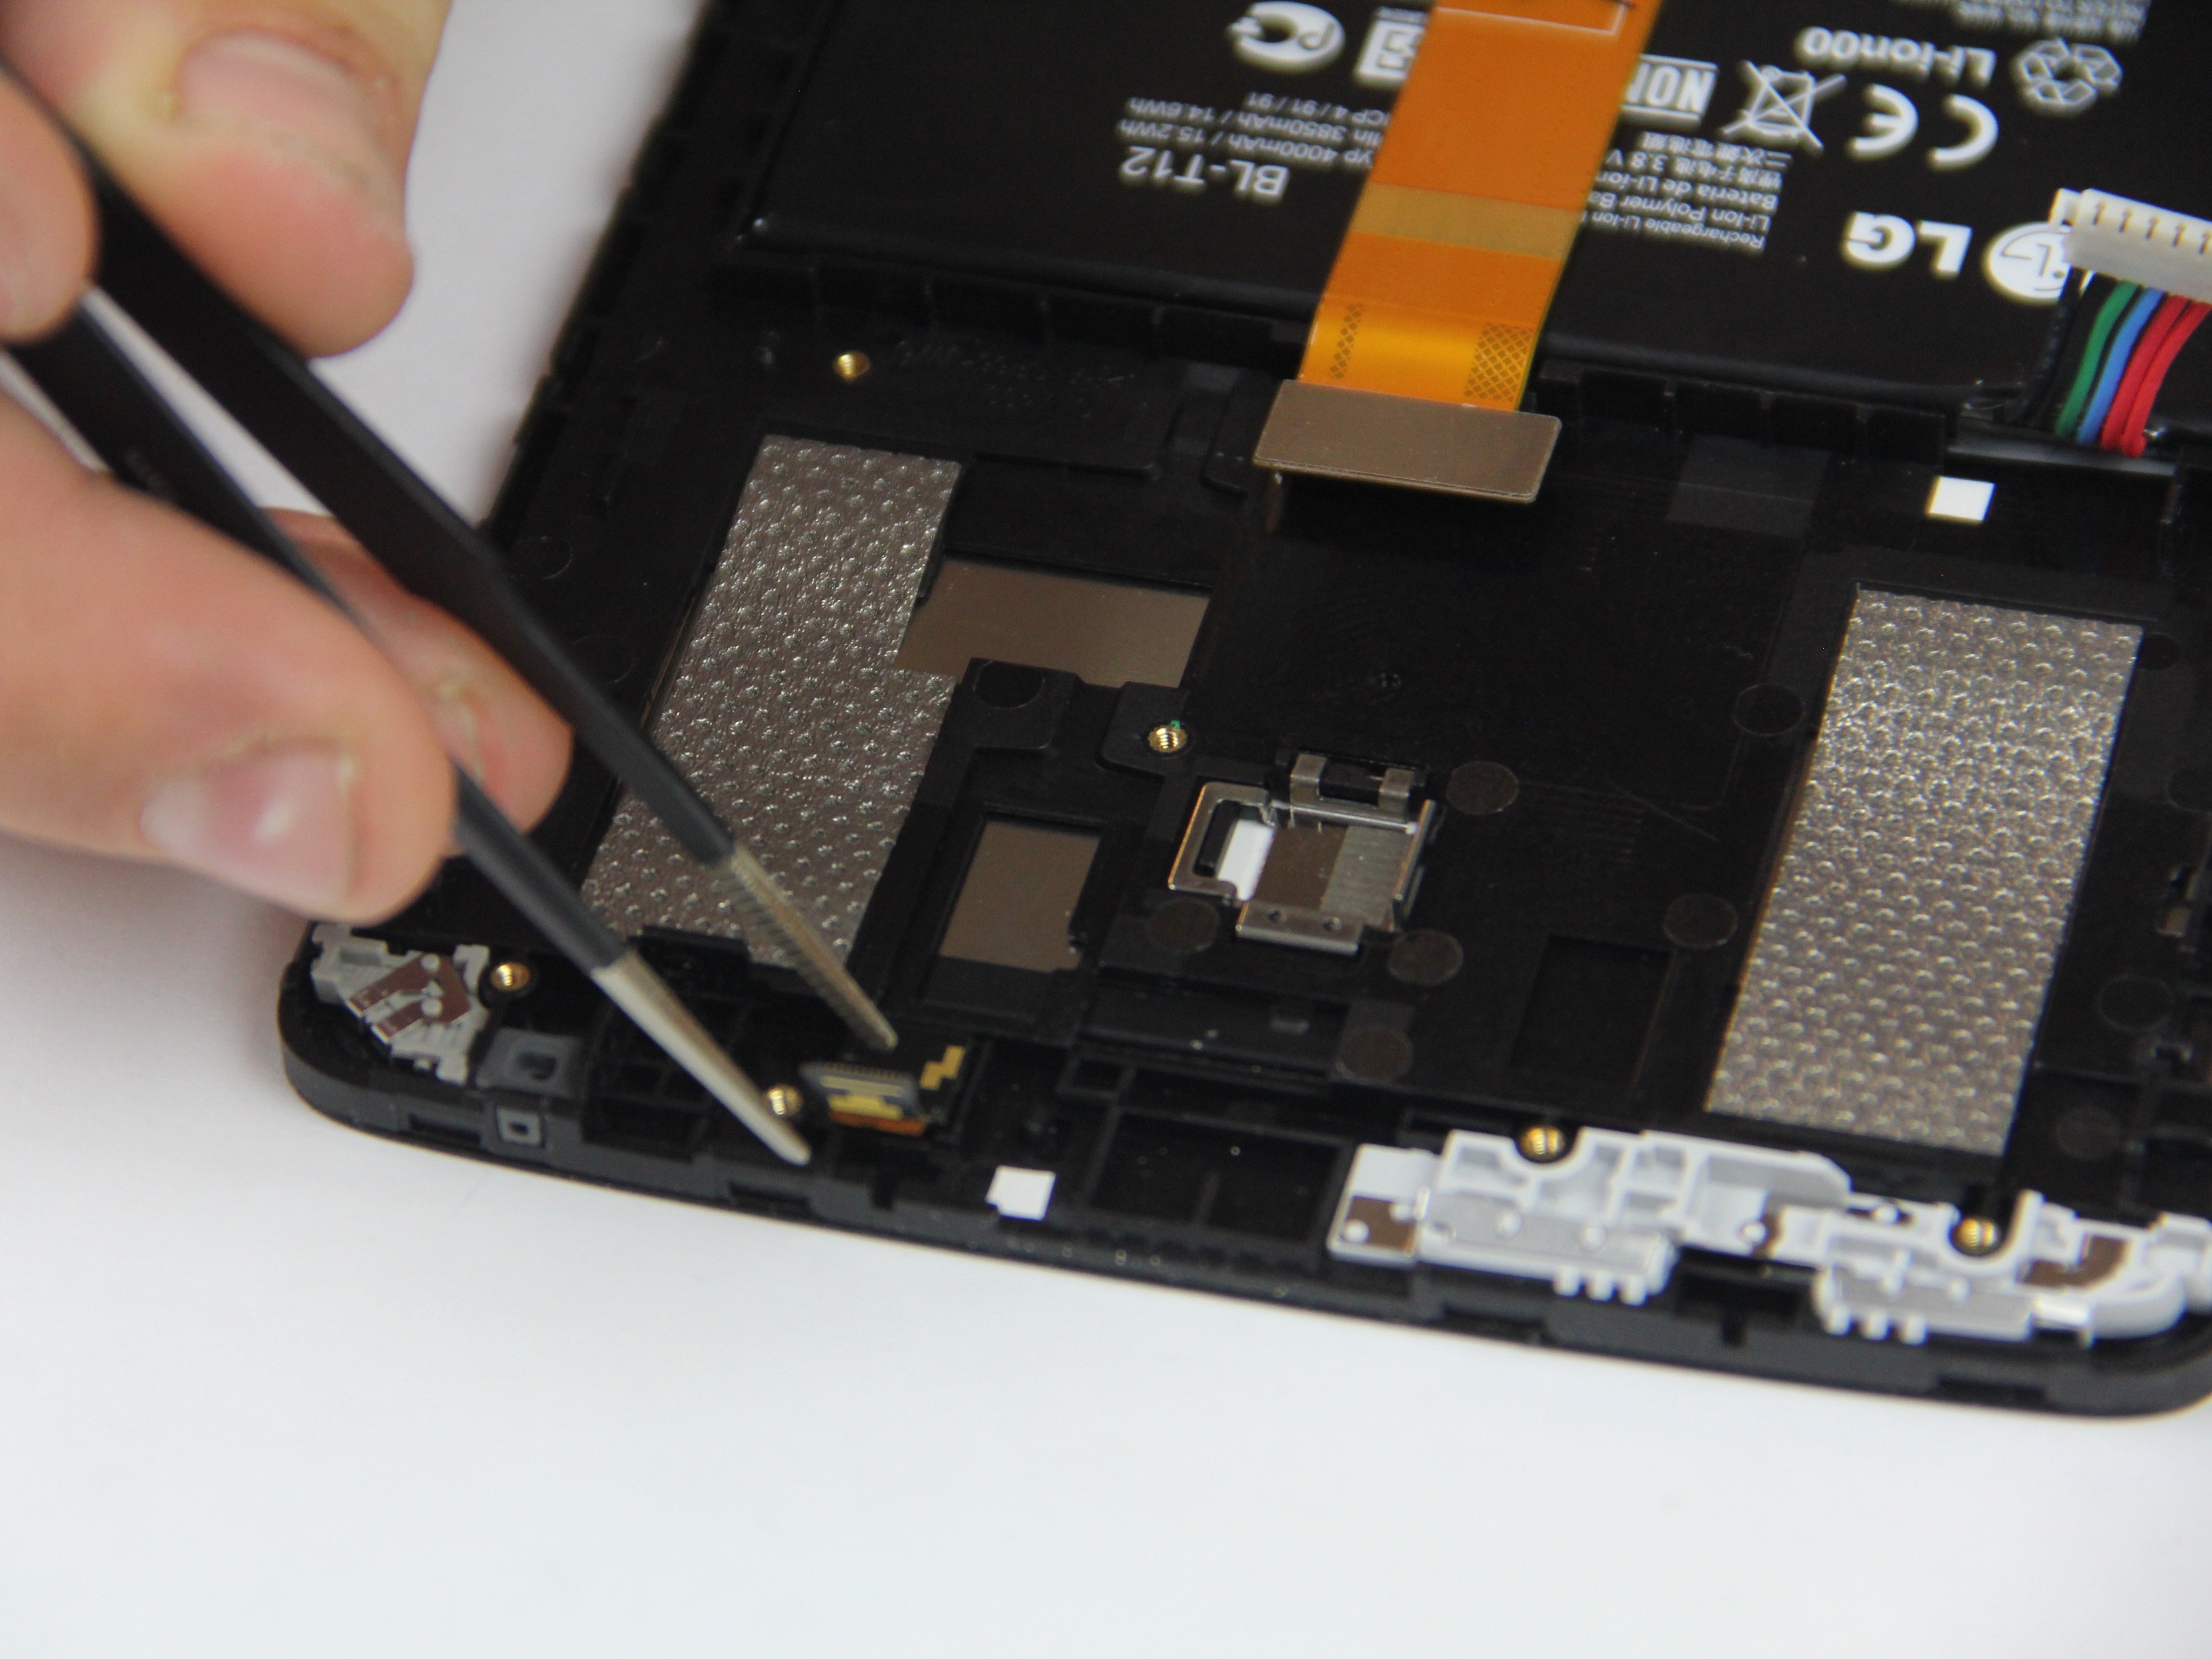
Heads up! The camera is lightly glued in place, so a gentle touch will do the trick.
- Grab some tweezers or a small plastic pry tool and carefully wiggle the camera out of the device without rushing—it’s all about gentle moves here!
Tools Used
Step 5
- Gently wiggle the spudger to pop the audio jack out of the device.
Step 6
- Take out those 7 black 3mm PH0 screws holding down the motherboard (check out the red markers)!
Step 7
- Time to say goodbye to the motherboard! Gently lift it out of its snug little home, being careful with the cables and connectors around it. Take your time; it’s a delicate move, but totally doable!
Step 8
Heads up! There's a tiny bit of adhesive keeping the camera snug inside the device.
- Put your device back together by following these steps in reverse — you got this!
- If you hit a snag, remember you can always schedule a repair with Salvation Repair for a helping hand.


