Duration: 45 minutes
Steps: 25 Steps
Ready to give your Samsung Galaxy S24 Ultra a little TLC? This guide will walk you through the steps to swap out that earpiece speaker like a pro. Let’s get started and breathe new life into your device!
Step 1


Let your phone’s battery dip below 25%—a fully charged lithium-ion battery can be a bit of a troublemaker. If you spot a swollen battery, be sure to handle it with care!
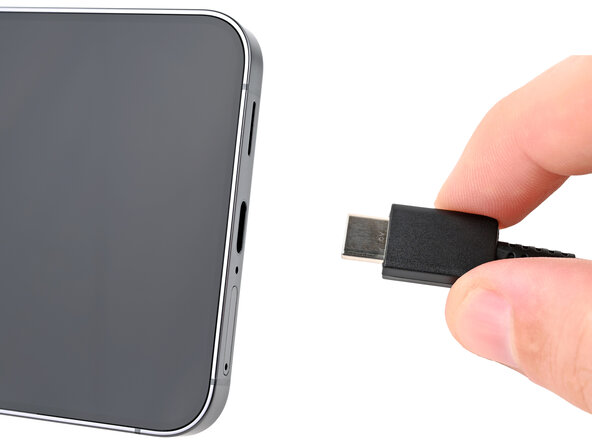
– Disconnect any cables from your device to keep things safe and simple.
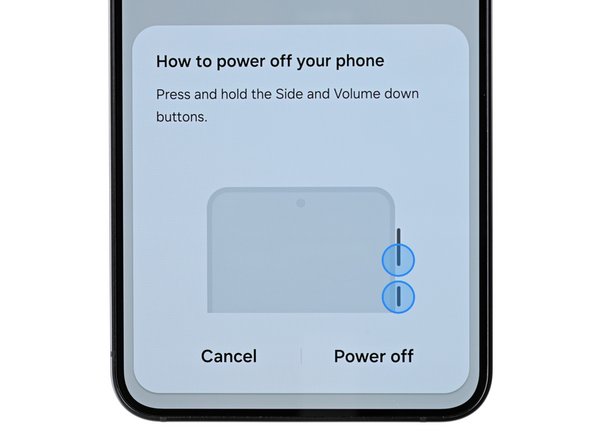
– Press and hold the side button along with the volume down button, then tap ‘Power off’ to shut down your device. Easy does it—you’re on your way to fixing it!
Step 2

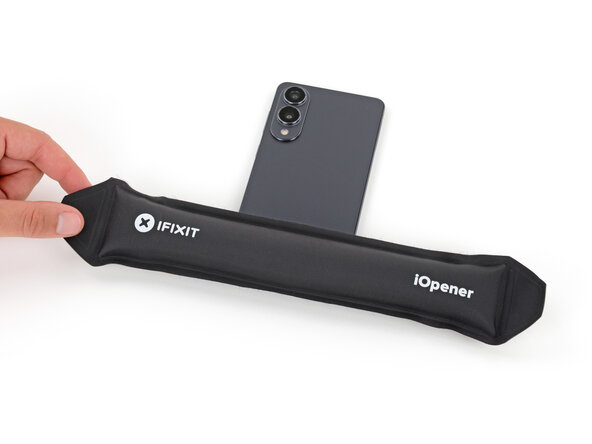
A hair dryer, heat gun, or hot plate will all do the trick here—just keep the heat gentle! Too much and your phone’s display or battery might throw a fit.
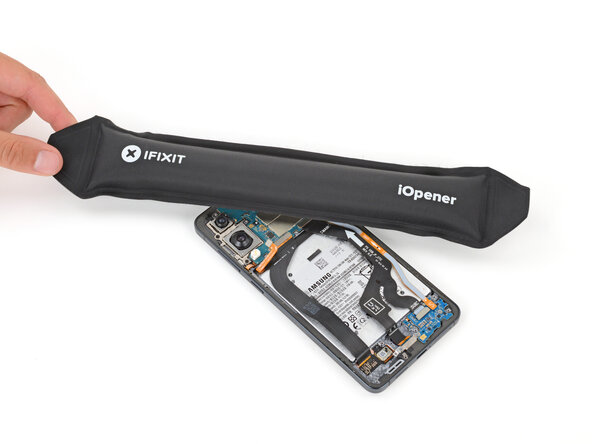
– Warm up your trusty iOpener and give it a cozy stay on the right edge of the back cover for a full two minutes. It’s like a spa day for your device!
Tools Used


Step 3

If you’re struggling to create a gap, give it a little extra heat to help soften the adhesive more. Just be sure to follow the iOpener instructions carefully so you don’t overdo it. If you need help, you can always schedule a repair.
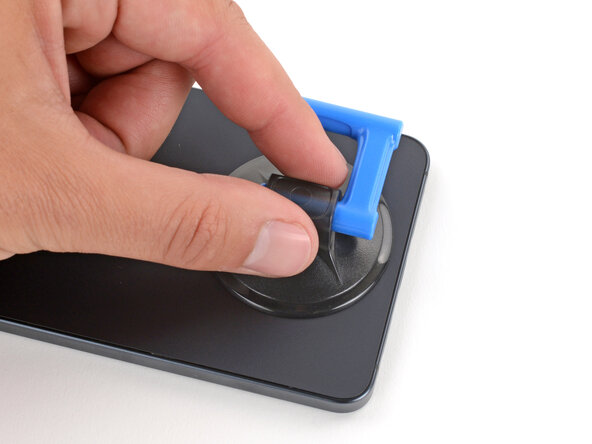
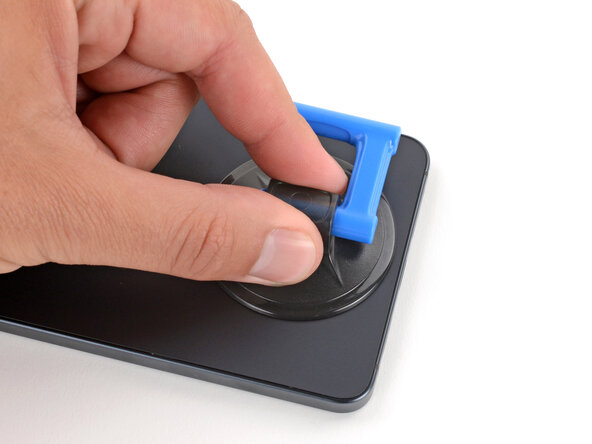
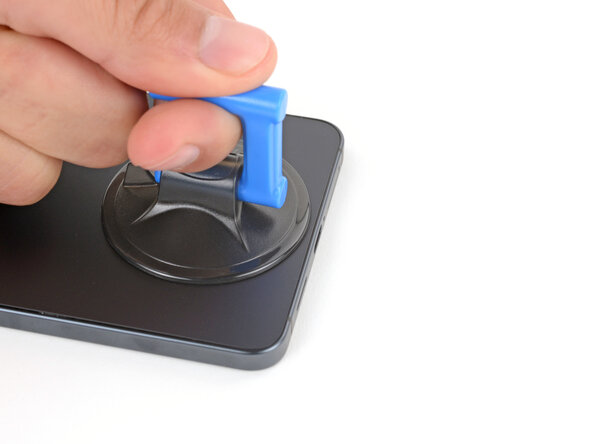
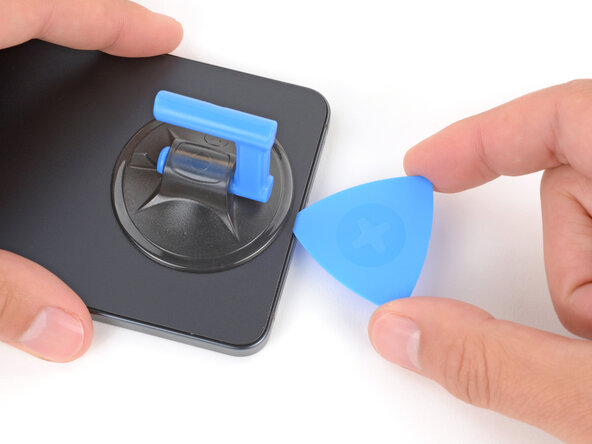
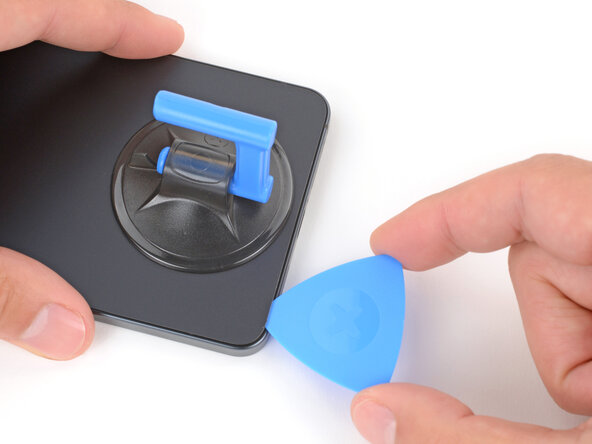
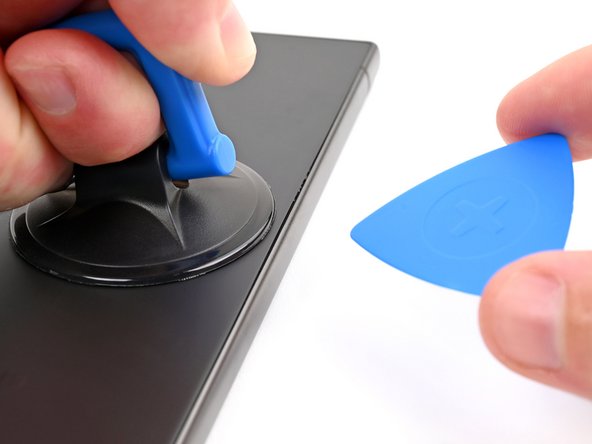
– Grab a suction handle and stick it to the back cover, aiming for the center of the right edge — that’s your sweet spot!
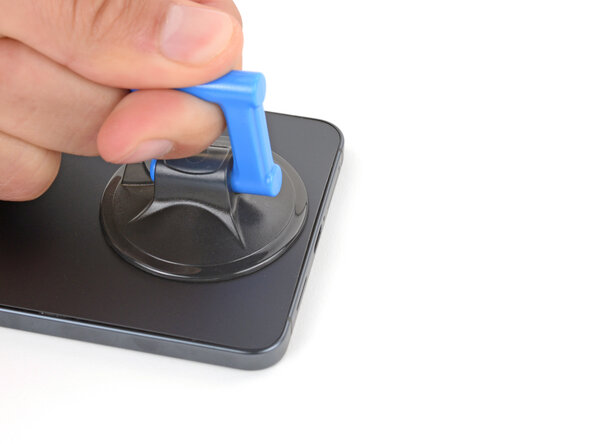
– With a firm grip, pull up on the suction handle. You’re creating a lovely little gap between the cover and the frame, so give it some good, steady force!
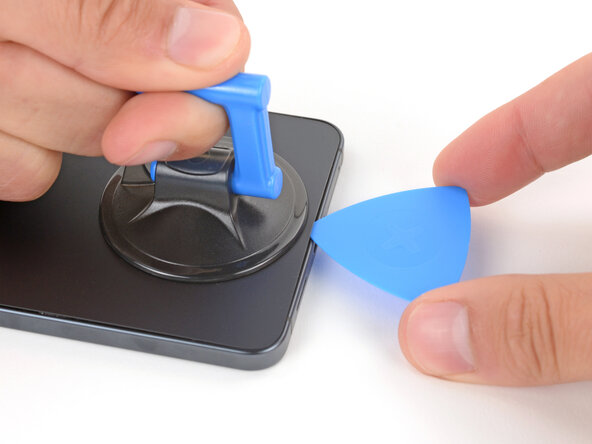
– Now, slide an opening pick into that gap you just made. You’re on the right track!
Tools Used

Step 4


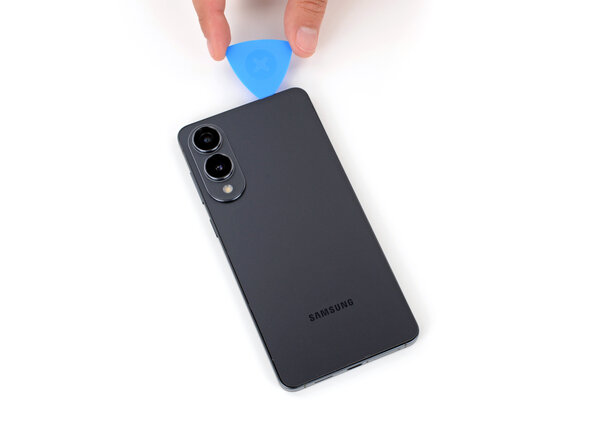
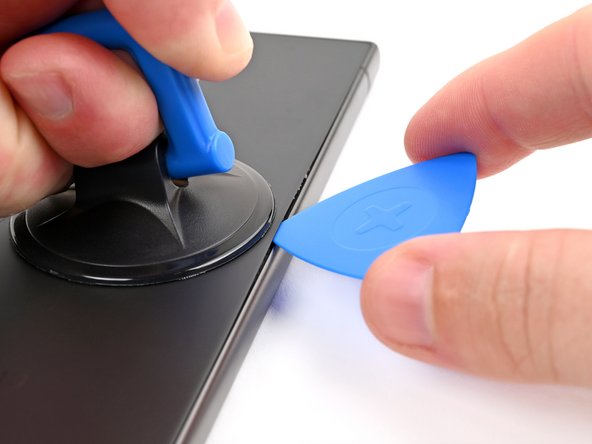
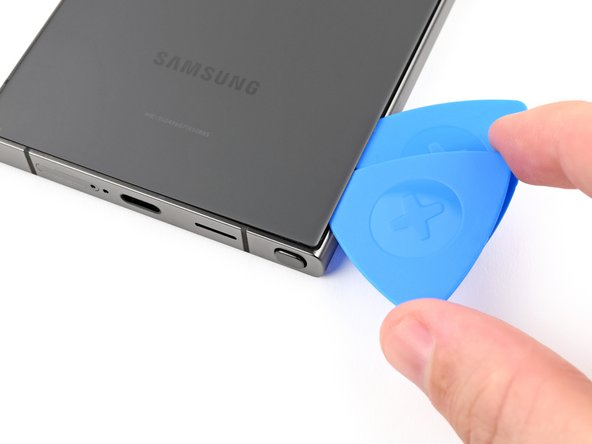
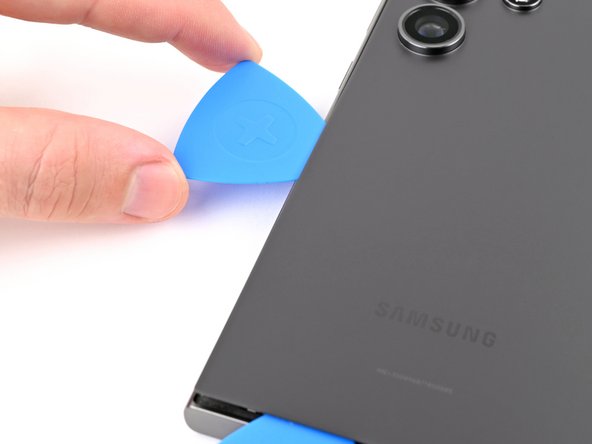
– Gently glide the pick back and forth along the right edge to break that adhesive seal. You’re doing great!
– Keep the pick snugly in place near the bottom right corner to stop that adhesive from sticking back together. Nice work!
Step 5

– Warm up the bottom edge of the back cover with a heated iOpener for about two minutes—think of it as a cozy spa session for your device.
Tools Used
Step 6

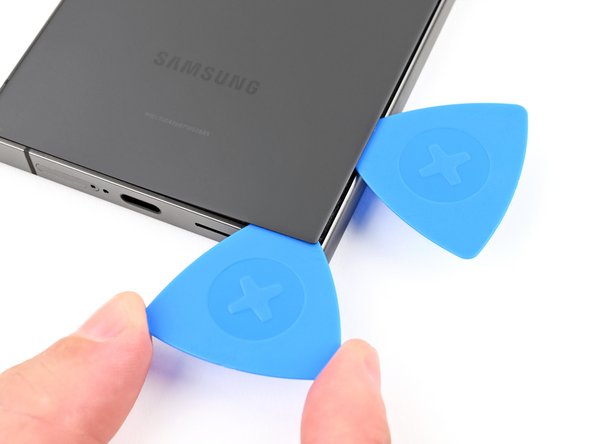
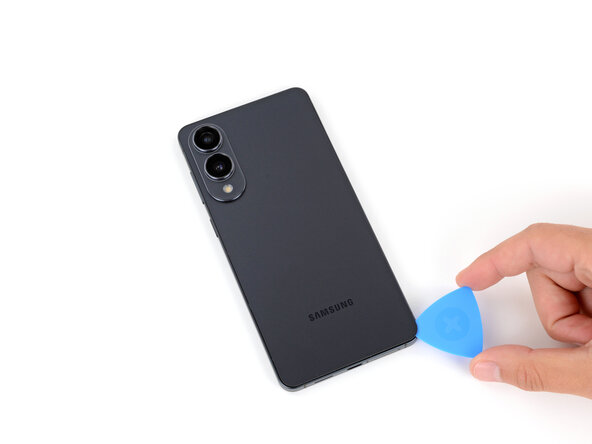
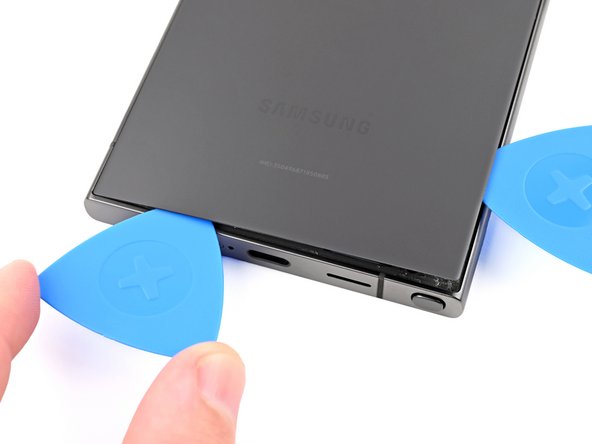
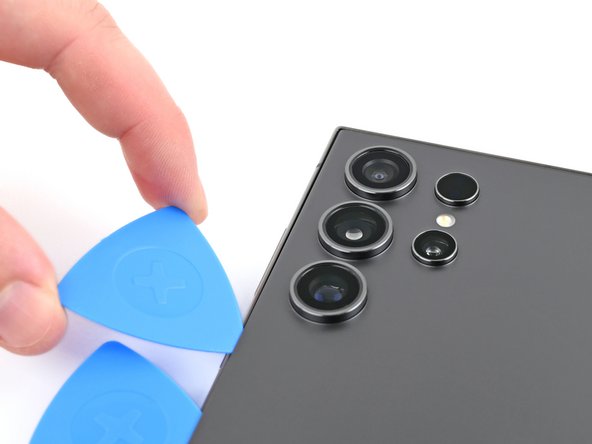
– Time to bring in some backup! Insert a second opening pick next to the first one, near the bottom of the right edge. This will help you get a better grip on the device.
– Now, gently rotate the opening pick around the bottom right corner to loosen the adhesive. Take your time and be patient – you’re making great progress!
Step 7

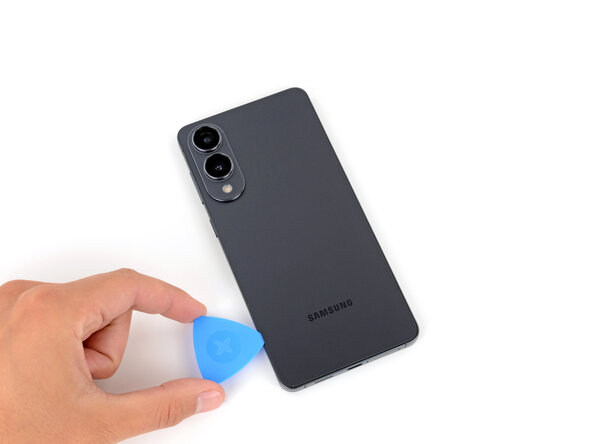
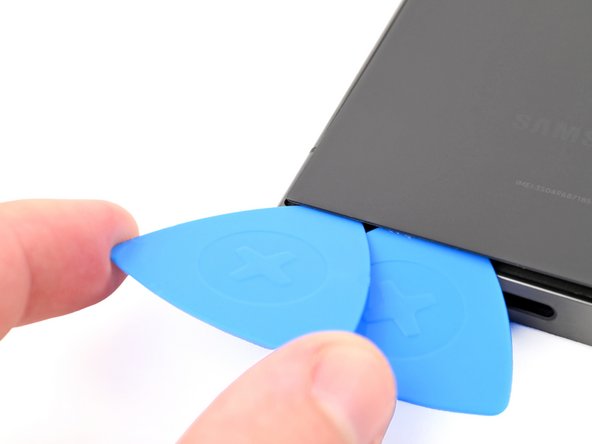
– Gently glide the opening pick along the bottom edge to break that adhesive bond like a pro.
– Keep the pick snugly in place near the bottom left corner to keep that adhesive from sealing up again.
Step 8

– Warm up your trusty iOpener and gently press it against the left edge of the back cover for a cozy two minutes. You’ll be amazed at how this little heat helps!
Tools Used
Step 9
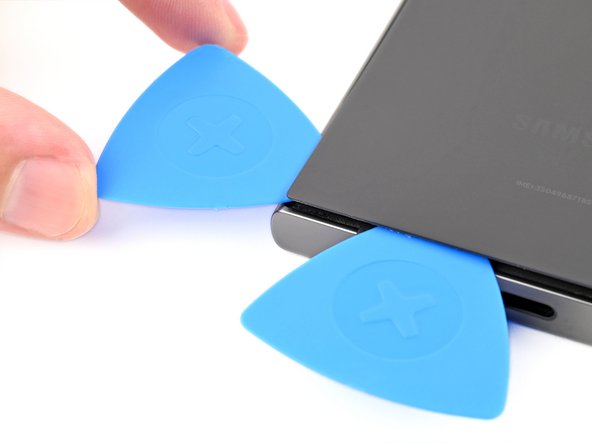

– Pop in a third opening pick right next to the second one, close to the left side of the bottom edge.
– Gently twist the opening pick around the bottom left corner to break free that stubborn adhesive.
Step 10

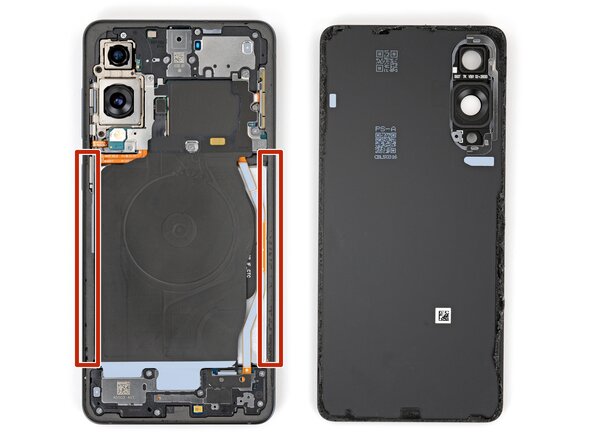
Keep that pick under 4 mm, or you might just give the antenna cable a little too much love!
– Gently glide your trusty opening pick along the left edge to break free the adhesive, but be sure to stop just shy of the power button.
– Keep that pick snugly in place near the power button to stop the adhesive from sticking back together.
Step 11

– Heat up your iOpener and gently press it to the top edge of the back cover for a solid two minutes. This will help loosen things up so you can keep moving forward with your repair journey.
Tools Used
Step 12


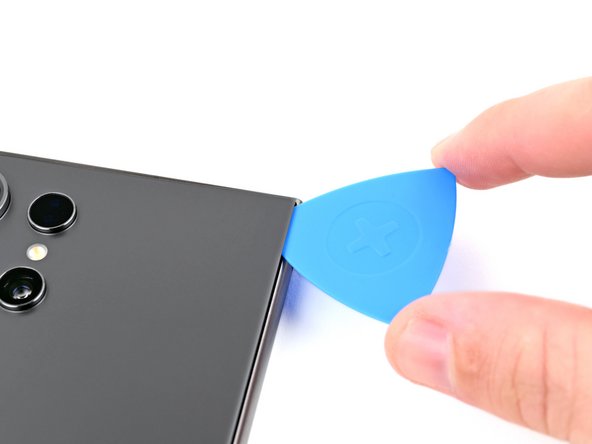
– Start by slipping an opening pick into the gap at the top of the right edge – it’s the first step to freeing your device from its casing.
– Next, gently rotate the opening pick around the top right corner to loosen the adhesive and begin separating the parts.
Step 13

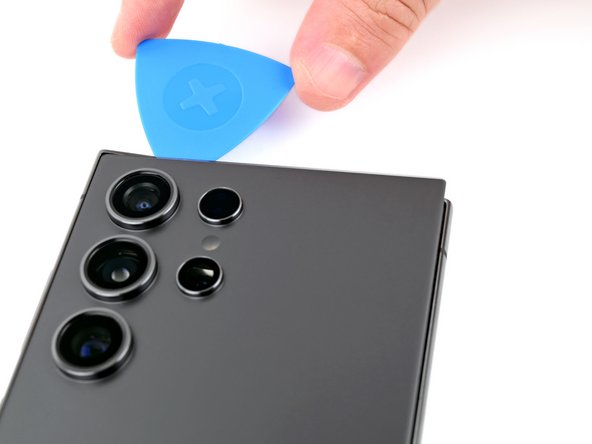
Be careful not to insert the pick more than 4 mm—going further could risk damaging the sensor or camera near the top edge. Keep it light and steady, and if you need a hand, you can always schedule a repair.
– Gently glide the pick along the top edge to break that adhesive seal free!
Step 14

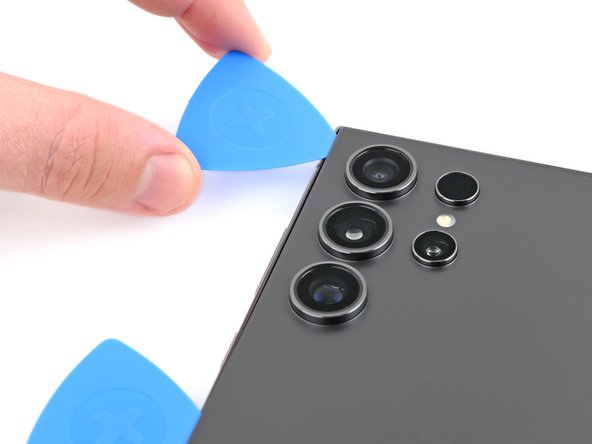
Keep that pick under 4 mm, or you might accidentally give your cameras a little too much excitement!
– Gently glide the pick around the top left corner and down the left edge to break free the last bits of adhesive. You’ve got this!
Step 15


If that cover is still being clingy, take an opening pick and gently run it along the edges to break up any stubborn adhesive that’s hanging on.
Now’s a great moment to power up your device and make sure everything’s working as it should. When you’re done checking, power it all the way down before you get back to work.
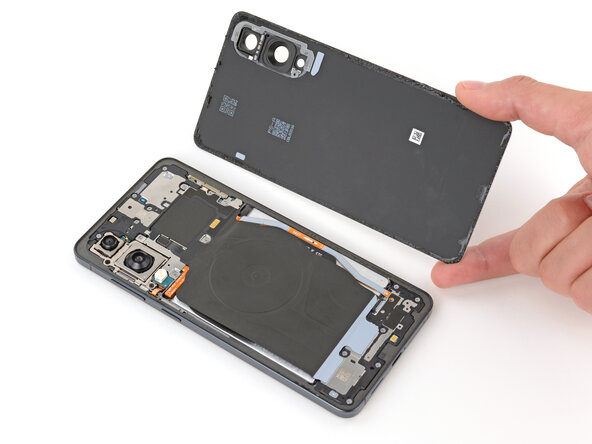
– Start by gently popping off the back cover. You’ve got this!
– Now, as you put everything back together:
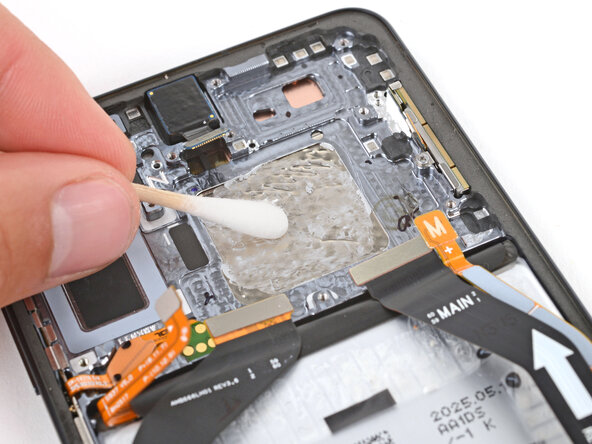
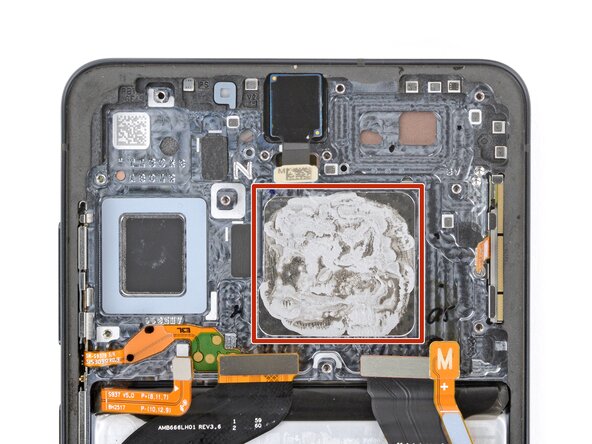
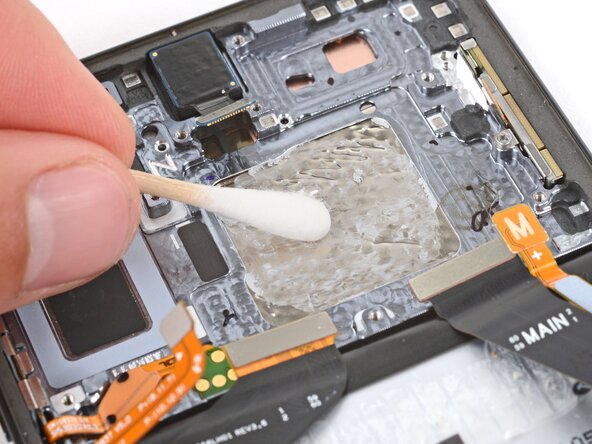
– If you find some sticky adhesive bits hanging around, use tweezers or your fingers to remove them. If they’re being stubborn, a little heat can work wonders!
– Got custom-cut adhesives? Just follow the guide for that.
– Using double-sided tape? No worries, there’s a guide for that too!
Tools Used

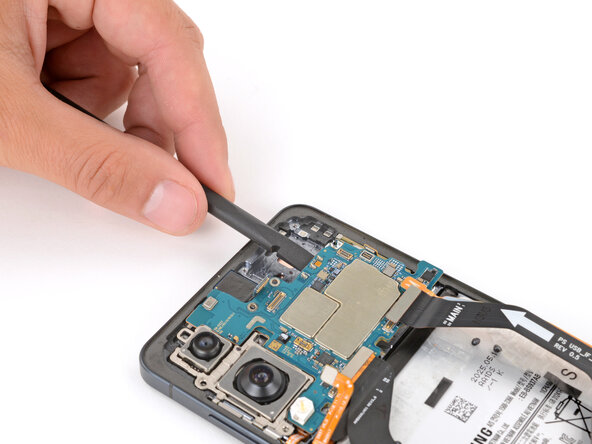
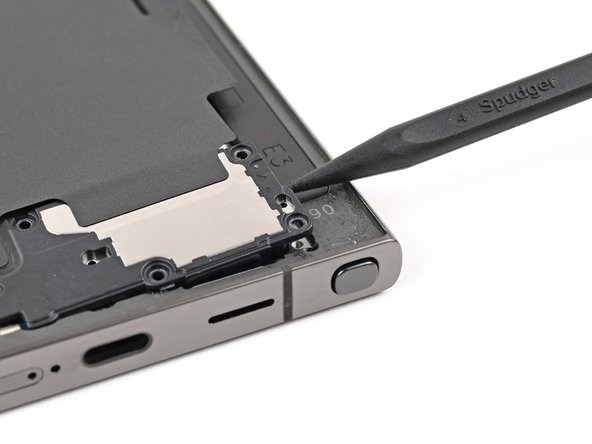
Step 16

Look for the little arrow on the board next to each press connector – that’s your golden ticket for prying! Stick to this spot for each connector to keep those surface-mounted components snug and happy. You’ve got this!
– Grab your trusty spudger and gently lift up to disconnect the wireless charging coil press connector from the motherboard. You’ve got this!
– When you’re ready to reconnect those press connectors, take your time. Align it just right over its socket and gently press down with your fingertip—first one side, then the other—until you hear that satisfying click! No need to force it; if it’s being stubborn, just reposition it and give it another go. Remember, patience is key!
Tools Used

Step 17

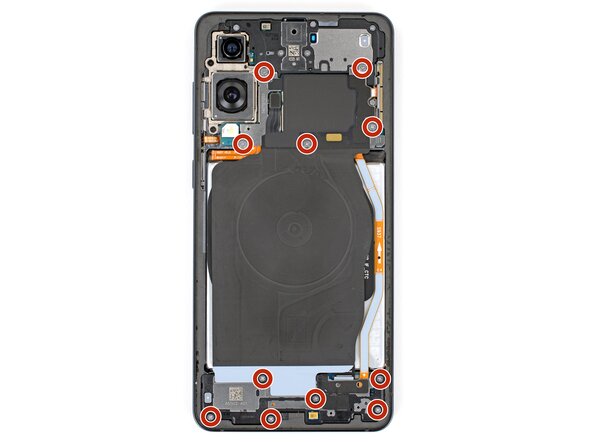
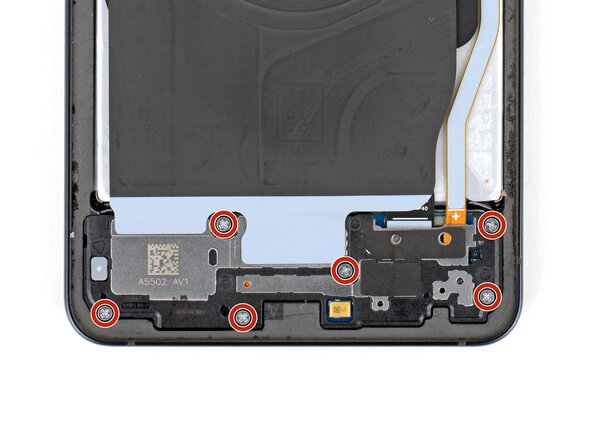
– Grab your trusty Phillips screwdriver and get ready to tackle those ten 3.5 mm-long screws that are keeping the wireless charging coil and loudspeaker in place:
– Let’s start with the four screws that hold the wireless charging coil snugly.
– Now, move on to the six screws that are securing the loudspeaker like a pro.
Step 18

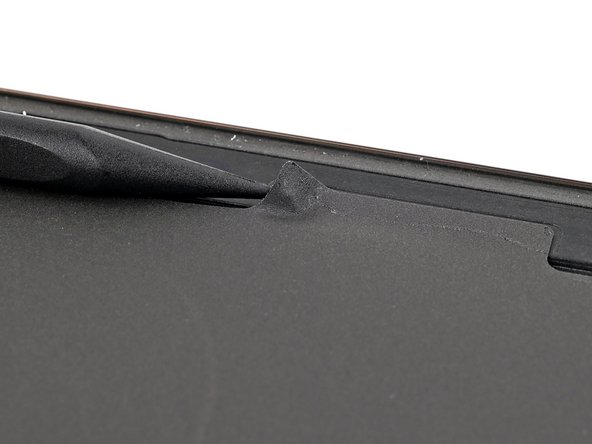
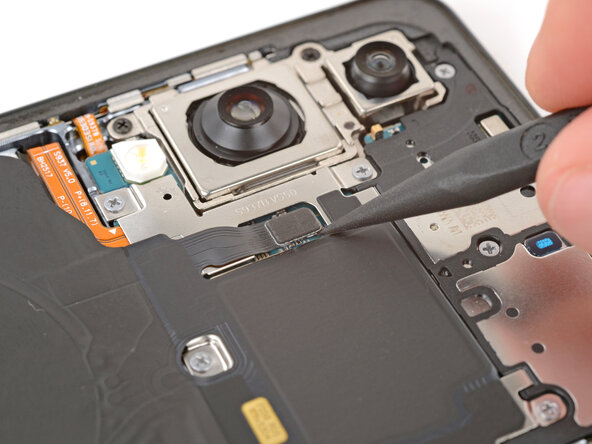
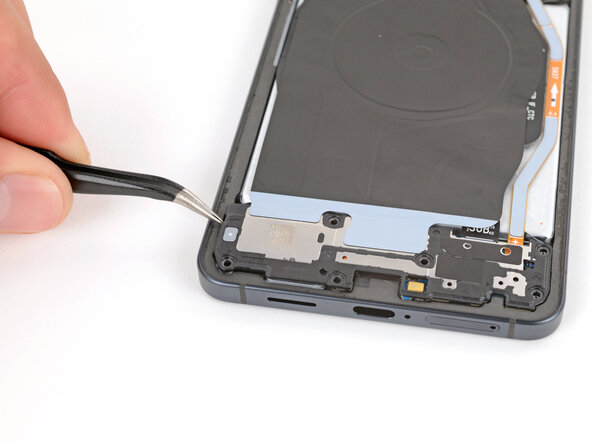
– Time to get this repair started! Use a trusty spudger to carefully pry up a corner of the wireless charging coil’s tab, which is stuck to the right edge of the frame. Take your time and be gentle, we’ve got this!
Tools Used
Step 19


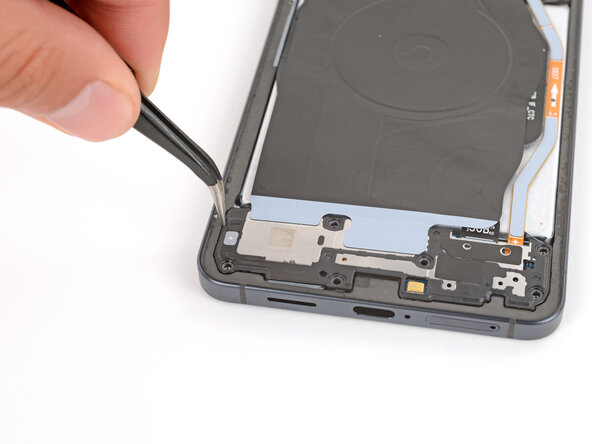
– Gently slide an opening pick between the tab and the frame to pop them apart—nice and easy does it!
Step 20

Check out the little arrow etched on the loudspeaker—that’s your go-to spot for prying.
– Slide the tip of your spudger into the gap along the right side of the loudspeaker and the frame.
– Gently pry upward to pop the loudspeaker loose from the frame.
Tools Used
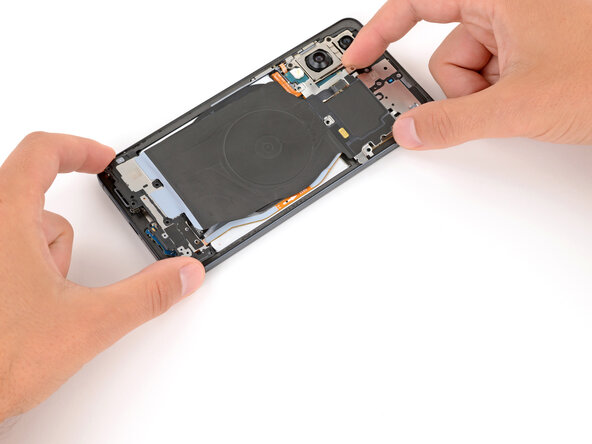
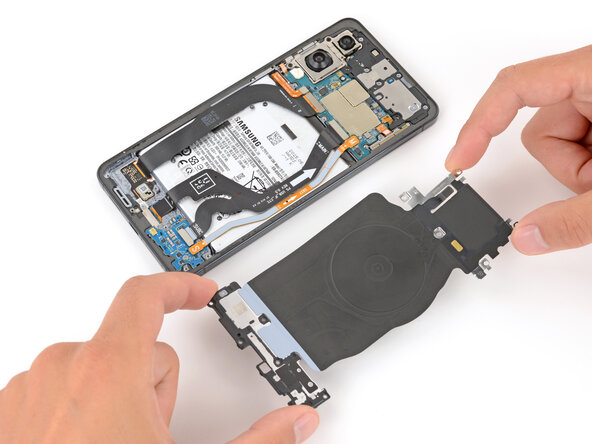
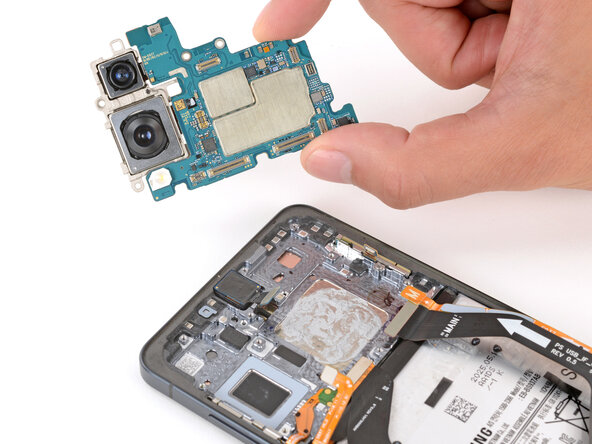
Step 21
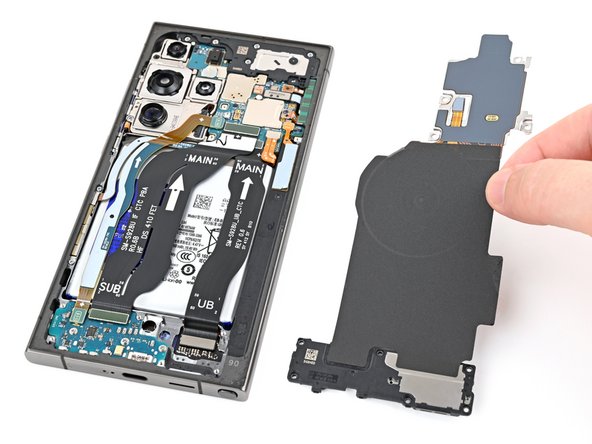

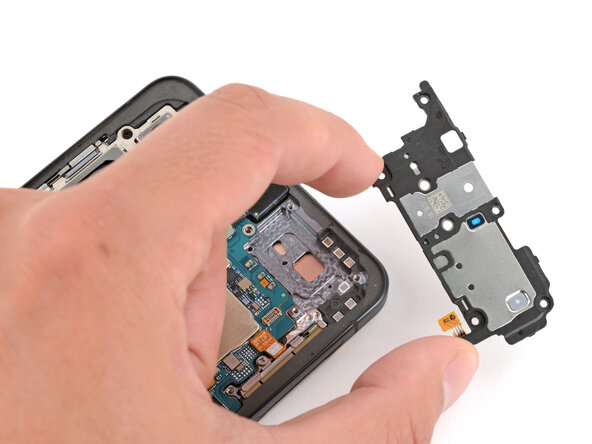
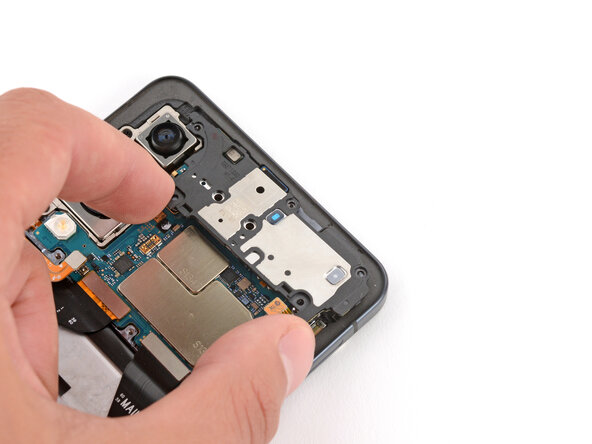
– Time to get those wires loose! Start by gently removing the wireless charging coil and the loudspeaker from the frame. You’re doing great!
– When putting everything back together, give a little love to the edges of the loudspeaker. Press around the edges to snugly clip it back into the frame before you reinsert those screws. You’ve got this!
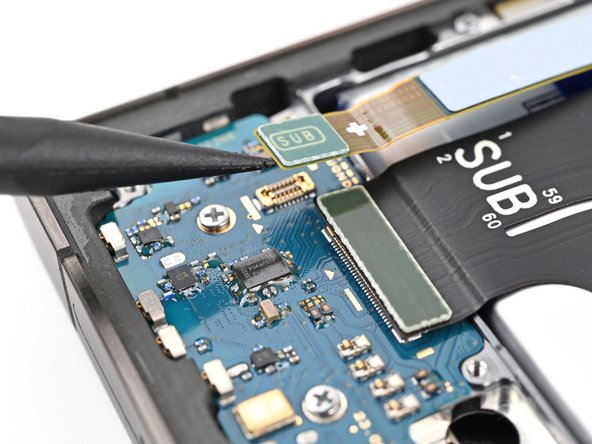
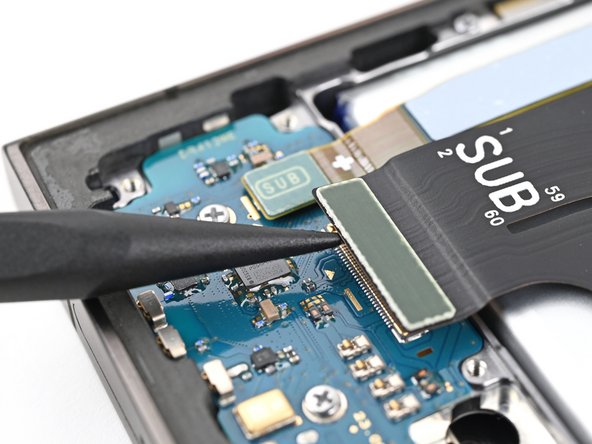
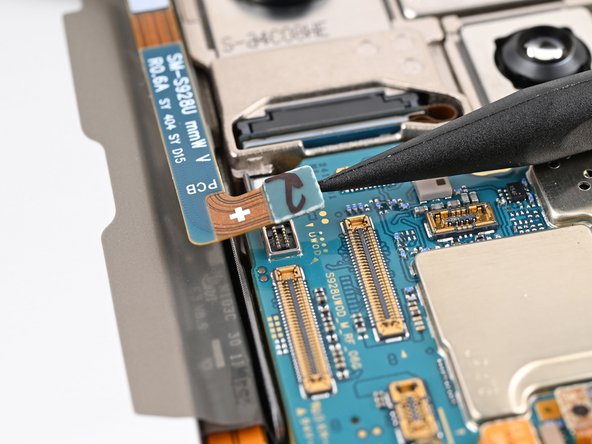
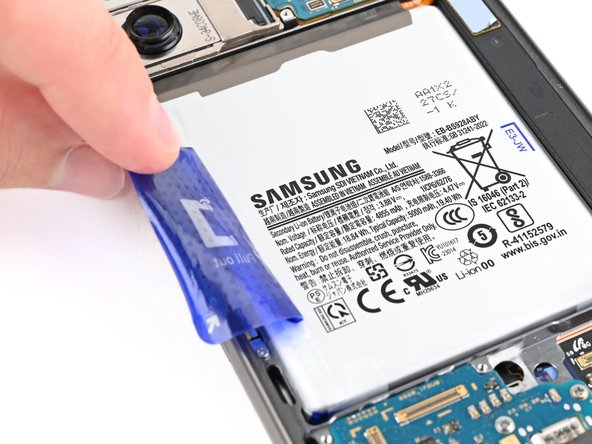
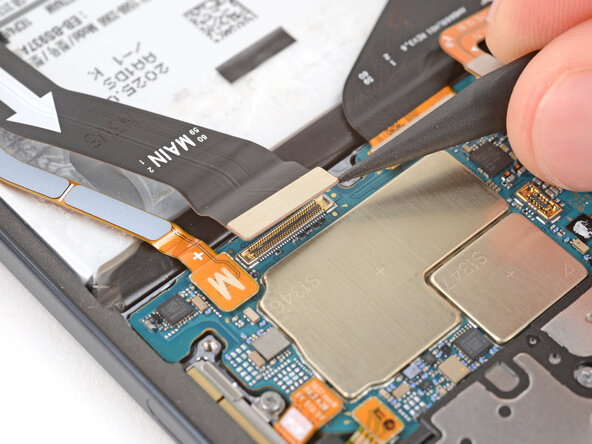
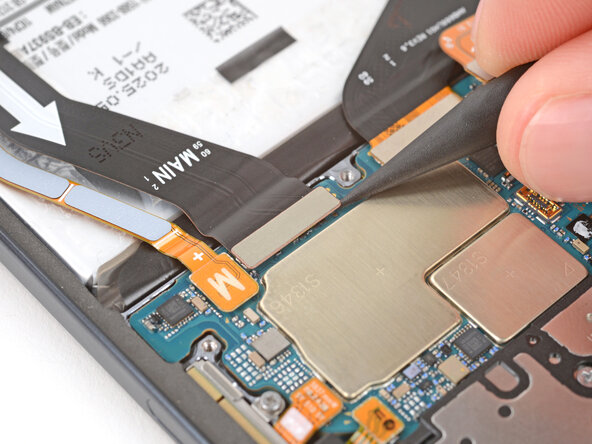
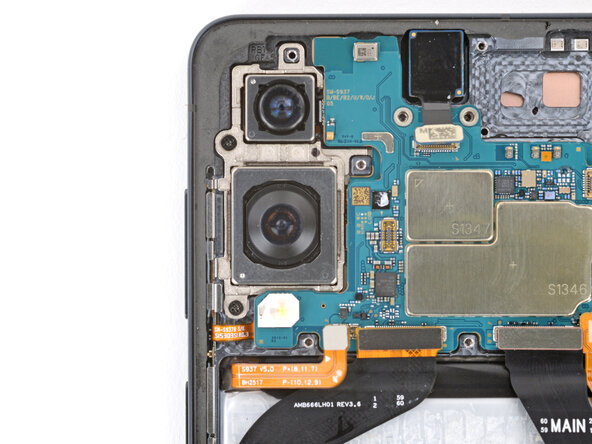
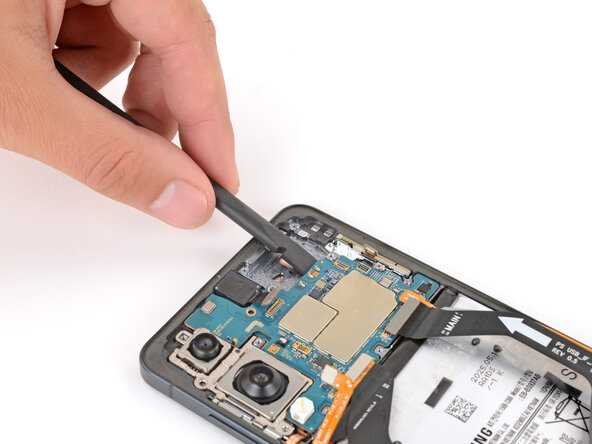
Step 22


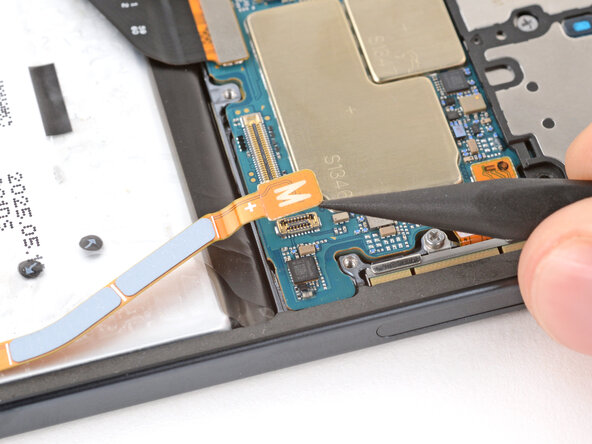
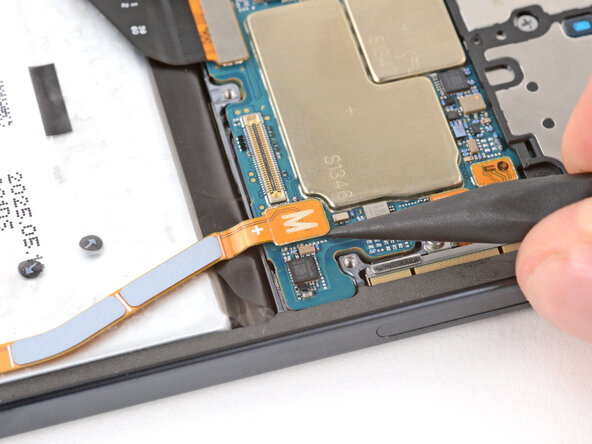
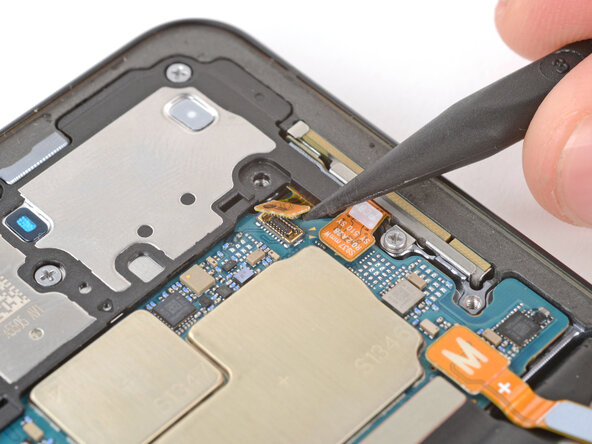
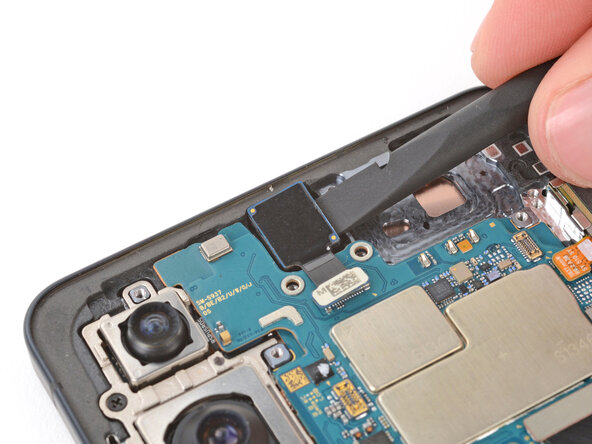
– Grab your spudger and gently pop up the battery connector—give it a little wiggle if needed, but no wrestling moves!
Tools Used
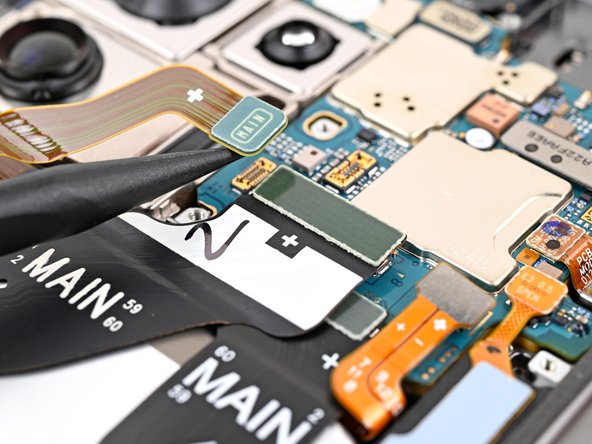
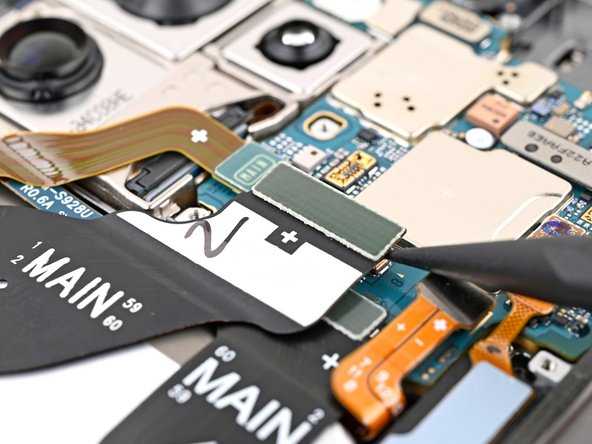
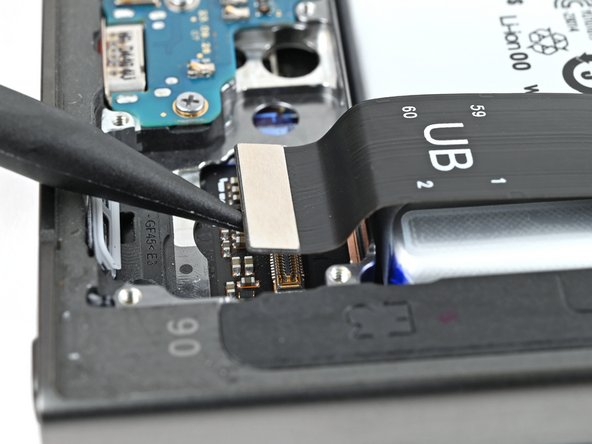
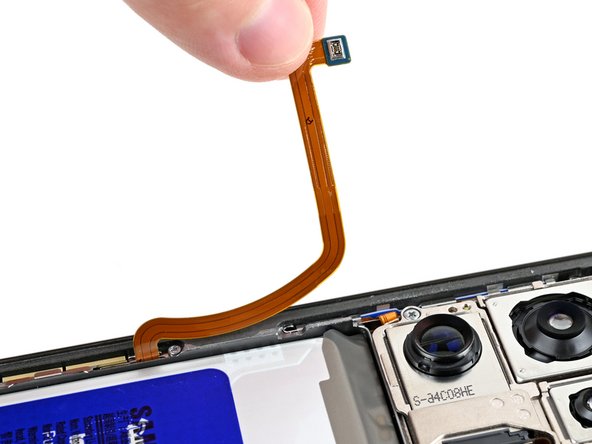
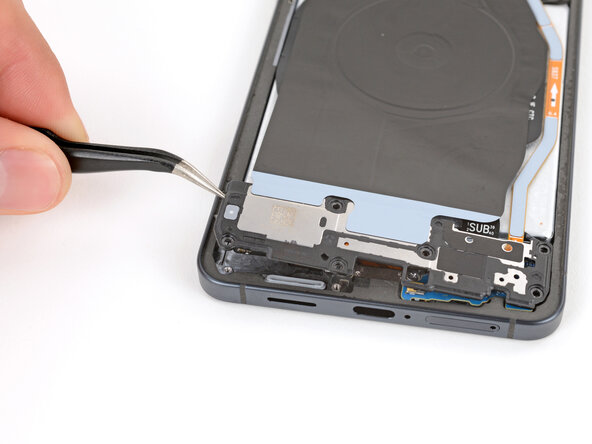
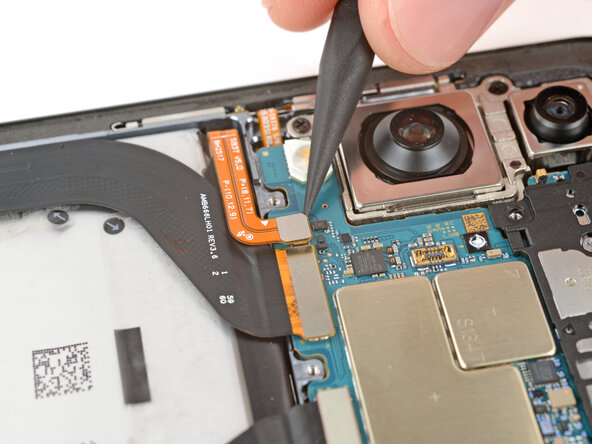
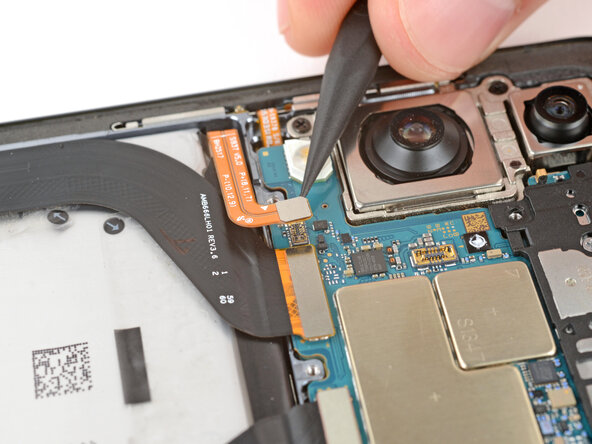
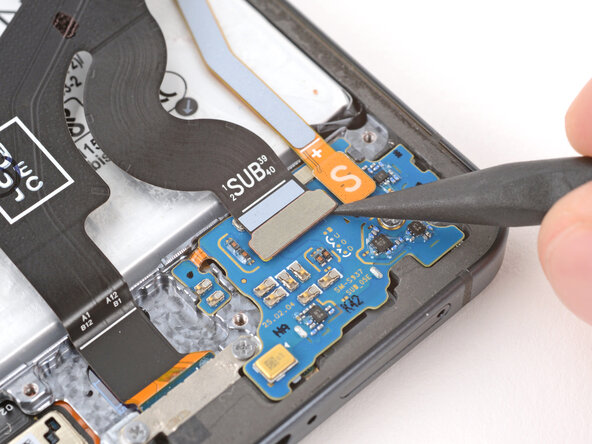
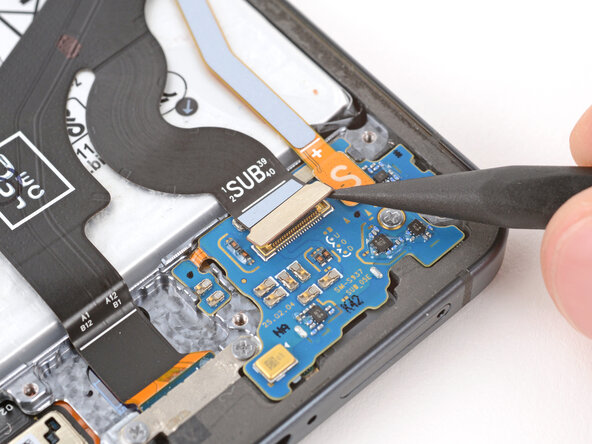
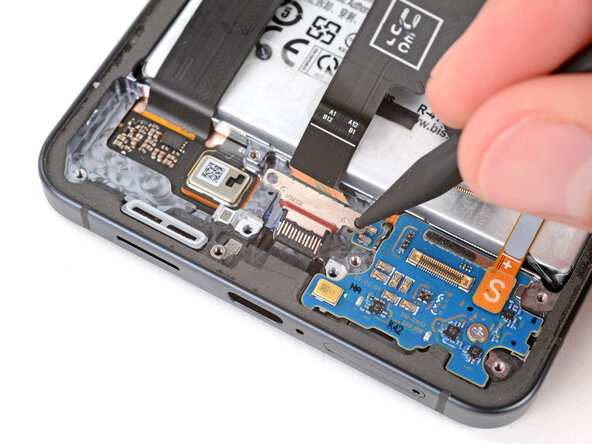
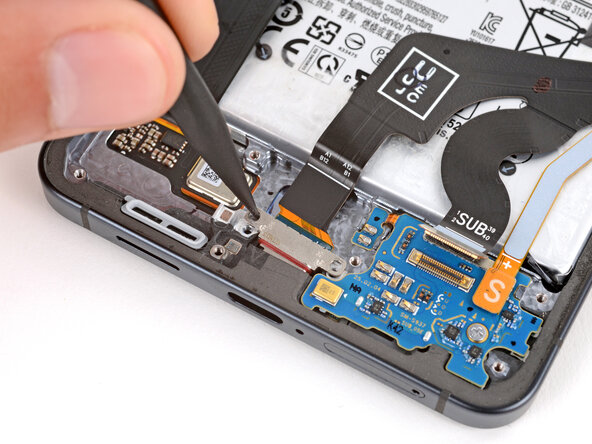
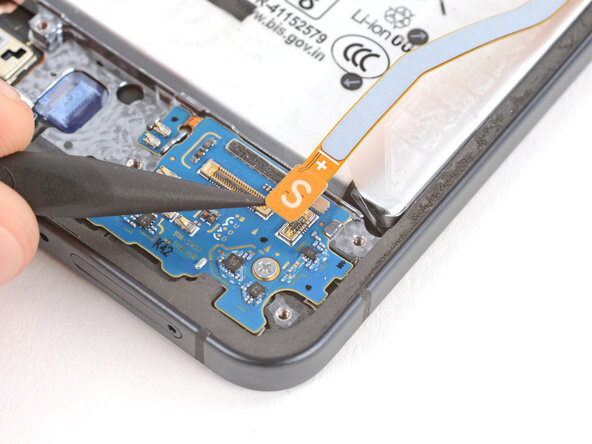
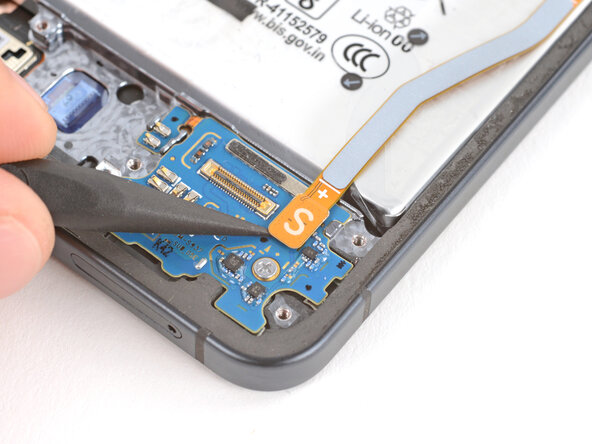
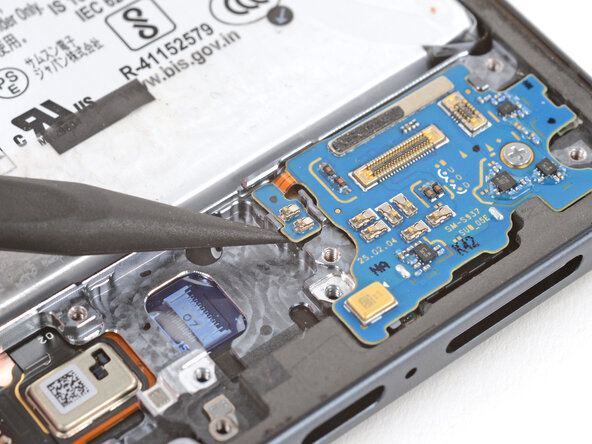
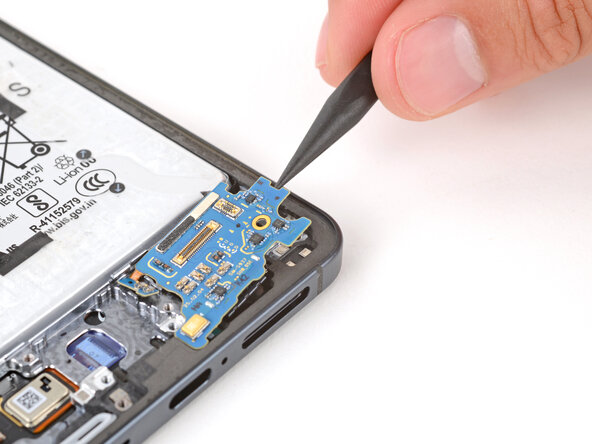
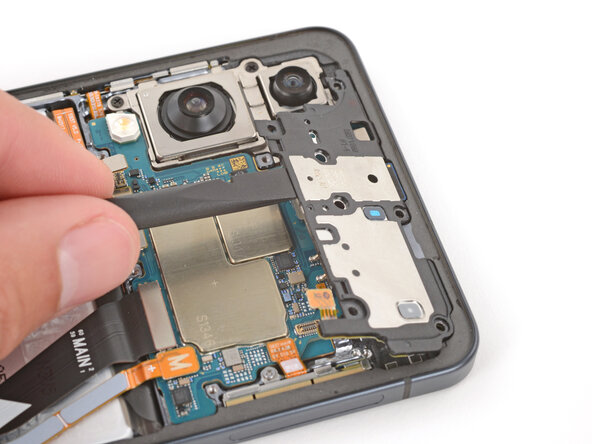
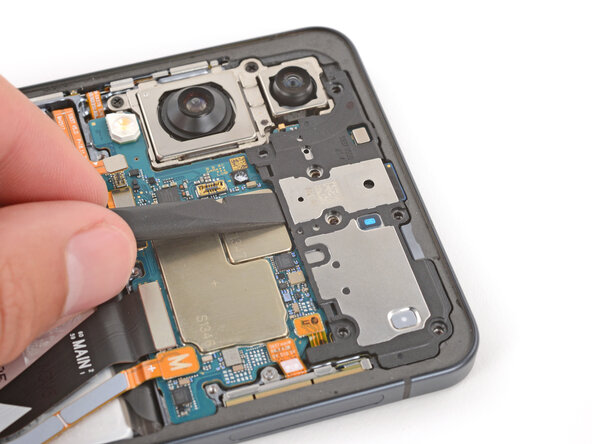
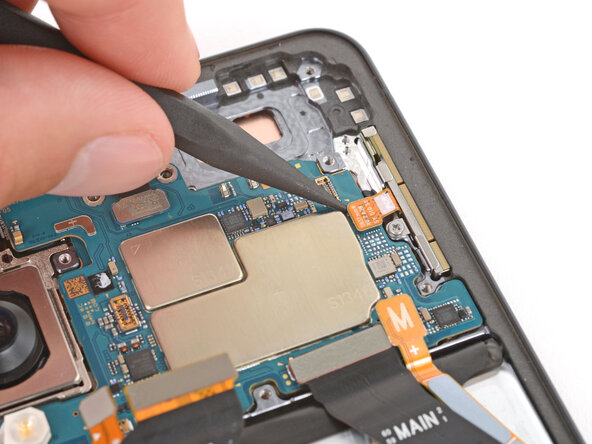
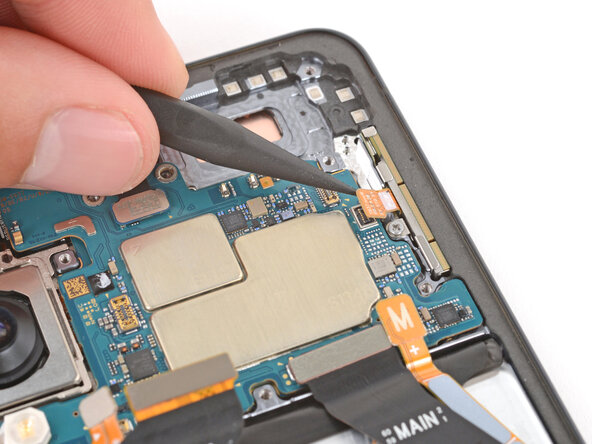
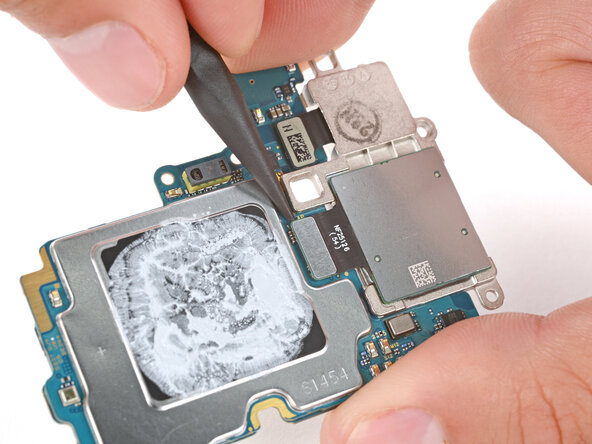
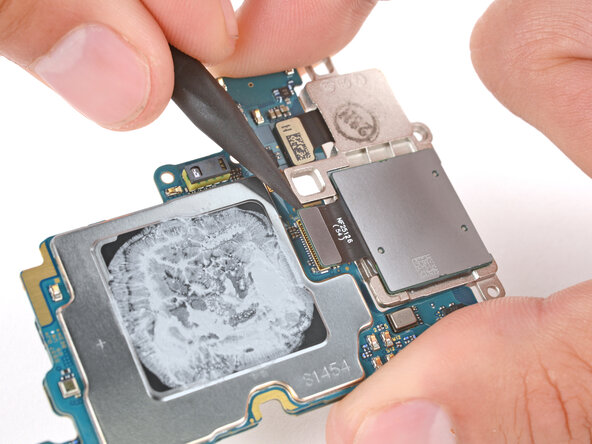
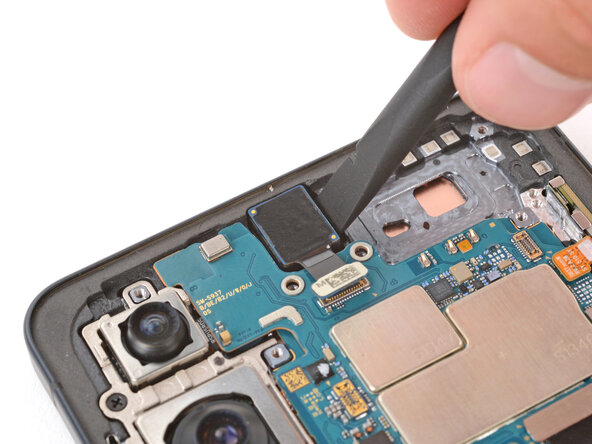
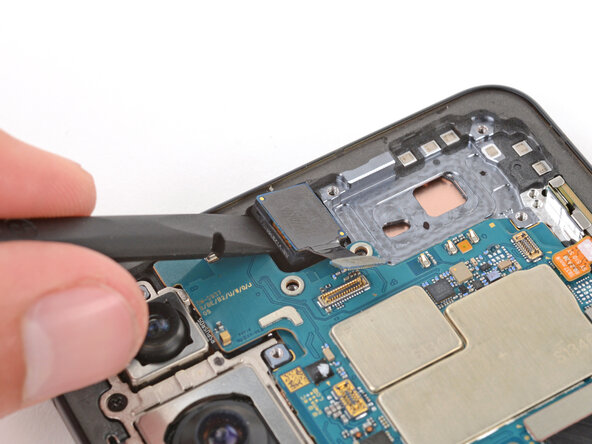
Step 23
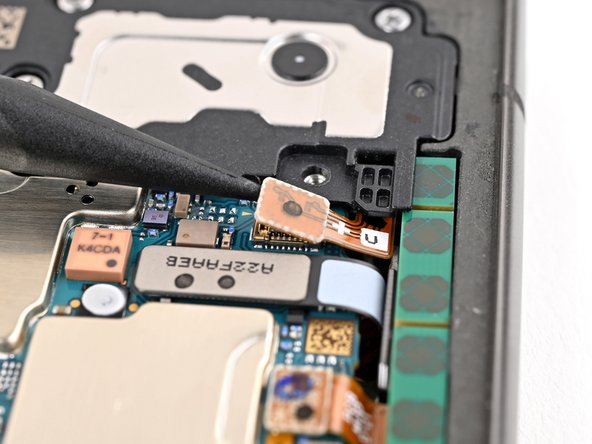

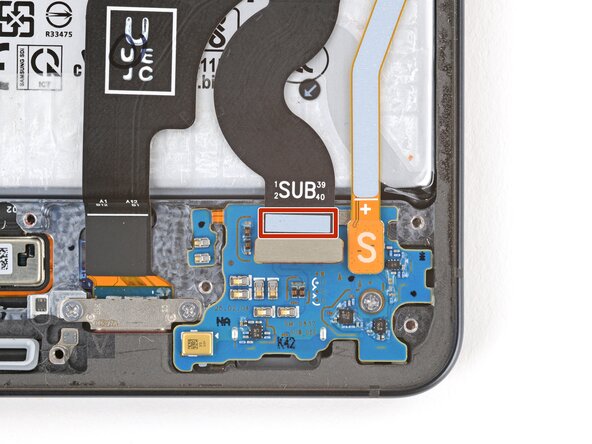
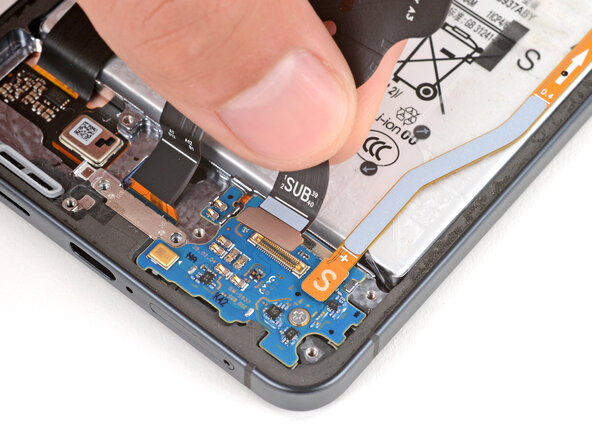
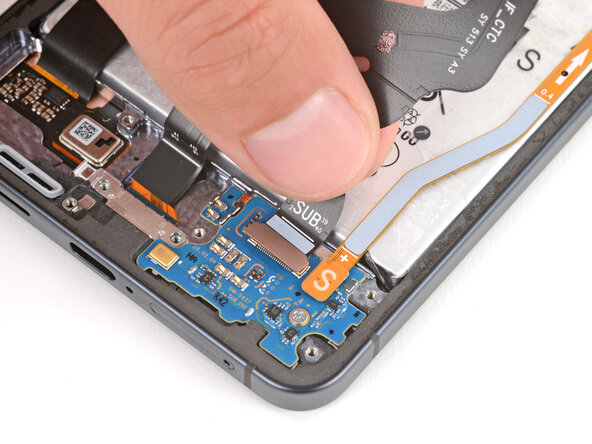
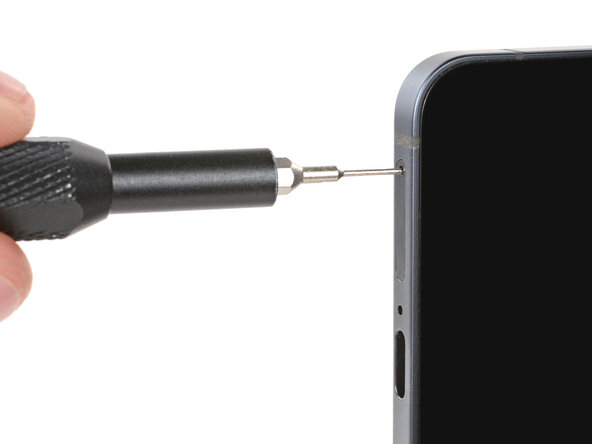
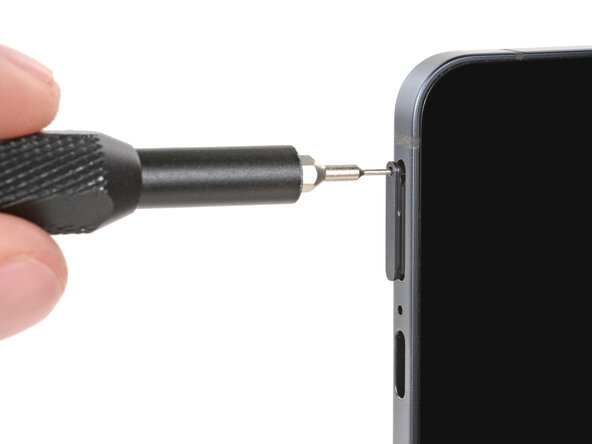
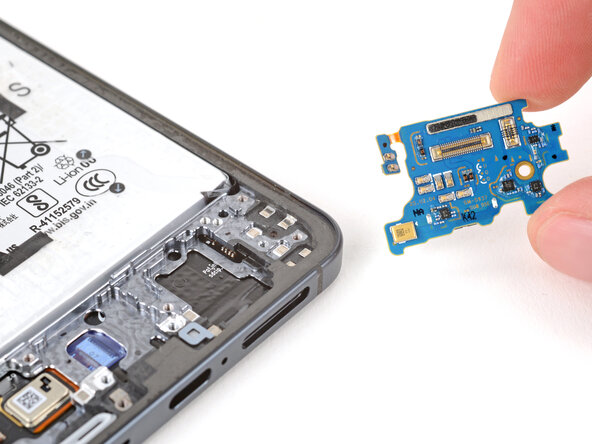
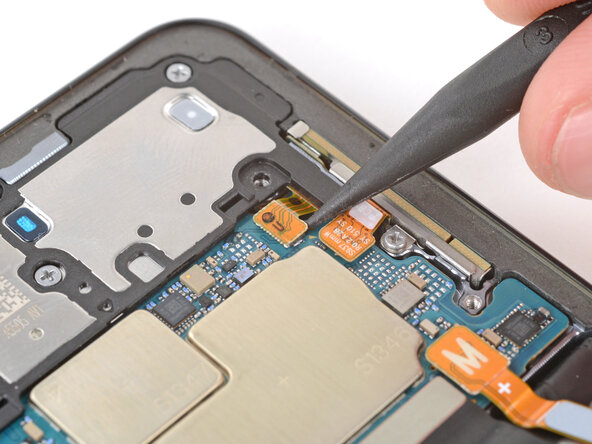
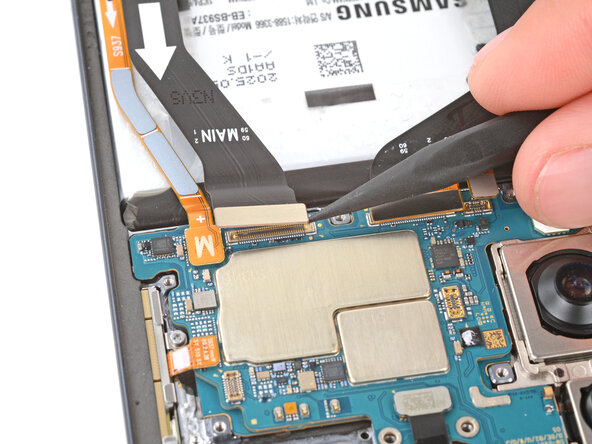
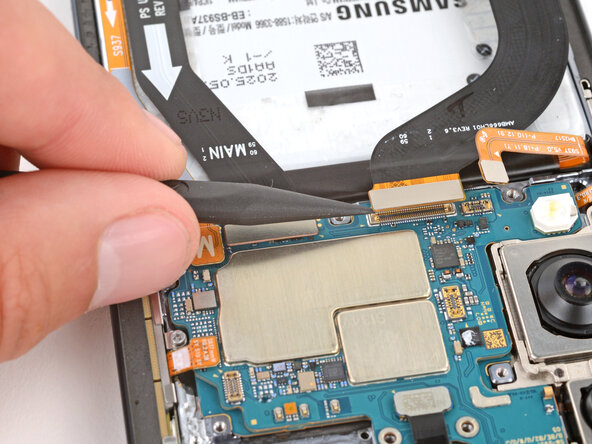
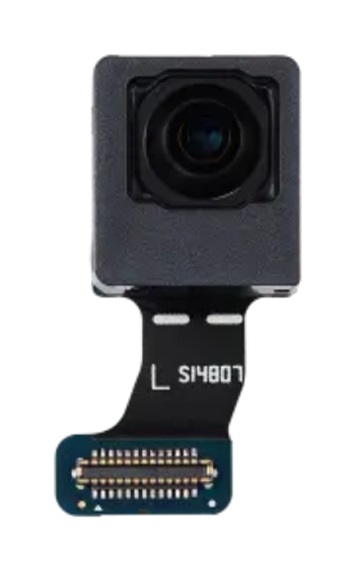
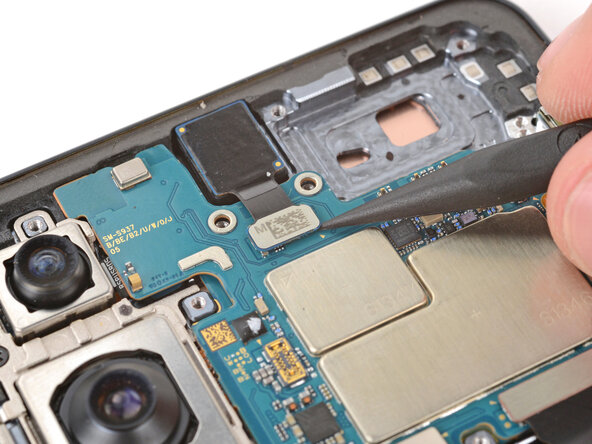
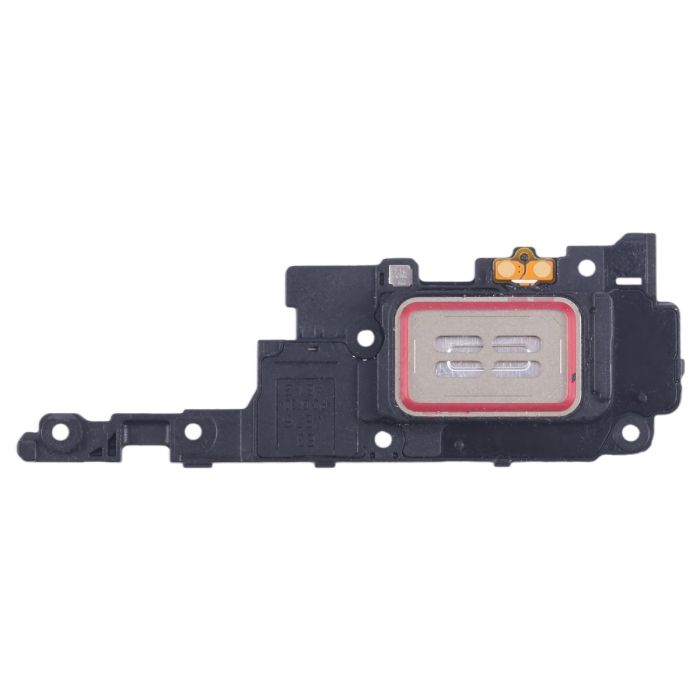
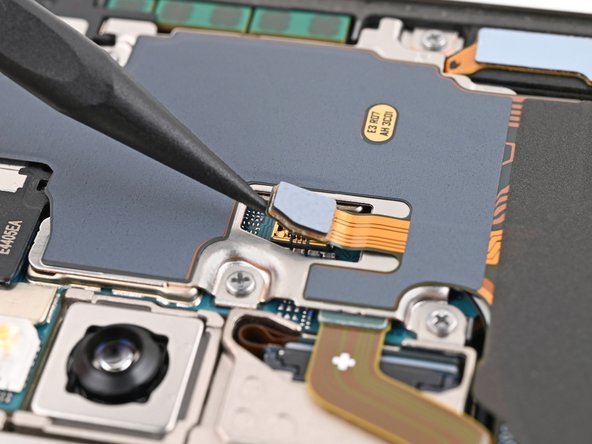
– Grab your spudger and gently pop up the connector for the earpiece speaker—just a little lift does the trick!
Tools Used
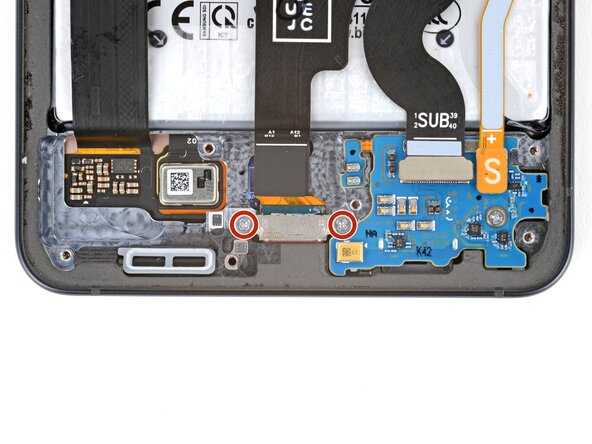
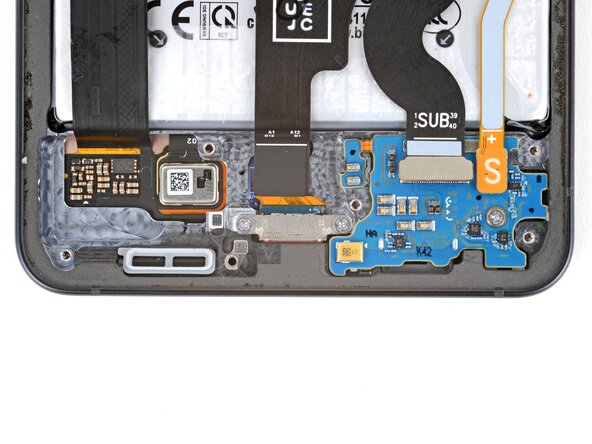
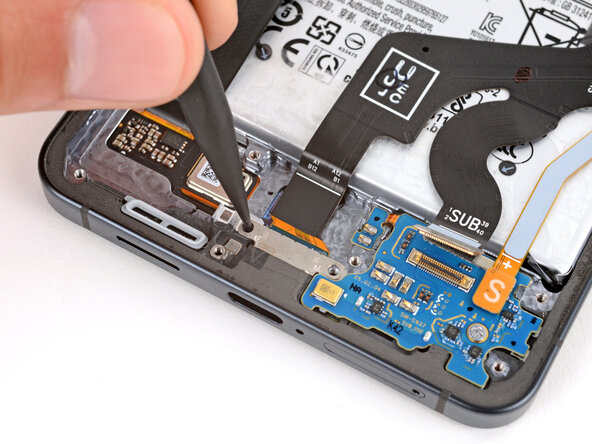
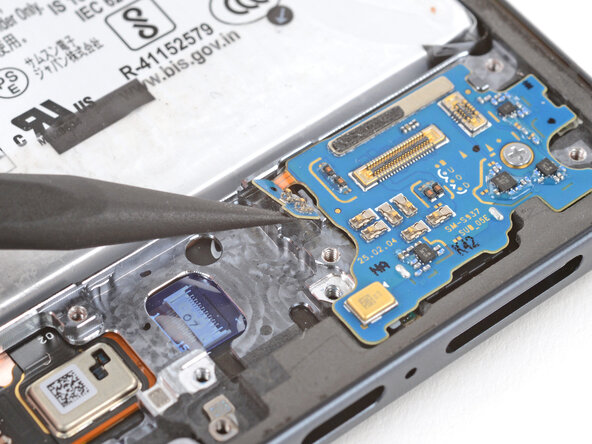
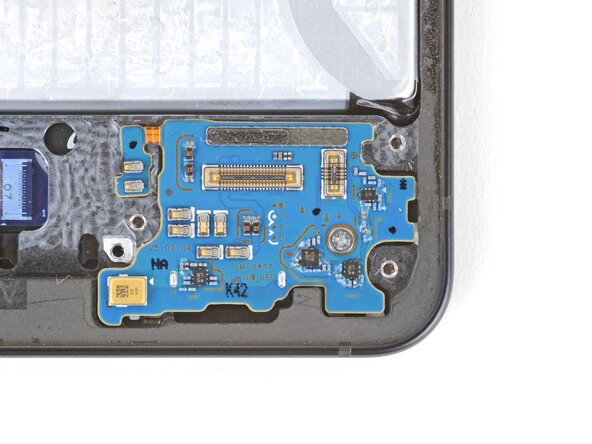
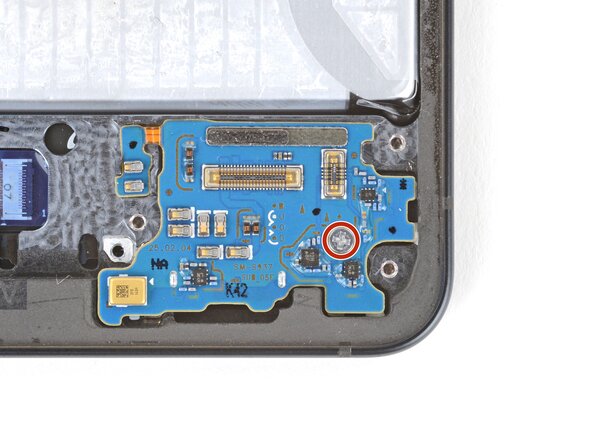
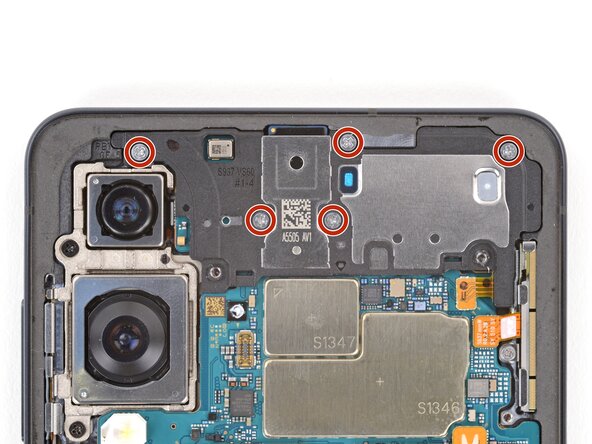
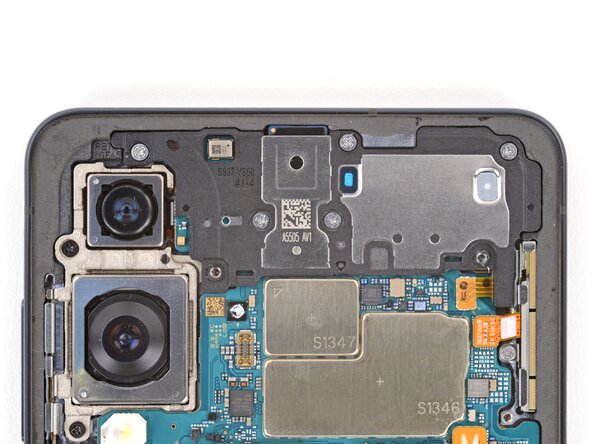
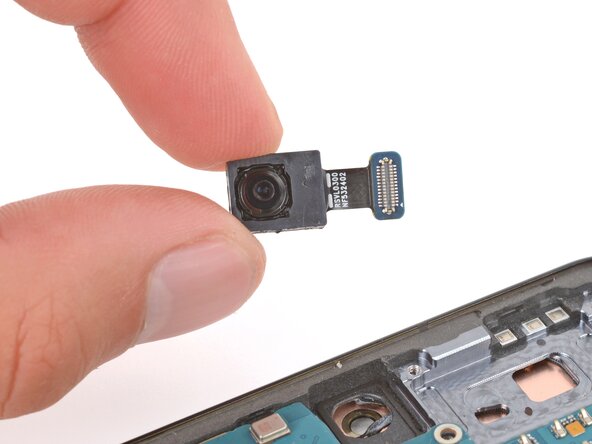
Step 24

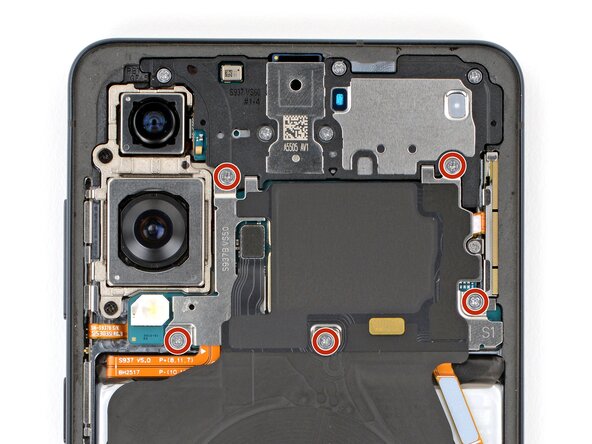
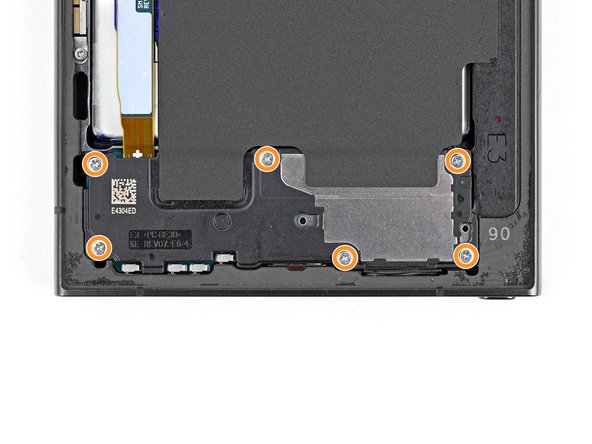
– Grab a Phillips screwdriver and take out those five 3.5 mm screws holding the earpiece speaker in place. Easy peasy—just follow the screws and keep track of them. If you need help along the way, you can always schedule a repair.
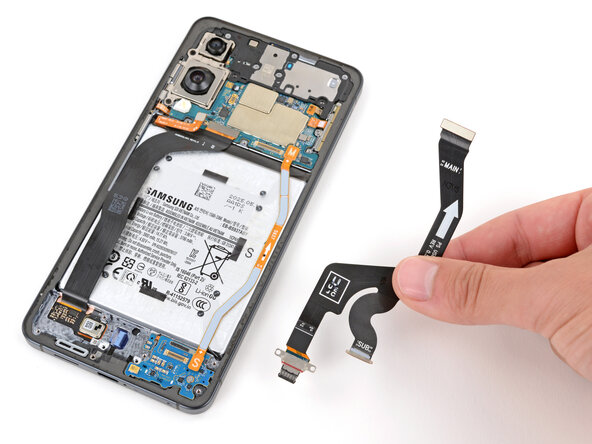
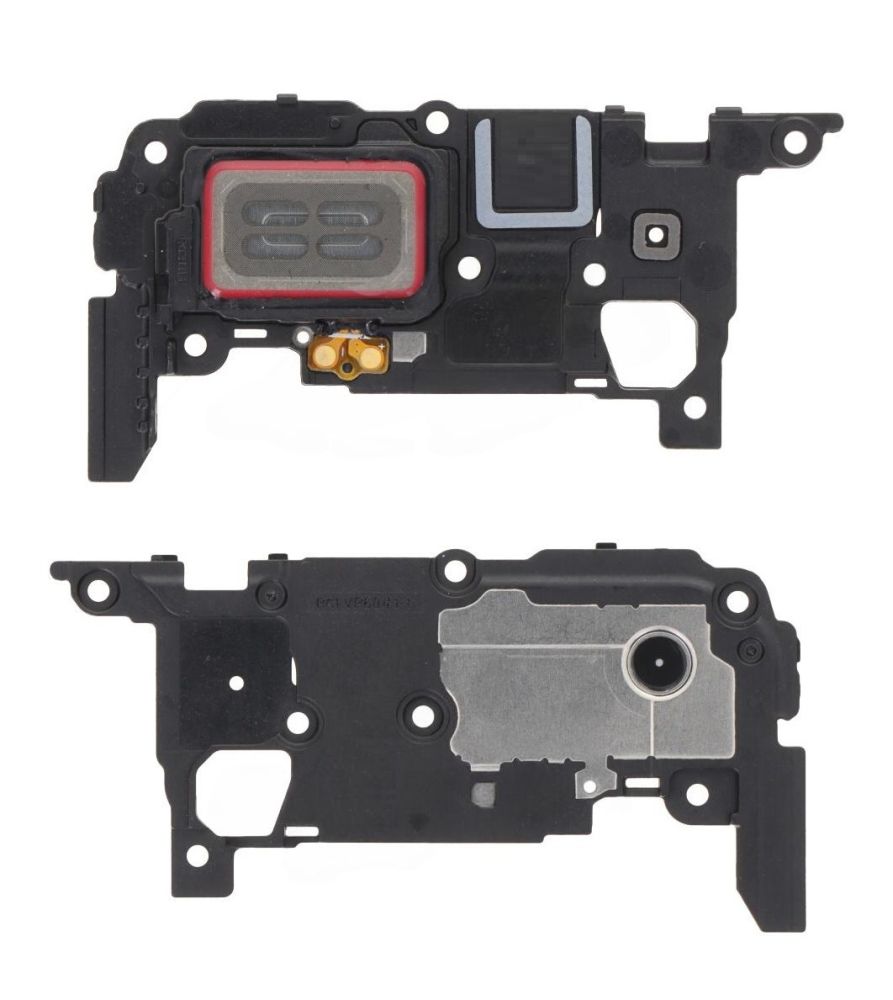
Step 25


– Put your device back together by reversing these steps.
– Ran into a snag? Try some quick troubleshooting or swing by our Answers community for advice.
– When it’s time to say goodbye to old parts, drop them at an R2 or e-Stewards certified recycler.
– Still feeling stuck? You can always schedule a repair with us!
Tools Used
Success!