Duration: 45 minutes
Steps: 27 Steps
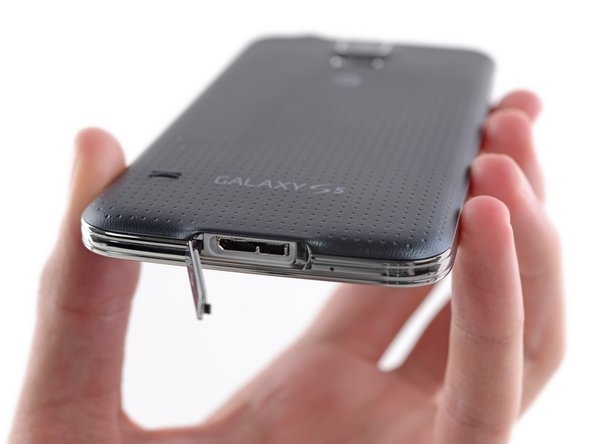
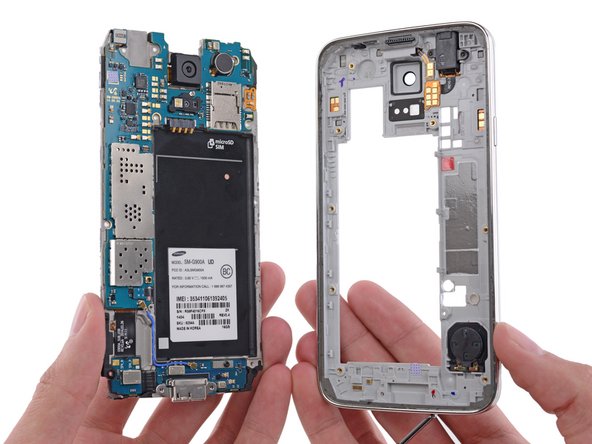
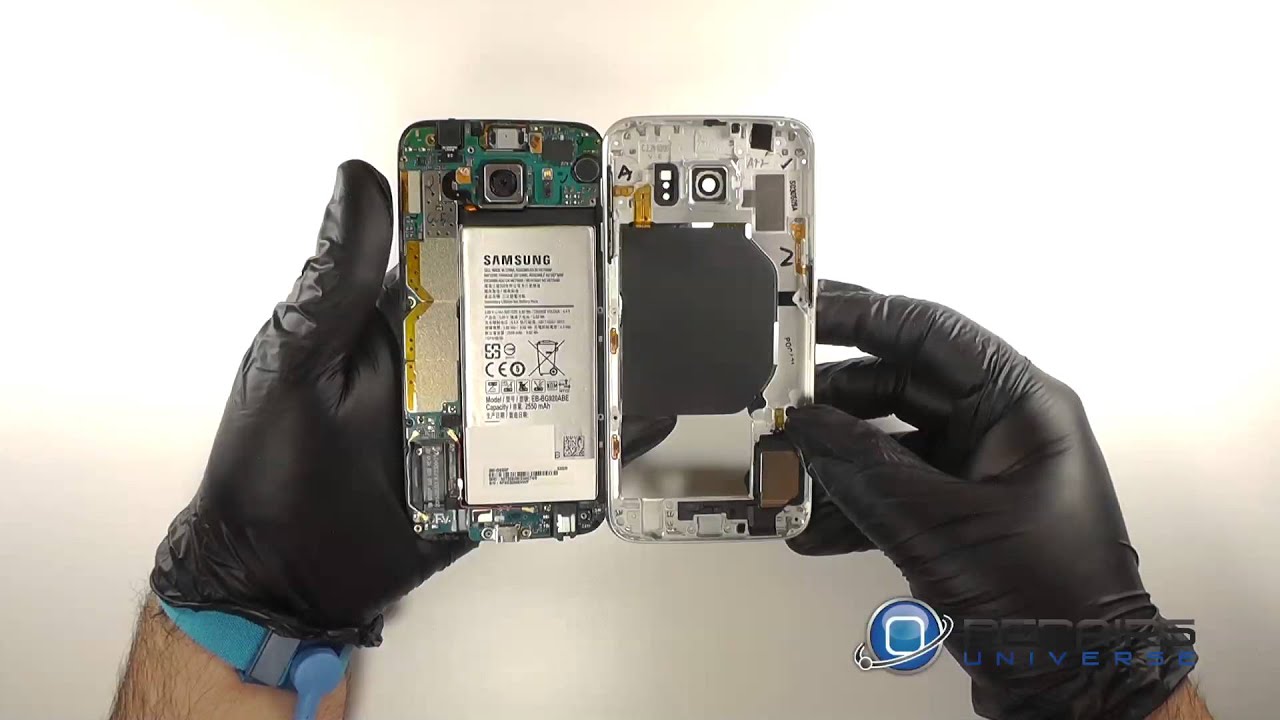
Got a battery that’s puffed up like a balloon?
Ready to give your Samsung Galaxy S25 Edge some new juice? If your battery can’t keep up, keeps conking out with charge left, or insists on staying plugged in to work, it’s probably time for a swap. Got a swollen battery? Handle it with care. Grab some replacement back cover adhesive before you start—your phone will appreciate the refresh!
Step 1
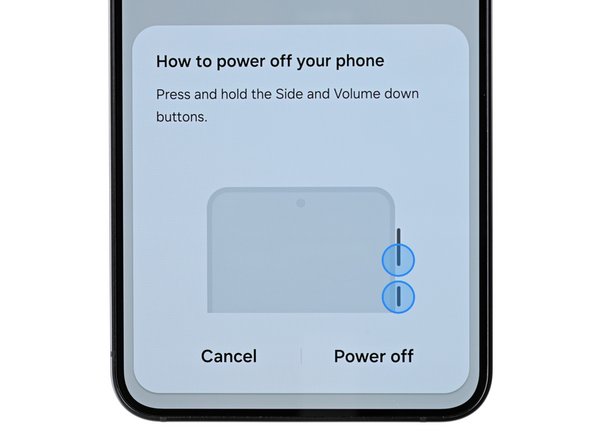
Before you dive into this repair adventure, make sure your phone’s battery is below 25%. A charged lithium-ion battery can be a bit of a drama queen and might catch fire if it gets damaged. Safety first, folks!
– Shut down your phone completely and disconnect any cables—let’s start with a clean slate!
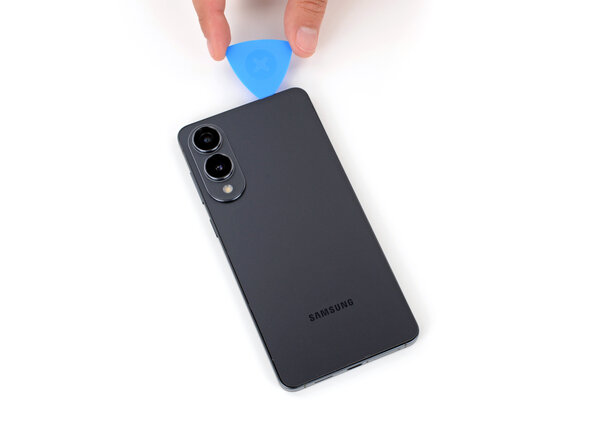
Step 2
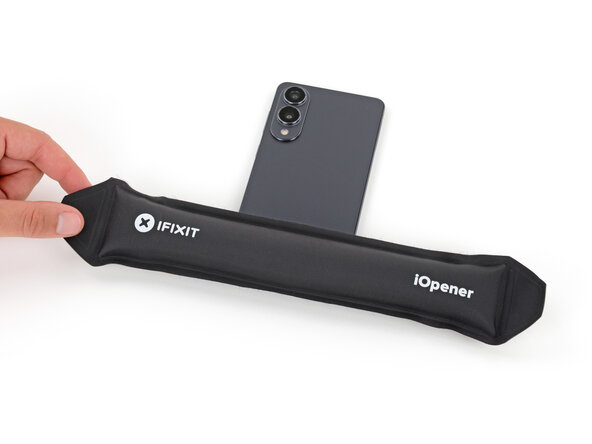
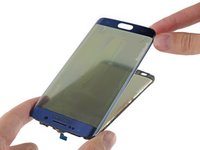
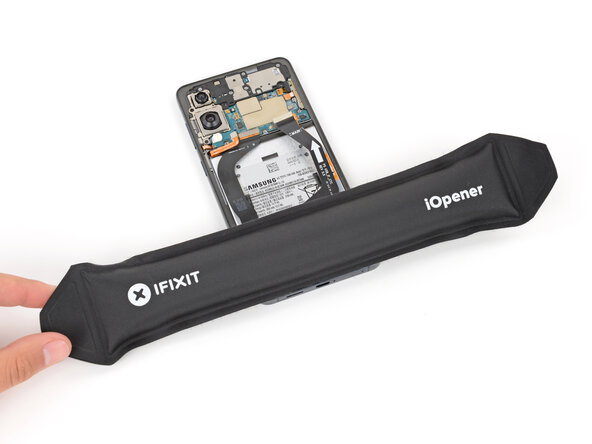
The back cover is held on by a gentle layer of adhesive. A little heat will loosen things up and make it much easier to lift off.
Feel free to use a hair dryer, heat gun, or hot plate to warm up the cover—whatever works for you!
– Warm up your iOpener and let it chill (well, heat up) on the bottom edge of the back cover for a couple of minutes. This will help loosen up that stubborn adhesive.
Tools Used


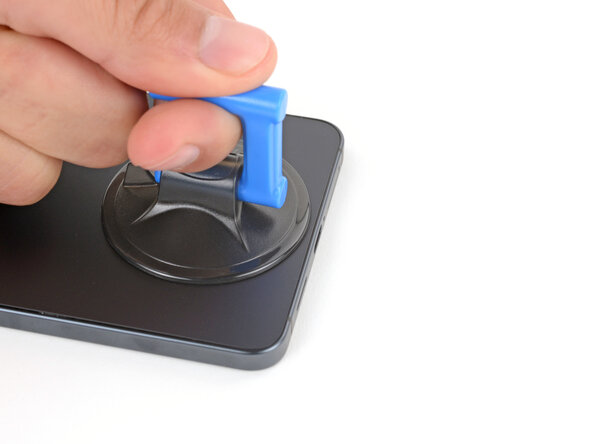
Step 3
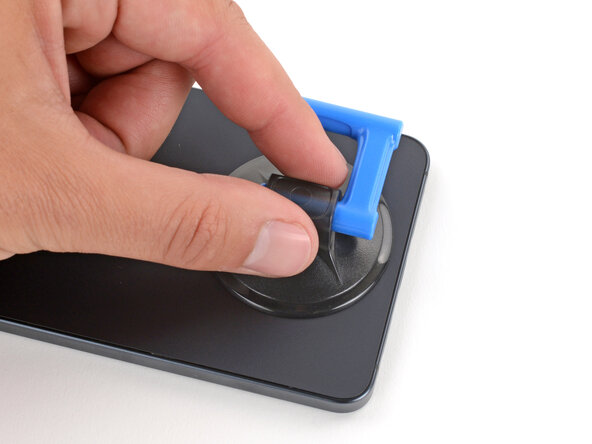
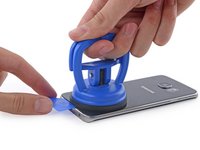
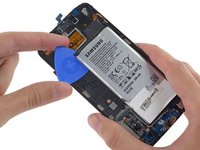
– Grab a suction handle and place it close to the bottom edge of the back cover, right in the center. Keep it as near to the edge as you can for the best grip!
Tools Used

Step 4
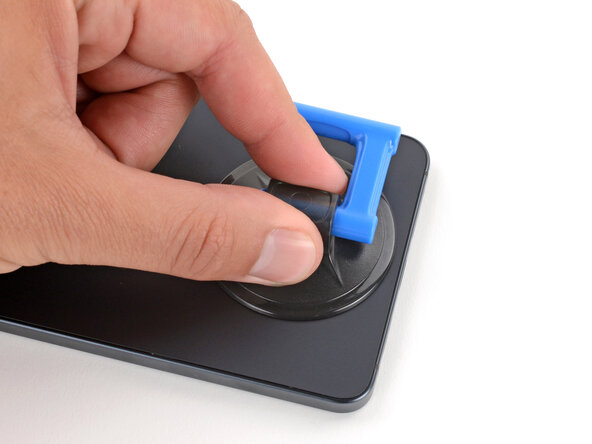
– Grip the suction handle firmly and pull upward with steady force until a gap appears between the cover and the frame. Then, slide an opening pick into that space to help lift it free.
Tools Used
Step 5
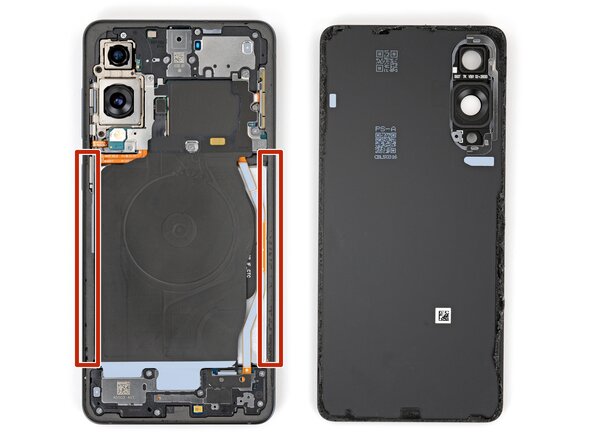
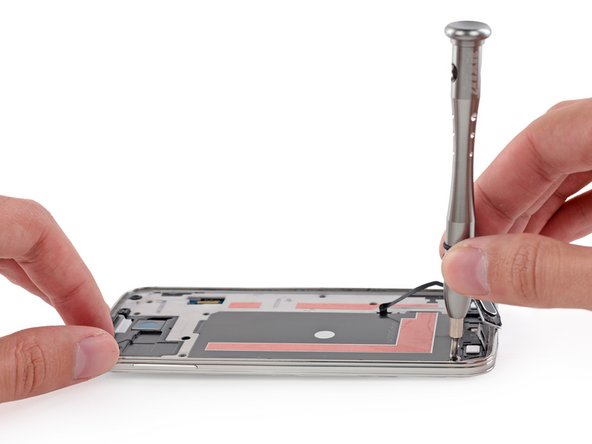
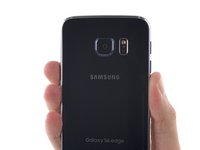
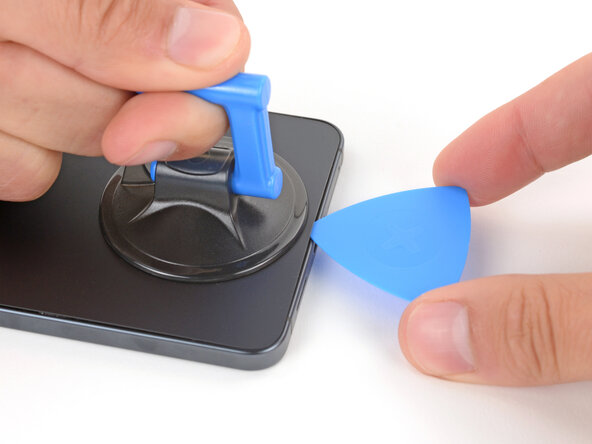
When you’re working along the left and right edges, keep your pick shallow—no deeper than 3 mm—to steer clear of the wireless charging coil and the interconnect cable.
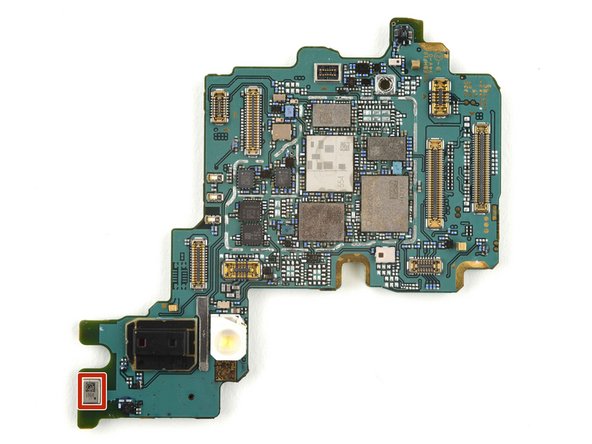
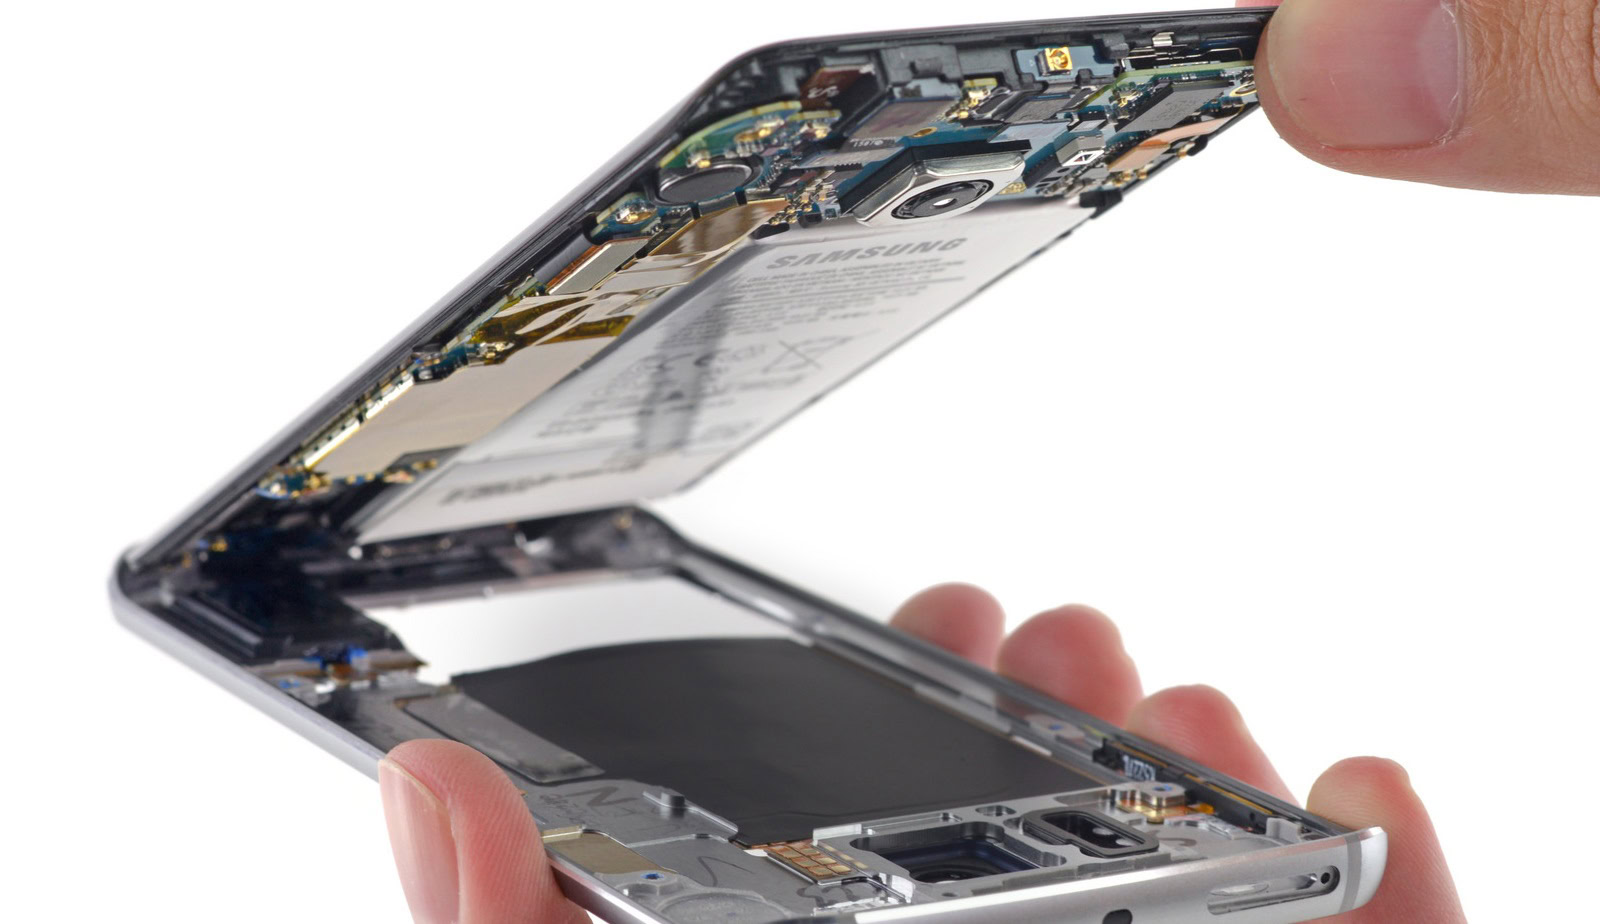
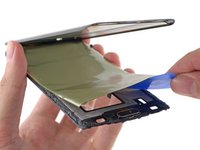
– The back cover is held in place by some sticky adhesive all around the edge of the frame. Check out this picture as a guide while you carefully peel away that adhesive.
Step 6

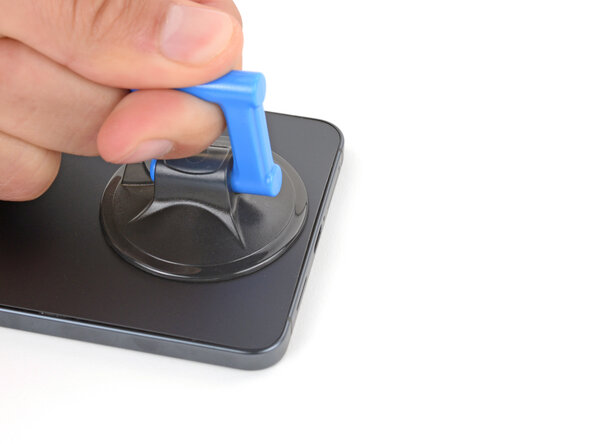
Having trouble peeling away the adhesive? Crank up the heat a bit more and give it another shot. Sometimes a little extra warmth is just what you need to loosen things up.
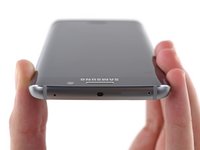
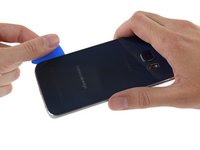
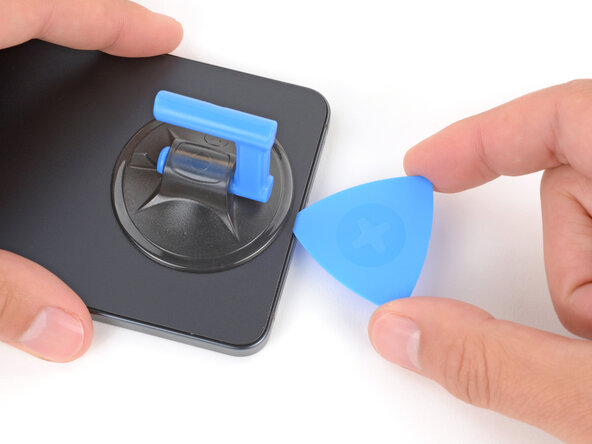
– Let’s get this repair started! Carefully slide your opening pick along the bottom edge to loosen the adhesive that’s holding the back cover in place.
Step 7
Be careful not to slide your pick too far under those long left and right edges—they’re a little delicate. Keep it gentle to avoid any mishaps.
– Keep sliding your pick all the way around the back cover to loosen up every last bit of sticky stuff holding it down.
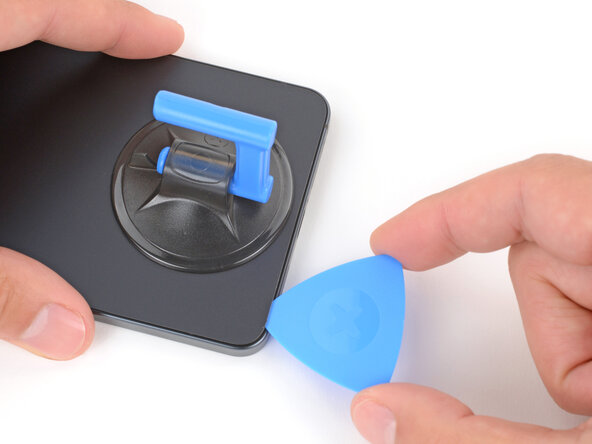
Step 8
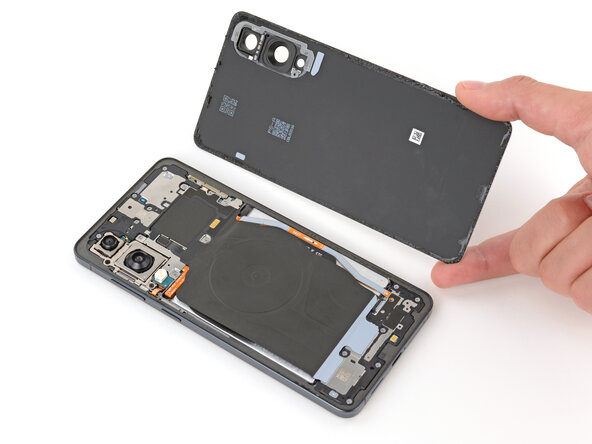
If you’re running into a bit of a snag, take a peek around the edges for any leftover adhesive and grab your trusty opening pick to help you break free.
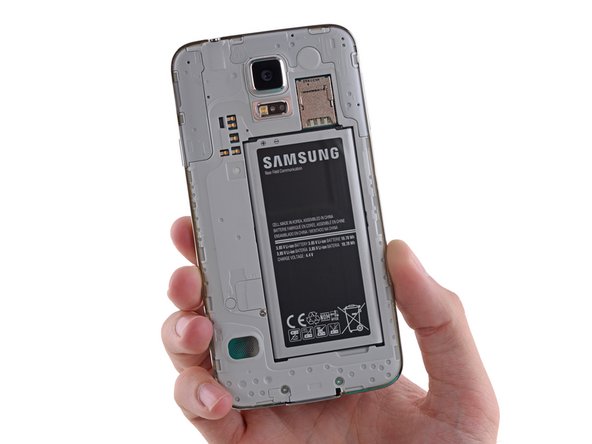
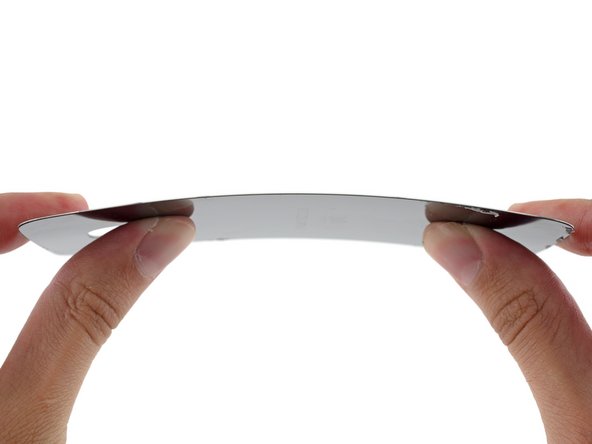
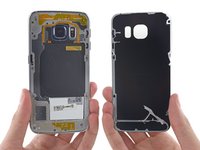
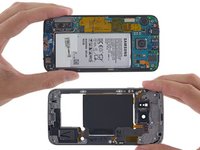
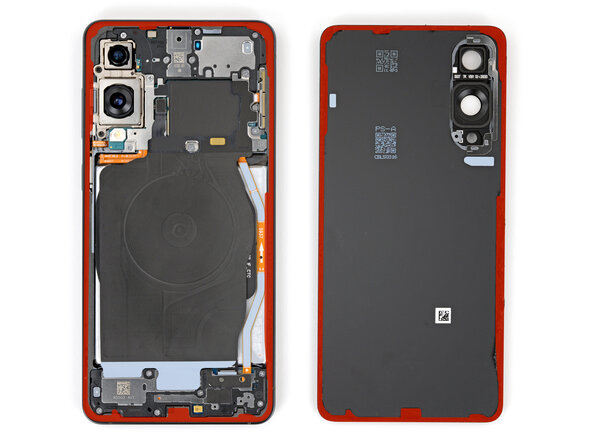
– Pop off the back cover.
– When putting things back together:
– This is a great time to fire up your phone and make sure everything’s working before you seal it shut. Remember to power it down before you keep tinkering.
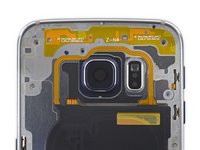
– Check your rear cameras for fingerprints or smudges—give them a gentle wipe with a clean, lint-free cloth if needed.
– Your new back cover adhesive might stick to either the frame or the back cover. Line it up using the cutouts and contours to see where it fits best. If it matches the cover, follow this guide. If it lines up with the frame, use this guide.
Step 9

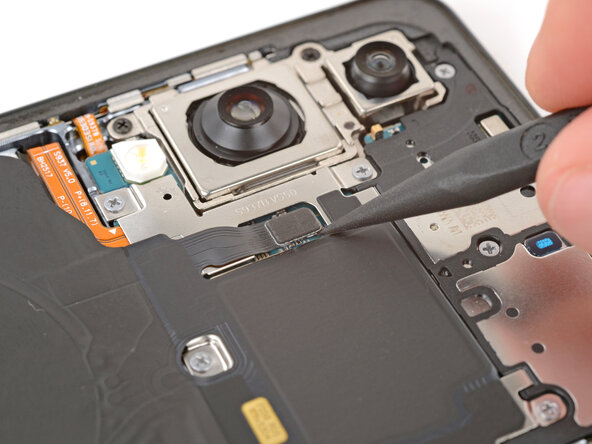
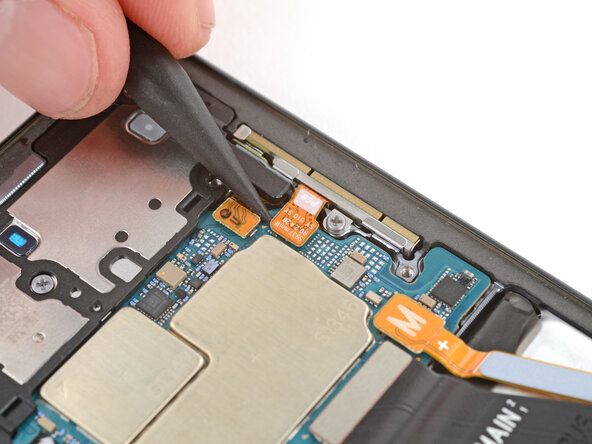
Sneaking the spudger under this connector can be a bit of a puzzle. If it’s giving you attitude, try swapping to the tip of an opening pick for some extra finesse.
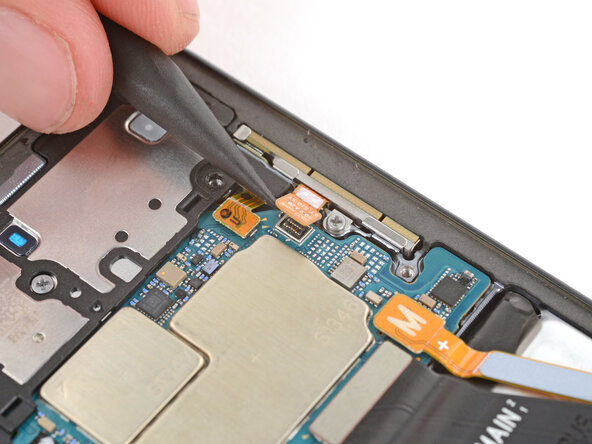
– Take the pointy end of your spudger and gently pop up the wireless charging assembly’s connector from the top edge.
Tools Used

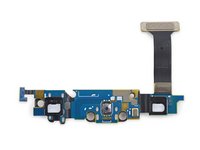
Step 10
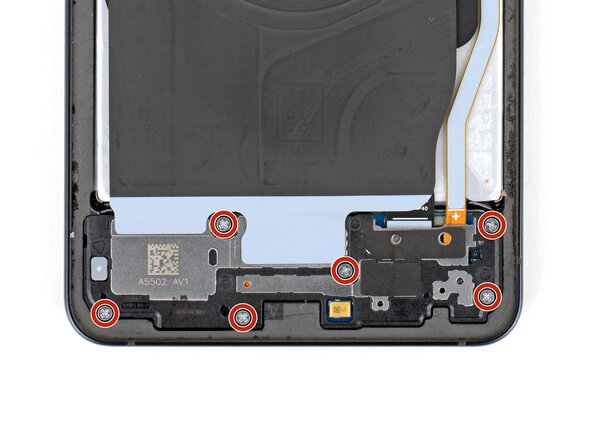
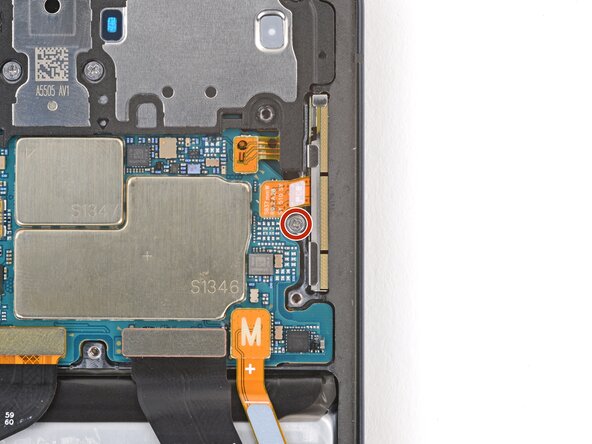
Keep an eye on your screws as you go—each one has its own special spot to return to later.
– Grab your Phillips screwdriver and take out the eleven 2.8 mm screws that hold the wireless charging and loudspeaker assembly in place.
Step 11
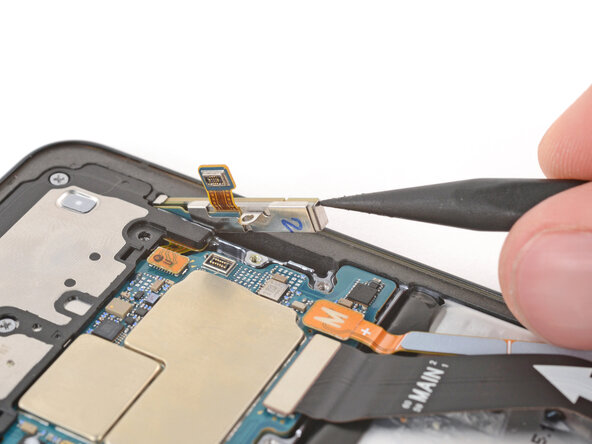
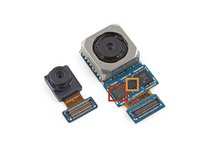
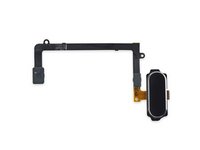
The wireless charging coil is snugly attached to the loudspeaker with some delicate tape. To keep things smooth and avoid any mishaps, it’s best to take out the coil and loudspeaker as a single unit. Teamwork makes the dream work!
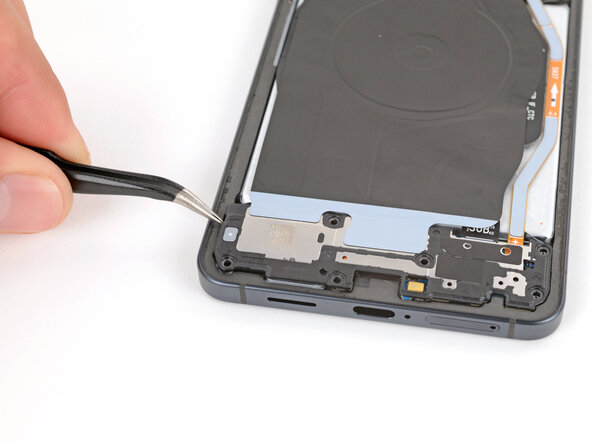
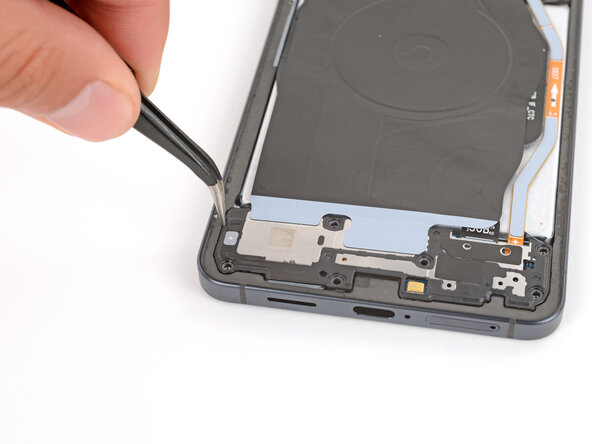
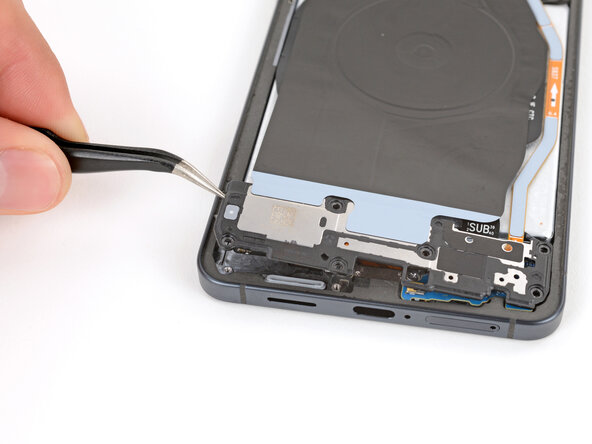
– Grab some angled tweezers and gently lift the loudspeaker by the notch on its left edge—think of it as giving it a little lift with style. When putting everything back together, press down around the edges of the loudspeaker to make sure those clips snap in nicely. If you need a hand along the way, you can always schedule a repair.
Tools Used

Step 12
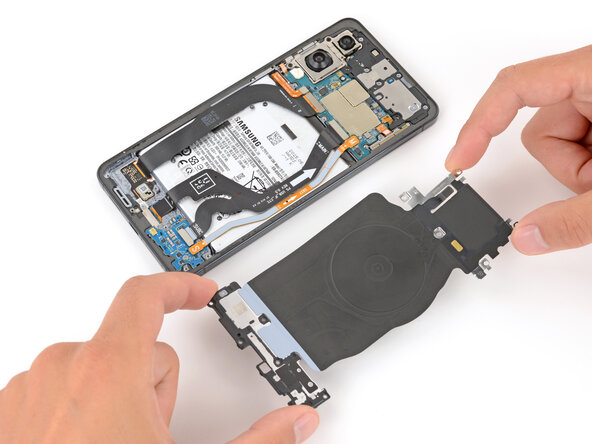
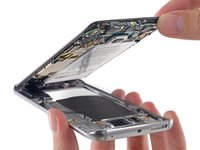
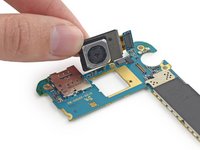
– Grab with both hands and gently lift out the wireless charging and loudspeaker assembly. Easy does it—you’re almost there! If you need a hand, you can always schedule a repair.
Step 13
Each press connector has a shiny gold arrow pointing out exactly where to pry—pretty handy! Stick to the marked spots so you don’t accidentally nudge any delicate components nearby.
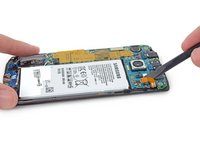
– Gently use the spudger’s point to lift up and disconnect that battery press connector. You’ve got this!
Tools Used
Step 14
– Let’s get started! Use the point of a spudger to carefully pry up and disconnect the USB-C port cable’s press connector (marked MAIN) from the logic board. Take your time and make sure it’s fully disconnected before moving on to the next step.
Tools Used
Step 15
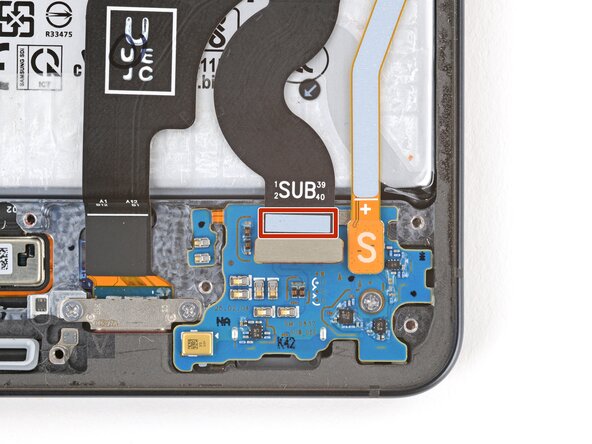
– Grab your trusty spudger and gently nudge it under the press connector (it’s labeled as SUB) to pop it off the sub board. Easy peasy!
Tools Used
Step 16
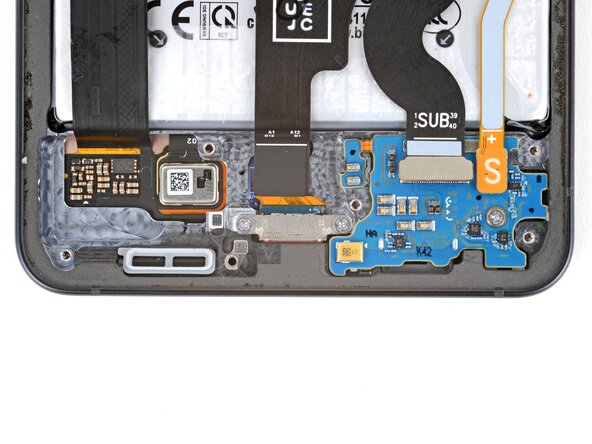
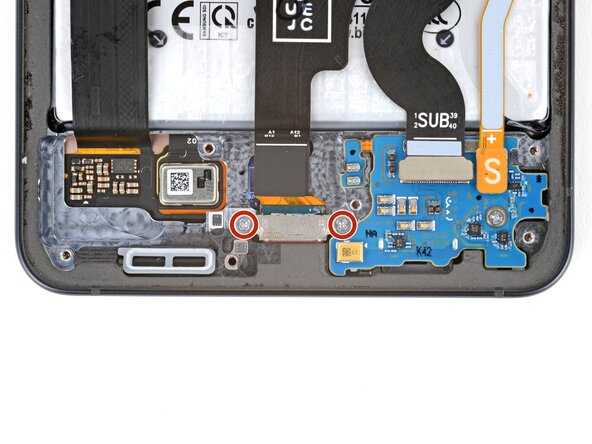
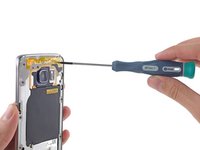
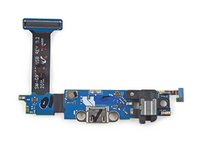
– Time to get your hands dirty! Use a Phillips screwdriver to carefully remove the two tiny 2.3mm-long screws that are holding the USB-C port in place.
Step 17
Or, grab a hair dryer or heat gun and give the cable a gentle blast of warmth.
– The USB-C port cable is stuck to the sub board with some mild adhesive, located near the white section below the SUB text – don’t worry, it’s easy to remove!
– To loosen the adhesive, apply a heated iOpener to the USB-C port cable for about two minutes. This will help soften it up and make it easier to work with.
Tools Used
Step 18
Handle the USB‑C port cable with care—no creasing or tearing! Keep it smooth and you’ll breeze through this step.
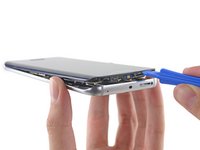
– Gently coax the USB‑C port cable away from the sub board using just your fingers. Take your time and be careful!
Step 19
– Grab your trusty spudger and gently slide the tip into one of the screw holes in the USB‑C port. Give it a little nudge to push the port away from the bottom edge of your phone.
– Keep alternating between the screw holes as needed until the port smoothly pops out of its cozy little spot.
Tools Used
Step 20
– Hold onto that USB‑C port cable and give it a gentle tug to detach it. You’re doing great!
Step 21
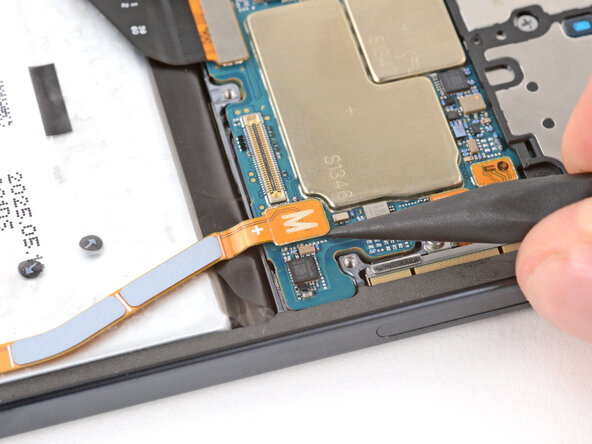
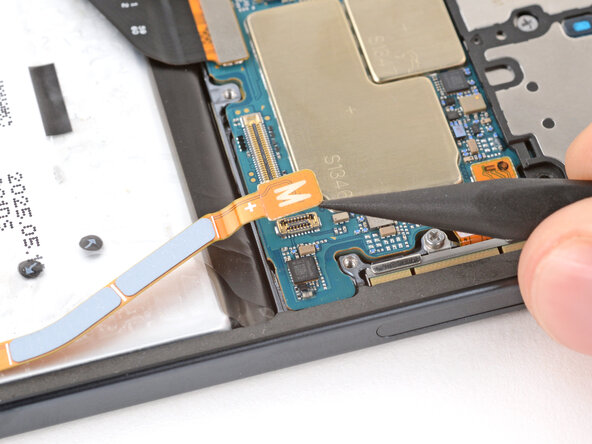
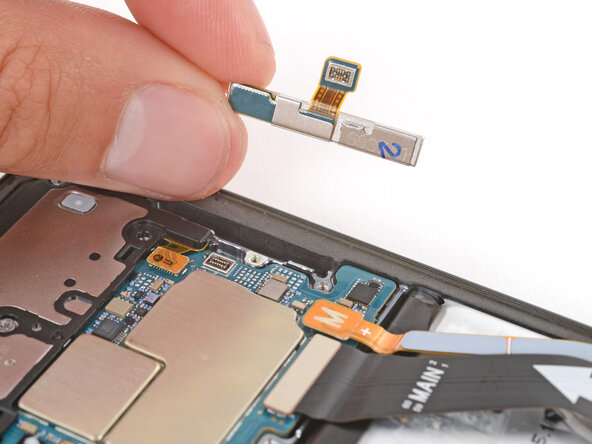
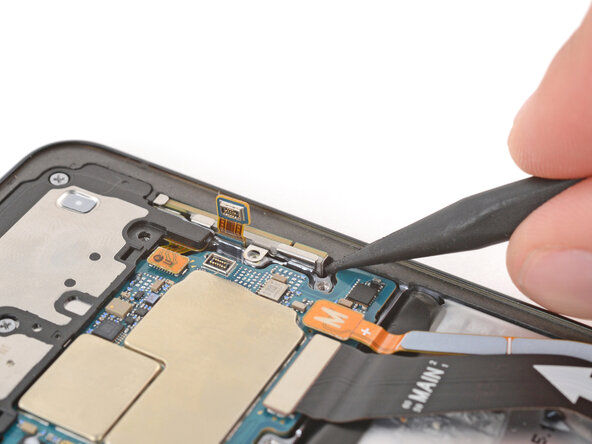
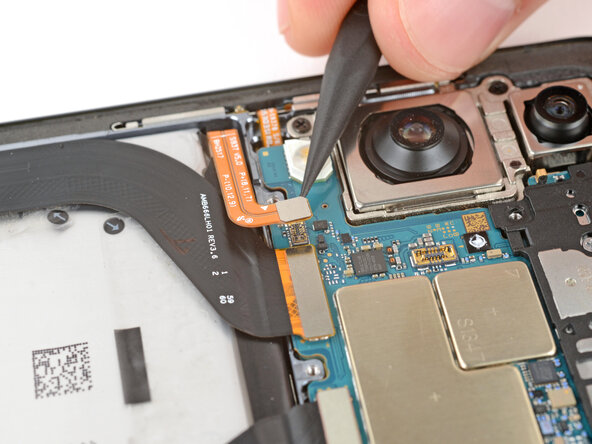
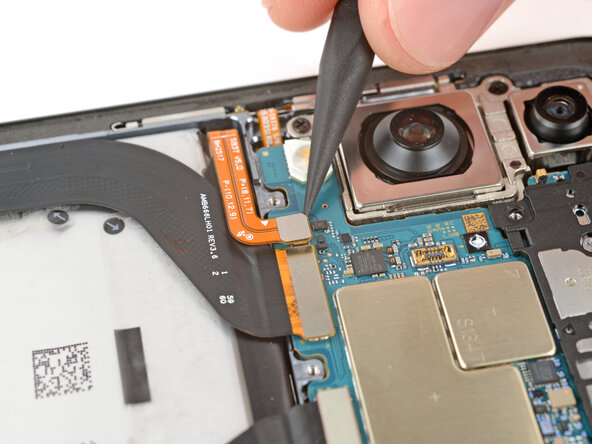
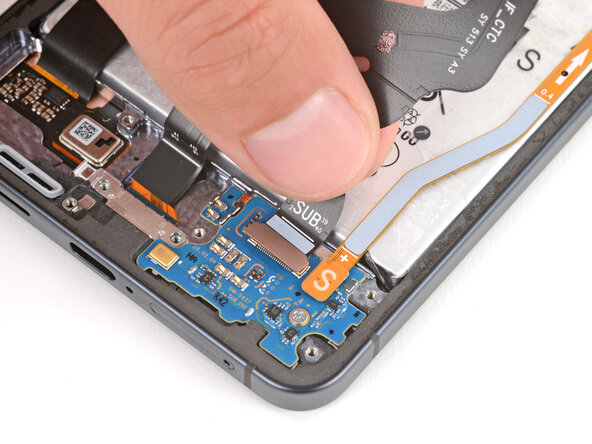
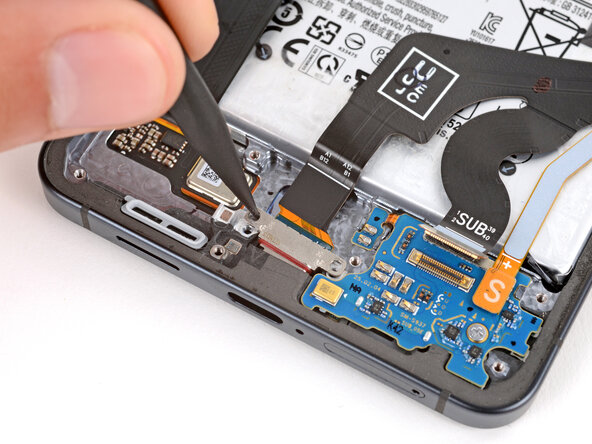
– Grab your trusty spudger and gently pop up the interconnect cable’s press connector (the one labeled M) from the logic board. Easy does it—no need to rush!
Tools Used
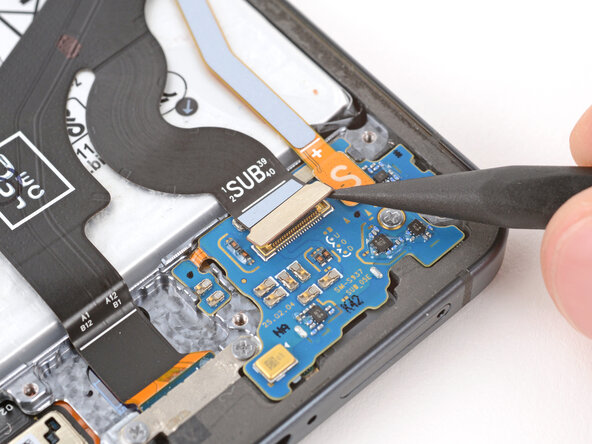
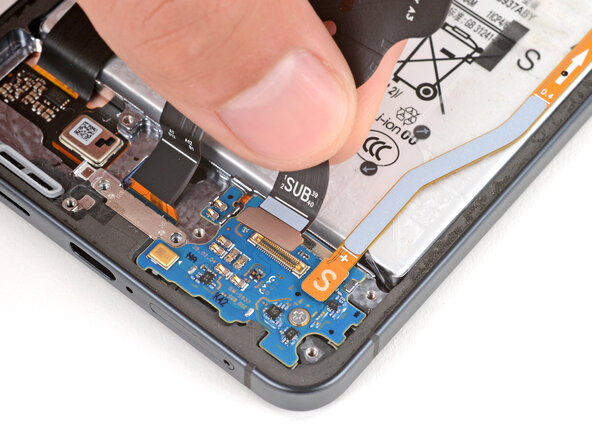
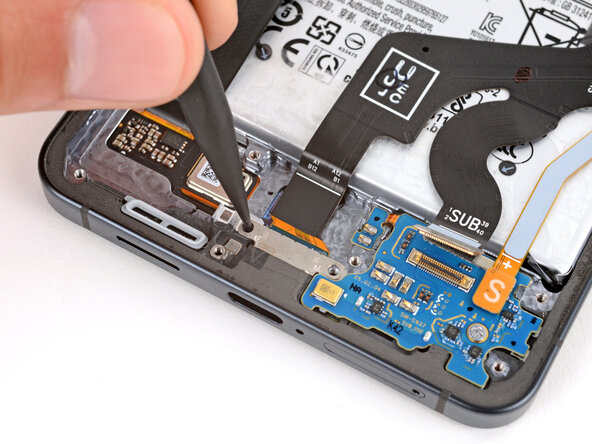
Step 22
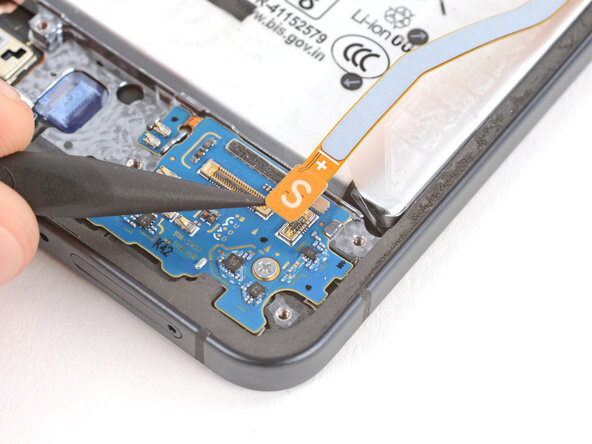
– Grab your spudger and gently pry up the point of contact to disconnect the interconnect cable press connector (marked S) from the sub board. Take your time—patience is key! If you need a hand, you can always schedule a repair.
Tools Used
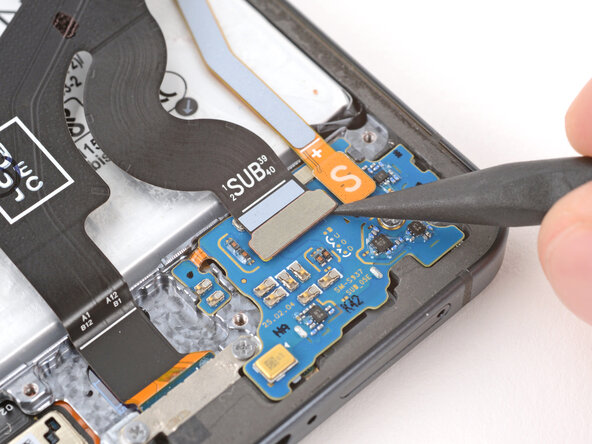
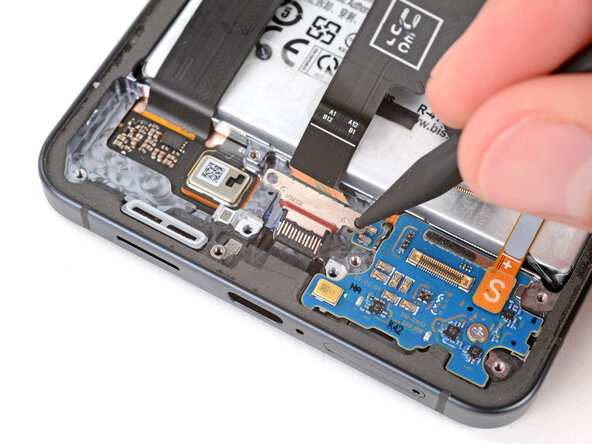
Step 23
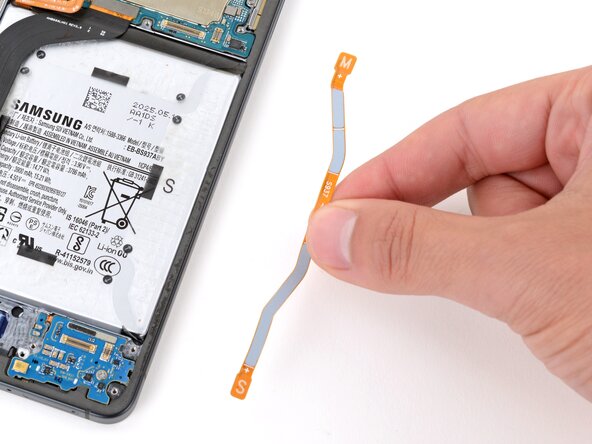
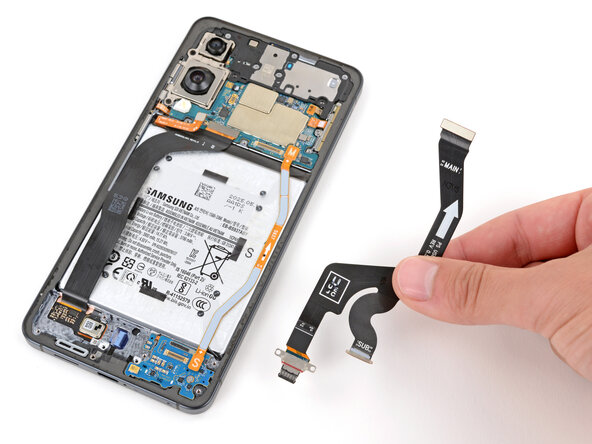
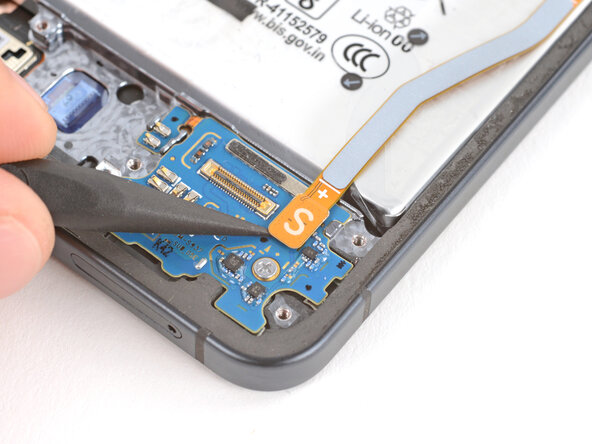
– Gently disconnect the interconnect cable to start freeing up those parts. Keep it smooth and steady—no yanking! If you need a hand, remember you can always schedule a repair.
Step 24
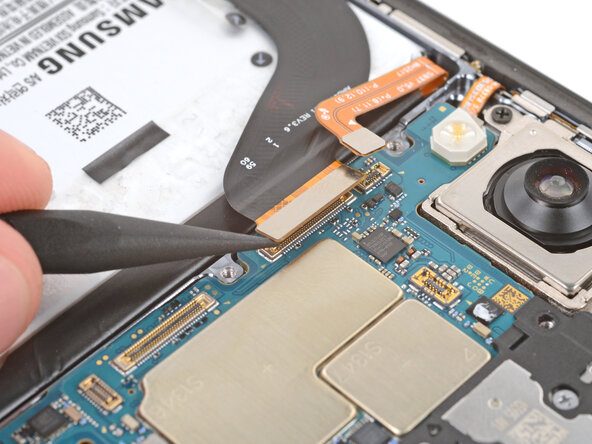
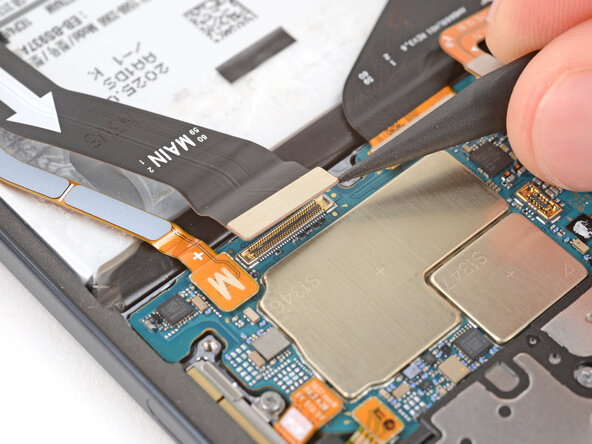
– Gently use the tip of a spudger to lift and disconnect the screen cable press connector. Remember, you’ve got this! If you need help, you can always schedule a repair.
Tools Used
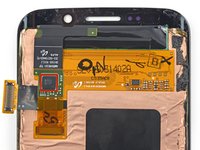
Step 25
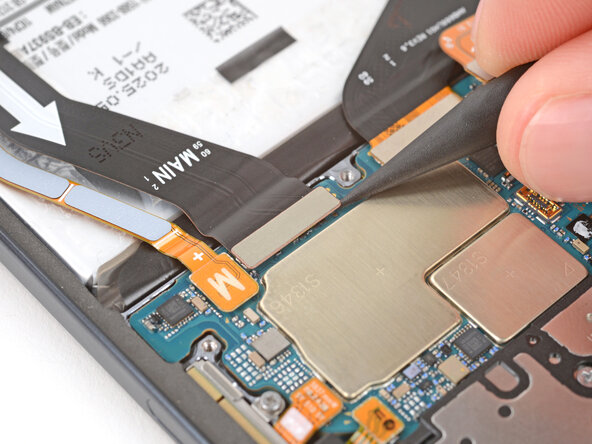
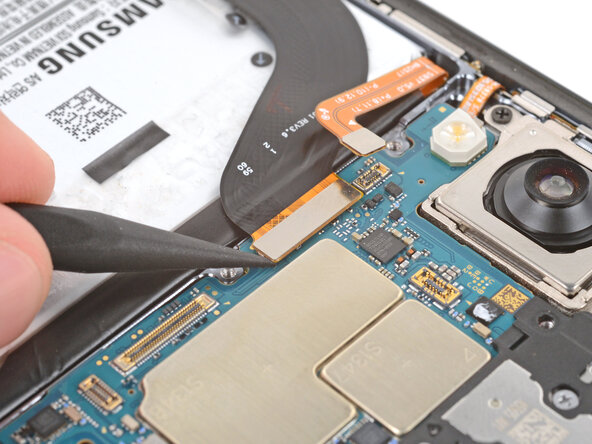
Handle the screen cable with care—no creasing or tearing, please!
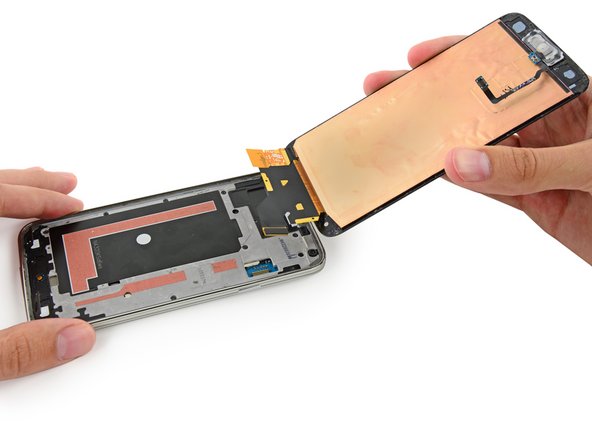
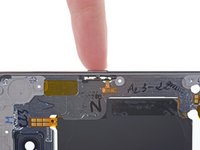
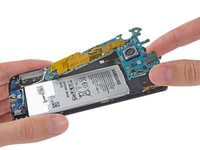
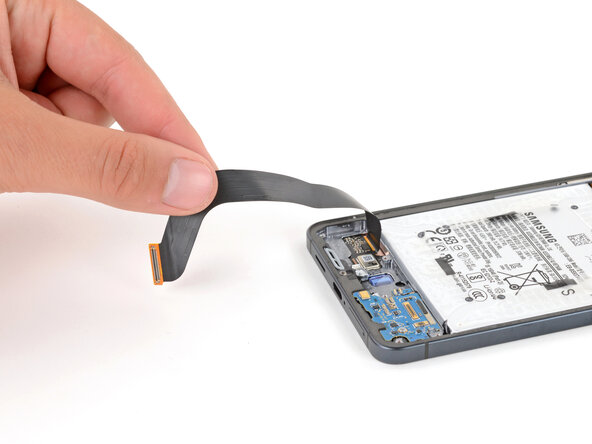
– Carefully shift the screen cable aside so it doesn’t get in the way of the battery. Remember, a little wiggle goes a long way!
Step 26
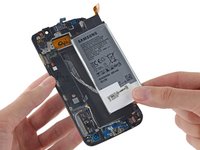
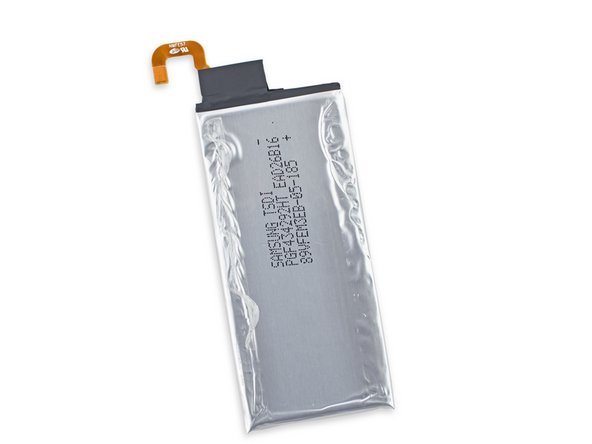
Handle the battery gently—no poking or squeezing! Damaged batteries can leak nasty stuff or even catch fire. Skip the sharp or metal tools for this step.
If you’re finding it a bit tricky, grab the tip of an opening pick and gently lift the tab until you can easily grab it with your fingers.
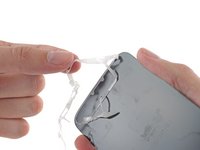
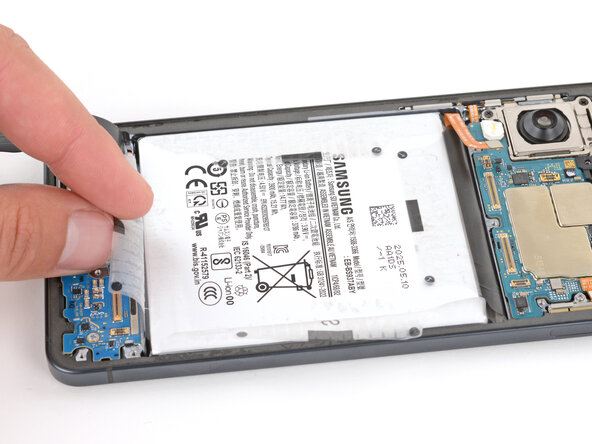
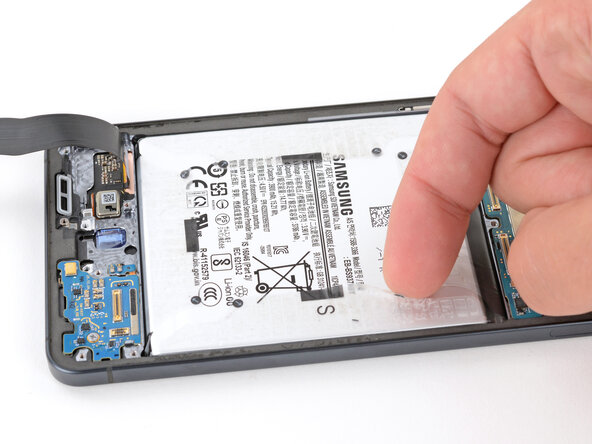
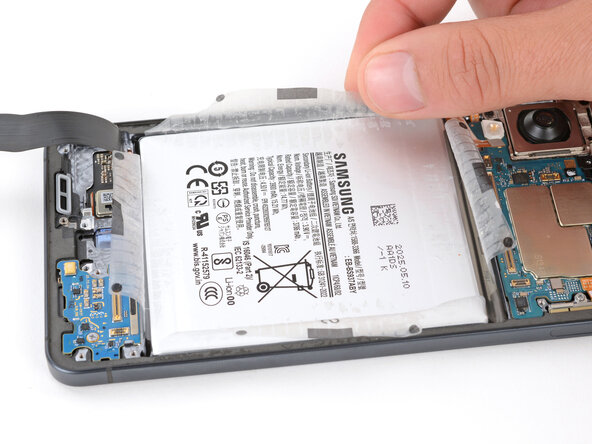
– Go ahead and use your fingers to gently peel off the four plastic tabs around the battery. Start at those sleek black circular arrow markings—they’re your starting line!
Step 27
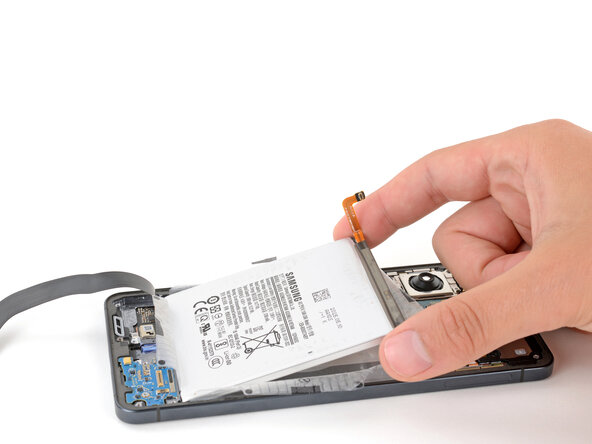
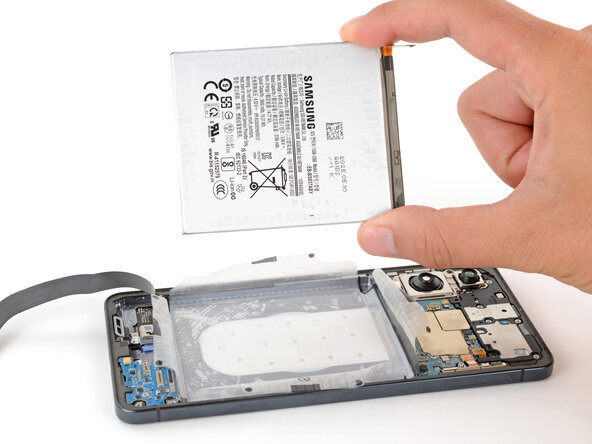
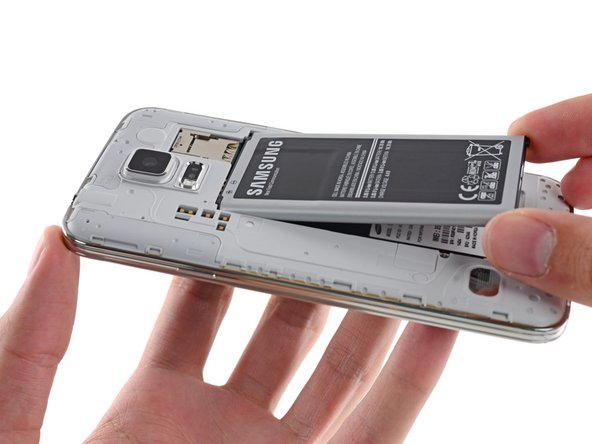
If the battery seems a bit stubborn, don’t stress! Just make sure all those plastic tabs are completely out of the way. Once they’re free, the battery should pop right out without any fuss.
– Take a moment to compare your shiny new replacement part with the original—don’t forget to transfer any leftover components or peel off those pesky adhesive backings before diving into the installation!
– Now, let’s put your device back together! Just follow these steps in reverse order, and you’ll be golden.
– For the best performance, give your newly installed battery a little calibration love after you’ve reassembled your phone.
– Got some e-waste? Don’t just toss it! Take it to an R2 or e-Stewards certified recycler and do your part for the planet.
– If things didn’t go quite as planned, don’t sweat it! Try some basic troubleshooting, or swing by our Answers Community for a helping hand.
–
Success!