How to Replace a Jeans Button: A Step-by-Step Guide
Are you tired of dealing with a pesky broken button on your favorite pair of jeans? Look no further Replacing a jeans button is a simple and easy DIY task that can be completed with just a few basic tools. In this tutorial, we’ll walk you through the process of replacing a jeans button, and have you back to rocking your favorite pair in no time.
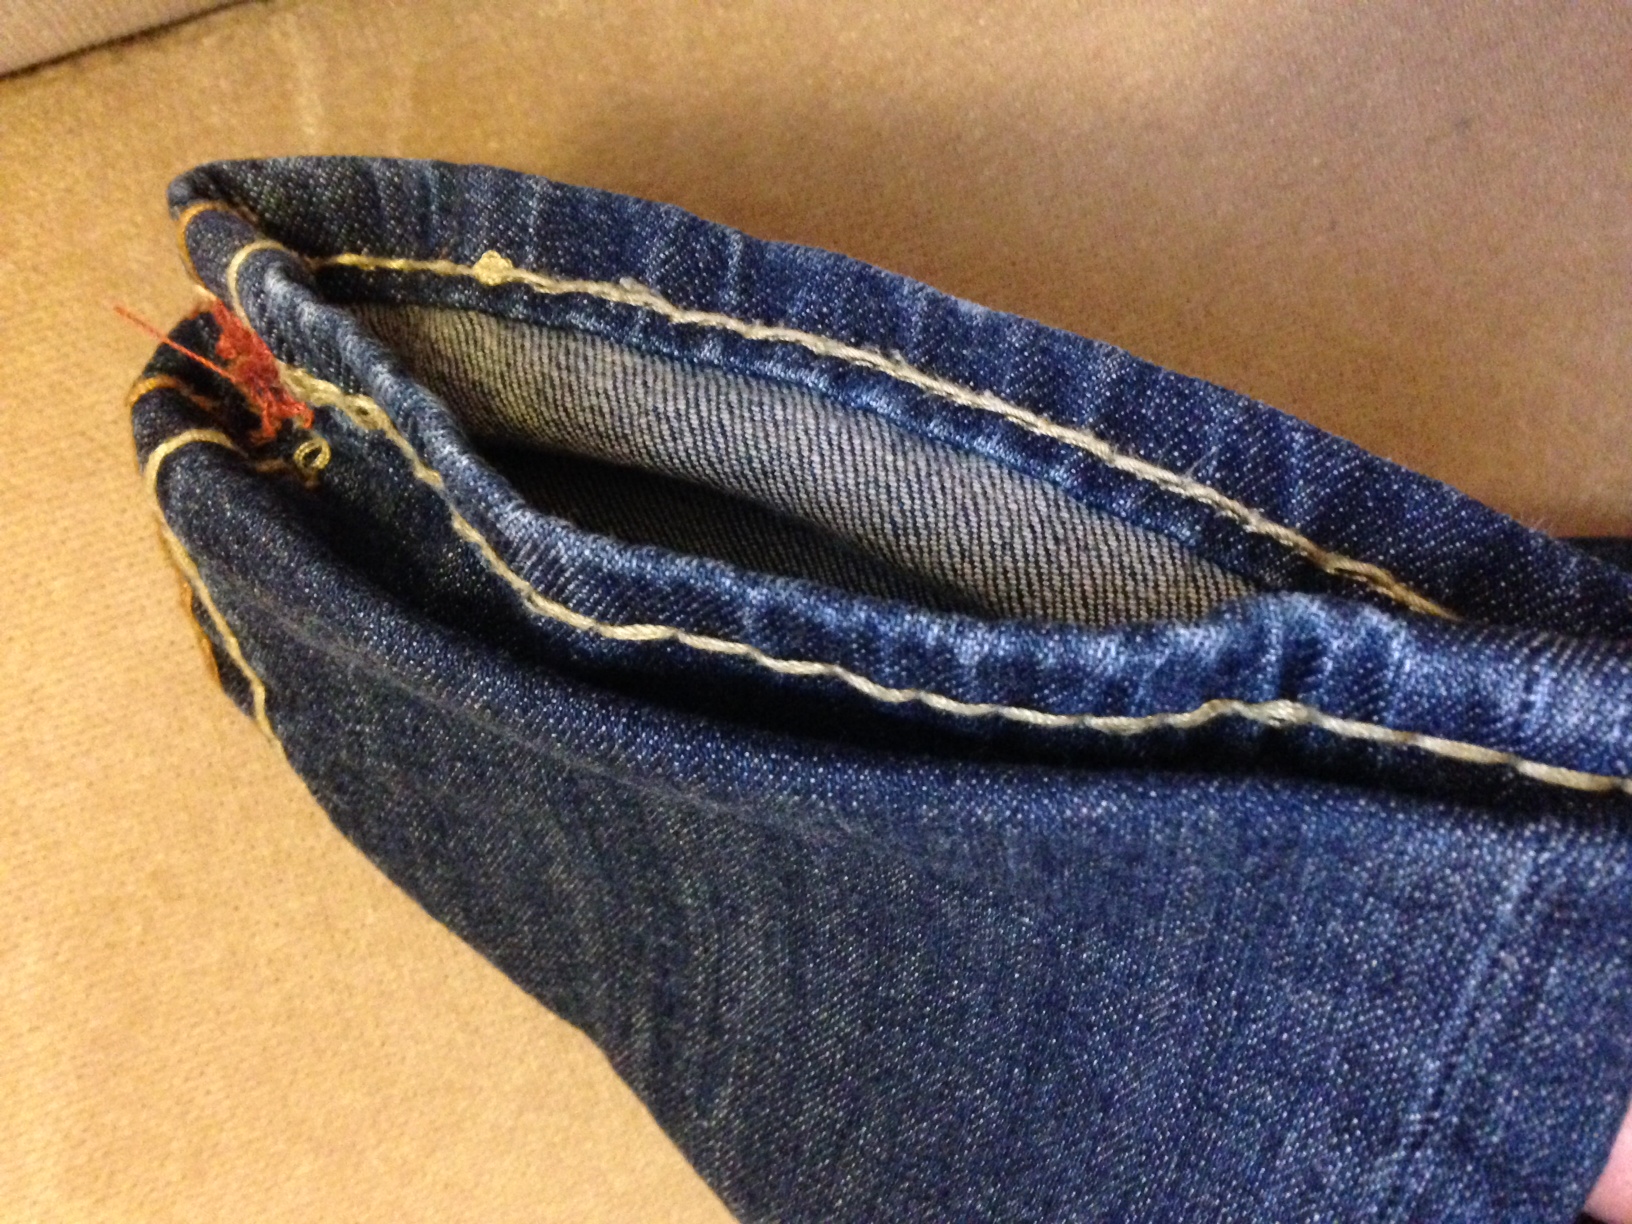
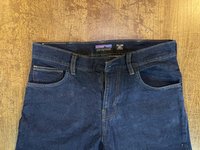
Step 1: Prepare Your Jeans
Lay your jeans front-side up on a sturdy table or workbench. Unzip the fly and open the jeans at the waistband to reveal the hole where the button is missing. Hold the waistband at the hole and turn it over, so you can see the back of the hole.

Step 2: Remove the Old Button
Be sure to fully remove the old button before installing a new one. If the old button is still attached, use a pair of pliers to carefully remove it.

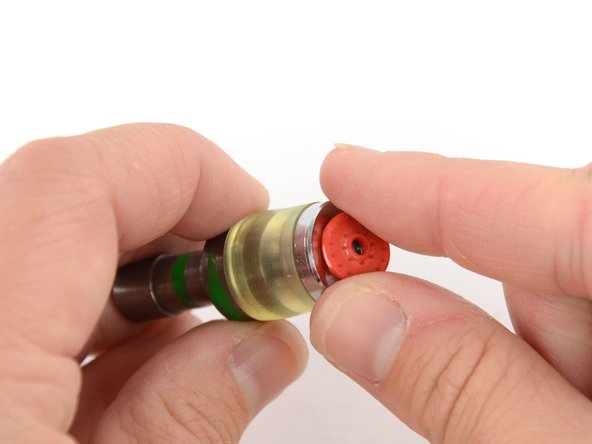
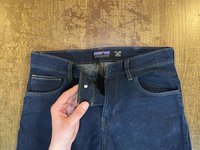
Step 3: Insert the Tack
Insert the tack into the back of the hole. Push the tack through the hole. If the hole is too large, you can make a new, smaller hole for the tack in an undamaged section of the denim as close to the existing hole as possible. Then push the tack through the new hole.
Step 4: Attach the New Button
Holding the tack in place from behind, place the button on top of the tack. Place a flat work surface like a soft piece of wood or leather directly beneath the button. Be sure to use a small (one pound) hammer or mallet to prevent breaking the tack and button. Hammer the tack into the button, with a straight downward pound.

Step 5: Test the Button
Test out your new button by buttoning the jeans to ensure the new button is set and secure.

And that’s it With these simple steps, you should be able to replace your jeans button with ease. If you’re not comfortable with this DIY task, or if you’re unsure about any part of the process, don’t hesitate to reach out to the experts at Salvation Repair. We offer a limited lifetime guarantee on all parts and labor, and our team of skilled technicians would be happy to help you with your repair. Schedule a repair today!