Duration: 45 minutes
Steps: 9 Steps
Meet the Apple Watch Series 6—your new wrist-sidekick that’s ready to check your stats and keep tabs on your breathing. We’re excited to dig into the new sensors (and wave goodbye to fiddly Force Touch) packed into this sleek update. Ready for a workout in tight quarters? Let’s get started. Want more gadget goodness? Follow us on Twitter, Instagram, or Facebook. Prefer updates straight to your inbox? Our newsletter’s got you covered!
Step 1


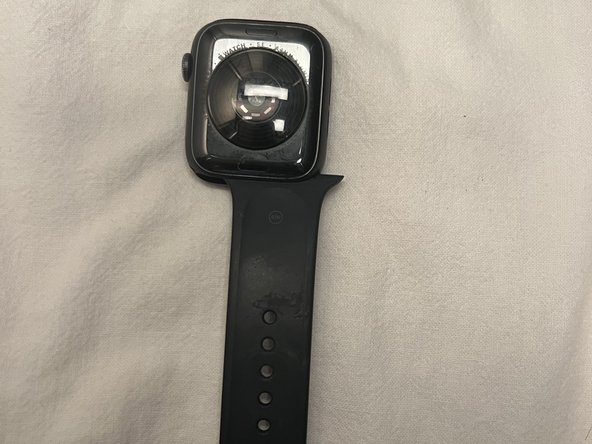
Today, we’re diving into the guts of a 44 mm GPS + LTE model that we snagged from a retail store in Germany. But wait, there’s more! We’ve got a 40 mm model hanging out in the wings, ready to jump in for some fun comparisons if they come up. Let’s get started!
– Let’s play spot-the-difference: Series 6 (right) next to the Series 5 (left). Not much to see on the outside, but that’s why we’re cracking it open.
– Features include an LTPO OLED Retina display, built for always-on vibes (Force Touch is out, though).
– Runs on a speedy 64-bit dual-core Apple S6 SiP—fancy name, faster moves.
– Sensor squad is upgraded: tracks your heart rate, ECG, and now blood oxygen, because why not?
– Comes with a built-in compass and a real-time altimeter—so you’ll always know when you’re lost or just climbing stairs.
– Splash away worries with water resistance up to 50 meters. Cannonball, anyone?
Step 2


Saying goodbye to a part that’s always on the edge is a relief, but it’s tough to part ways with Apple’s cool pressure-sensitive display tech. Bittersweet for sure, but overall, we’re chalking this up as a win.
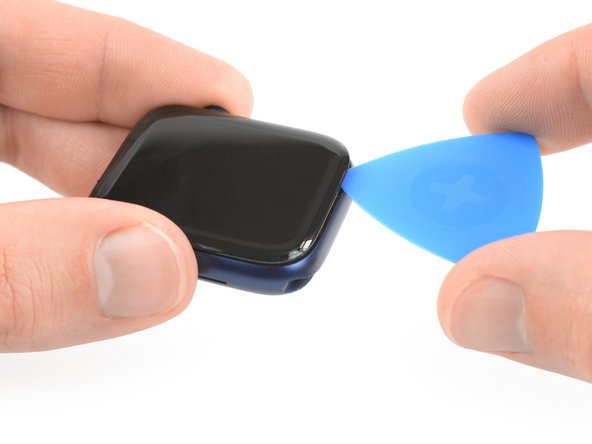
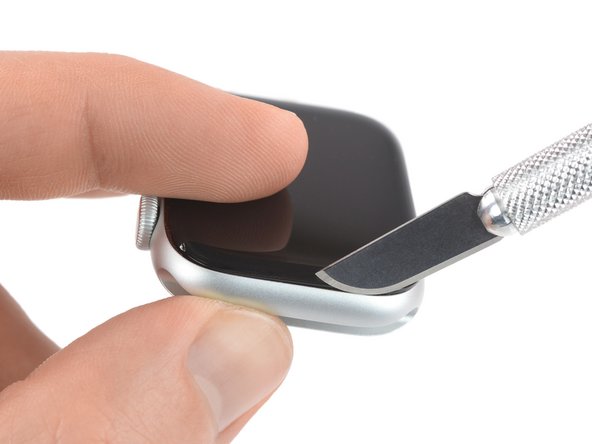
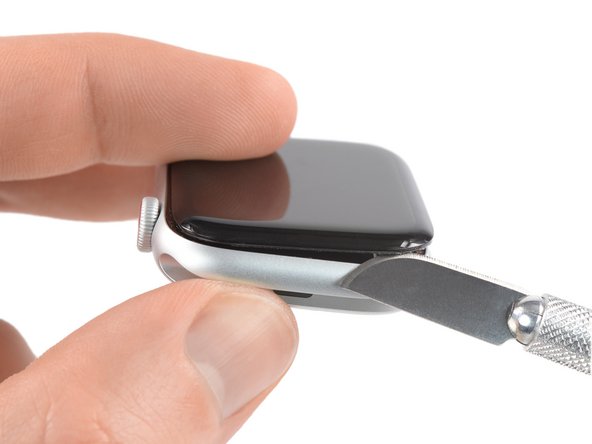
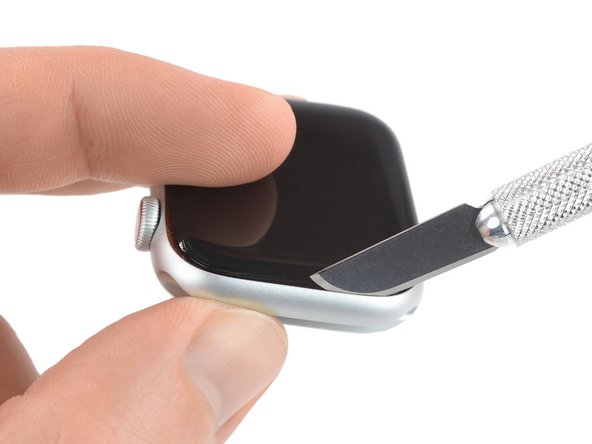
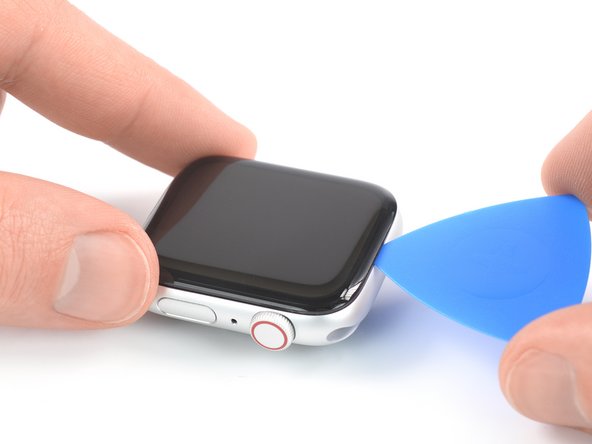
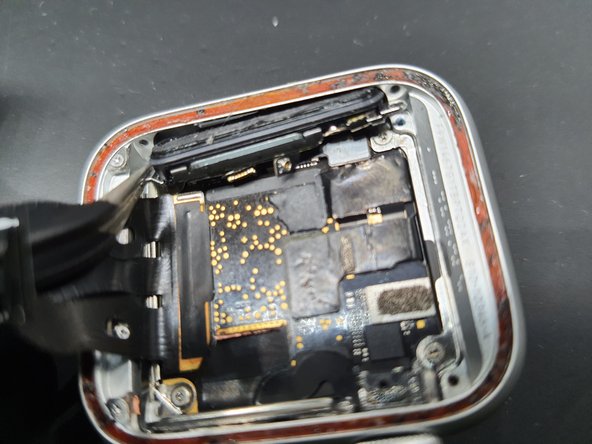
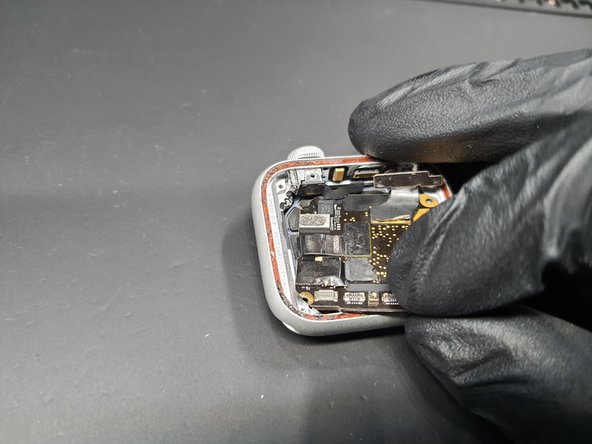
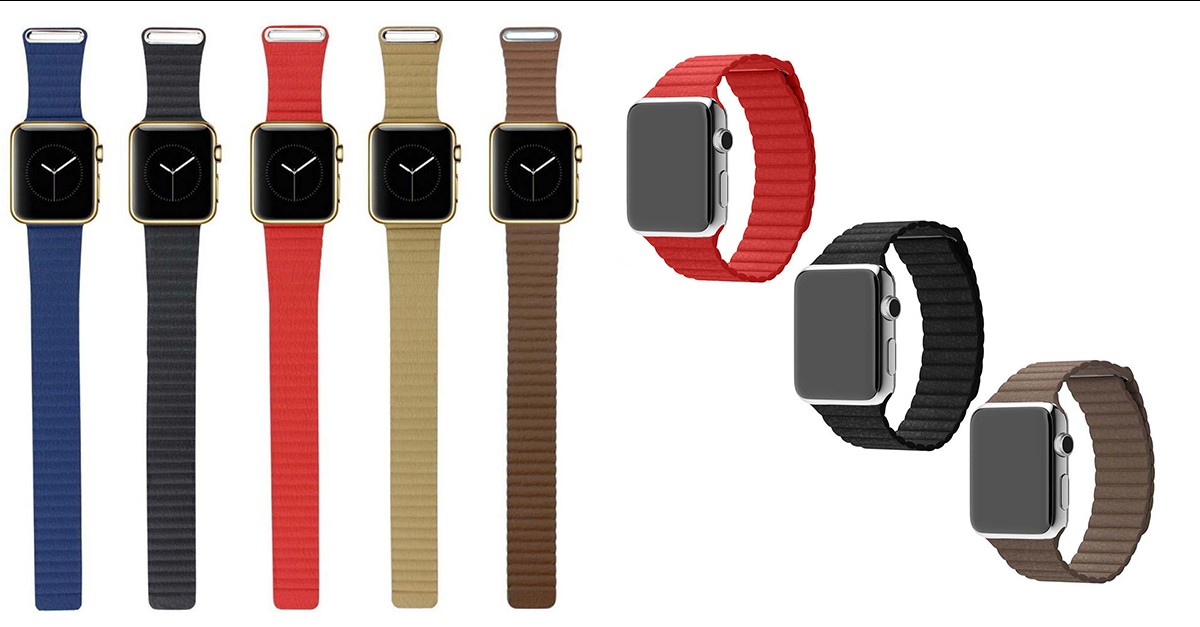
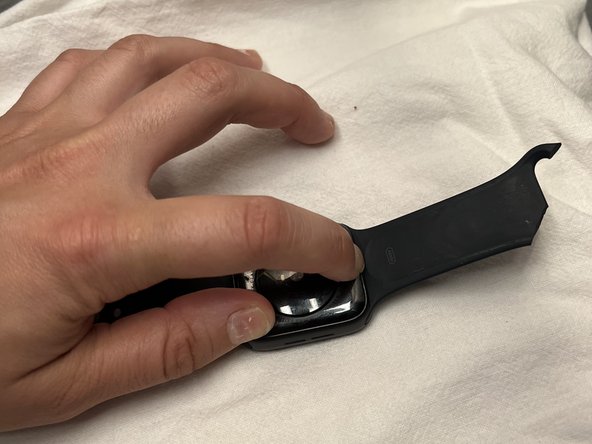
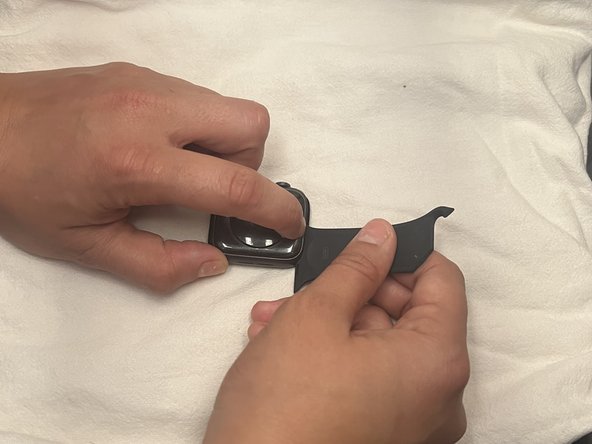
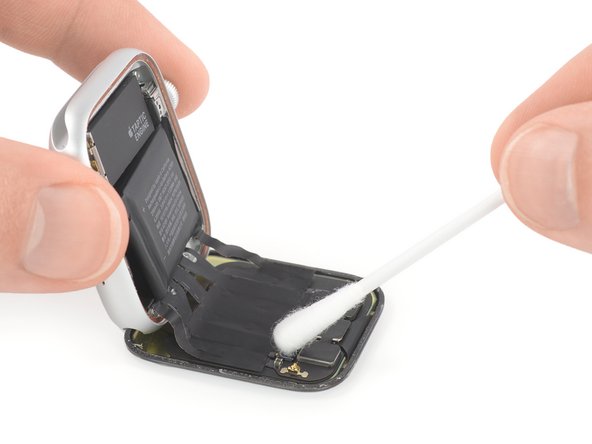
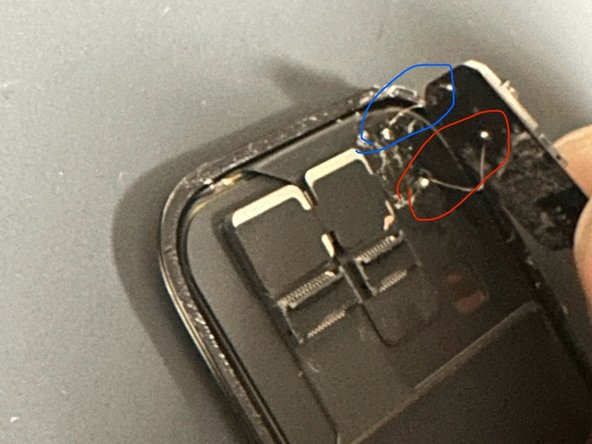
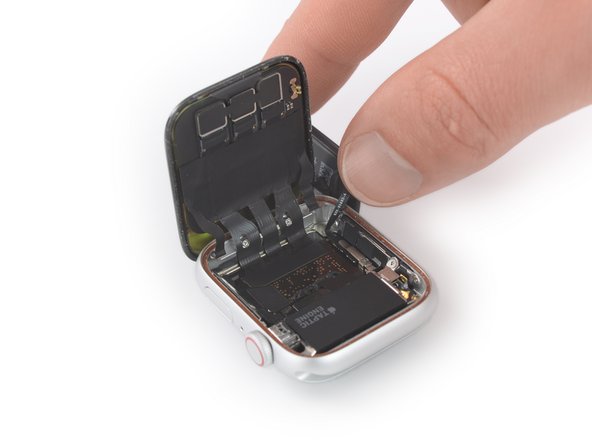
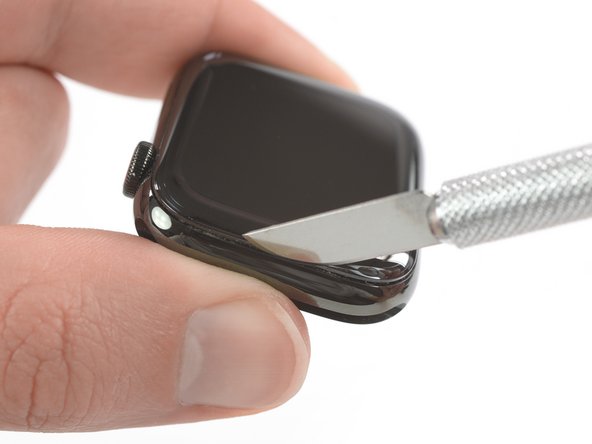
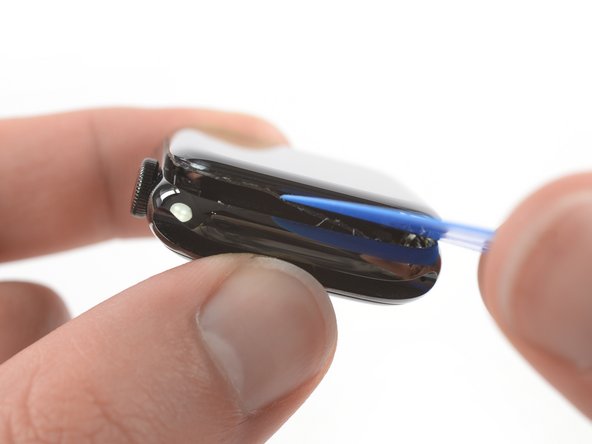
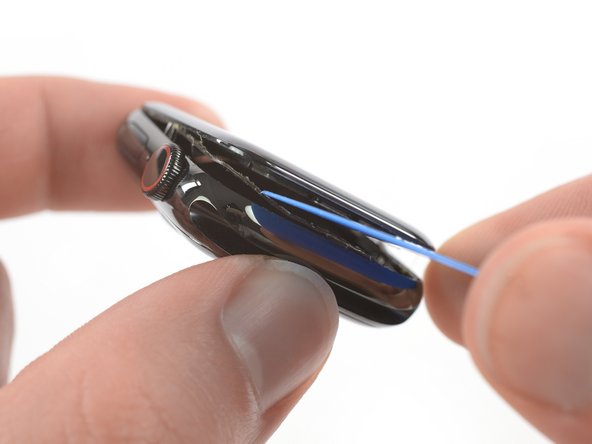
– Check out that snug new watchband—underneath it, make sure you’re holding a legit Apple Watch, model A2376, and not just a clever blue lookalike. The Series 6 has a fun twist: it opens from the side like a book, just like some newer iPhones do. Plus, since it no longer sports a Force Touch gasket (bye-bye, watchOS 7!), the process is a tad simpler. As for the other band slot, it’s empty—so we let our imagination run wild with a little tech fantasy, tossing in a mock combination lock—though, realistically, opening it is just the classic move we do every year. If you need a hand, you can always schedule a repair.
Step 3


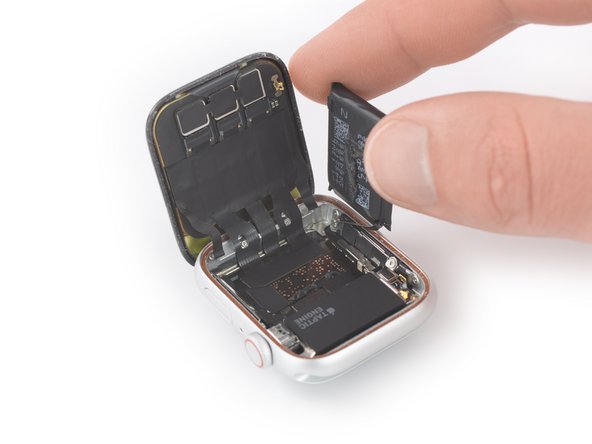
Here’s the scoop: the 44 mm battery gets a modest 3.5% boost, while the 40 mm jumps ahead with a solid 8.5% upgrade compared to the Series 5. That’s some extra juice to keep things running smoother!
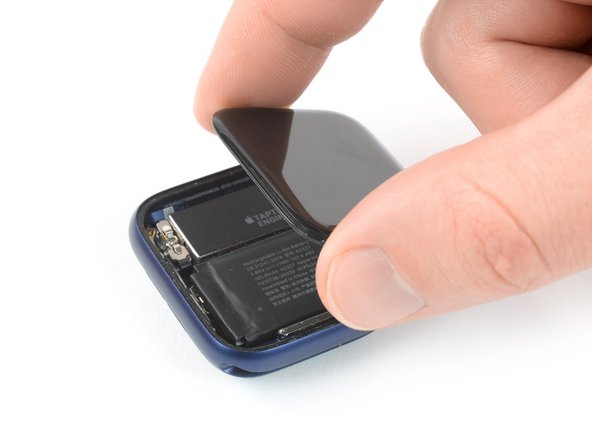
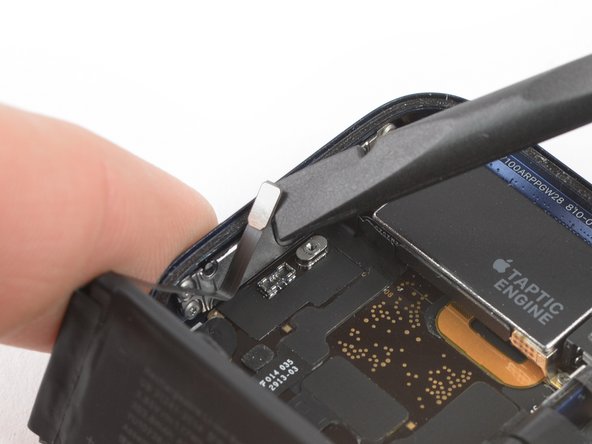
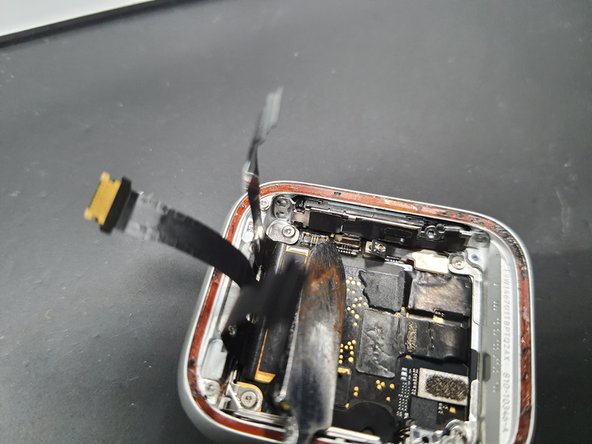
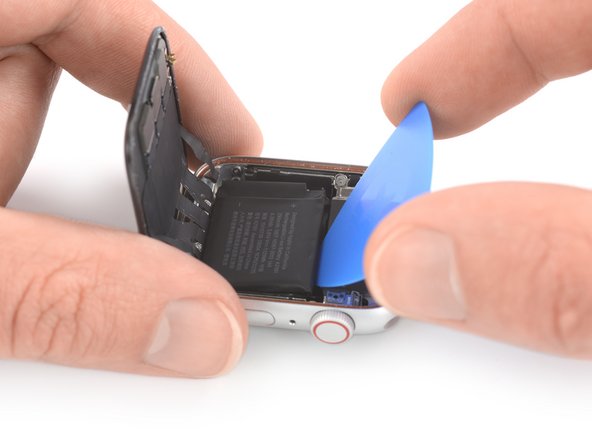
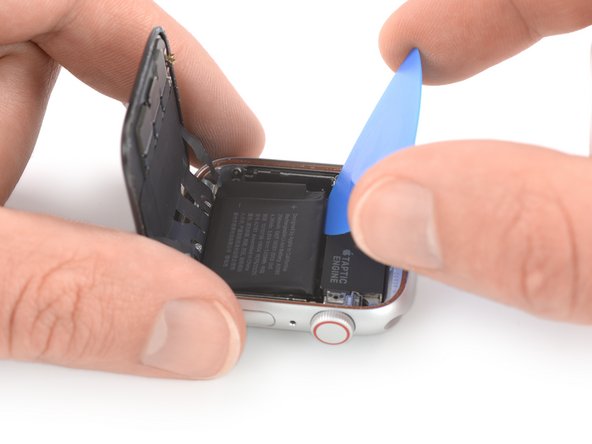
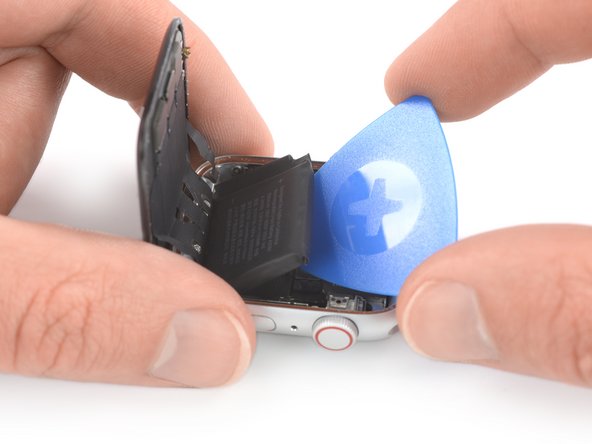
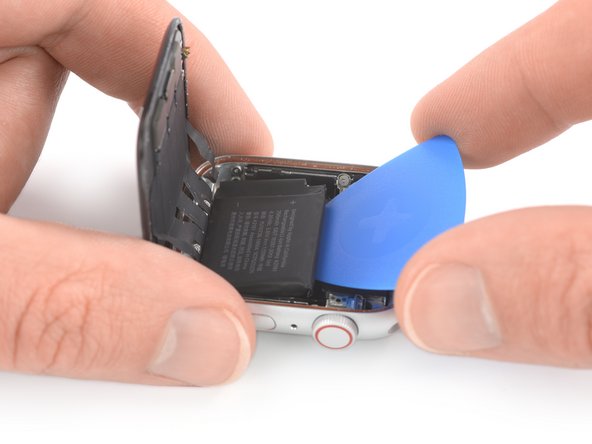
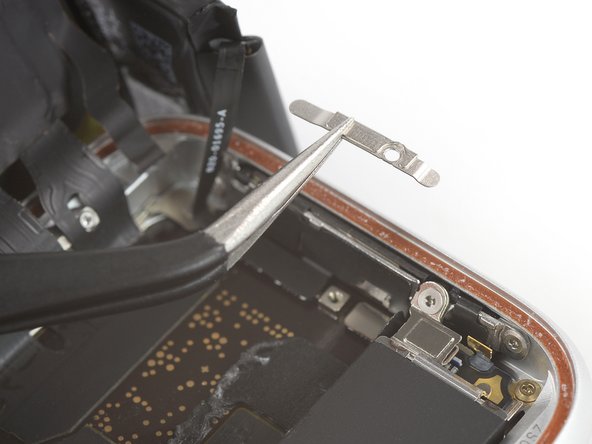
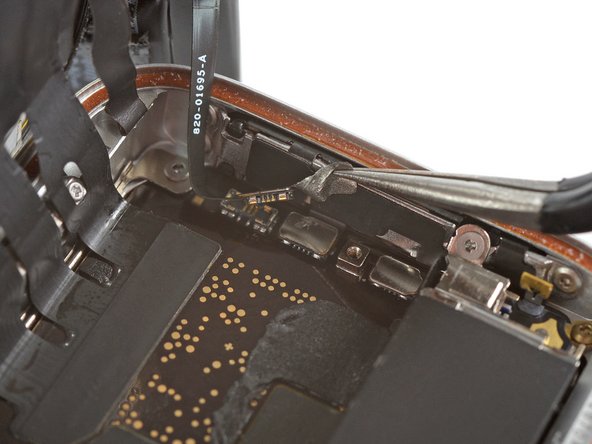
– Safety is our jam! Start by disconnecting that battery. The connector is tucked under the battery, but just flip it out with an opening pick—easy does it.
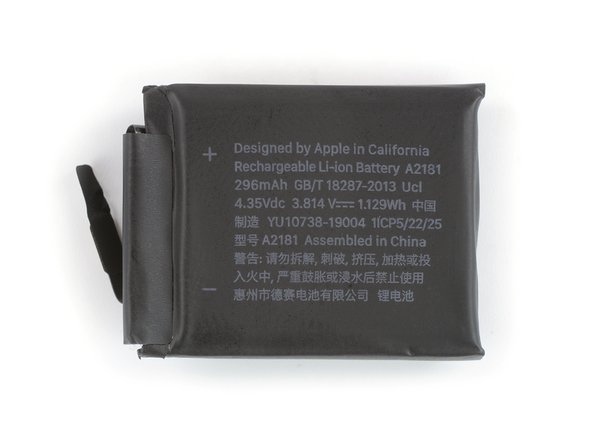
– This 44 mm Watch cell packs 1.17 Wh of power—a bit more than the Series 5, but still not quite as beefy as the 1.3 Wh Galaxy Watch3.
– The smaller 40 mm Series 6 is rocking the same radical metal-pouch design from the Series 5, now with a 1.024 Wh capacity.
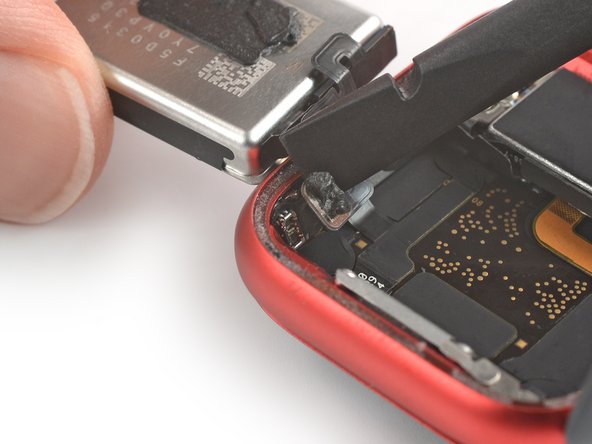
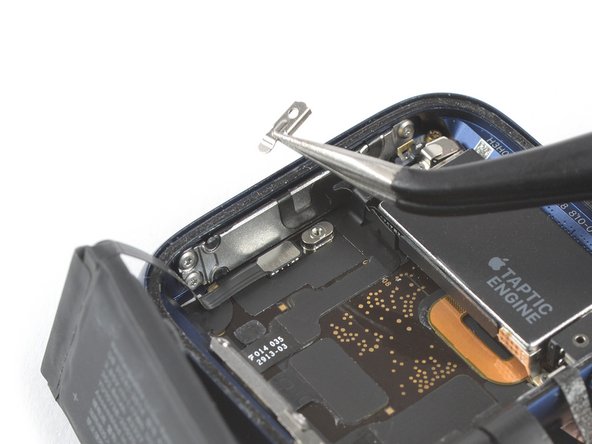
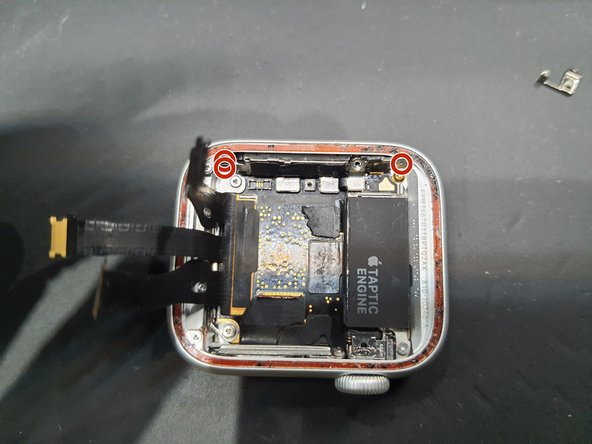
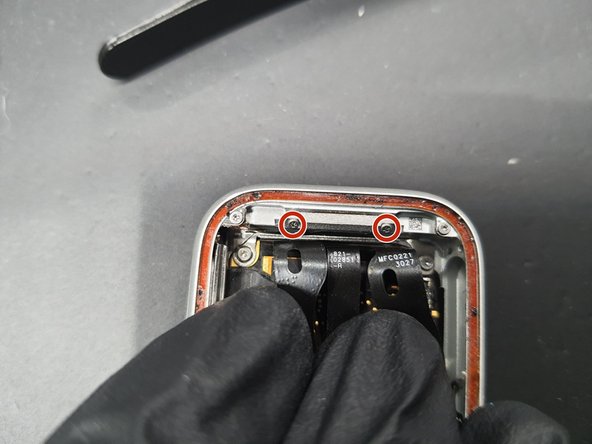
– Remove one tiny tri-point screw and a teeny bracket, and that little battery is ready to roll.
– We’re a bit surprised the bigger model didn’t get the new battery design this year. We figured Apple Watches might follow the iPhone’s lead, with Max models getting the upgrade in year two.
– Apple Watches seem to be slowly regaining battery capacity after that big dip between Series 3 and Series 4.
Step 4


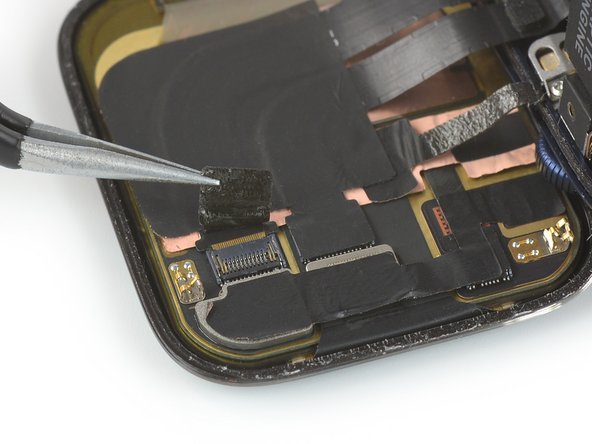
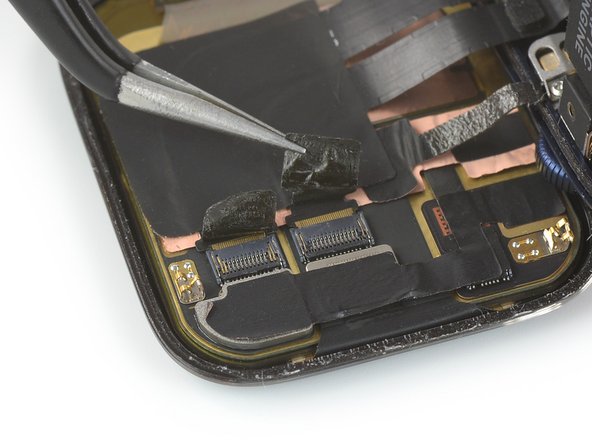
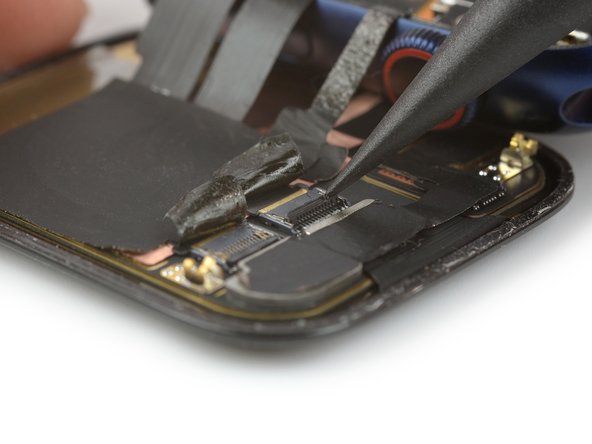
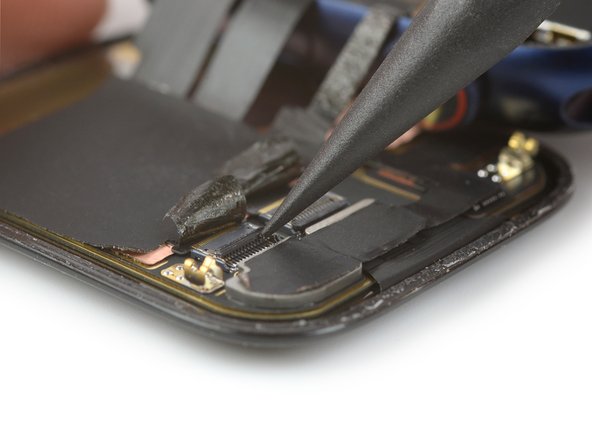
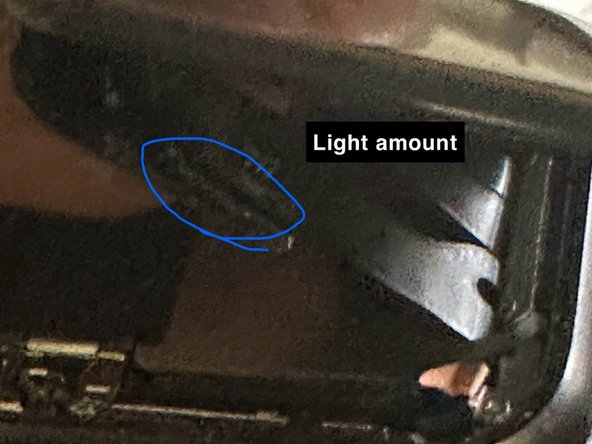
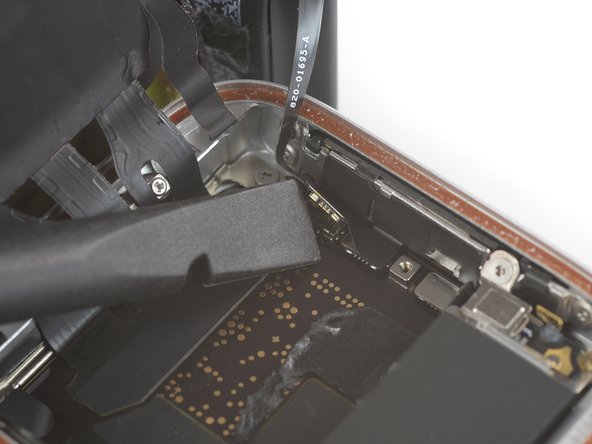
Heads up: We managed to bend a freshly-installed spring contact while opening things up, so you might want to hang tight for our guide before diving in yourself.
– The Series 6 rocks a brighter display than the Series 5. Even indoors, it’s got some extra glow—perfect for showing off those notifications.
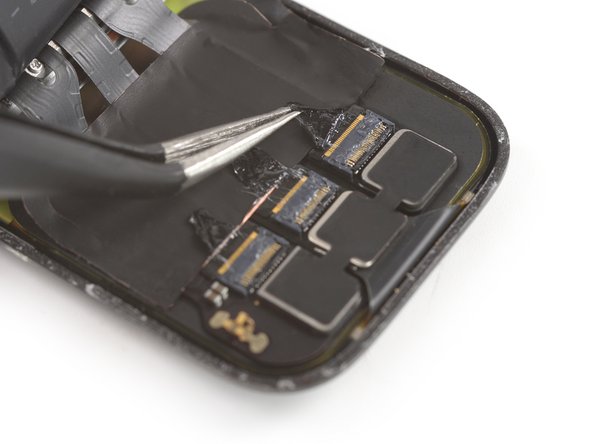
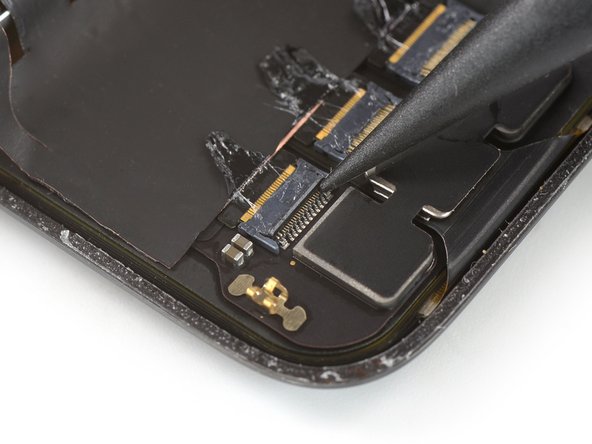
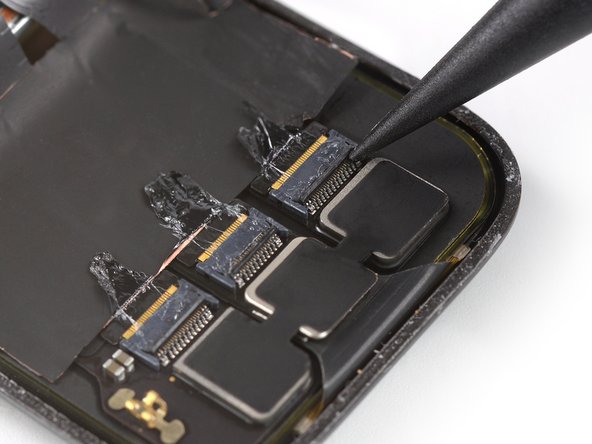
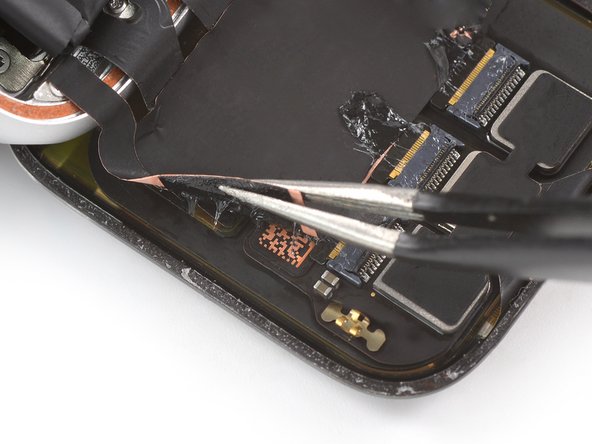
– This model ditches the Force Touch gasket and streamlines things with fewer display connectors. The NFC cable now hops over via a display-side jumper, and there’s just one grounding cable to worry about. Less wrestling with parts, more time for high-fives!
– Other than those tweaks, the Series 5 (left) and Series 6 (right) displays look pretty similar to the naked eye. No need for a magnifying glass.
– Teardown update: Check out this X-ray view of the display! This one’s the smaller 40 mm screen, stripped down for a closer look. Pretty wild, right?
Step 5


– At first glance, the tri-point-locked Taptic Engine looks familiar, but it’s actually larger than the one in the Series 5. Maybe the slimmer shaker from Series 4 just didn’t cut it?
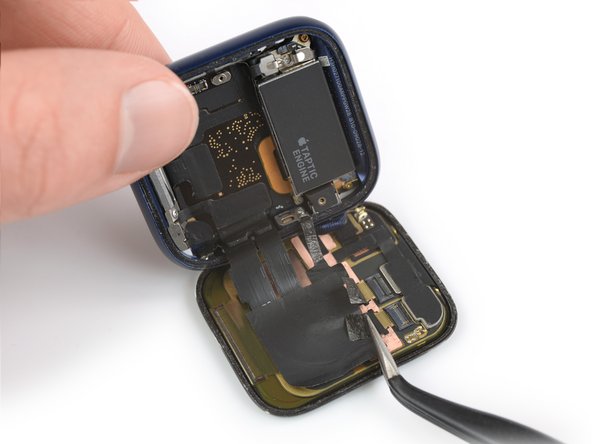
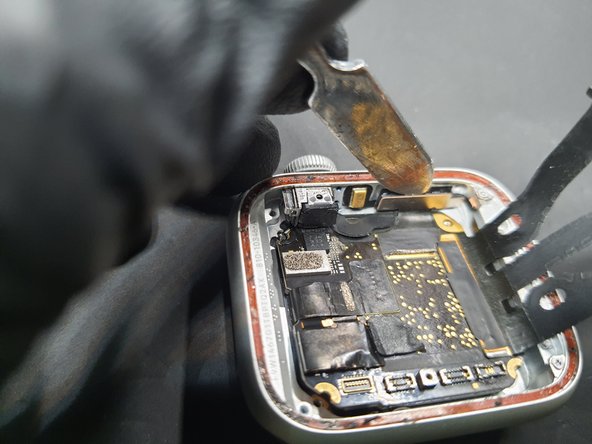
– With the muscle components out, let’s move on to the brains: the S6 SiP. Even with your trusty toolkit, navigating the maze of cables and hidden screws is a solid challenge.
– But, as usual, patience + tools + a little technique gets you there! Finally, the Watch gives up its last secrets.
– Bonus points: this version is made from 100% recycled rare earth metals and tungsten. Pretty cool, though reusing is always better than recycling.
– Update: Thanks to Creative Electron’s X-ray wizardry, here’s a sweet peek inside the Taptic Engine. Shake and bake!
– More battery plus a beefier Taptic Engine—Apple didn’t mention these upgrades, but looks like they went all out this year.
Step 6


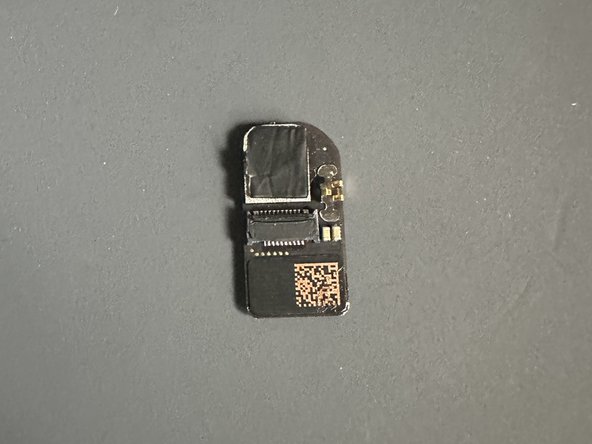
Hoping for a clearly labeled U1 package might’ve been wishful thinking, but hey, we’ve seen clearer markings before. So, keep your eyes peeled and don’t let the mystery slow you down!
– Just like most brains, the core of the Series 6 is seriously locked down—hardened resin all around, so poking inside is pretty much out of the question.
– Unless you’ve got access to an X-ray machine! Take a peek at the S6 package’s internals. All those tiny shapes? If you’re curious, the original Apple Watch X-ray teardown has you covered.
– Some familiar ICs are stacked up on the package, and you can spot a Skyworks chip labeled 239-7. The rest are a bit mysterious, and none of them lines up exactly with the U1 chip from last year’s iPhones.
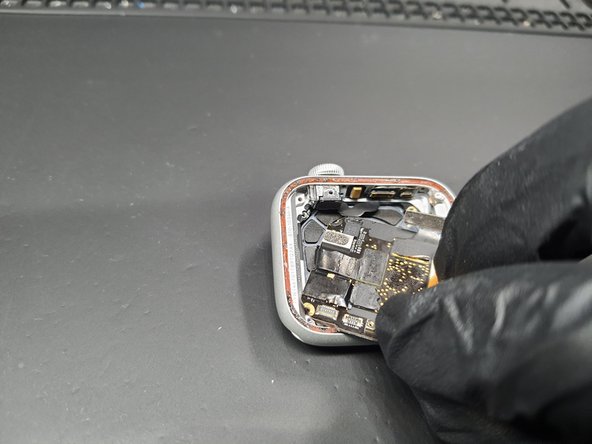
– With the brains removed, you’ll notice the Series 6 frame is tweaked—a narrower adhesive gasket lip, and now the gasket neatly wraps around the band mechanism.
– Thanks to the new case design and the missing Force Touch gasket, this year’s model is just a little slimmer: 10.4 mm thick (last year was 10.74 mm).
– Apple managed to squeeze in more battery and a beefed-up Taptic Engine, all in a slightly smaller package. That’s some clever engineering!
Step 7

– Hold onto your hats, folks, because we’re diving into some intriguing tech talk:
– Processor and memory (SDRAM/NAND Flash) Package on Package
– Power Management IC
– WiFi / Bluetooth SoC
– Microcontroller
Step 8


By flashing red, green, and infrared light onto your skin and then checking how it bounces back with a photodiode, the watch can measure how much oxygen is in your blood (the redder, the better!).
The dark rectangle in the center serves as a strong magnet to help center your charger (and may even help pull away heat from the S6 package). It’s surrounded by the control board for those down-firing LEDs and sensors, plus the snaky copper coils that make the inductive charger work.
– We’ve got a fused display up top and a fused sensor array below—trying to pry this apart would just give us a pile of shattered bits. So, let’s fire up those Creative Electron X-rays and peek inside without the mess.
– Check it out: the pulse oximeter is back in action, glowing in holiday style and apparently chatting with the cosmos!
– Low blood oxygen (hypoxemia) can hint at things like COVID-19 or other serious health stuff—so if your numbers look off, pay attention.
– The Apple Watch skips out on body temperature tracking (unlike the Oura Ring 2), but both are handy for general wellness info. Just remember, neither is meant to replace the fancy hospital machines.
– We’re not medical pros—so if you want details on how blood oxygen tracking works, head over to CNET, or dig deep at the Respiratory Medicine journal. If things get tricky, you can always schedule a repair.
Step 9


Even with its sleek, slimmer profile, Apple has crammed in fresh sensors, a bigger battery, and an upgraded Taptic Engine that packs a punch.
– Alright, let’s take a look at this sleek Apple watch and see what’s going on inside—no tiny tri-point screws to distract us today. First off, we’re relieved to see the Force Touch gasket has been replaced by something simpler, and only two delicate display cables are holding things together. The display and back plate are sealed with thicker rubbery adhesive, giving the watch extra protection against dust and splashes—though, in our case, it might be more about keeping the good stuff in! Big shoutout to Creative Electron for the stellar X-ray images that make this teardown possible—those guys really know how to shine a light on the details. They keep refining their process, revealing more with each pass, all while hiding some of the magic behind the scenes. If you need help along the way, you can always schedule a repair with Salvation Repair for the trickier steps or final touches.