Duration: 45 minutes
Steps: 15 Steps
Time to give your Apple Watch Series 3 a shiny new display! Before you dive in, make sure your watch is running watchOS 5 (or newer) and your iPhone is on iOS 12 (or newer) to keep everything pairing smoothly afterward. Heads up: swapping out the screen might tangle up Apple Pay. To keep things smooth, wipe your Apple Pay info before starting, then set it up again when your watch is looking fresh. This guide covers the standard GPS-only version, but if you’ve got the cellular/LTE model, don’t worry—any differences are pointed out as you go.
Step 1


Touchscreen totally busted and can’t turn off your watch the usual way? No worries—here’s a slick workaround to power it down.
– Unplug your watch from the charger and turn it off before you dive in.
Step 2

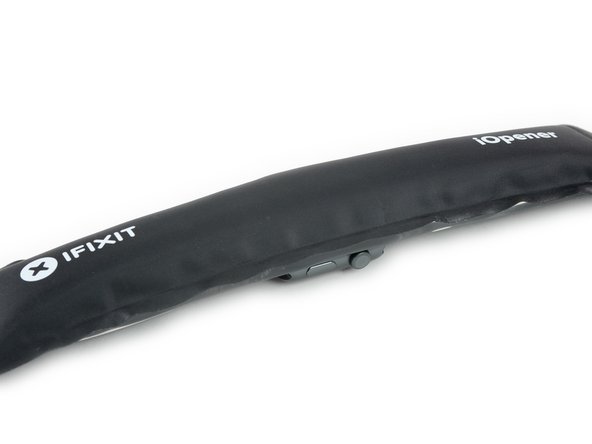
To get the screen loose, you might need to reheat the iOpener or shift it around a bit as sections start to cool down. Just keep working at it until the heat does its job!
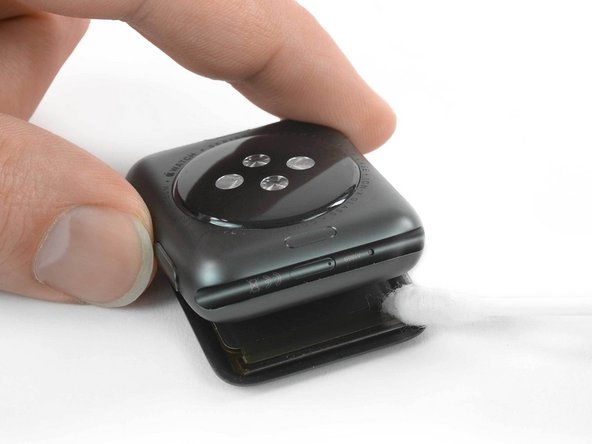
– Grab an iOpener, a hair dryer, or a heat gun—whatever gets the job done—and warm up the face of the watch until it’s just a little too hot to touch comfortably.
– Keep that iOpener in place on the watch for at least a minute to give the screen a good warm-up and loosen up the adhesive that’s holding it down.
Tools Used

Step 3


Keep those fingers out of the knife’s way—think of them as VIPs at a concert: backstage only! If you’re not sure your hand is safe, rock a thick glove like you’re gardening or working in the shop.
Easy does it! Too much muscle with the knife and you might end up with an accidental slice or a scratched-up watch.
Pop on some eye protection. If the knife or glass goes rogue, you want your eyes cheering from the sidelines—not dodging flying parts.
Since the space between the screen and the watch case is super slim, you’ll need a sharp blade to separate them. Check out the tips below before diving in—no one likes surprises when sharp objects are involved.
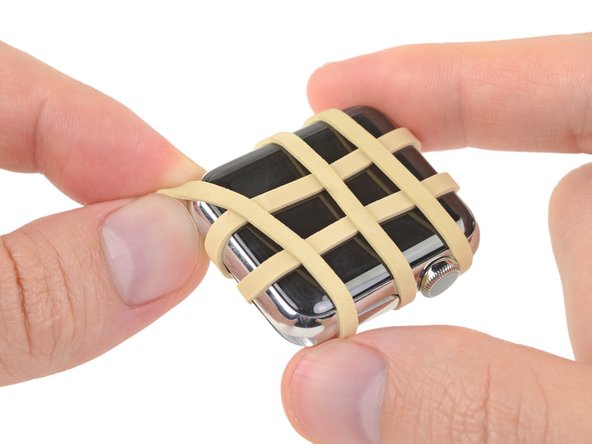
You can take off or put on the watch band anytime to get a better grip as you work. Make things comfy for yourself!
Step 4


Keep your knife skills sharp, but remember: no more than 1/16th of an inch (~2 mm) should be your limit!
– Slide the edge of a curved blade into the slim gap between the screen and the outer shell. Begin on the short side near the digital crown.
– Push straight down into the gap with a bit of pressure.
– Once the blade is in, give it a gentle tilt to nudge the display open just a bit.
Step 5


Hold up—don’t yank the display all the way open or try to take it off just yet.
– Alright, you’ve successfully pried open a tiny gap with that trusty curved blade! Now, go ahead and take it out, but don’t get too comfortable—grab your opening tool and slide its thinner edge into that gap.
– Gently nudge the opening tool into the space you made. Use your thumb as a little lever to lift the display just a bit more. You’re doing great!
Step 6


For the Force Touch gasket: go slow and sneak the tool just under the edge of the display. If the gasket splits or the layers come apart, you’ll need to swap it for a new one.
Keep the opening pick shallow—no deeper than 1/16th of an inch (about 2 mm).
Replacement kits from Salvation Repair come with a new Force Touch gasket, so don’t stress if the old one gets a little beat up.
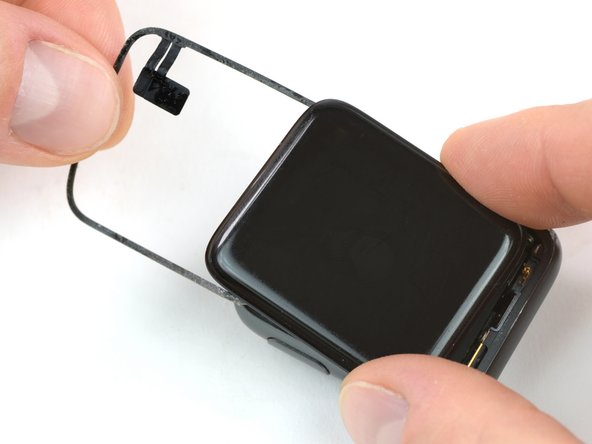
– Slide an opening pick under the display and gently work your way around the edge to loosen up the Force Touch gasket.
– Keep gliding the pick along the display to break up the adhesive between the gasket and the screen. Take your time—slow and steady wins the race!
Step 7


Easy does it—don’t swing the display all the way open just yet, or the cables might get stretched.
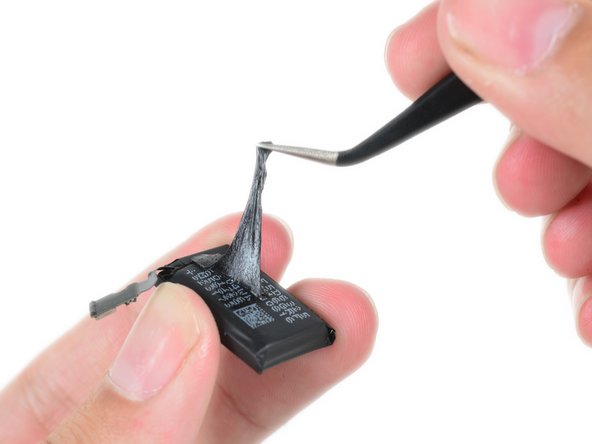
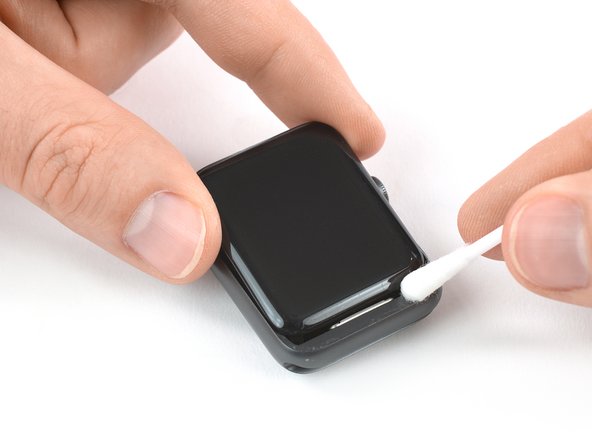
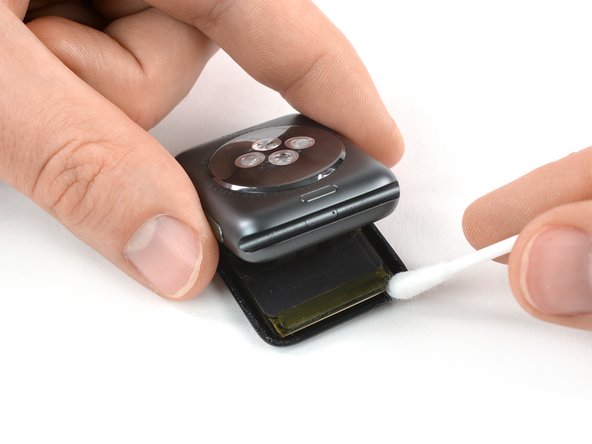
– Time to get started! Open the display to about a 45° angle. Now, grab those tweezers and carefully peel off the adhesive between the display and the Force Touch gasket. Take your time, it’s a delicate process.
– Next, gently thread the adhesive around and behind the display cables. This might take a little patience, but you’ve got this! Keep going until it’s completely removed.
Tools Used

Step 8


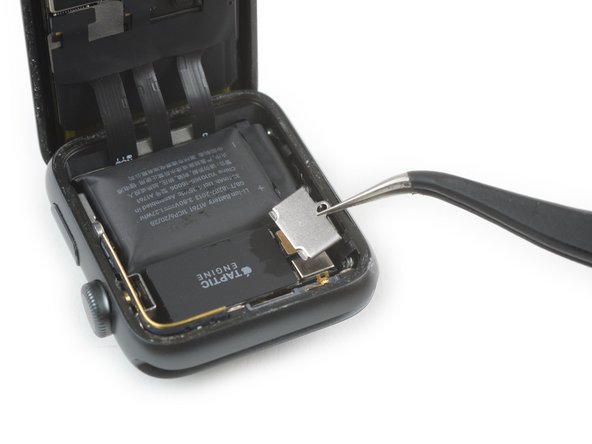
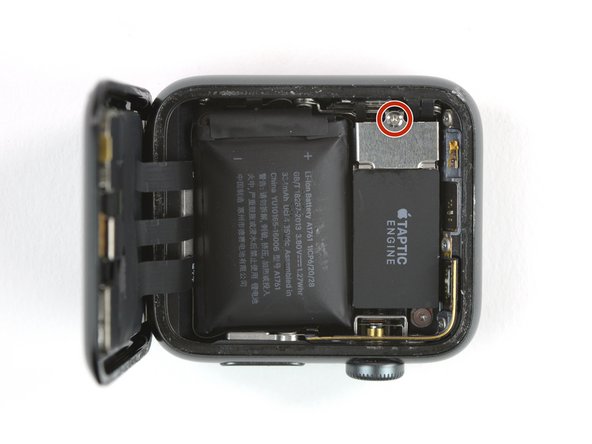
– Grab your Y000 driver and spin out the tri-point screw holding down the metal cover plate.
– Snag a pair of tweezers and lift off the cover plate with style.
– Open the plate all the way up to free both flaps from their cozy spots.
– Now, fold it halfway shut and gently pop it out—mission accomplished!
Tools Used
Step 9


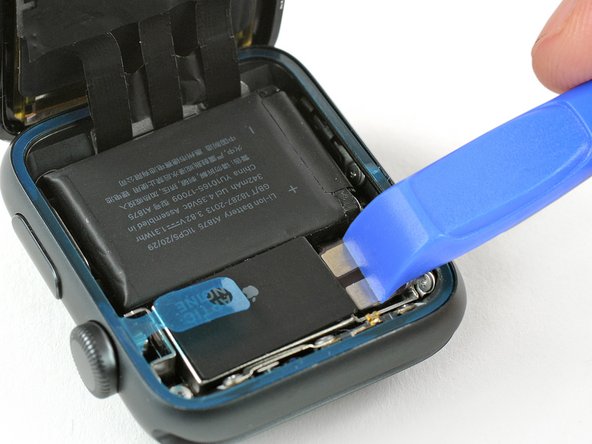
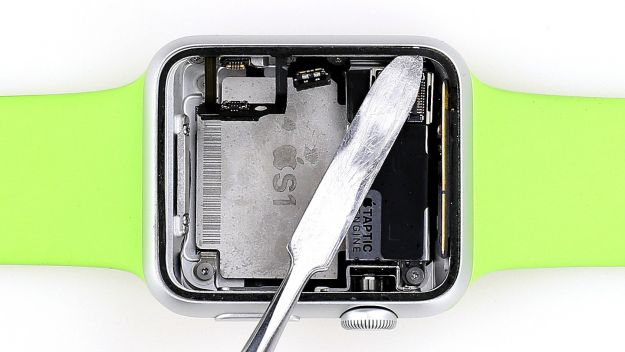
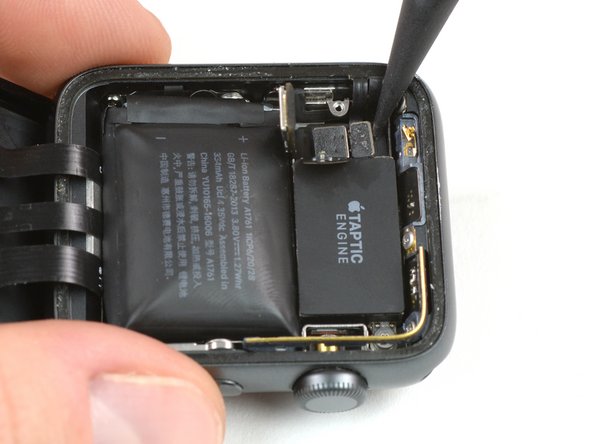
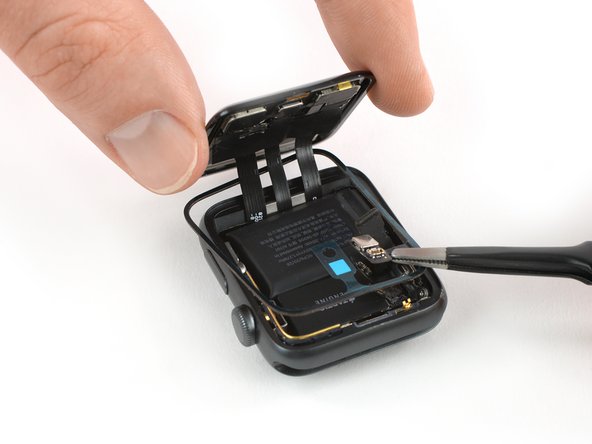
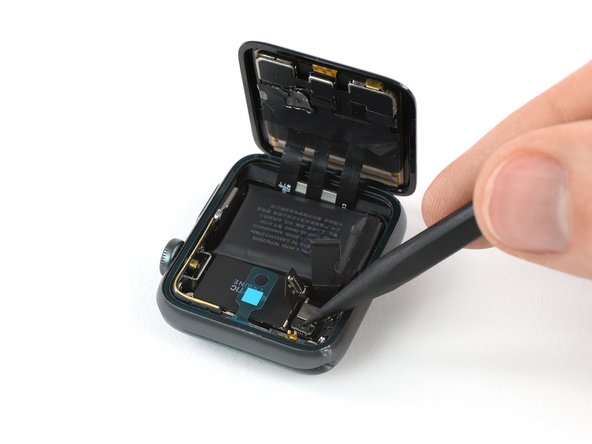
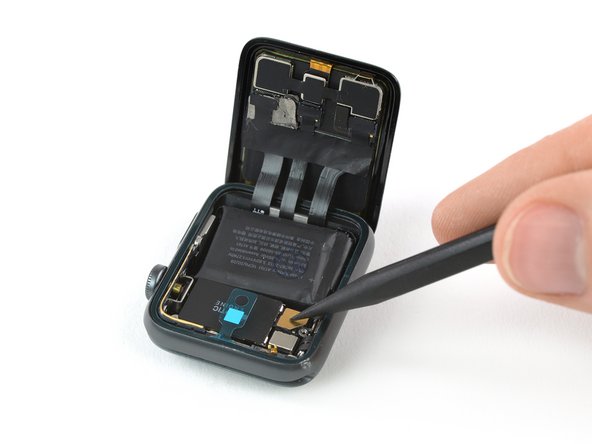
On the GPS-only version, disconnecting the battery is a quick move. For the cellular/LTE version, you’ll need to peel back the Force Touch gasket and fold it aside first, giving you clear access to the battery connection.
– Gently lift the battery’s connector straight up to disconnect it. You’ve got this!
– Give that connector a little upward bend to keep it safe from accidental contact. Safety first!
Step 10


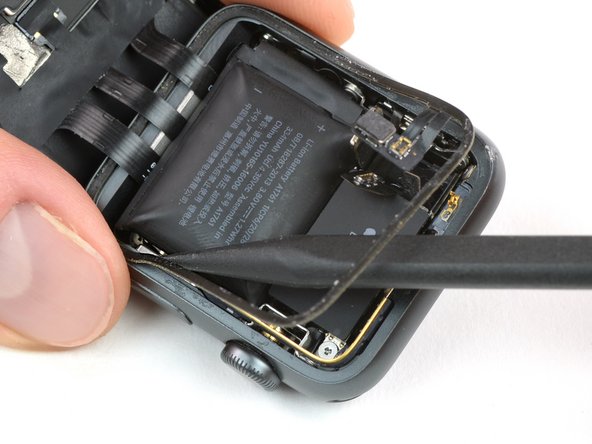
Be gentle when removing the tape, as it can be a bit stubborn. To make it easier, try applying some heat or isopropyl alcohol to loosen the adhesive. This will help you avoid damaging the cables underneath.
– Grab a pair of tweezers and gently lift the tape covering the display cable connectors. Start peeling from the bottom right corner of the tape, then carefully work your way toward the connector in the middle. Take your time—precision is key! If you need a hand, you can always schedule a repair.
Tools Used
Step 11


The leftmost connector has a nifty piece of conductive foil that might just get a little cranky and tear when you peel off the tape. So, take it easy and be gentle!
– If it rips, just grab the bottom left corner and peel it away. Doing it this way keeps the shiny foil underneath looking sharp and untouched.
Step 12
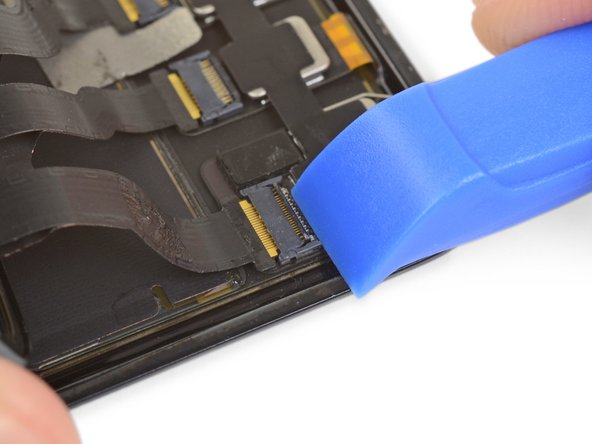
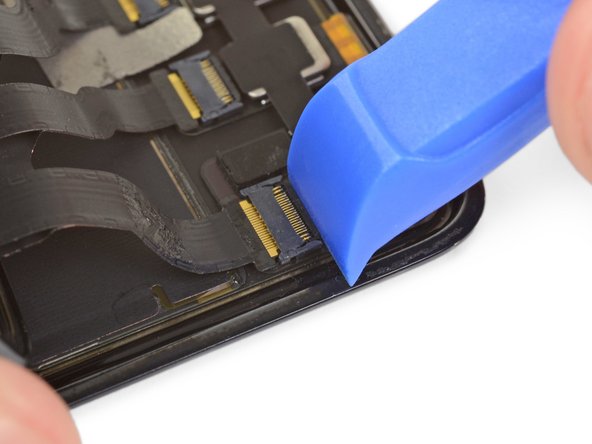

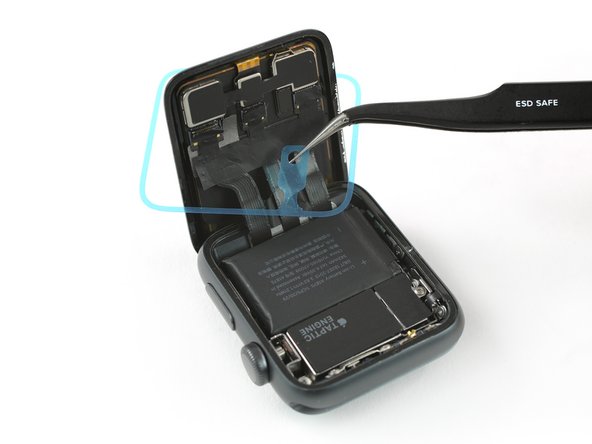
– Time to get started! Use a pry tool or a clean fingernail to release the first of the three ZIF connectors. Simply pry up the small black locking flap opposite the cable to unlock it.
Step 13


– Gently lift the locking flaps on those last two ZIF connectors.
– Most replacement screens come with these flaps snugly closed. When putting everything back together, be sure to pop those flaps open before plugging in the cables. Otherwise, you might end up causing a bit of trouble for your device!
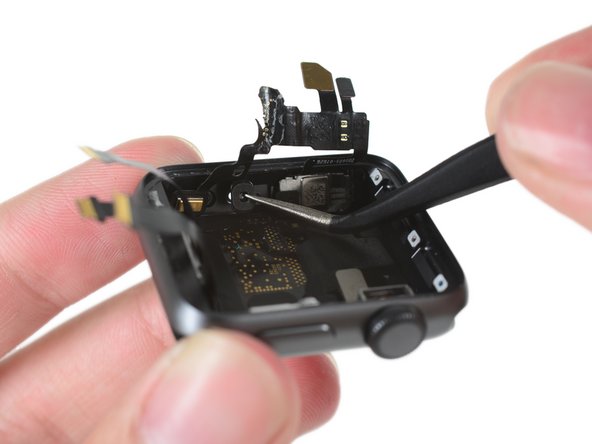
Step 14


If those cables are being stubborn, gently rock them side to side while pulling to help ease them out.
– Grab your tweezers and gently coax the display flex cables out of their connectors. No need to rush—just a smooth, easy pull does the trick.
Tools Used
Step 15

– Take out the display carefully. For more detailed reassembly tips, including replacing the Force Touch gasket and the sticky adhesive around it, check out the guide linked in the conclusion below.
Success!