Duration: 45 minutes
Steps: 6 Steps
Follow this straightforward guide to swap out the adhesive on your Apple Watch Series 2 and get it sealed up again. Keep in mind, the water resistance might not be exactly the same as when it was new after this repair. If you need a hand or prefer to leave it to the pros, you can always schedule a repair with Salvation Repair. Ready to get started? Let’s do this!
Step 1


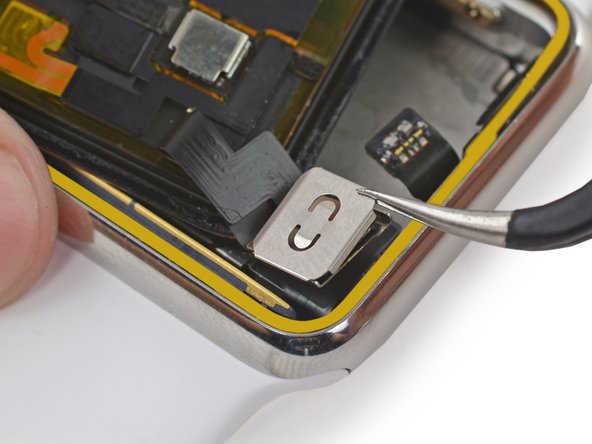
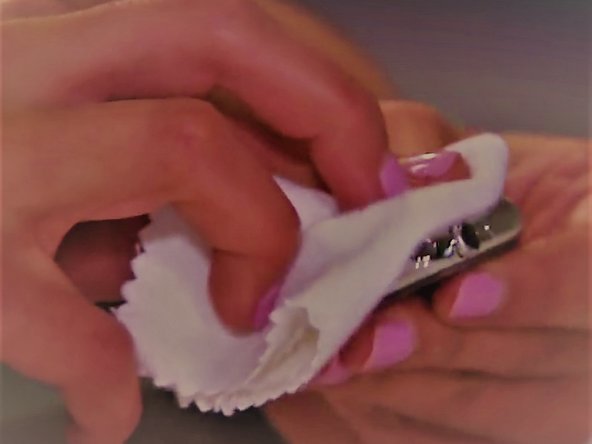
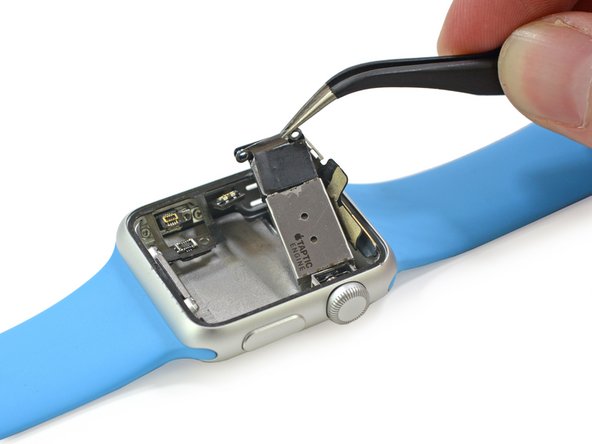
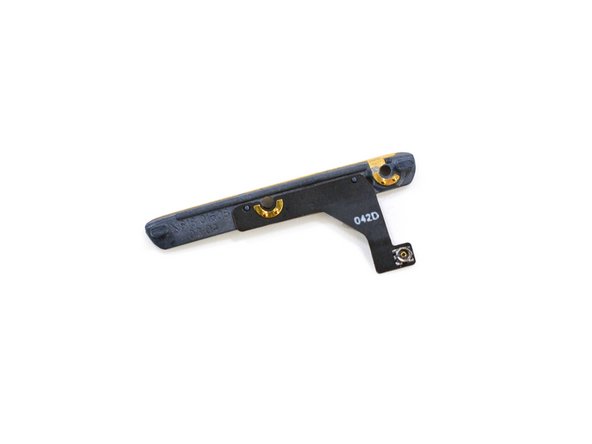
When it’s time to evict the sticky stuff on the cable-side, gently fold the display down and tease it away from the frame—just enough to give yourself a comfy workspace. Easy does it!
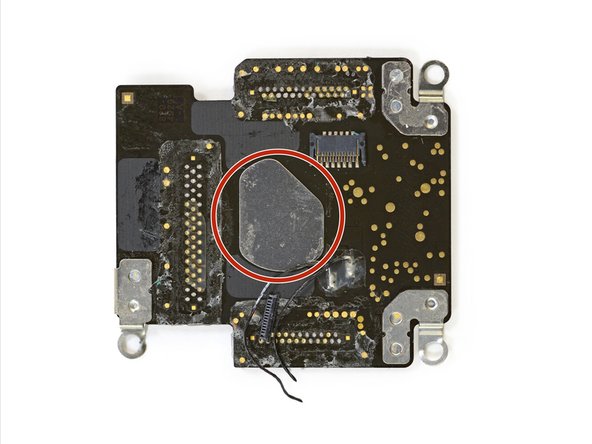
– Grab a Q-tip or a cleaning pad and put just a smidge of isopropyl alcohol (>99%) on it. Now, gently wipe away those pesky adhesive remnants sitting on the force touch gasket. You’ve got this!
Step 2


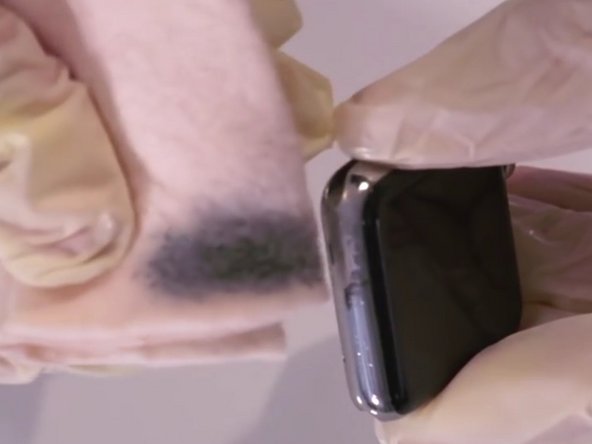
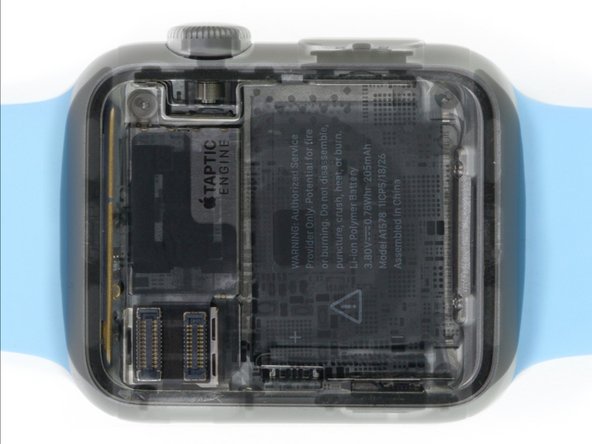
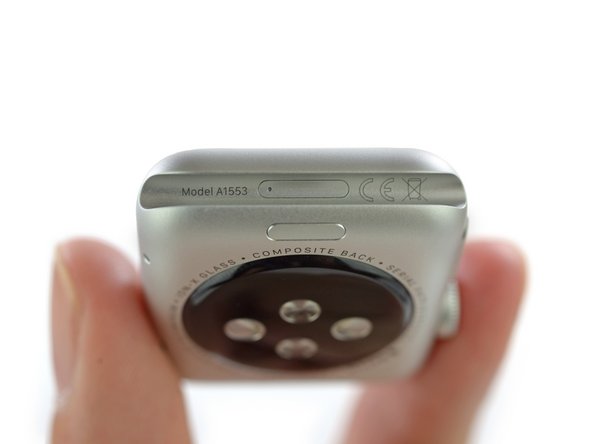
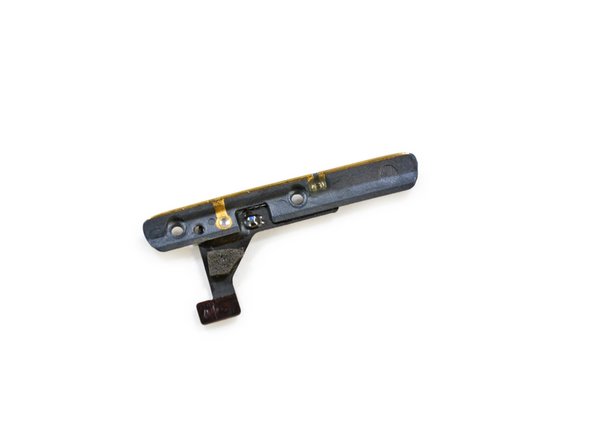
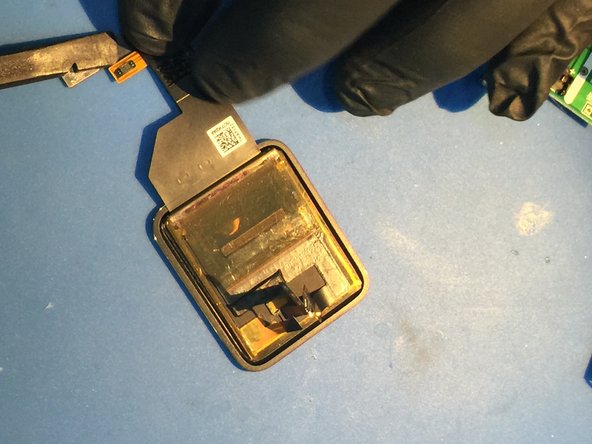
– Flip your Apple Watch upside down so the screen is resting flat and you can easily lift the case.
– Clear away any leftover bits stuck to the back of the display.
Step 3

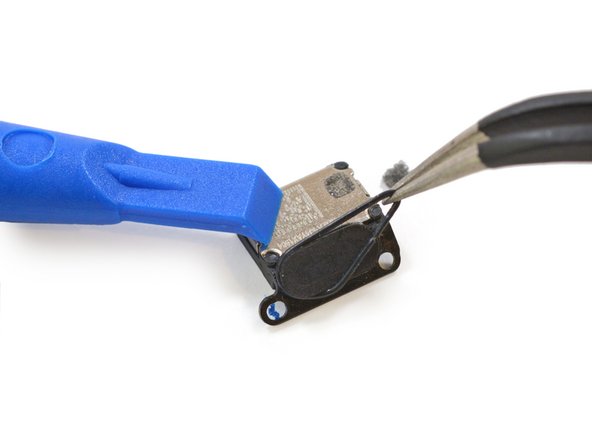
– Now it’s time to get a little delicate! Use a trusty pair of tweezers to carefully peel the replacement adhesive (complete with its blue protective film) away from the backing paper. Take your time and be gentle – we’ve got this!
Tools Used

Step 4


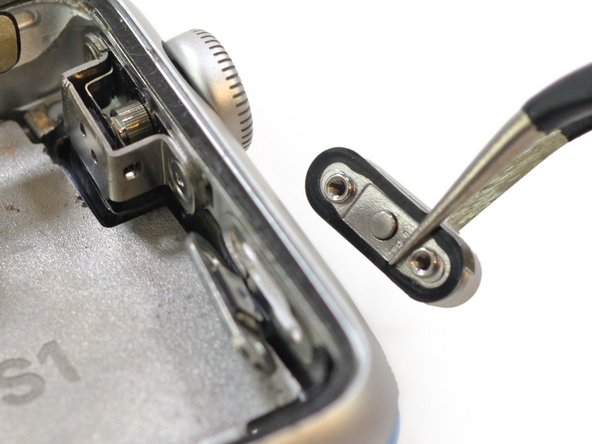
– Grab that shiny new adhesive and hold it at an angle over the display like you’re presenting your masterpiece.
– Gently lean the display forward a bit to get the adhesive snugly aligned with the frame, like how you’d help a friend adjust their hat.
– Now, place the replacement adhesive right on the force touch gasket andTake your trusty spudger’s pointed end to carefully slide and press it into position, giving it that perfect fit.
Tools Used

Step 5

– Reconnect the battery following the steps in the replacement guide you started with. Then, peel off the protective film from the adhesive to prep for reassembly. If you need help, you can always schedule a repair.
Step 6

Another option is to use screen vice clamps around the edges of your device to secure the new adhesive in place. If you’re not feeling confident, don’t worry – you can always schedule a repair with Salvation Repair for some extra help.
– You’ve made it to the end of this step-by-step repair guide! If you need help or have any questions, you can always schedule a repair with Salvation Repair. Great job taking the first step towards fixing your device!
Success!