Duration: 45 minutes
Steps: 26 Steps
This step-by-step guide walks you through removing and swapping out the headphone jack on your Samsung Galaxy S10e. If you’re experiencing flaky audio or connection issues with your wired headphones, give the jack a good clean first—sometimes a little dirt or lint is all that’s causing the trouble—before diving into a replacement. Need a hand? You can always schedule a repair with Salvation Repair.
Step 1

You can warm things up with a hair dryer, heat gun, or hot plate—just don’t get carried away! Too much heat can mess with the OLED display or the battery, and no one wants a toasted phone.
Cracking open your phone’s case will break its waterproof mojo. So, either have fresh adhesive on standby, or keep your phone away from water if you’re reassembling without it.
The iOpener might need a few rounds in the microwave to get your phone toasty enough. Stick to the iOpener instructions to avoid turning it into a mini volcano.
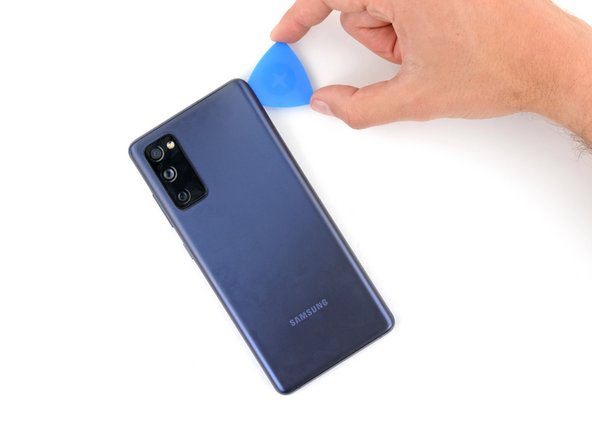
– Power down your phone before getting started—no one likes a surprise buzz in the middle of a repair.
– Warm up an iOpener and apply it to the right edge of the phone’s back for about two minutes. That heat helps loosen the sticky stuff holding the cover on.
Tools Used

Step 2


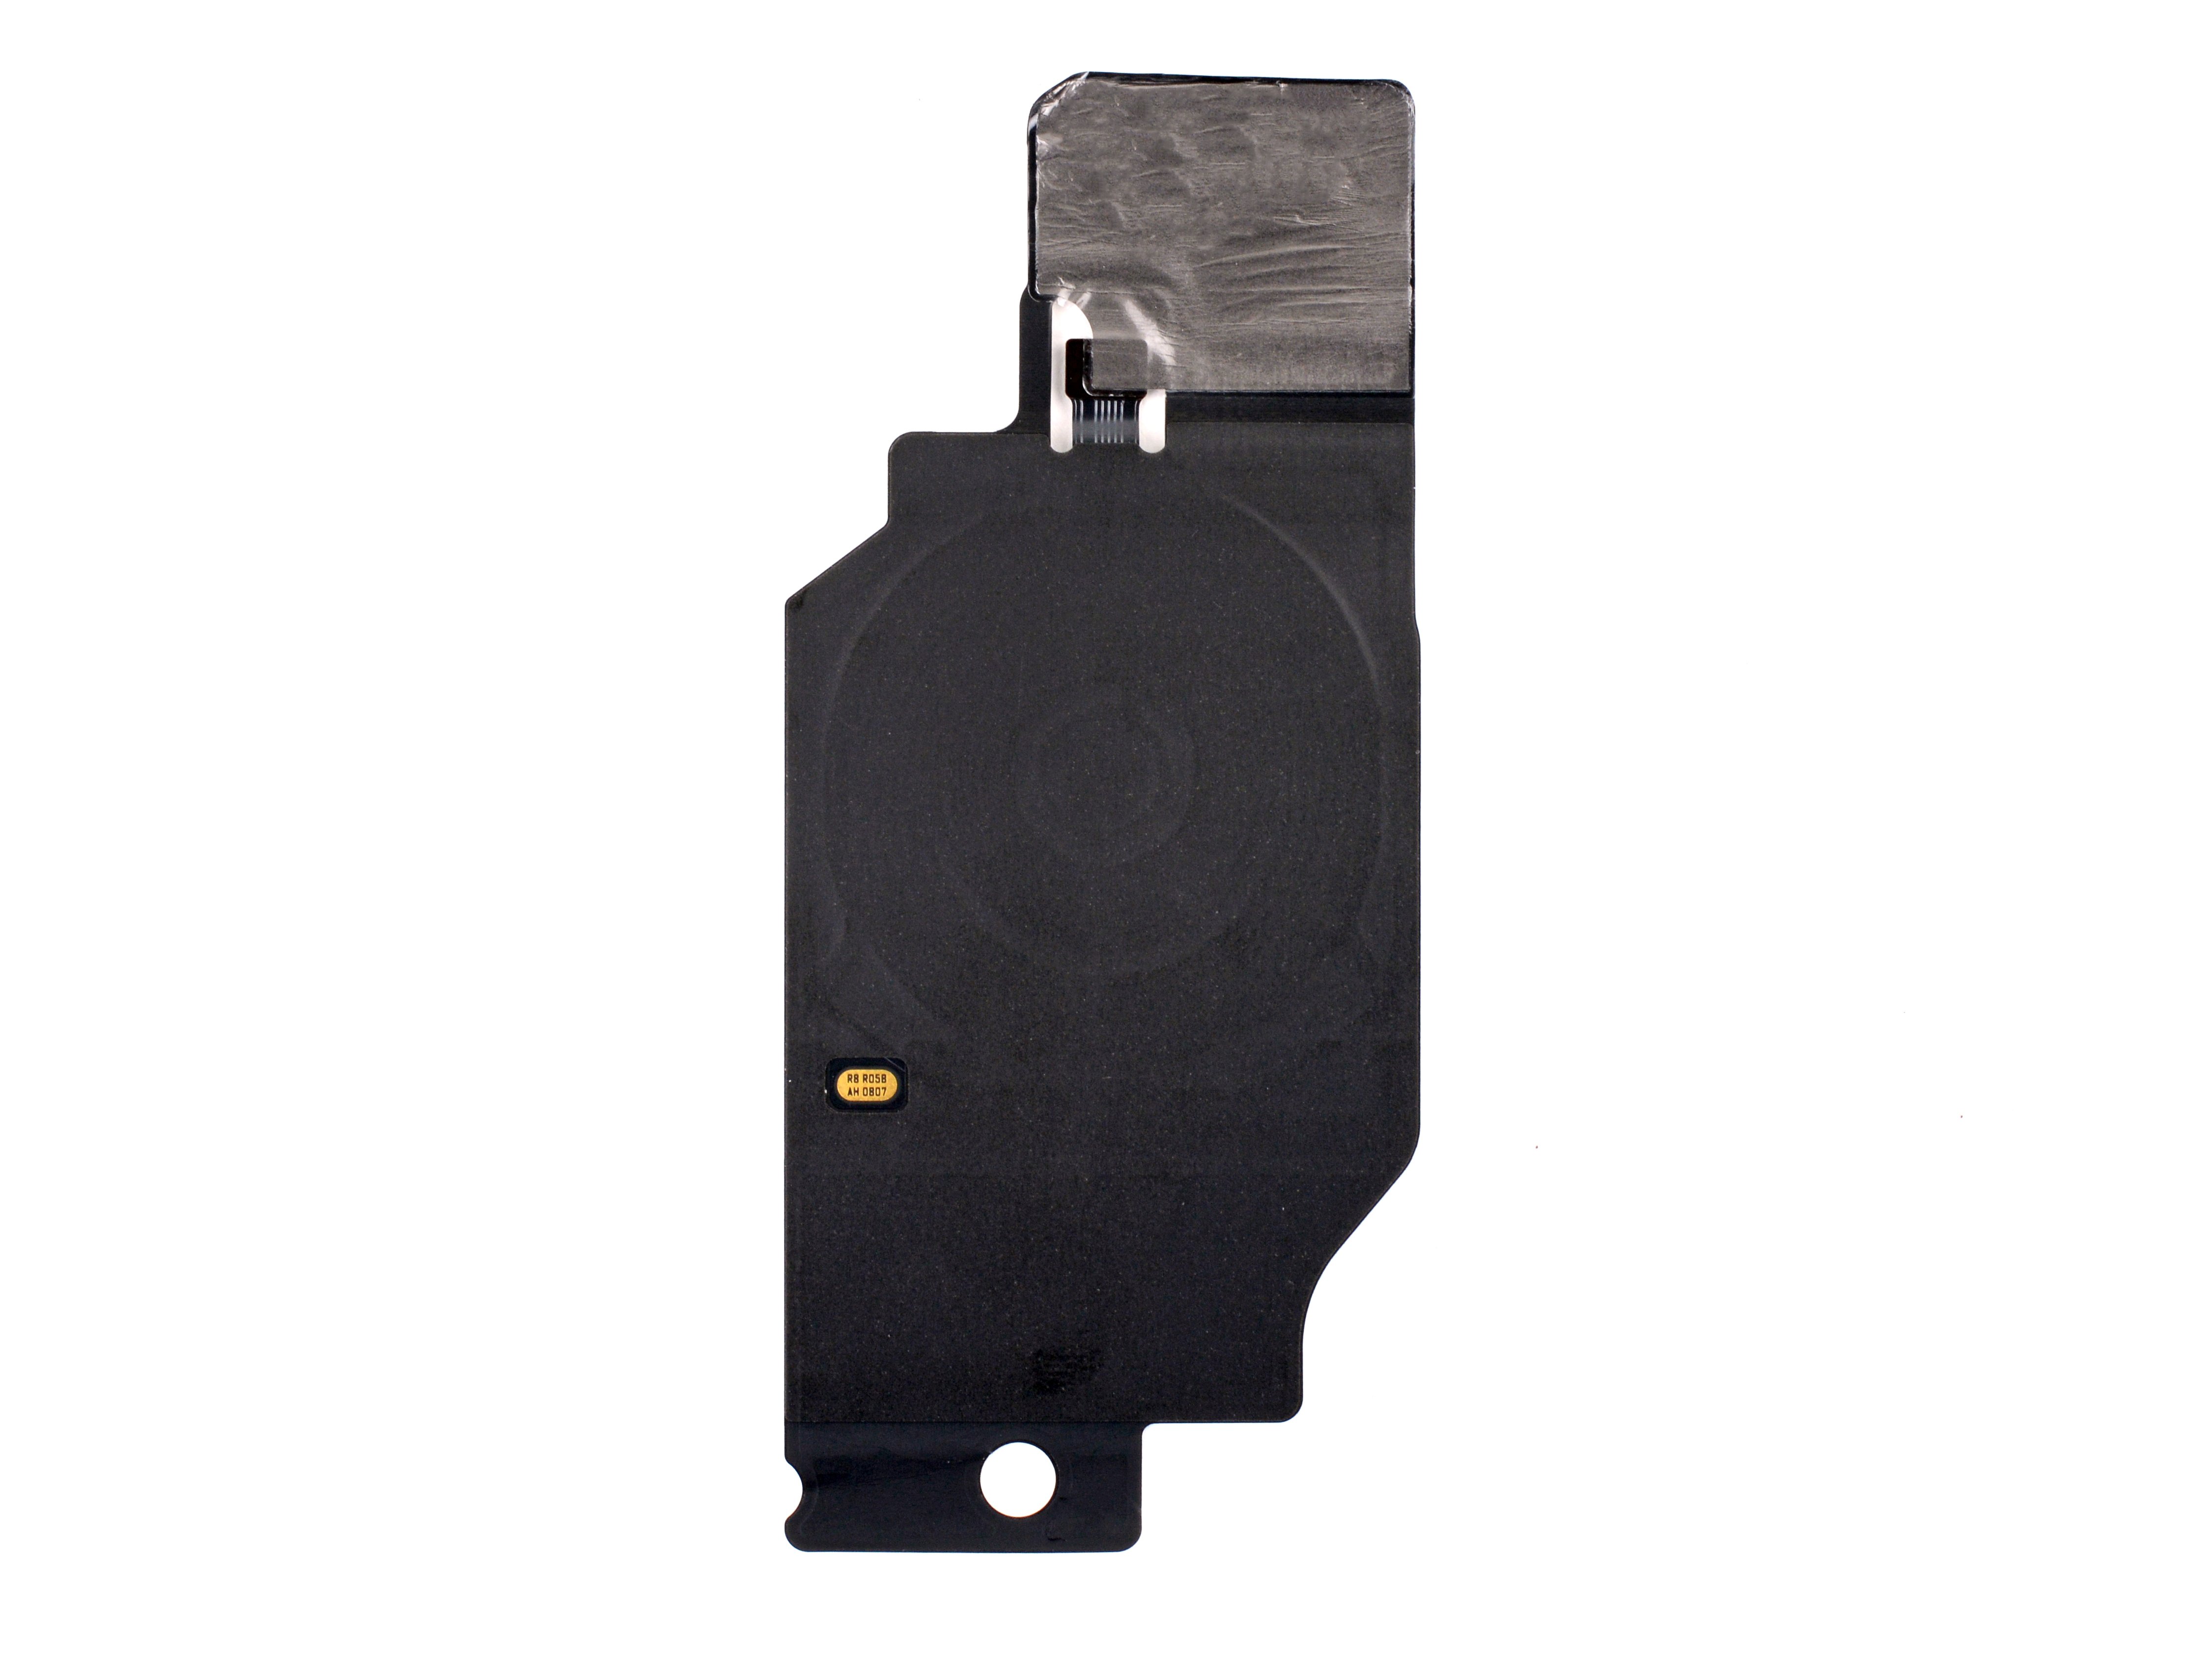
Check out how the adhesive is arranged in the first image—the inside of the cover, post-removal, is rocking that sticky lineup.
– In these next steps, you’ll gently slice through the adhesive holding the back cover in place, so be patient and steady.
– From the outside of the phone, carefully cut along the highlighted areas where the adhesive is securing the cover.
– The adhesive is thinnest just on the right side of the phone, just below the Bixby button—pay extra attention there for a smooth separation.
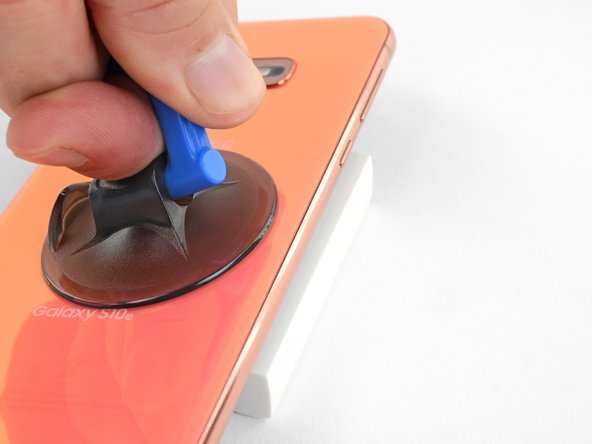
Step 3


The suction cup might struggle to grip the curved edges of the glass, so steer clear of placing it right on the very edge. If the back cover has a crack, the suction cup might not hold tight. In that case, try lifting it with some strong tape or glue the suction cup in place with superglue and let it cure—then you’re all set to move forward.
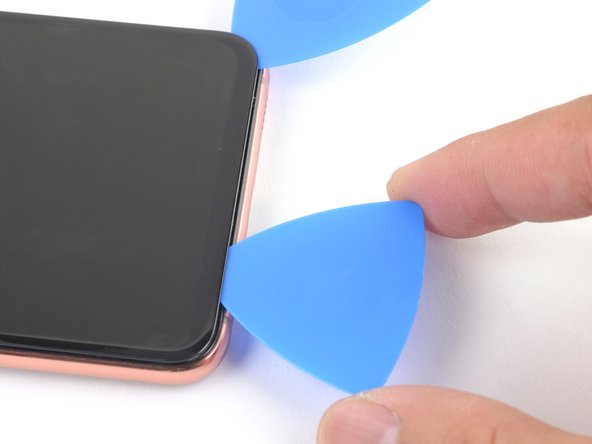
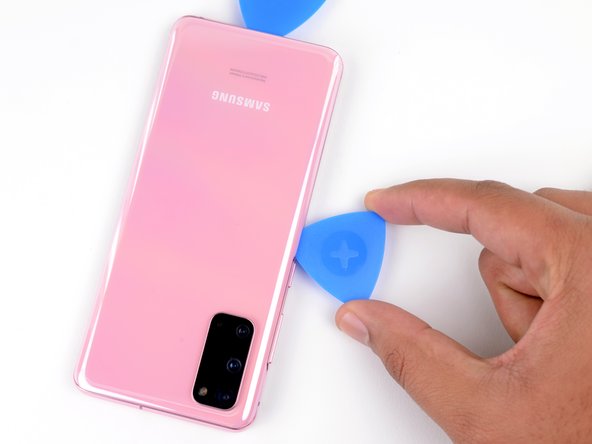
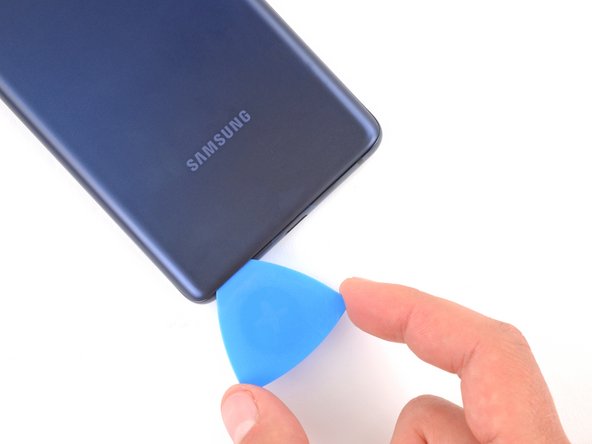
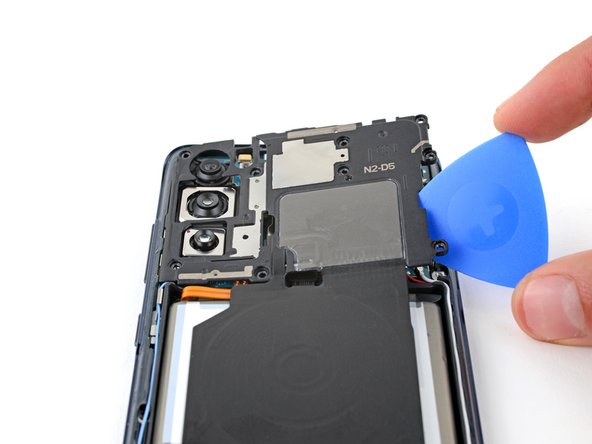
– Stick a suction cup on the back cover, right up near the heated edge, just below the Bixby button—this is where the adhesive is at its weakest. Get ready to make that glass pop!
Step 4

Be gentle! The rear glass is a bit delicate and can shatter if you apply too much pressure or try to pry it open with metal tools.
If you’re teaming up with an iOpener, stick to the heating directions—otherwise, you might end up with a gel explosion, and that’s a mess nobody wants.
– Prop up the heated edge of the phone on something about 0.5 inches (13 mm) thick to tilt it just right—making it easier to slide in the opening tool. Then, grab your suction cup and gently lift the right edge of the back cover to create a small gap between the cover and frame. Carefully insert your opening tool into that gap. Be prepared to apply a bit of elbow grease—if it’s stubborn, give the area a quick blast of heat to soften the adhesive further, then try again. Remember, the adhesive cools quickly, so reheating may be necessary. If you need a hand with this, you can always schedule a repair.
Tools Used
Step 5


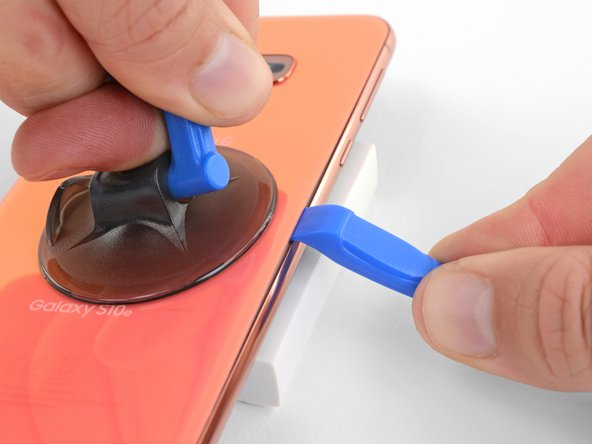
– Glide your opening tool down the right side of the phone, slicing through the sticky stuff holding the back cover in place.
Step 6


– Gently slide in an opening pick into the edge right next to the opening tool. Keep the pick there to stop any leftover glue from sneaking back together. Need a hand? You can always schedule a repair.
Step 7

– Place the heated iOpener on the top edge of your phone and let it sit for two minutes. It’s like giving your device a little warm-up before the big fix!
Tools Used
Step 8


The area that’s glued is a bit bigger this time, so make sure to slide your pick in a little deeper to get the phone separated.
– Slide an opening pick into the top right corner of the phone and gently work it around the corner and along the top edge.
– Keep that opening pick in place so the adhesive doesn’t decide to stick again.
Step 9

– Warm up the left edge of your phone with a heated iOpener for a solid two minutes.
Tools Used
Step 10


– Slide a fresh opening pick into the top left corner, then cruise along the left edge like you own the place.
– Keep that pick hanging out on the left edge—it stops the sticky stuff from coming back together. Sticky situations avoided!
Step 11

– Warm up the bottom edge of your phone with a heated iOpener for about two minutes to loosen things up.
Tools Used
Step 12


There’s more adhesive to tackle in this spot, so slide your pick in a bit deeper to break it up completely.
– Start by slipping in an opening pick near a bottom corner of the phone. Then, gently slide it along the bottom edge to carefully loosen the adhesive holding the device together.
Step 13

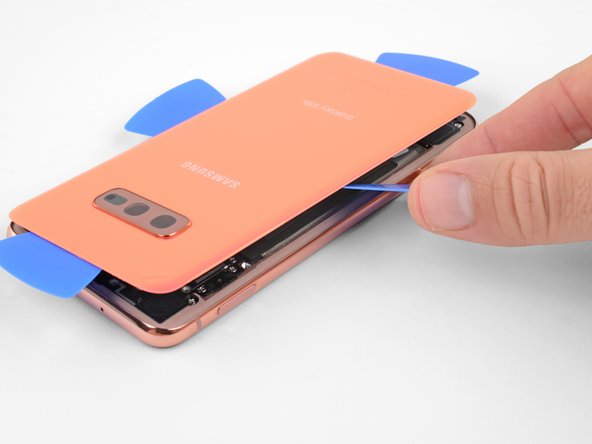

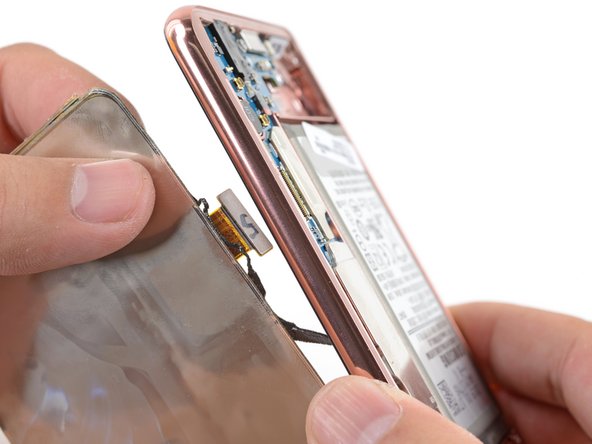
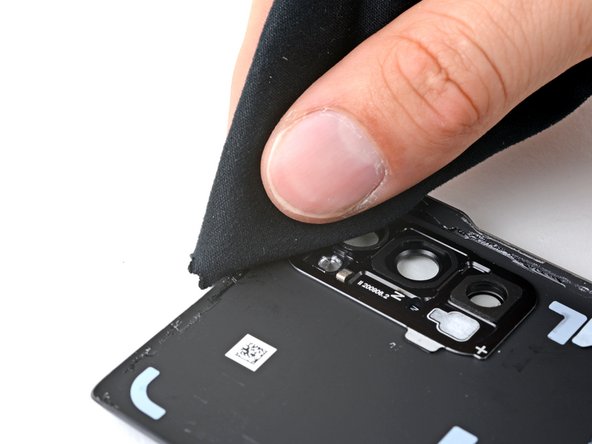
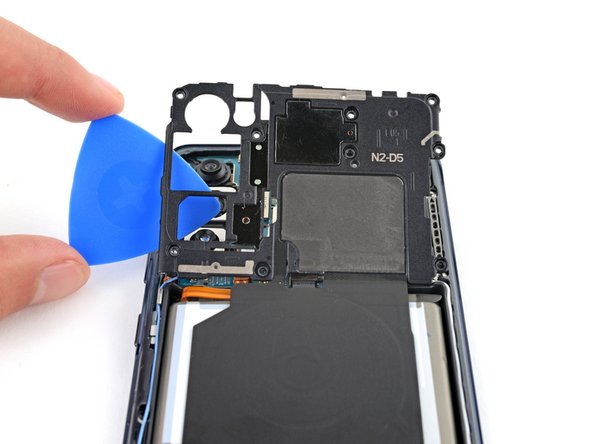
– Grab your opening picks and gently work around the edges to pop off that back cover. Go easy now!
– Once the cover is free, lift it off and revel in your achievement.
– If you run into any sticky spots, pause for a moment, whip out your trusty opening pick, and slice through any stubborn adhesive before continuing.
Step 14

If you want, you can snap the back cover on without fussing over new adhesive. Just clear away any big leftover sticky bits so the cover sits nicely. Once it’s in place, a little heat and gentle pressure will help it stay put. It won’t keep water out, but the old adhesive usually holds strong enough for daily use.
Power up your phone and make sure everything’s working before you commit to new adhesive and seal it up.
– Follow this step-by-step to reattach the back cover and stick down the new adhesive. Keep it friendly and straightforward—you’re almost there! If you hit a snag or need a pro touch, just schedule a repair with Salvation Repair for extra help.
Step 15

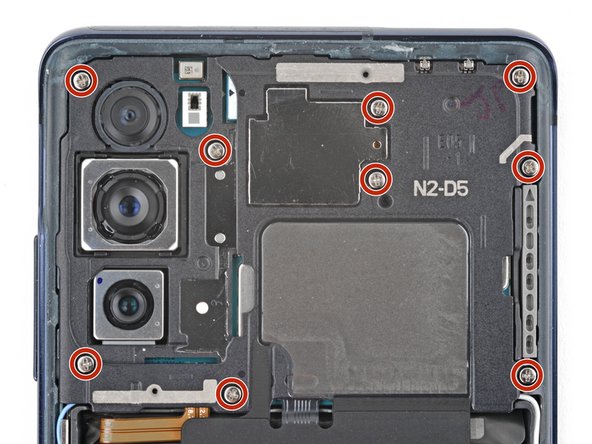
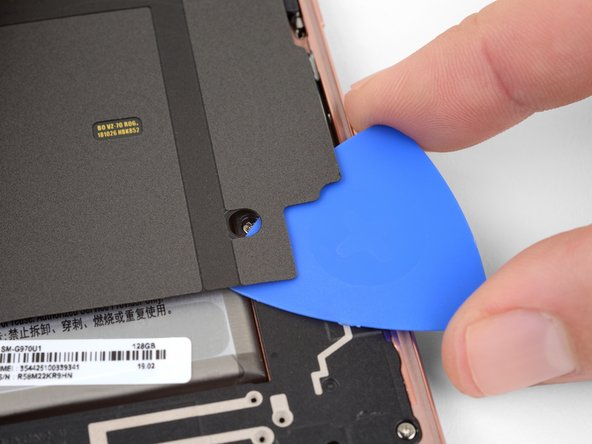
– Unscrew the eight 3.9 mm Phillips screws holding the upper midframe in place. Take your time—these little guys love to hide, but you’ve got them covered!
Step 16

– Gently slide an opening pick under the bottom right corner of the upper midframe to loosen up that sticky adhesive holding it to the lower midframe. Take your time—no need to rush!
Step 17


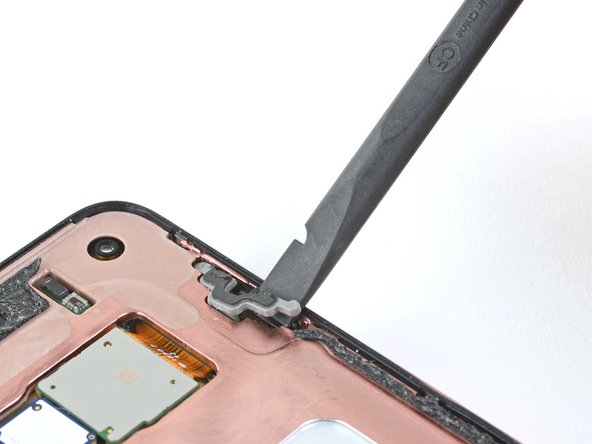
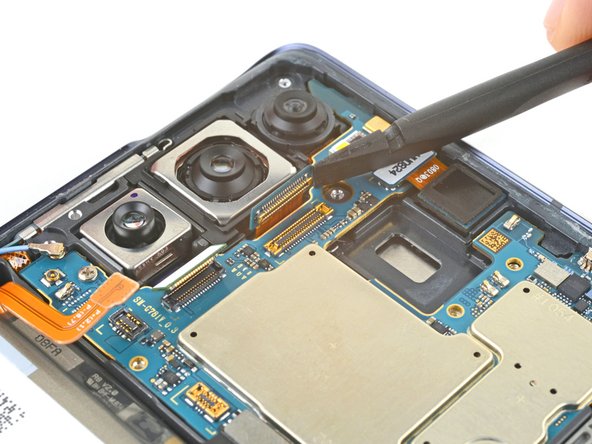
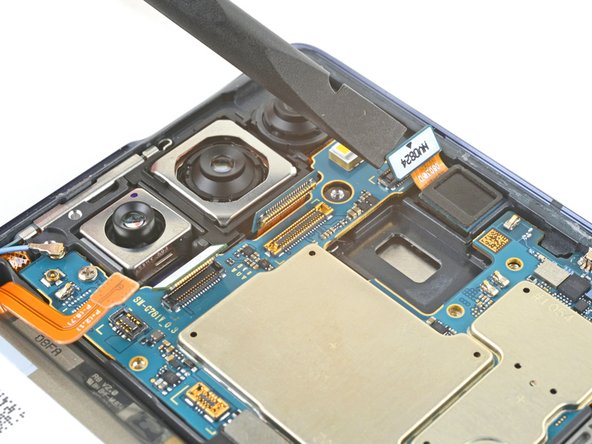
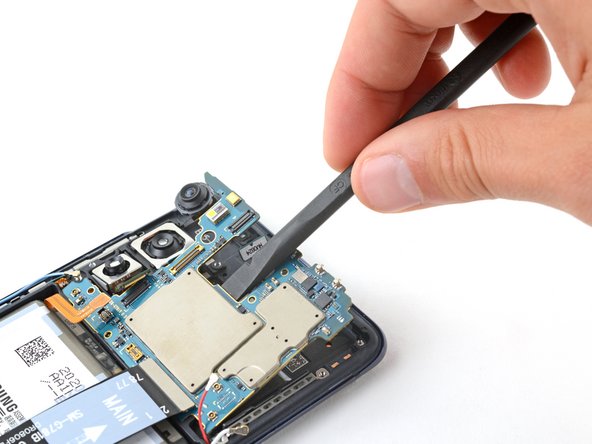
– Slip the tip of your spudger into the little notch on the right side of the upper midframe—it’s hanging out near the Bixby button.
– Gently pop the midframe up from the phone’s body using the spudger. Easy does it!
Tools Used

Step 18

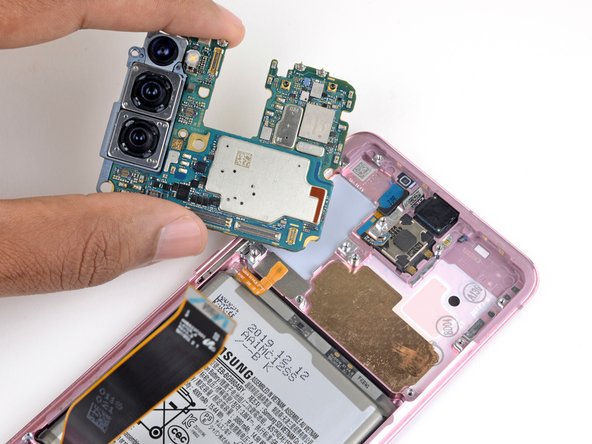
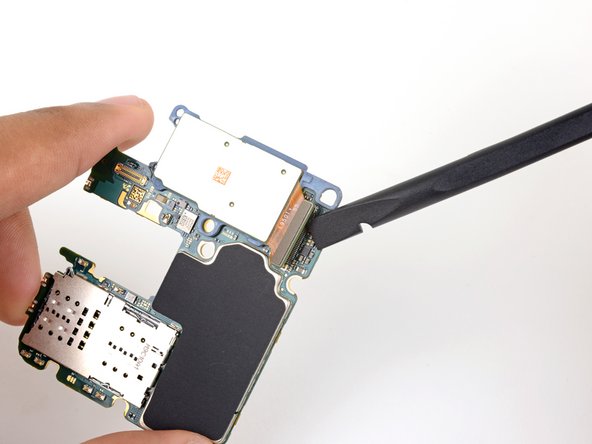
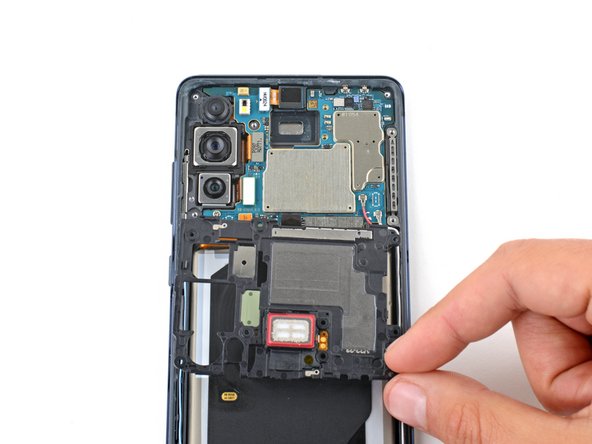
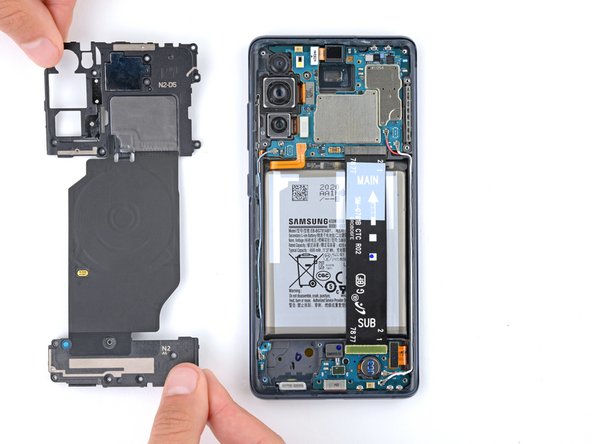
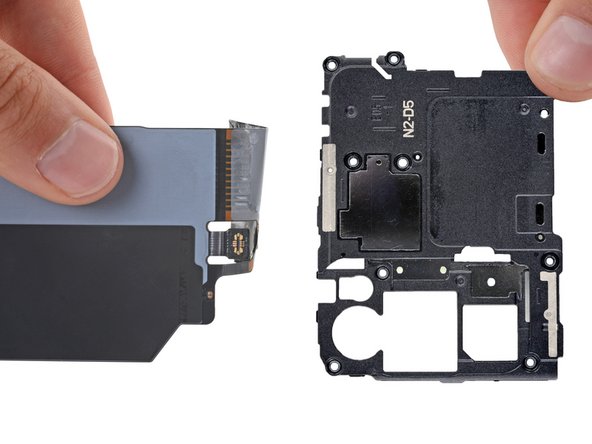
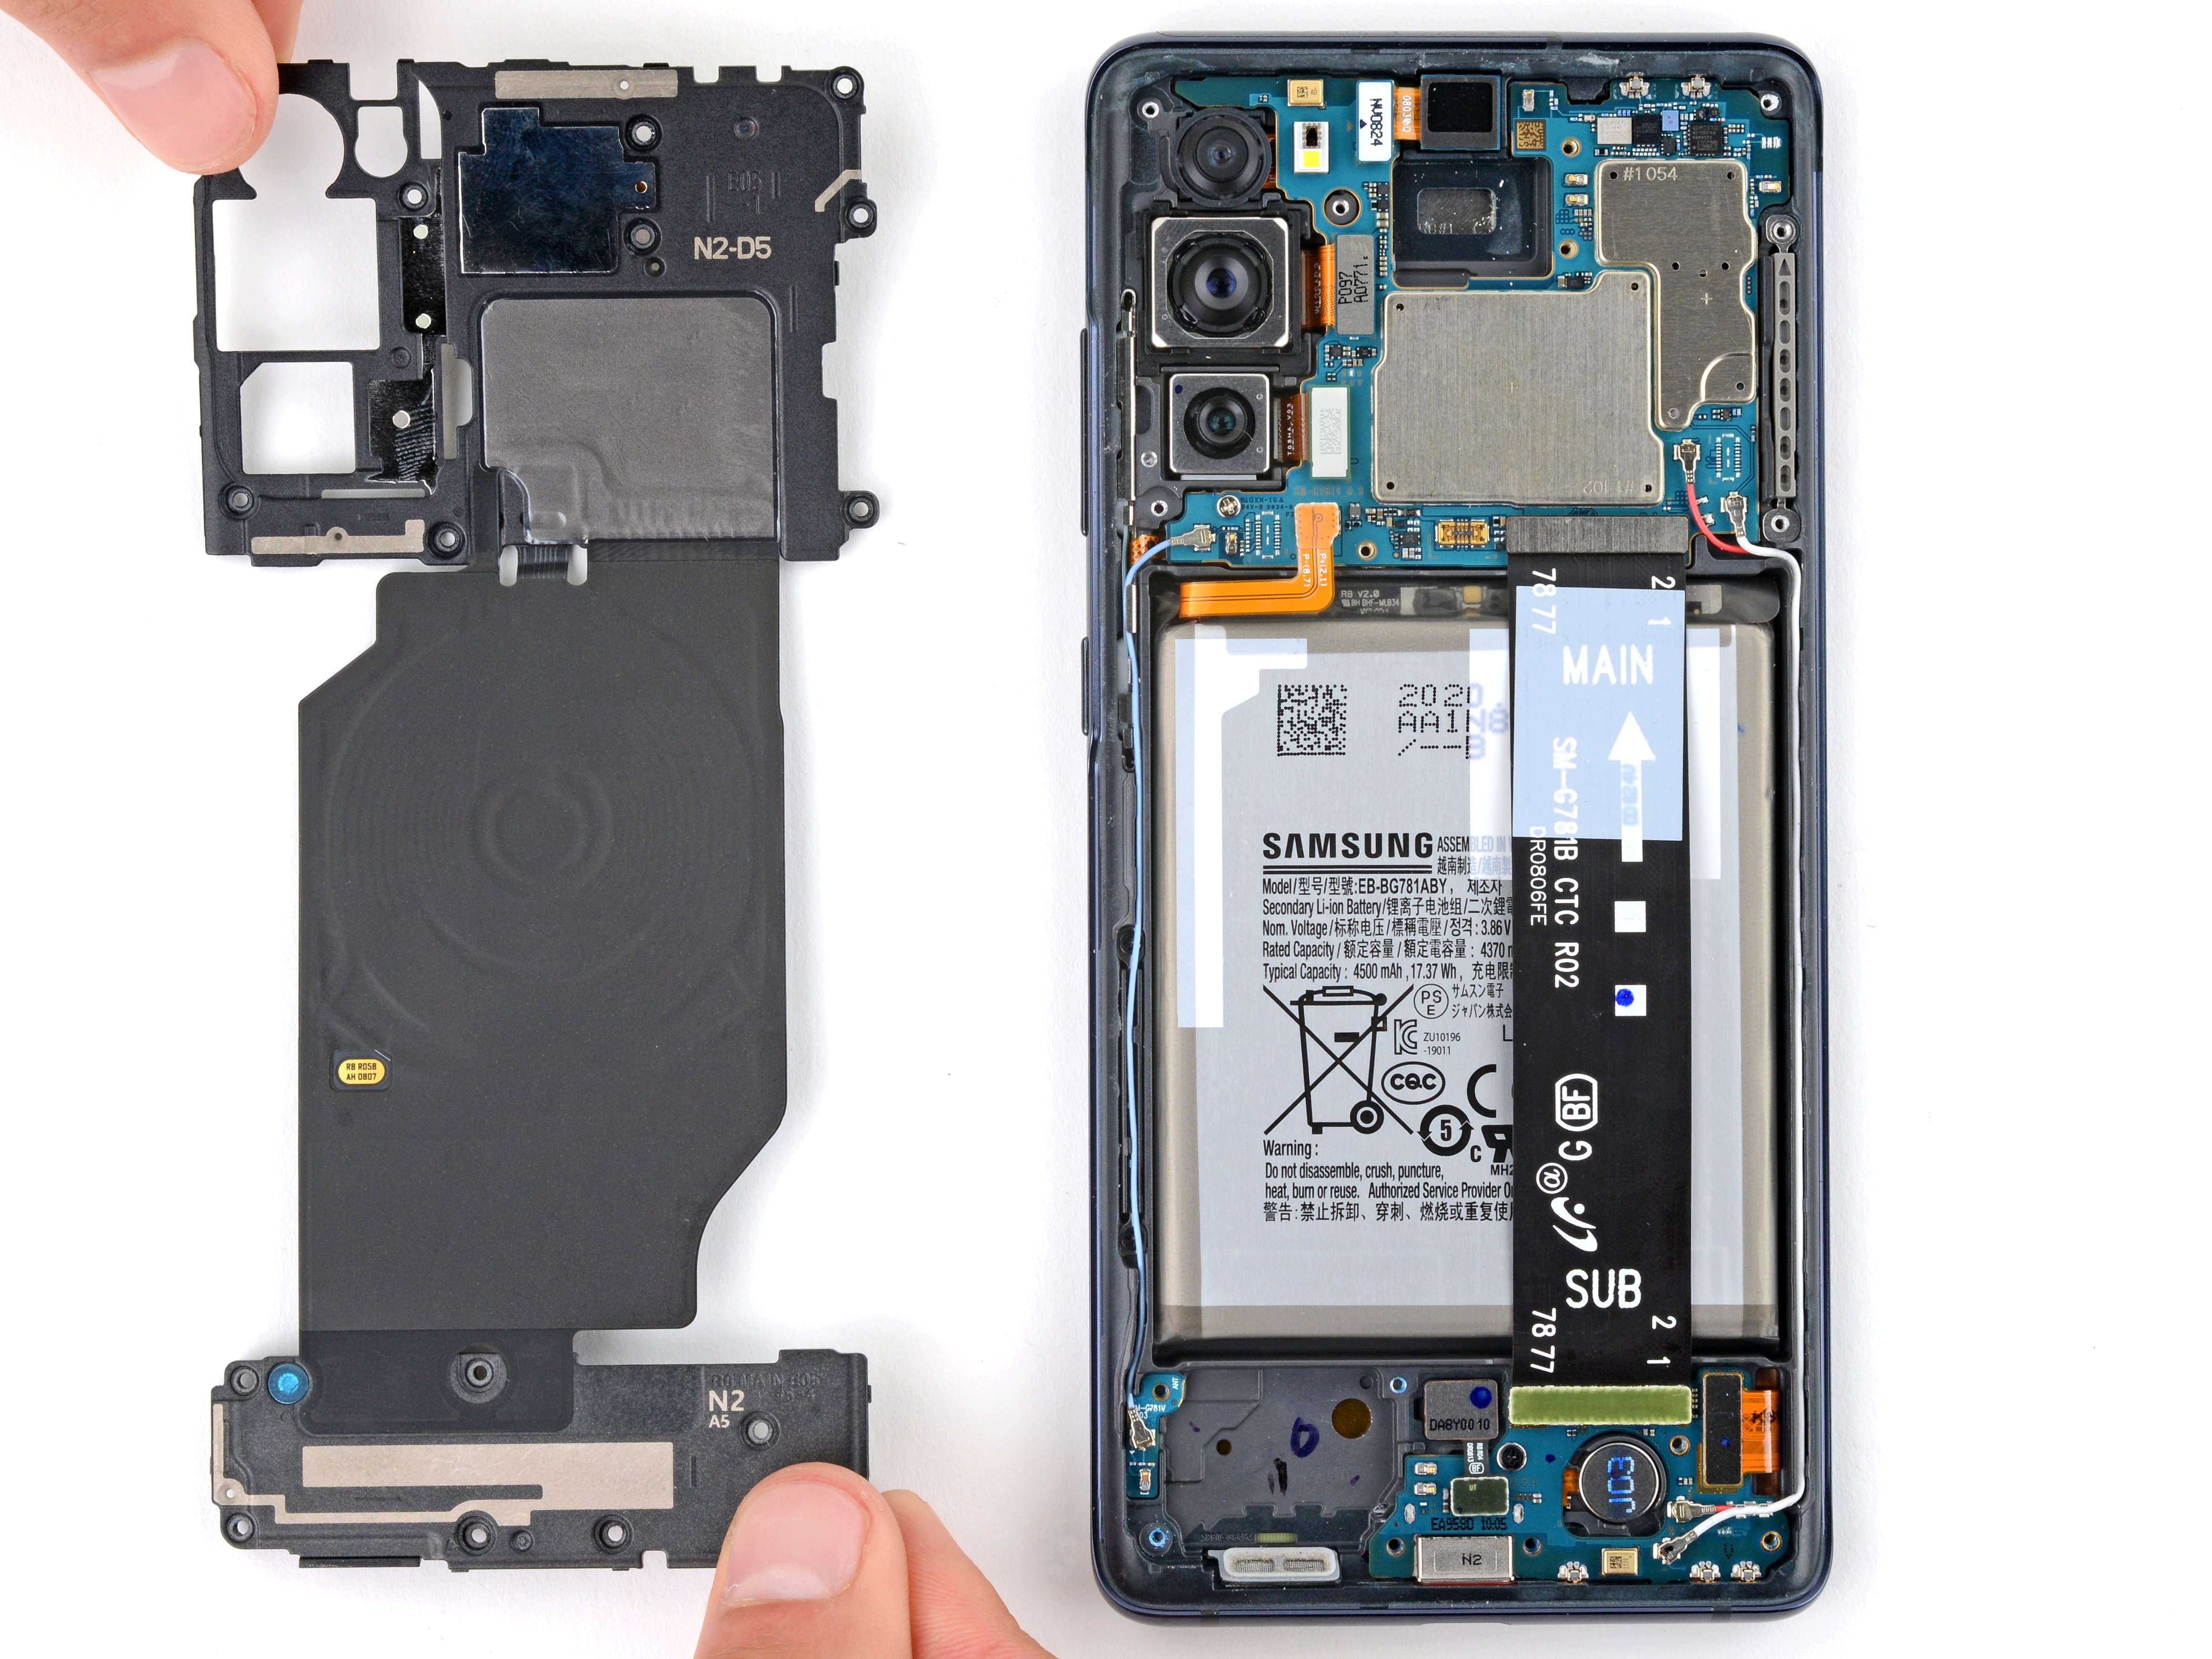
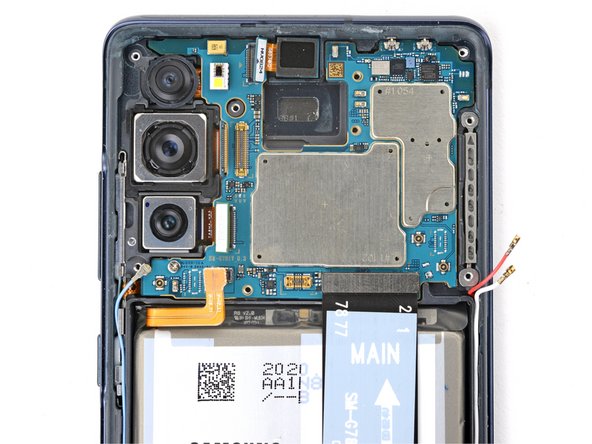
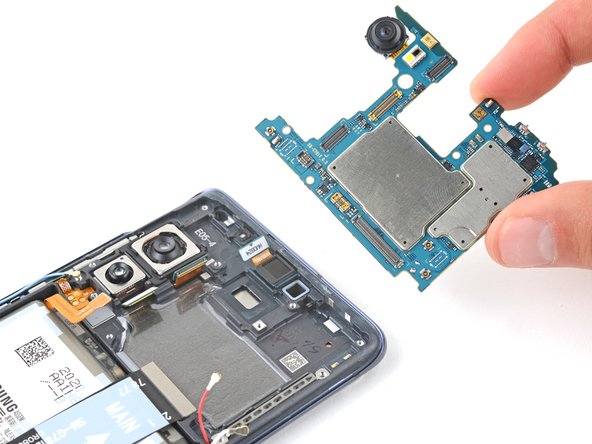
– Grab the midframe by the plastic section and lift it out—like you’re picking up a slice of pizza, but less cheesy.
– When putting it back, slide the top edge into the frame first, then gently press down on the rest until it clicks into place. Easy does it!
Step 19


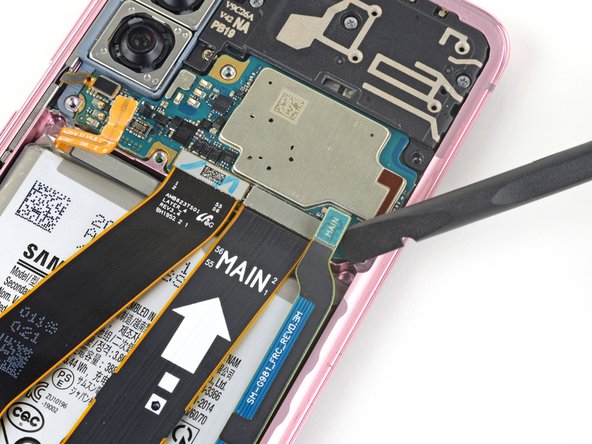
– Grab your spudger and gently pop the battery connector straight up from its socket to give it a little break from the circuit.
Tools Used
Step 20

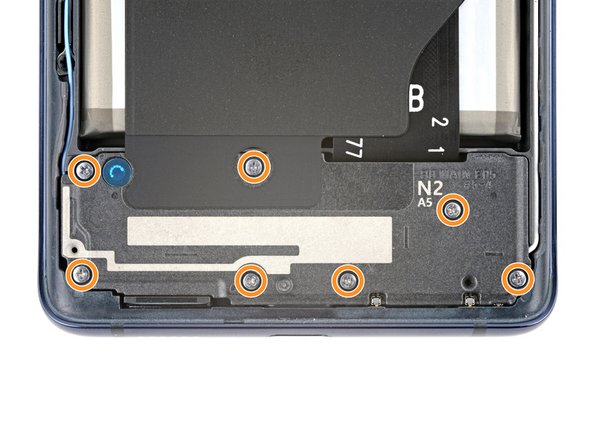
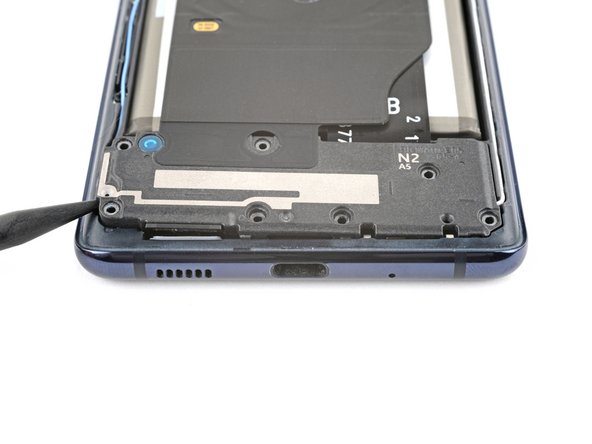
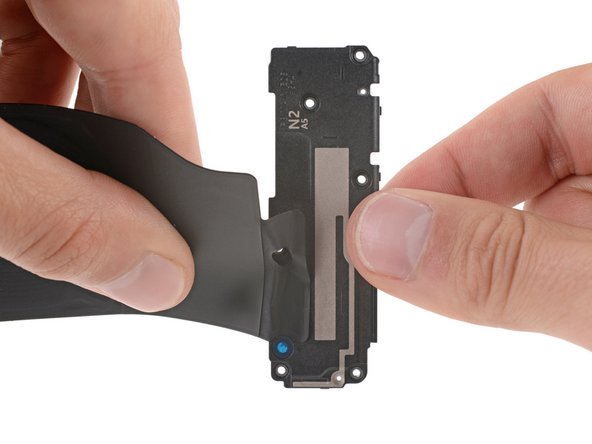
– Grab your trusty Phillips driver and get ready to unscrew! It’s time to take out the seven 3.9 mm screws that are holding your loudspeaker in place. Let’s do this!
Step 21


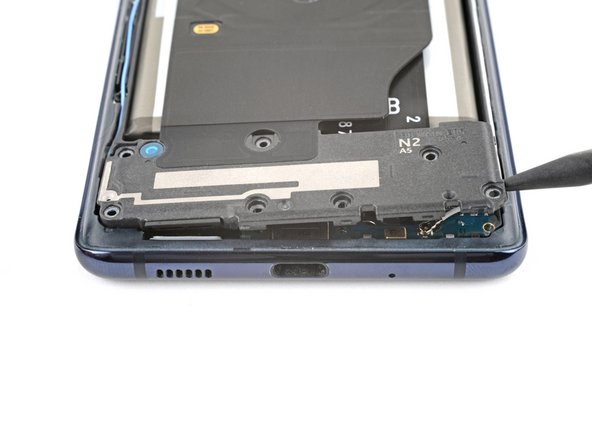
– Slide the pointed end of a spudger into the notch on the right side of the loudspeaker. Think of it as gently wedging your way in.
– Carefully leverage the spudger to lift and loosen the loudspeaker, like giving it a friendly nudge to say, ‘Hey, time to come out.’
Tools Used
Step 22


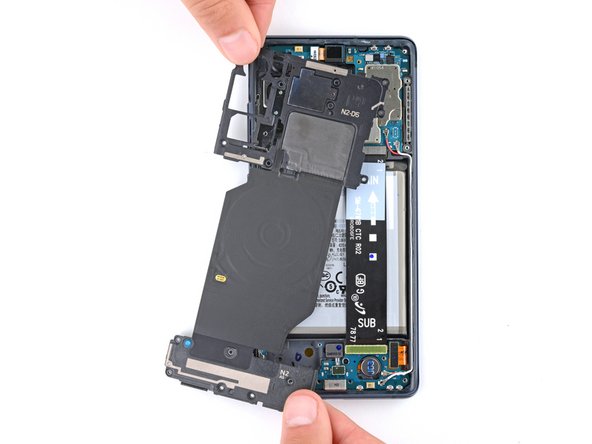
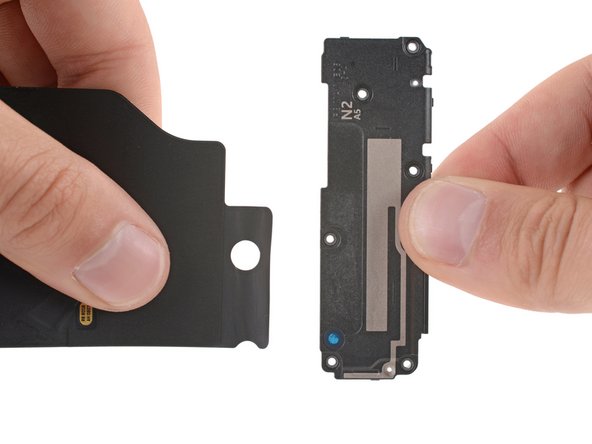
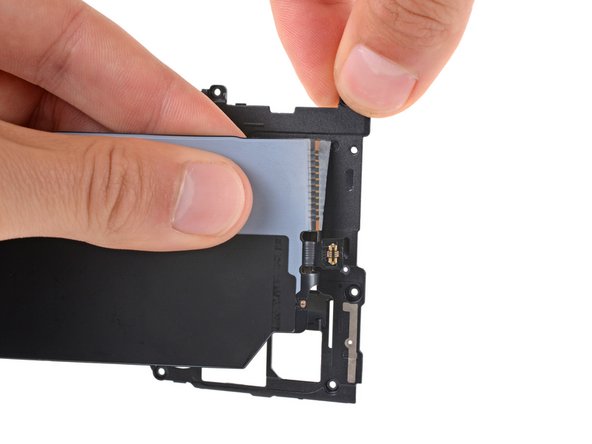
– Gently lift out the loudspeaker—like you’re plucking a prize from a claw machine.
– When you’re ready to put it back, press around the edges until you hear that satisfying snap.
Step 23


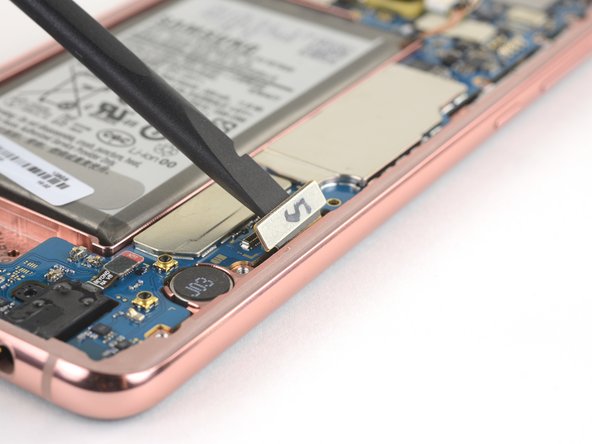
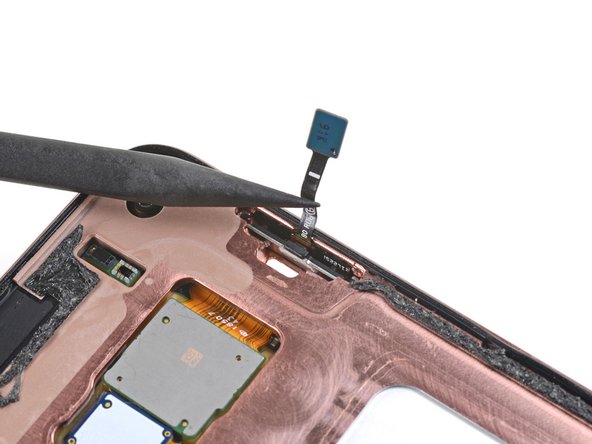
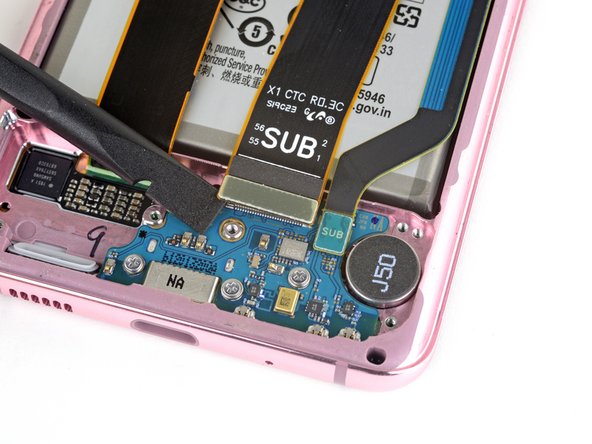
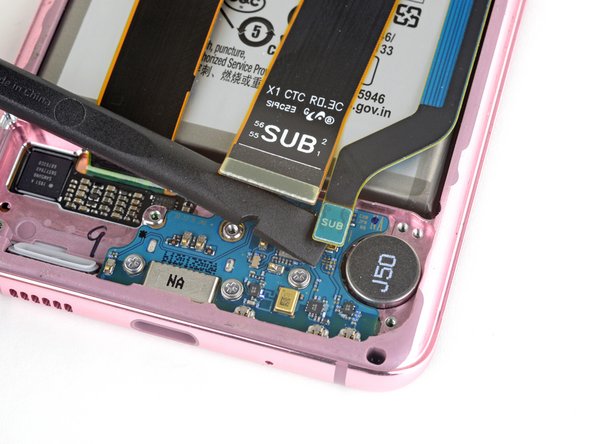
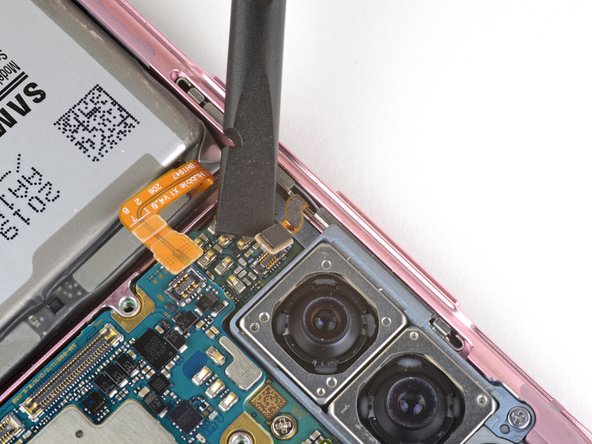
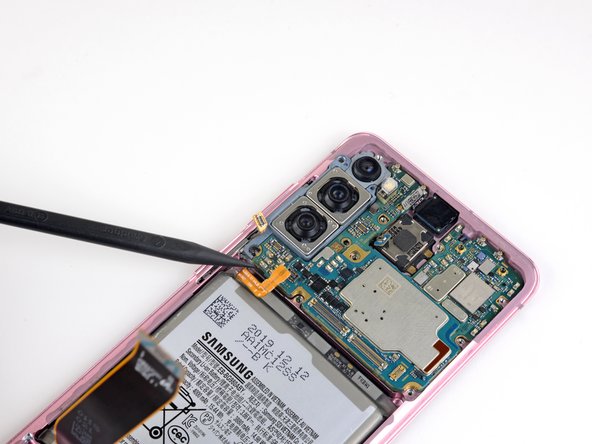
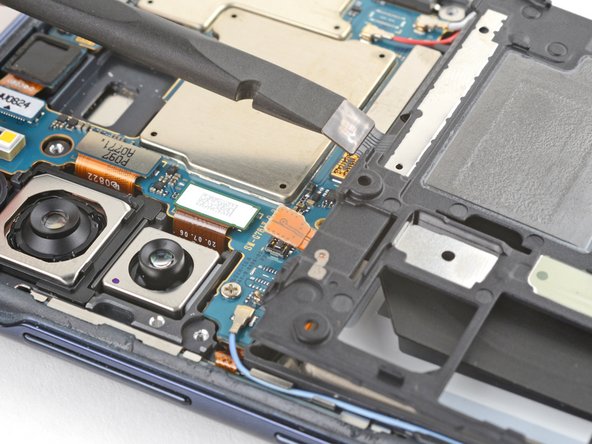
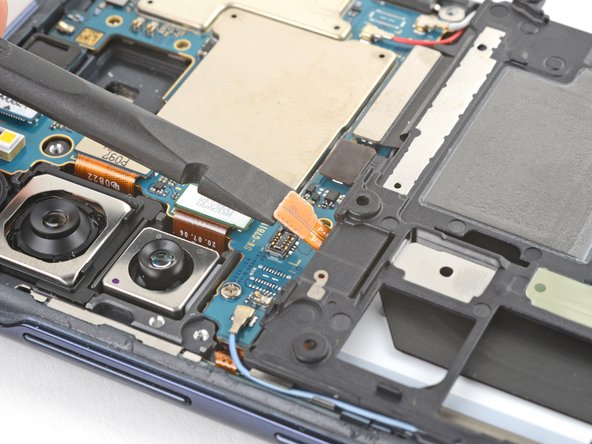
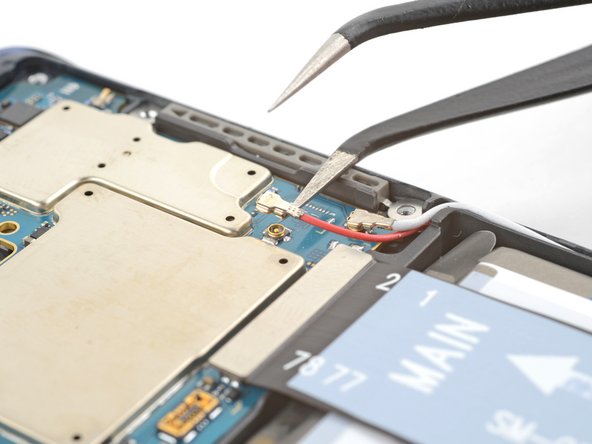
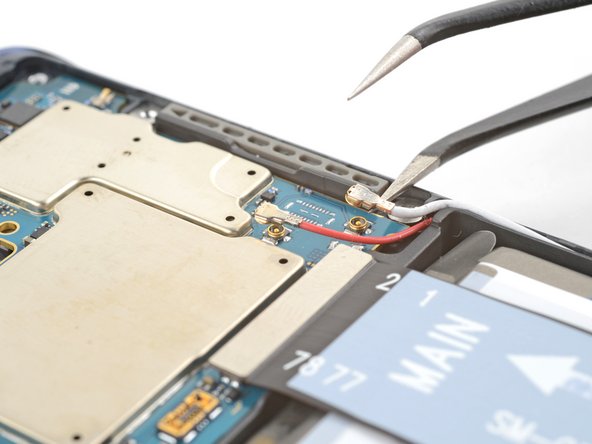
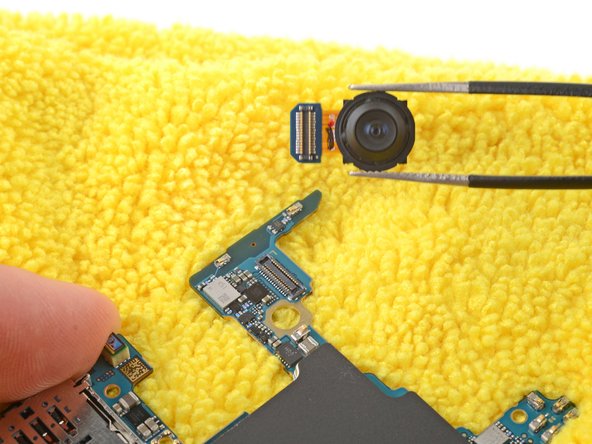
– Gently wiggle your spudger under the headphone jack connector and pop it free from the motherboard socket.
Tools Used
Step 24


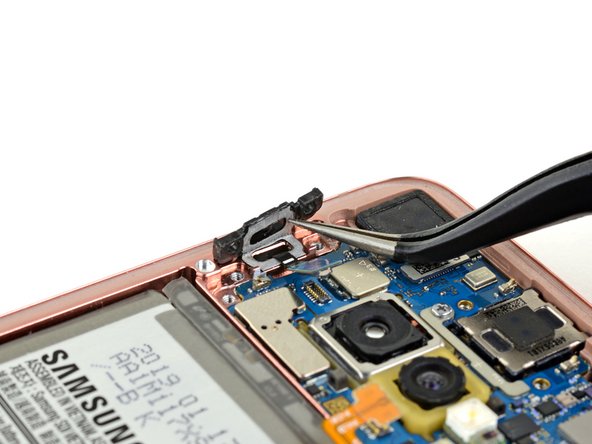
A loose headphone jack might give way and pop out unexpectedly. No worries—just keep it steady and avoid jostling. If you need a hand or want to get it fixed properly, you can always schedule a repair with Salvation Repair.
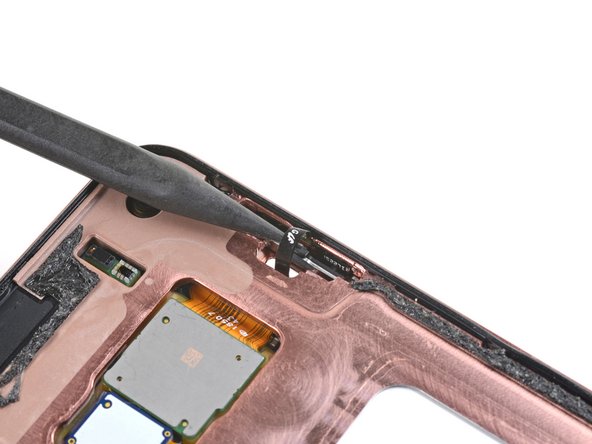
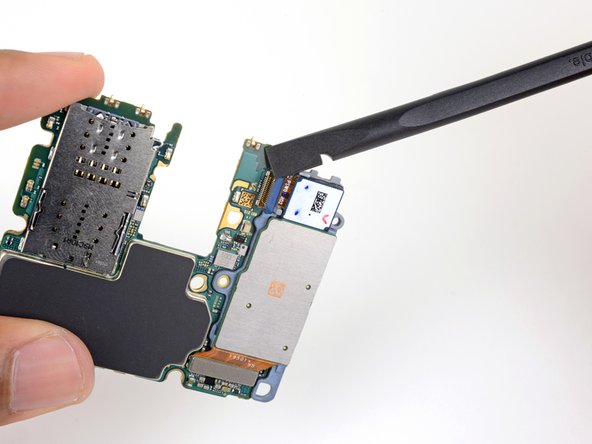
– Slide the tip of your spudger into the headphone jack port like you’re sneaking snacks into a movie.
– Give the spudger a confident lift until you feel the headphone jack pop loose from the frame—no sweat!
Tools Used
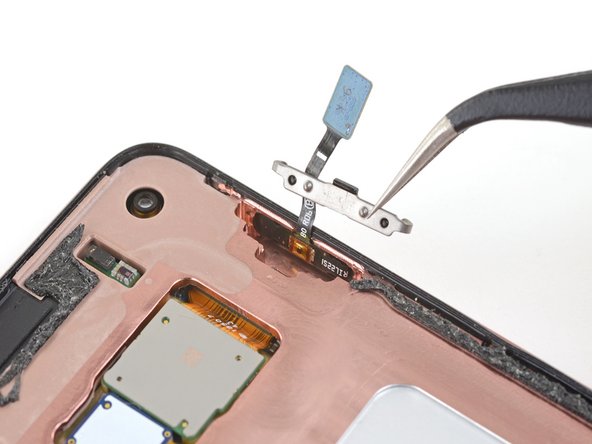
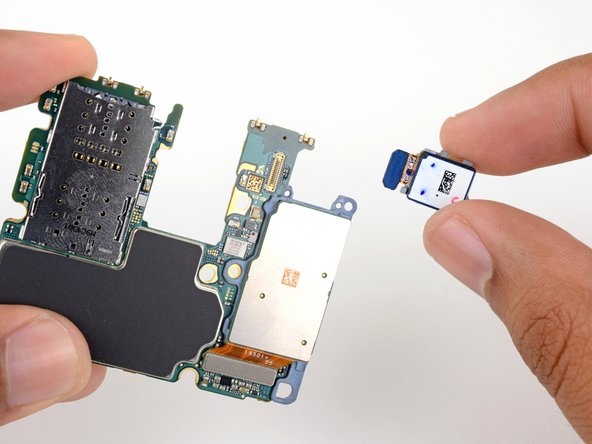
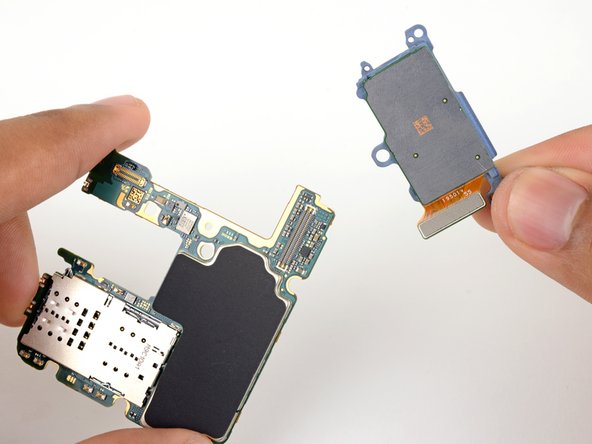
Step 25

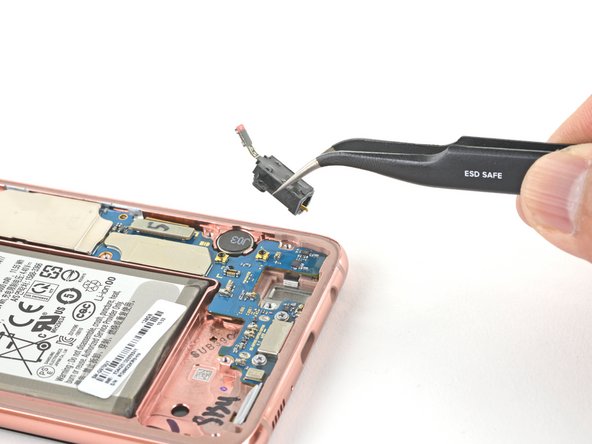
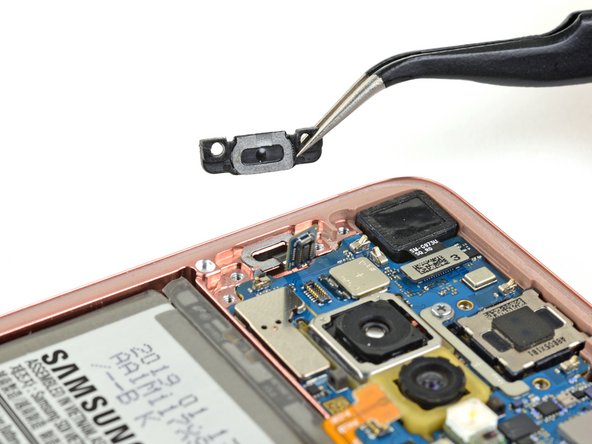
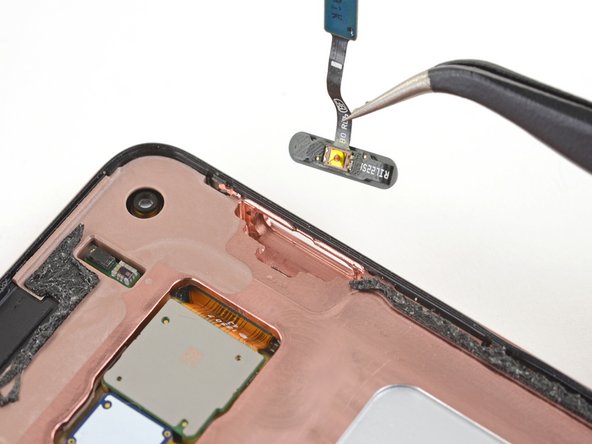
– Take out the headphone jack—give it a gentle wiggle if needed, and set it aside for later.
Step 26


– Time to put your device back together! Just retrace your steps and follow these instructions in reverse.
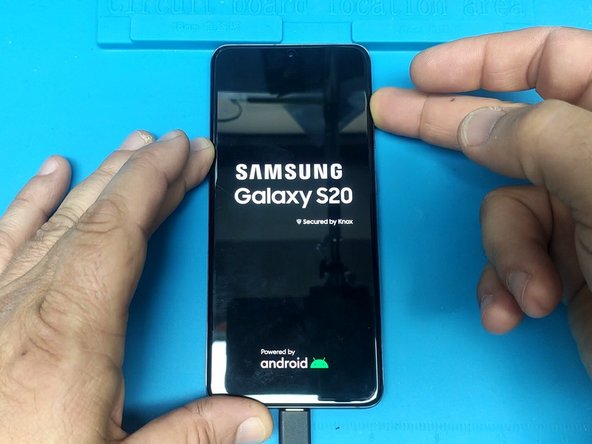
– Once you’re done with the repair, give your device a little test run using this guide to make sure everything’s working smoothly.
– If things didn’t go quite as planned, no worries! Try some basic troubleshooting, or if you’re feeling stuck, feel free to schedule a repair for some expert help.
Success!