Duration: 45 minutes
Steps: 6 Steps
Here’s how to swap out the busted antenna in your Galaxy Ellipsis 8. All you need is a Phillips #00 screwdriver and a plastic opening tool. We’ve rated this one as easy, and it should take you about 8 minutes to get it done.
Step 1

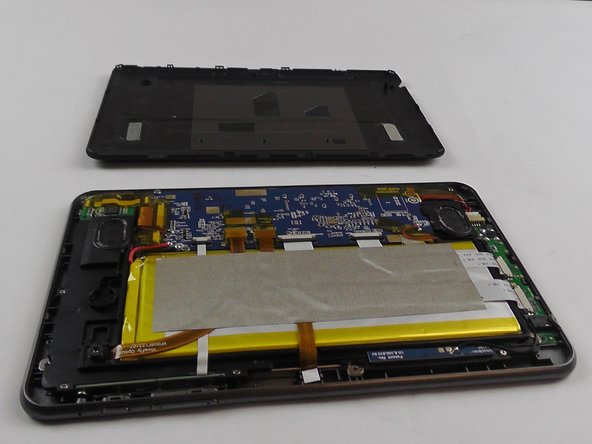
– Grab a plastic opening tool and gently work it along the device’s edge seam until the back case pops off.
– Carefully take off the back case.
Step 2

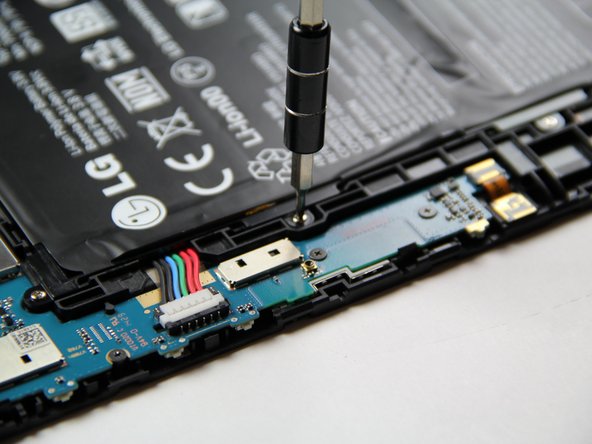
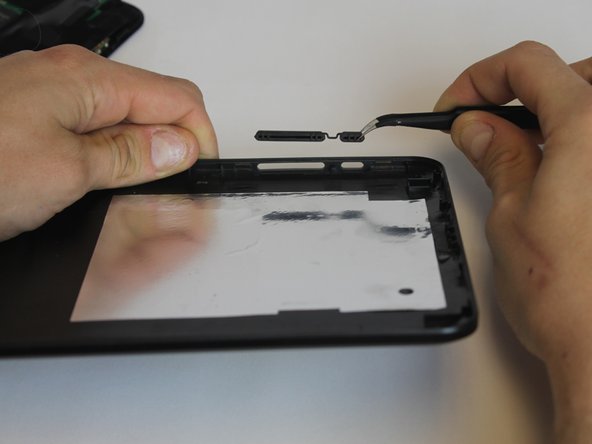
– Grab your trusty Phillips #00 screwdriver and let’s tackle those two tiny 0.1 mm screws holding the green bracket in place. You’ve got this!
Tools Used

Step 3

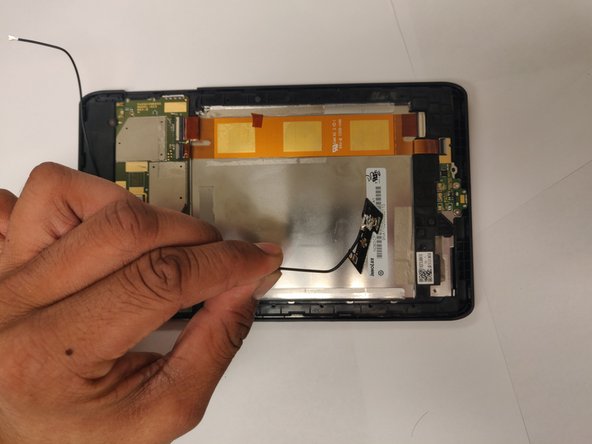
– After taking off the back of the Verizon Ellipsis 8, grab your trusty spudger and carefully lift one side of the tape. Once you’ve got it going, just take your time and peel it off gently until it’s completely free from the battery. You’re doing great!
Step 4

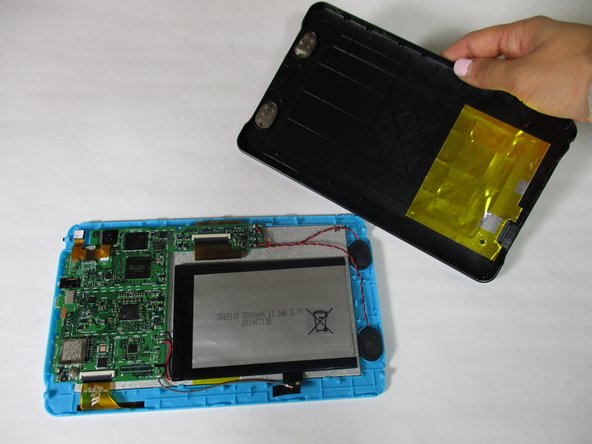
– Gently pop out the battery from your gadget and set it aside with care.
Step 5

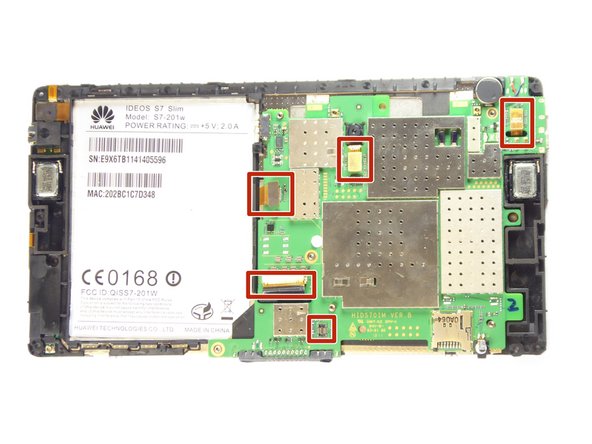
– Grab your trusty plastic opening tool and gently pry up the motherboard starting from the top right edge of your device. You’ve got this!
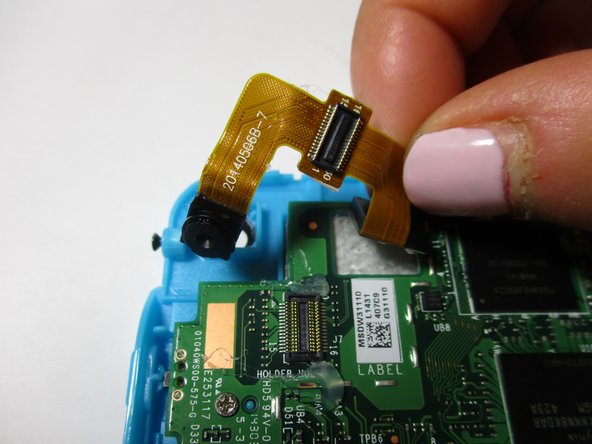
Step 6
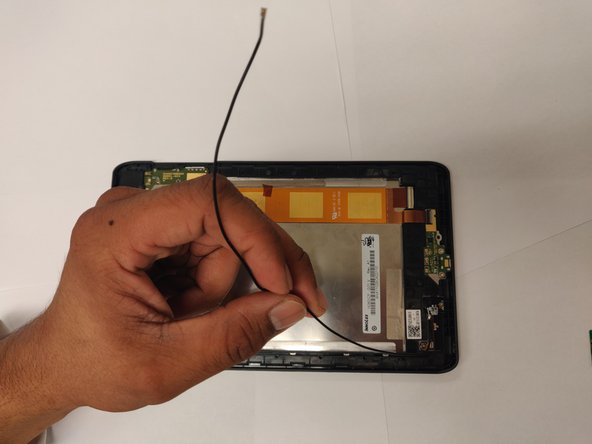

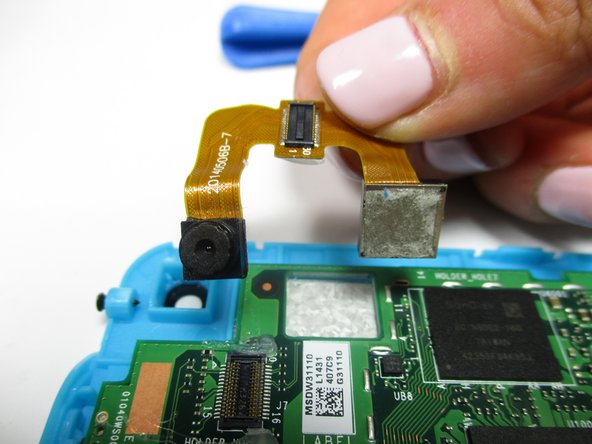
– Once you’ve got the antenna in your hands, go ahead and pop it out, then slide in the new one like a pro!
Success!