DIY Guide to Replace iPhone 6s Plus Rear Camera
Duration: 30 min.
Steps: 11 Steps
In this guide, we’ll walk you through the steps to swap out your iPhone 6s Plus’ faulty rear camera all by yourself! If your main camera is acting up, your photos are coming out fuzzy, or it’s refusing to focus, then it’s time for this repair. Let’s get that camera working like new again!
Step 1
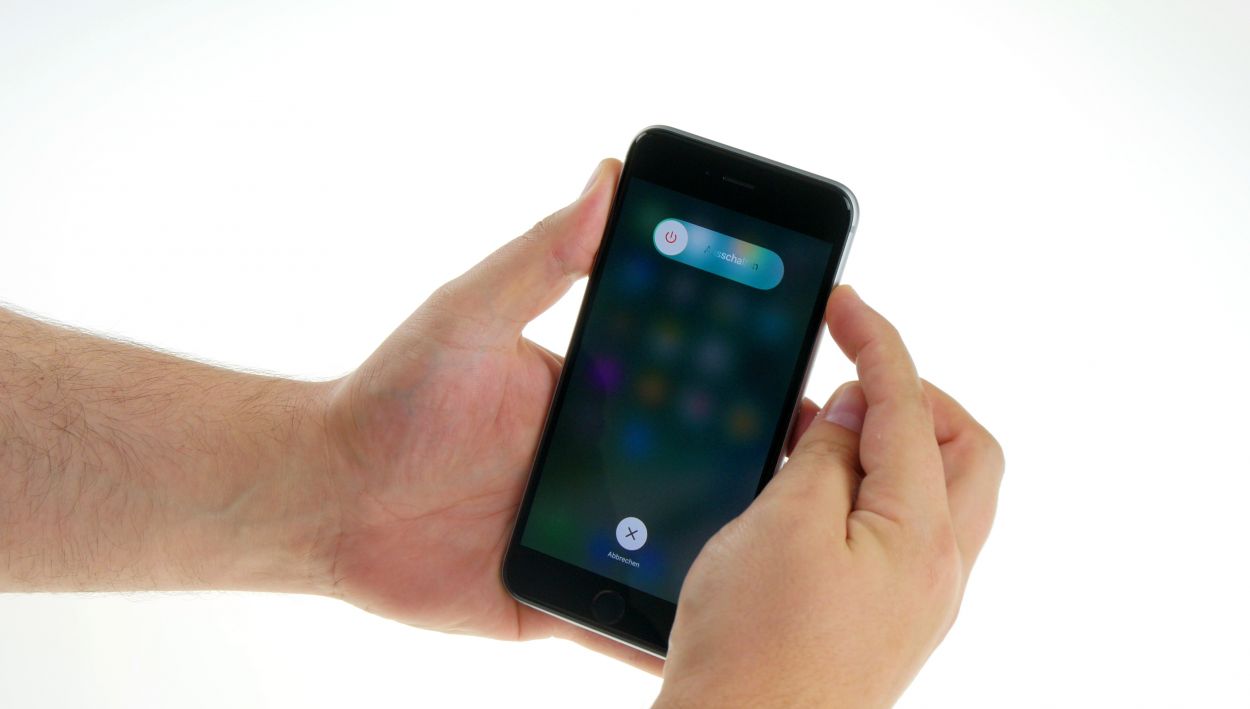

– First things first, let’s power down that iPhone! To keep it safe during the repair, hold down the standby button for about three seconds until you see the slider pop up.
– Now, give that slider a gentle swipe from left to right. Your iPhone will start shutting down, which might take around ten seconds. Hang tight!
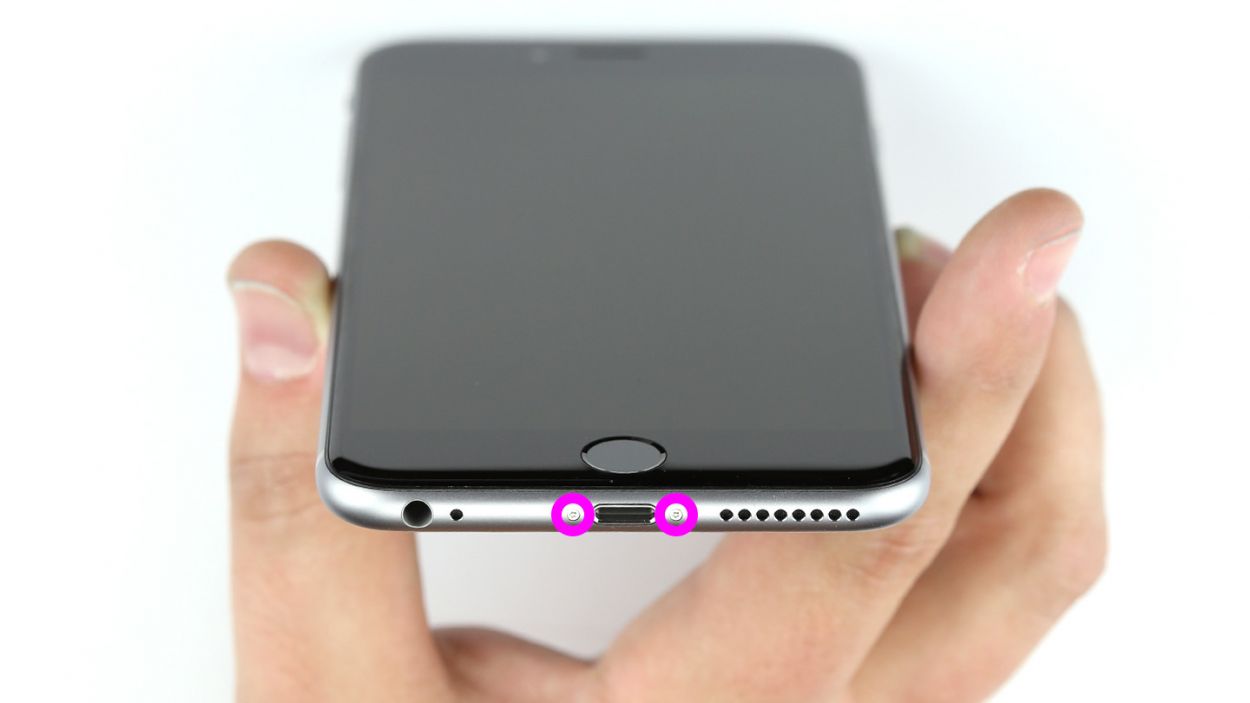
Step 2

– Grab your trusty pentalobe screwdriver; it’s your ticket to opening up the iPhone 6s Plus!
– Next up, let’s tackle those two pentalobe screws chilling at the bottom of the enclosure. You’ll find them on either side of the Lightning connector. Make sure to stash those screws in a safe spot so they don’t go missing! 2 x 3.3 mm pentalobe screw
Step 3

Watch out for those sneaky shards of glass! They can be sharp, so handle with care.
– Set your iPhone 6s Plus down on a soft, clean surface to keep that back looking pristine.
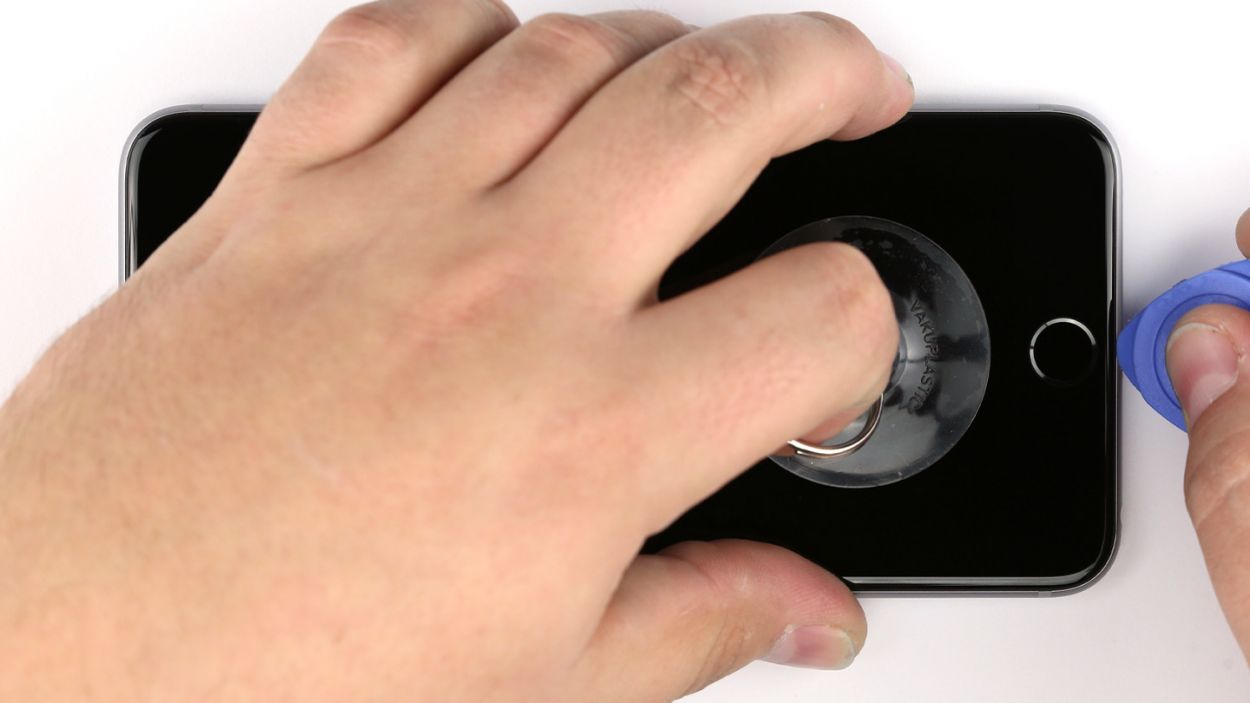
– To lift the display, gather your trusty suction cup, a hard plastic pick, and a heat gun. If the screen is really cracked, cover it with packing tape to avoid any glass injuries before proceeding.
– The screen is lightly glued to the frame, so grab your heat gun and warm up the edges of the display to about 60°C (140°F).
– Position the suction cup over the Home button if you can (if not, just place it beside it). While you gently lift the display with the suction cup, use the hard plastic pick to nudge down the aluminum frame. At the same time, slide the hard plastic pick between the frame and the display. This might take a few tries, so be patient!
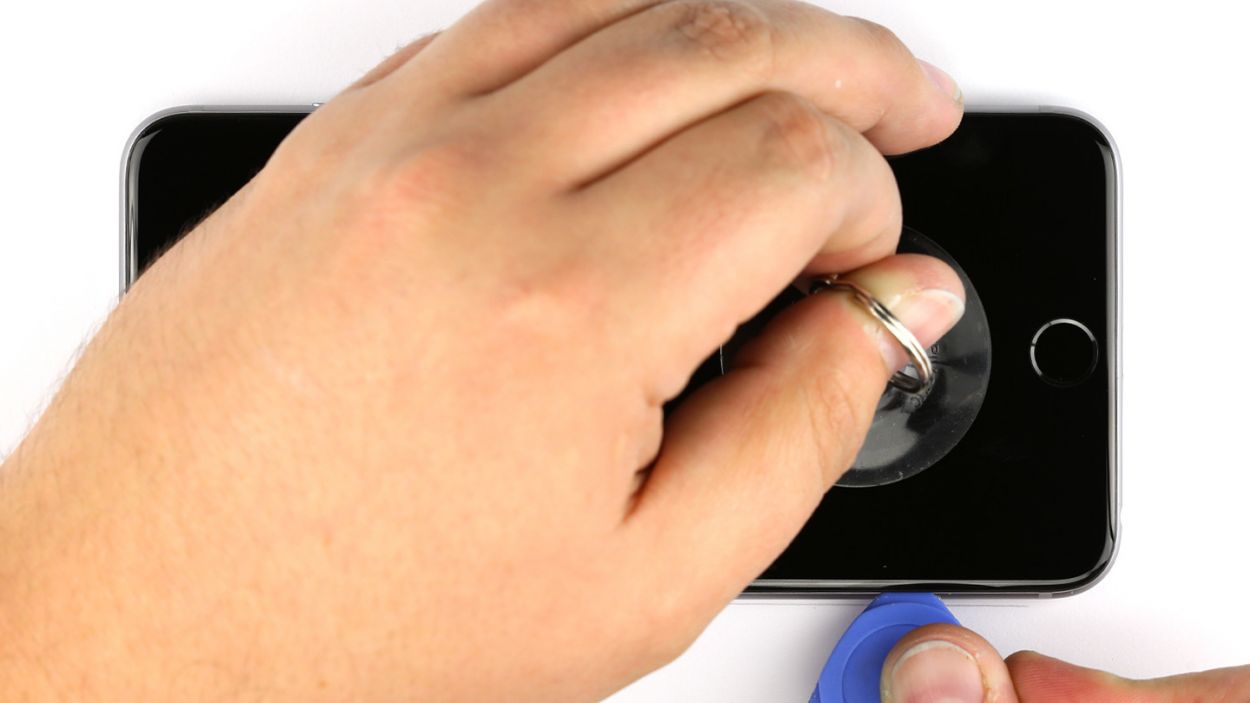
– Once you’ve created a tiny gap between the two parts, you can gently turn the pick to widen it a bit more.
– When you can lift the display a few millimeters, carefully work your way around the edges to loosen it on both sides. If needed, give the outer edges a bit more heat a few times.
Step 4


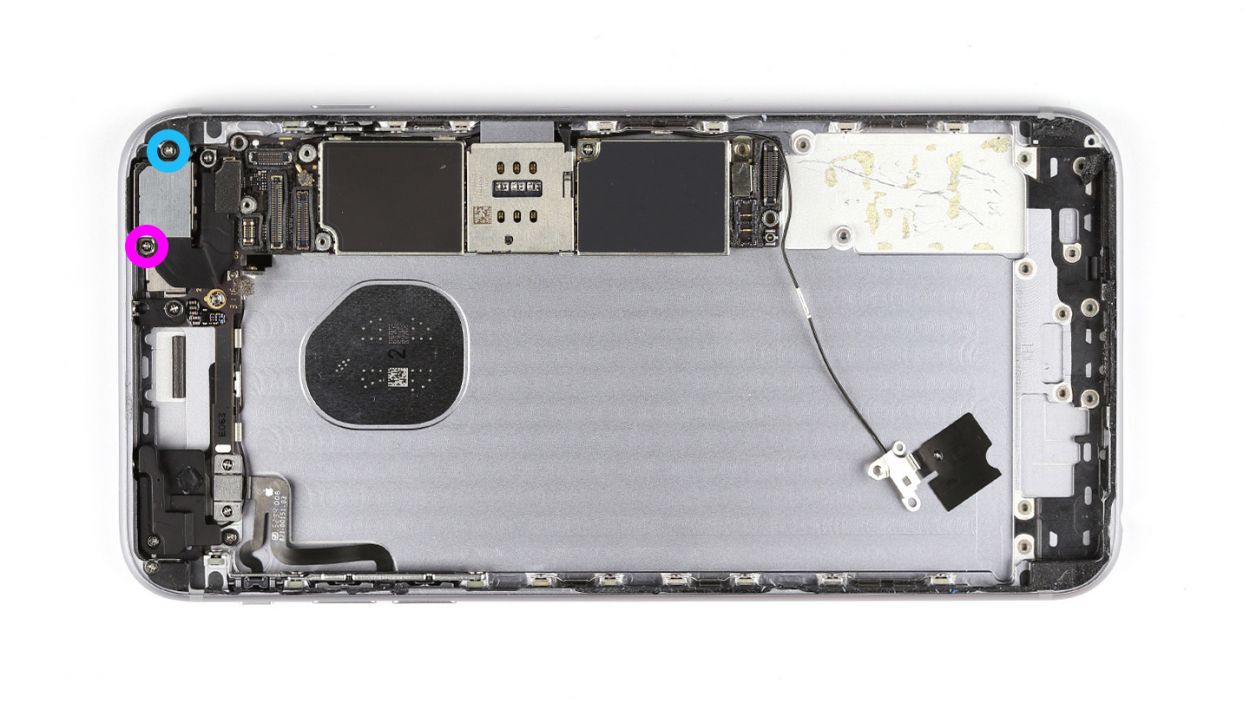
– Alright, let’s kick things off by removing those two Phillips screws! Once they’re out, you can easily slide off that shiny silver cover. You’ll need: 1 x 2.0 mm Phillips screw and 1 x 2.9 mm Phillips screw.
– Next, grab your trusty spudger and gently disconnect the lower connector for the battery contact, antenna, and Lightning connector. Easy peasy!
Step 5
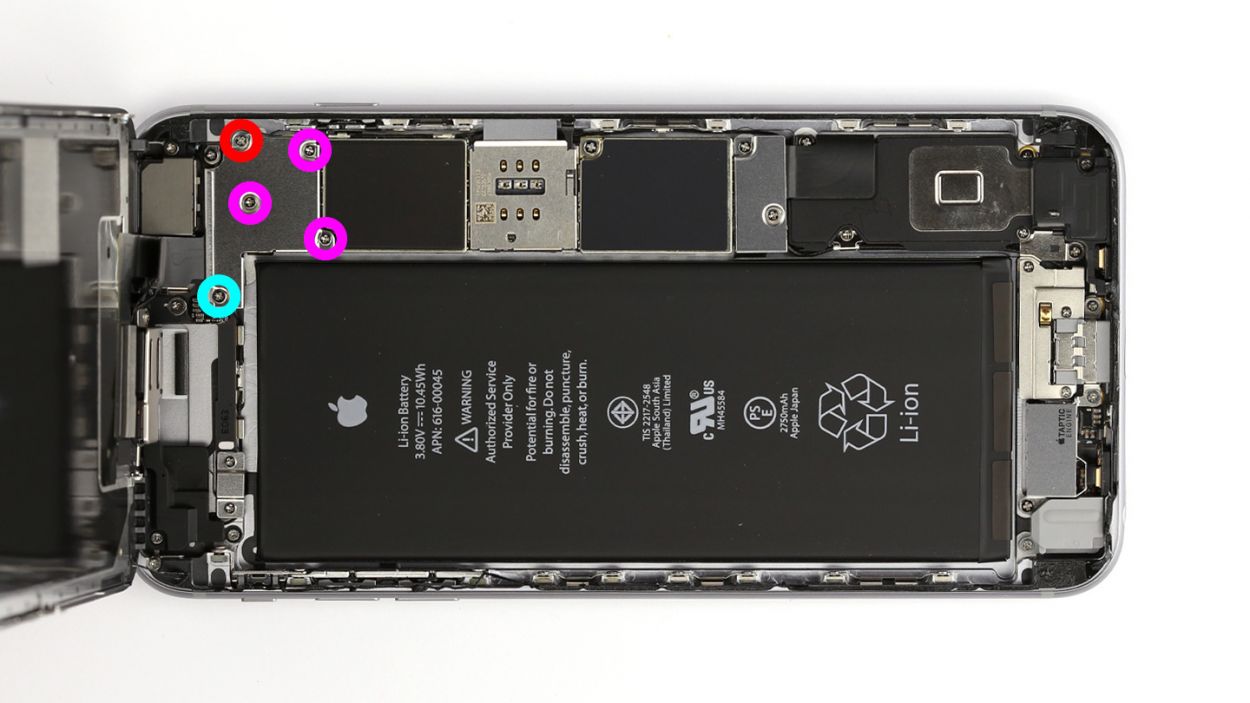

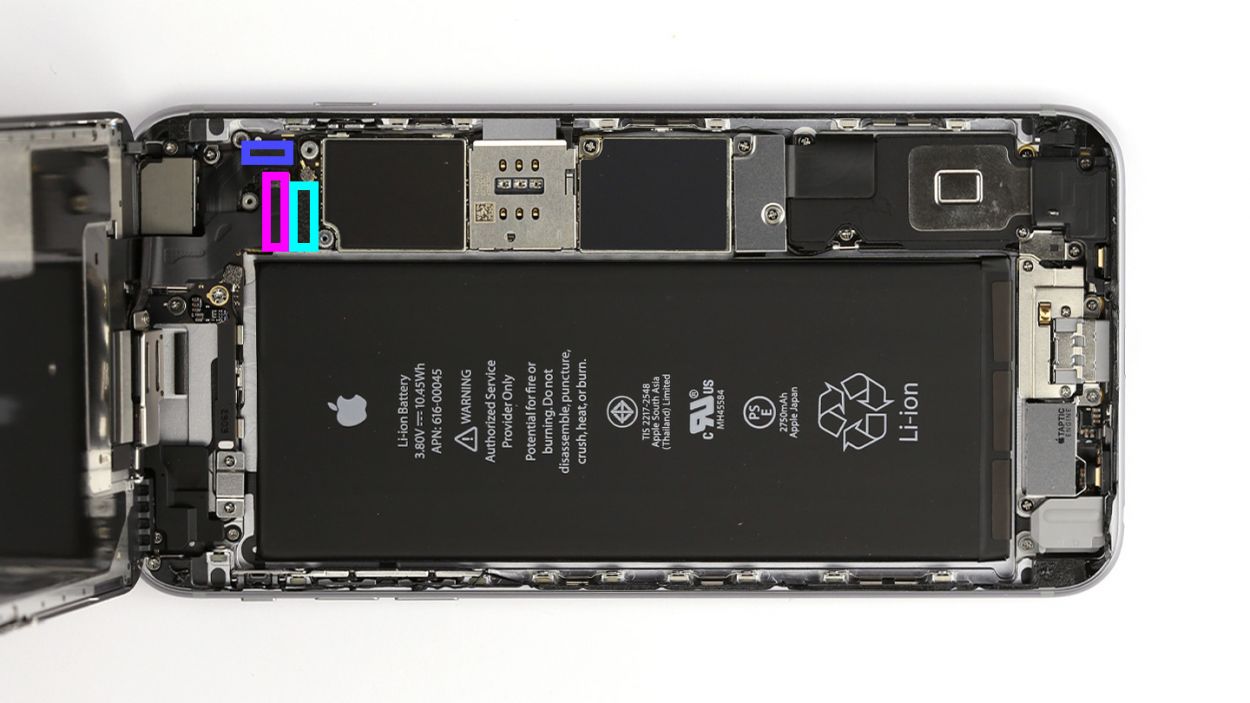
– Alright, time to tackle those five Phillips screws from the silver cover! Make sure to pop them into a container so they don’t go wandering off. Once they’re out, give that cover a gentle lift and say goodbye to it! You’ll need: 1 x 2.6 mm Phillips screw, 3 x 1.2 mm Phillips screws, and 1 x 1.6 mm Phillips screw.
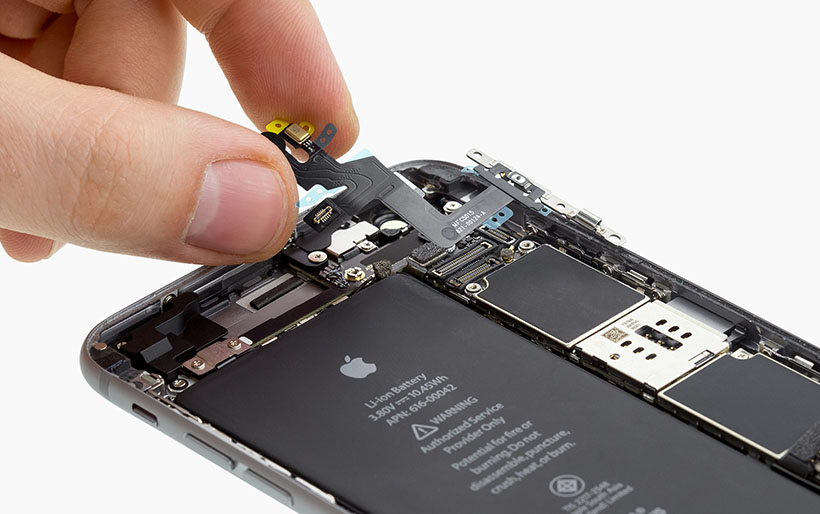
– Now, let’s get those three overlapping connectors disconnected in the order shown below. Be super careful here! Use the pointed tip of your spudger and gently slide it just below each contact to lift it up. We’re talking about the Touch ID cable, the front camera/sensor/earpiece/ambient microphone, and the display. You’ve got this!
Step 6


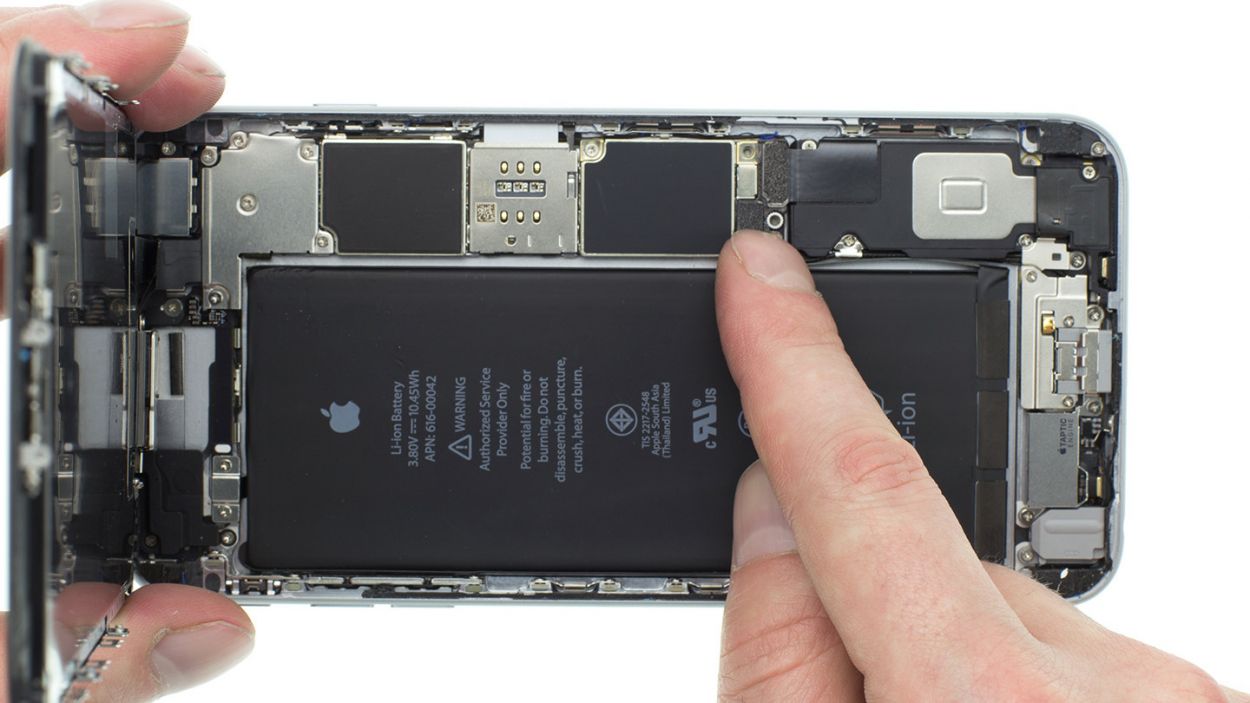
The silver cover is gently stuck to the camera, so give it a little love when you remove it!
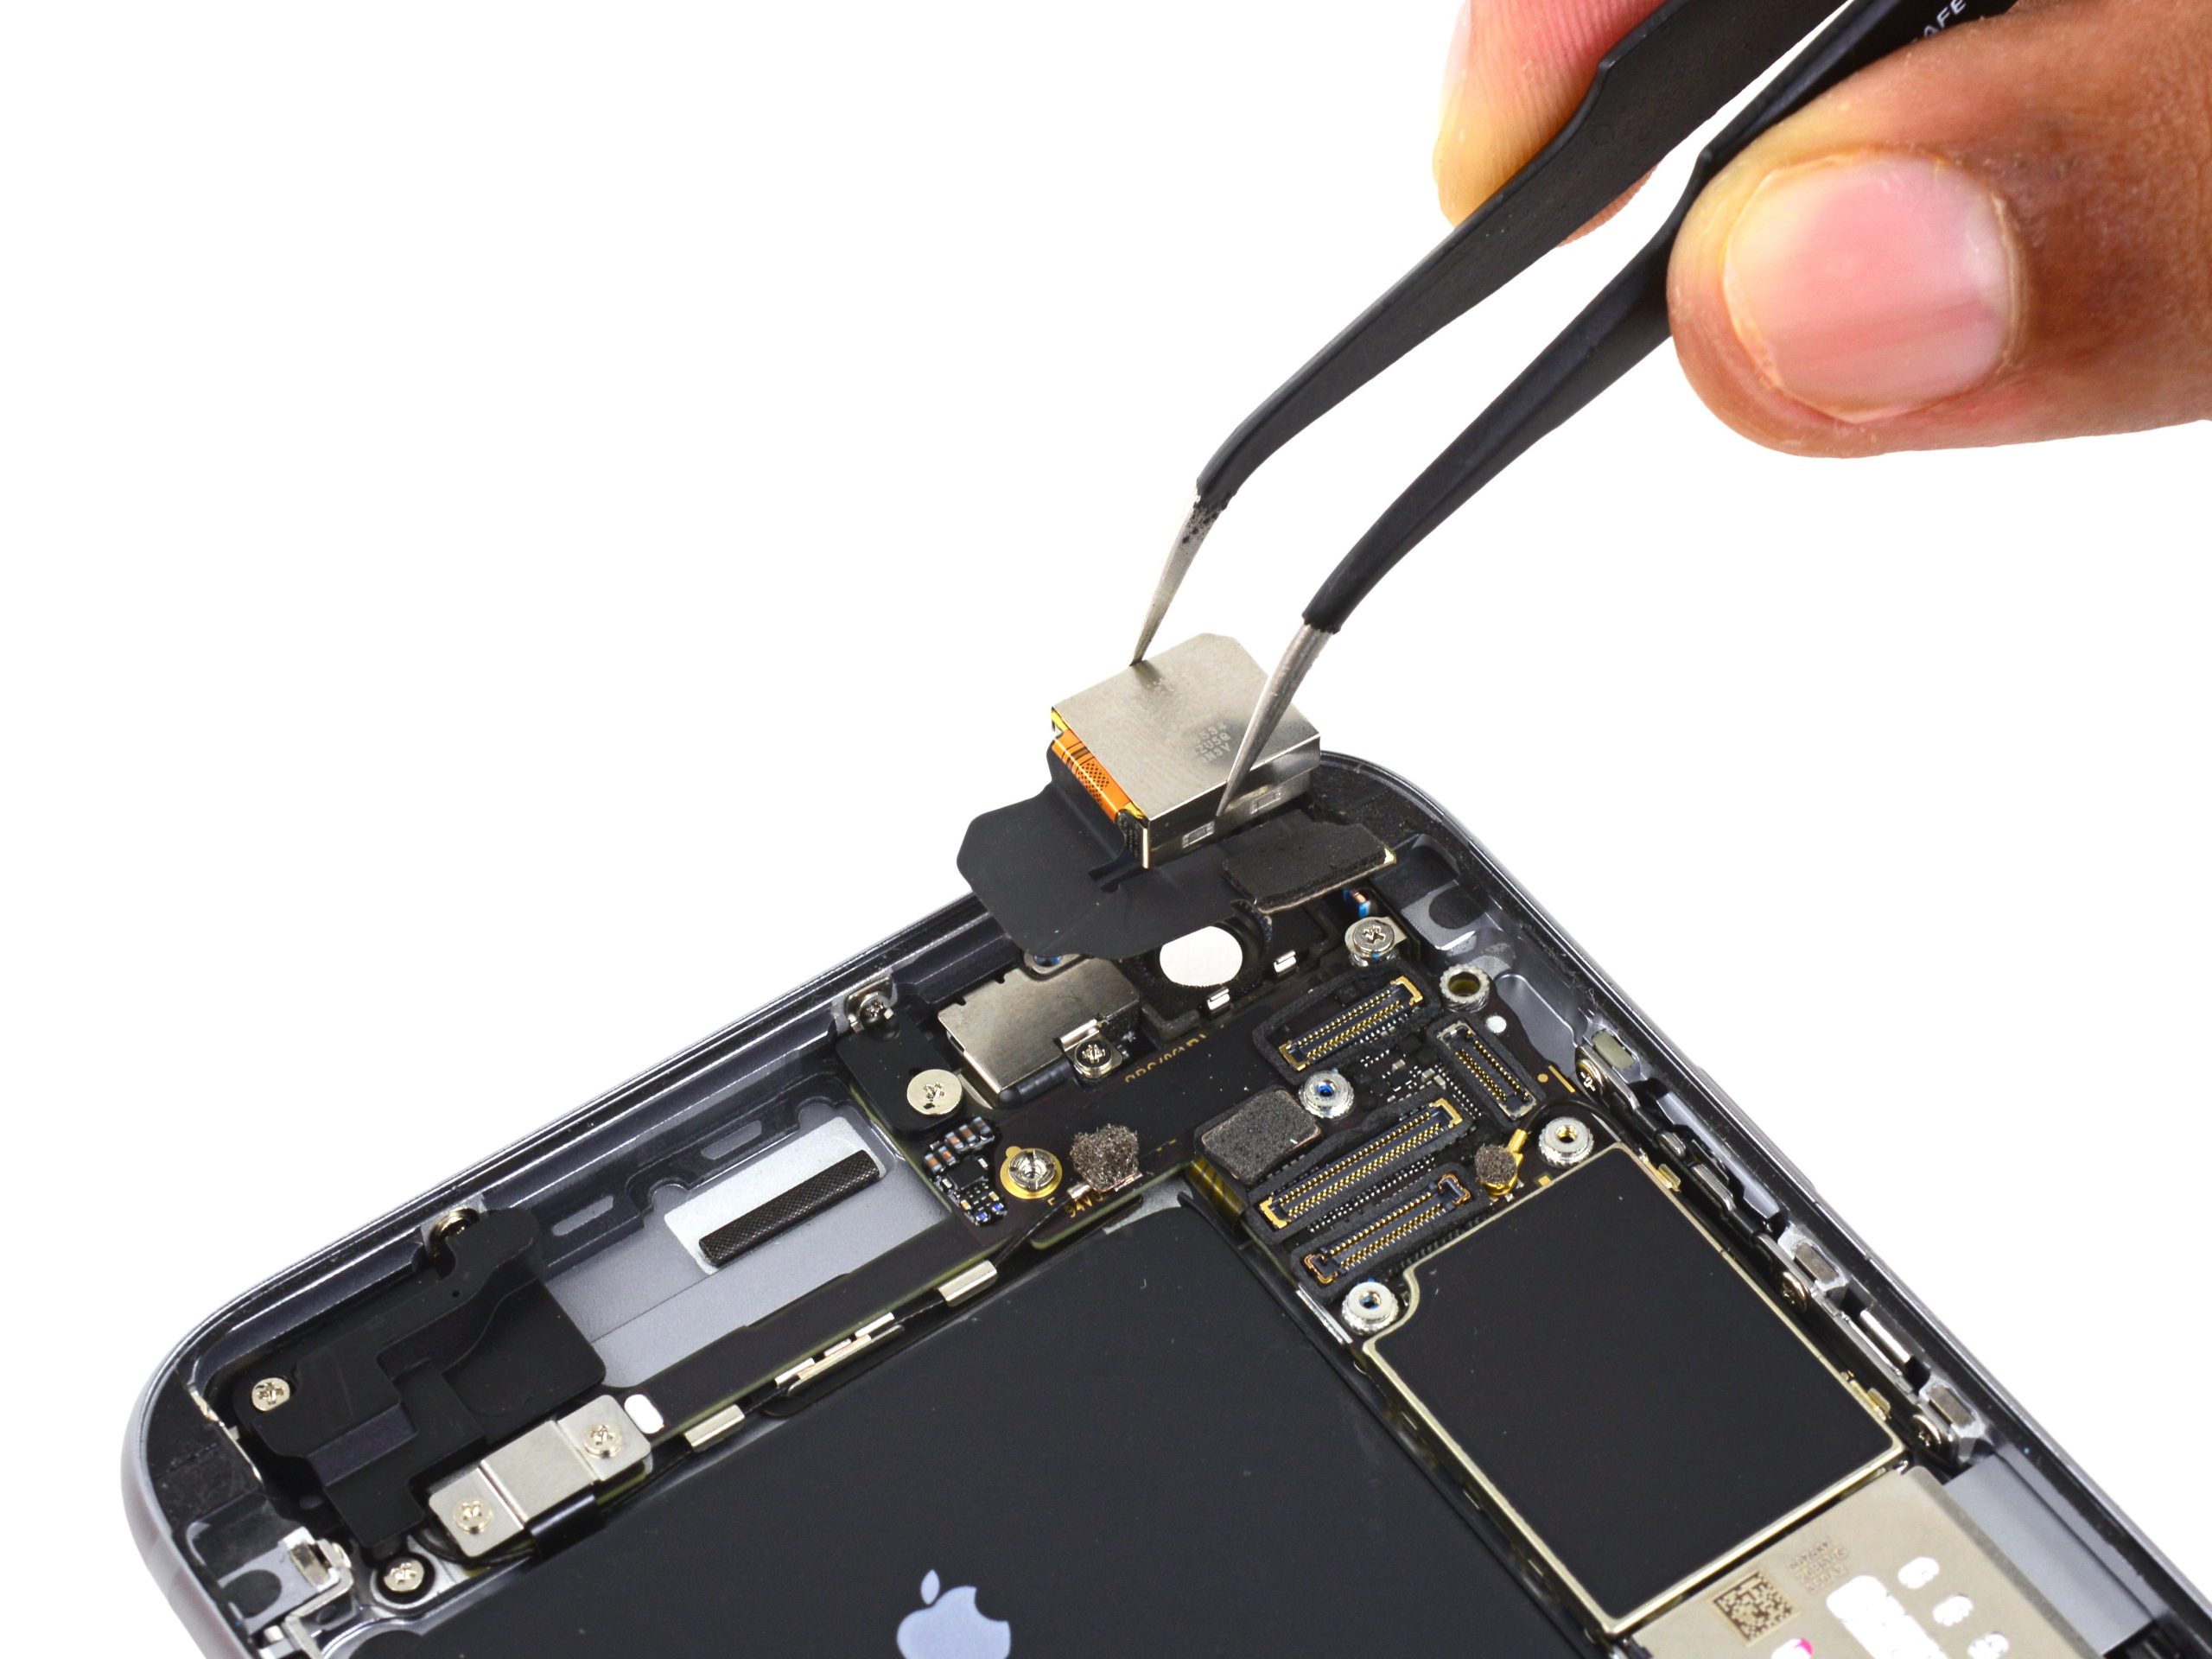
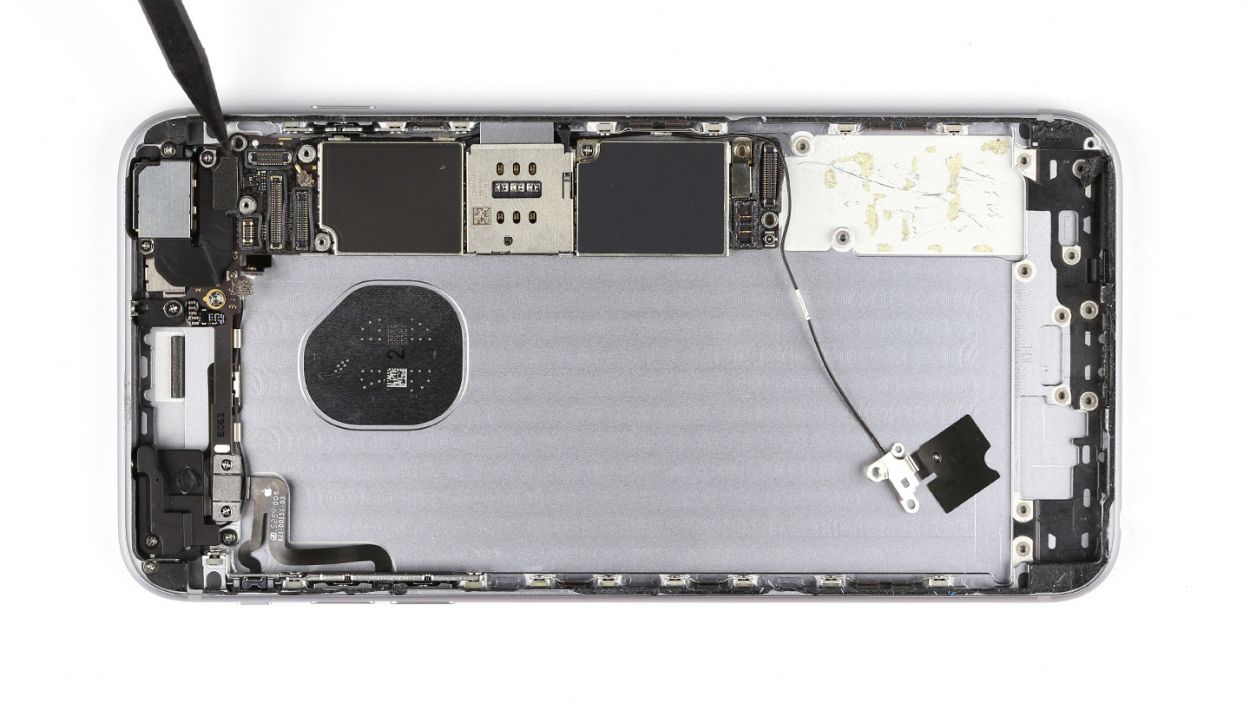
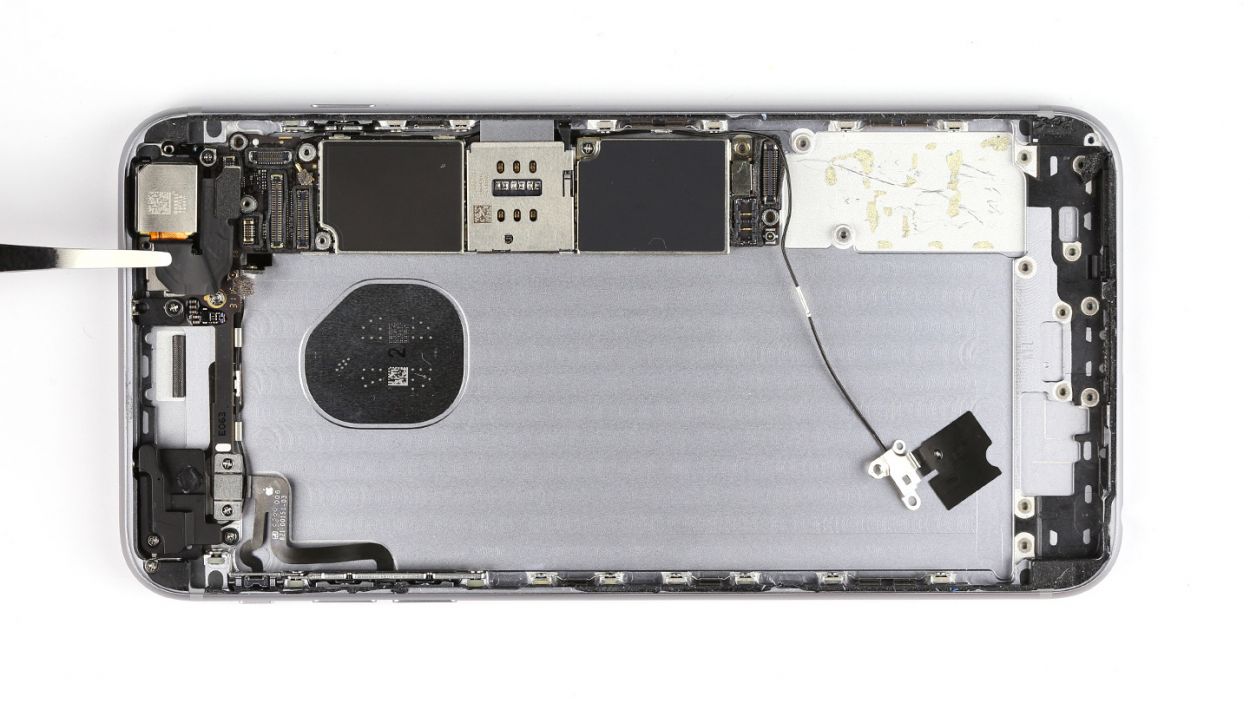
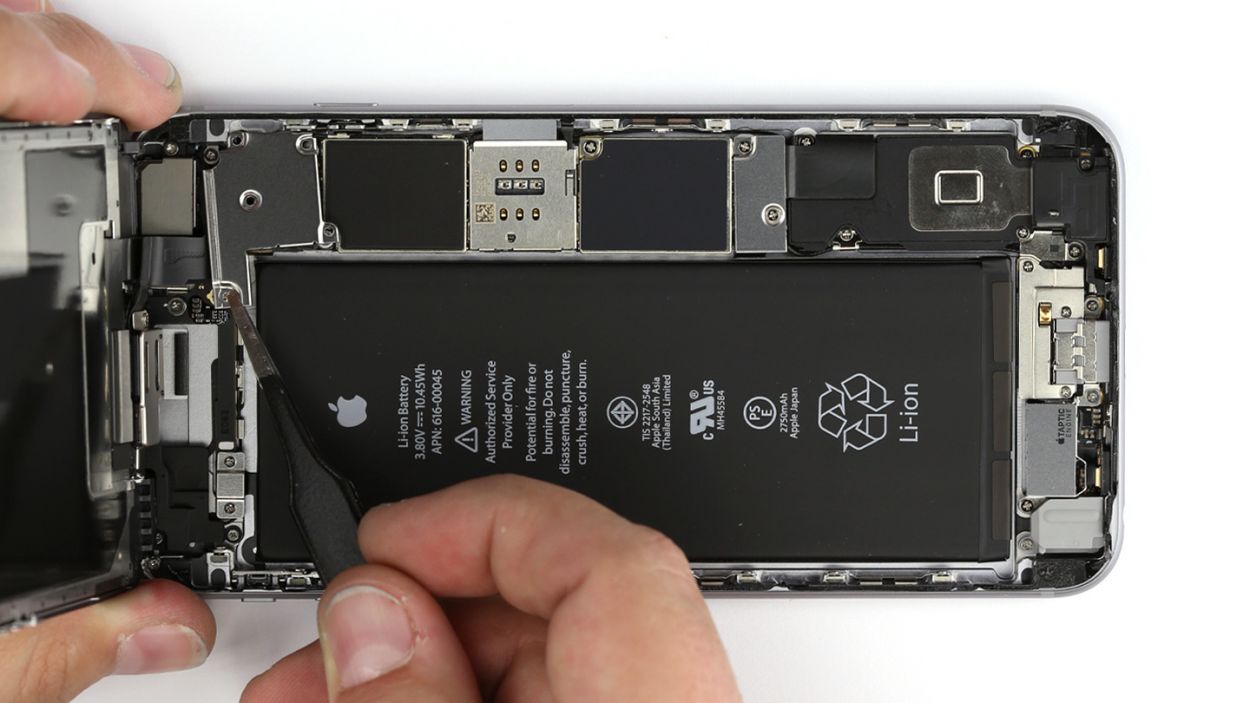
– To disconnect the camera connector, gently slide your spudger just below the contact and lift it up with a little finesse.
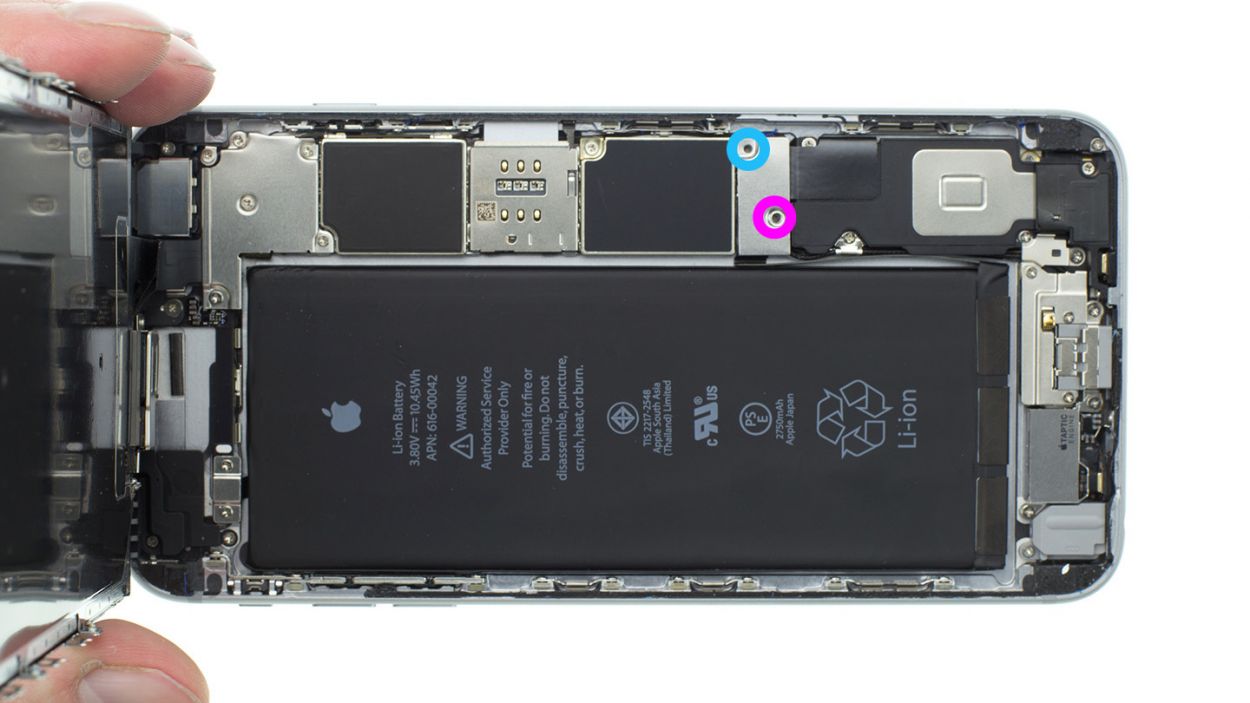
– Next, let’s unscrew those two Phillips screws from the camera cover. You’ve got a 1 x 2.1 mm Phillips screw and a 1 x 1.8 mm Phillips screw waiting for you!
– Now, grab that spudger and carefully detach the camera. You’re almost there!
– Finally, remove the camera. Just a heads up, that silver cover is a bit shy and is lightly glued to the camera, so give it a gentle nudge!
Step 7


– Place the camera back in its original spot like a pro.
– Next, let’s get that camera cover back on and secure it with screws. You might find the cover still attached to the camera. You’ll need: 1 x 2.1 mm Phillips screw and 1 x 1.8 mm Phillips screw.
– Now, connect the camera’s cable and you’re all set!
Step 8


– Alright, let’s get those connectors back in place! Connecting the display connector can be a bit finicky, so don’t sweat it if it takes a couple of tries. Just be super careful not to bend anything. We’re talking about the Touch ID cable, the front camera/sensor/earpiece/ambient microphone, and the display.
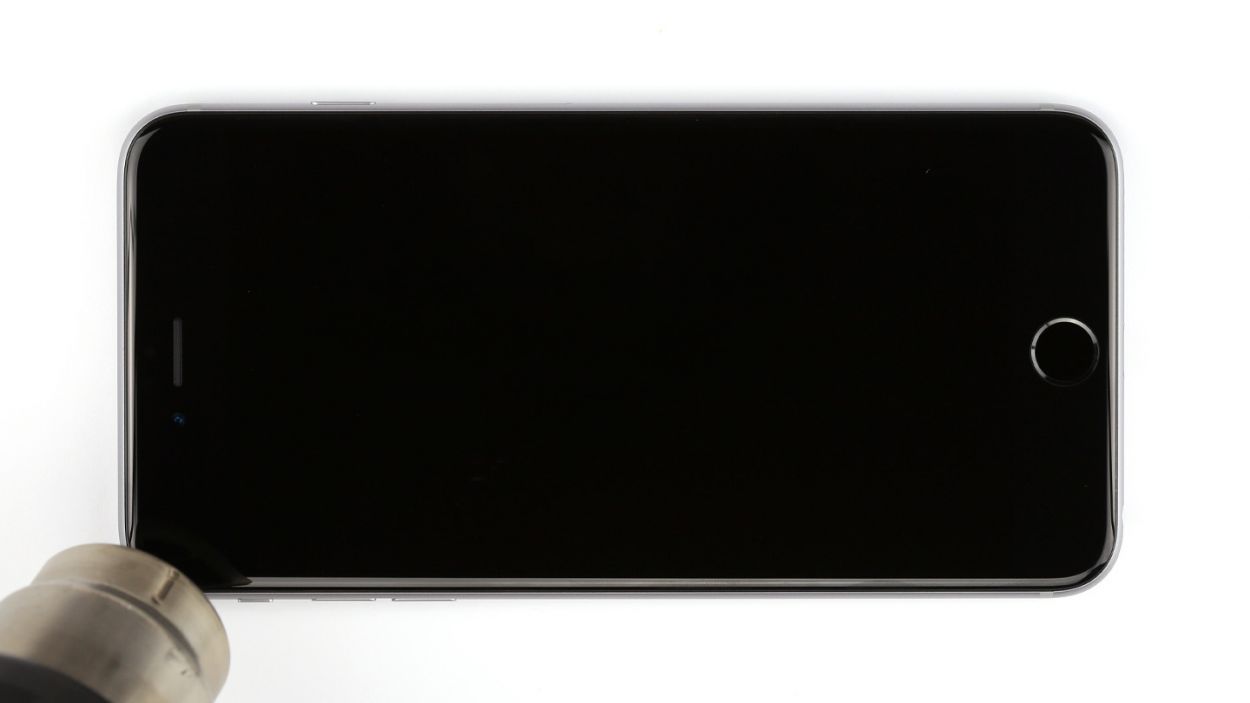
– Once those connectors are snug and secure, fire up your iPhone! Check if the LCD, touchscreen, proximity sensor, front camera, and earpiece are all functioning like champs. If those display connectors are feeling a bit shy and don’t connect just right, you might see some funky stripes on your screen or parts of the touchscreen could throw a little tantrum.
– Finally, let’s wrap it up by installing the cover and giving it a good screw down. You’ll need: 1 x 2.6 mm Phillips screw, 3 x 1.2 mm Phillips screws, and 1 x 1.6 mm Phillips screw.
If those display connectors are feeling a bit shy and don’t connect just right, you might see some funky stripes on your screen or parts of the touchscreen could throw a little tantrum. Let’s make sure they get cozy together!
Step 9

– Reconnect the antenna, Lightning connector, battery, and logic board like a champ!
– Next, let’s get that silver cover back in place.
– Secure the cover onto the logic board with a couple of screws: 1 x 2.0 mm Phillips screw and 1 x 2.9 mm Phillips screw.
Step 10
– Now, let’s gently fold down that display like a pro! Make sure it clicks into place nicely at the top edge where those connection cables are hanging out.
– With a little love, press down on the display towards the Home button until it’s snugly fit in the frame. We want that display to be flush and looking sharp!
Step 11
– Alright, time to secure that enclosure! Grab your trusty pentalobe screwdriver and screw in those two pentalobe screws at the bottom. They’re the 2 x 3.3 mm pentalobe screws just waiting to hold everything together!