DIY Guide to Replace Earpiece in iPhone 6s Plus
Duration: 30 min.
Steps: 11 Steps
Ready to get your iPhone 6s Plus back in action? This guide will walk you through replacing that pesky earpiece that’s been giving you trouble. If you’re struggling to hear your conversation partner or your calls sound more like whispers, it’s time for this repair. Let’s dive in and get your phone sounding great again!
Step 1
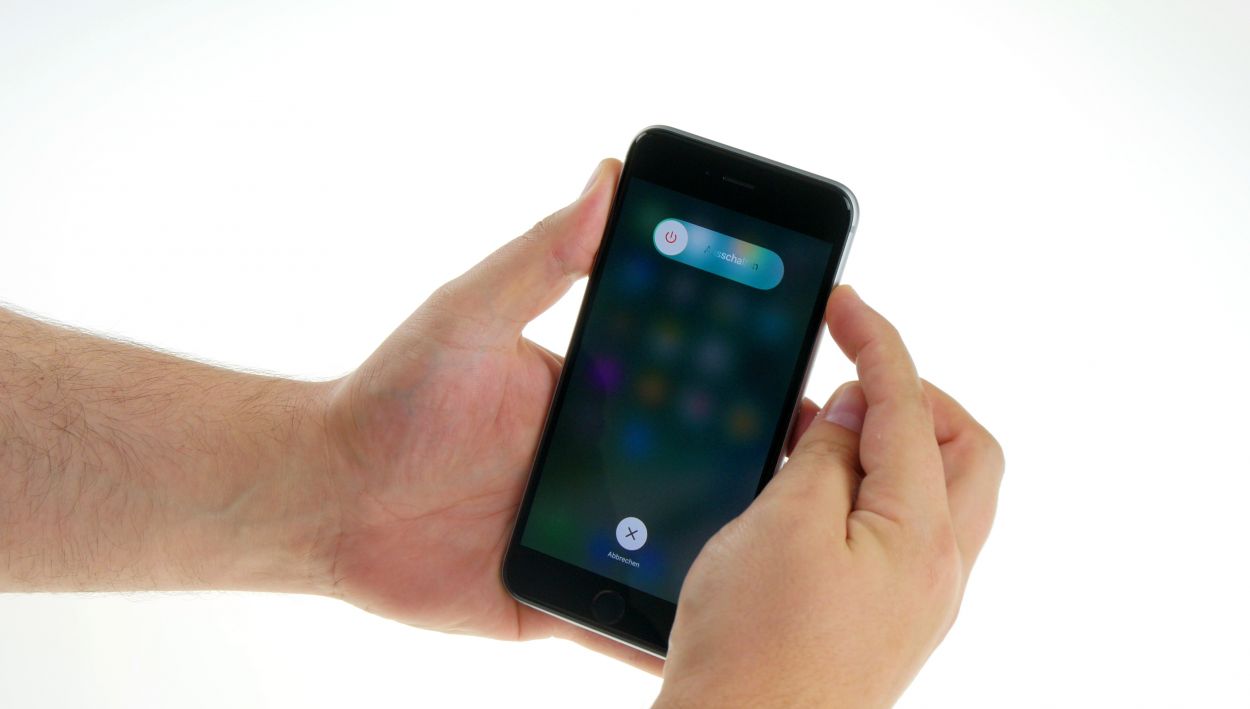

– First things first, let’s power down your iPhone completely to keep it safe while we work our magic. Just press that standby button for about three seconds until the slider pops up.
– Now, give that slider a swipe from left to right. Your iPhone will take about ten seconds to fully shut down, so hang tight!
Step 2

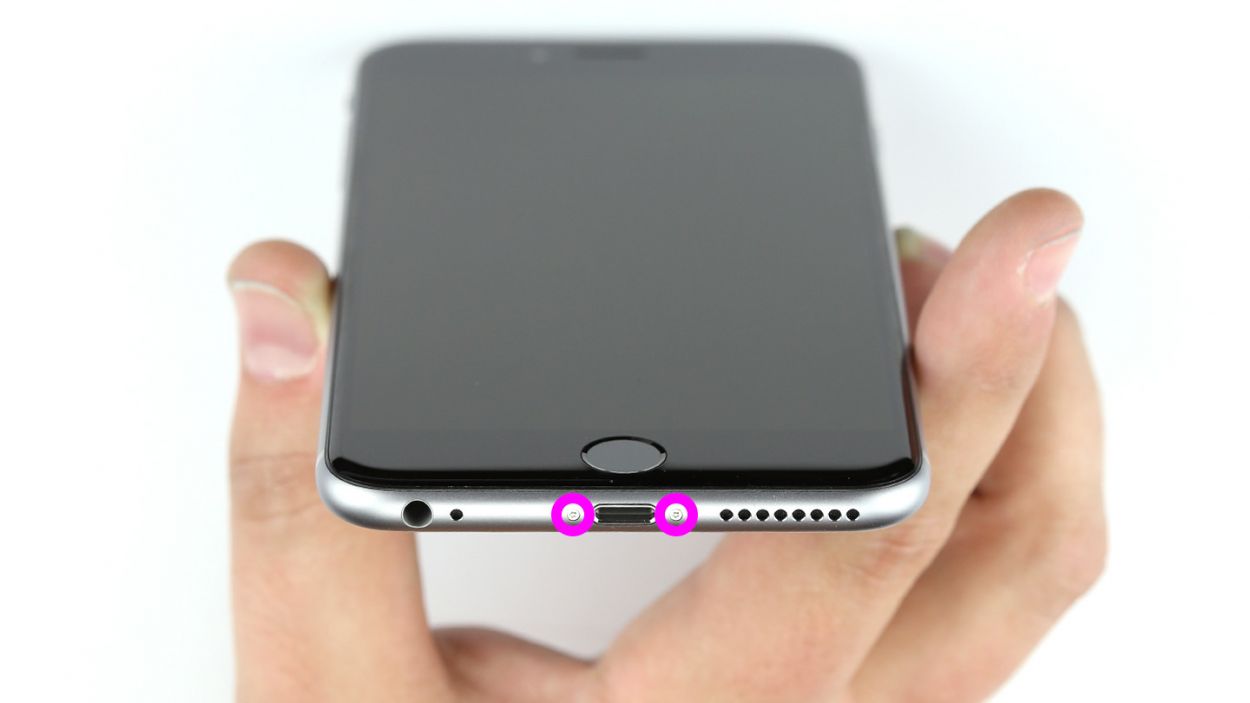
– Grab your trusty pentalobe screwdriver to get into that iPhone 6s Plus like a pro!
– Next up, let’s tackle those two pentalobe screws hanging out at the bottom of the enclosure. They’re chilling right next to the Lightning connector. Make sure to toss those screws into the same container so they don’t go on an adventure without you! 2 x 3.3 mm pentalobe screw
Step 3

Watch out for those sneaky shards of glass! They can be sharp and cause some unexpected ouchies.
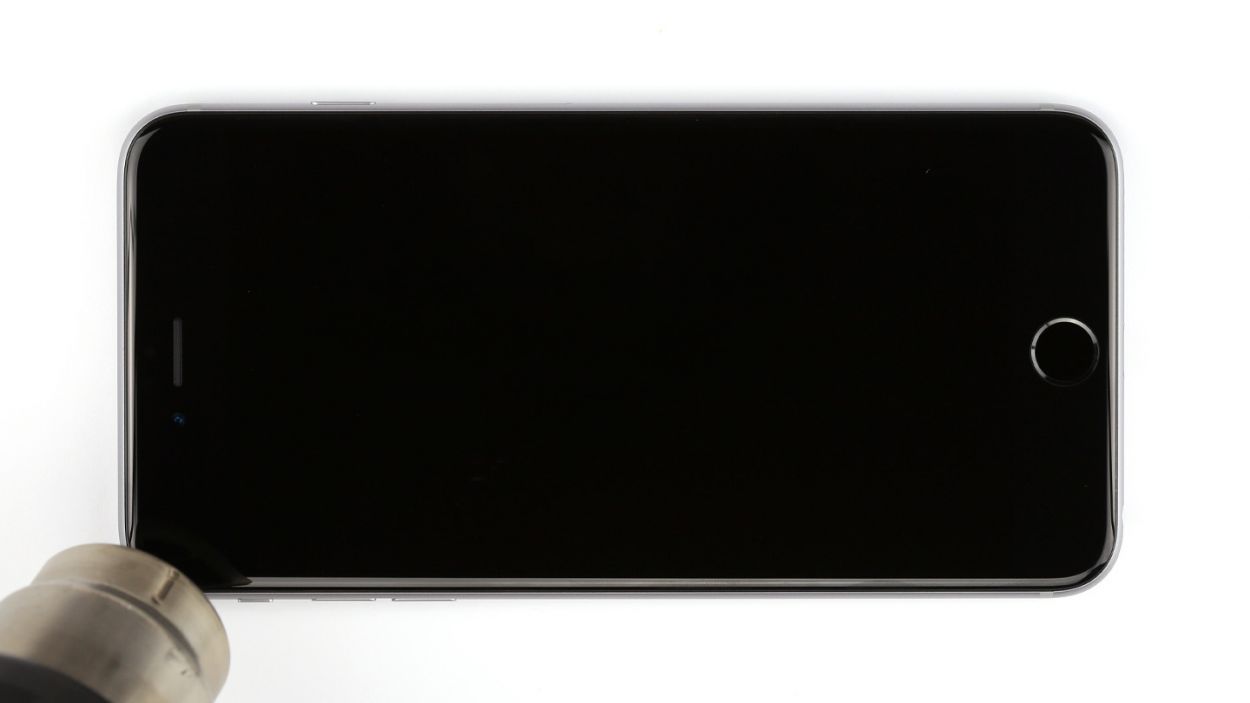
– First, place your iPhone 6s Plus on a soft, clean surface. We want to keep that back looking pristine!
– To lift that display like a champ, you’ll need a suction cup, a hard plastic pick, and a heat gun. If your screen is cracked, don’t forget to cover it with packing tape first. Safety first—let’s avoid any sharp glass surprises!
– The screen is glued to the frame, so grab that heat gun and warm up the edges to about 60°C (140°F).
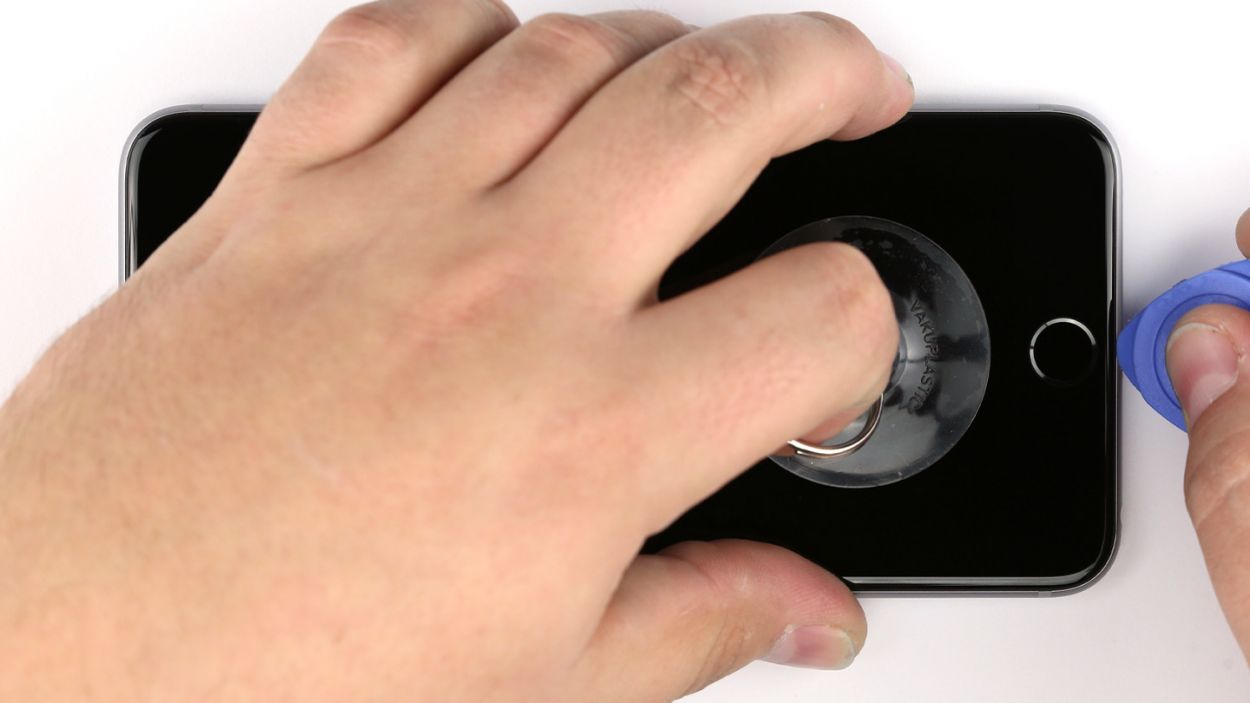
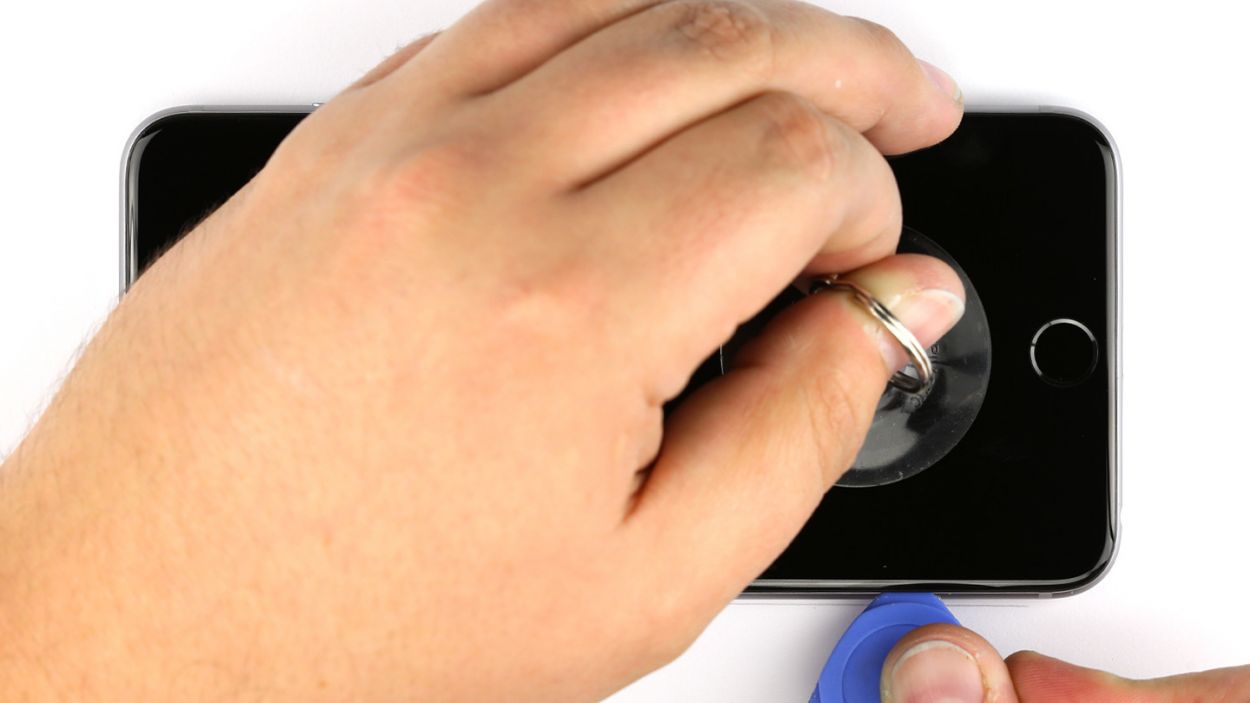
– If you can, place the suction cup over the Home button (if not, just put it next to it). While you gently lift the display with the suction cup, use the hard plastic pick to press down on the aluminum frame. Slide that pick between the frame and the display. It might take a couple of tries, but you got this!
– Once you’ve created a tiny gap between the two, you can gently turn the pick to open it further.
– When you can lift the display just a bit, carefully work your way around the outside until it’s loose on both sides. If needed, give those outer edges a little heat now and then.
Step 4


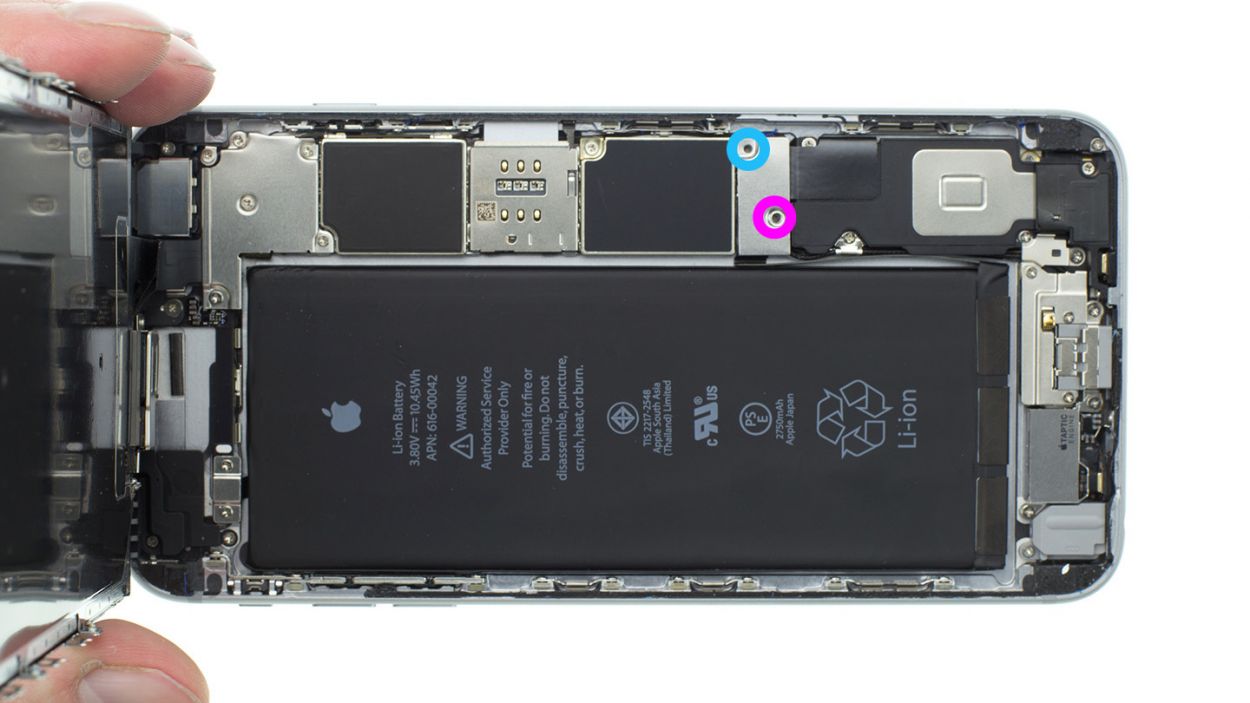
– Alright, let’s kick things off by unscrewing those two Phillips screws and gently lifting off the silver cover. You’ve got this! Just remember, you need 1 x 2.0 mm Phillips screw and 1 x 2.9 mm Phillips screw for this part.
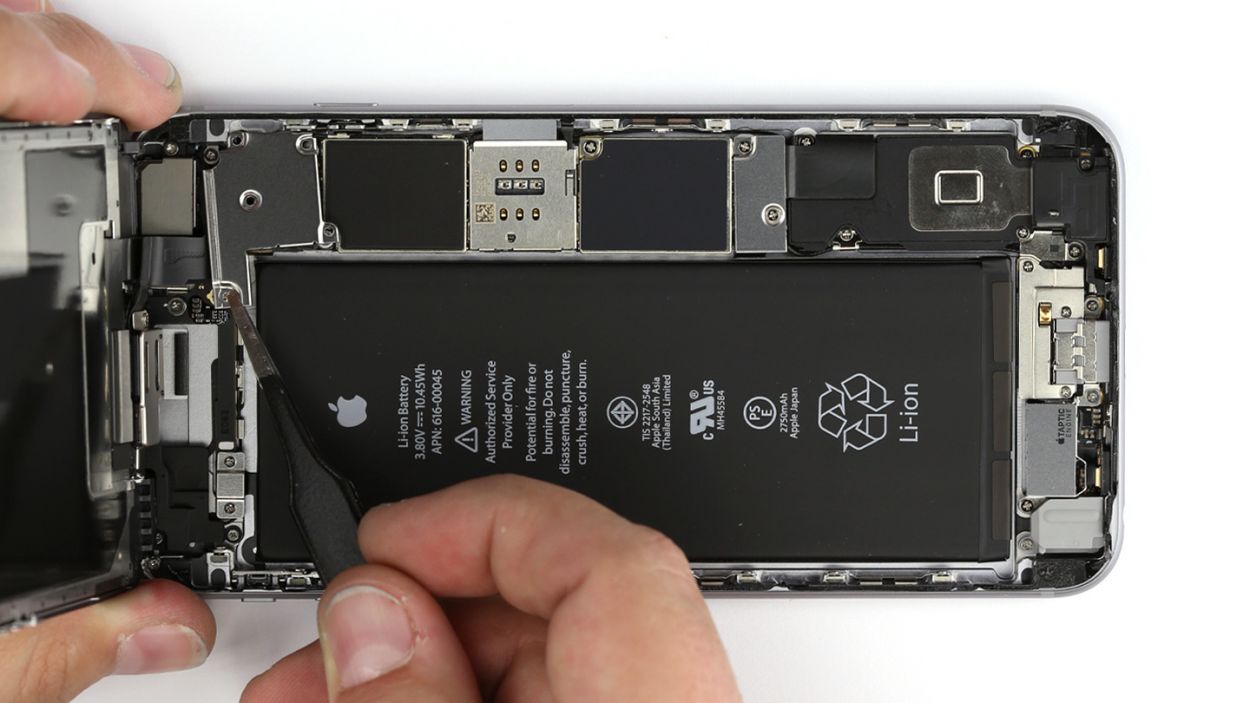
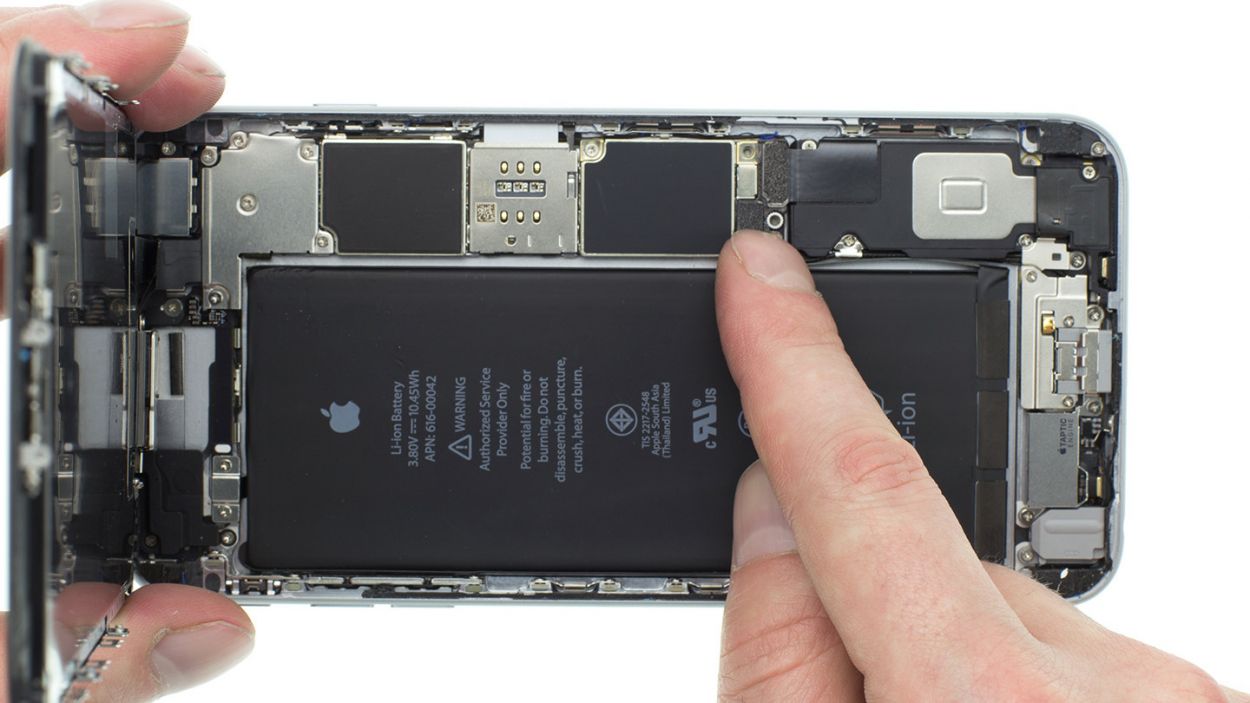
– Next up, grab your trusty spudger and carefully disconnect the lower connector for the battery contact, antenna, and Lightning connector. Easy peasy!
Step 5
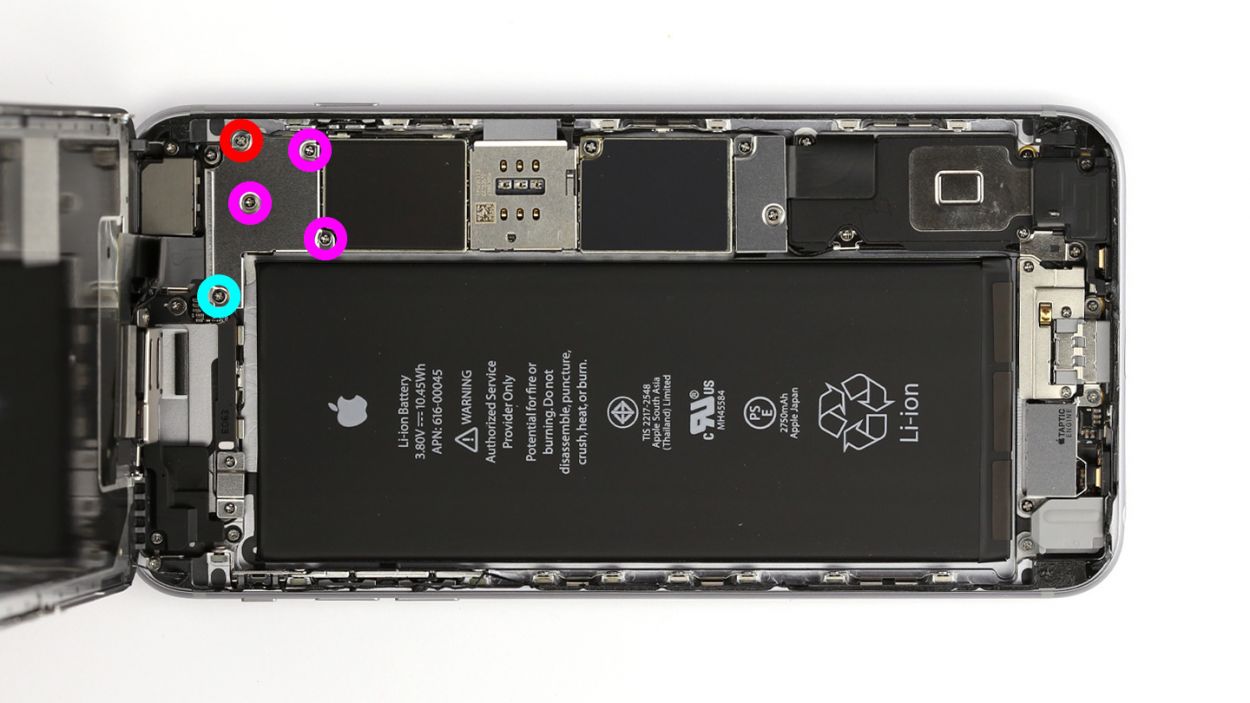

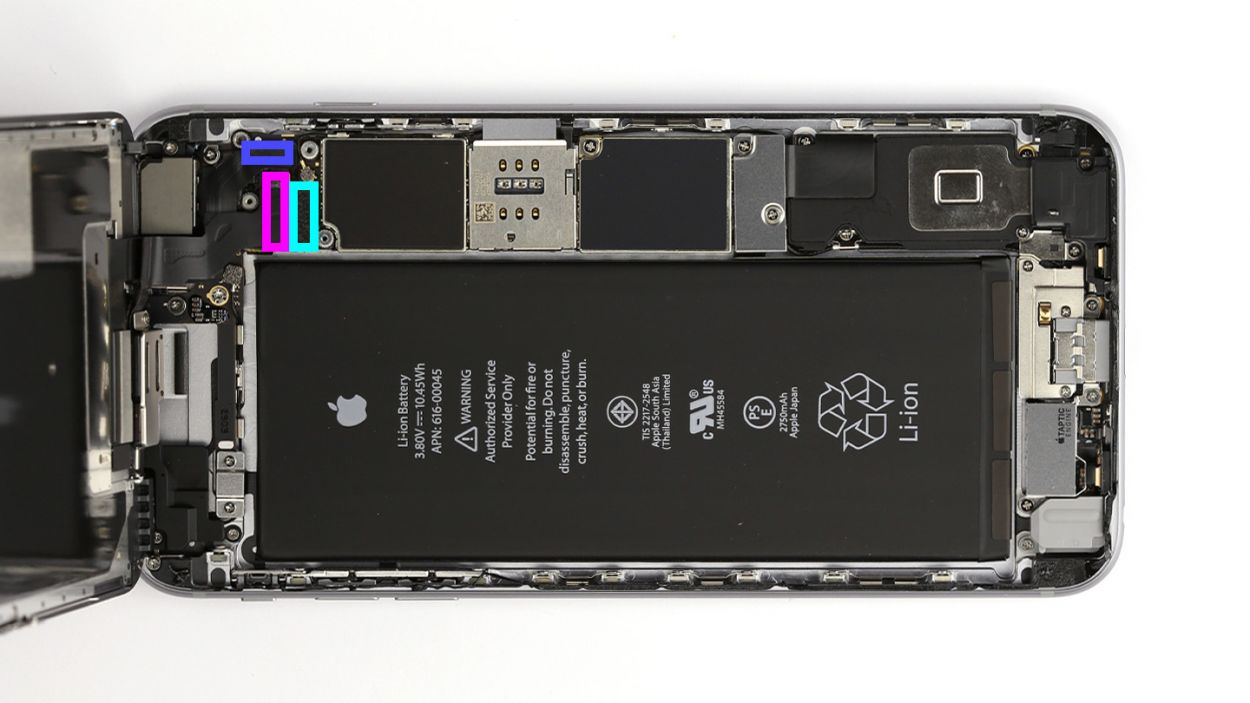
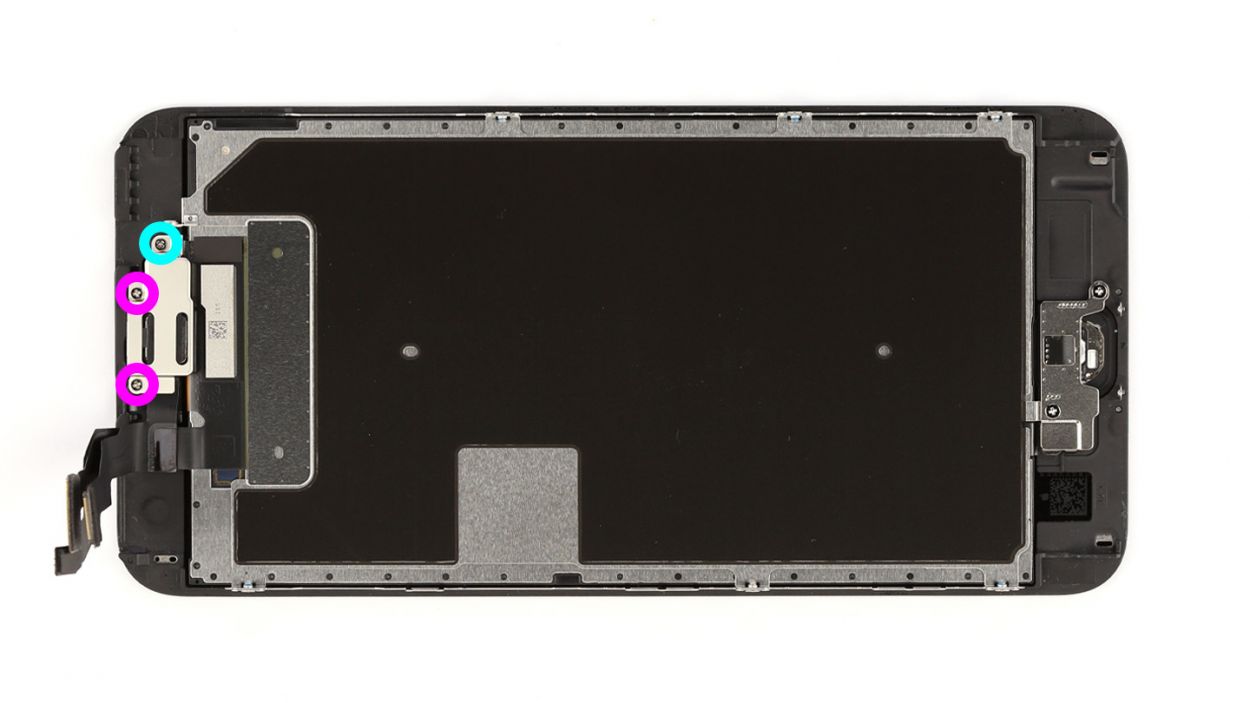
– Start by unscrewing those five Phillips screws from the silver cover. Keep them safe in the same container, so they don’t wander off! Once they’re out, gently lift the cover off. You’ve got 1 x 2.6 mm Phillips screw, 3 x 1.2 mm Phillips screws, and 1 x 1.6 mm Phillips screw to deal with.
– Next, let’s disconnect the three overlapping connectors in the order shown below. Be super careful! Use the pointed tip of your spudger and gently lift each connector up just a tad. We’re talking about the Touch ID cable, Front camera/sensor/earpiece/ambient microphone, and the Display.
– Now, it’s time for a quick test of the new display! Temporarily connect that new display assembly. The LCD connector can be a bit tricky, so take your time. Start up your iPhone and see if the LCD and touchscreen are working like champs. Double-check those connectors are snug in their spots; otherwise, you might see a black screen or some funky stripes. If the display looks a bit yellow, check out the last step in this guide.
– While you’re at it, connect that new display assembly temporarily. Remember, the LCD connector can be a little finicky.
– Power up your iPhone and check if the LCD and touchscreen are functioning properly. Make sure those connectors are securely plugged in; if they’re not, you might end up with a black screen or some stripes. No one wants that!
– And if your display has a slight yellow hue, don’t forget to take a peek at the last step in this guide.
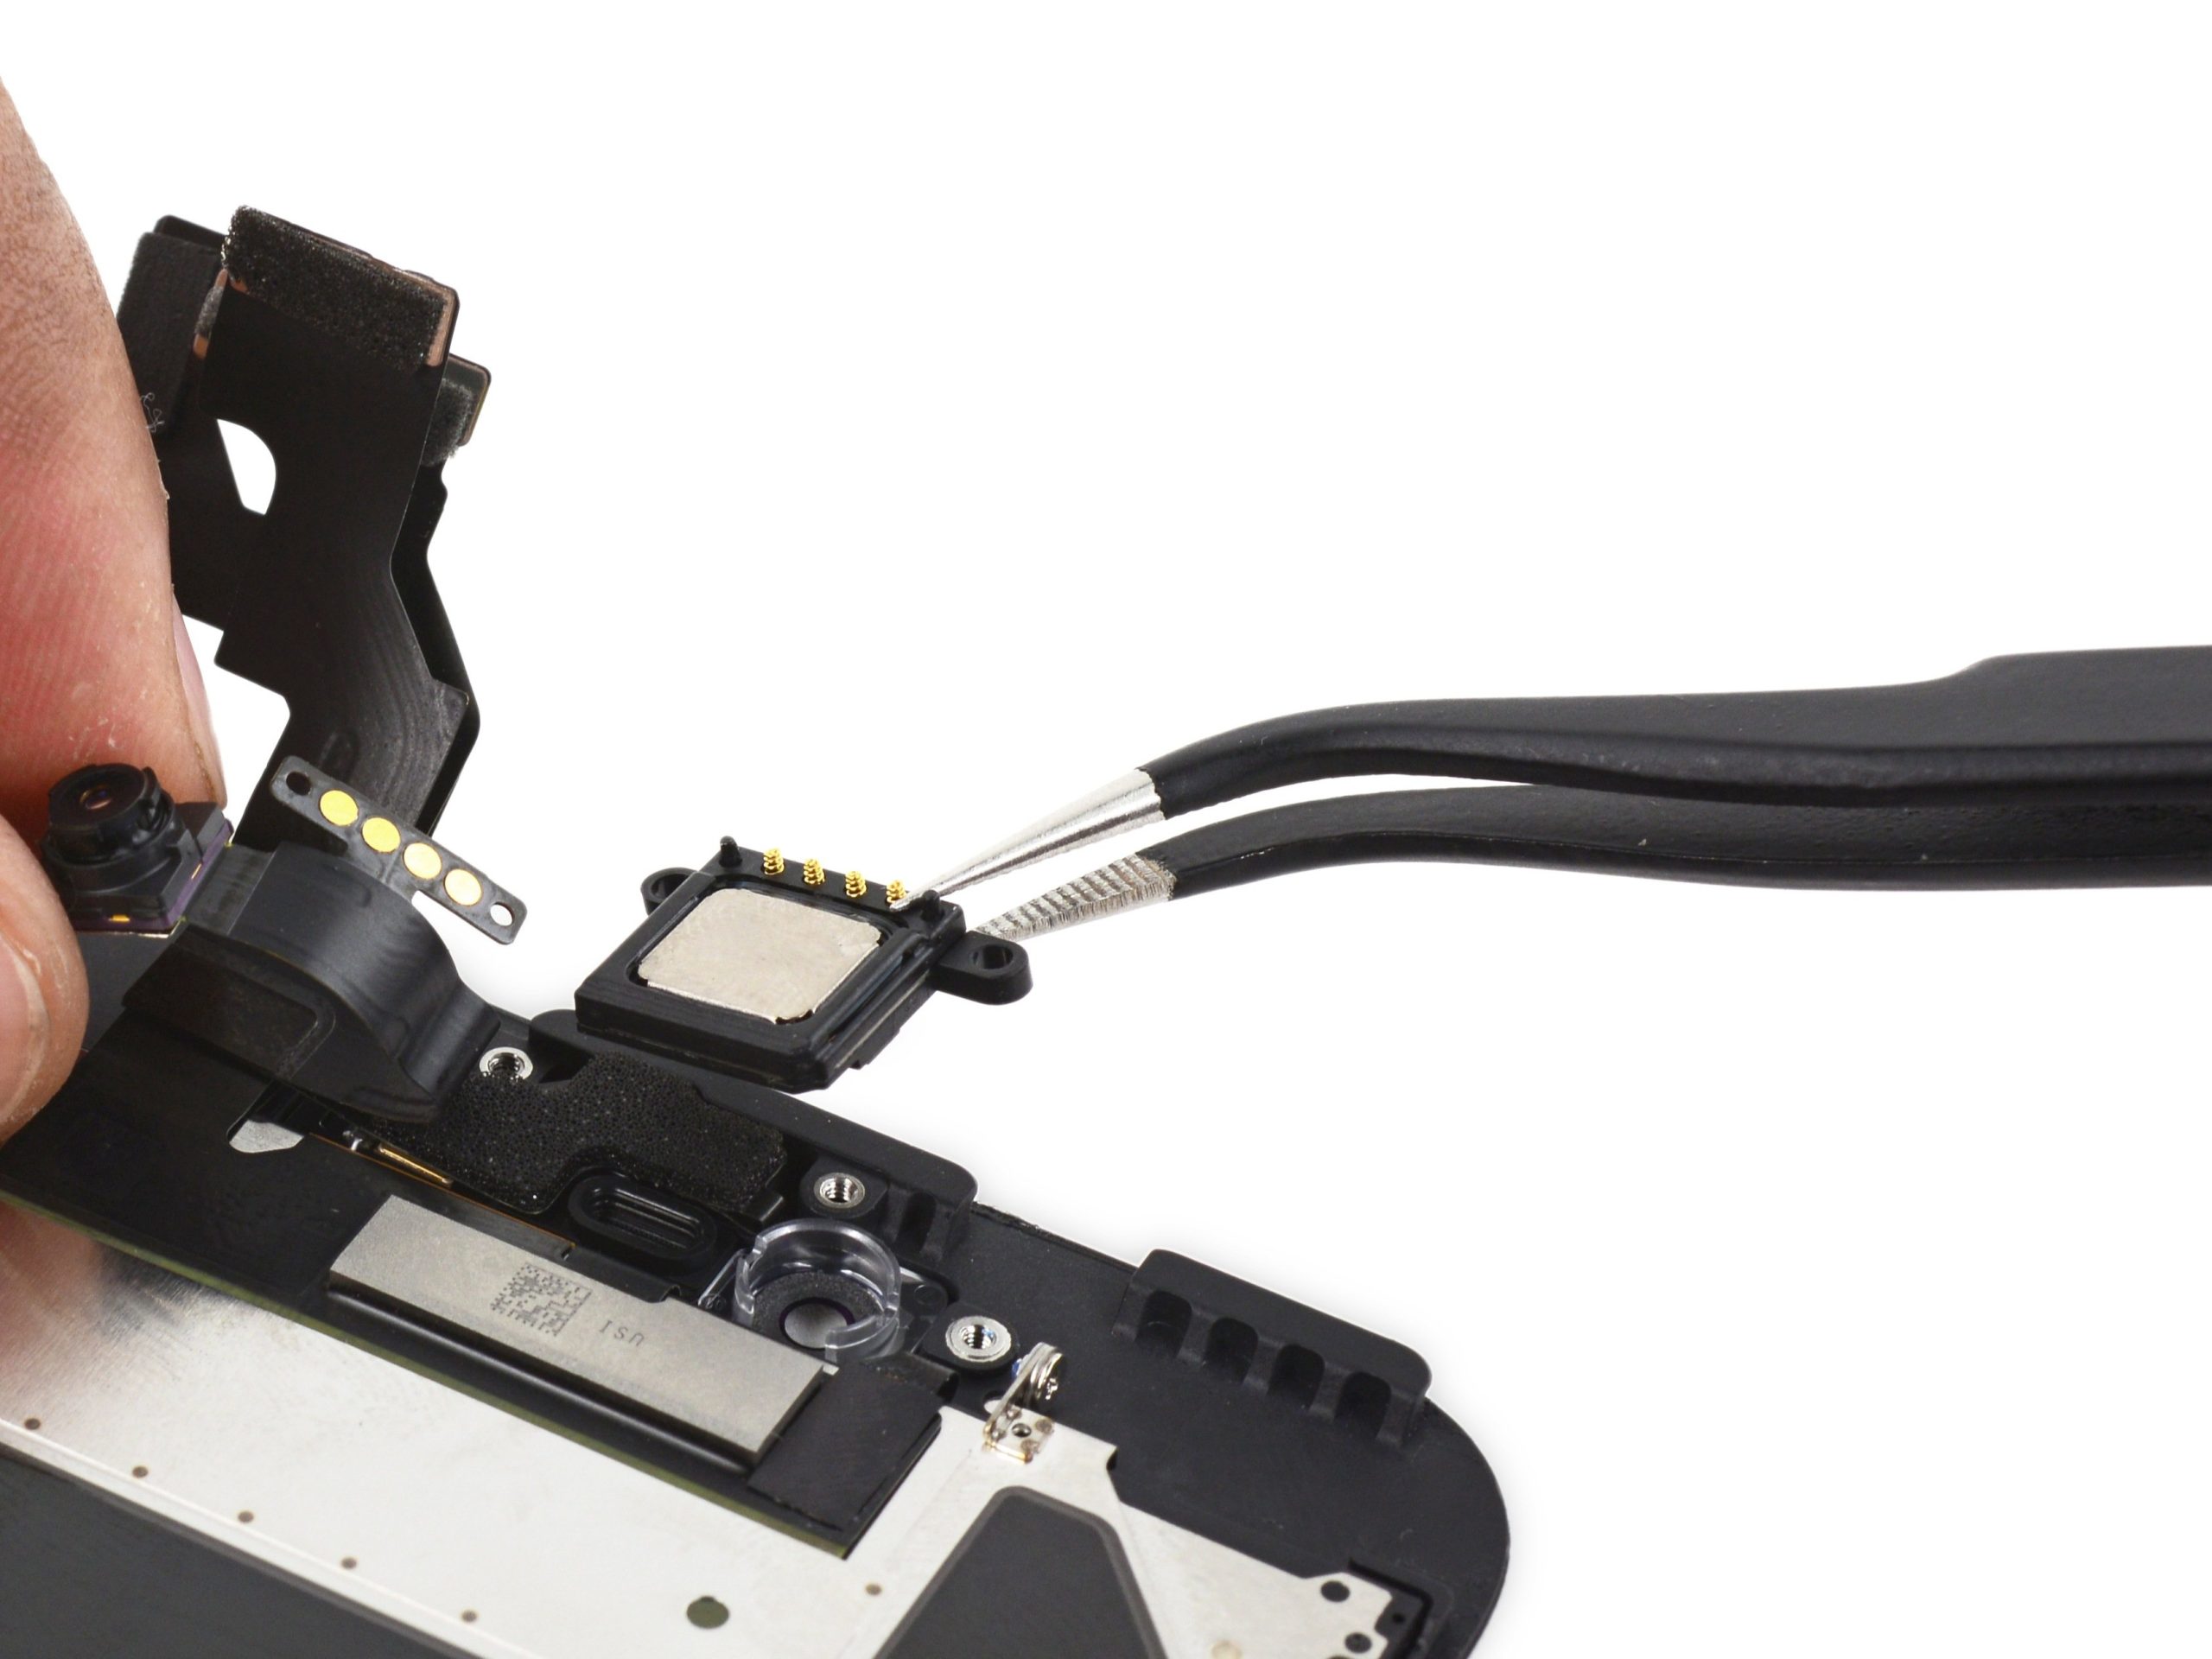
Step 6

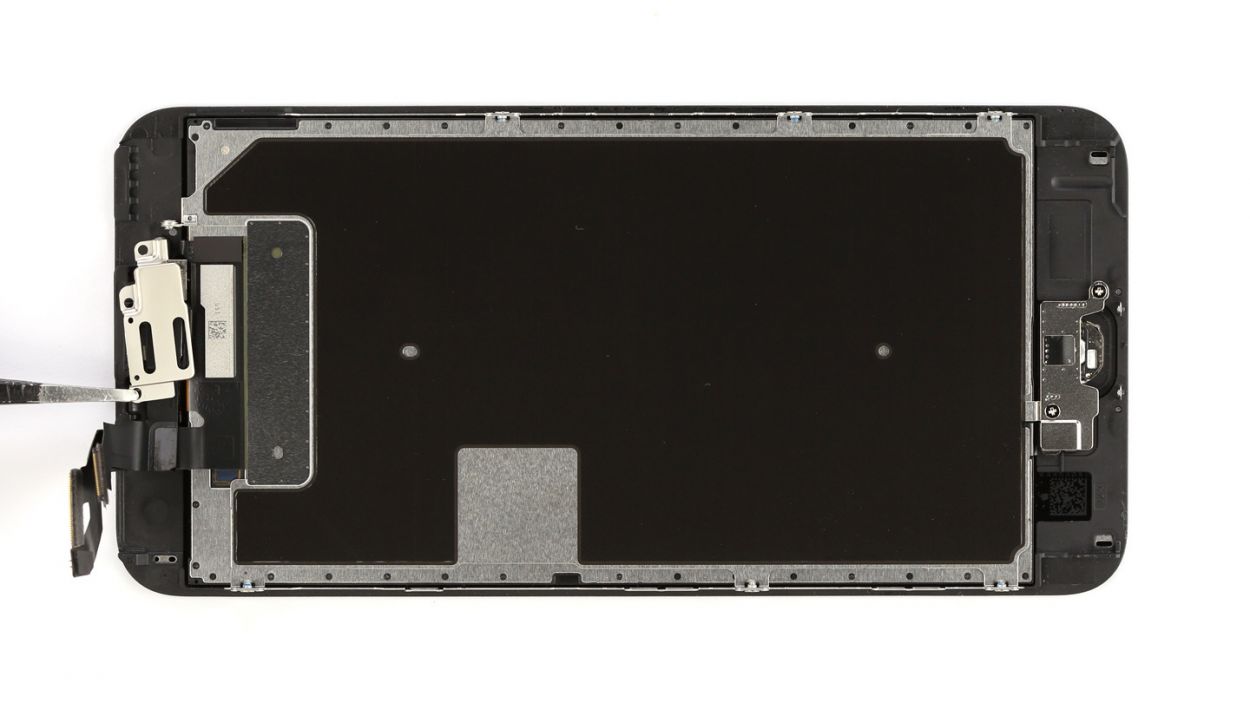
– The earpiece is nestled on the back of the display unit. Let’s unscrew those three Phillips screws from the earpiece cover and keep them safe in your trusty container. You’ll need 2 x 2.7 mm Phillips screws and 1 x 1.4 mm Phillips screw for this task!
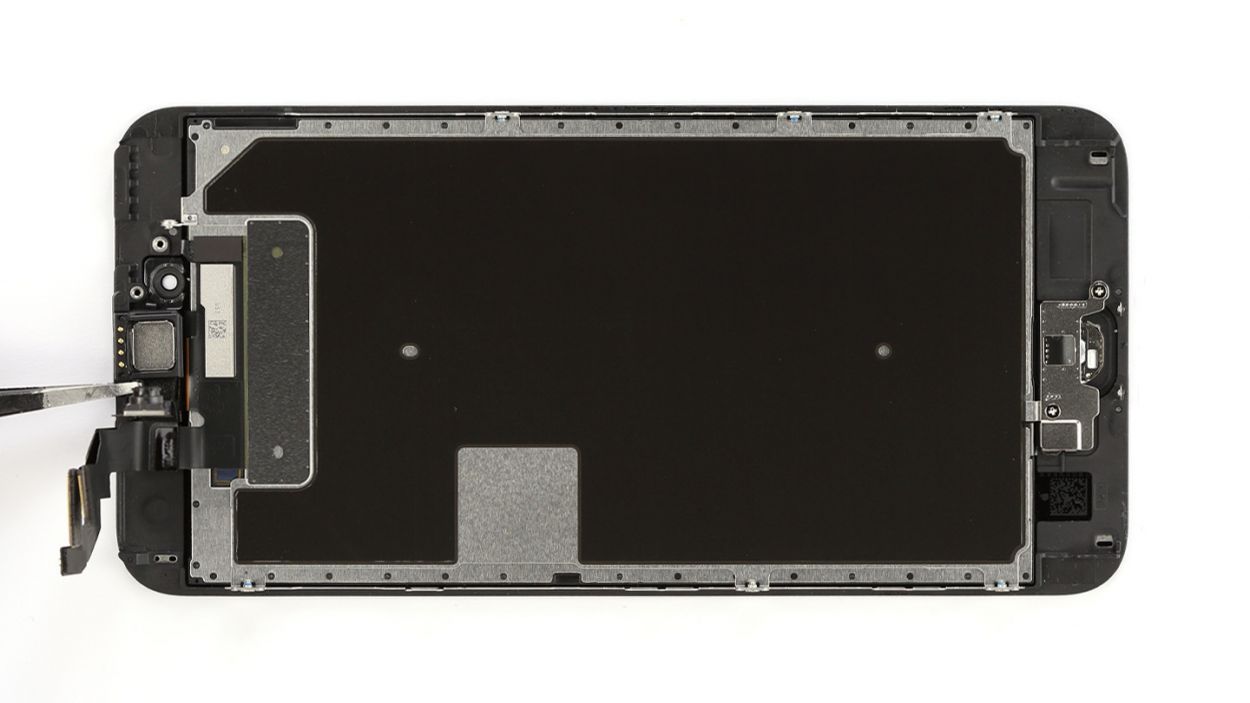
– Once you’ve got those screws out, gently lift the cover off and keep it with the screws you just removed. We’re almost there!
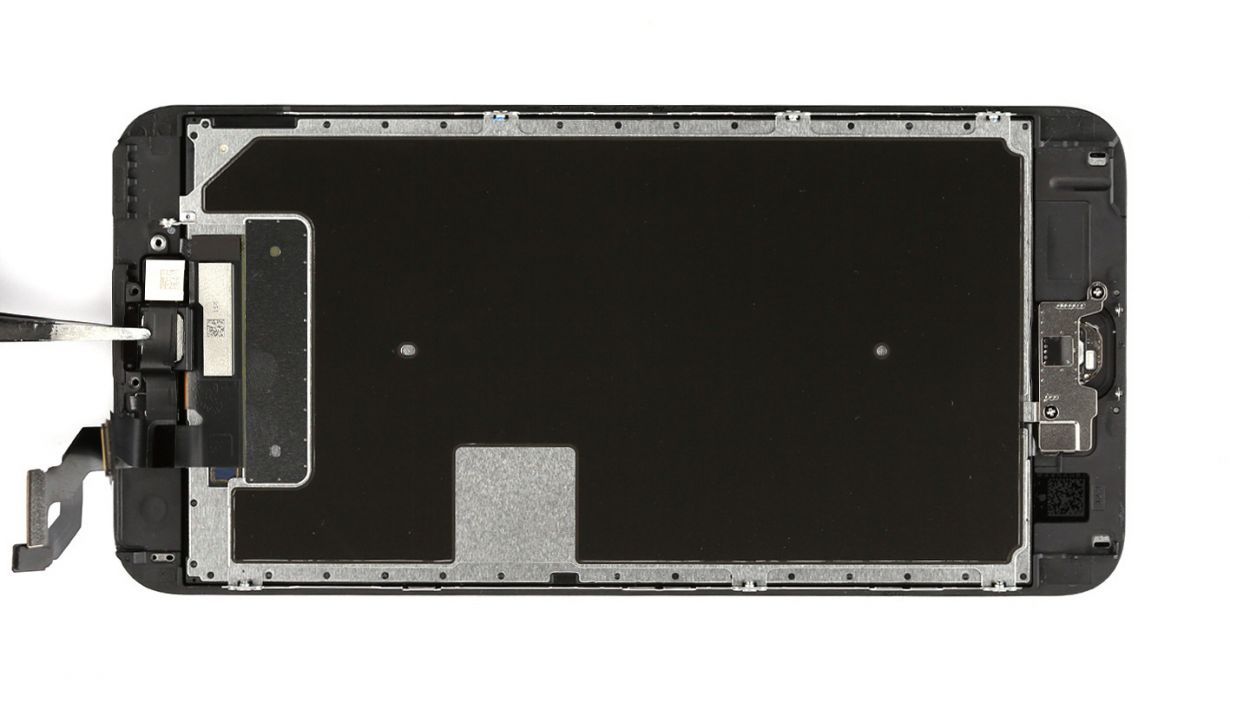
– Now, the earpiece is hiding under the ribbon cable of the front camera. Just fold that cable a bit to the side, and voilà, you can easily remove the earpiece!
Step 7


Heads up! Those screws are like a quirky family—each one has its own length. If you mix them up, one might just decide to poke the display glass from the inside. Let’s keep that from happening!
– Time to place that earpiece back where it belongs, snugly nestled between the FaceTime camera and the sensors. Once it’s in, just pop that cover back on like a pro!
– Now, let’s get those Phillips screws fastened. Make sure the front camera is perfectly centered on the display—give it a little nudge if it needs adjusting. You’ve got 2 x 2.7 mm Phillips screws and 1 x 1.4 mm Phillips screw to work with!
Step 8


– Reconnect those connectors! Sometimes, getting the display connector to click into place can be a bit of a dance, so don’t worry if it takes a couple of tries. Just be gentle and avoid bending anything. We’re dealing with the Touch ID cable, front camera/sensor/earpiece/ambient microphone, and the display here!
– Once everything is securely connected, it’s time to bring your iPhone back to life! Start it up and check if the LCD, touchscreen, proximity sensor, front camera, and earpiece are all functioning like they should. If those display connectors aren’t snug, you might see some funky stripes or parts of the touchscreen acting up. We don’t want that!
– Now, let’s wrap things up by installing the cover and securing it in place. You’ll need 1 x 2.6 mm Phillips screw, 3 x 1.2 mm Phillips screws, and 1 x 1.6 mm Phillips screw for this part!
If those display connectors are feeling a bit shy and don’t connect just right, you might end up with some funky stripes on your screen or parts of the touchscreen might decide to take a break. Let’s make sure everything is snug and secure!
Step 9

– Reconnect the antenna, Lightning connector, battery, and logic board like a pro!
– Next, let’s put that silver cover back on. You’ve got this!
– Now, secure the cover onto the logic board with a 2.0 mm Phillips screw and a 2.9 mm Phillips screw. Easy peasy!
Step 10
– Now, let’s gently fold down that display like a pro! Make sure it clicks into place just right at the top where those connection cables are hanging out.
– Give that display a little nudge towards the Home button until it fits perfectly in the frame. We want it to be nice and flush, just like a well-fitted cap!
Step 11
– Now, grab your pentalobe screwdriver and let’s secure those two pentalobe screws at the bottom of the enclosure. They’re 2 x 3.3 mm pentalobe screws, so make sure they’re snug and ready to hold everything in place!