Samsung Galaxy S23 Plus Screen Replacement
Duration: 45 minutes
Steps: 32 Steps
Heads up: your old screen won't survive this step, so make sure you're set with a replacement.
Ready to give your Samsung Galaxy S23+ a fresh look? This guide walks you through swapping out your screen—just the screen itself. If your new part comes already attached to a frame, check out the other guide for that setup. Heads up: your old screen won’t survive this operation, so don’t use these steps if you’re hoping to save it. As for water resistance, it’s all about how precisely you lay down the new adhesive, but keep in mind your device won’t keep its official IP rating after the repair.
Step 1


Let your phone's battery run below 25% to stay safe—a fully charged lithium-ion battery can be a bit of a fire hazard. If you notice your battery swelling up, handle it with care and take the right precautions.
- First, ditch the cables—unplug anything hanging off your phone so it doesn’t get the leash treatment.
- Next, press-and-hold the side key and volume-down button until the power menu pops up, then tap “Power off.” Your phone’s taking a quick nap—no lullaby needed.
Step 2

A hair dryer, heat gun, or hot plate can be handy tools, but watch out—don't let the heat get too intense. Overheating can damage the display or internal battery, so keep it cool and steady. If you need a hand, you can always schedule a repair.
- Warm up your iOpener and give the right edge of the back cover a nice cozy treatment for about two minutes—this helps loosen up that stubborn adhesive so you can get to work.
Tools Used


Step 3


If you're having a tough time making that gap, don't sweat it! Just give it a little more heat to loosen up that tricky adhesive. Remember to follow the iOpener instructions so you don't go overboard with the heat.
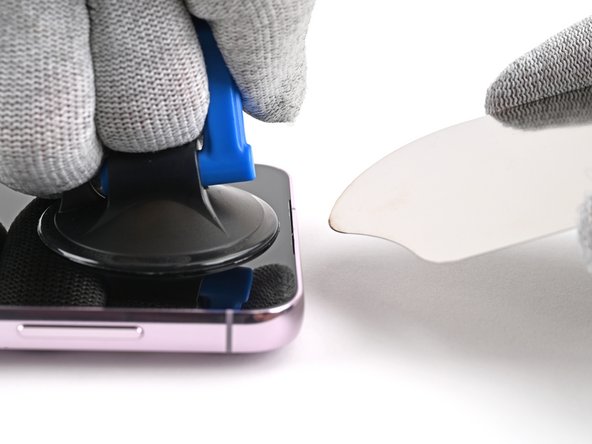
- Grab a suction cup and stick it near the middle of the right edge of the back cover. Keep it close to the edge for a better grip.
- Pull up on the suction cup firmly and steadily to create a small gap between the back cover and the frame. No sudden yanks—steady wins the race.
- Once there's a gap, slide an opening pick into the space to gently pry it open. Take your time and work around the edges as needed.
Tools Used

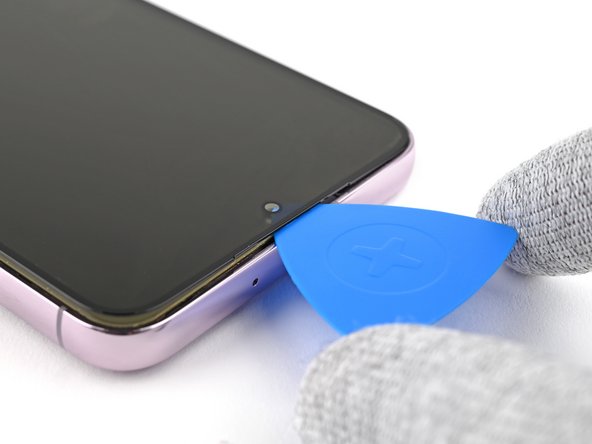
Step 4


- Now it's time to get this device opened up! Slide the pick back and forth along the right edge to loosen the adhesive and start separating the parts.
- Great job so far! Leave the pick inserted near the bottom right corner to keep the adhesive from resealing, making the rest of the repair process easier.
Step 5

- Lay a heated iOpener on the bottom edge of the back cover and hold it there for about two minutes. This helps loosen up the adhesive, making the cover easier to remove later. If you need help, you can always schedule a repair.
Tools Used
Step 6

- Slide a second pick into the bottom right corner.
- Gently twist the opening pick around the bottom right corner to break the adhesive seal.
Step 7


- Gently glide that opening pick to the bottom left corner and watch the adhesive separate like magic.
- Now, just leave the pick nestled in the corner to keep that sticky stuff from pulling a fast one on you!
Step 8

- Warm up your trusty iOpener and give the left edge of the back cover a cozy two-minute hug.
Tools Used
Step 9


- Swing that opening pick around the bottom left corner to loosen up the sticky stuff.
Step 10


- Start by slipping a third pick into the bottom left corner to get things moving.
- Gently slide your pick up toward the top left corner to loosen the adhesive's grip.
- Keep that pick in the top left corner to stop the adhesive from sealing back up.
Step 11

- Warm up your trusty iOpener and give it a cozy two-minute cuddle on the top edge of the back cover. It's like giving your device a little spa treatment!
Tools Used
Step 12


- Slide a fourth opening pick in at the top left corner to get things started.
- Gently wiggle it around that corner to loosen the adhesive and make separation easier.
Step 13


- Glide your opening pick up to the top right corner—time to break up that adhesive party.
- Let the pick chill in the corner to keep the adhesive from closing back up on you.
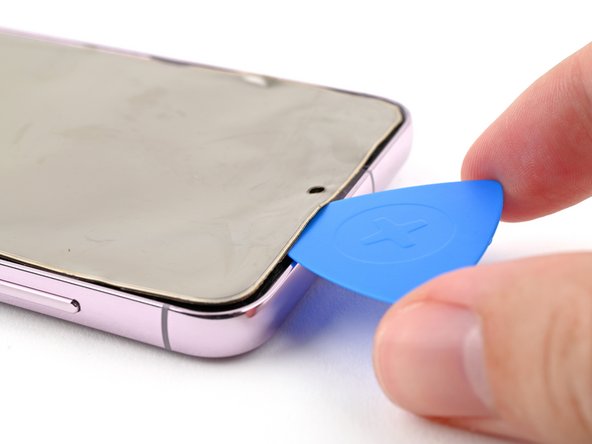
Step 14


Keep your pick away from the rear cameras—those lenses are sensitive, and poking them could lead to trouble.
There's still a sticky patch hanging out right under the flash—let’s get rid of it.
You should spot your opening pick peeking through the flash cutout.
- Align the opening pick's tip with the flash cutout. It’s a good start!
- Gently slide the pick under the top edge of the back cover. Keep going until you feel it catch on the adhesive. You're getting there!
- Continue sliding the pick towards the bottom, and you'll feel the adhesive fully separate from the back cover. Almost done—keep it smooth!
Step 15


If that cover is still clinging to the frame like it’s glued to its favorite spot, just glide your opening pick all the way around the edge until it lets go.
- Start by removing the back cover to get to the internals. During reassembly, it's a good idea to power on your device temporarily to check that everything's working before sealing it back up. Make sure to shut it down completely before moving forward. To get rid of stubborn adhesive, use a pair of tweezers or your fingers—applying a bit of heat and some 90% (or higher) isopropyl alcohol can make the job easier. If you're working with custom-cut adhesives, follow this guide for the best results. For double-sided tape, stick to this guide to ensure a clean removal.
Tools Used


Step 16


- Grab your spudger and gently pry up the wireless charging coil press connector from the motherboard. When it’s time to reconnect, carefully align the press connectors and press down on one side until you hear a click, then do the same on the other side. Avoid pressing in the middle to prevent bending the pins and causing damage. If you need a hand or run into trouble, you can always schedule a repair.
Tools Used

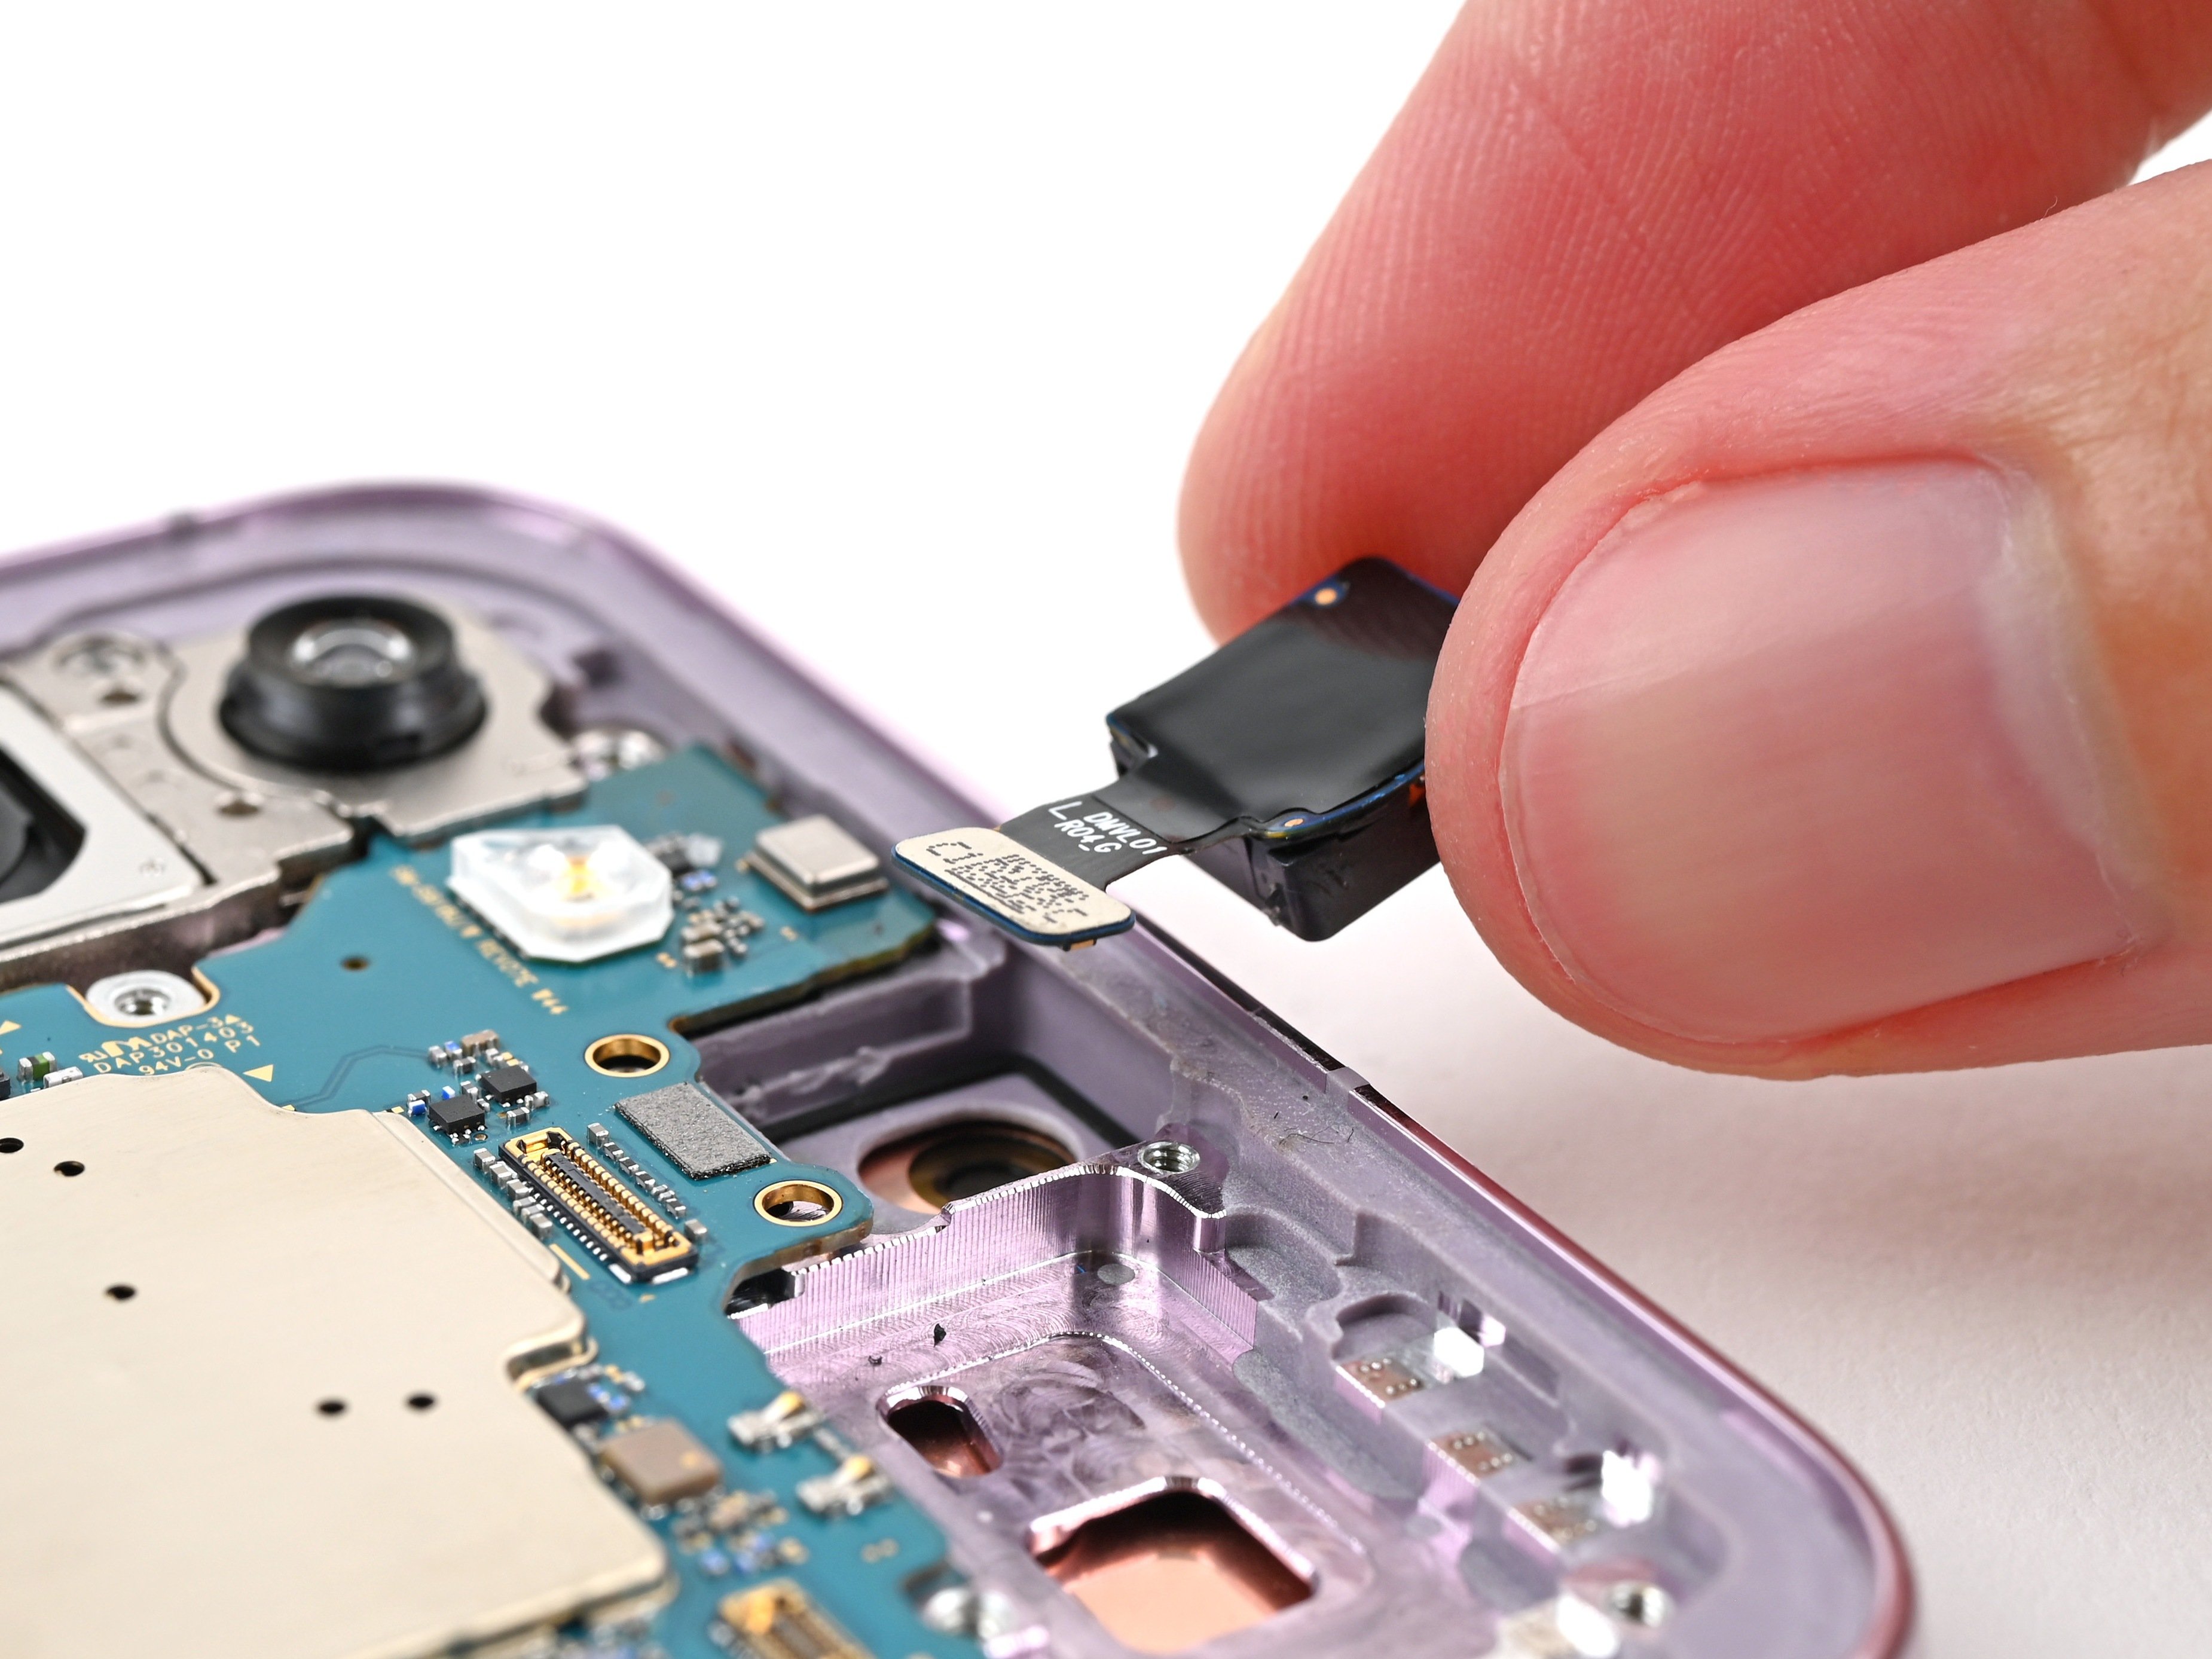
Step 17


- Grab a spudger and gently pry up to disconnect the NFC antenna press connector. Easy does it—just lift it away carefully to avoid any damage. If you need extra help, remember you can always schedule a repair.
Tools Used
Step 18


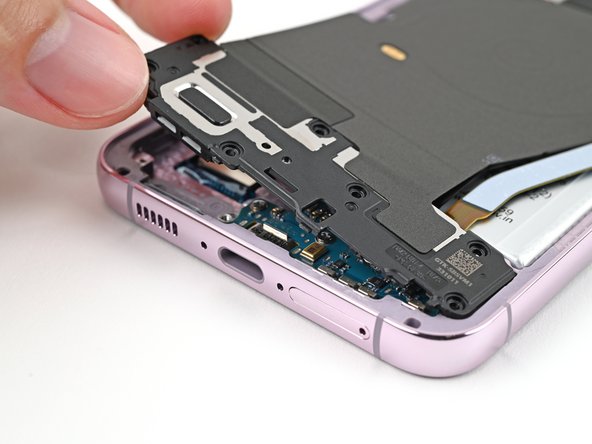
- Grab your Phillips screwdriver and get ready to remove a total of thirteen 3.5 mm screws—these secure the wireless charging coil and the loudspeaker. First, unscrew the six screws holding the wireless charging coil in place, then tackle the seven screws fastening the loudspeaker. Take your time and keep track of where each screw goes. If you need a hand, you can always schedule a repair to get professional help.
Step 19


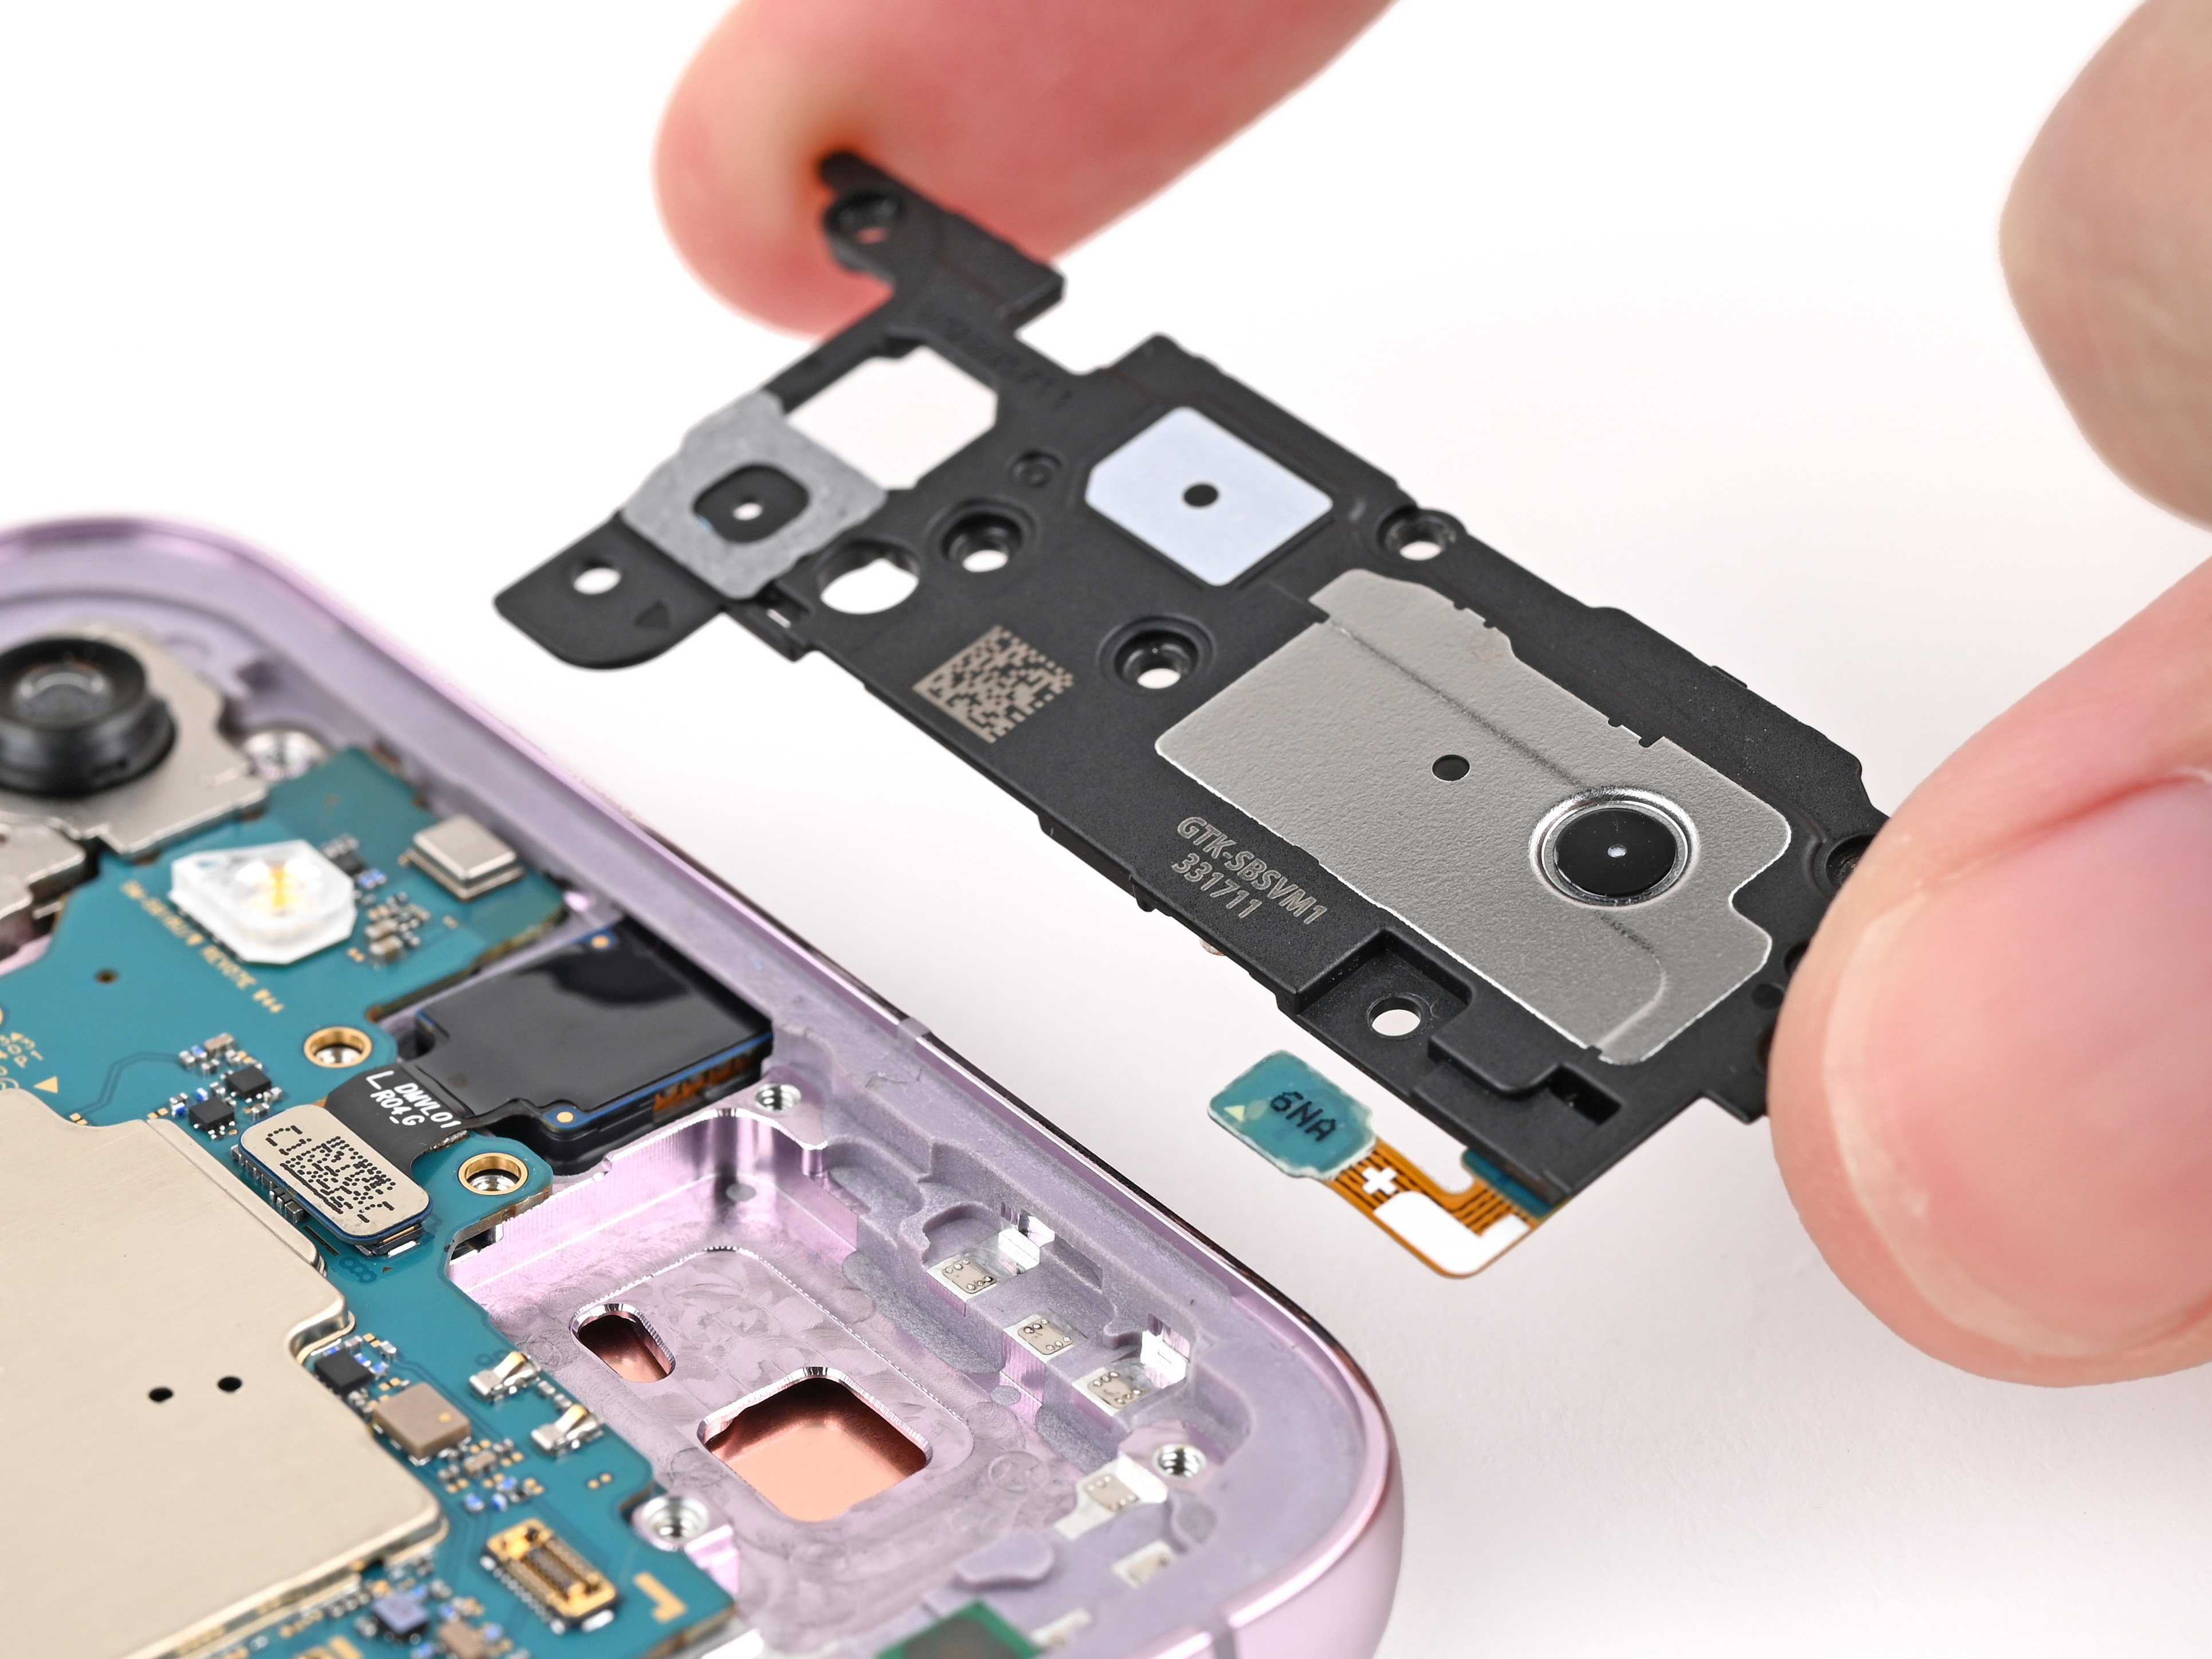
- Slide that trusty spudger into the little notch at the top left corner of the loudspeaker. You've got this!
- Gently pry it up to unclip the loudspeaker from the frame. Easy peasy!
Tools Used
Step 20
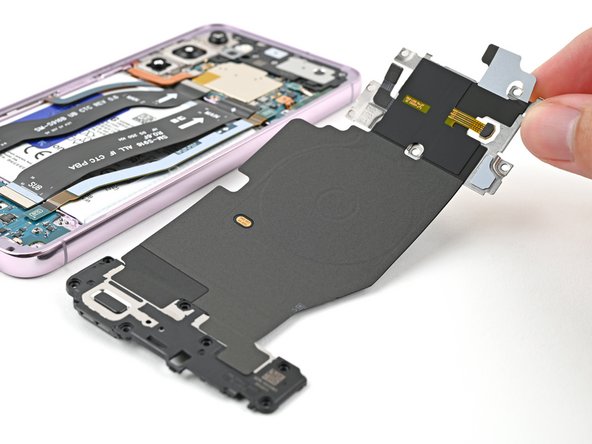

- Gently lift the loudspeaker away from the frame using your fingers—think of it as lifting a book off a shelf, but with less gravity. Once it's free, you can set it aside.
- Next, carefully remove the wireless charging coil and the loudspeaker from the frame, giving everything a gentle tug—no need to rush, patience pays off.
- During reassembly, press around the edges of the loudspeaker to clip it back into place on the frame. A firm, even press will help everything snap in nicely. If you need a hand, you can always schedule a repair for extra help.
Step 21


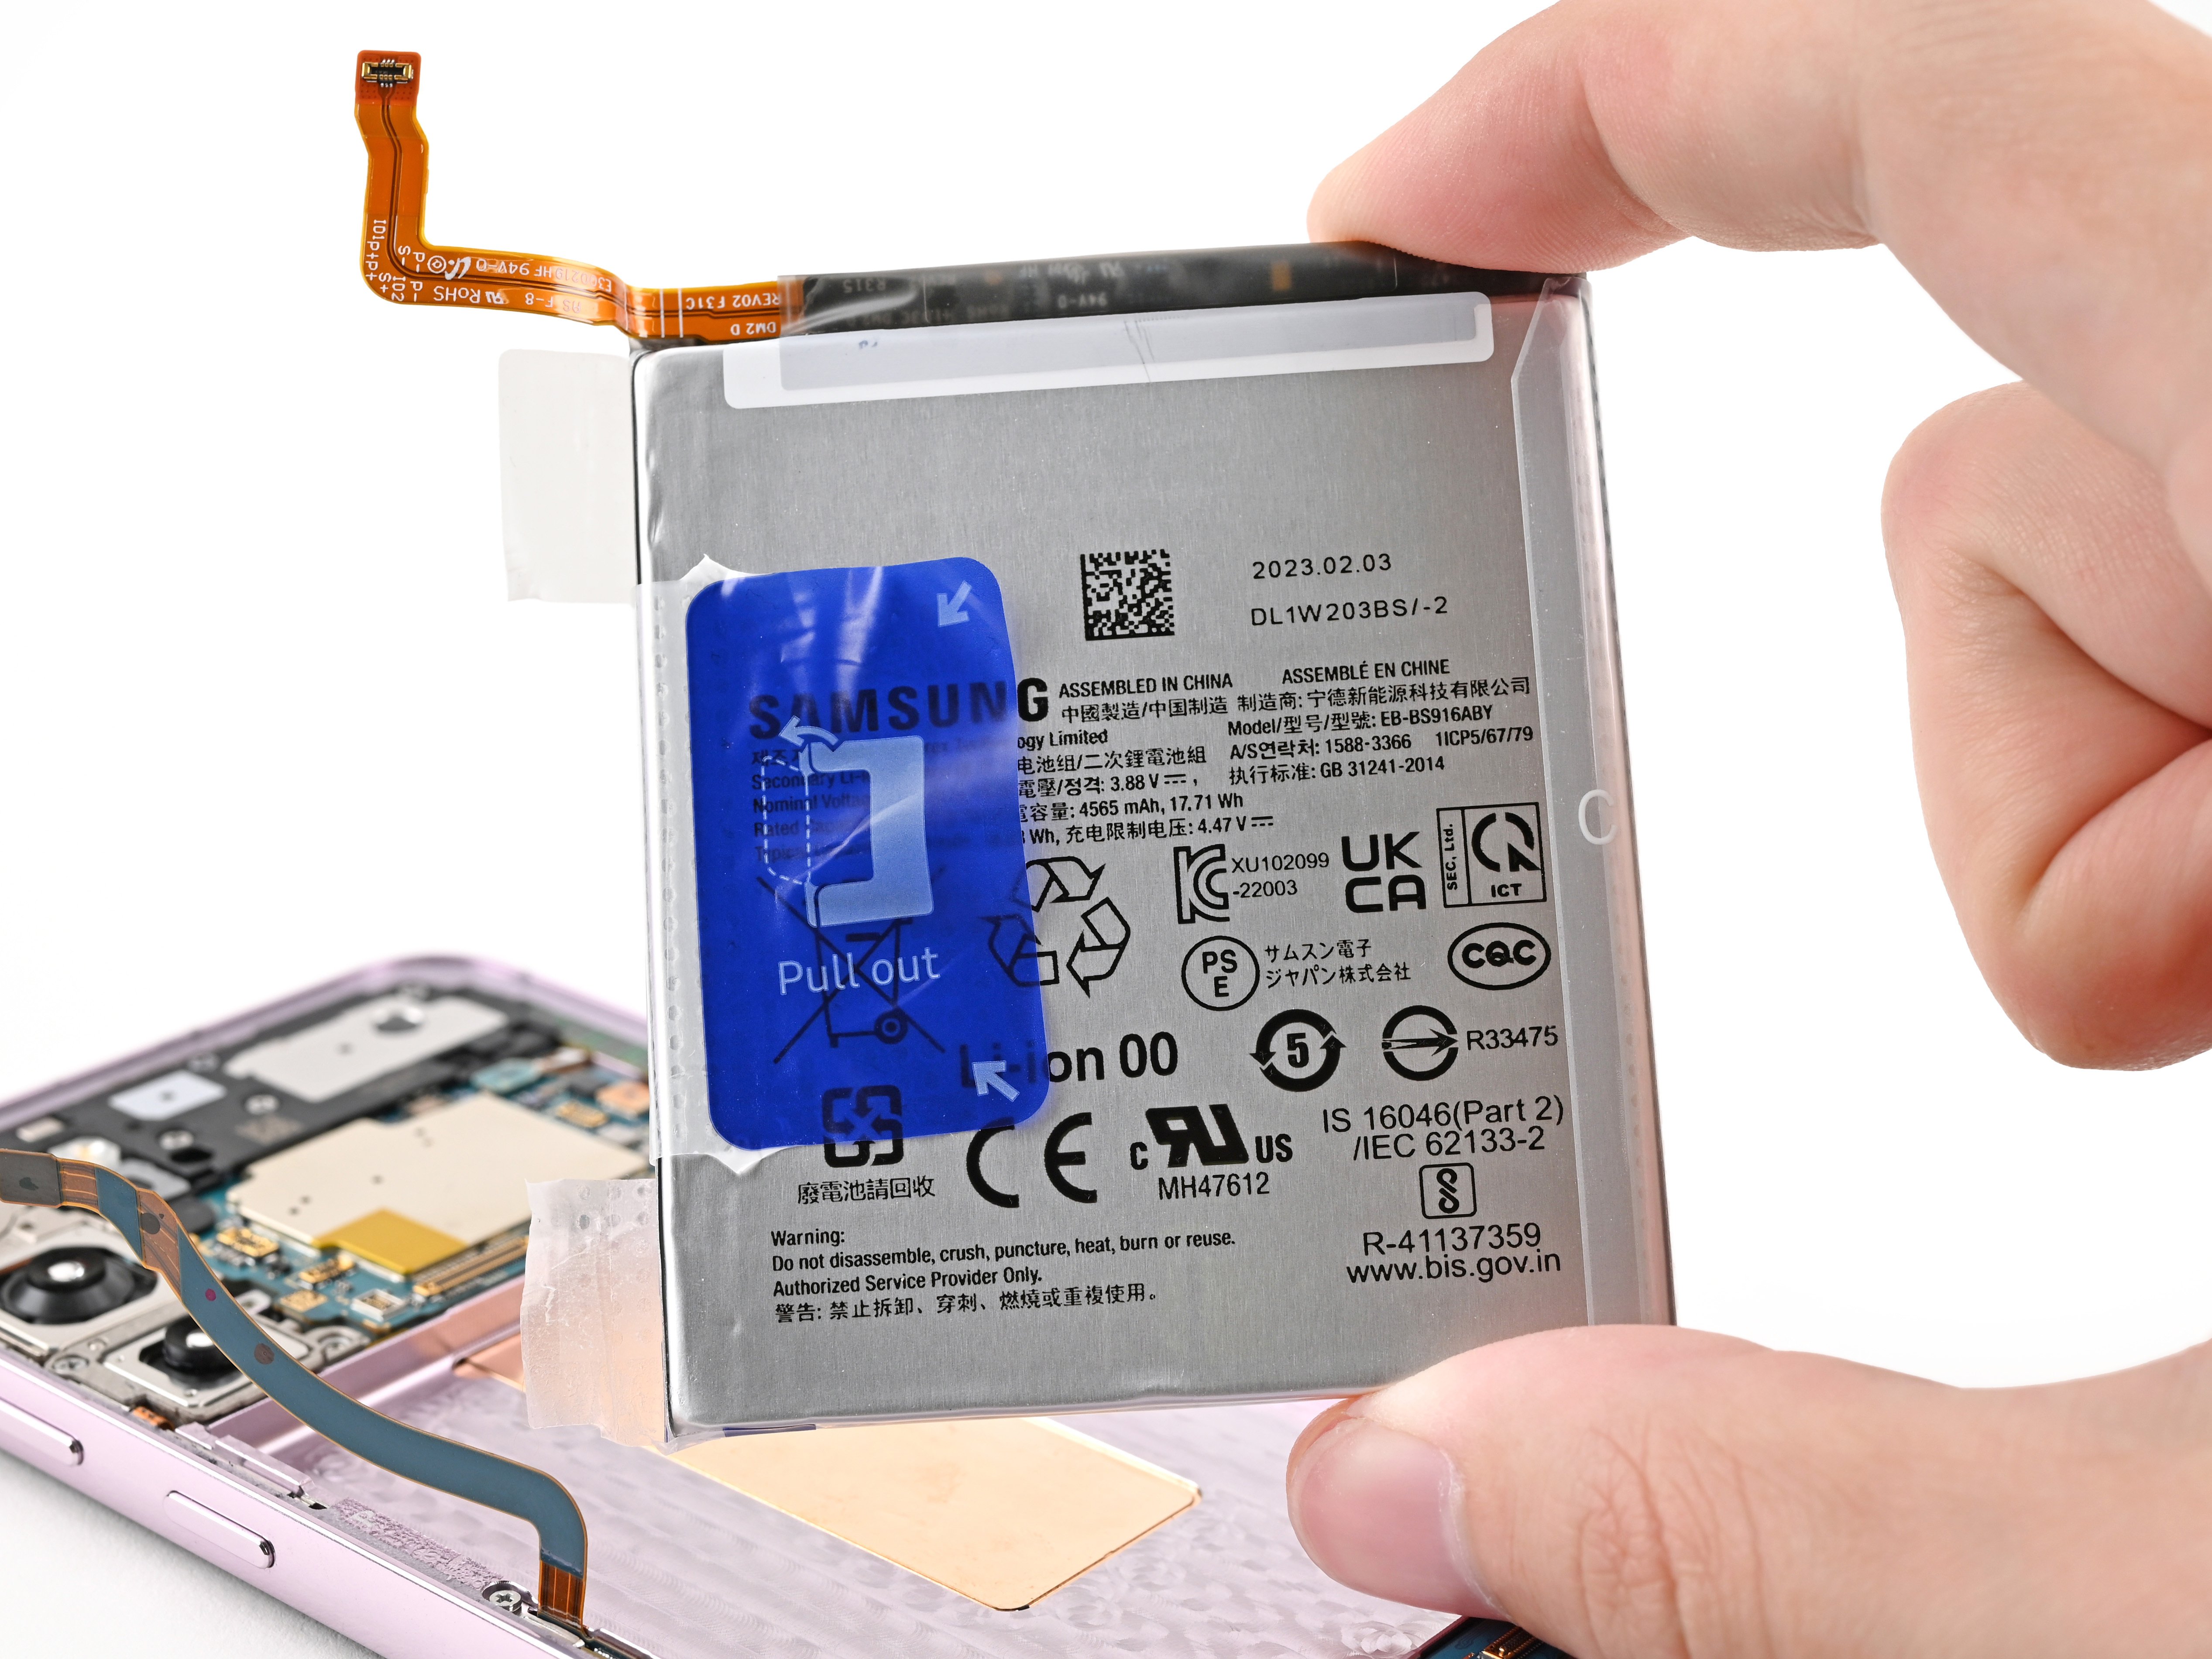
- Gently use the tip of your spudger to lift and disconnect the battery press connector. You've got this!
Tools Used
Step 22
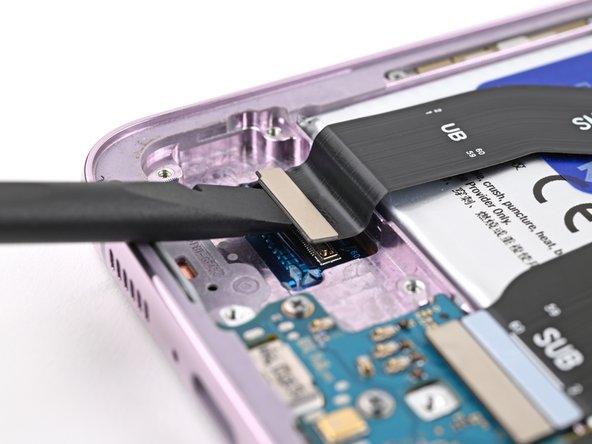

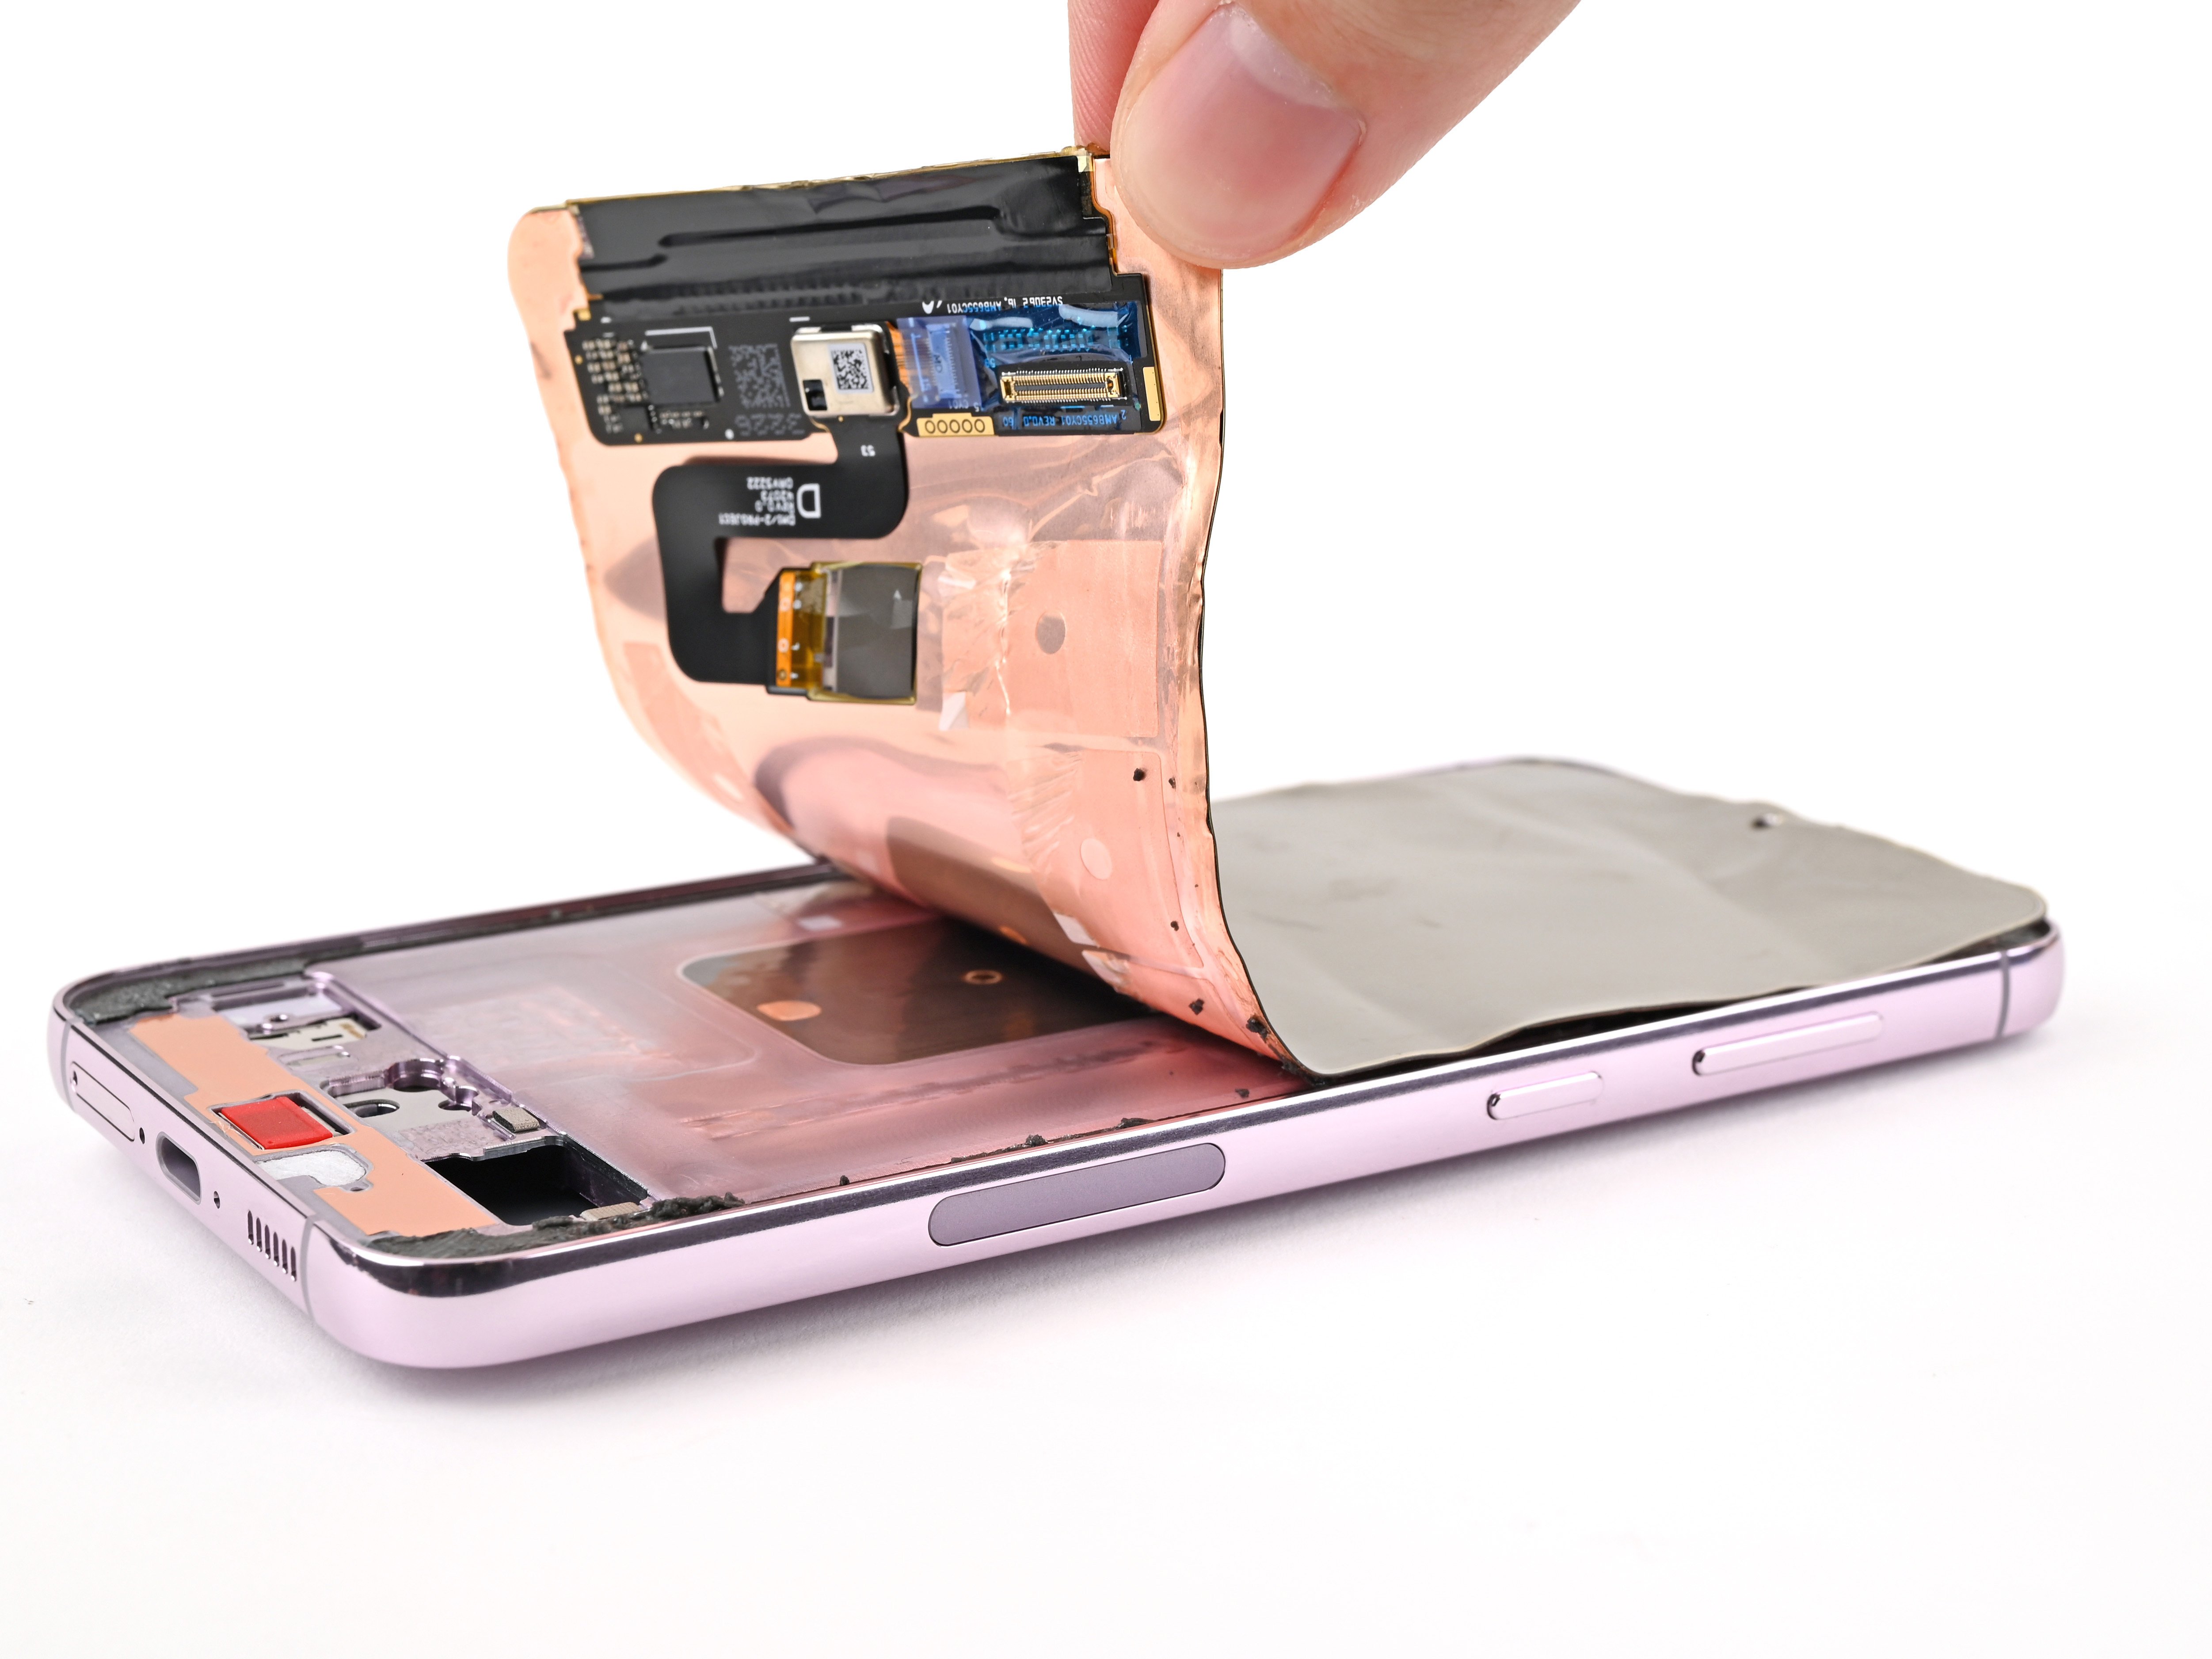
- Let's get that display cable press connector disconnected! Use your trusty spudger to carefully pry it up from the back of the screen.
Tools Used
Step 23

Hold off on slapping on fresh adhesive here—you’ll need to pop the back cover off again to wrap things up. The old adhesive has got you covered for now and will keep things secure while you swap out the screen.
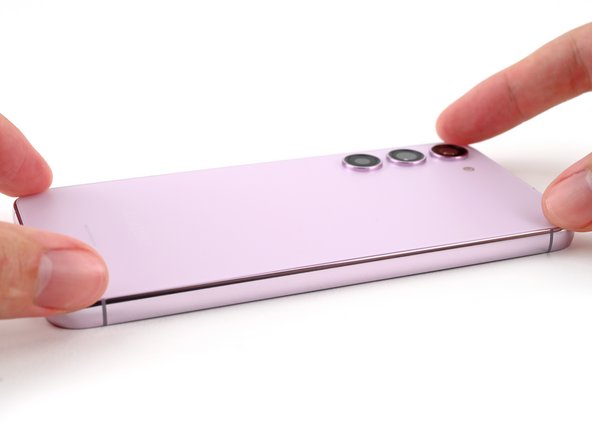
- Time to put everything back together - place the back cover on the frame to keep your phone's battery and internals safe from harm.
- Now, flip your phone over so the screen is facing up - you're making great progress!
Step 24


- Handle metal tools like the iFlex carefully—grab them by the handles, not the edges, since they can be pretty sharp. Safety first!
- Watch out for shattered glass—when removing the front glass, it might break into tiny shards that could fly around your workspace. Wearing gloves and safety glasses is a smart move to keep yourself protected.
Before diving into the front glass removal, let's keep safety in mind—think of it as giving your repair a good vibe. Proceed carefully, and if things get tricky, remember you can always schedule a repair for some extra help.
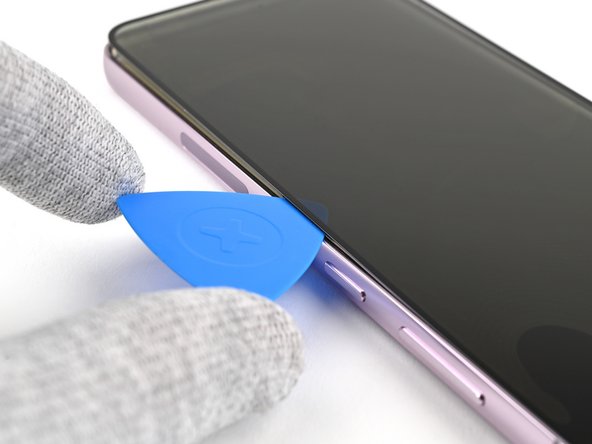
Since the gap between the front glass and the frame is super tight, grab a thin, sturdy tool like an iFlex to gently start prying it open. Patience is key—work slowly to avoid cracks or damage.
Step 25

Watch out—don't overheat the phone during this process, as the battery's pretty sensitive to heat damage. Keep it cool and safe, and if you need a hand, you can always schedule a repair.
- Grab your hair dryer or heat gun and warm up the top edge of the screen until it's almost too hot for your fingers to hang out.
Tools Used
Step 26

Just a gentle nudge with the iFlex is all you need to get that front glass to pop open and create a little gap. But be careful not to go too deep—nobody wants to accidentally poke the front-facing camera!
The front glass might start peeling away from the display panel, making it look all discolored—that’s totally normal. Don’t worry, you’ll remove the display panel in a later step. Keep going, you’re on the right track.
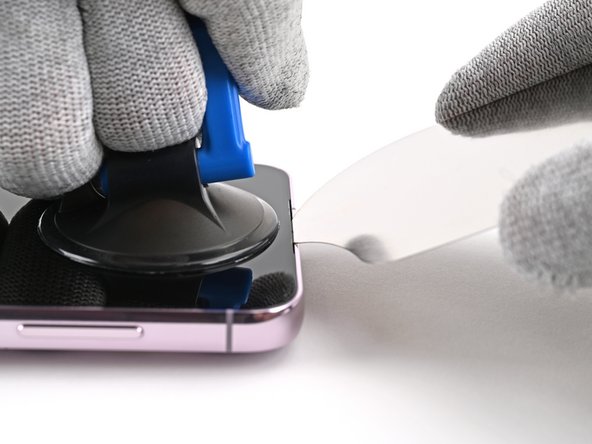
- Start by sticking a suction cup right at the top center of the screen—get as close to the edge as you can for a good grip.
- Gently insert the iFlex at a downward angle into the gap between the top edge of the front glass and the frame, right at the earpiece speaker area.
- Pull on the suction cup with steady, confident force while carefully lowering the iFlex underneath the glass. It’s normal for some of the front glass to loosen up—that's part of the process.
Tools Used
Step 27

- Twist the bendy iFlex around a top corner of the glass like you're unlocking a secret level—just enough to pop the glue loose and slide in your trusty pick.
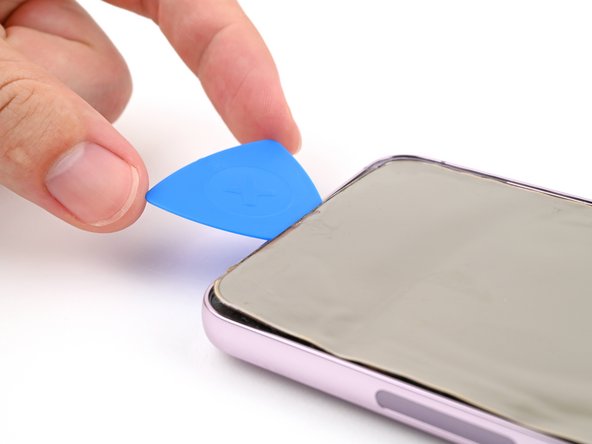
Step 28

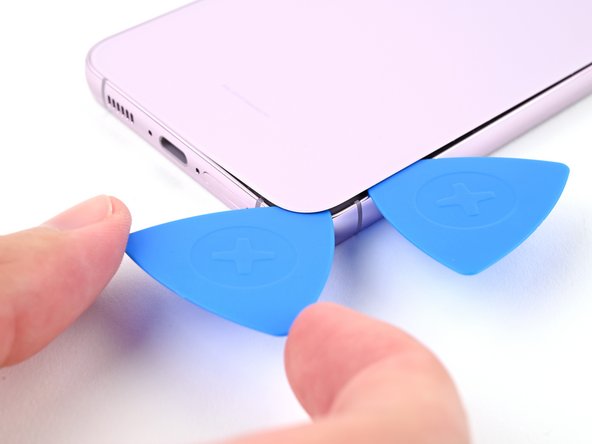
- Take your opening pick and gently glide it around the edges of the front glass to break free the adhesive holding it to the frame. A little patience here goes a long way!
Step 29

- Gently lift the front glass away from the frame and set it aside. Keep it safe so it doesn’t crack or get scratched. If you hit a snag or need a hand, you can always schedule a repair with Salvation Repair.
Step 30

- Slip an opening pick under the edge of the screen panel to get things started.
If the adhesive is giving you a hard time, give it a little heat. A hair dryer or heat gun warming the screen panel until it's just warm enough to touch can soften things up and make separation easier. Just be gentle with the heat—no need to turn up the thermostat! If you hit any snags, remember you can always schedule a repair.
Tools Used
Step 31

- Gently glide your opening pick around the edge of the screen panel to break free the adhesive holding it to the frame. Keep it smooth and steady, and soon you'll be on your way to a successful repair!
Step 32

- Before installing your new part, take a moment to compare it with the original. Don't forget to transfer any leftover components and peel off any adhesive backings on the new part.
- To put everything back together, simply work backwards through the steps you followed earlier.
- Got some e-waste? Make sure to drop it off at an R2 or e-Stewards certified recycler.
- If things didn’t go quite as expected, no worries! Try a bit of basic troubleshooting, or head over to our Samsung Galaxy S23+ Answers Community for some extra help.
- Need some extra hands? Don’t hesitate to schedule a repair if you're stuck!