iPhone 7 Plus – Replacing the earpiece
Duration: 30 min.
Steps: 15 Steps
In this guide, we’re diving into how to swap out that pesky earpiece on your iPhone 7 Plus! If you find yourself straining to hear your buddy on the other end or if your calls sound like they’re underwater, it’s time for a change. But before we roll up our sleeves, make sure to back up all your precious data and give yourself a static charge release by touching something metal, like a radiator. Let’s get started and bring your phone back to life!
Step 1
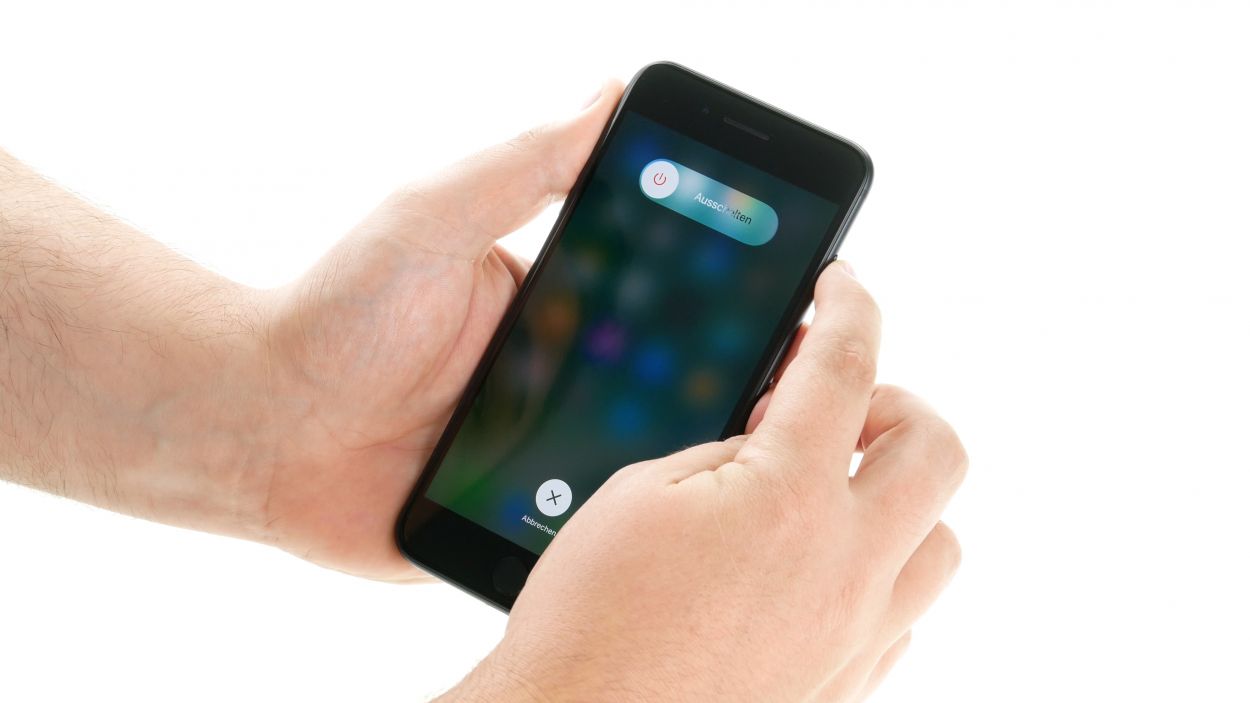
– First things first, power down your iPhone completely to keep it safe during the repair process. Just press that Sleep/Wake button for about three seconds until you see the ‘power off’ slider pop up.
– Now, give that slider a good swipe from left to right. Your iPhone will take about ten seconds to shut down entirely, and then you’ll be all set to dive into the repair!
Step 2
2 × 3,3 mm Pentalobe
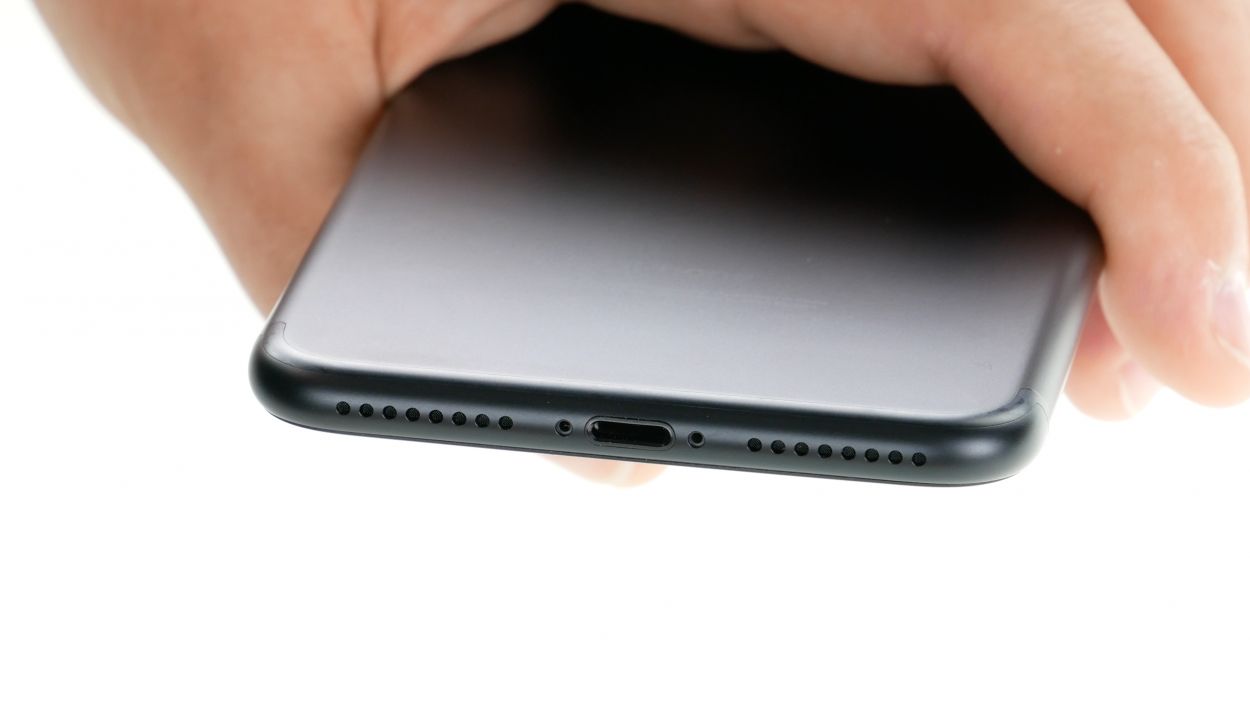
– Grab your trusty pentalobe screwdriver (PL1) because it’s time to pop open that iPhone 7 Plus!
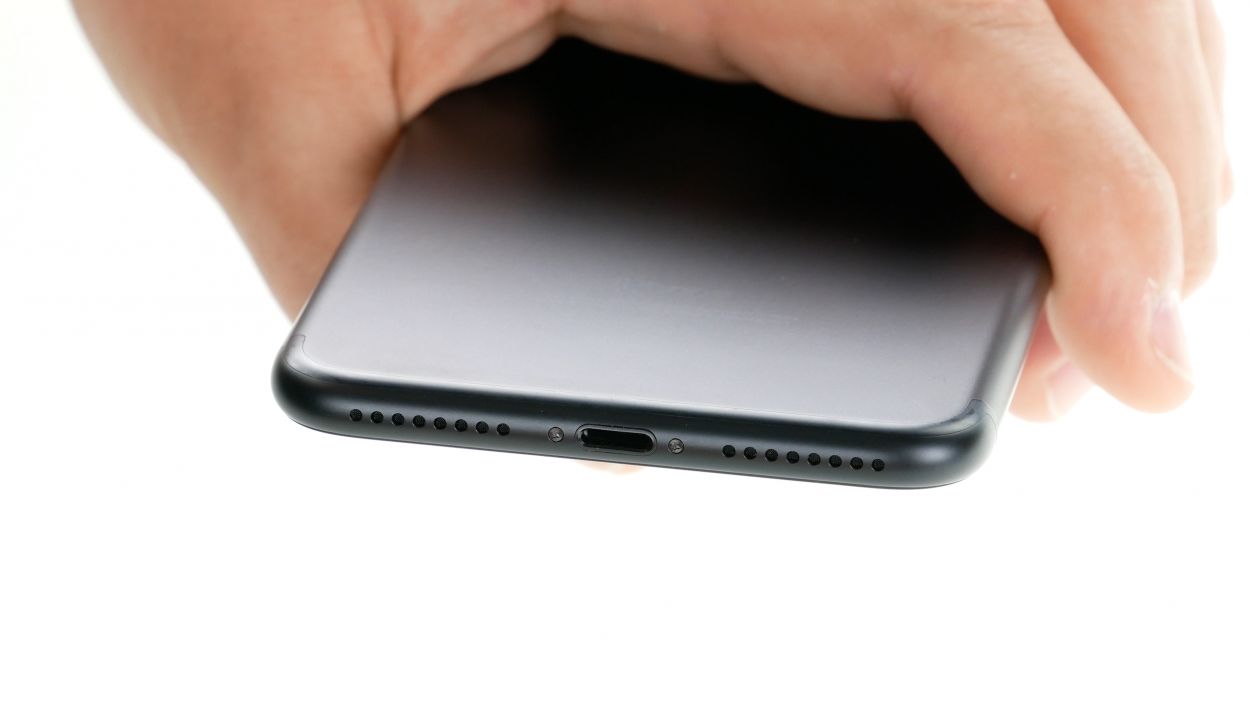
– Now, let’s get those two pentalobe screws out at the bottom of the enclosure—one on the left and one on the right of the Lightning connector. Be sure to keep them safe in the same section of your magnetic pad!
Step 3


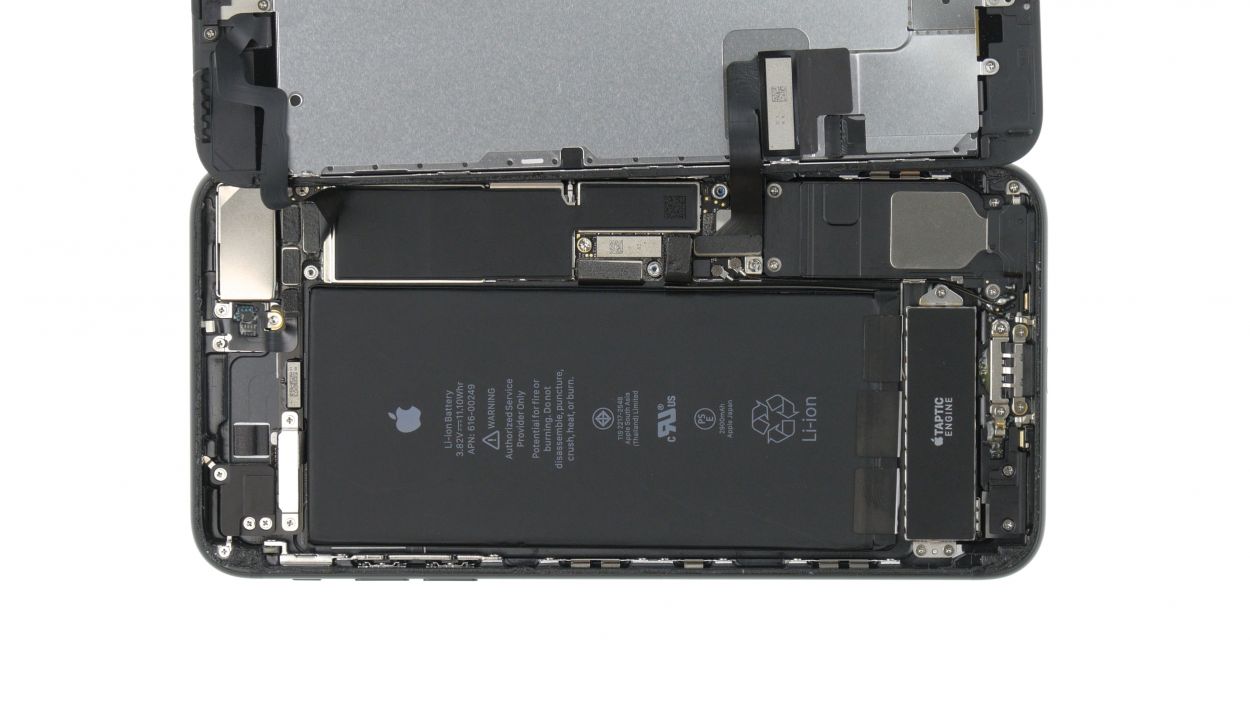
If you need a little help getting that display off, warm up the edges a few times! Just a friendly reminder: the flex cables are hanging out on the side with the Sleep/Wake button. Oh, and don’t forget, the display is also snug at the edge of the earpiece!
– To keep your iPhone 7 looking sharp, place it on a soft, clean surface to avoid any scratches.
– You’ll need a suction cup, a hard plastic plectrum, and a heat gun to lift the front screen. If the screen is super cracked, don’t forget to tape it up with some package tape first!
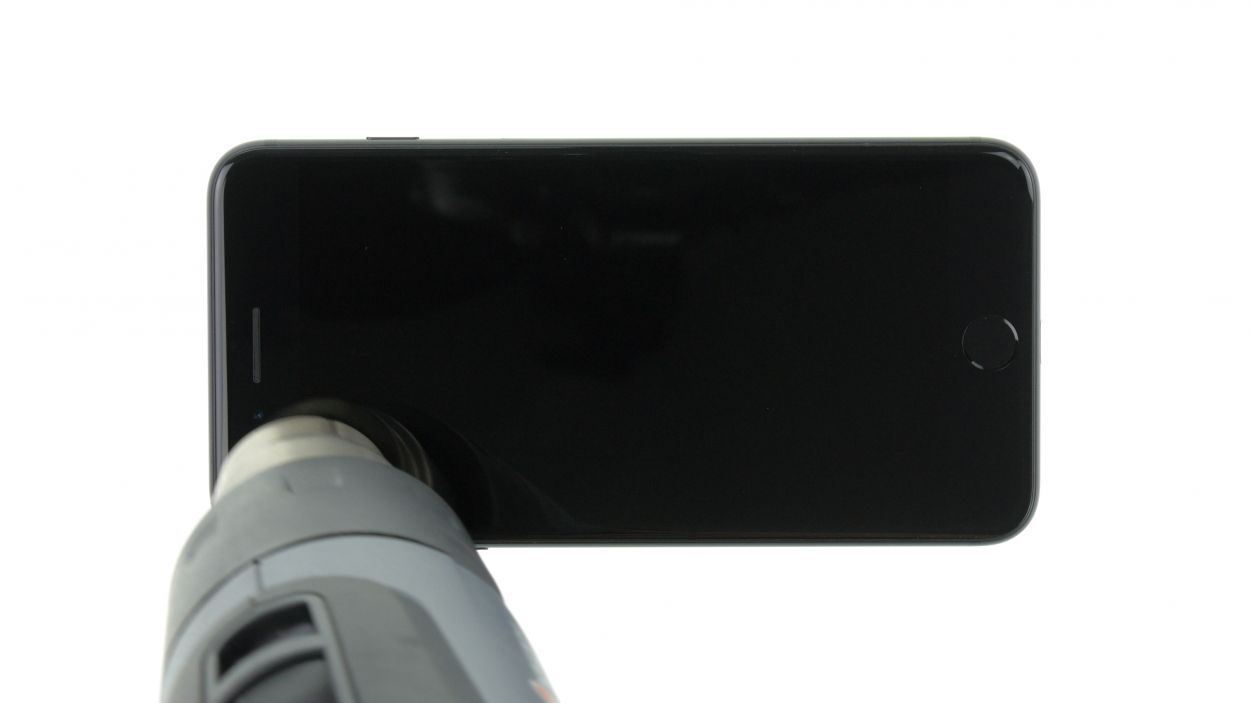
– Since the screen is glued to the frame, warm up the edges with your heat gun until they’re about 60°C.
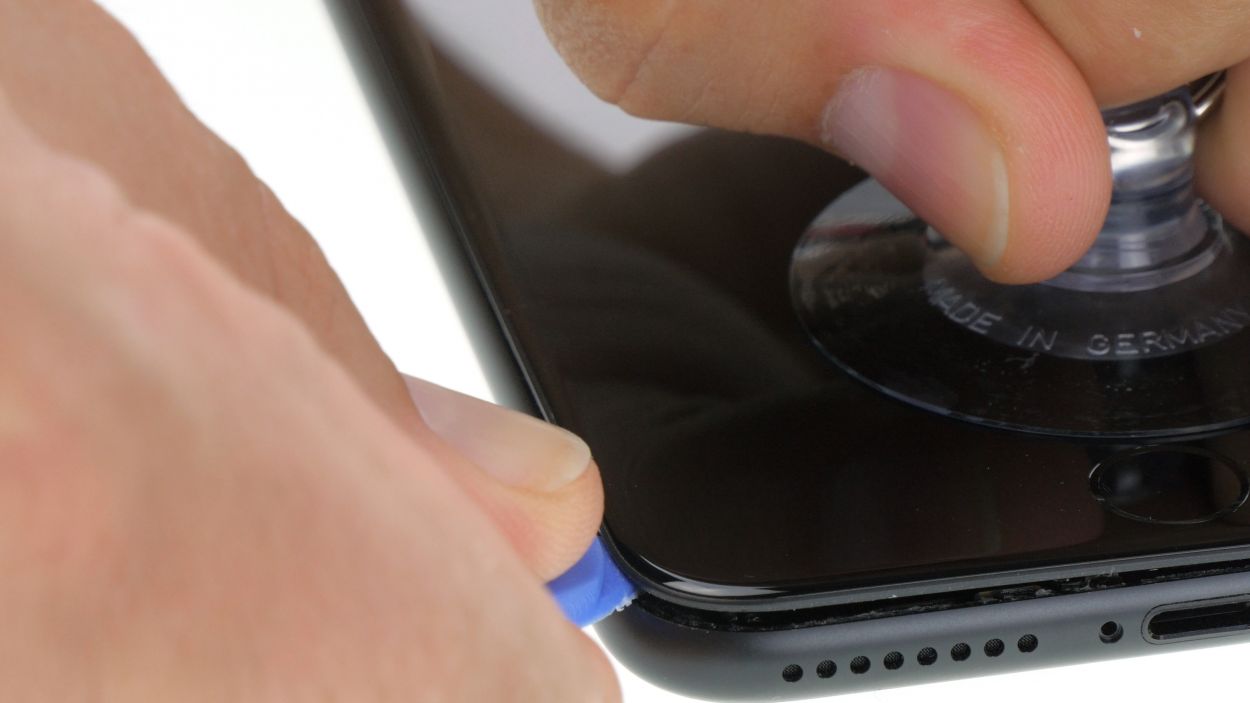
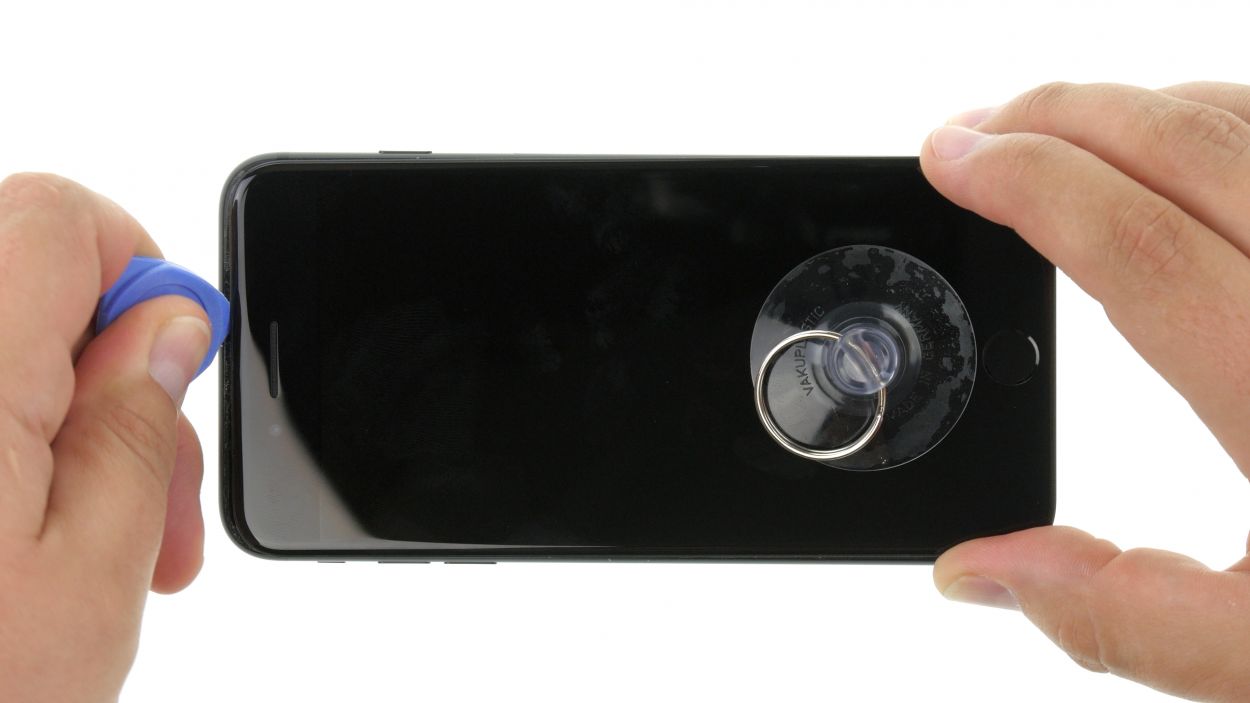
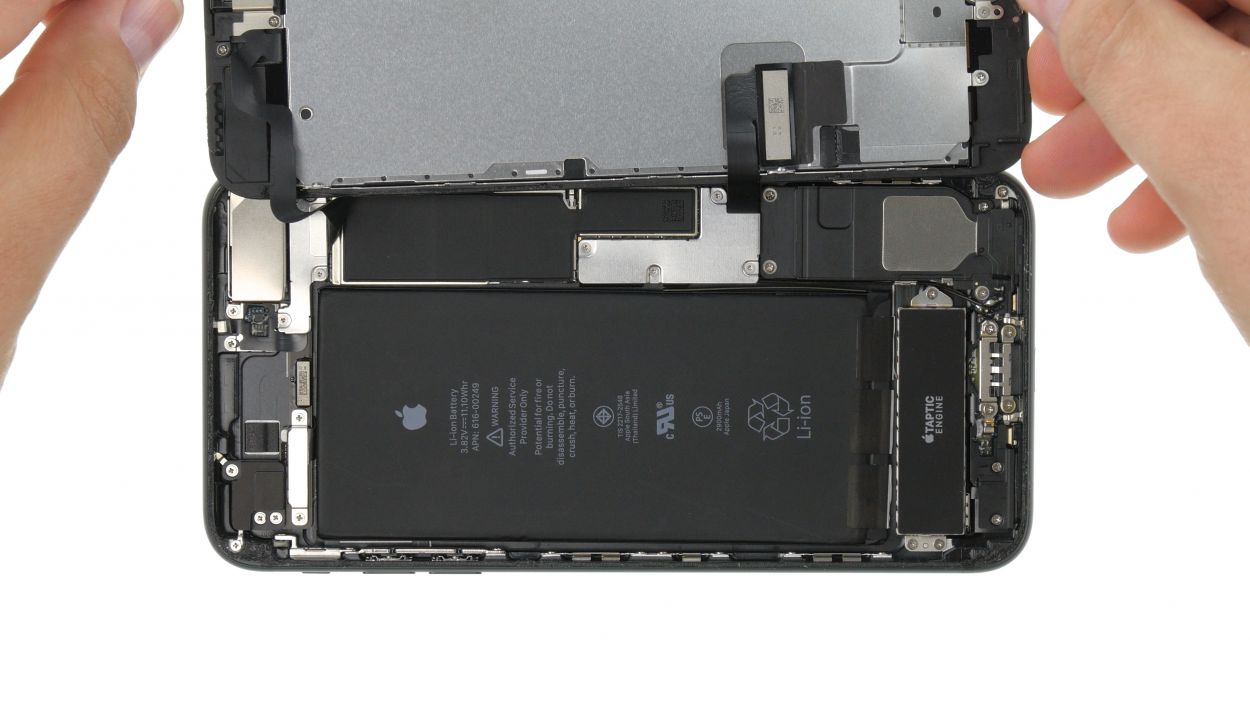
– Stick the suction cup over the Home button (if you can) or right next to it. While you gently pull up with the suction cup, slide the hard plastic pick between the aluminum frame and the display, pressing down the frame. Since the display is glued on, you’ll need to slide the pick all the way around the iPhone. Just be careful not to push the pick too far near the Sleep/Wake button, as it might damage the display cables.
– Now, use that pick to nudge the display towards the Lightning connector so the tabs pop out of the aluminum frame.
– Rest the display on the aluminum frame to avoid stretching those flex cables too much.
Step 4


1 × 2,4 mm Y-Type
3 × 1,1 mm Y-Type
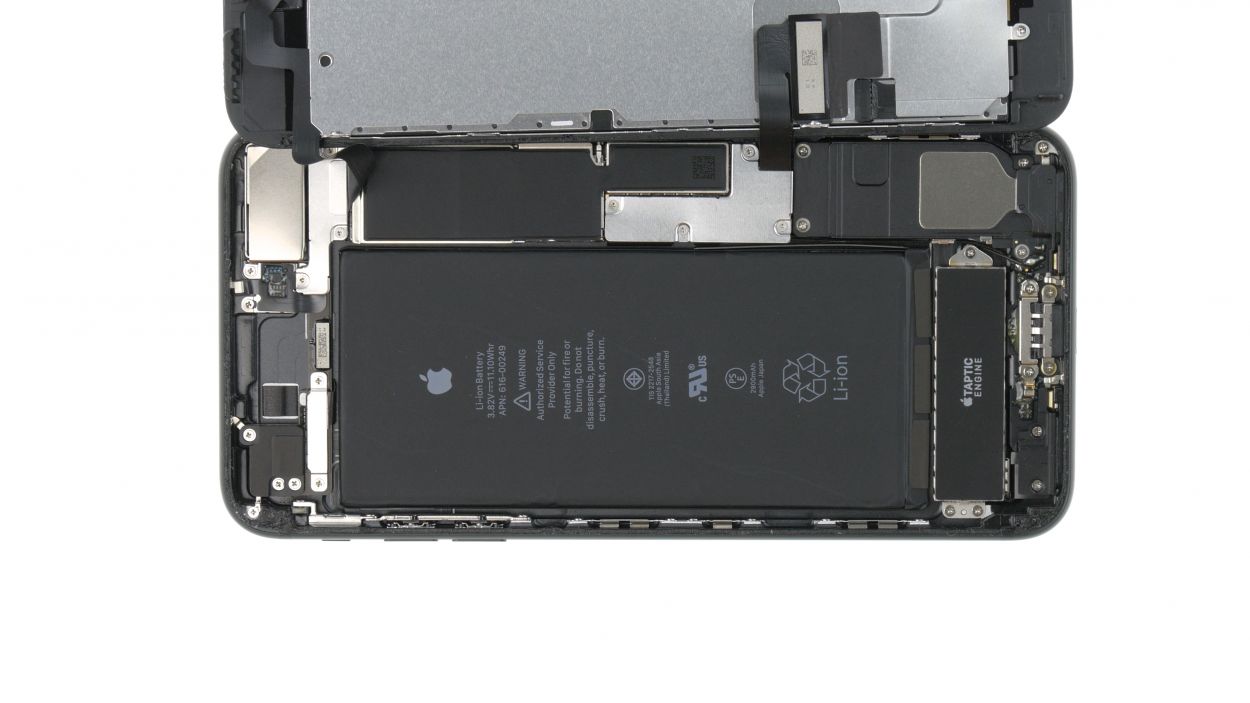
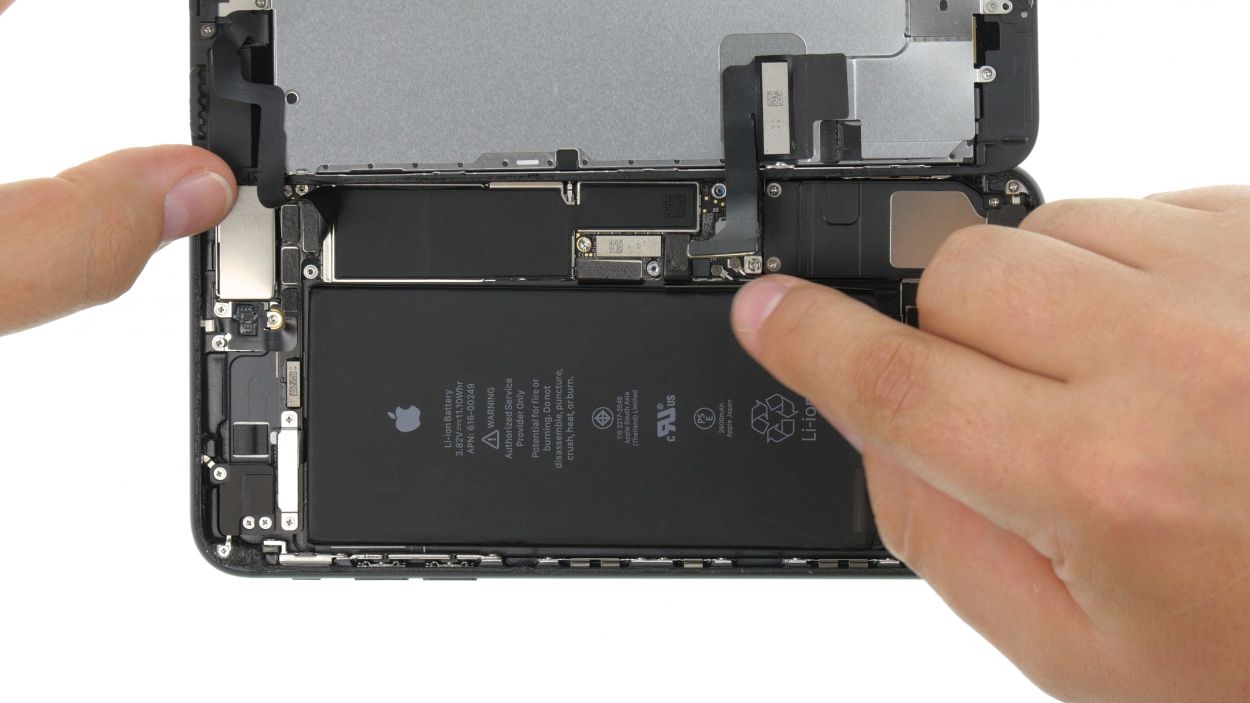
Battery Connector
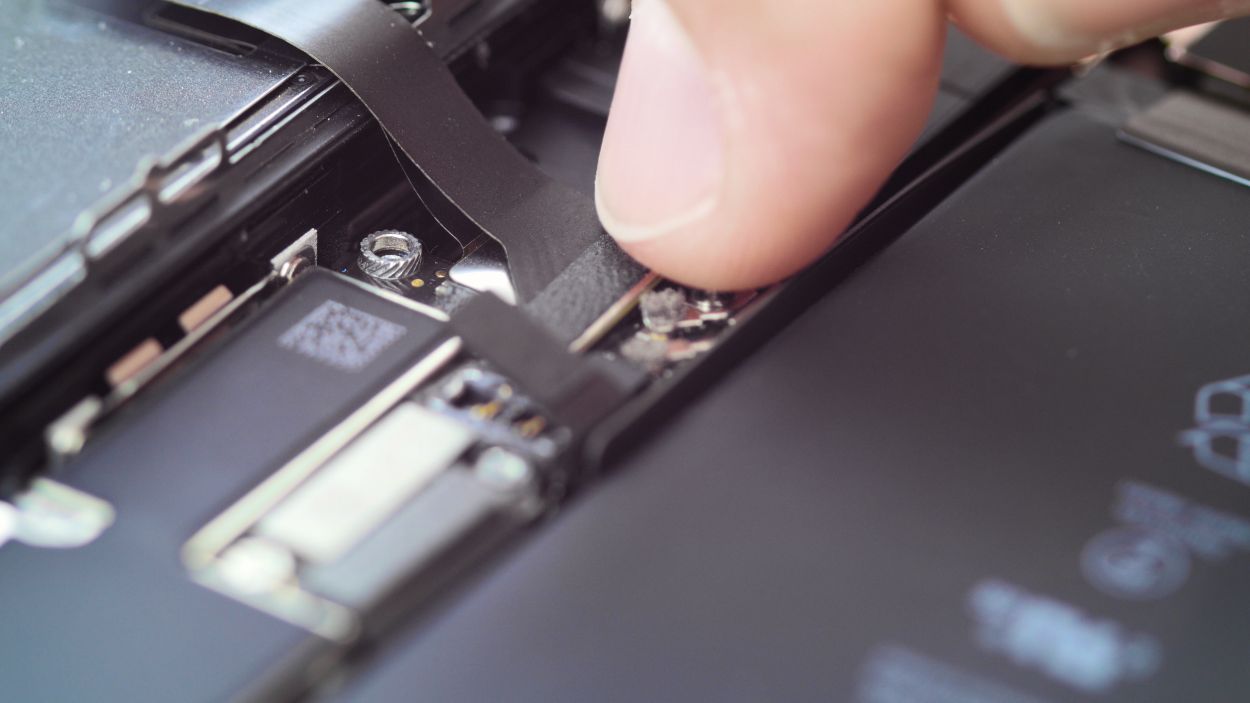
Before you dive into the repair, make sure to disconnect that battery contact! It’s your secret weapon against short circuits and accidental device wake-ups while you’re working your magic.
– First up, grab your trusty Y-Type screwdriver (Y000) and remove those three Y-Type screws like a pro! Once they’re out, gently lift off the bracket plate. Remember to keep all the parts cozy in the same box on your magnetic pad!
– Next, let’s delicately pry off that battery connector. Just slide a spudger underneath it with care. No spudger? No problem! Your fingernail can step in as a handy alternative.
Step 5
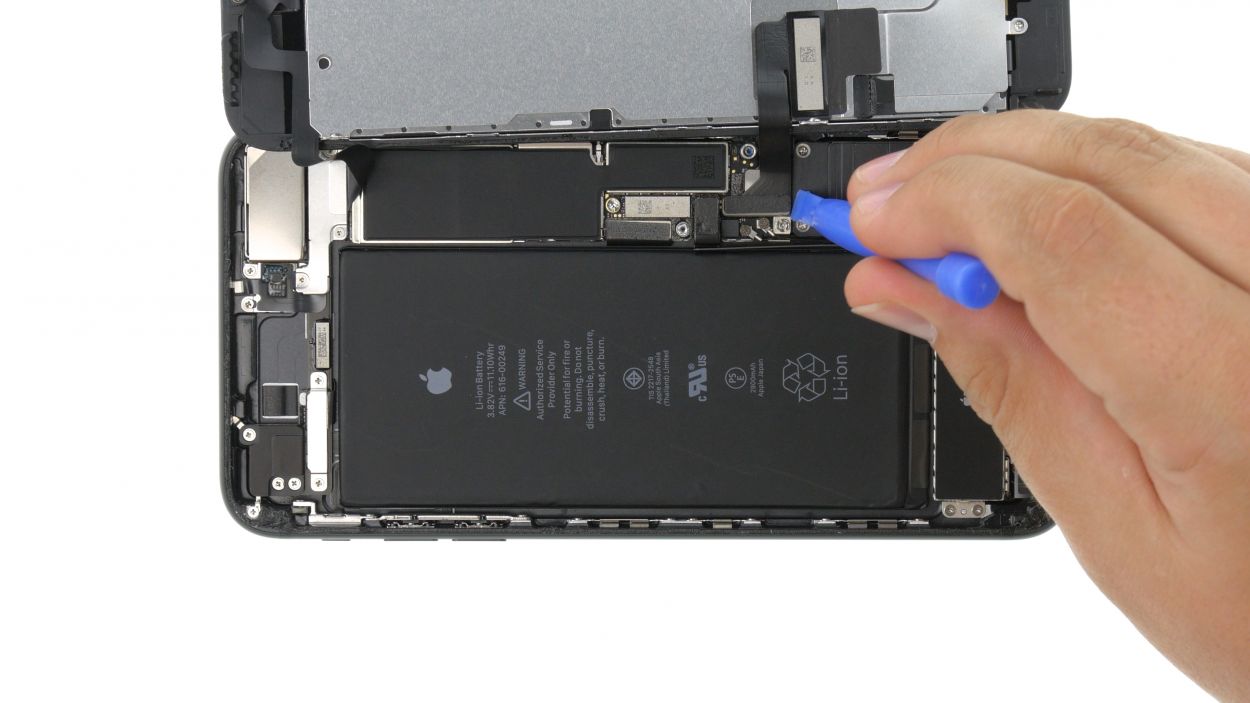


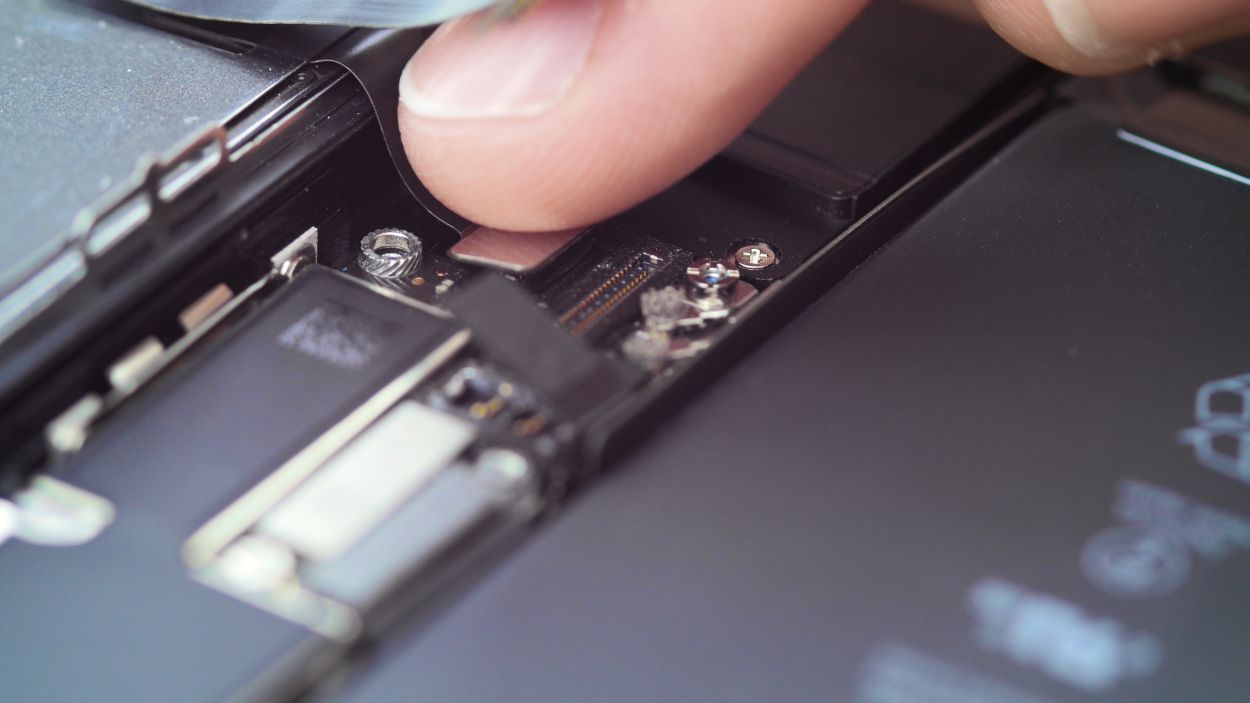
Display Connector
Home Button Connector
– Grab your trusty spudger and gently disconnect those display and Home button cables. You’re doing great!
Step 6


1 × 1,3 mm Y-Type
2 × 1,0 mm Y-Type
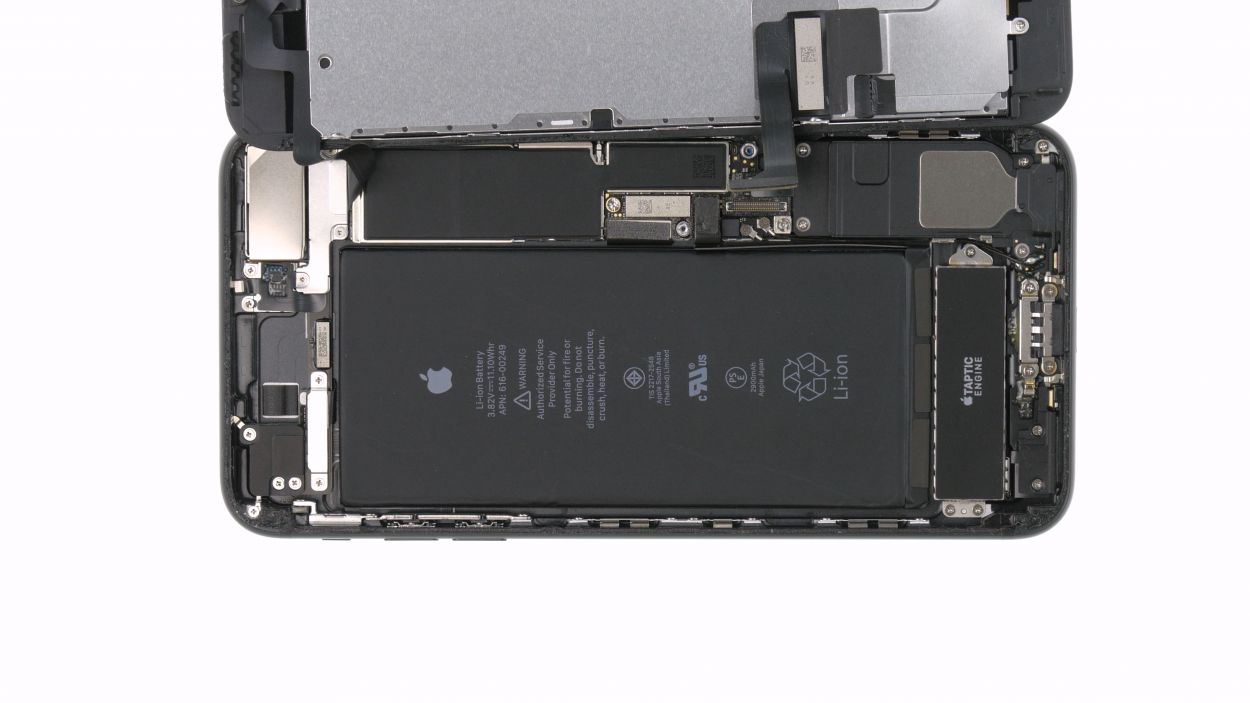
Facetime Connector
– First, grab your Y-Type screwdriver (Y000) and gently remove those three Y-Type screws. After that, lift off the cover like a pro! Keep all the parts cozy in the same box of your magnetic pad.
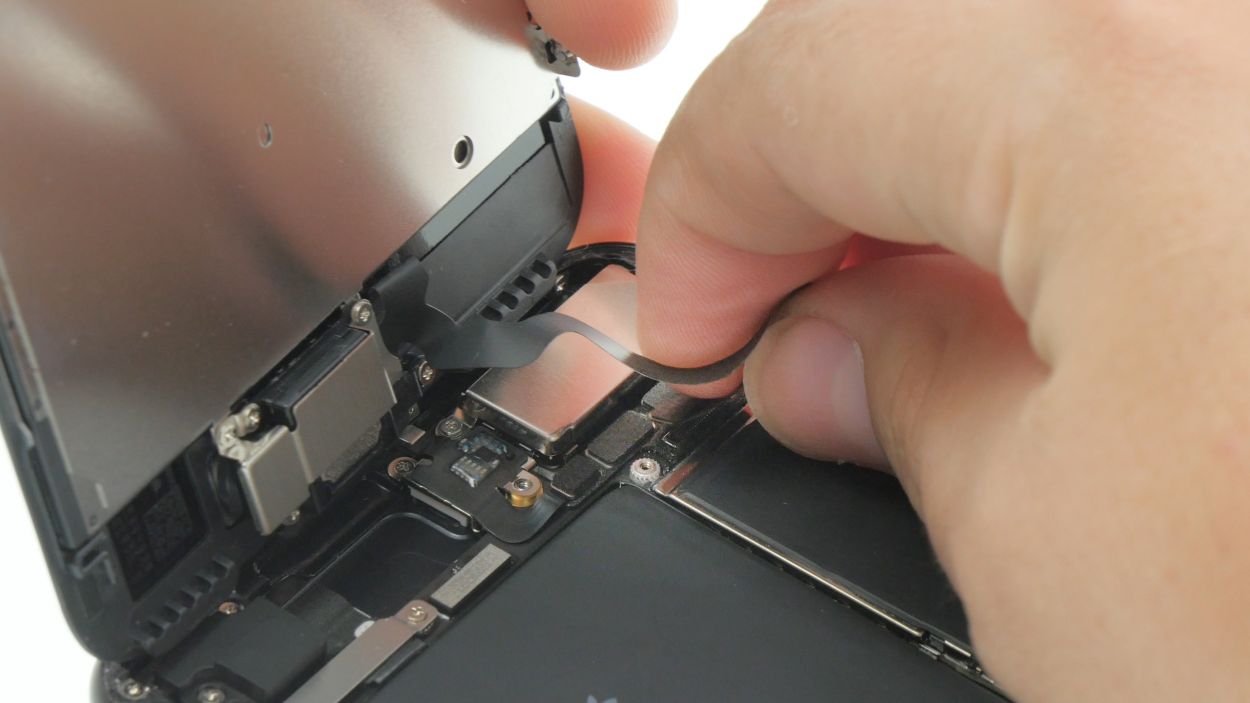
– Next up, take your spudger and carefully disconnect the FaceTime connector from the circuit board. You’re doing great!
– Now, it’s time to fully detach the display. You’re almost there!
Step 7


1 × 2,7 mm Phillips-Schraube
2 × 1,7 mm Phillips-Schraube
2 × 2,1 mm Phillips-Schraube
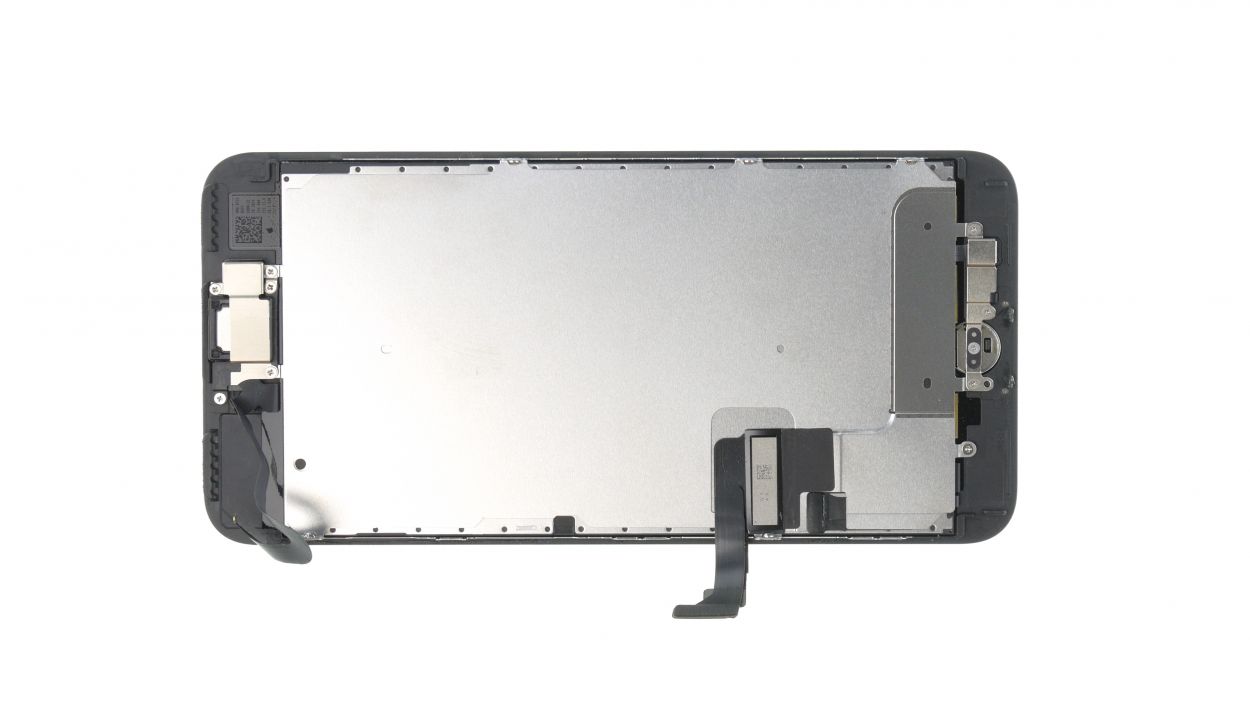
Heads up! Those screws come in different lengths. If you mix them up, you could end up giving your display a rough time during reassembly. Keep them sorted, and your phone will thank you!
– The earpiece hangs out on the back of the display unit. Time to unscrew those five Phillips screws from the bracket holding the earpiece in place. Remember to keep all those little pieces together in the same box on your magnetic pad!
– Now, the earpiece is chilling under the front camera’s flex cable. Just give that cable a gentle nudge to the side so you can smoothly remove the earpiece.
Step 8


2 × 2,1 mm Phillips-Schraube
2 × 1,7 mm Phillips-Schraube
1 × 2,7 mm Phillips-Schraube
Be gentle with those screws! Over-tightening them could lead to some unwanted paint piercings on the front side. Let’s keep your iPhone looking fresh!
– Slide the earpiece back into its cozy spot under the flex cable, nestled between the FaceTime camera and the sensors. Once it’s all settled, pop the bracket plate back on top.
– Now, let’s tighten things up! Secure that bracket plate with five Phillips screws. Just double-check that the front camera is perfectly aligned with the display—feel free to make any little adjustments if needed!
Step 9

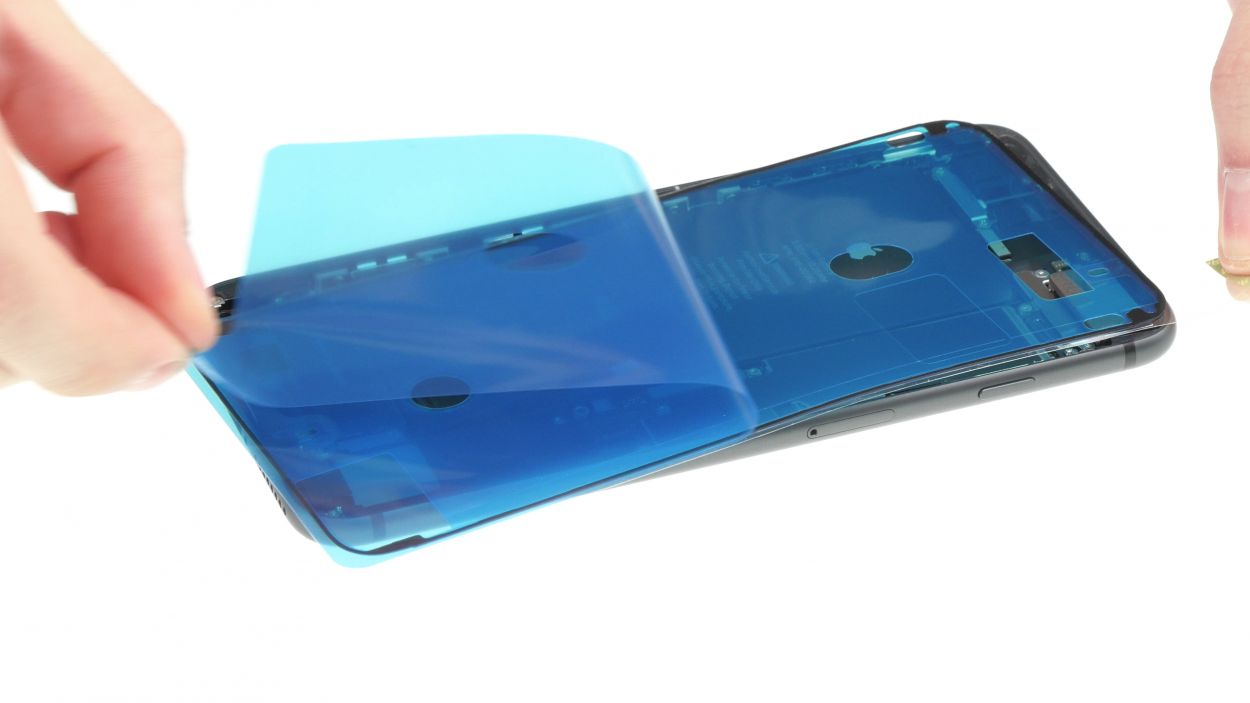


Just a heads-up! Even with a shiny new frame sticker, your iPhone’s water resistance might not be quite as stellar as it once was!
Keep an eye on the frame sticker’s orientation! The corners are unique and will guide you right.
– To ensure that the new frame sticker sticks like a champ, make sure to clear away any leftover glue and dirt from the old sticker.
– Peel off the first layer of backing film.
– Carefully align it on one side and gently press it down.
– Now, go ahead and remove the second piece of film.
Step 10


Facetime Connector
2 × 1,0 mm Y-Type
1 × 1,3 mm Y-Type
– First, hold that display up nice and straight on the frame, and connect the FaceTime connector to the logic board like a champ.
– Next, gently rest the display on the right-hand edge of the frame. You’ve got this!
– Finally, pop the bracket plate of the FaceTime connector back into the iPhone and secure it with those three Phillips screws. You’re almost done!
Step 11
Display Connector
Home Button Connector
– Go ahead and connect the Home button and display cables to the logic board. You’re almost there!
Step 12


Battery Connector
3 × 1,1 mm Y-Type
1 × 2,4 mm Y-Type
– First up, let’s get that battery cable back in action!
– Now, slide the bracket plate back into your iPhone and secure it snugly with those four Y-type screws.
Step 13


Hey there! Just a quick note: your phone’s water protection is taking a little vacation. To get it back in action, you’ll need to reglue that display. Let’s keep it safe and sound!
– Start by placing the display on the right side of the frame and gently fold it over onto the iPhone. You’ve got this!
– Now, slide the display towards the standby button until the tabs click into place. Perfect fit!
– Finally, give the display a gentle press all around the frame to secure it in. You’re doing awesome!
Step 14
2 × 3,3 mm Pentalobe
– Time to get those two pentalobe screws snugly back into place! Just screw them into the case, one on the left and one on the right of the Lightning connector. You’ve got this!
Step 15

Heads up! When you take the battery out, your iPhone decides to throw a little time party and resets to 1:00 a.m. on 1/1/1970. If you don’t set the time, you might find it a bit tricky to connect to the cellular network. So, let’s get that time sorted!
– Let’s get your iPhone in sync! Connect it to iTunes or hop onto a WiFi network and hang tight until the time is set.
– Just a heads-up: your iPhone won’t automatically set the time unless you turn on that nifty feature in your settings.
– Head over to Settings > General > Date & Time > Set Automatically.
– Time to tackle that SIM tray! Pop it out with the SIM card and then slide it back in.
– Flip on airplane mode for a moment, then switch it back off.
– You can find it in Settings > Airplane Mode.