Galaxy S23+ Teardown
Duration: 45 minutes
Steps: 9 Steps
Step 1


- Pop out the SIM tray with a SIM eject tool and take out the SIM card if it's hanging out in there.
Step 2


- Grab your trusty opening pick and a suction handle! Gently slice through the sneaky adhesive holding that rear glass in place, and then lift it off with care.
Step 3

- Pop out those 20 tiny #00 Phillips screws—think of it as a satisfying mini treasure hunt. Keep them in a little dish so none escape!
Step 4

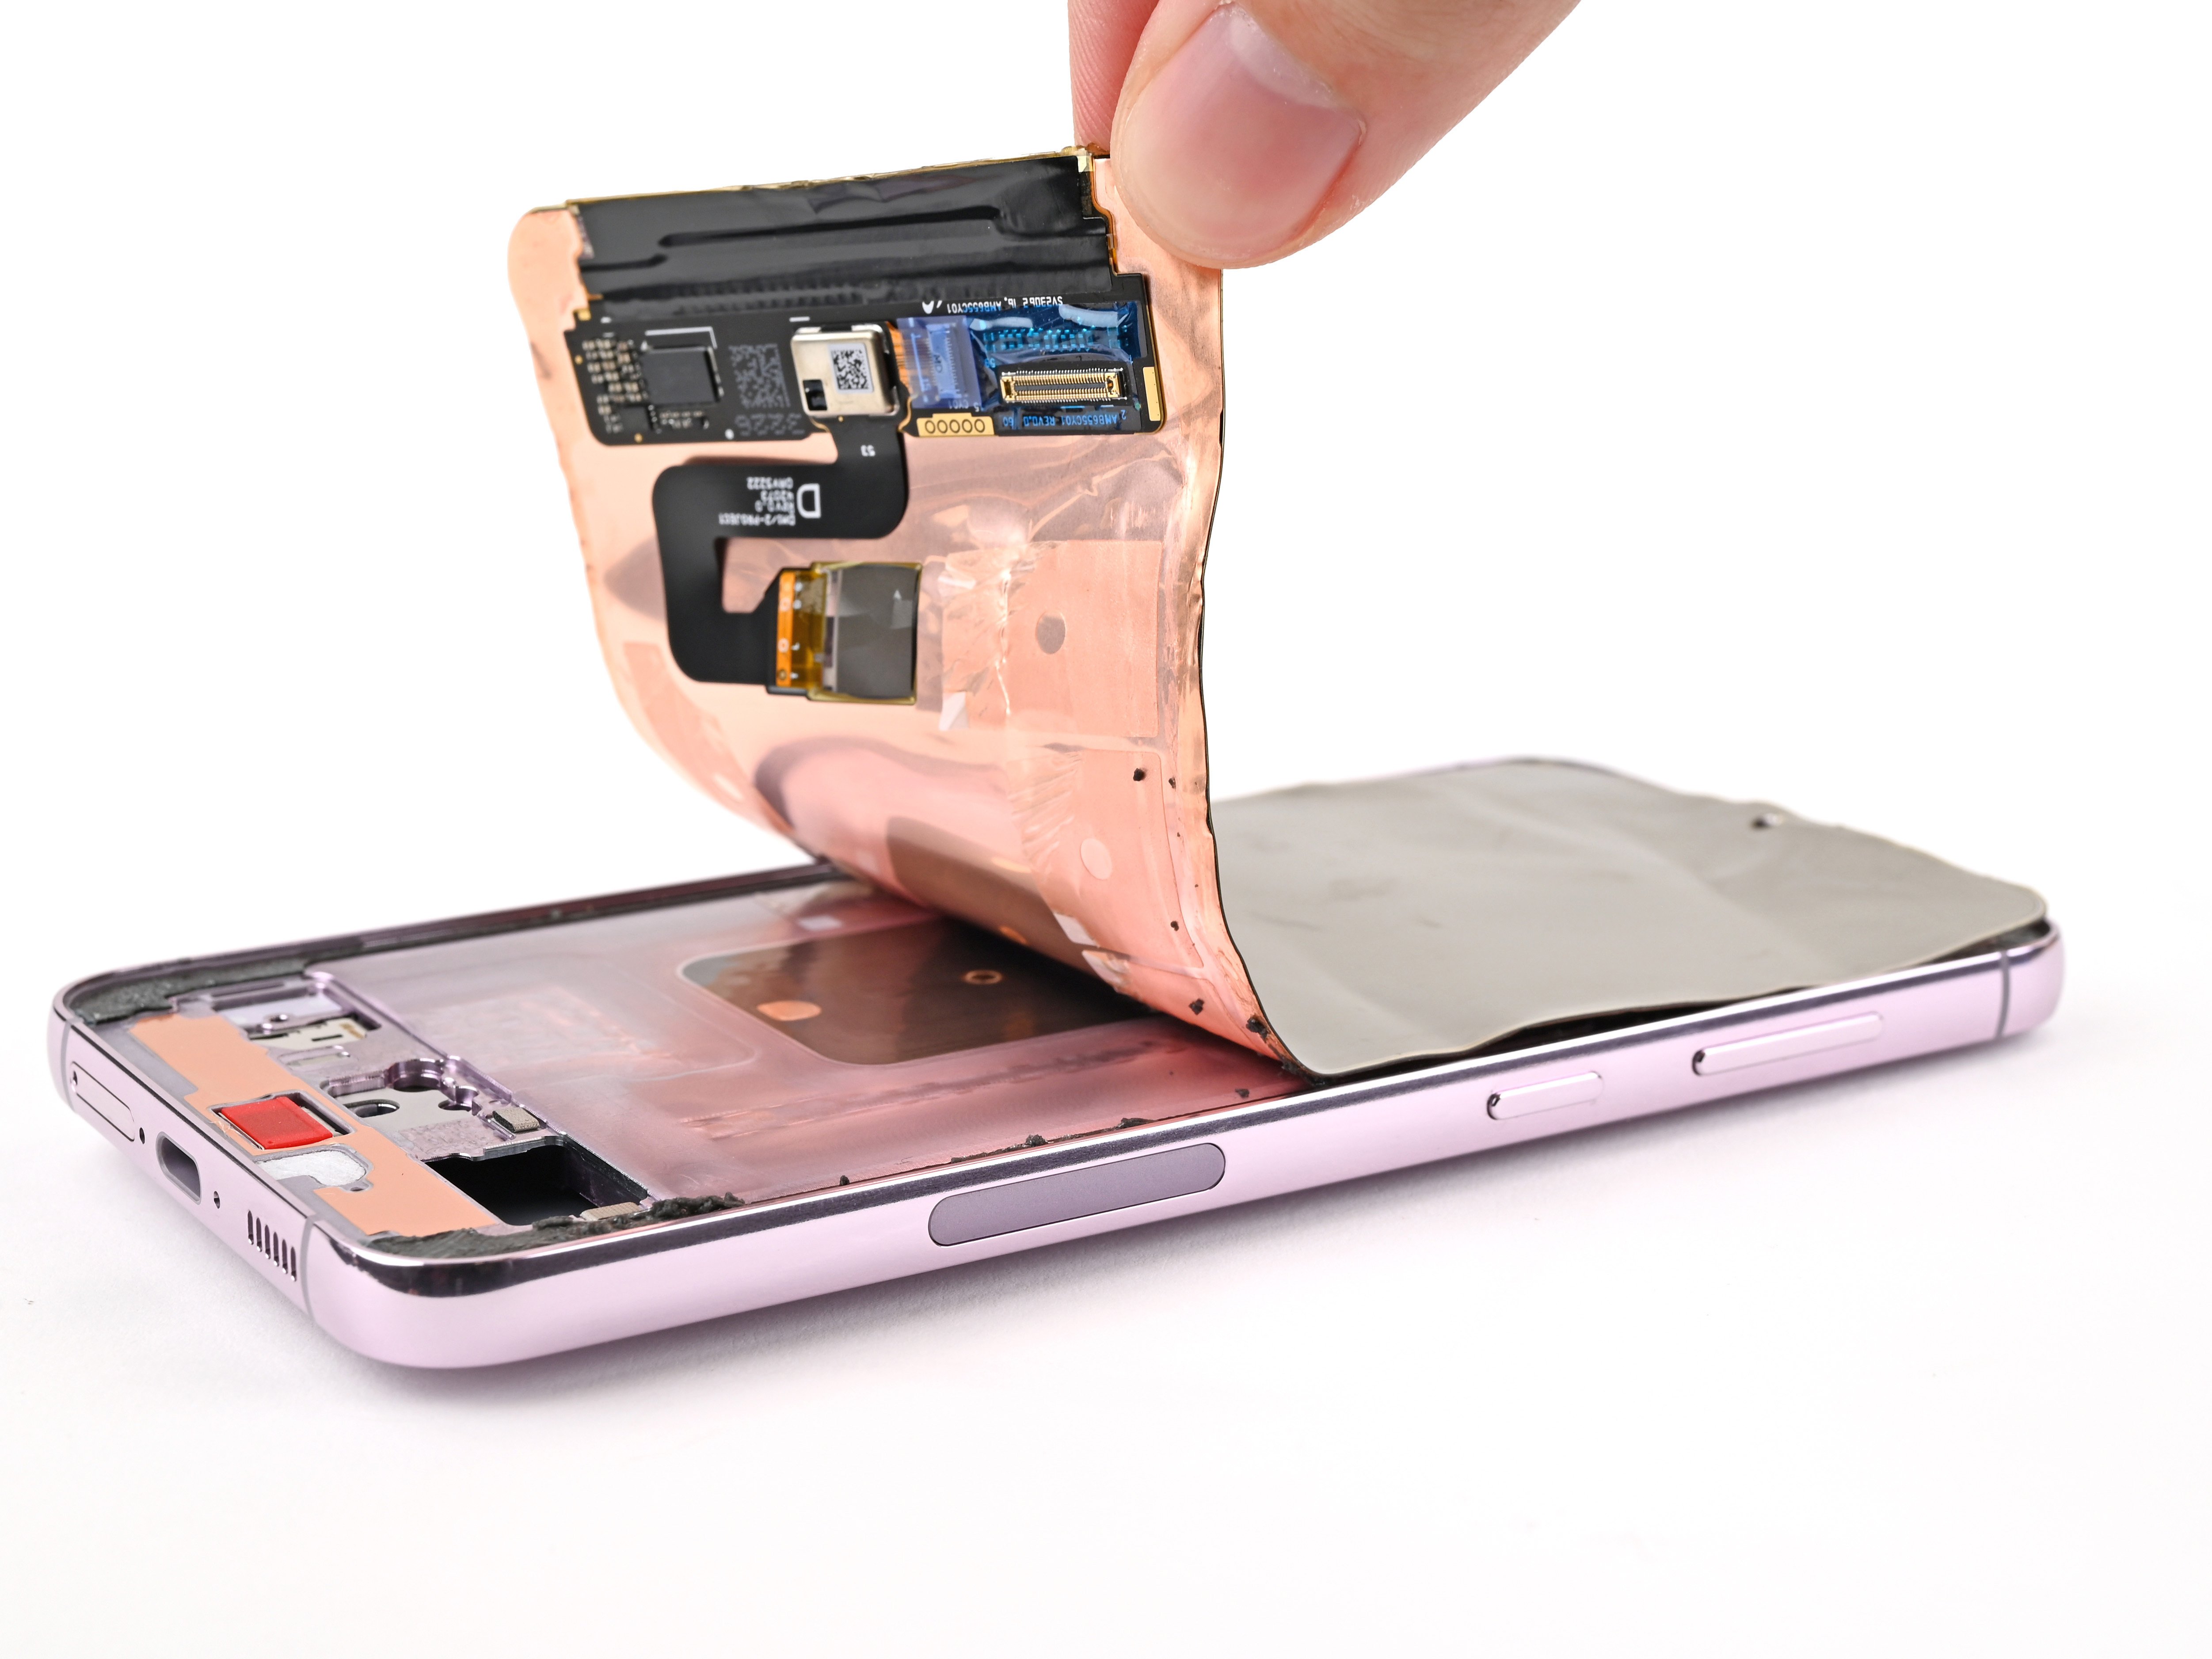
- Pop out those two connectors that hook up the wireless charging to the motherboard, and then lift the wireless charging pad outta there.
Step 5

- Let's get started - carefully disconnect those 5 connectors to begin the process.
- Now it's time to remove the speaker, easy does it!
Step 6

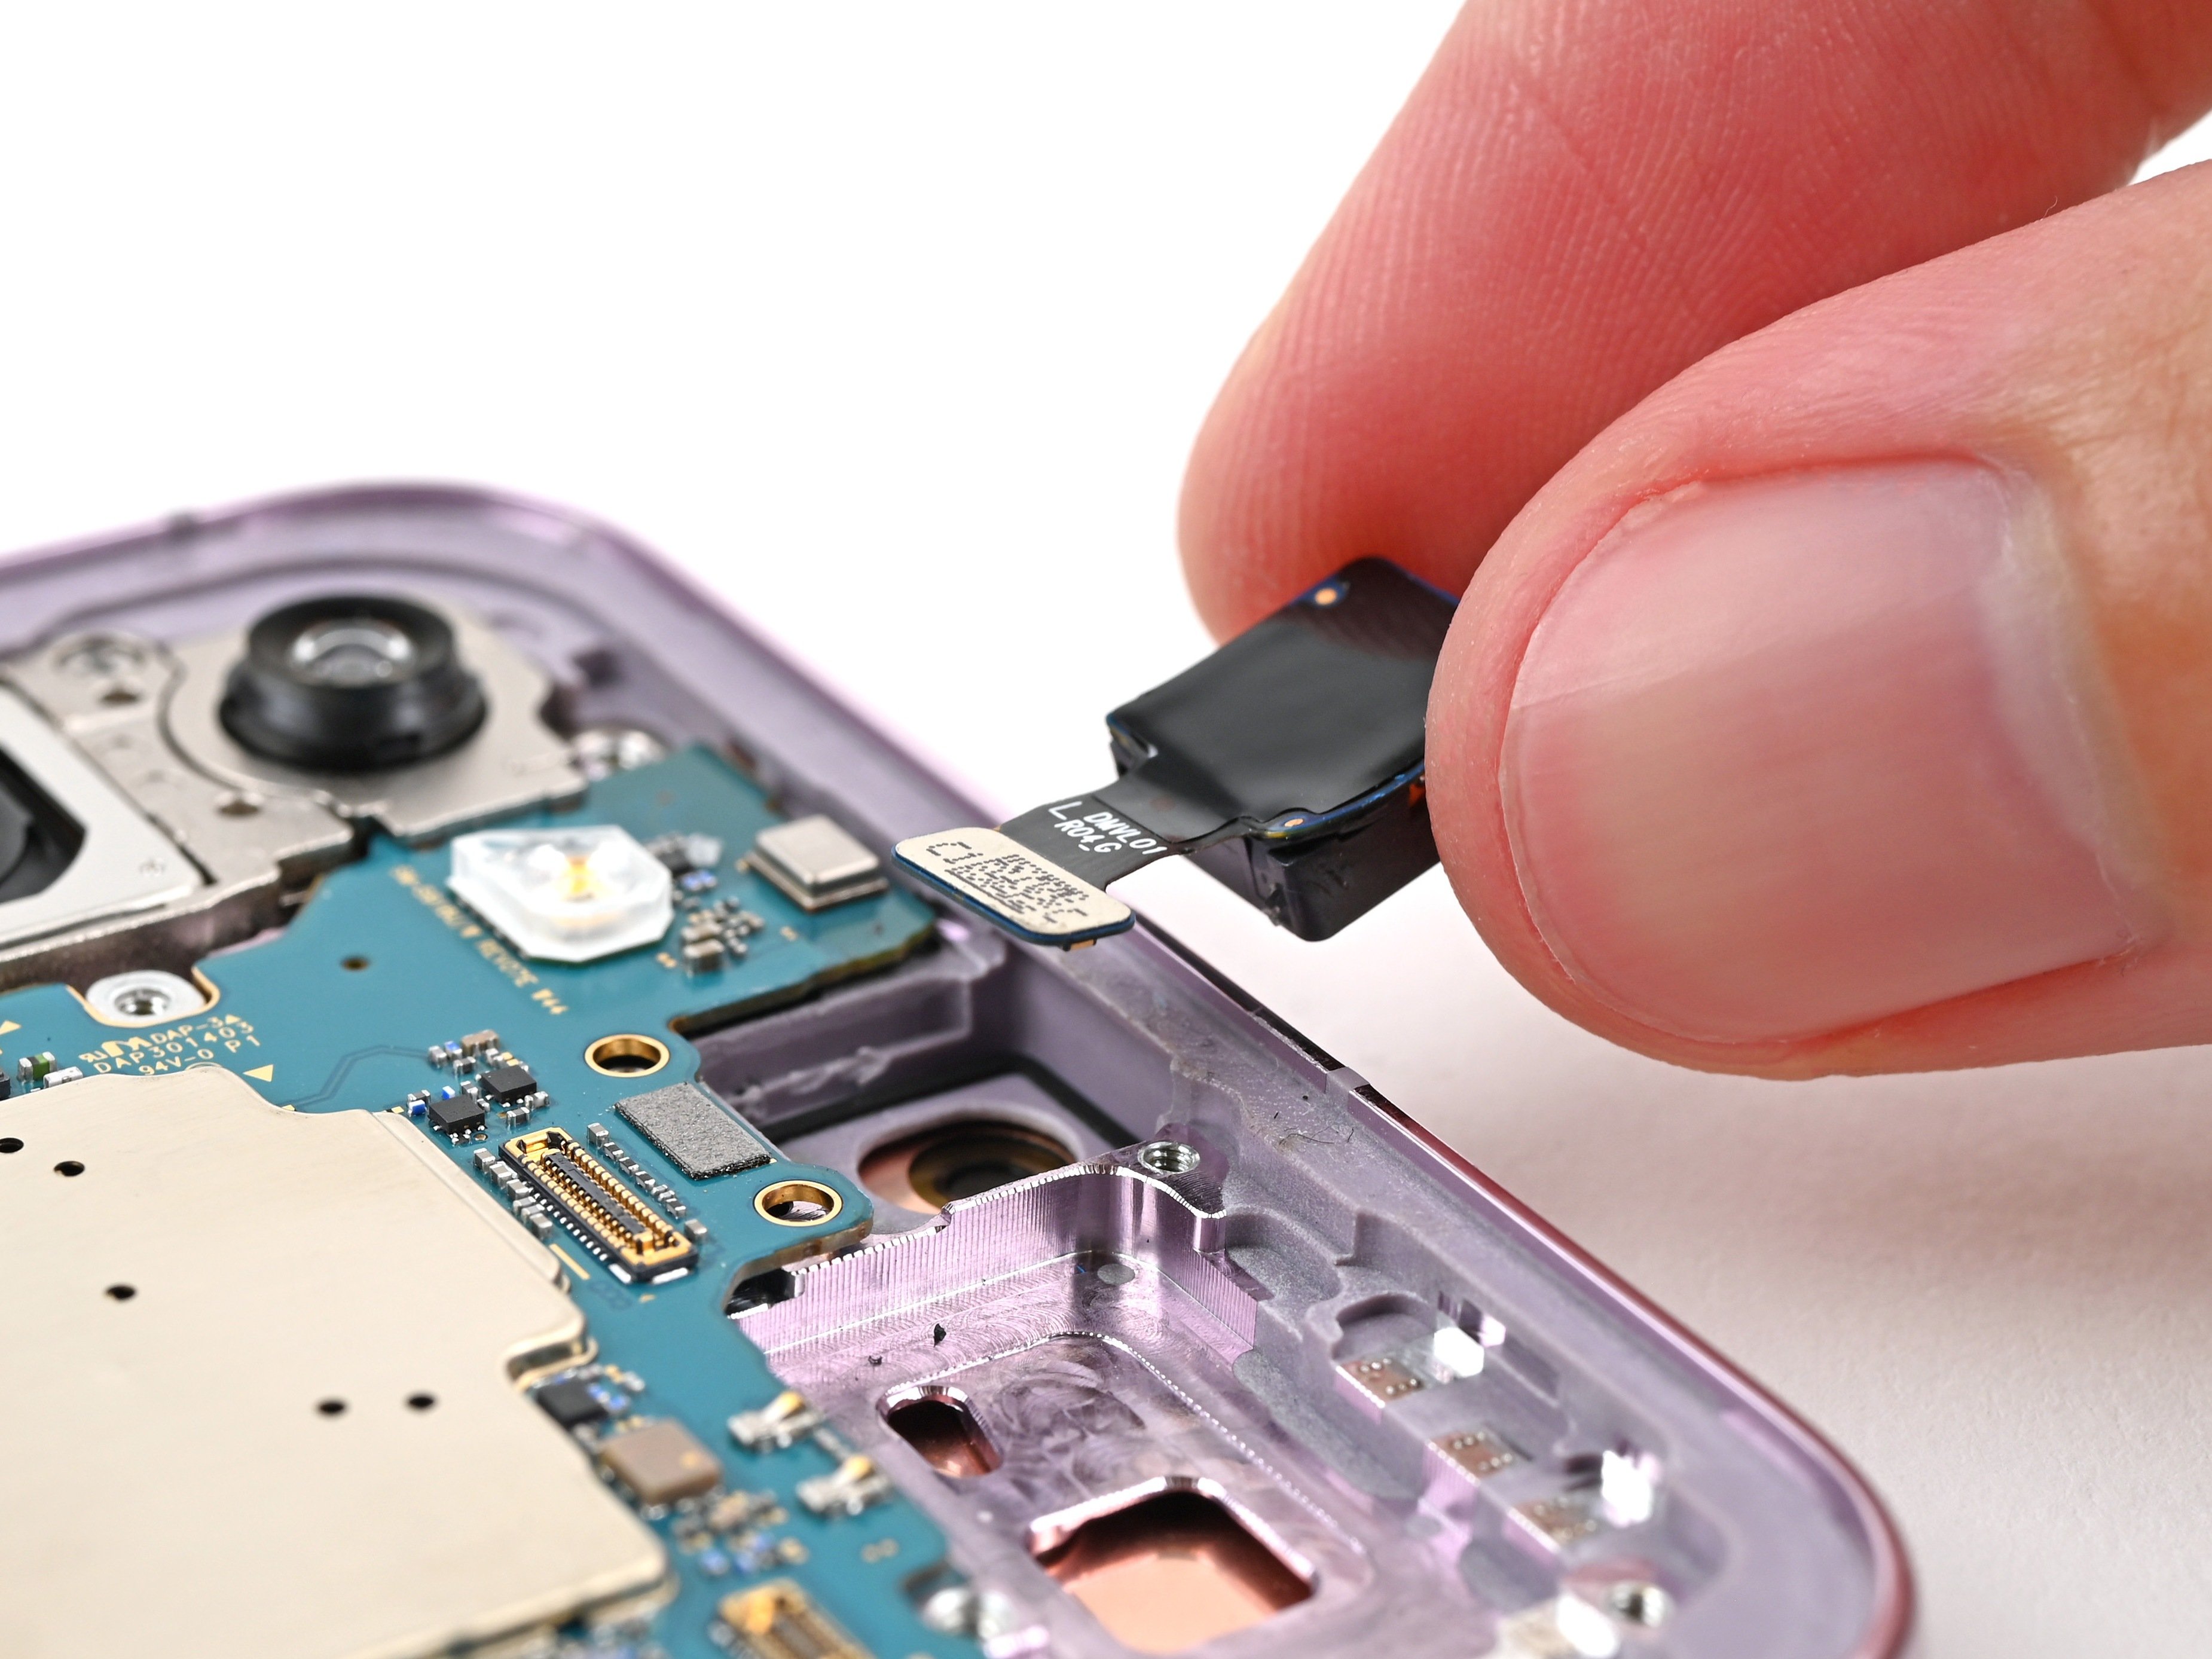
Only take out the front camera if you really have to—it’s stuck to the screen like it’s holding on for dear life!
- Disconnect the front camera connector and give it a little space to breathe.
Step 7

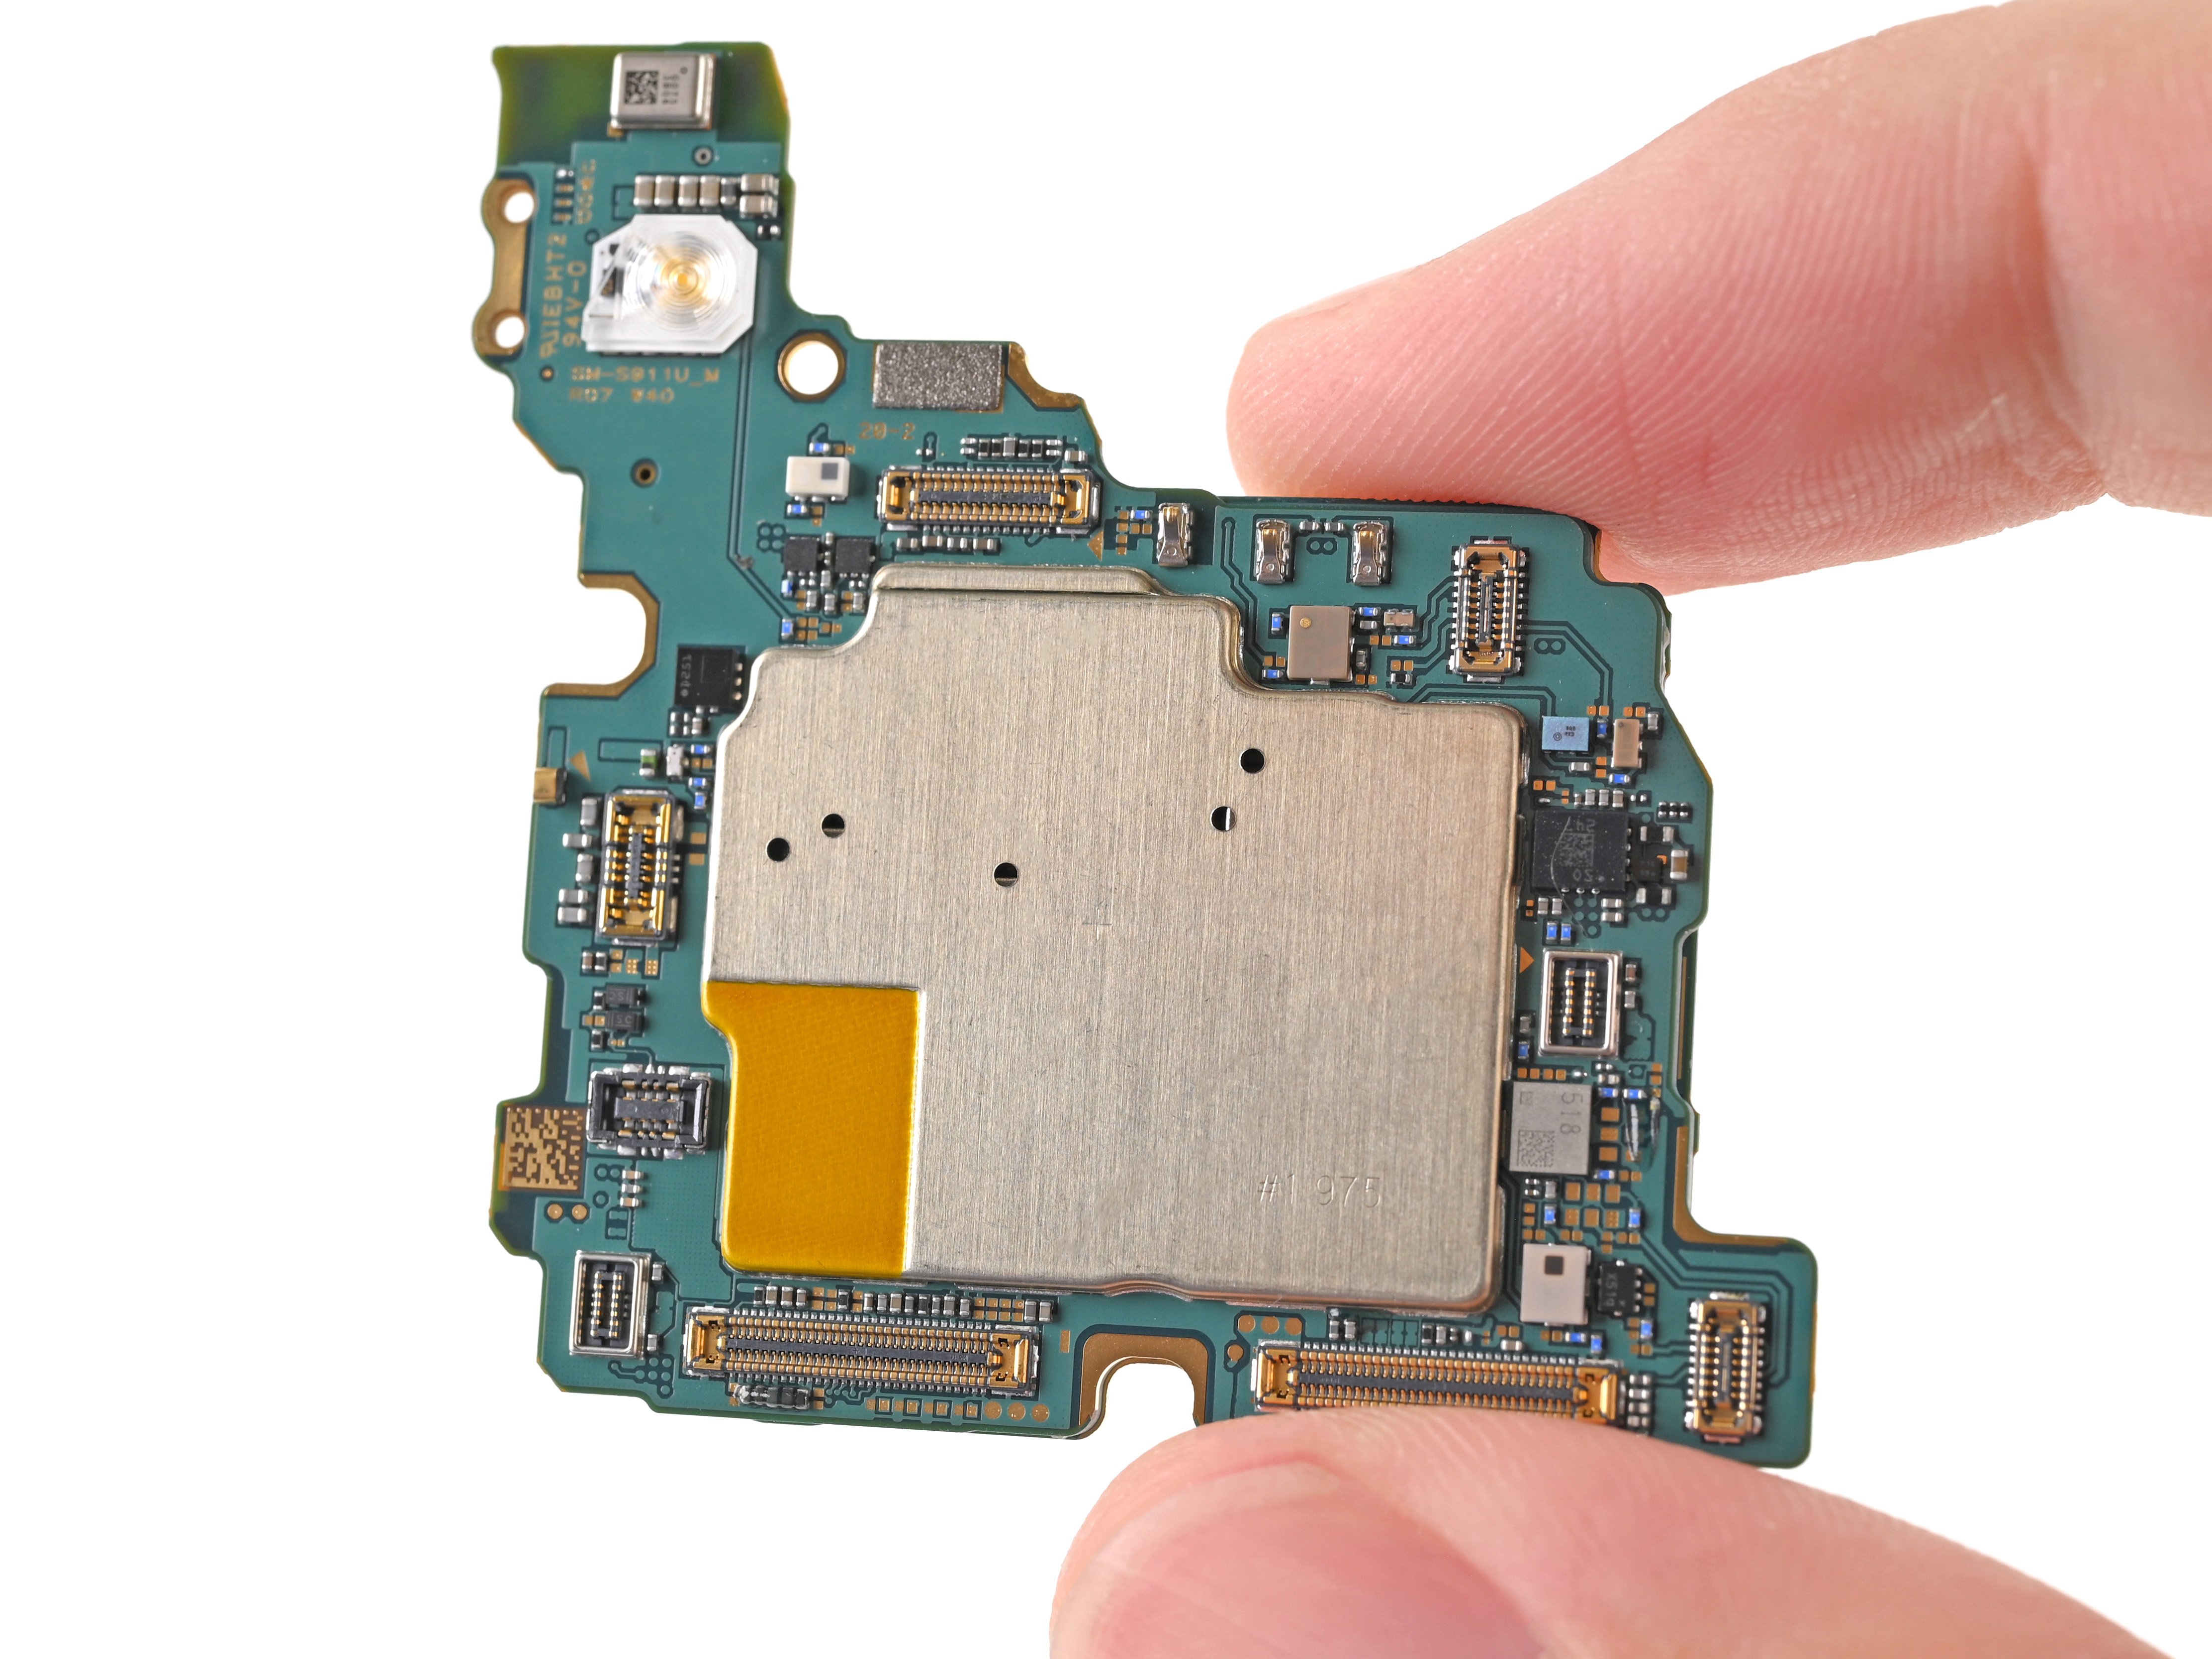
- Start by gently prying up the motherboard with an opening pick—think of it as giving your device a gentle lift-off.
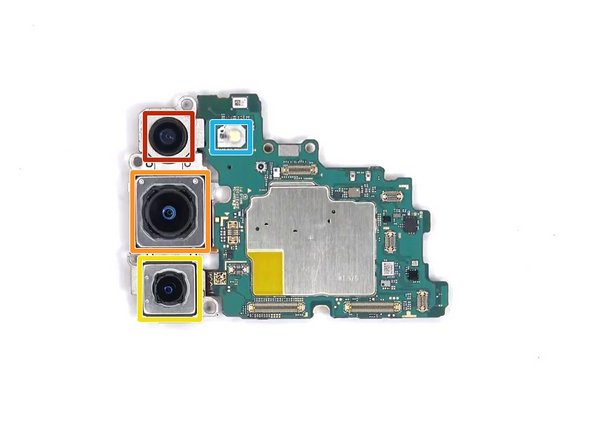
- Capture the 12 MP Ultrawide camera—it's the wide-angle superstar of the setup.
- Next up, the 50 MP wide camera with Optical Image Stabilization—your main shooter with steady shots.
- Followed by the 10 MP telephoto lens camera, also with OIS—zoom in with confidence.
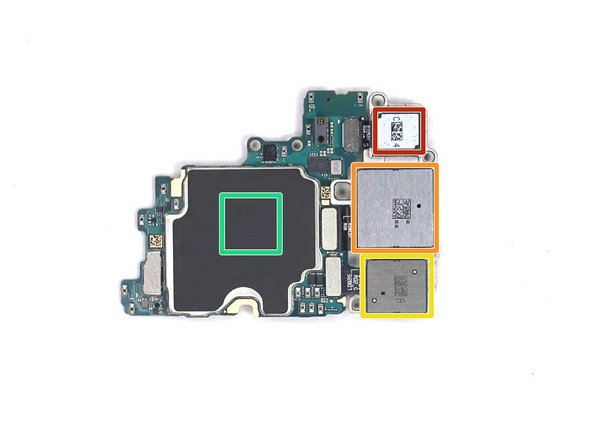
- Beneath it all, you'll find the RAM nestled right next to the CPU—powering your device's brain.
- And don't forget the secondary microphone and flash light—small but mighty components that keep everything running smoothly.
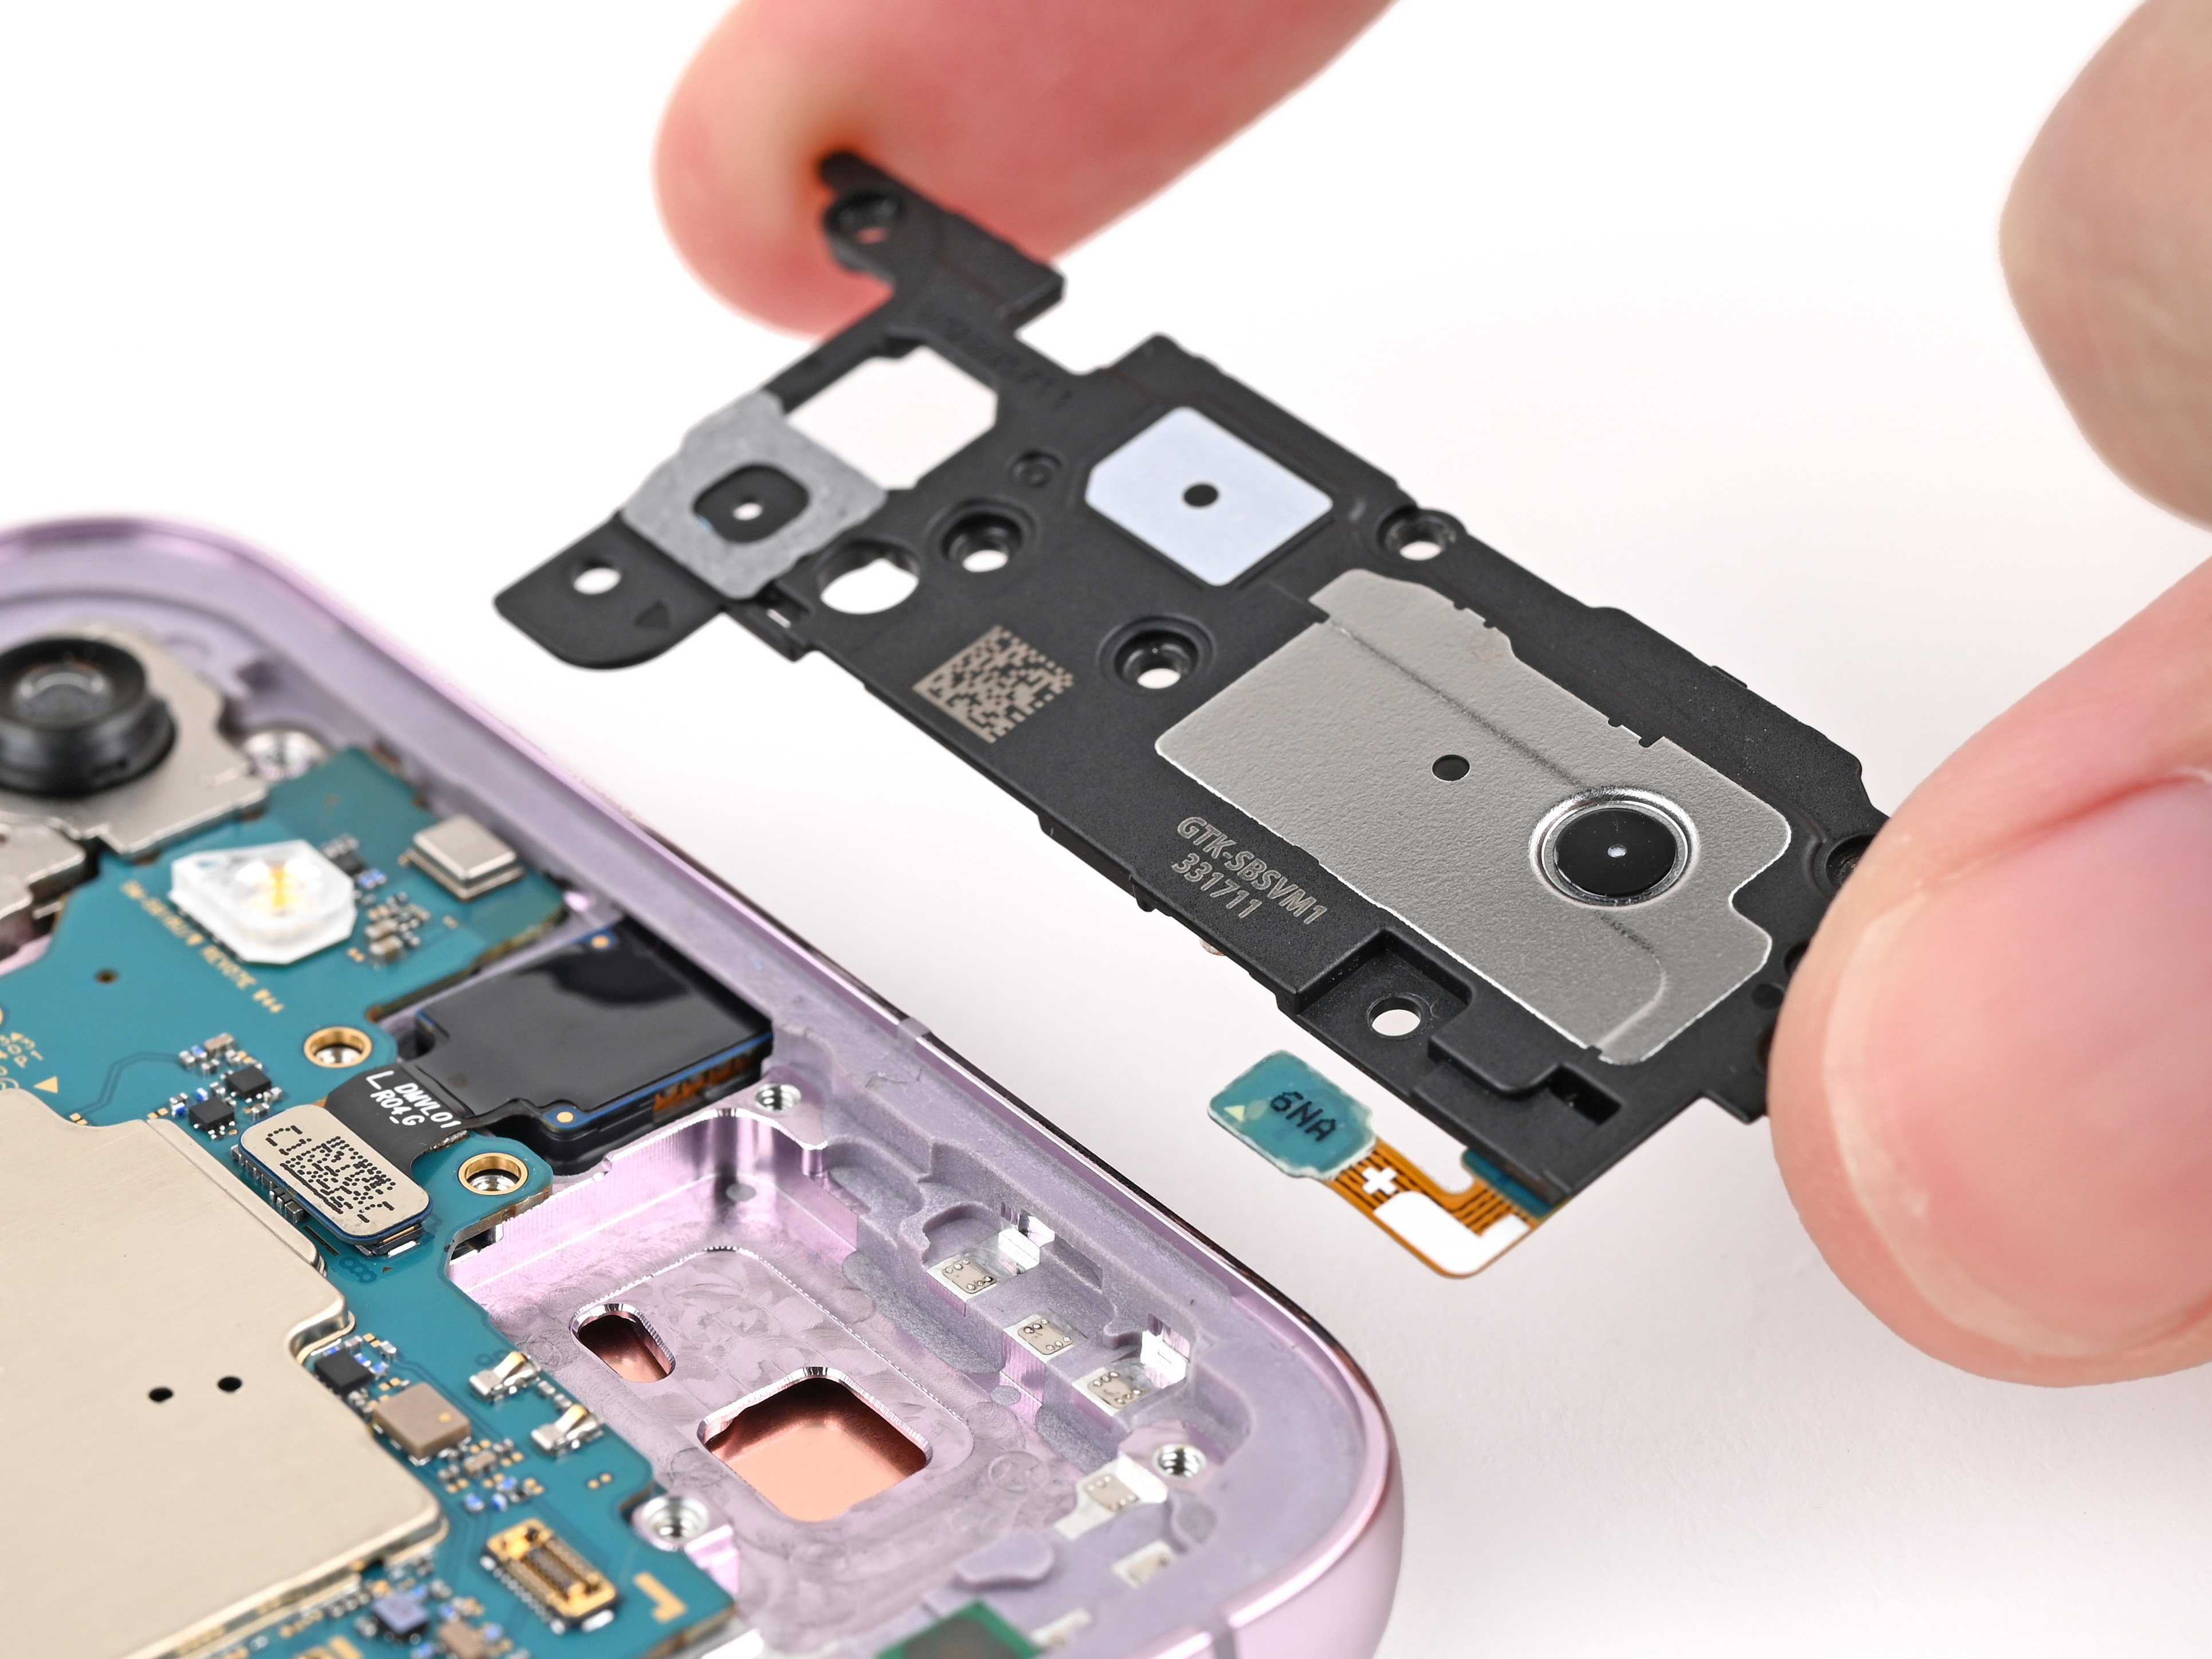
Step 8


- Grab your trusty opening pick and gently pry that speaker assembly away.
- Carefully disconnect those three connectors, they're just waiting to be unplugged!
- Time to get your screwdriver out! Unscrew the three Phillips #00 screws holding the charging board in place, then lift it out like a pro.
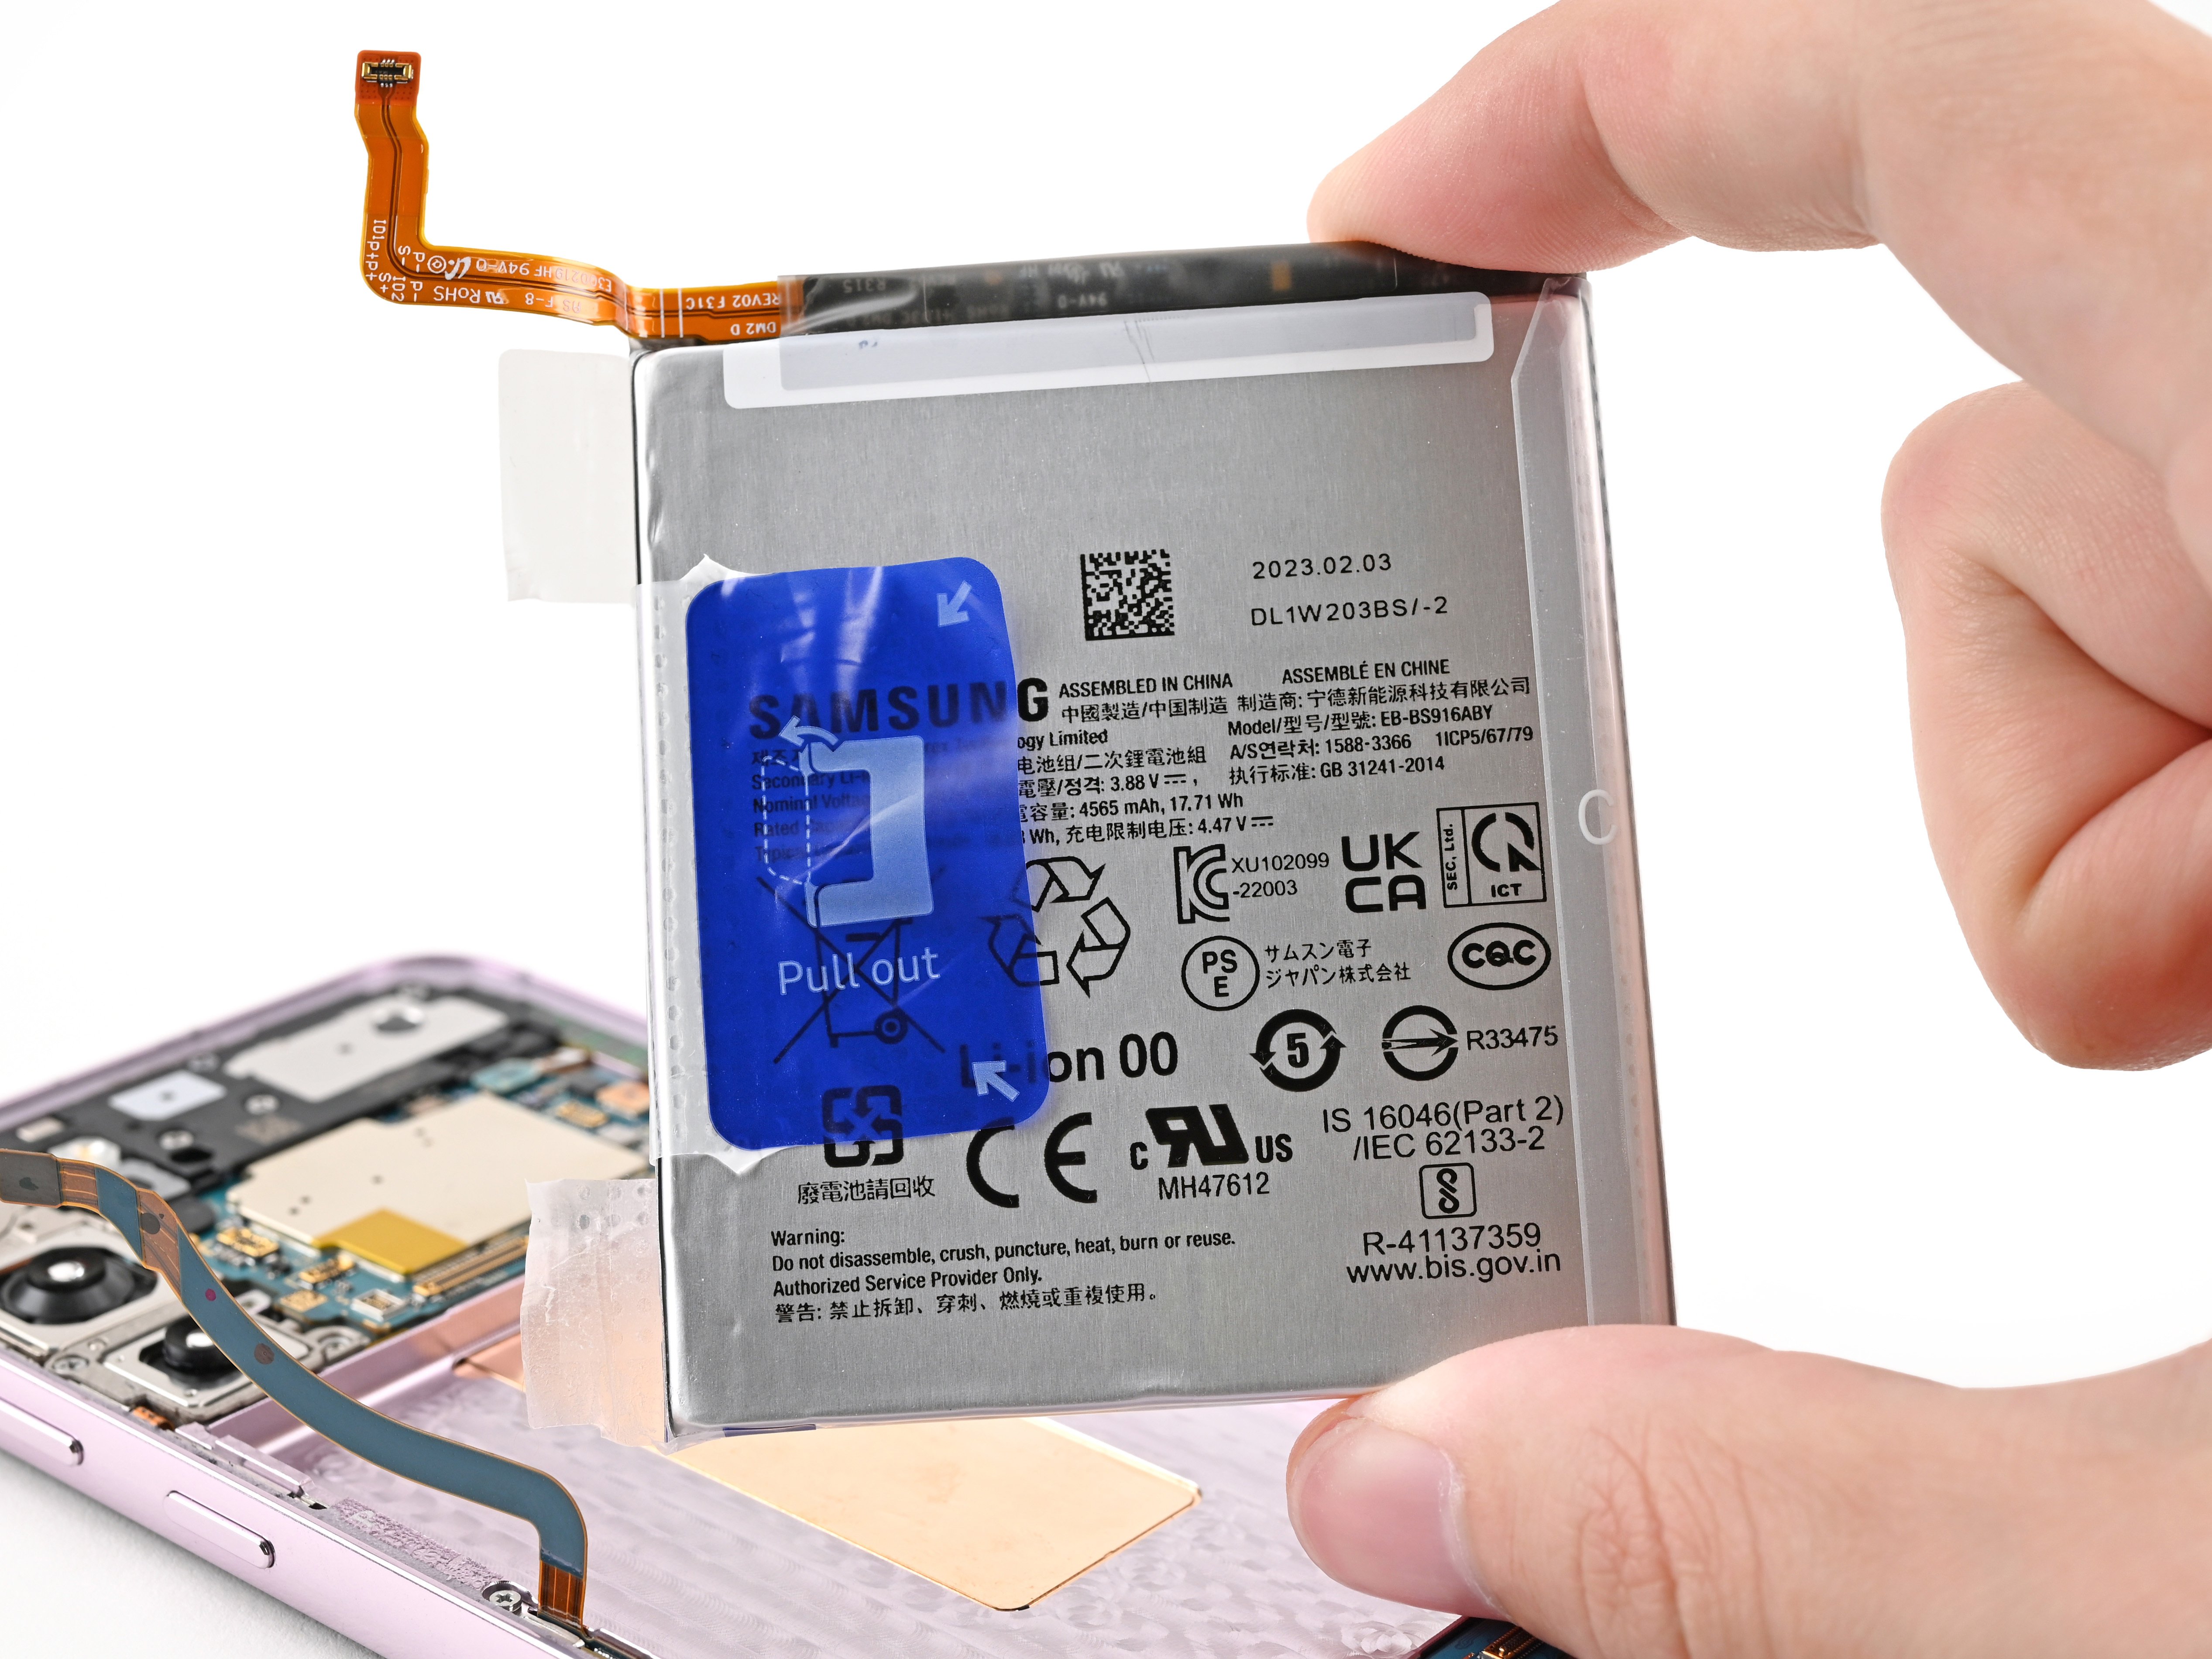
Step 9
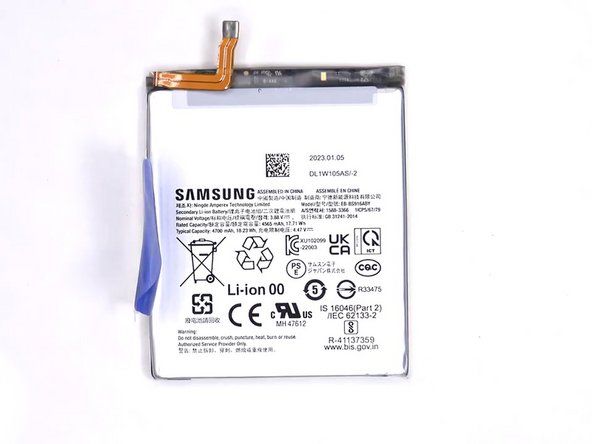

- Grab that handy tab and gently pull to release the battery.