How to Install a New Battery in Your Samsung Galaxy S22 Ultra
Duration: 45 minutes
Steps: 6 Steps
Get ready to give your Samsung Galaxy S22 Ultra a fresh start with a brand new battery! Before diving in, make sure you've tackled the battery removal part of the adventure. Let's get this show on the road!
Step 1


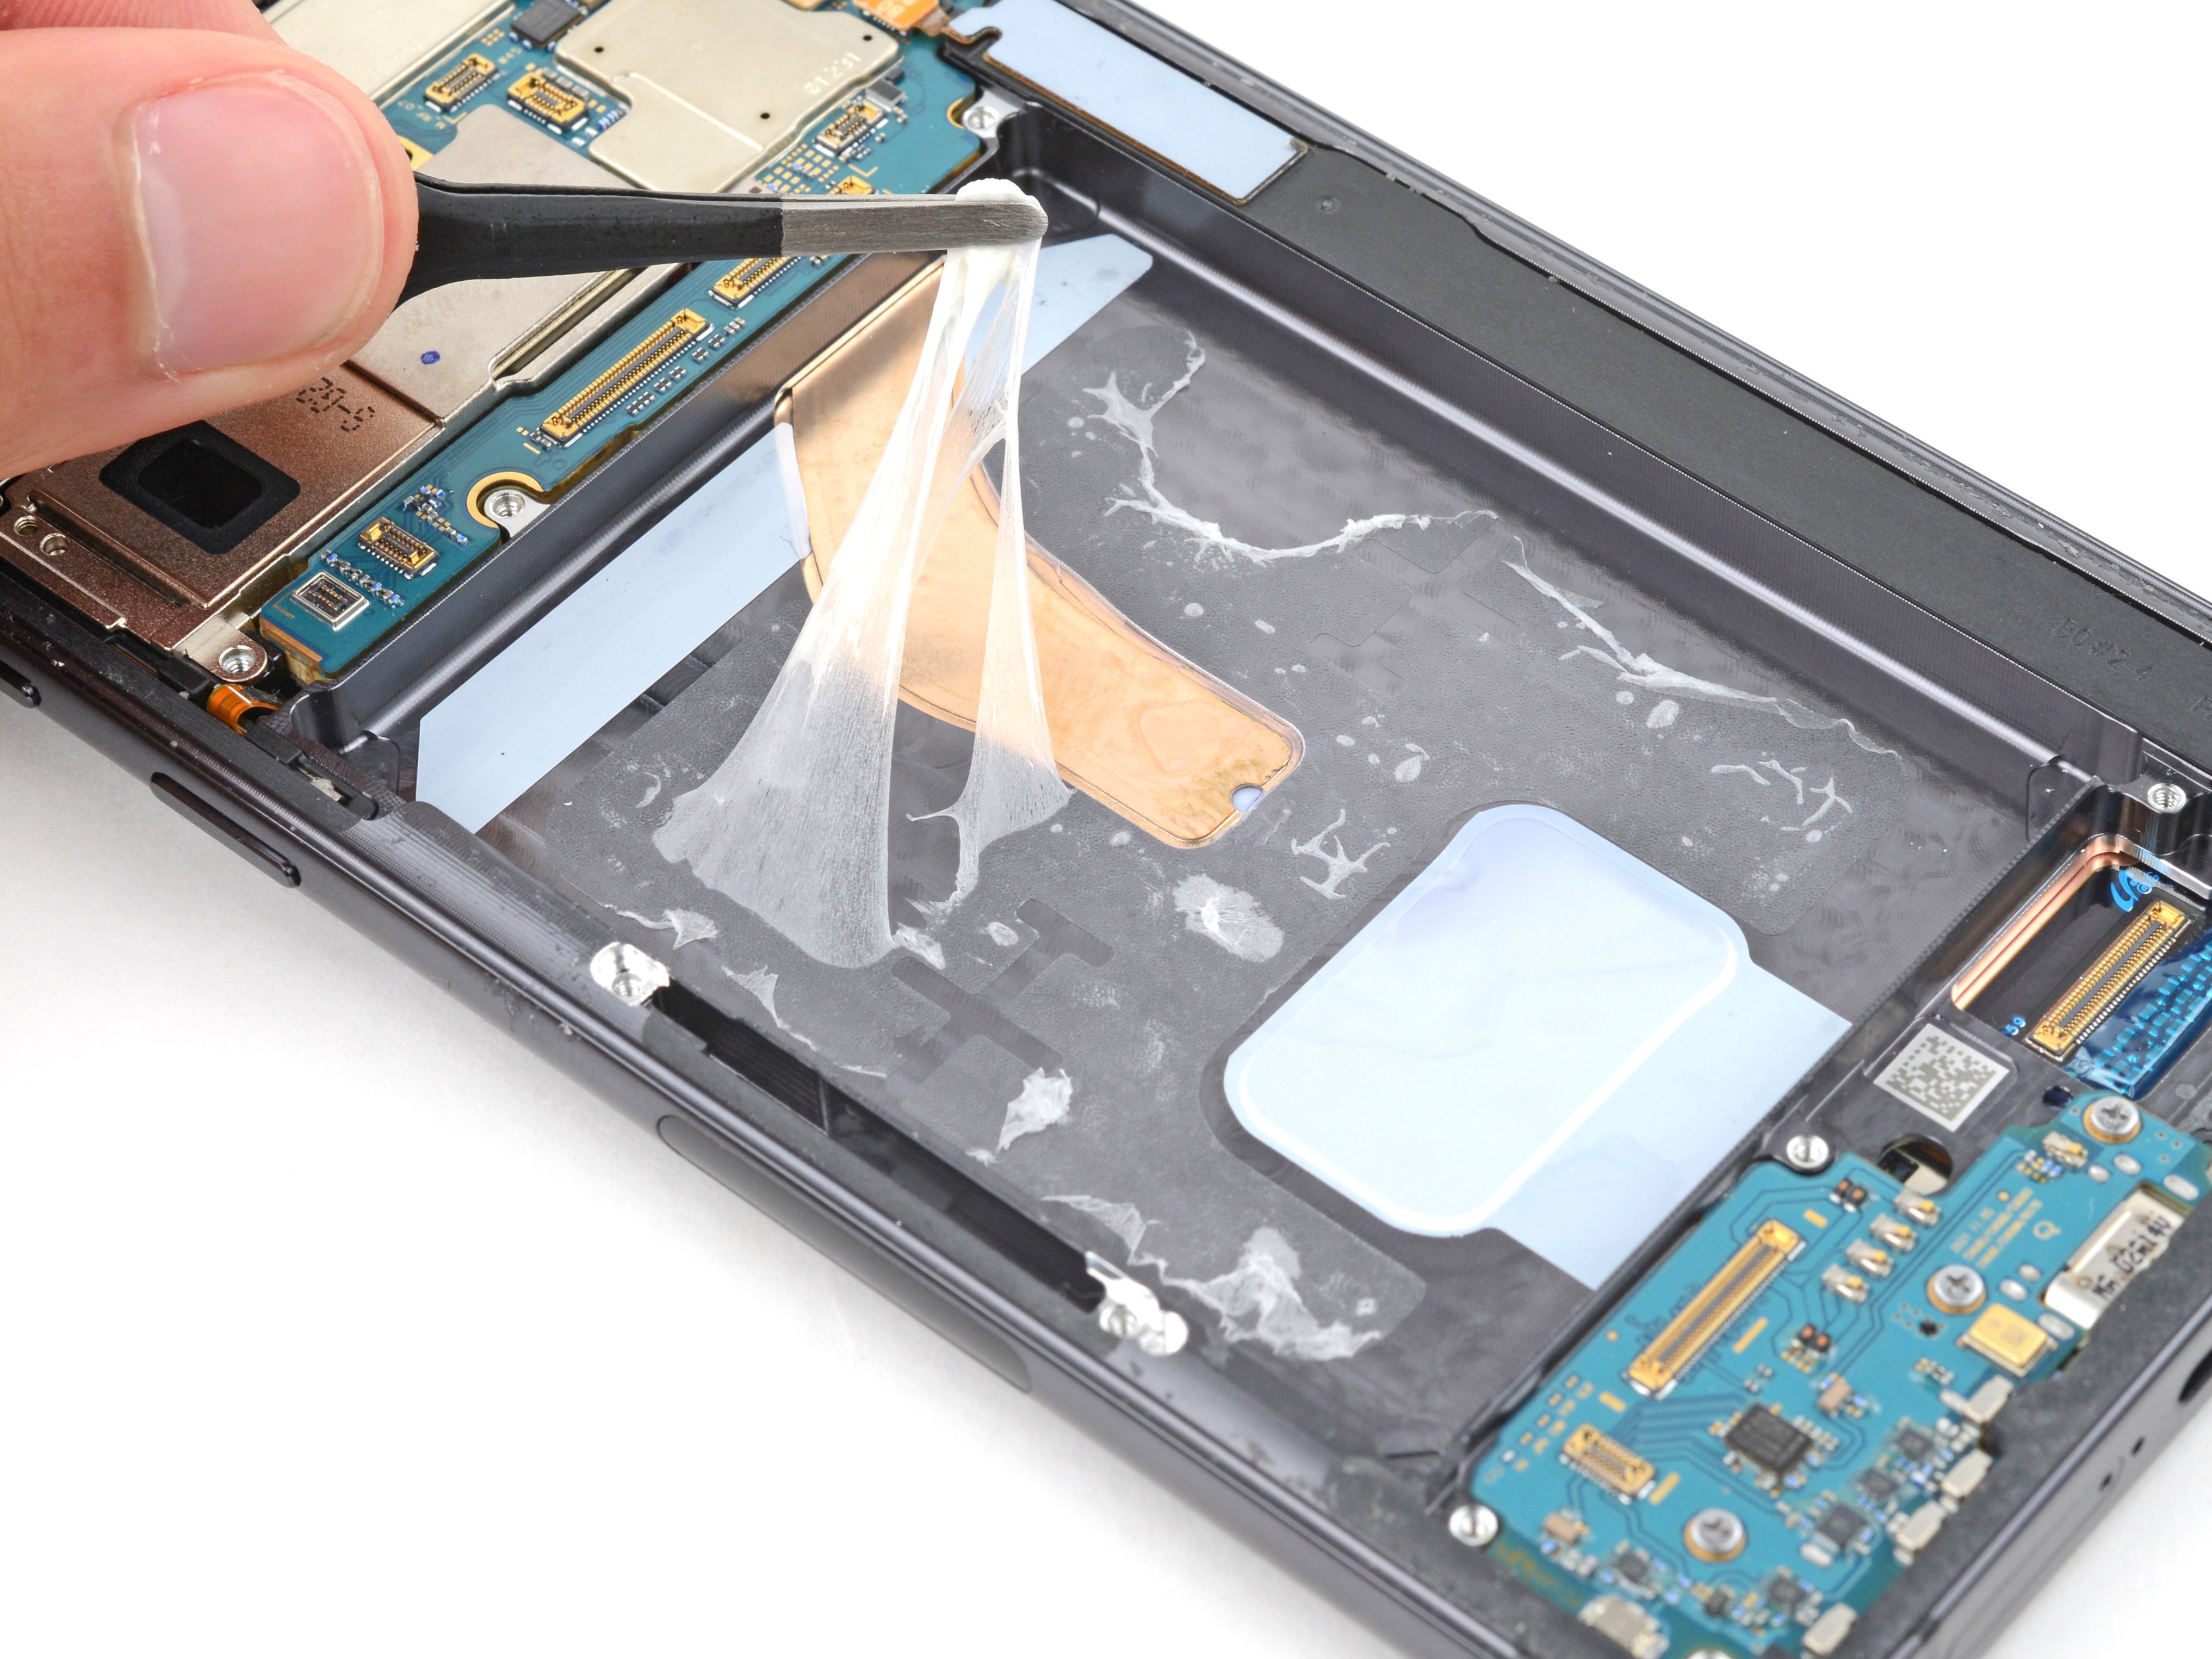
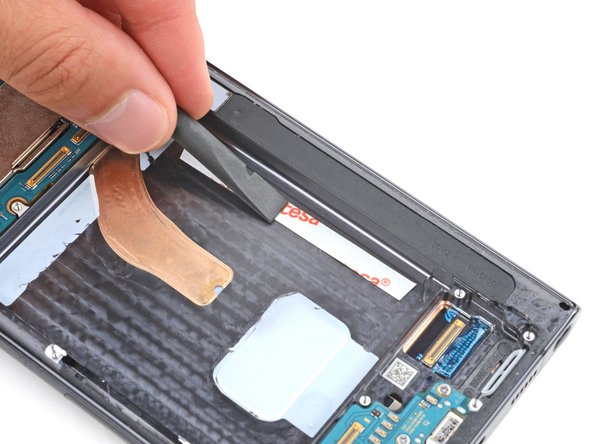
- Grab those tweezers or use your fingers to lift off any big chunks of sticky leftovers from the frame.
- Drop a few dabs of super strong isopropyl alcohol (90% or higher) onto the stubborn adhesive bits.
- Scrape away every last bit of glue with the flat end of your spudger—be thorough, your device deserves it!
Tools Used

Step 2

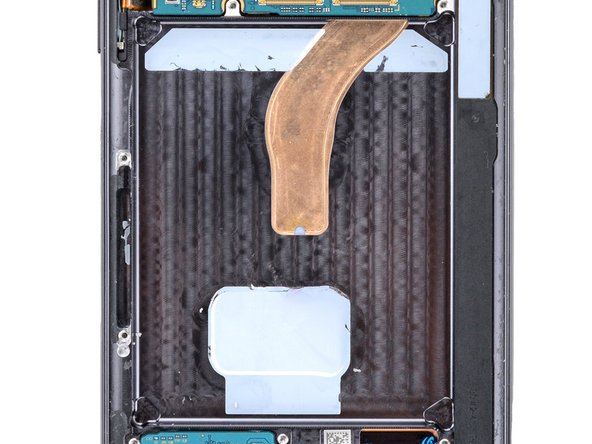
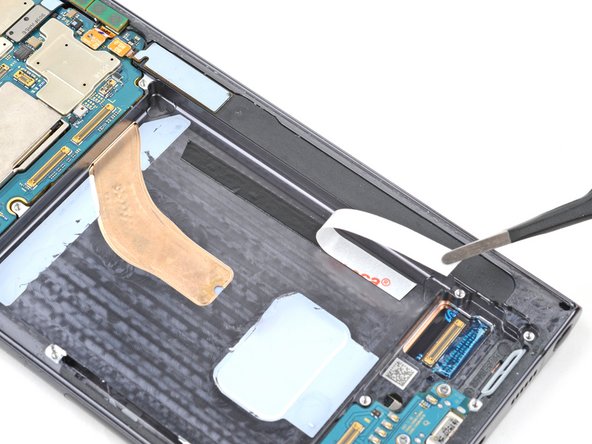
- Get a few drops of super-strong isopropyl alcohol (90% or higher) on any leftover adhesive stuck to the frame, then swipe it away with a microfiber or lint-free cloth. Your frame will thank you!
Step 3
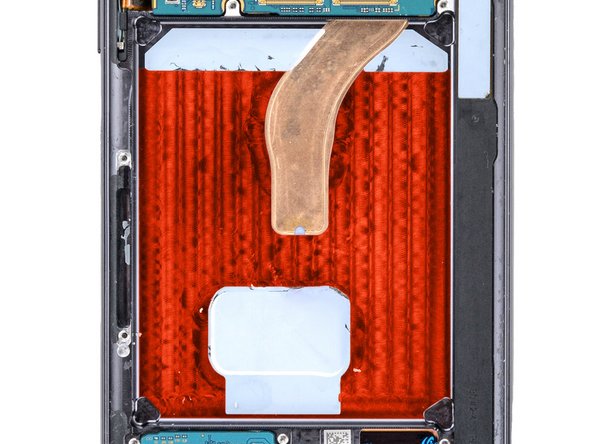

- Cut strips of sturdy double-sided tape to the right length so they fit snugly on the exposed metal frame in the battery cavity.
Step 4

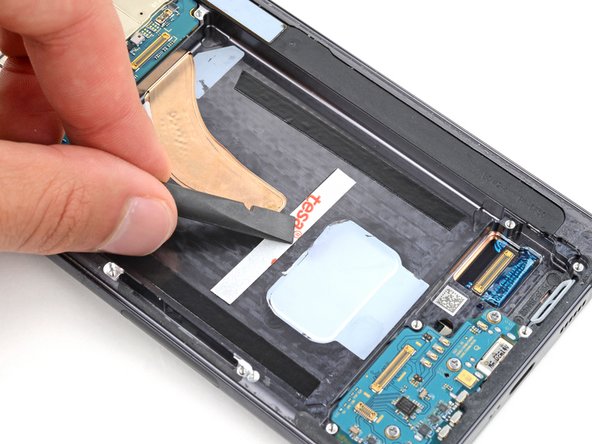
- Stick a strip of tape onto the frame—nice and straight.
- Grab your spudger and press down along the whole strip to lock it in place. Really give it a good press!
- Take your tweezers and peel off the liner from the tape strip. Easy does it.
Tools Used
Step 5


- Keep the momentum going by repeating the last step to stick down those remaining strips of tape. Once you've got them all in place, you’re almost done! If you need a hand, remember you can always schedule a repair.
Step 6
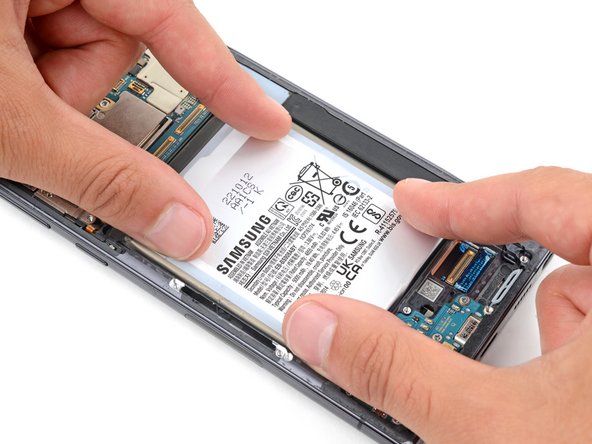


Make sure the battery lines up just right. Proper alignment keeps everything running smoothly and avoids extra hassle.
- To keep your device running smoothly, don't forget to calibrate that shiny new battery after your repair is all wrapped up!
- Got some old tech? Give it a second life by taking it to an R2 or e-Stewards certified recycler.
- If things didn't go quite as planned, no worries! A little bit of basic troubleshooting might do the trick, or feel free to reach out to our Answers community for a helping hand.