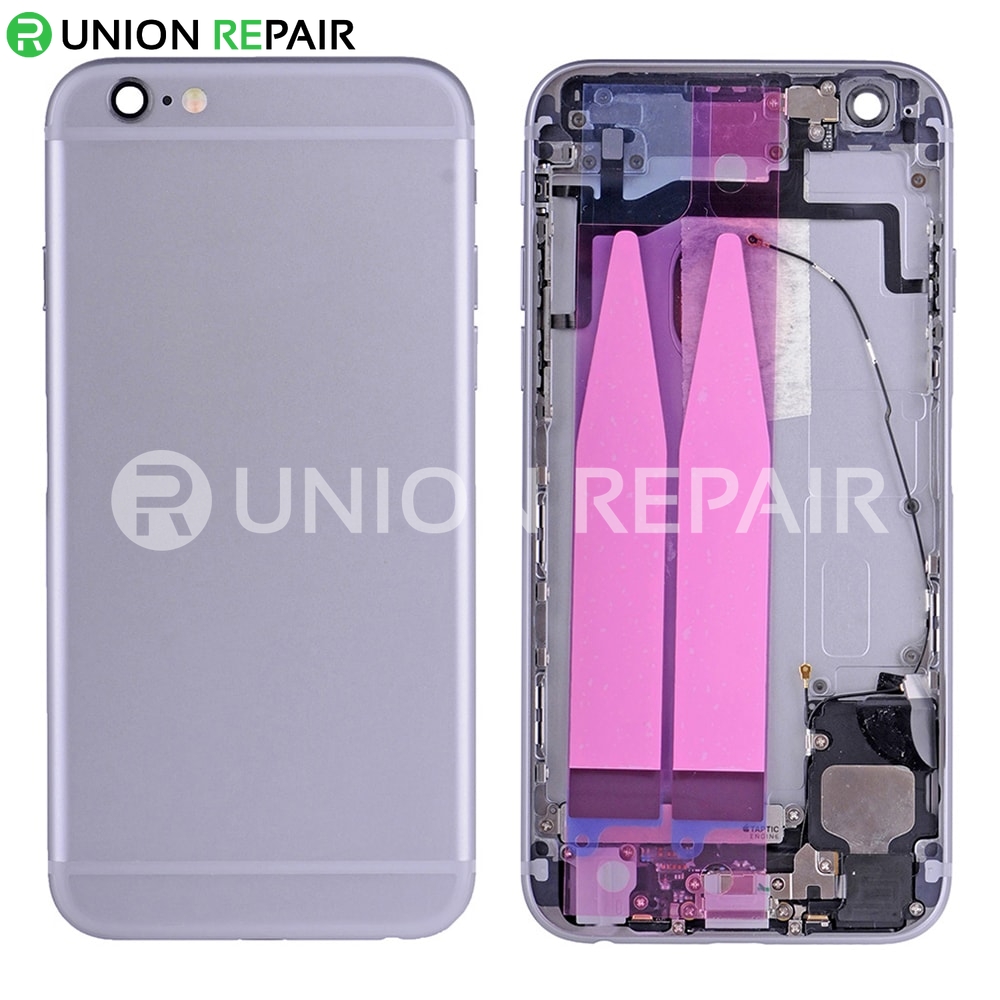
iPhone 6s – Removing the logicboard
Duration: 90 min.
Steps: 26 Steps
Ready to rescue your iPhone 6s? In this guide, we’ll walk you through the steps to remove your iPhone 6s’ PCB all by yourself! If you’re looking to give that logic board a good clean, you’re in the right place. Let’s get started and have some fun while we’re at it!
Step 1


– Before diving into the repair, make sure your iPhone is powered down to keep it safe and sound. Just press that standby button for about three seconds until the slider pops up on your screen.
– Now, give that slider a gentle swipe from left to right. In about 10 seconds, your iPhone will be off and ready for some TLC!
Step 2

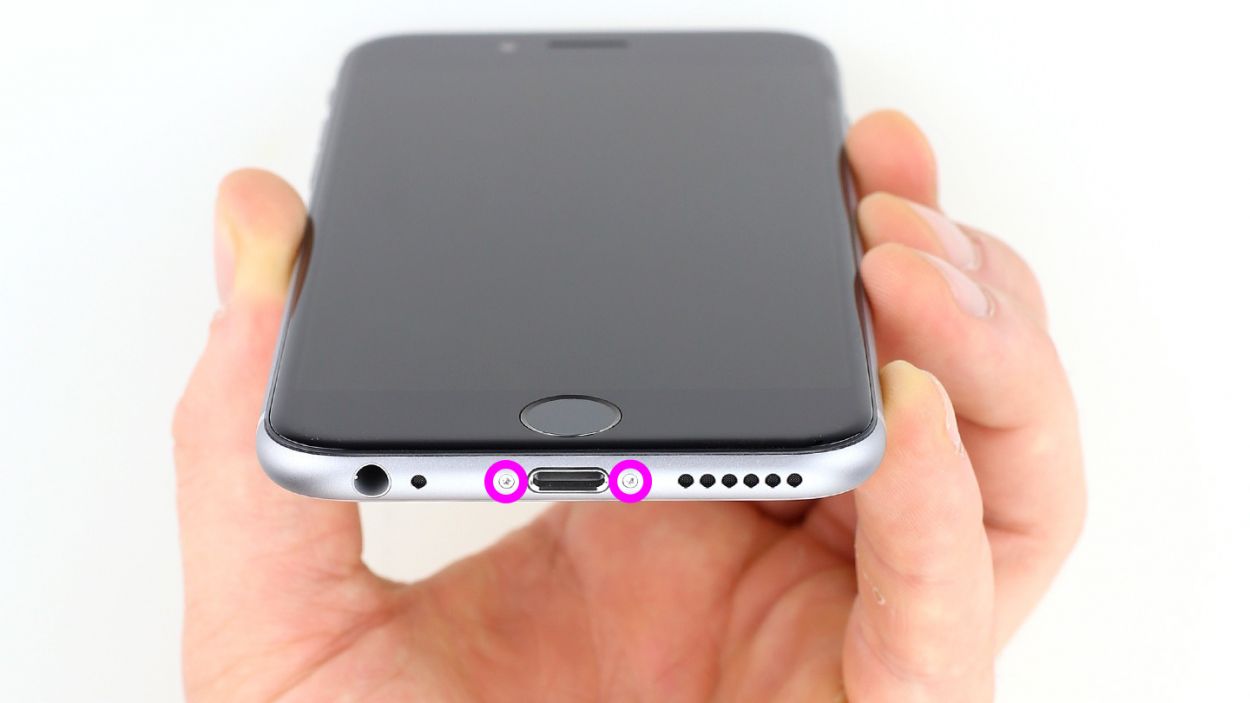
– To get into your iPhone 6s, grab a pentalobe screwdriver. You got this!
– Next, it’s time to unscrew those two pentalobe screws located on either side of the lightning connector. Pro tip: use a magnetic pad to keep those screws safe and sound, just like they were in your phone. We’re talking about 2 x 3.8 mm pentalobe screws here!
Step 3

If needed, give the outer edges of the display a little warmth a few times.
– Place your iPhone 6s on a soft and clean surface to keep that back safe from scratches.
– Grab a suction cup to lift the front panel, along with a hard plastic plectrum and a hot-air gun. If your screen is looking a bit worse for wear, don’t forget to cover it completely with adhesive tape before moving on!
– The screen is kind of stuck to the frame. Use that hot-air gun to warm up the outer edges of the display to about 60°C (140°F).
– Position the suction cup over the home button or right next to it. While you’re lifting the screen with the suction cup, slide the hard plastic plectrum between the aluminum frame and the display frame. Give a little push down on the aluminum frame while gently lifting the display with the plectrum. It might take a few tries, but you’ve got this!
– Once you manage to lift the screen a few millimeters, carefully slide along the outer edges until the display is loosened on both sides. If it’s still a bit stubborn, don’t hesitate to heat those outer edges again a few times.
Tools Used
Step 4

– First off, grab your trusty Phillips screwdriver and unscrew those little guys holding the battery plug in place. Don’t forget to toss those screws onto your magnetic pad so they won’t go on a little adventure without you! We’re talking about 1 x 2.2 mm Phillips screw and 1 x 2.9 mm Phillips screw here.
– Now, let’s gently coax that battery plug out. Use an ESD spudger to slide under the plug and lift it out. If you’re feeling adventurous and don’t have a spudger, your fingernail can work too! Just be careful not to chip your nail polish!
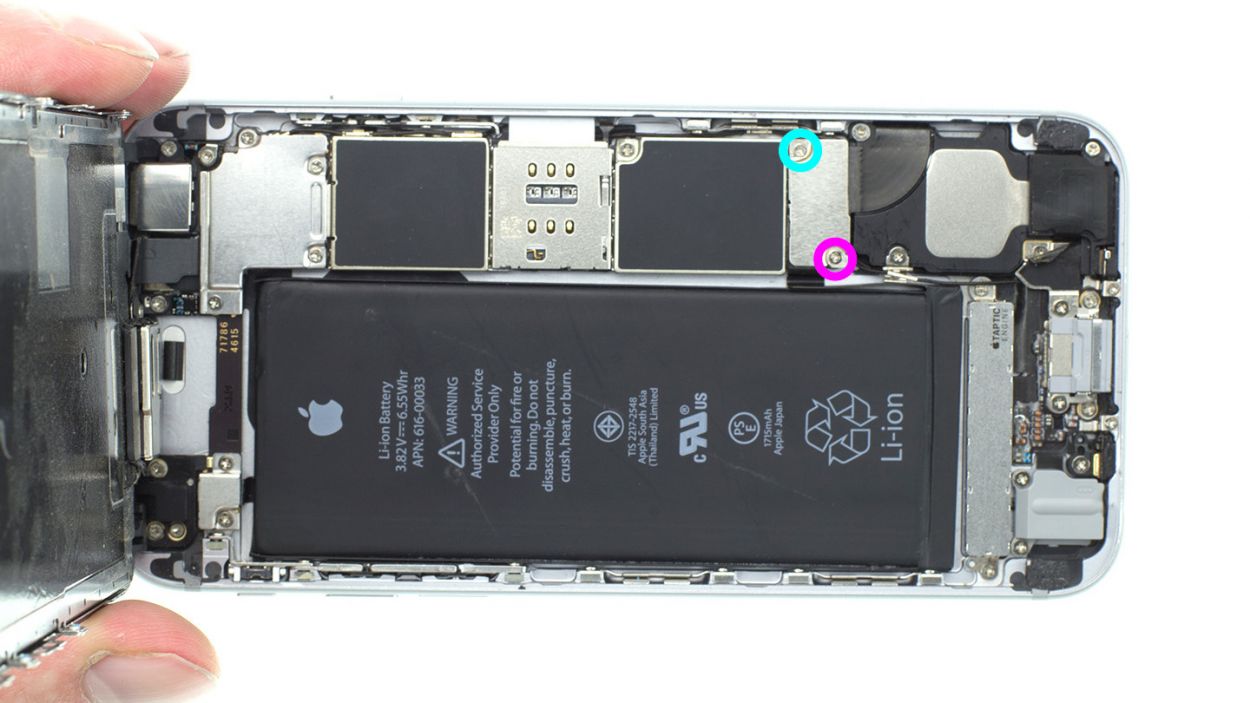
Step 5

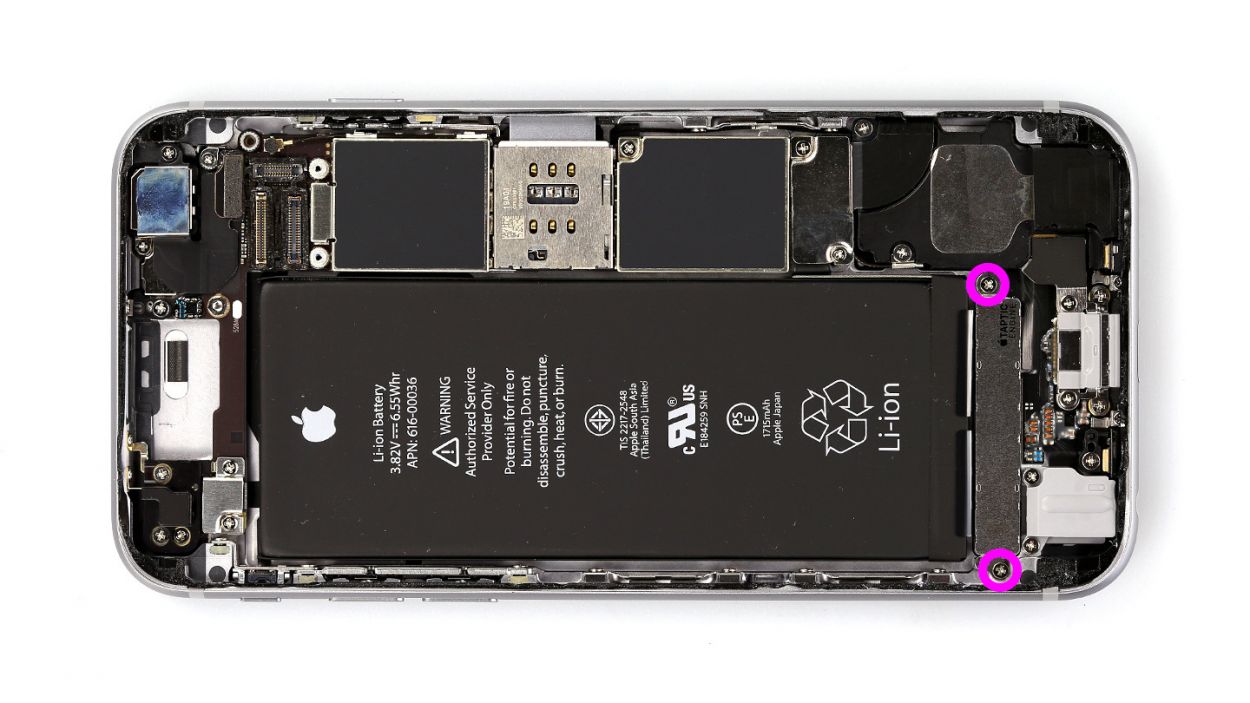
– First, let’s loosen those four Phillips screws on the shiny silver contact cover. Once they’re free, pop them onto your magnetic pad along with the cover. Trust us, this will save you from a treasure hunt later! We’re talking about 3 x 1.3 mm Phillips screws and 1 x 2.9 mm Phillips screw here.
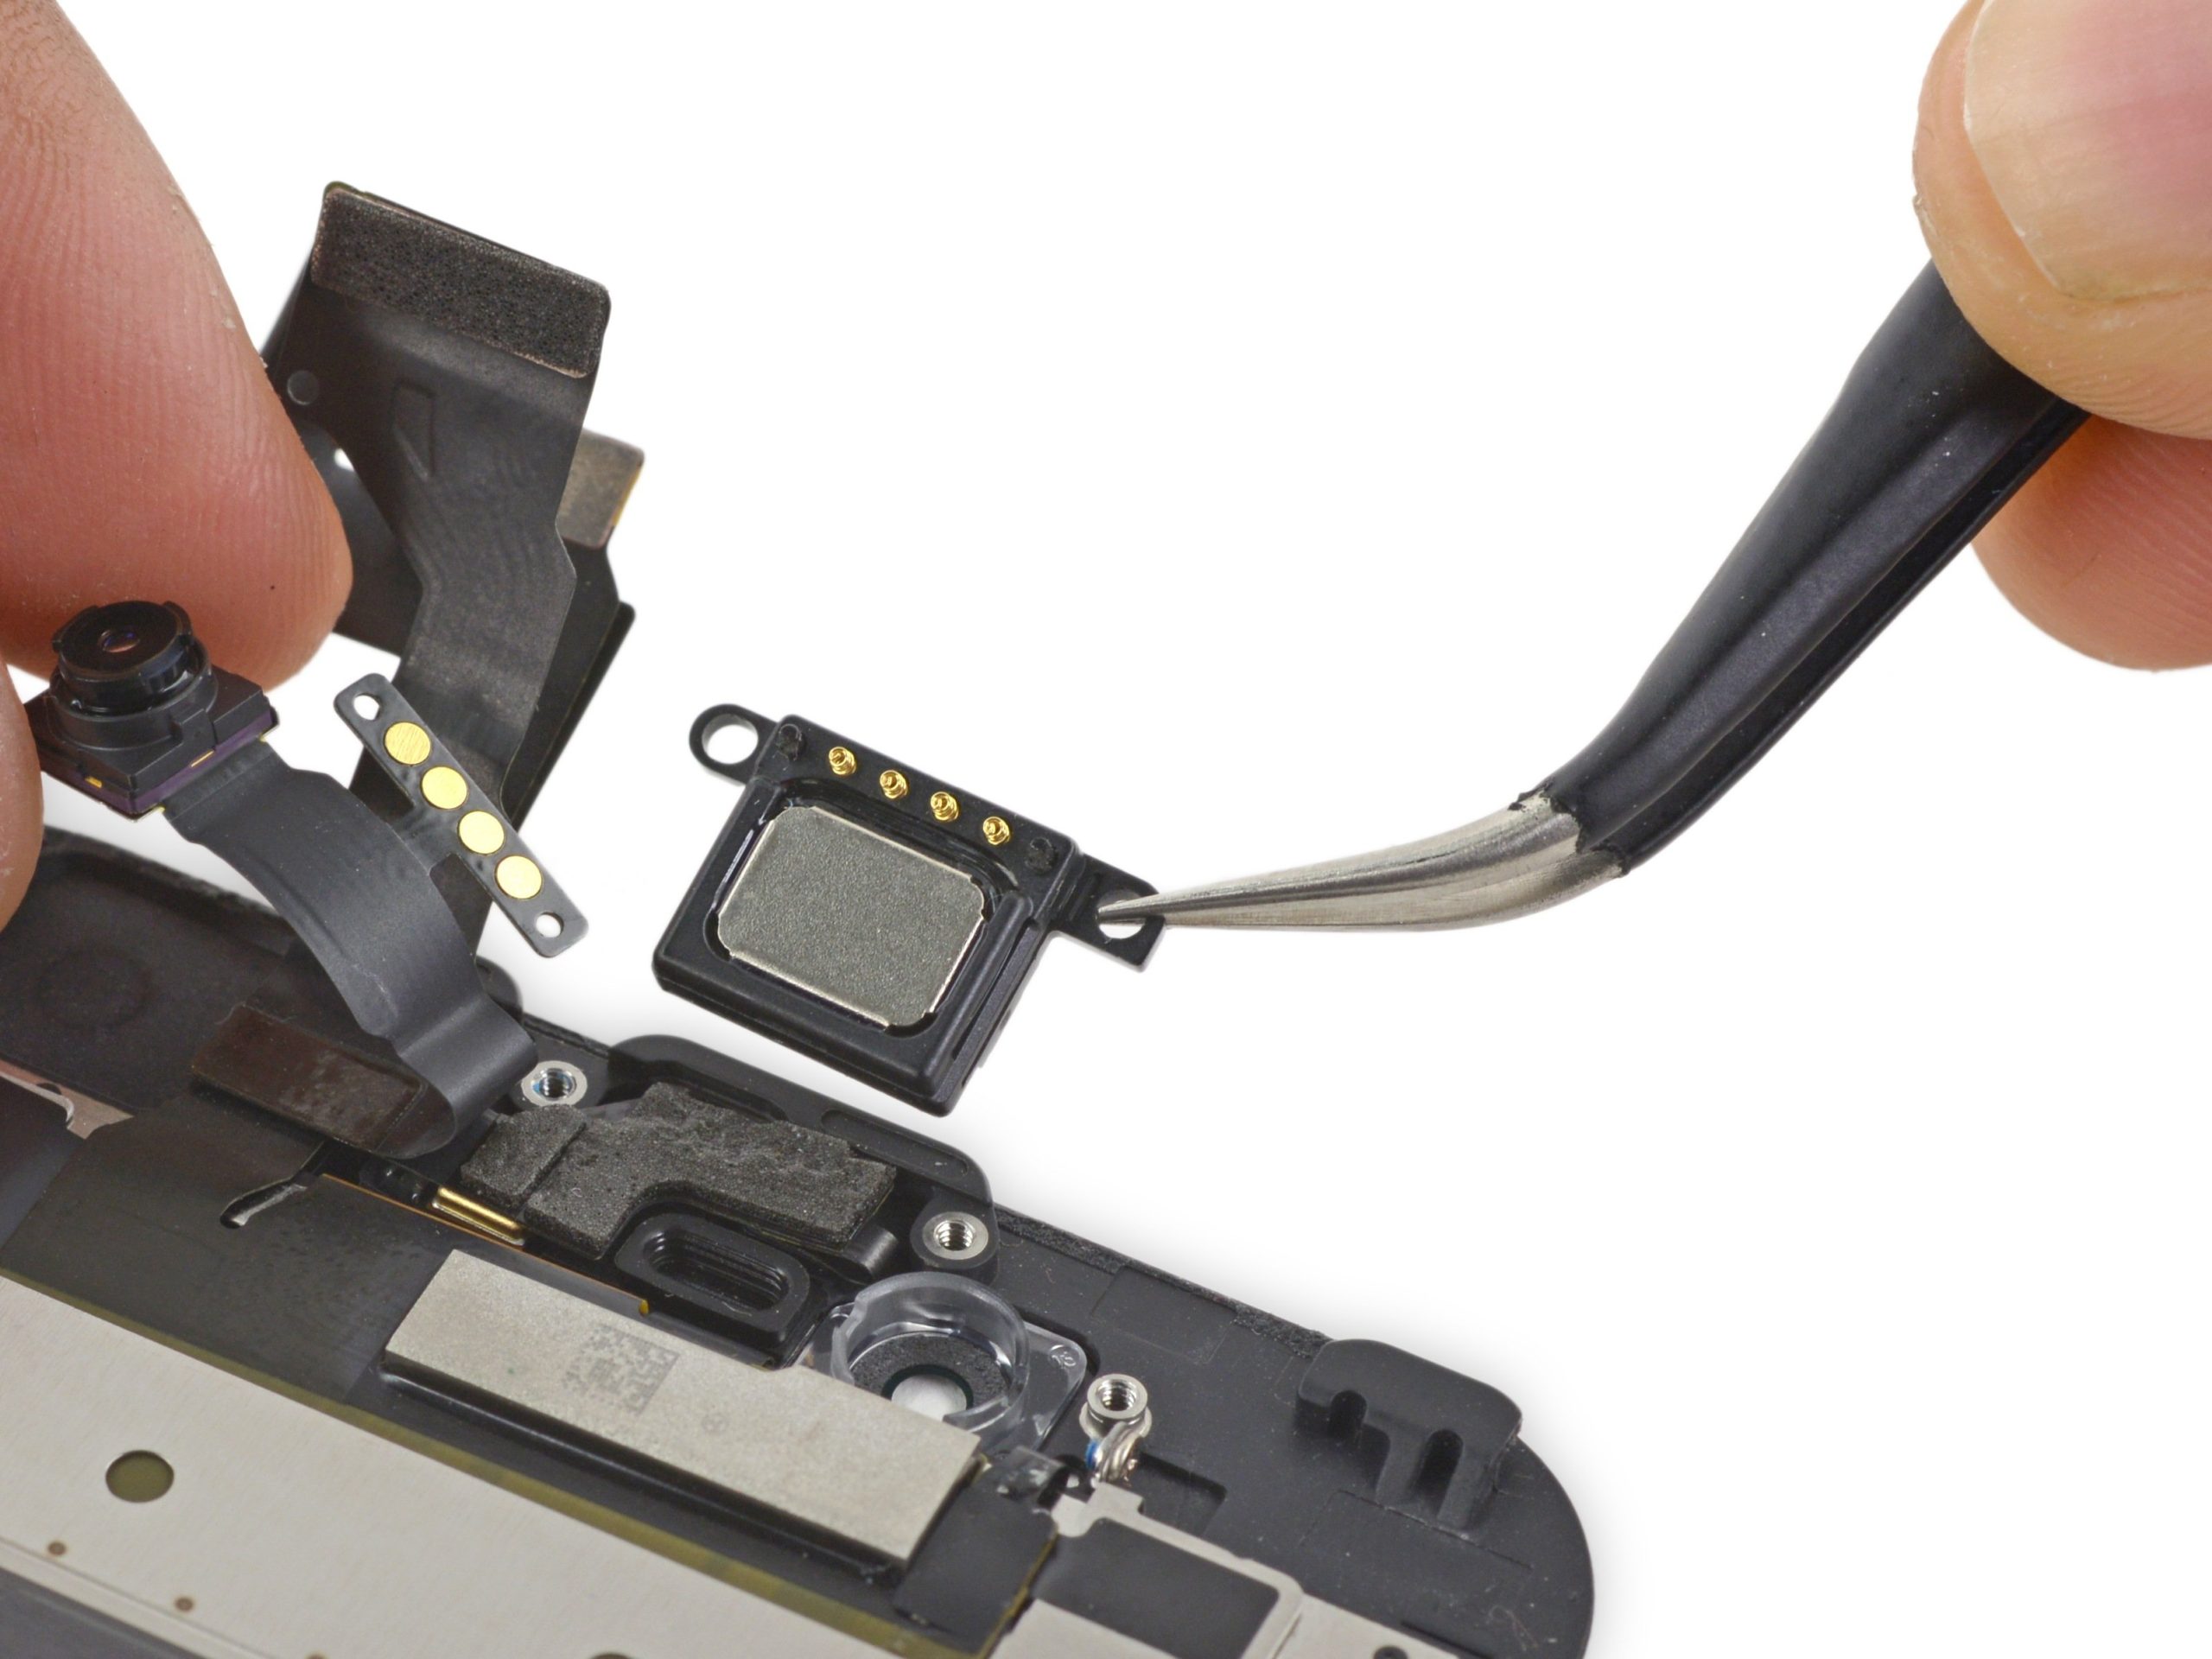
– Now, it’s time to release the three overlapping display connectors in the order shown below. Grab your spudger, slide it under each connector, and lift it gently like you’re raising a delicate flower. The connectors are for the front camera/sensor/earpiece/ambient microphone, the Touch ID cable, and the display.
Step 6

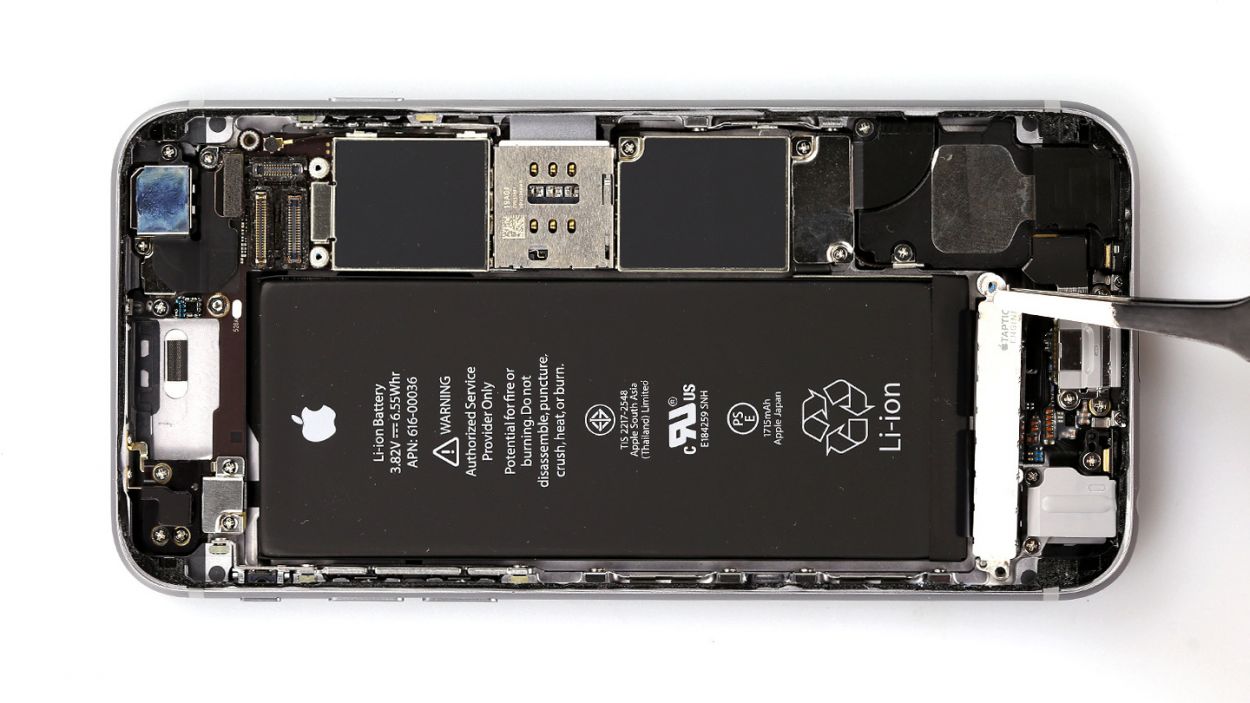
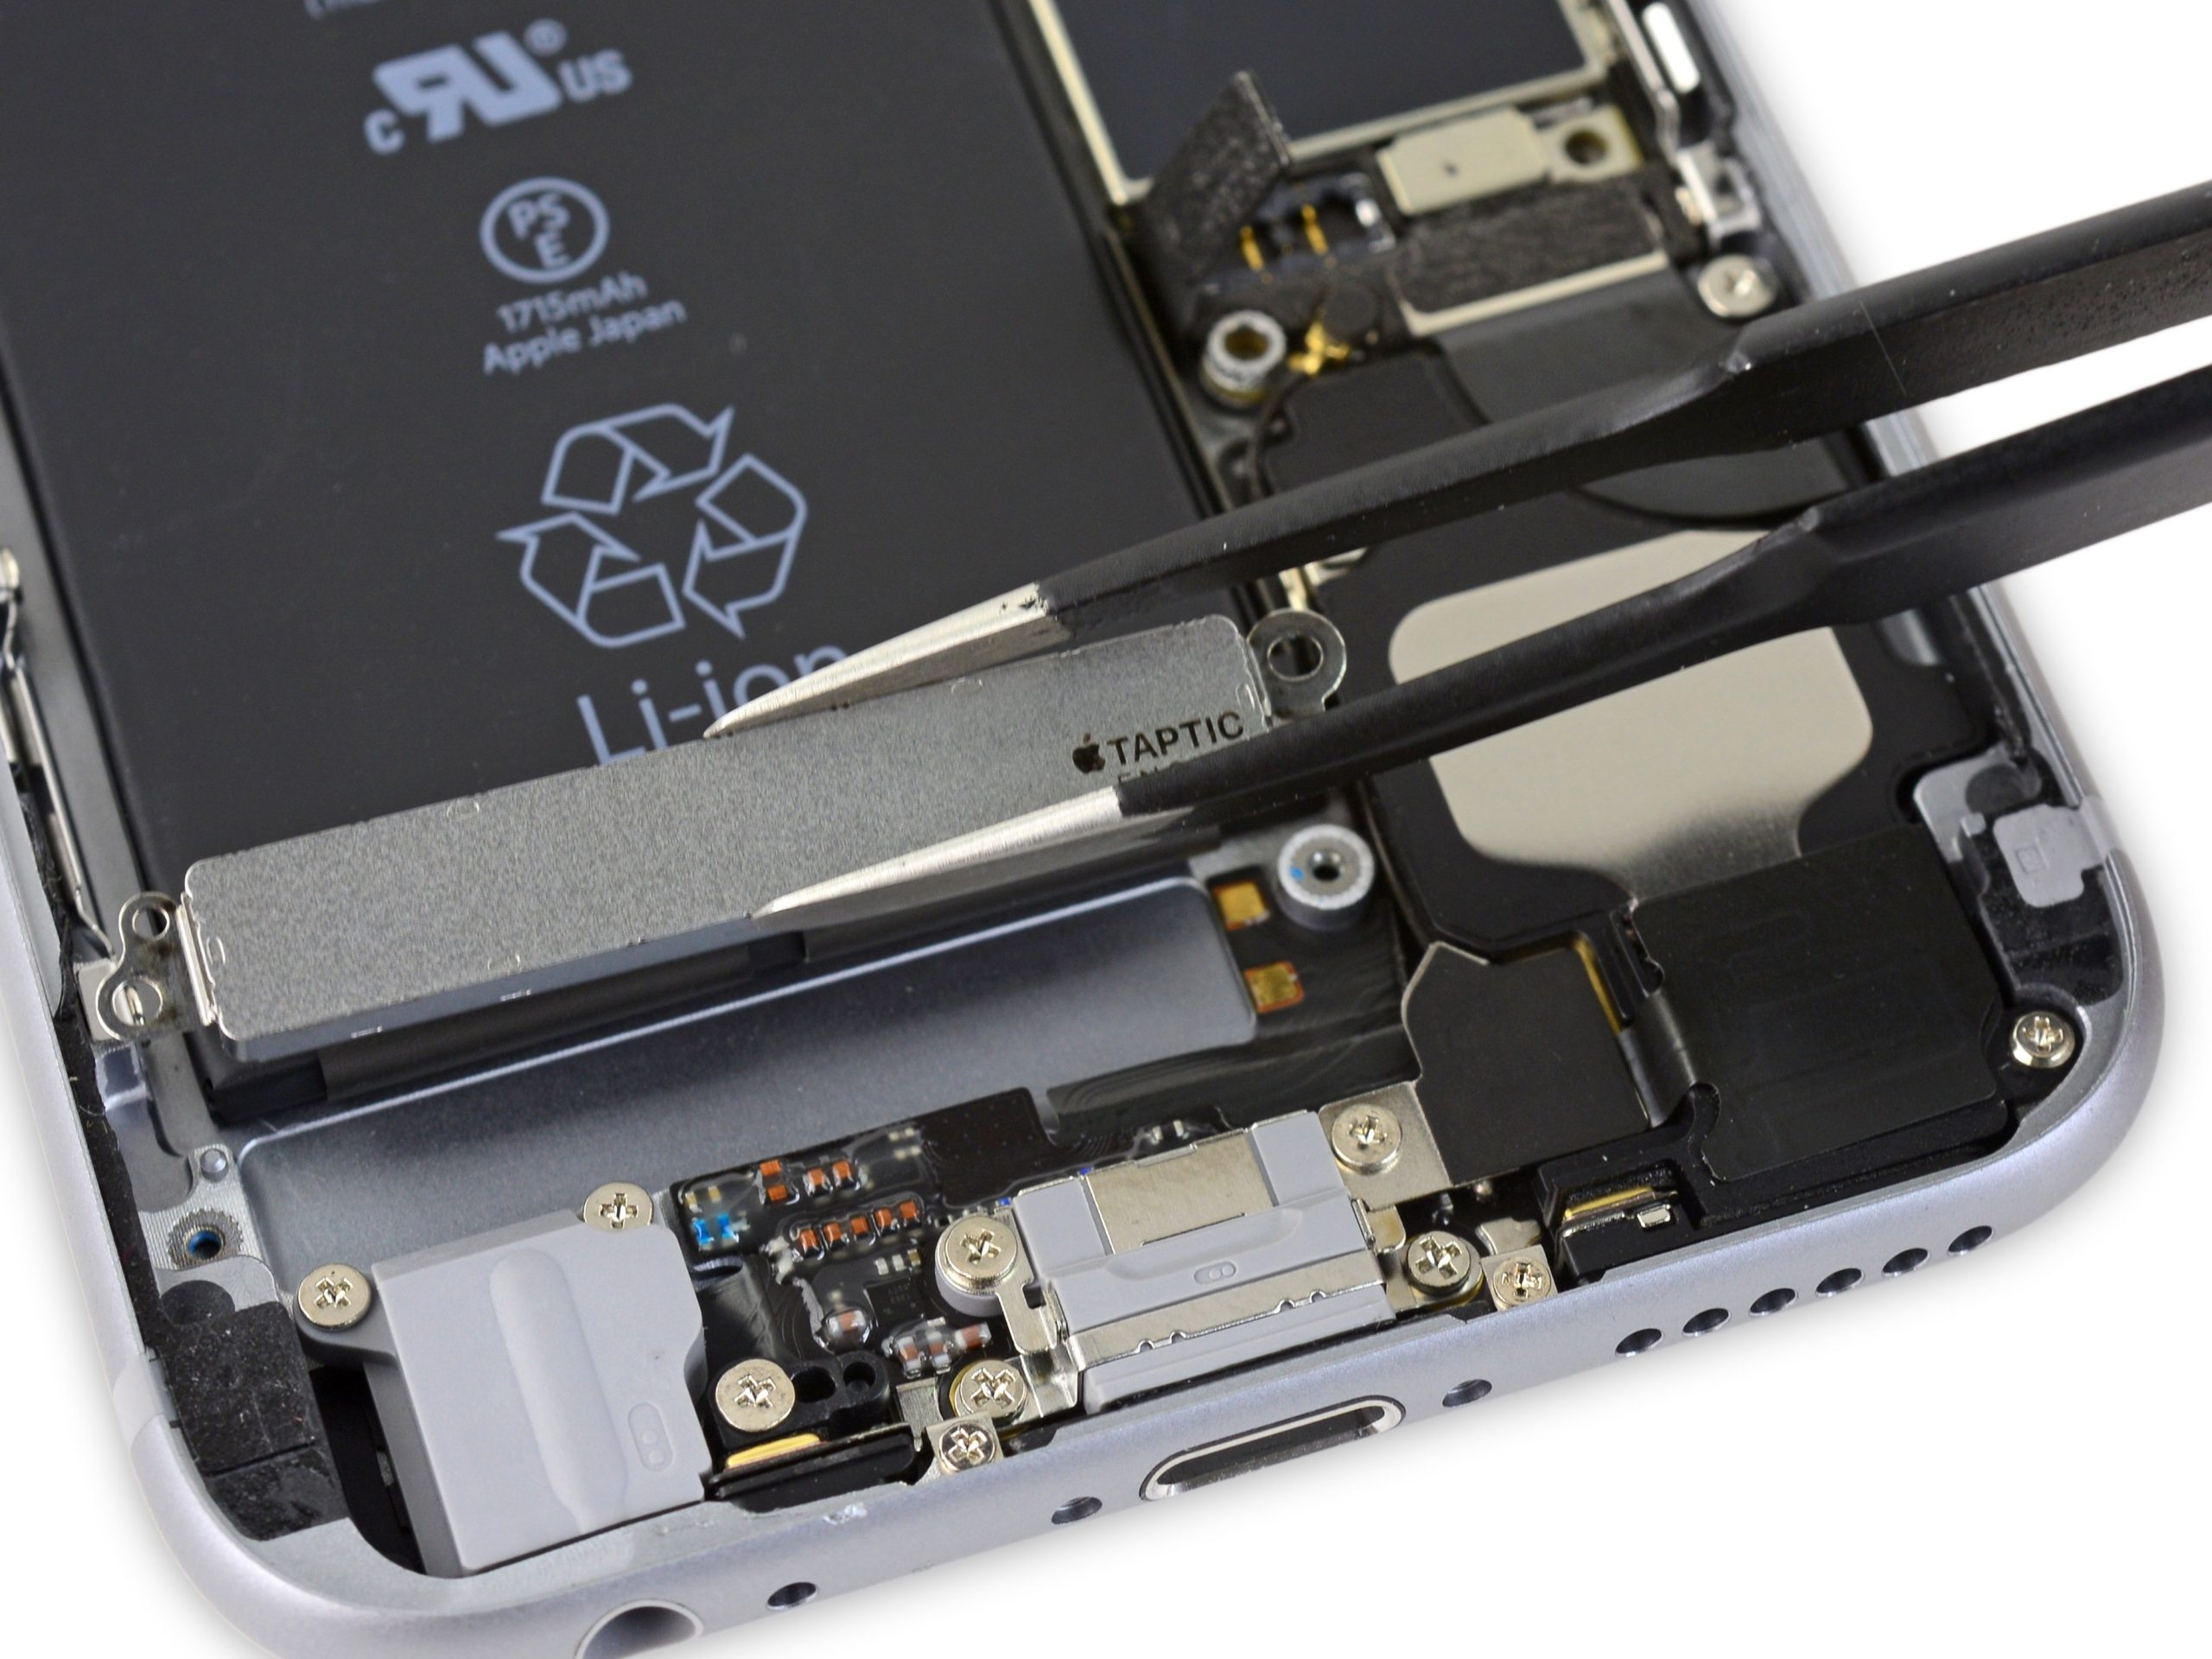
– Time to get your hands a little dirty! First, grab your Phillips screwdriver and unscrew those two screws holding the taptic engine in place. We’re talking about 2 x 1.5 mm Phillips screws here!
– Once those screws are out, you can gently lift out the taptic engine. Easy peasy!
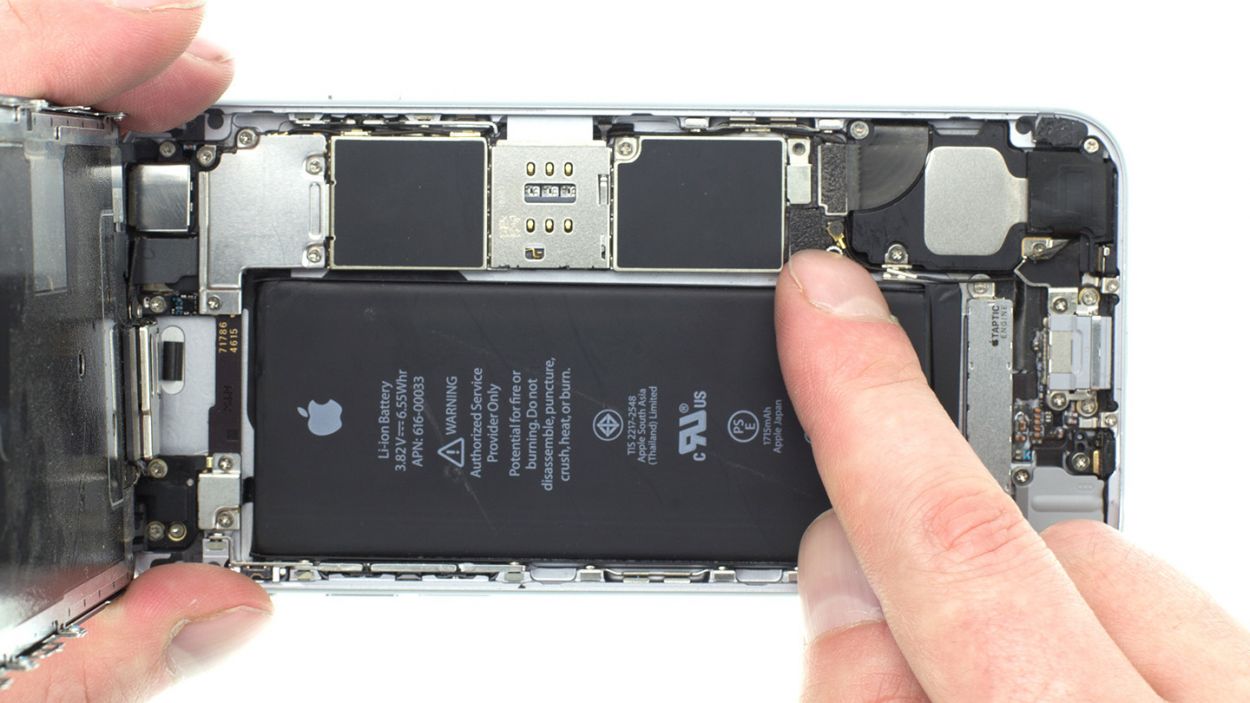
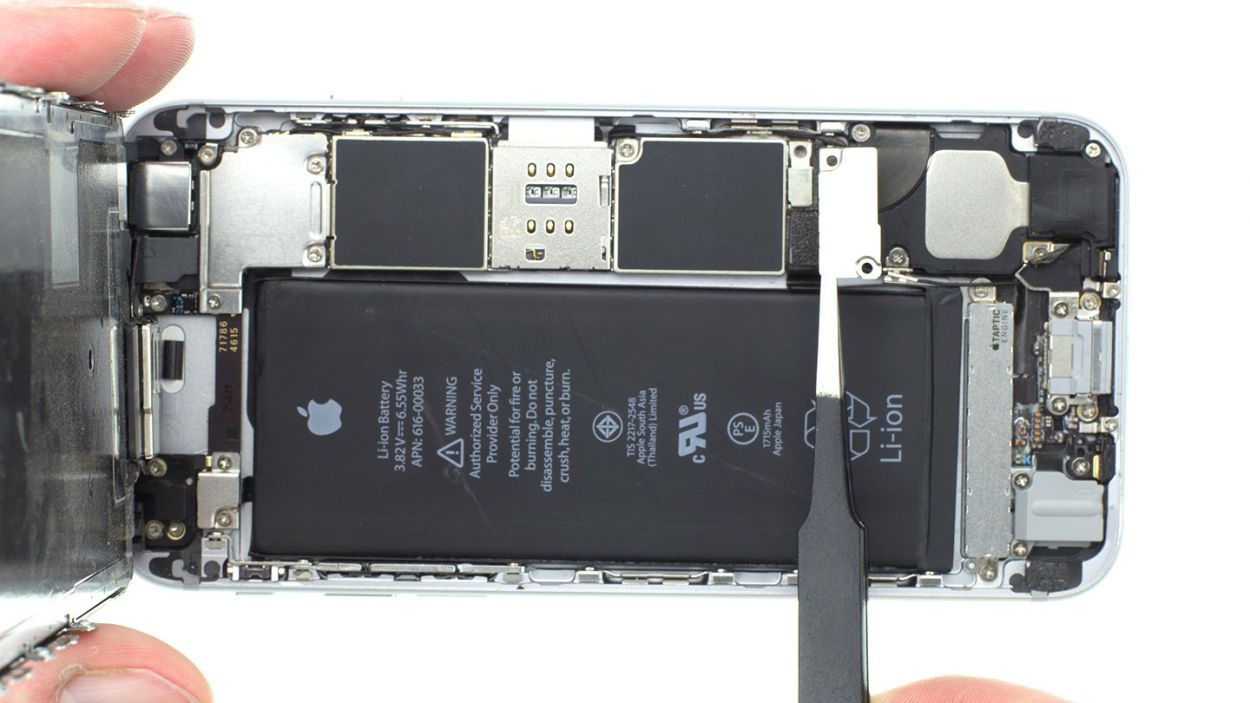
Step 7
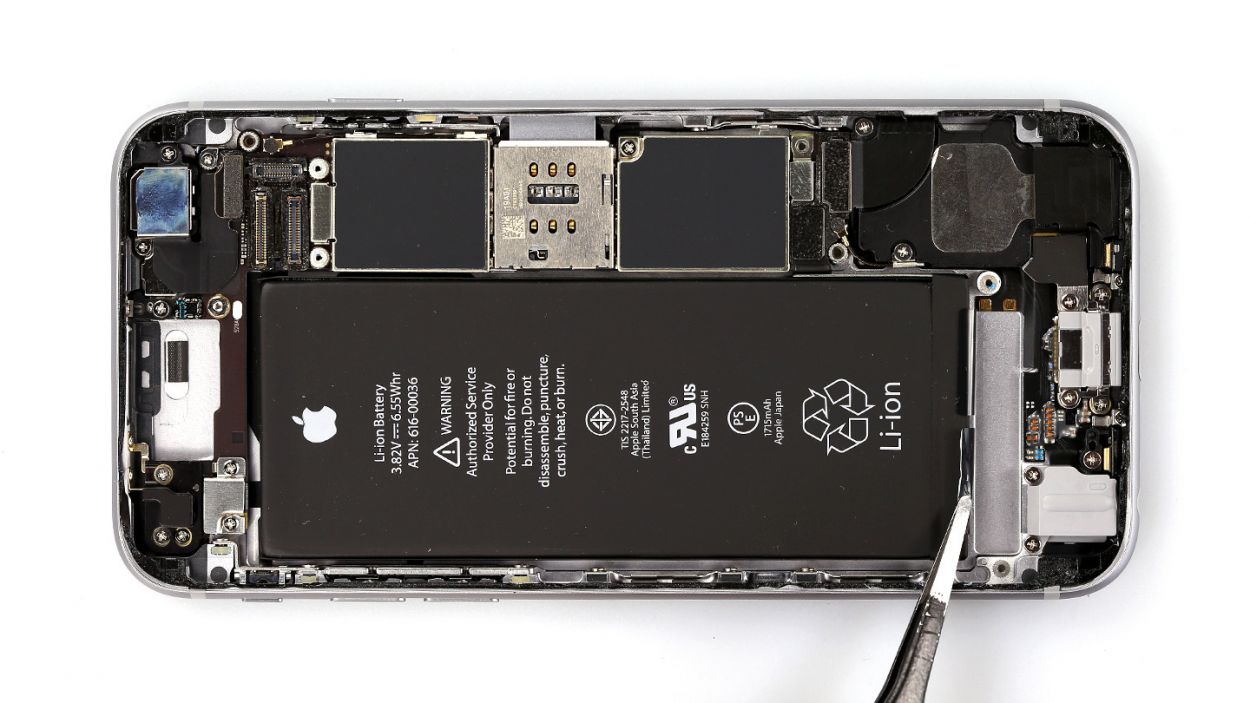
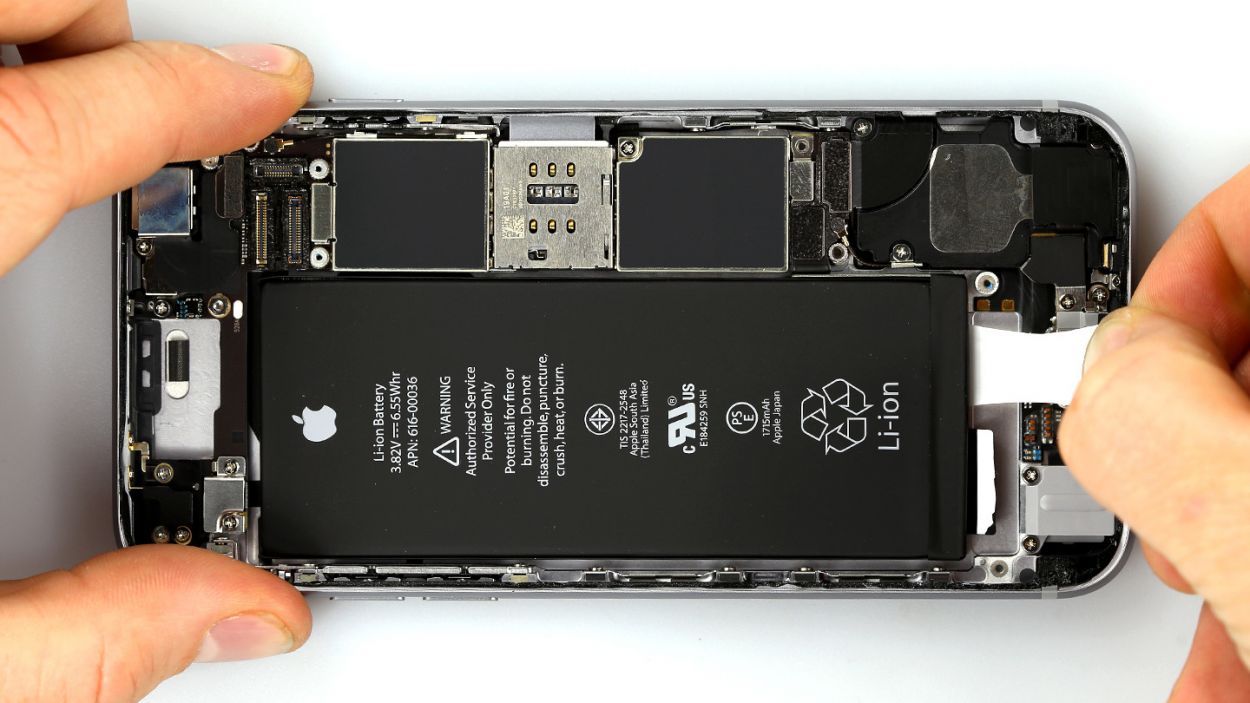

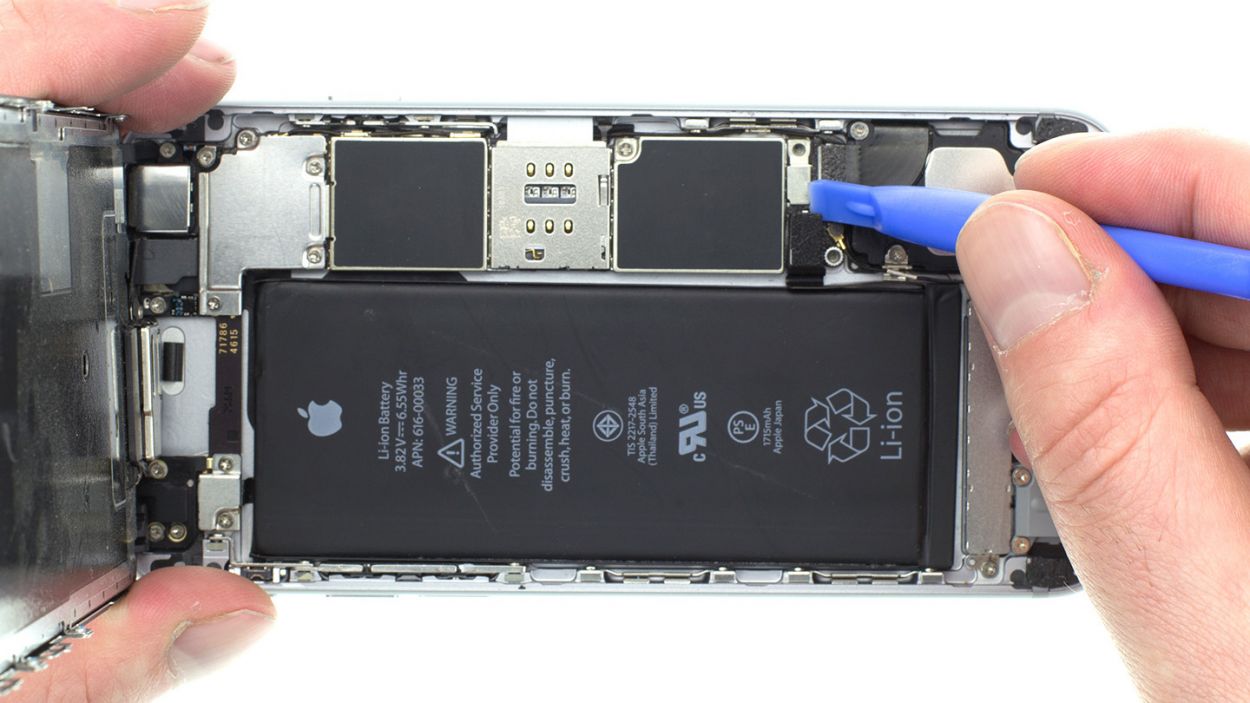
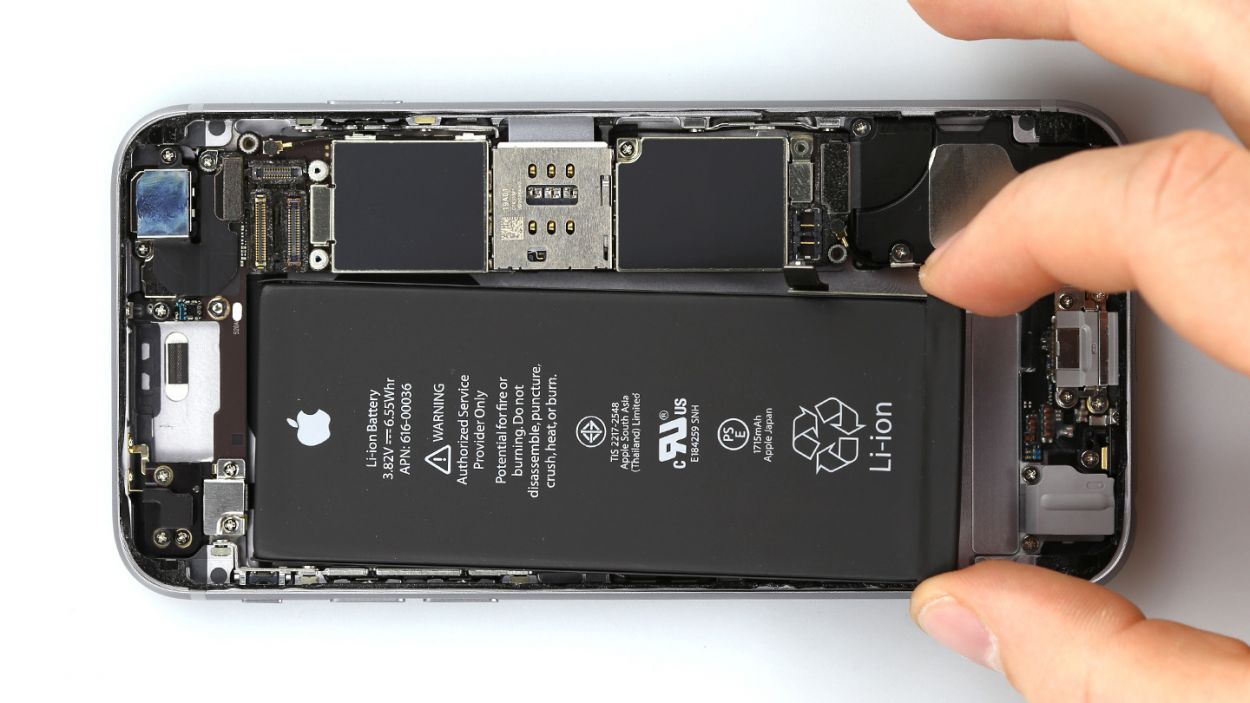
– The battery is snugly held in place by two adhesive strips. To free them, grab some tweezers or a spatula. You got this!
– Gently peel those adhesive strips off from under the battery—take your time! Keep them as flat as possible to avoid any tear drama.
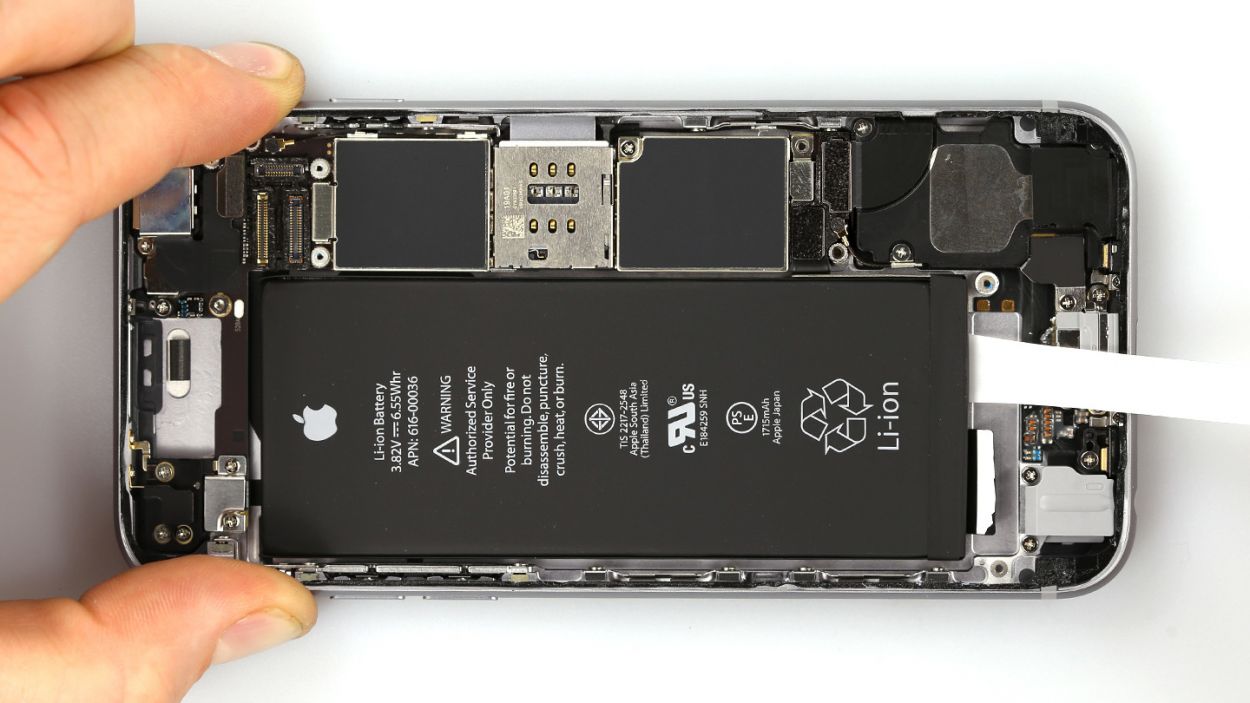
– Once those strips are free, simply lift out the battery and give yourself a pat on the back!
Step 8
No need to worry about removing the speaker or the lightning connector! The upcoming pictures show a phone with those parts taken out, but you can totally skip that step if you want.
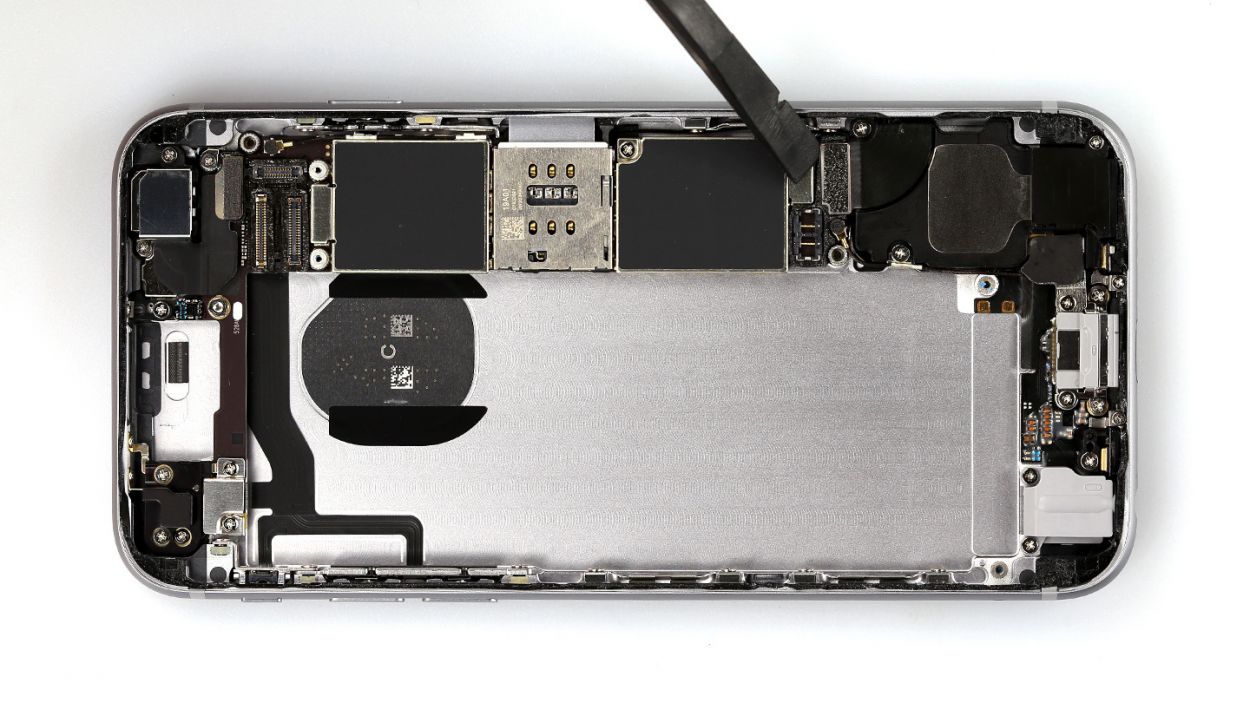
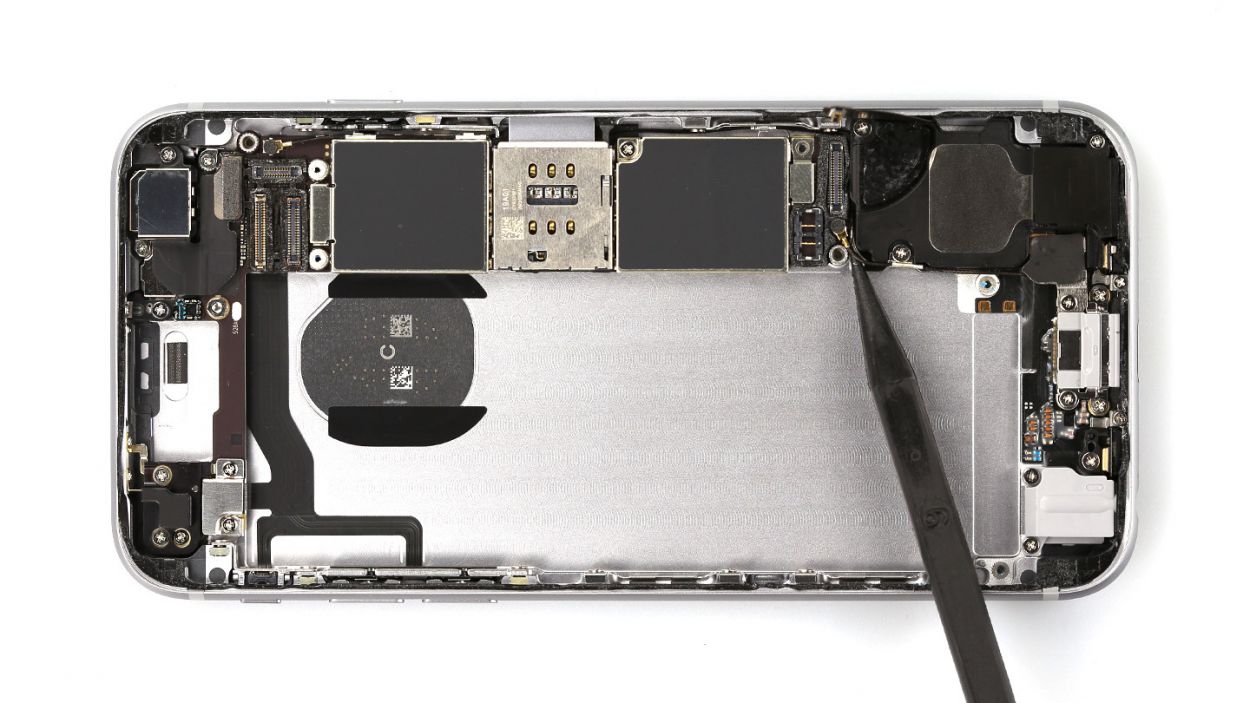
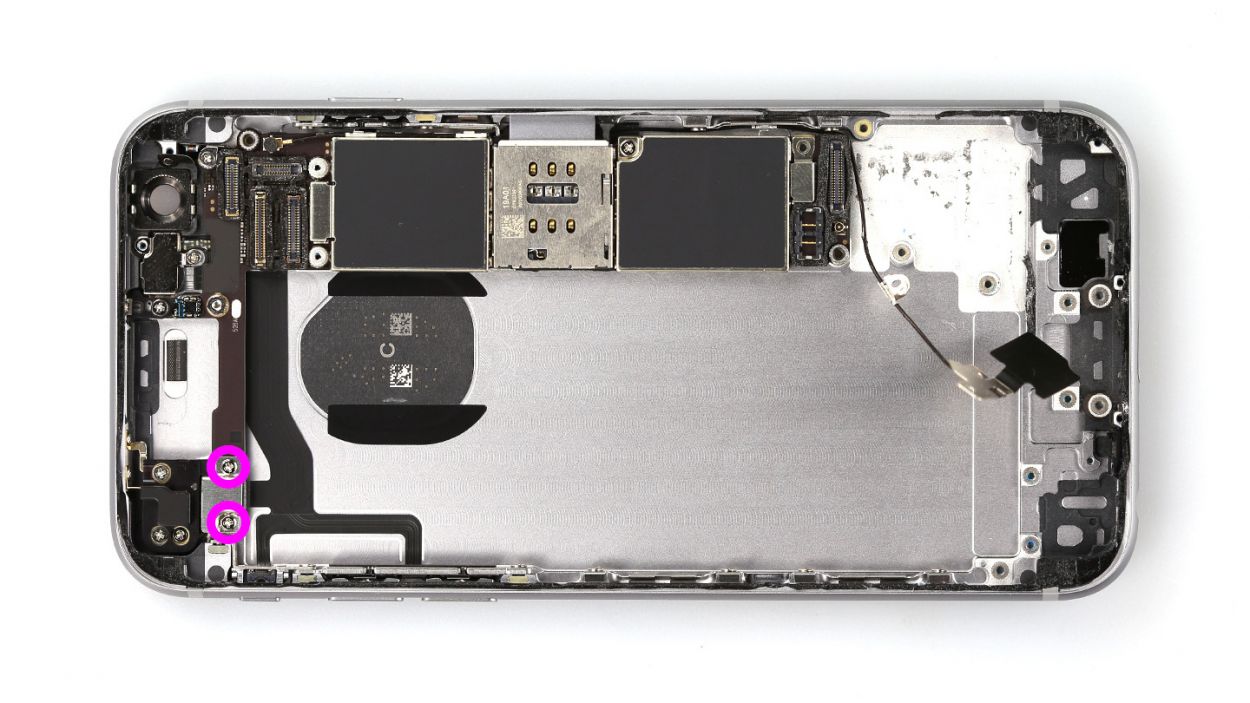
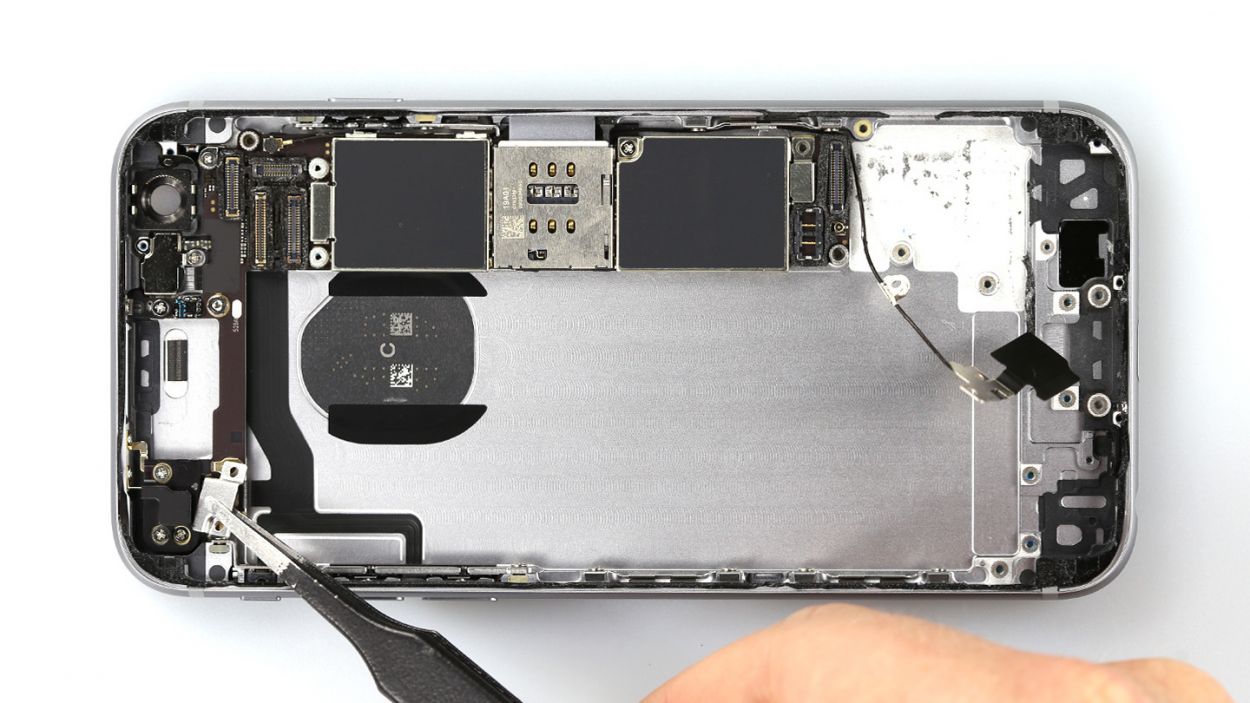
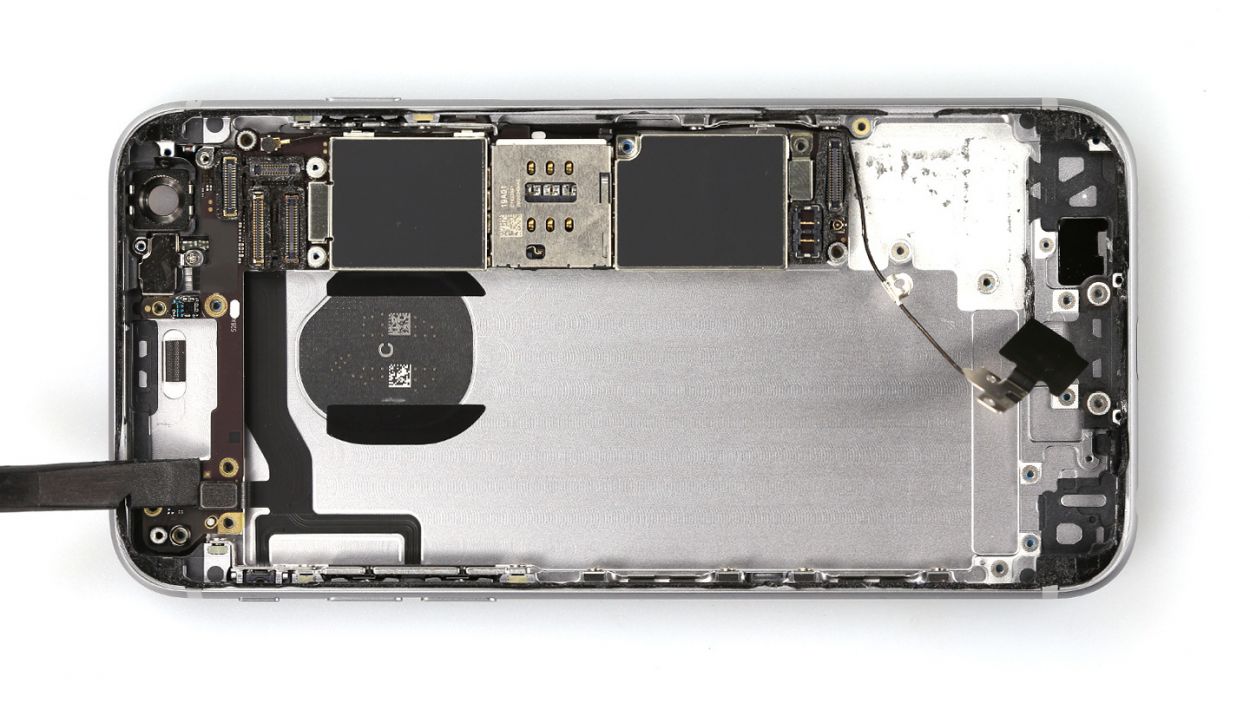
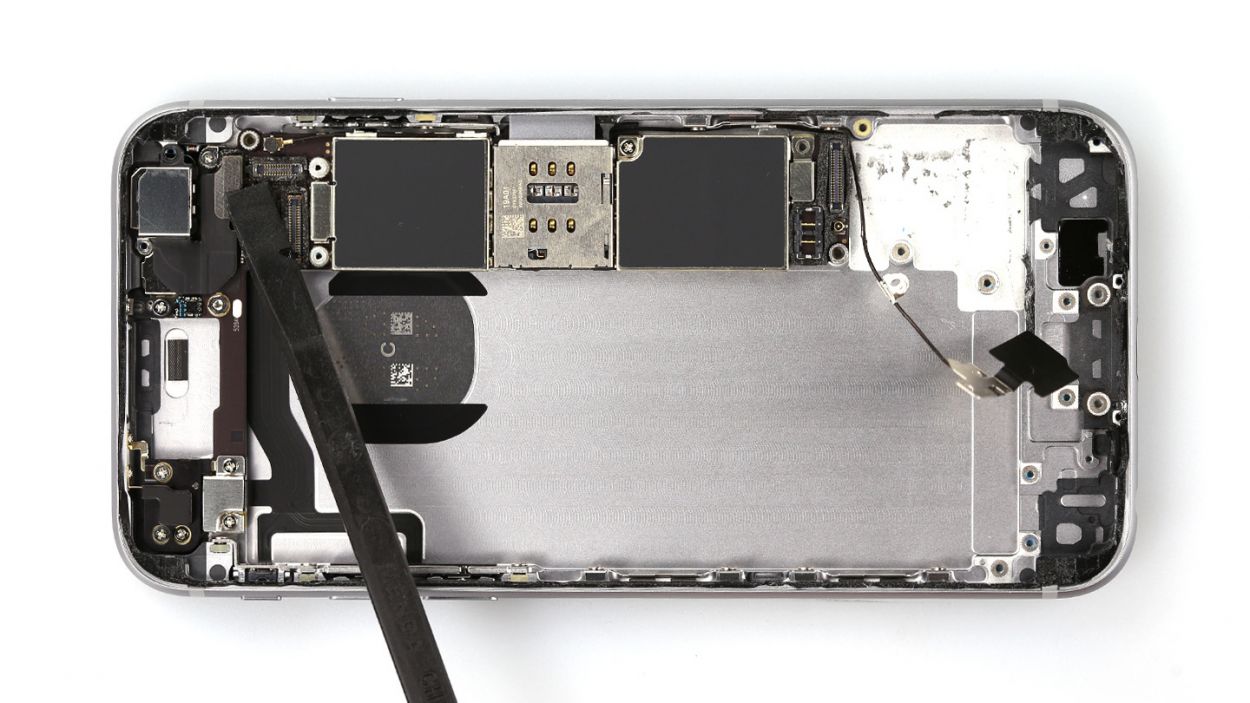
– Gently unplug the connectors for the lightning connector and the antenna cable from the main board using the sharp tip of your spudger. No need to stress about removing the speaker or the lightning connector! The upcoming images might show a phone with these parts taken out, but you can totally skip that step if you prefer to keep them in place.
Step 9

Heads up! That silver cover is just a little bit glued to the camera, so be gentle!
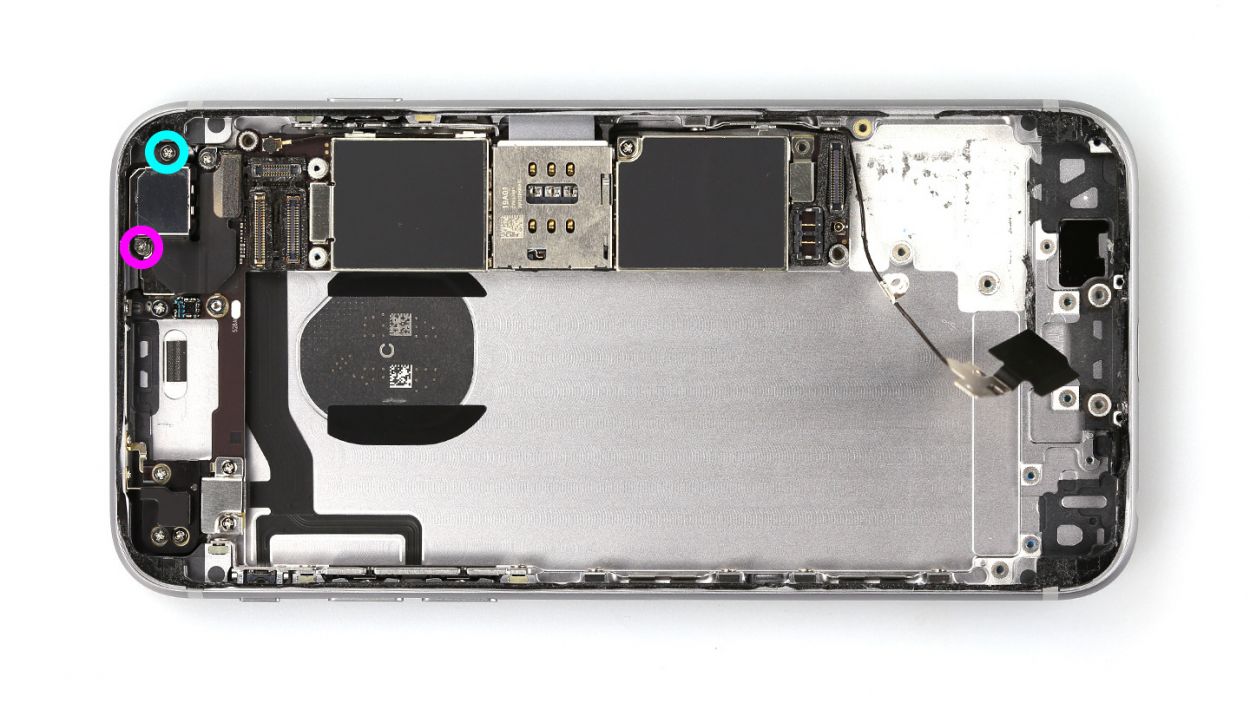
– First, let’s tackle those two Phillips screws holding the camera cover in place. We’re looking at 1 x 2.0 mm Phillips screw and 1 x 1.6 mm Phillips screw. Unscrew them with a smile!
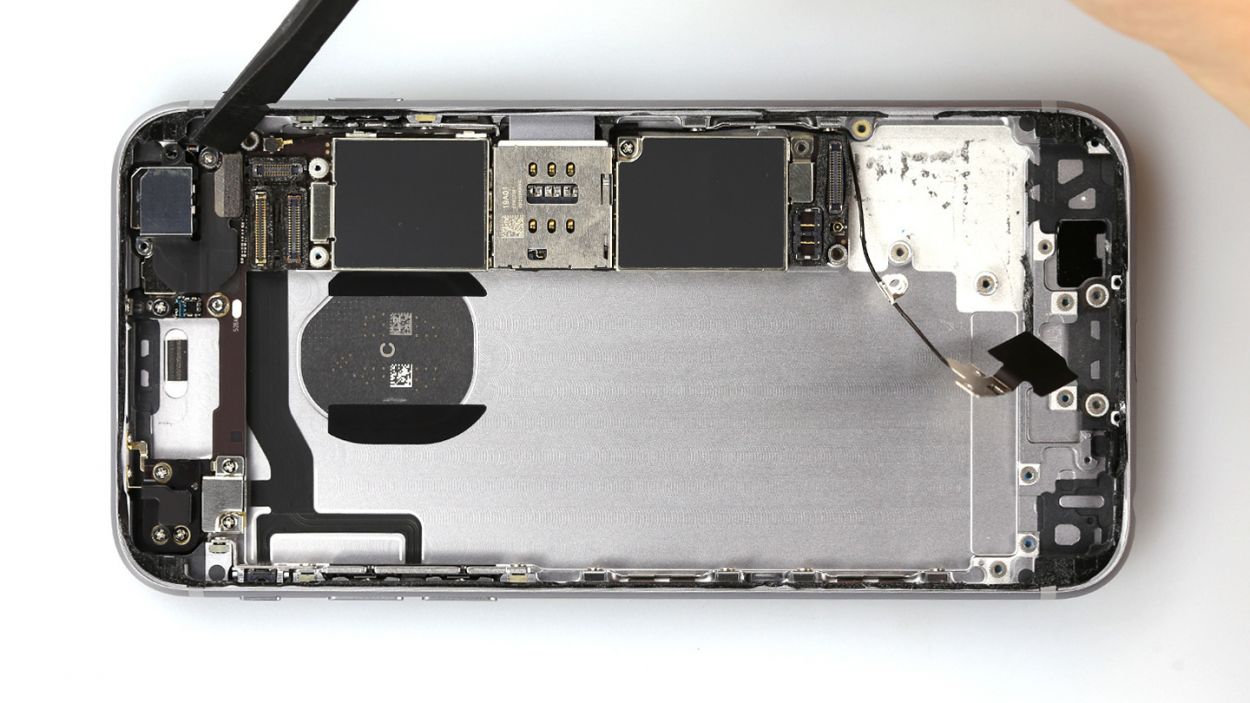
– Next up, gently unplug the camera connector. Just slide your spudger under the connector and give it a little lift. Easy peasy!
– And voilà! You can now carefully remove the camera from your iPhone. Just a friendly reminder: that silver cover is lightly glued to the camera, so take your time!
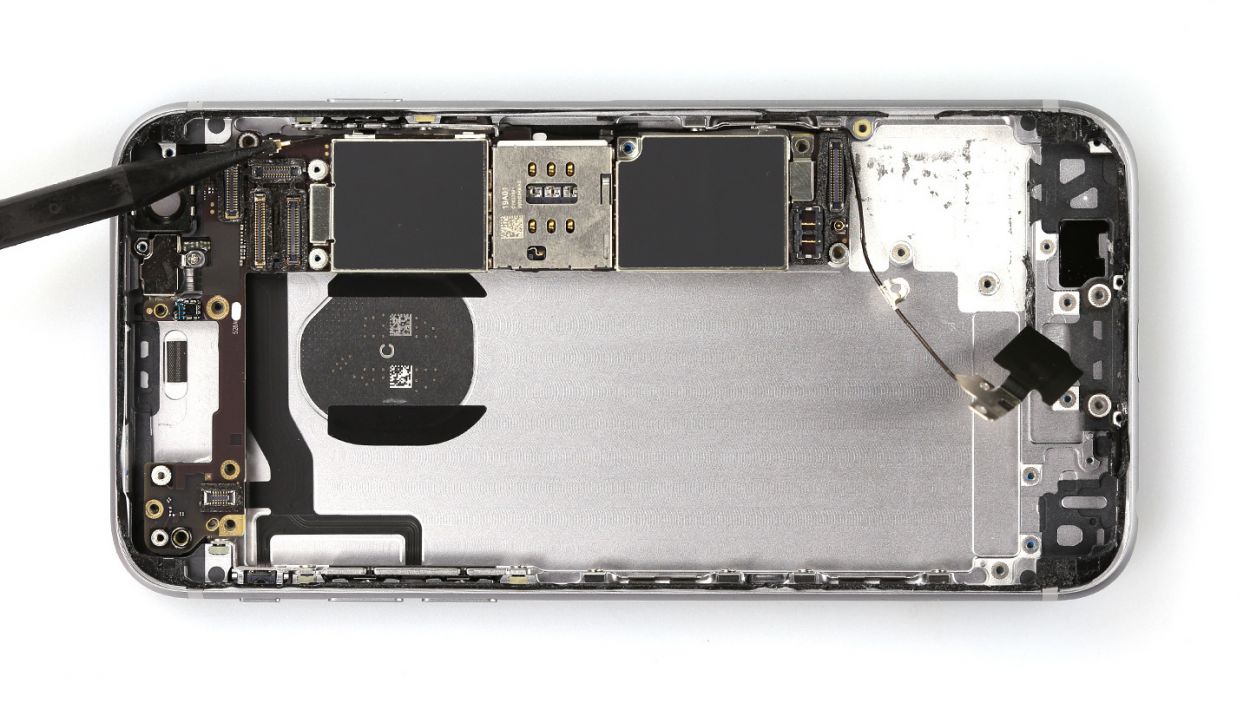
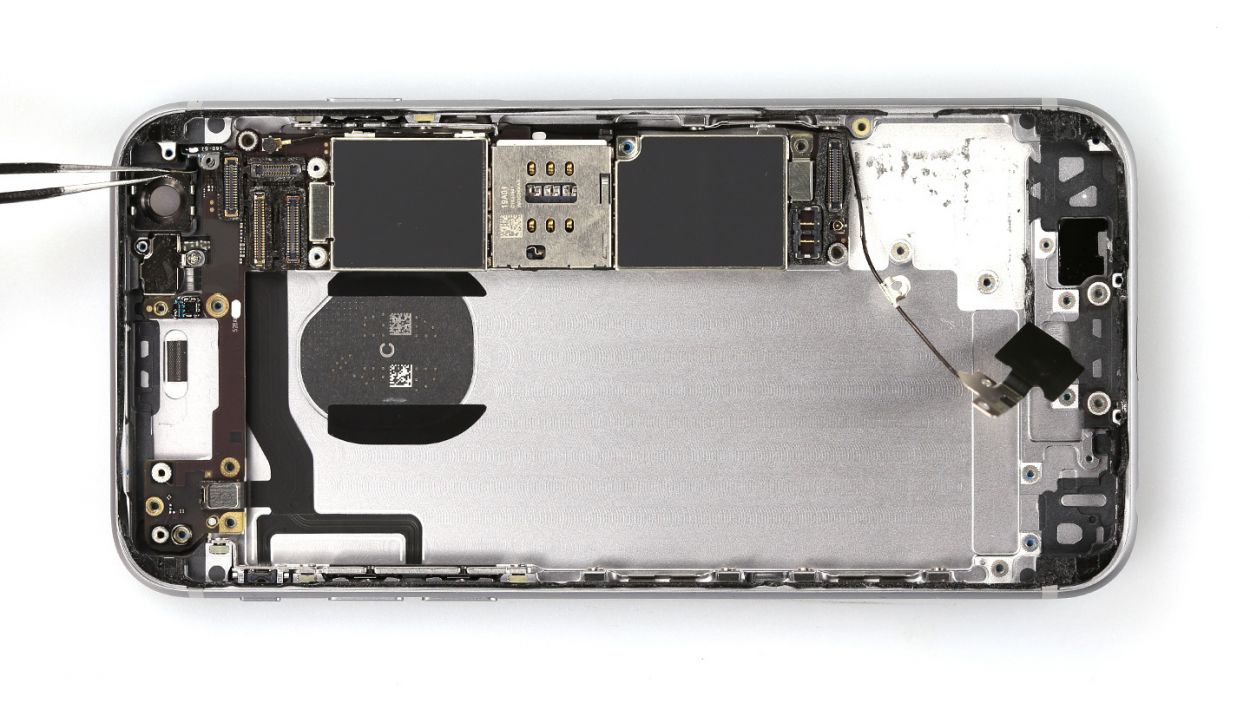
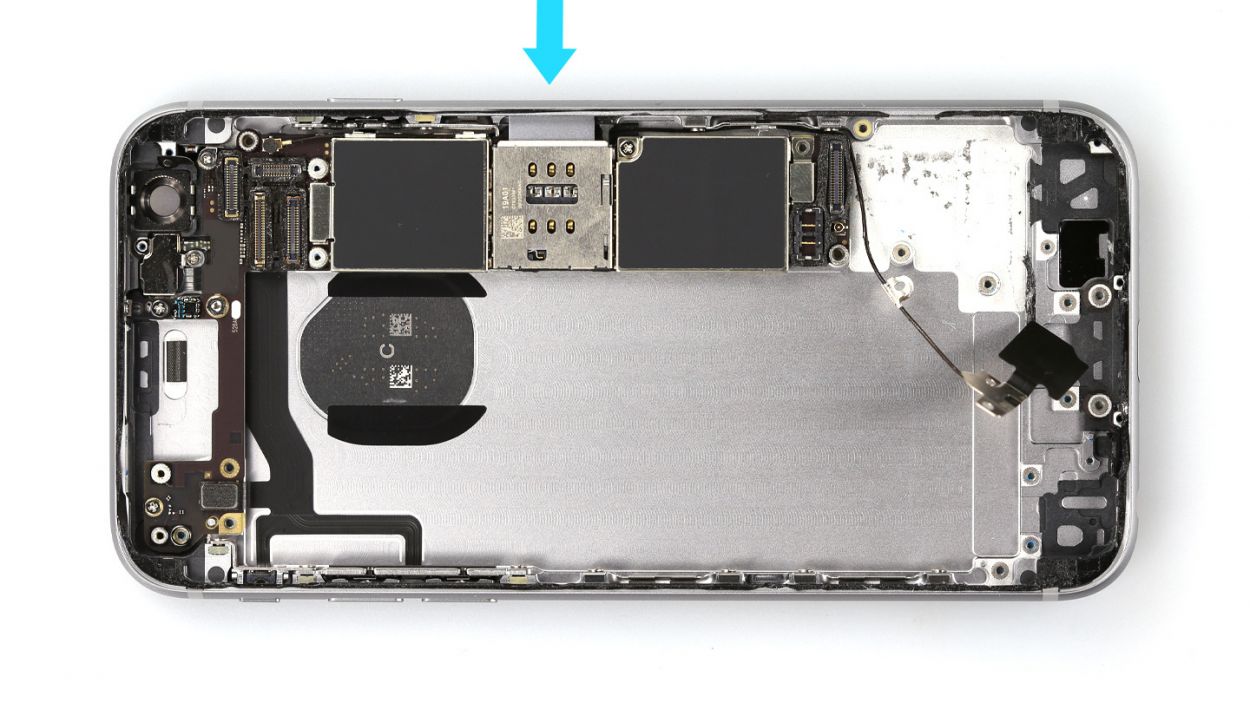
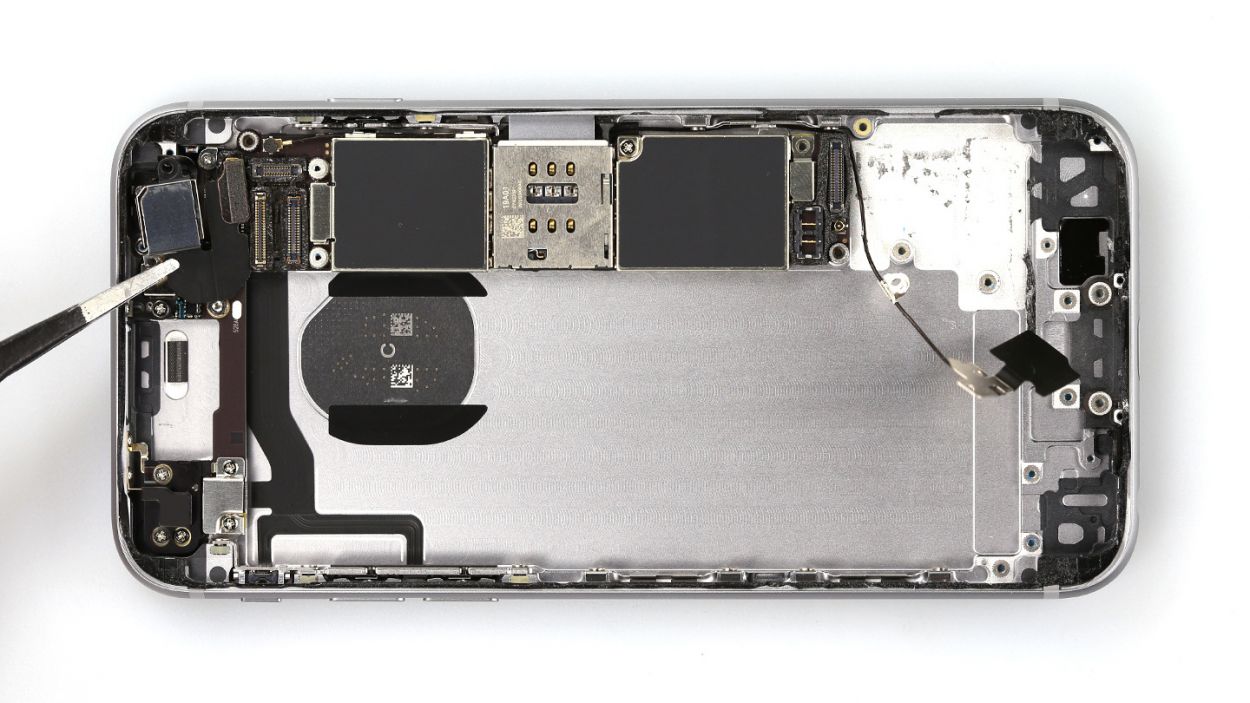
Step 10

– Ready to pop that SIM card tray out? Grab your trusty SIM tool or a paperclip—whatever floats your boat! Just press the SIM tool into the tiny hole on the SIM card tray and voilà, it’s out!
Step 11
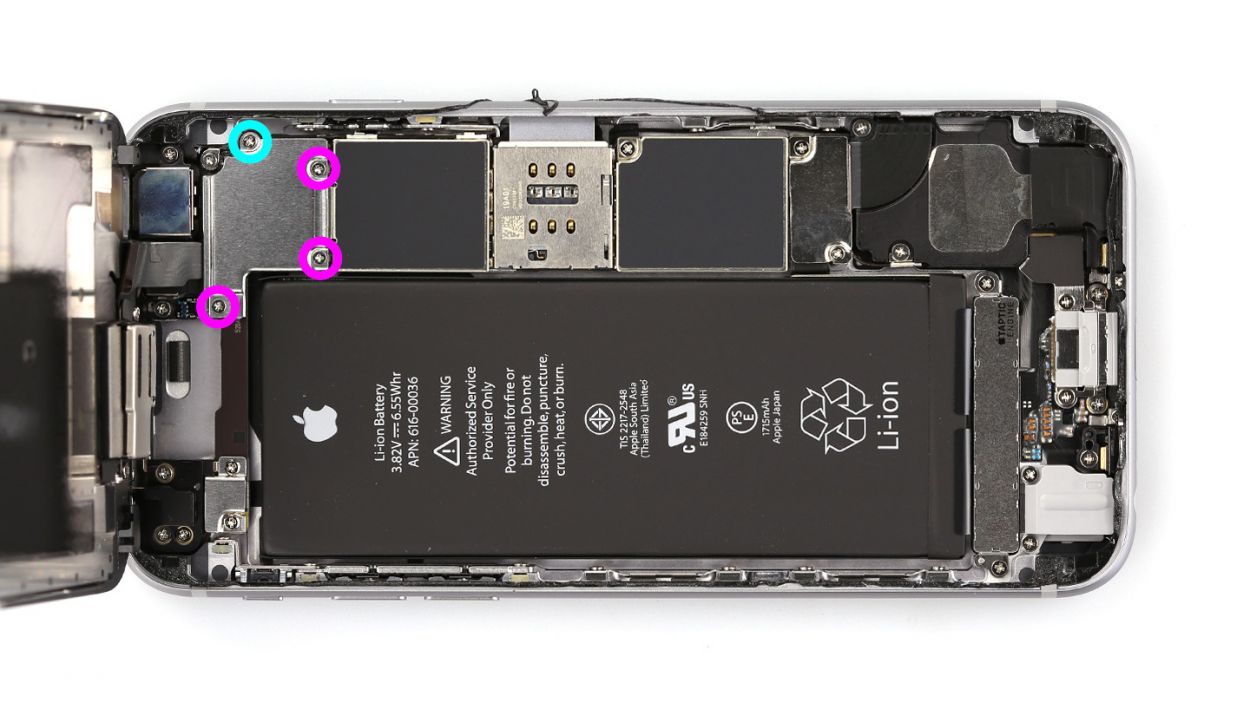
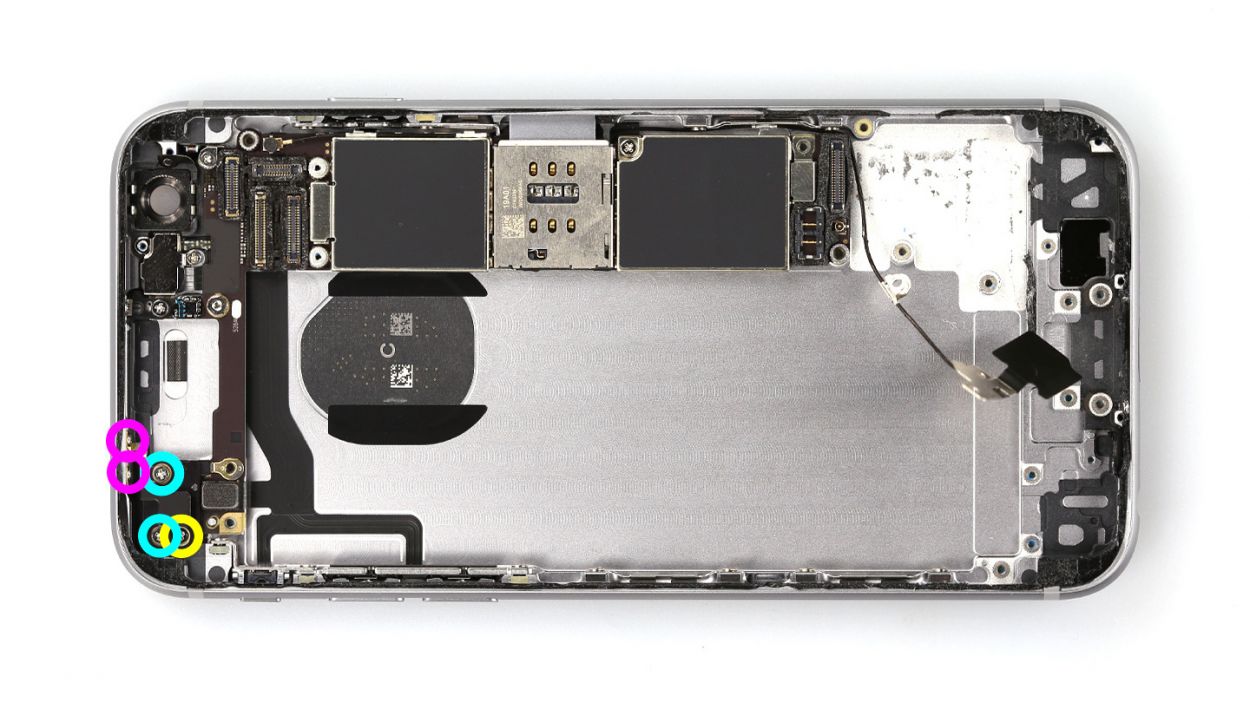
– First, grab your Phillips screwdriver and loosen those two screws keeping the silver connector cover snug as a bug. We’re talking about 2 x 2.3 mm Phillips screws here!
– Next, gently lift off that cover and place it along with the screws on your trusty magnetic pad. They’ll be safe there, just like a cozy little home!
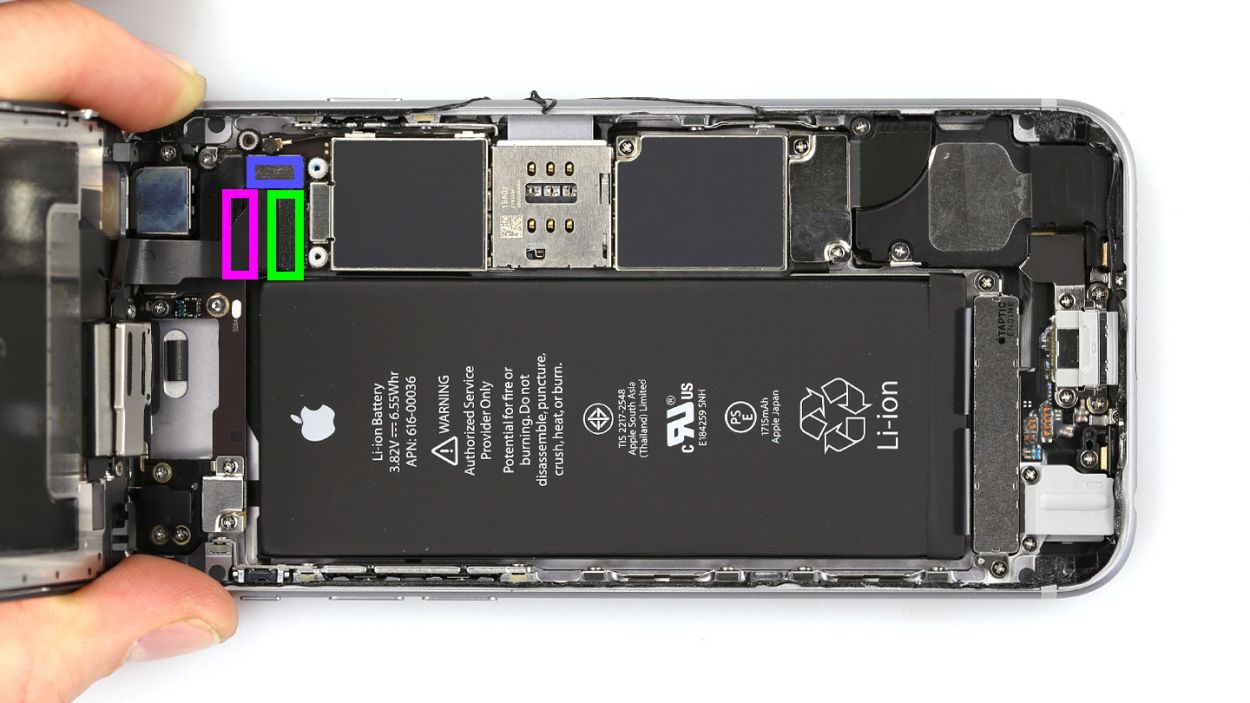
– Now, with a steady hand and your spudger, carefully unplug the volume connector from the board. Easy does it!
Step 12
– First, let’s get those five Phillips screws from the Wi-Fi cover all loosened up! Once you’ve done that, drop those little guys onto your magnetic pad to keep them from wandering off. We’re talking about 2 x 2.1 mm Phillips screws, 2 x 1.3 mm Phillips screws, and 1 x 2.3 mm Phillips screw.
– Now, it’s time for a gentle lift! Carefully raise the cover to remove it, and just like that, you’re one step closer to your repair goal!
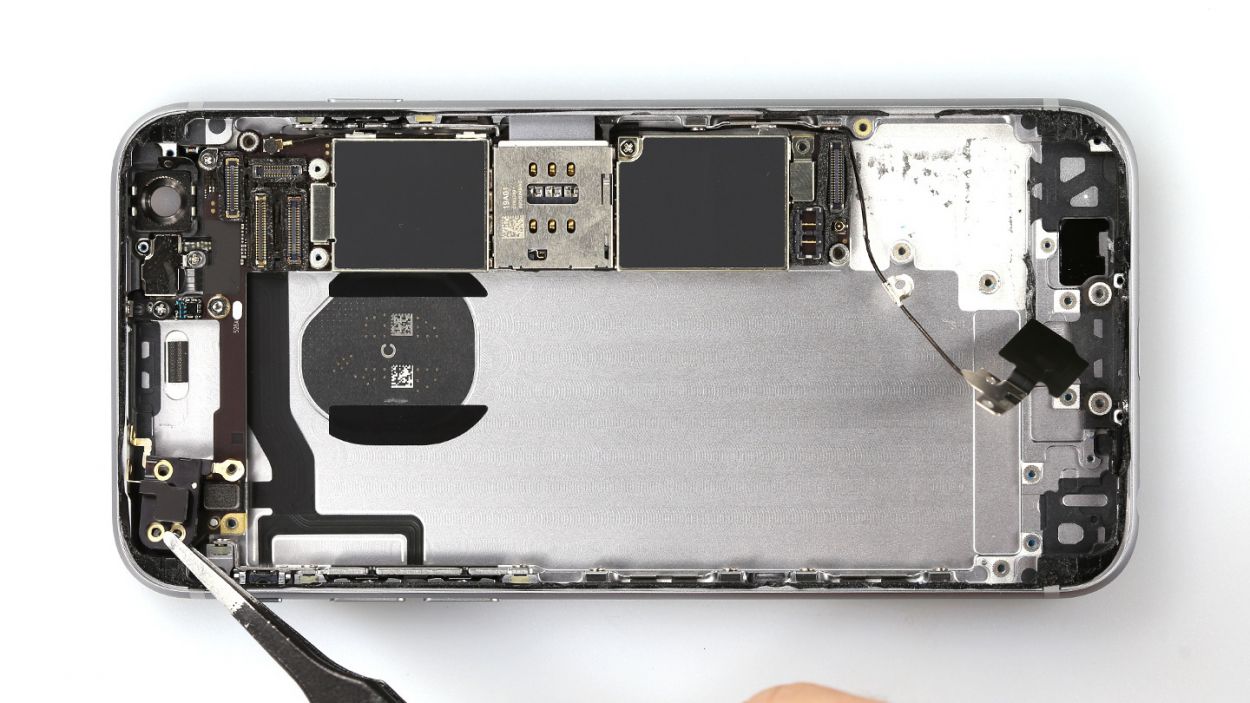
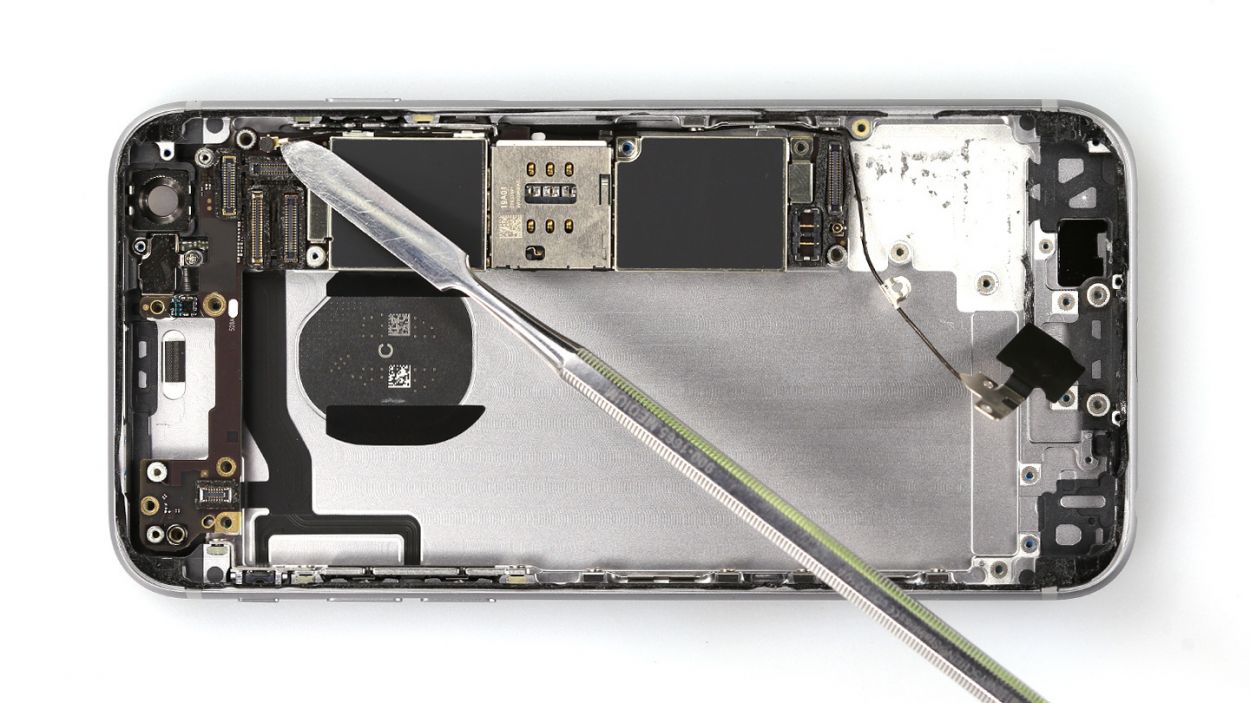
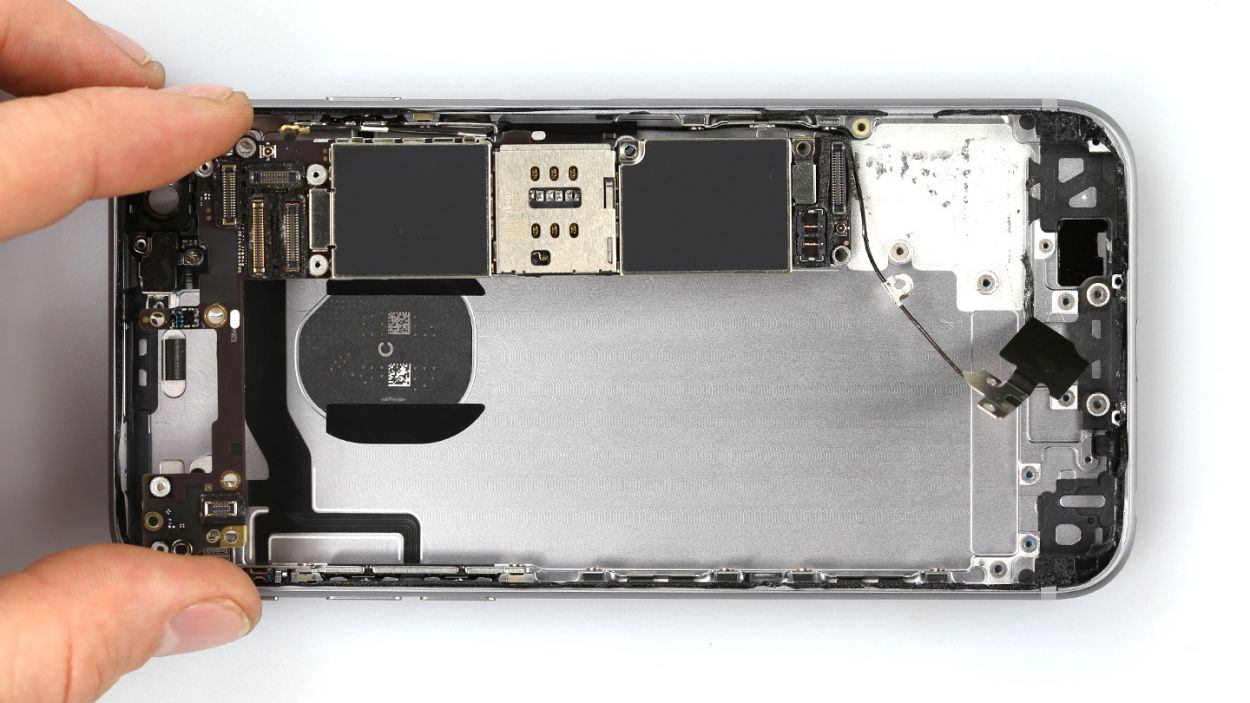
Step 13
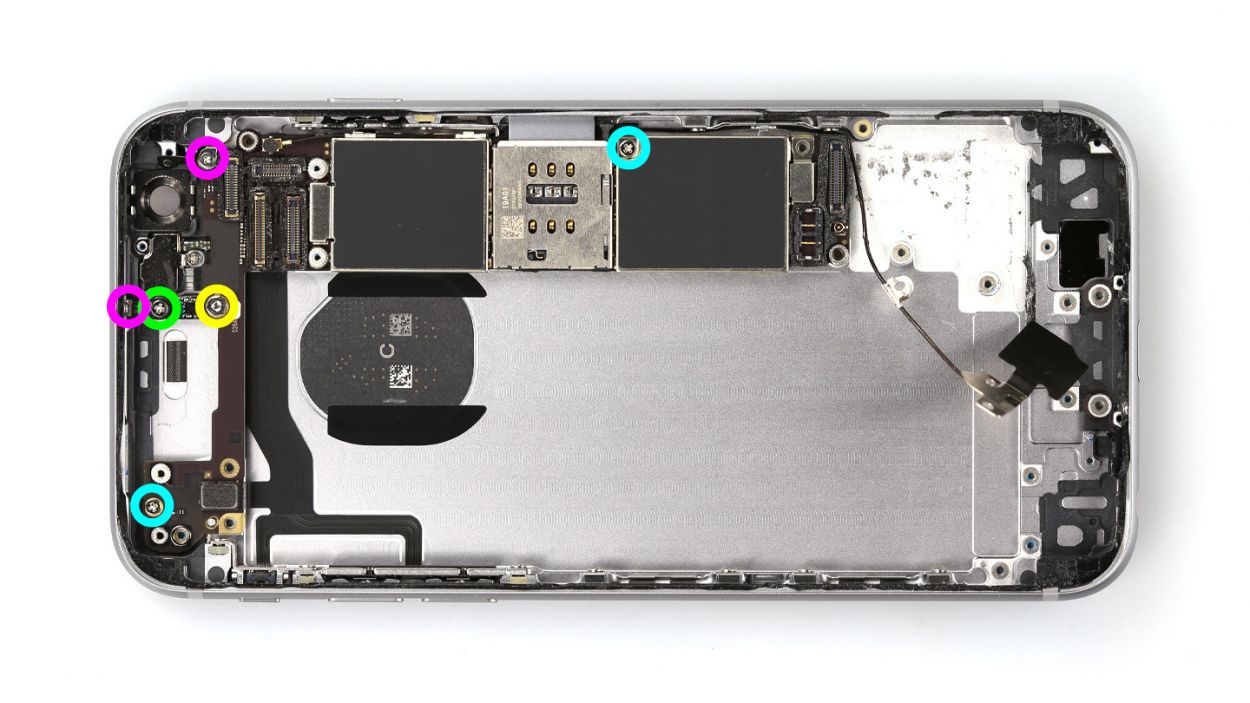

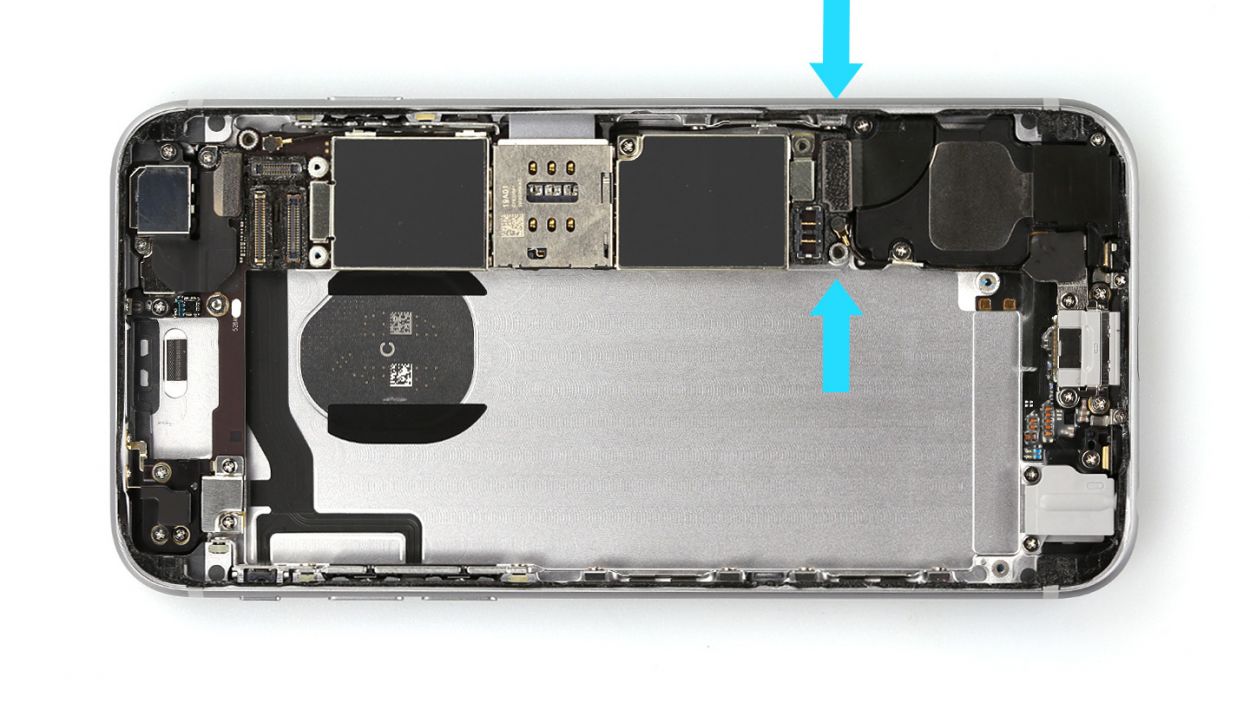
– Start by unscrewing all six screws that are holding the main board in place. You’ll need: 1 x 2.3 mm hex screw, 2 x 1.3 mm Phillips screws, 2 x 1.8 mm Phillips screws, and 1 x 2.5 mm Phillips screw.
– Next, gently pull out that tiny antenna cable.
– Now, with a bit of care, you can lift the main board out and give yourself a high-five for a job well done!
Step 14


– Carefully place the main board back where it belongs.
– Next, plug in the connectors for the standby/volume cable set and the antenna cable. You’ve got this!
– Don’t forget to attach that little antenna cable!
– Secure everything in place with those five Phillips screws. You’re almost there!
Step 15
Step 16


– Alright, time to get that Wi-Fi antenna in place! Carefully insert it and make sure to screw it in tight. You’ll need: 2 x 2.1 mm Phillips screws, 2 x 1.3 mm Phillips screws, and 1 x 2.3 mm Phillips screw. You’ve got this!
Step 17


– Connect the connector to the board with care!
– Now, let’s get that silver cover back on and secure it with a couple of screws. You’ll need 2 x 2.3 mm Phillips screws for this little task!
Step 18

– Time to get that camera back where it belongs! Gently slide it back into position and reconnect that little cable like a pro.
– Now, let’s wrap things up by installing the camera cover and securing it with a screw. If the cover is still attached to the camera, no worries—just give it a little nudge!
Step 19
– Time to reconnect those connectors for the antenna and the lightning connector! Just gently plug them back into the main board, and you’re one step closer to getting your iPhone back in action.
Step 20
– Alright, it’s time to bring that battery back home! Just slide it back into your iPhone and plug in the connector like a pro.
Step 21

– Time to put that taptic engine back where it belongs! Just slide it into its cozy little spot.
– Now, secure it with those trusty screws again. We’re talking about 2 x 1.5 mm Phillips screws, so let’s get to it!
Step 22


If those display connectors are feeling a bit shy and aren’t connected just right, you might see some funky stripes or notice that parts of the touchscreen are playing hard to get! Let’s make sure everything’s snug and secure!
– First, let’s get those display connectors plugged in. It might take a few tries, so don’t get discouraged! Just be gentle and avoid bending those connectors. You’ve got this! We’re talking about the front camera/sensor/earpiece/ambient microphone, the Touch ID cable, and the display.
– Once everything is snug and secure, power up your iPhone! Check that the LCD, touchscreen, proximity sensor, front camera, and earpiece are all working as they should. If the connectors aren’t seated properly, you might see some funky stripes or notice parts of the touchscreen acting up!
– Now, let’s put that connector cover back on and tighten it up. You’ll need 3 x 1.3 mm Phillips screws and 1 x 2.9 mm Phillips screw. Almost there!
Step 23

– First, plug in that battery connector like a pro!
– Next up, let’s get that shiny silver cover plate back on and secure it with a couple of screws. We’re talking about 1 x 2.9 mm Phillips screw and 1 x 2.2 mm Phillips screw here. You’re doing great!
Step 24
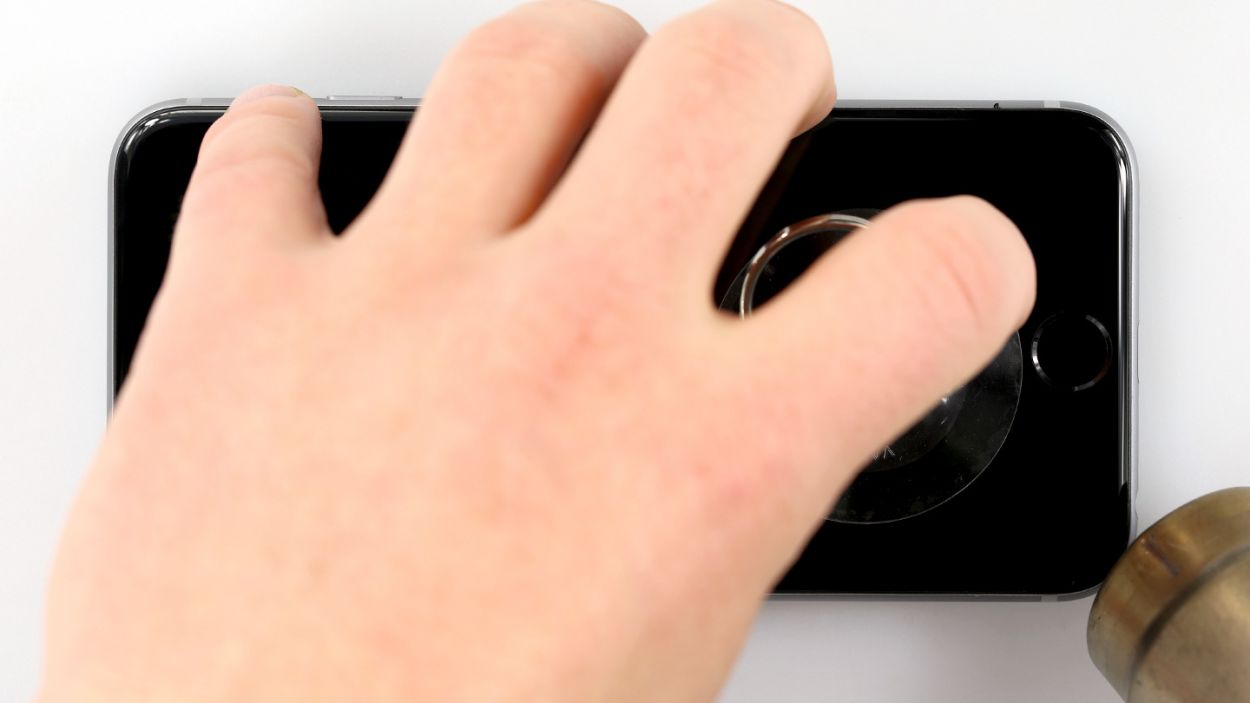
– Gently fold down that display like you’re tucking it in for a cozy nap! Make sure the upper edge where the cables are connected clicks in just right. Then, with a little finesse, push down the display towards the home button along the edge until it fits snugly into the frame. You’re doing awesome!
Step 25
– Alright, it’s time to tighten up those two pentalobe screws at the bottom of the enclosure! We’re talking about 2 x 3.8 mm pentalobe screws here. Just give them a nice twist, and you’ll be one step closer to getting your iPhone all set up again!
Step 26

When you pop that battery out, your iPhone might just decide to throw a little time party and reset itself to 1:00 a.m. on 1/1/1970! If that happens, you might find it a bit tricky to connect to the cellular network, so let’s get that time sorted out!
– Let’s get that time back on track! Sync your iPhone with iTunes or hop onto a WLAN network and hang tight until the clock is set right.
– Time to play with the SIM tray! Pop it out with the SIM card, then slide it back in like a pro.
– Give flight mode a little dance! Turn it on, then off again to refresh things up.