Magnavox Odyssey 100 Teardown
Duration: 45 minutes
Steps: 8 Steps
The Magnavox Odyssey was the very first home video game console ever made. Designed by Ralph Baer—often called the father of video games—this console made its debut in 1972. The version we’re looking at here is the Odyssey 100, which came right after that pioneering device. Let’s take a quick trip back to 1975 and explore one of the original trailblazers of the gaming world. This system was Magnavox’s attempt to keep things simple, packing it with just four integrated circuits and including onboard controls. The result? One of the most straightforward, easy-to-work-on consoles out there.
Step 1


– The Magnavox Odyssey 100 was pretty groundbreaking back in 1975. Here’s a peek at some screenshots of tennis and hockey—can you tell which is which? It features black & white graphics, just two games (tennis and hockey), manual scoring, three control knobs for each player, and on-board ‘sound.’ Follow these steps to understand its features and setup, and if you run into trouble, you can always schedule a repair.
Step 2

– The Odyssey 100 kept things simple with its design. Here’s what you’ll find in terms of controls:
– A far cry from today’s DualShock 3, which packs in two analog sticks, a d-pad, and a whopping 13 buttons!
– Curious about what’s inside? Let’s dive in…
– Control knobs for X, Y, and ball trajectory adjustments.
– Manual sliders for the scoreboard.
– I/O and game selection switches.
– Knobs for wall position and game speed control.
Step 3
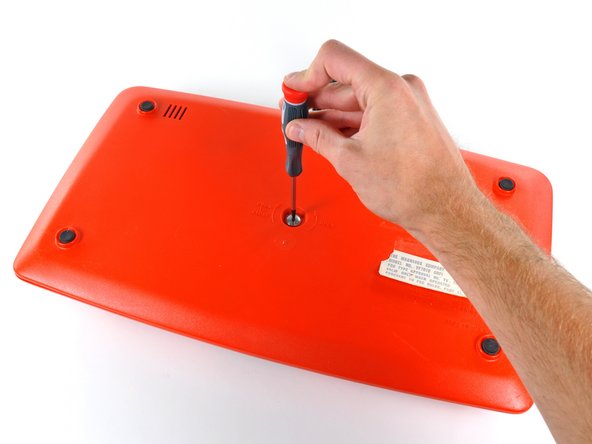

– This device is protected by at least four US patents—pretty impressive, right?
– Here’s something you don’t see every day… Made in the USA!
– Just one flathead screw keeps the bottom panel attached to the Odyssey 100.
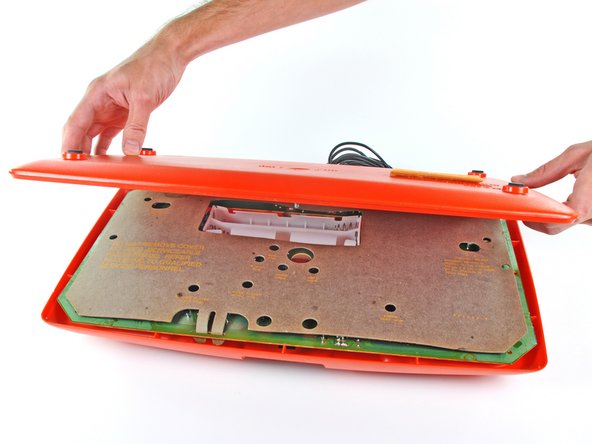
– Carefully lift off the lower case to reveal what’s underneath…
Step 4


– Start by removing the cardboard shield, which is like your quick access pass. Once it’s out of the way, you’ll see the battery holder designed for six ‘C’ cell batteries—plenty of power there. Keep an eye out for the potentiometers; these little adjusters fine-tune things like wall position, goal alignment, and frequency settings—manual control can be fun! If you want to peek behind the board, the cardboard shield comes off easily, giving you a clear view of the back. As for the Odyssey 100, it might look like a sealed box, but it’s always good to remember that internal parts might be user-serviceable—so approach with curiosity. This model can run on an external wall adapter or batteries, giving you options for power sources. If you need help, you can always schedule a repair.
Step 5
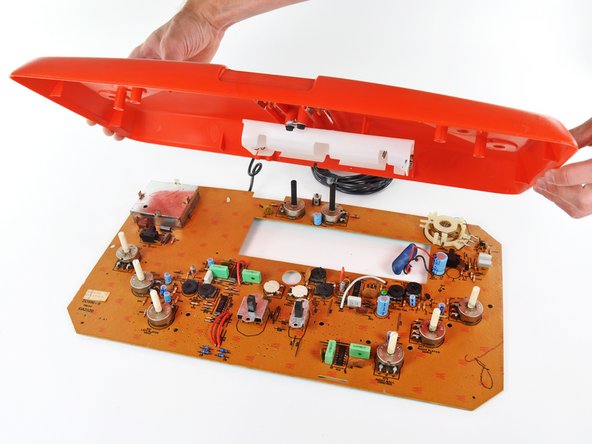

– The back of the board is pretty simple, thanks to the use of through-hole components.
– A couple of hex-head screws are doing a solid job of keeping the board securely attached to the upper case. Looks like Magnavox really didn’t want it going anywhere!
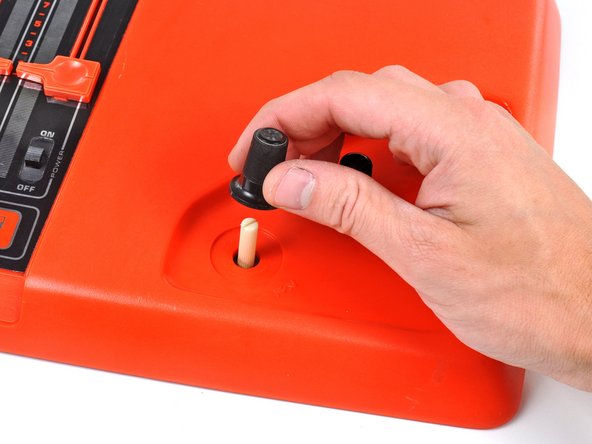
– Once you remove the six control knobs, the upper case comes off the board without a hitch.
Step 6

– This board is pretty unique because it uses a single layer of conductive traces to connect all the components—think of it as a one-layer highway for signals. Compared to modern circuit boards that can have up to eight layers, this design is a throwback with a lot of character. The main components you’ll notice include a RF modulator, a buzzer, and a set of Texas Instruments ICs. These 16-pin DIP chips are quite different from TI’s OMAP 3630 processor found in some other devices, but they still pack a punch. As you work through the repair, keep an eye on these interesting parts—it’s a great way to learn how simpler, single-layer boards operate.
Step 7

– Fun fact: the Odyssey 100 used separate circuitry. Although Magnavox had a plan for a single-chip setup for the Odyssey 100, they wanted to get the device out the door quickly—even if Texas Instruments didn’t deliver the chips on time. That single-chip upgrade would later be a cool feature in the Odyssey 200. So, when working on this, keep in mind the tech was evolving, and sometimes, flexibility pays off. If you need help with your repair, you can always schedule a repair.
The circuit’s straightforward design features plenty of external jumper wires and through-hole components, making it pretty clear how everything connects. It’s like a puzzle with visible pieces, so troubleshooting and repairs are a bit more straightforward. If you need help, you can always schedule a repair.
Step 8

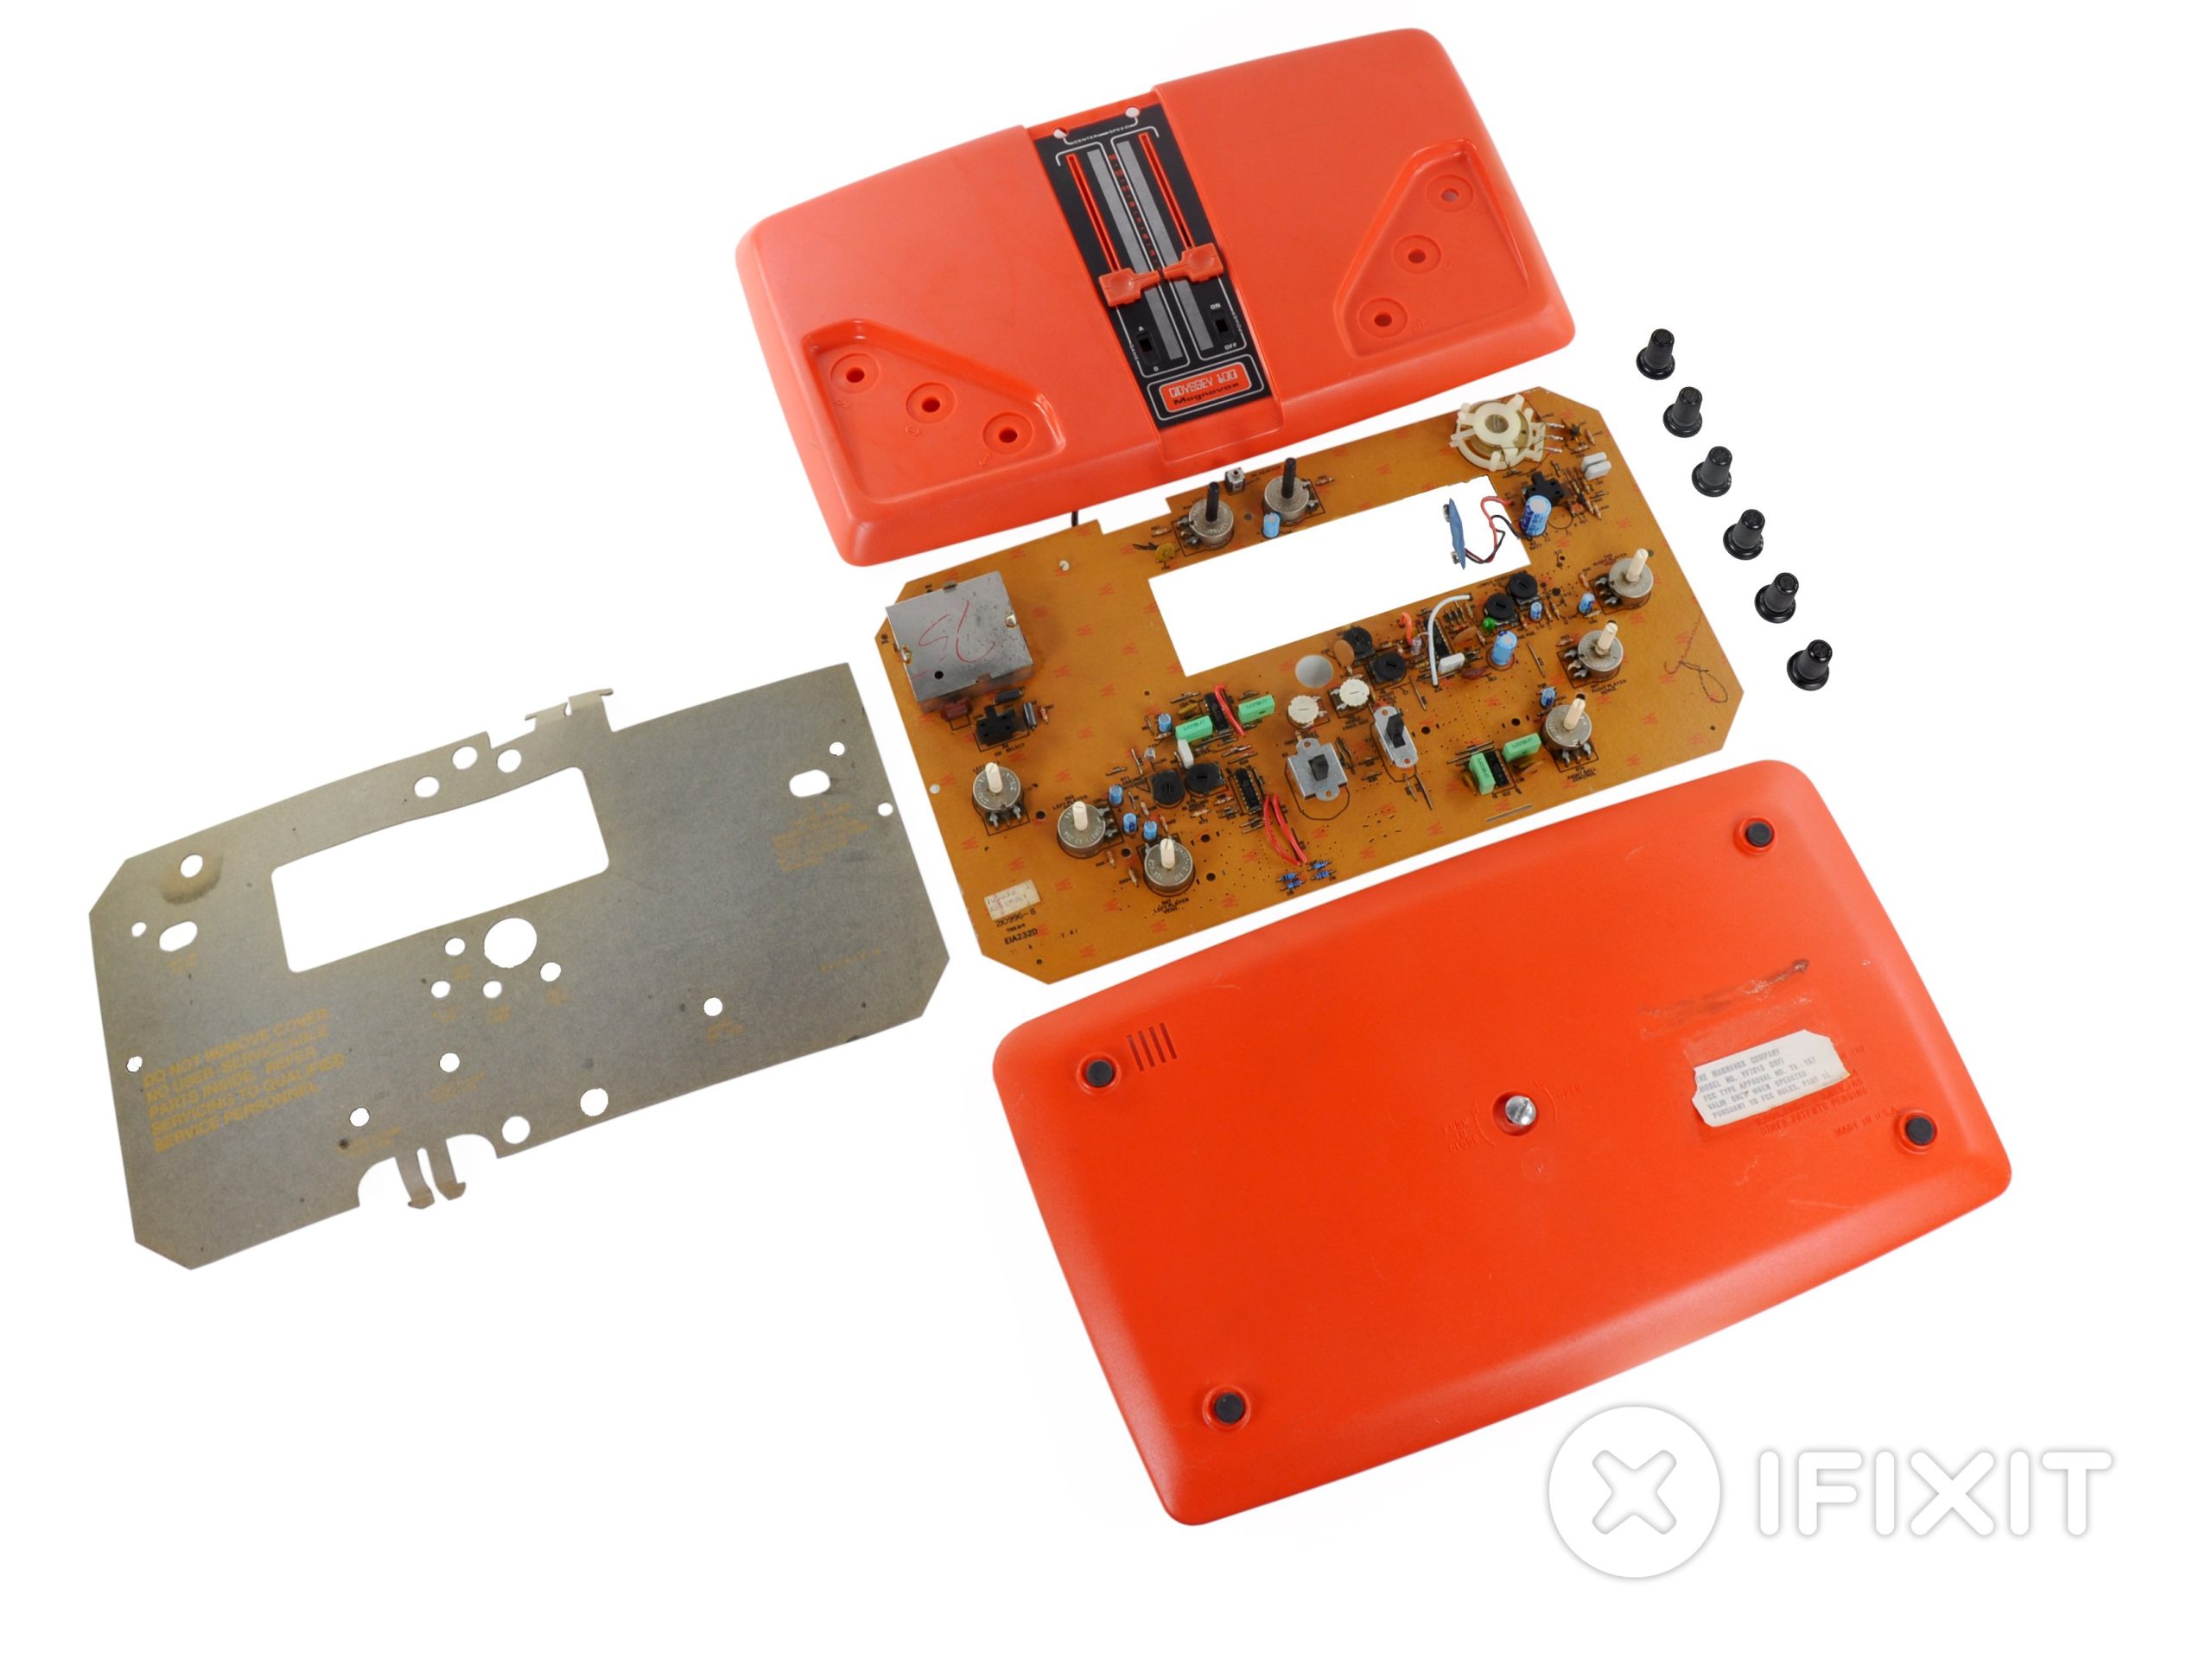
– With just seven straightforward steps, the Odyssey 100 comes apart easily enough to get you back on your way in no time.
– While repair parts for this console aren’t in high demand, we’ve got a brand new store dedicated to keeping your (a little more modern) gaming gear in top shape.
– Stay tuned to our teardown page or blog for a close-up look at another classic game console tomorrow!
Success!