Samsung Galaxy S7 Camera Replacement Guide: Step-by-Step DIY Repair
Duration: 45 minutes
Steps: 4 Steps
The Galaxy S7 comes in a variety of flavors, and identifying the right rear camera for your specific model is crucial. In this guide, we’ll help you figure out exactly which camera you need for your repair. Pick the wrong one and you’ll end up with a frustrating ‘Camera Failed’ message. If you’re stuck, don’t hesitate to schedule a repair for a helping hand!
Step 1


– Left picture shows a Samsung ISOCELL S5K2L1 camera, while the right one features a Sony IMX260. Keep in mind, different versions of the Galaxy S7 come with different camera models — they’re not interchangeable. Swapping in the wrong camera will trigger a ‘Camera Failed’ message on your device. Be sure to match the camera type correctly when replacing to keep everything running smoothly. If you need help, you can always schedule a repair.
Step 2


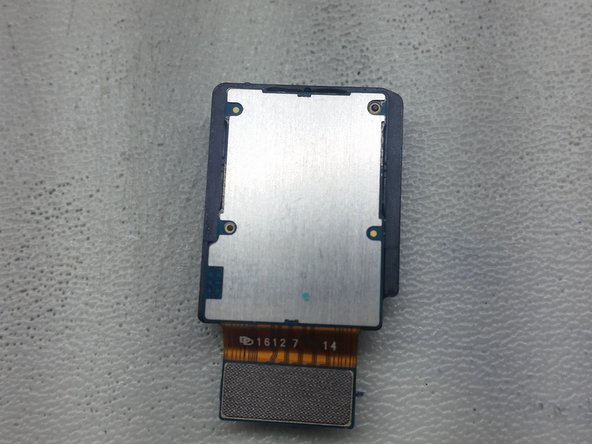
– You’ll know this camera by its mysterious lack of any brand markings—no logos here!
– Look for the flex cable with a distinct green color hanging out near the connector.
Step 3

– Look for the ‘Sony’ label stamped right on the flex cable—yep, that’s your camera!
– You’ll spot a blue flex cable near the connector—another giveaway that you’re on the right track.
Step 4
– Another simple way to figure out what you’re working with, without having to crack open the device, is by using an app.
– You can grab AIDA64 from the Play Store and get all the details you need.
– Source: schedule a repair
Success!