
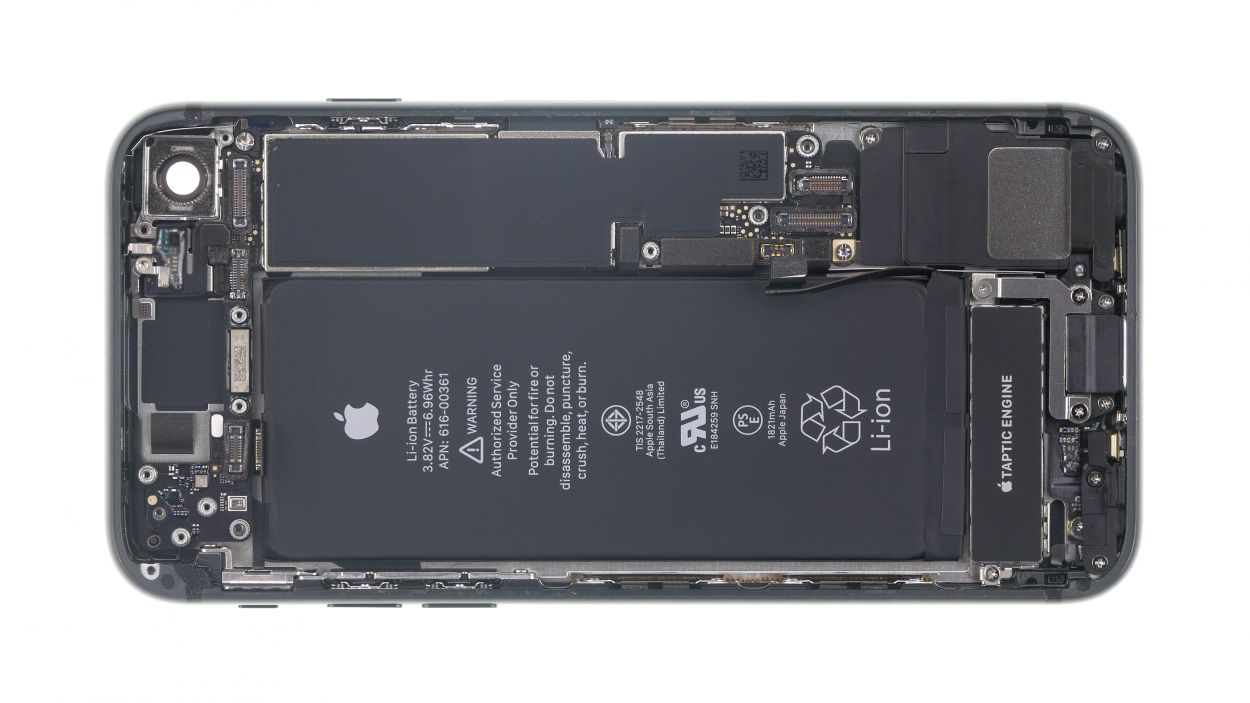
DIY Guide to Replace Volume Control Cable iPhone SE (2020)
Duration: 120 min.
Steps: 36 Steps
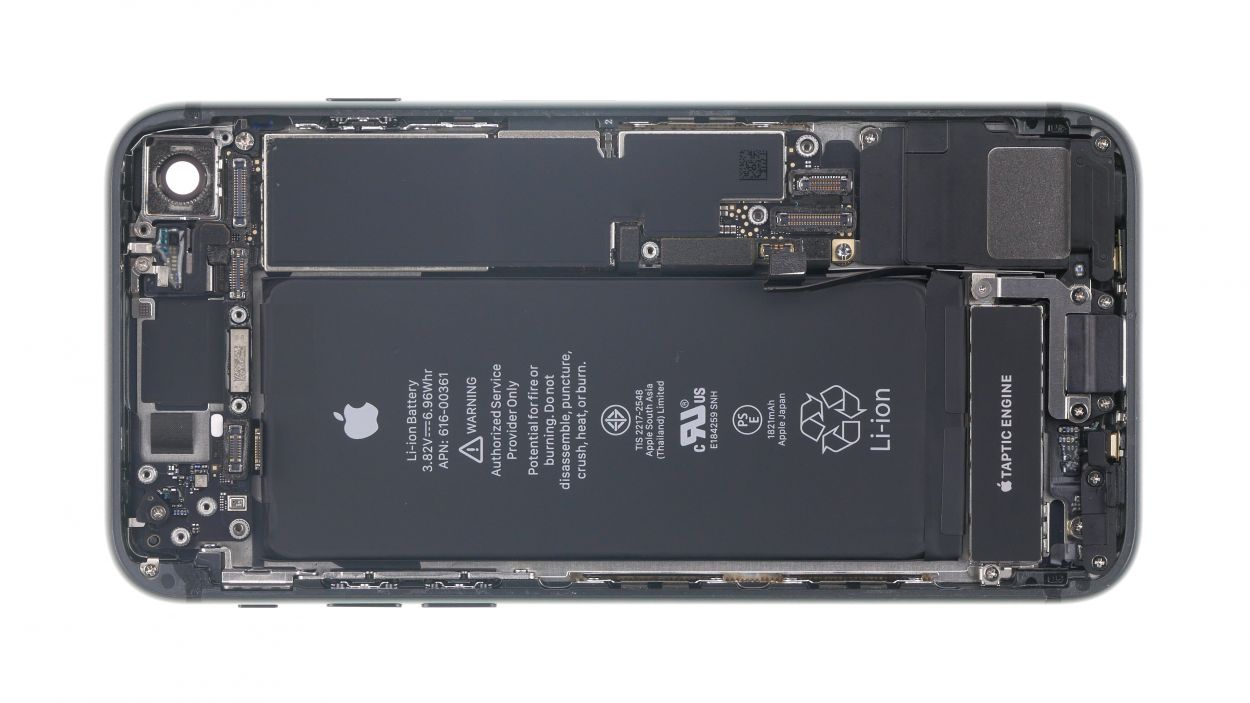
Even if your iPhone’s mute button or flashlight is having a rough time, don’t fret! It’s still important to swap out that volume control cable because these components are all linked to the same cable. You’ll find all the nitty-gritty details of the replacement process in this handy photo guide. We’ve used images from the iPhone 8 repair manual since both devices are nearly identical in design and the repair steps are pretty much the same. So, no worries there! Good luck with replacing your volume control cable, and remember, you got this! If you need extra help, feel free to schedule a repair!
Step 1

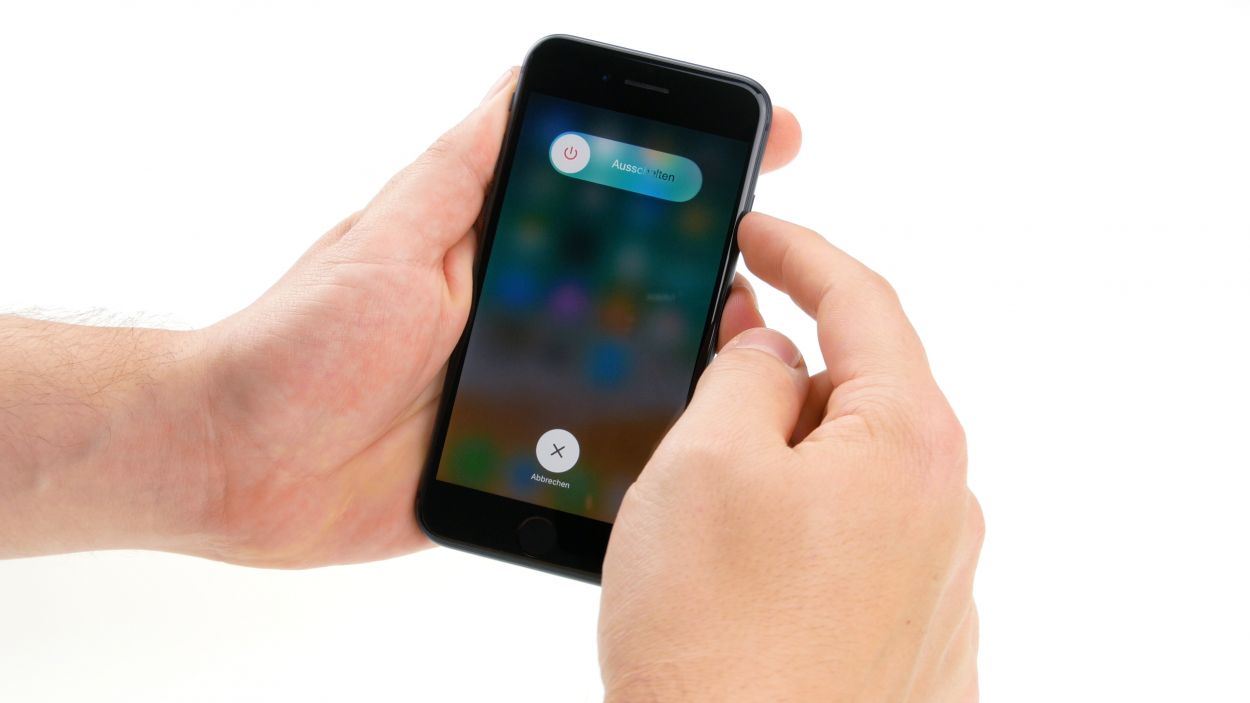
– First things first, let’s give your iPhone SE (2nd generation) a little break! Press and hold that standby button until the ‘Power off’ slider pops up. We want to keep your device safe while we work our magic.
– Now, just swipe that slider from left to right. In about ten seconds, your iPhone will be completely off and ready for the repair action!
Step 2
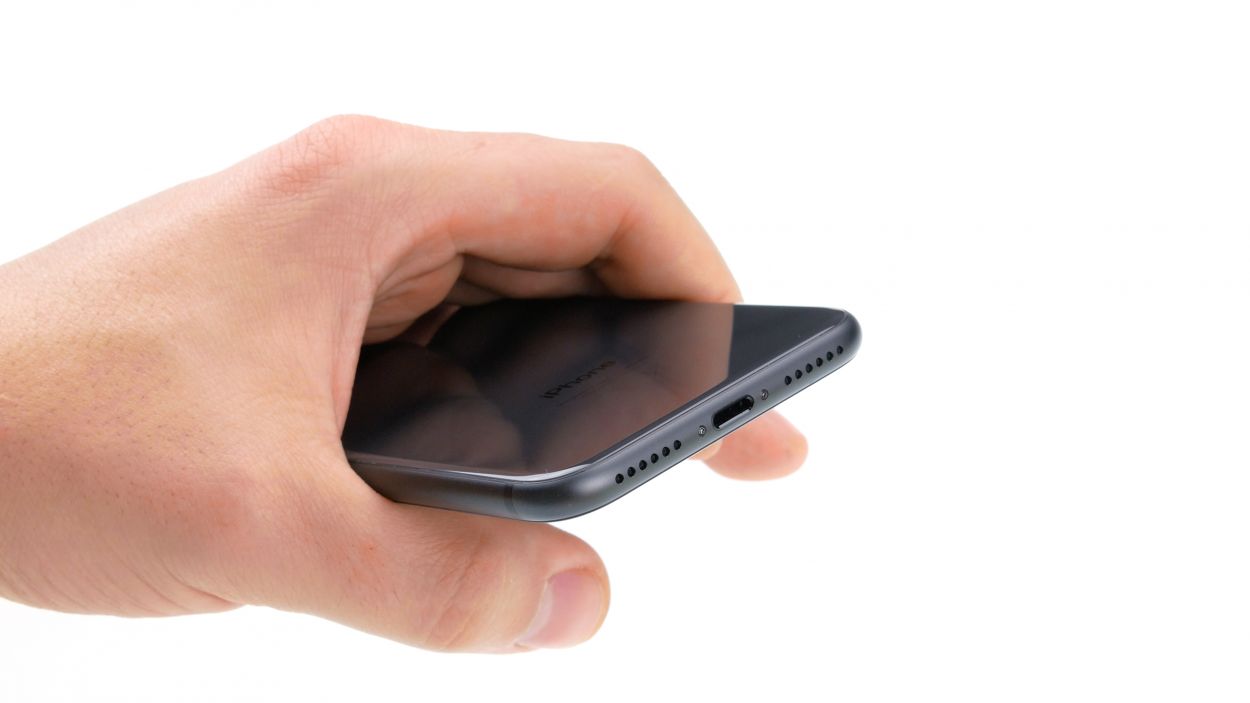
– Grab your trusty Pentalobe screwdriver and let’s tackle those two Pentalobe screws sitting pretty on either side of the Lightning connector. Once you’ve got them out, toss those little guys into your screw storage box so they don’t go wandering off!
2 × 3.4 mm Pentablobe
To keep track of all those tiny screws and parts you’re about to liberate from your device, snag yourself a screw storage box! An old sewing box can work wonders for this purpose. We also love using a nifty magnetic pad where you can lay out everything just like you found it in your phone. This way, you’ll know exactly where each little screw belongs, making reassembly a breeze!
Step 3
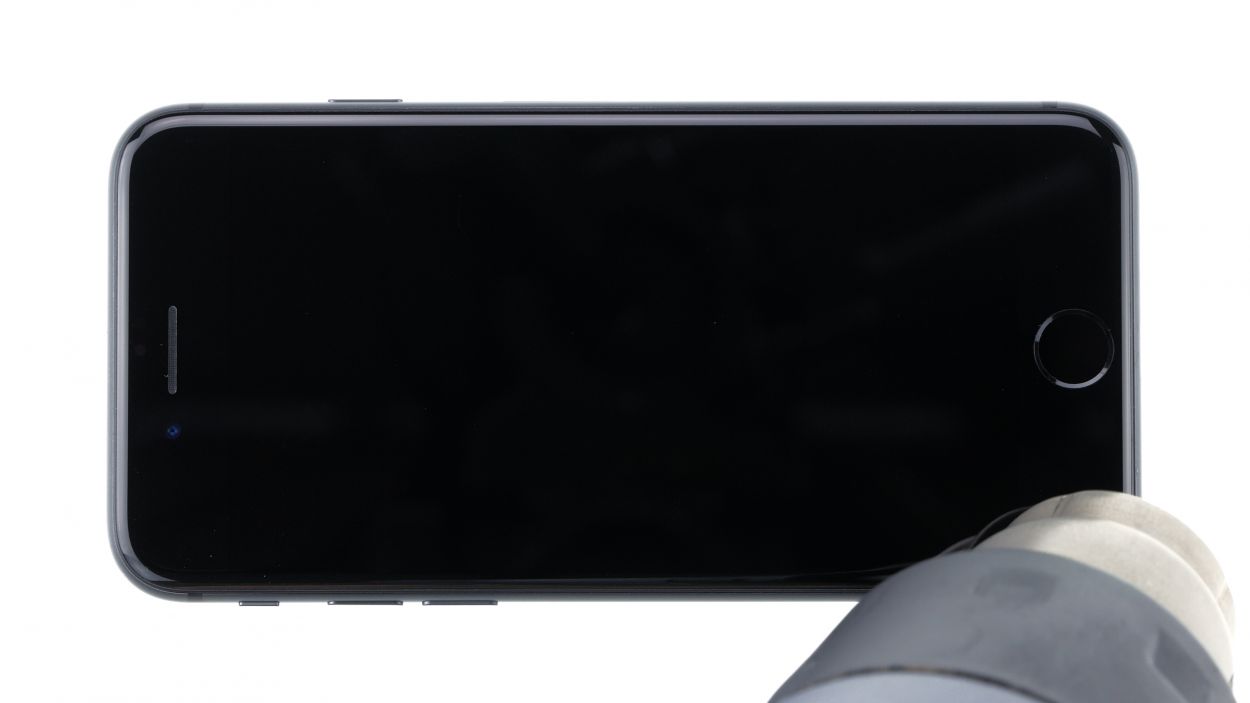
When warming up your device, keep it cozy! You should be able to touch it without feeling like you’re holding a hot potato.
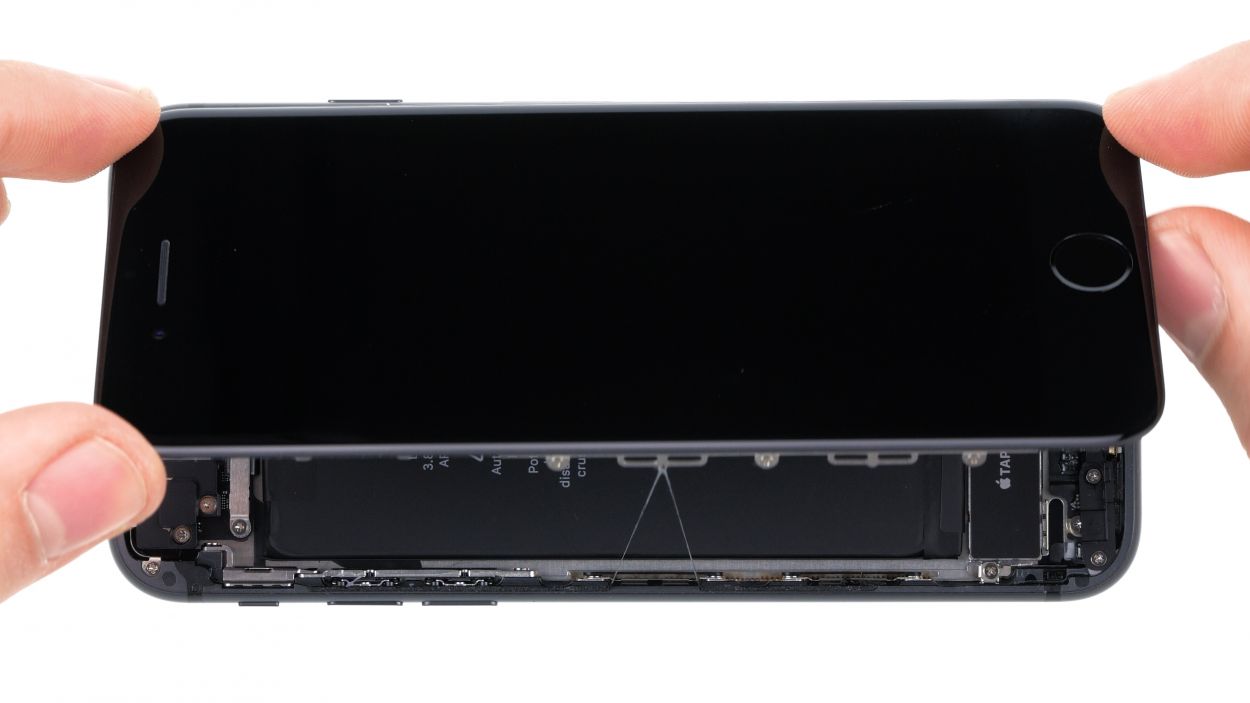
– To kick things off, gently lay your iPhone SE on a soft, clean surface. This way, you’ll keep it scratch-free while you work on lifting that display!
– Now, since the display is glued down nice and snug, we need to warm it up a bit to make it easier to pop off. Grab a heat gun or a trusty hairdryer and wave it over the edge of the display from the outside. Just make sure to keep it moving so it doesn’t get too hot!
Tools Used
- heat gun to heat parts that are glued on so they’re easier to remove.
In most cases, you can also use a hairdryer.” rel=”noopener”>Heat gun
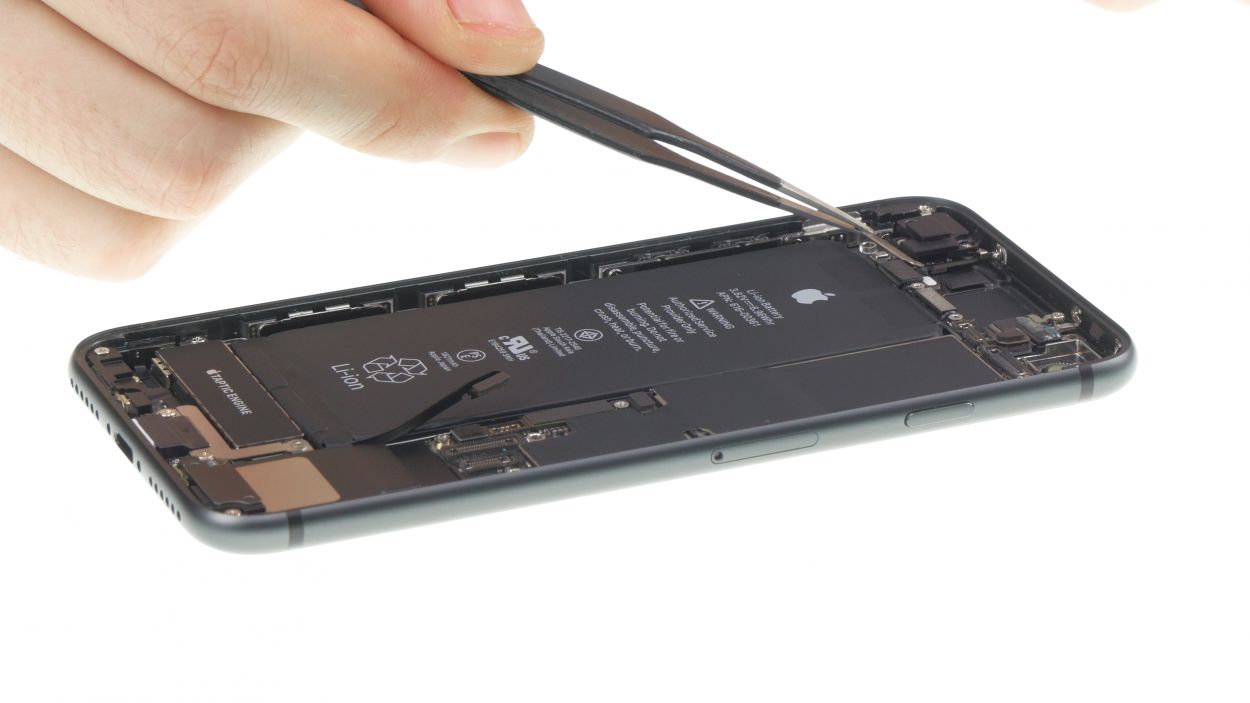
Step 4
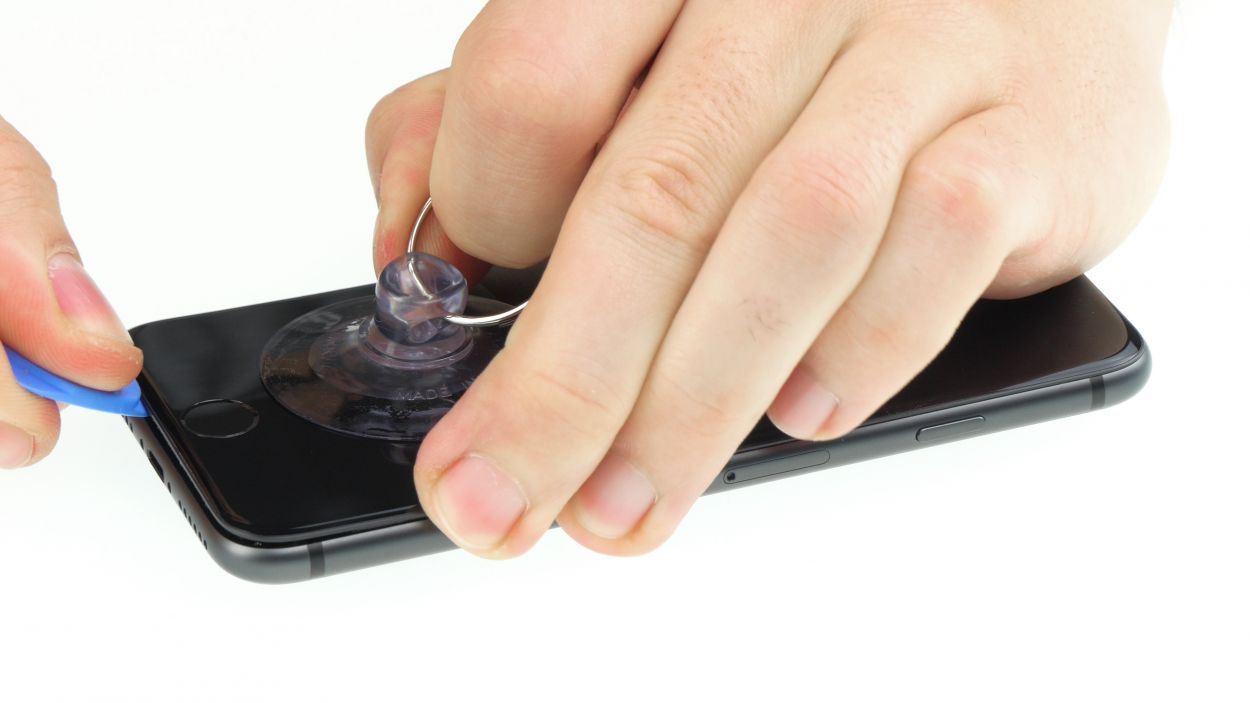

– Give that suction cup a warm hug right above the home button and pull it up gently. As you lift the display screen, you’ll create a snug little gap between the aluminum and display frames. You’re doing great!
Opening up your iPhone SE (2nd generation) means waving goodbye to that IP67 dust and splash protection warranty. But hey, you’re about to do something awesome!
Tools Used
Step 5
Keep that display opening to a cool 180° max while it’s still connected! Going beyond that might lead to some flex cable drama. Let’s keep it fun and functional!
Step 6


– Grab your Phillips screwdriver and loosen those four screws holding the contact cover like a champ! Once they’re out, gently lift that cover out of your device using tweezers—you’re doing great!
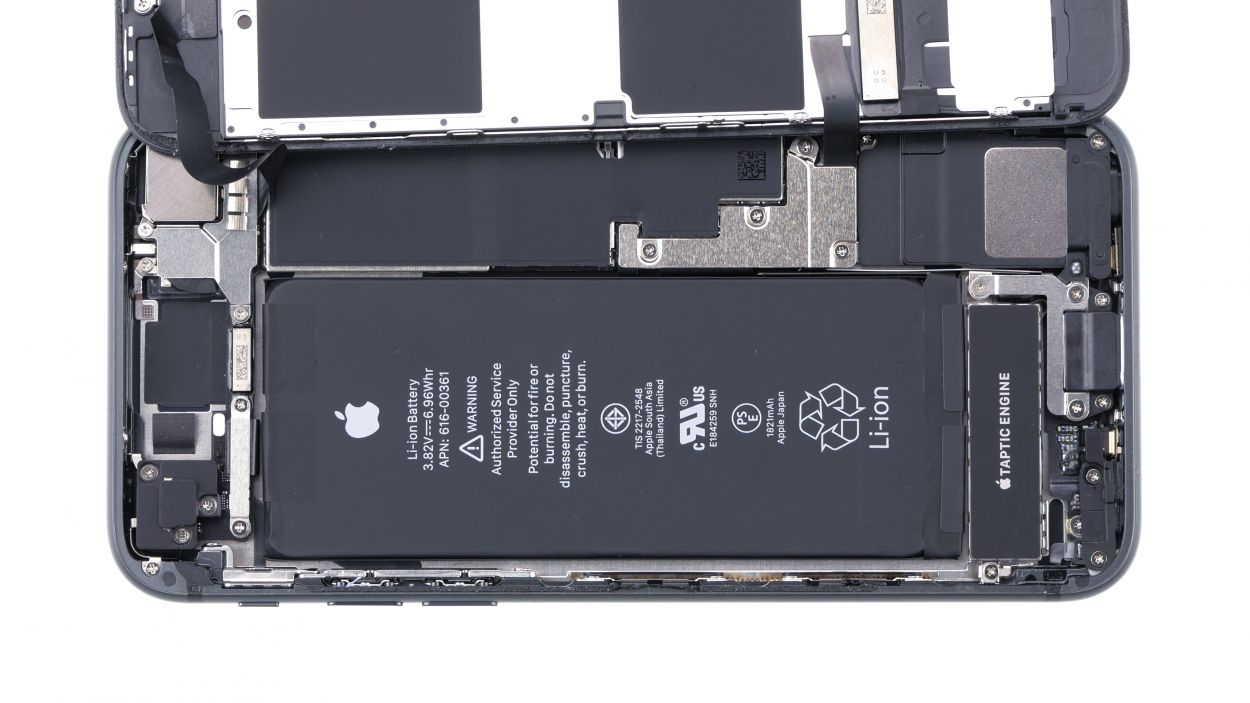
– Next up, it’s time to disconnect the battery contact. Take a plastic spudger and slide it underneath the plug, lifting it off with care. Remember, we always go for the plastic spudger to keep things safe!
2 × 2.6 mm Phillips
2 × 1.0 mm Phillips
Right off the bat, let’s disconnect that battery connector! This little move not only keeps short circuits at bay, but it also makes sure your phone doesn’t accidentally wake up while you’re in the zone. Safety first, repair hero!
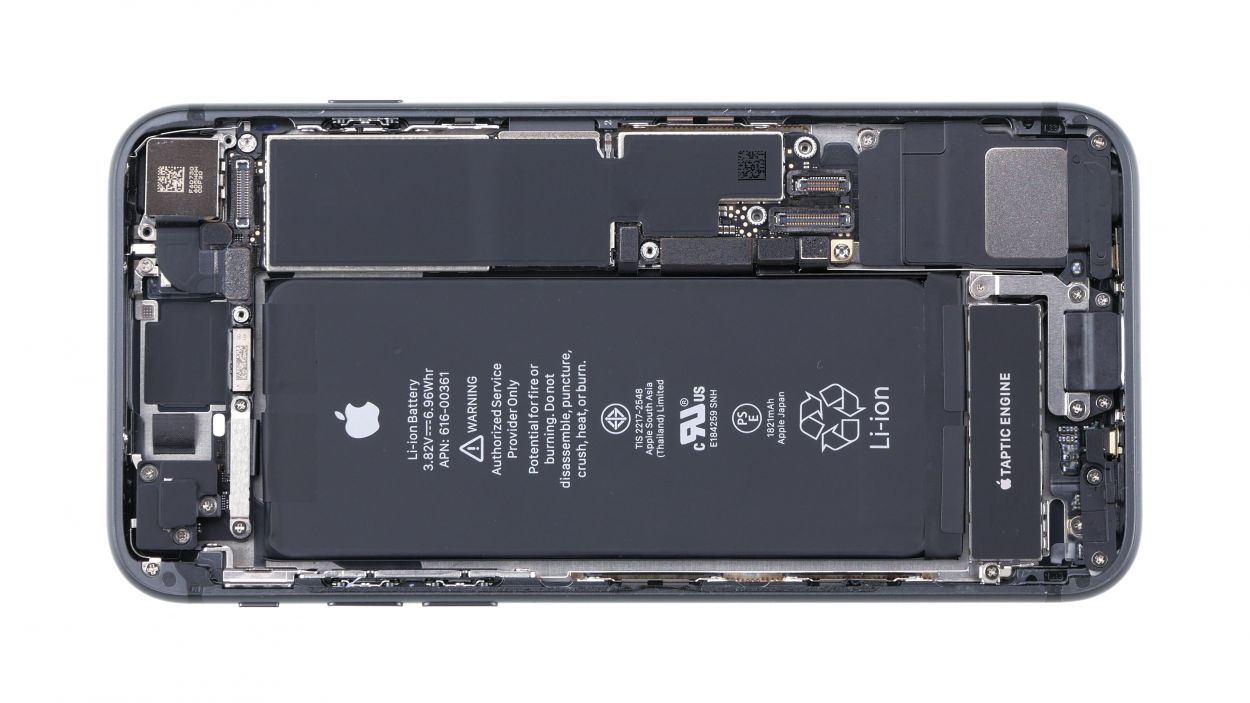
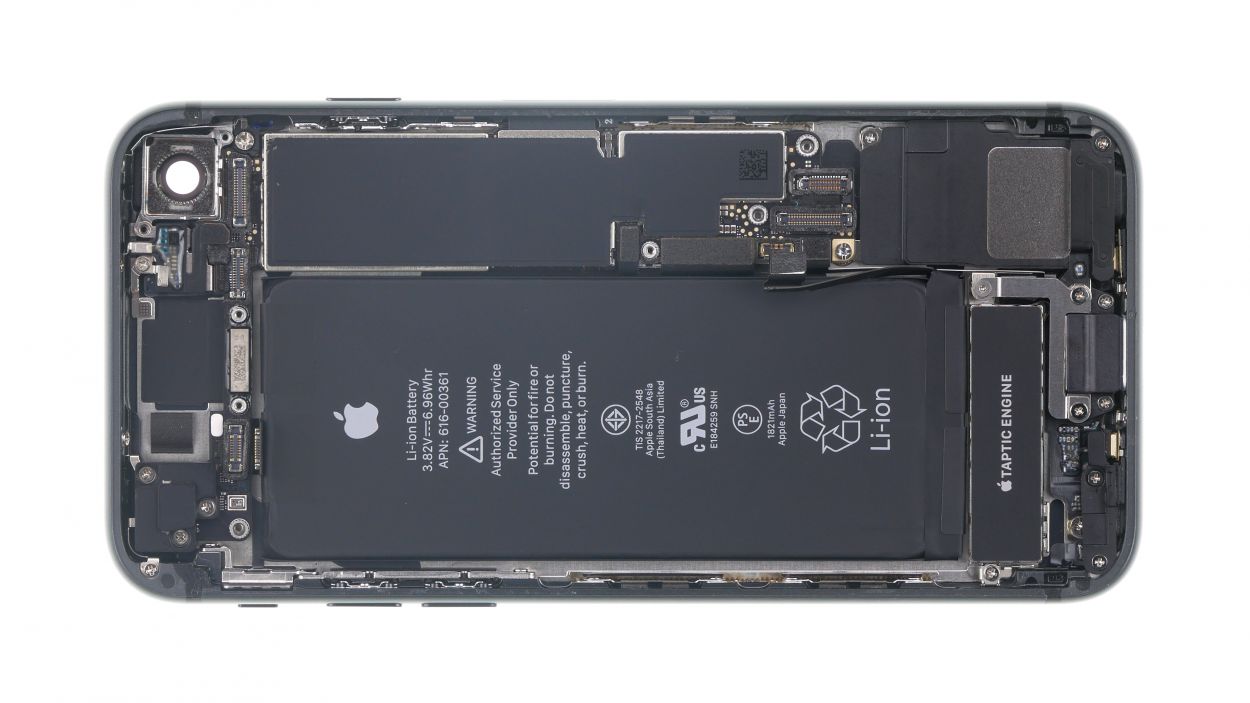
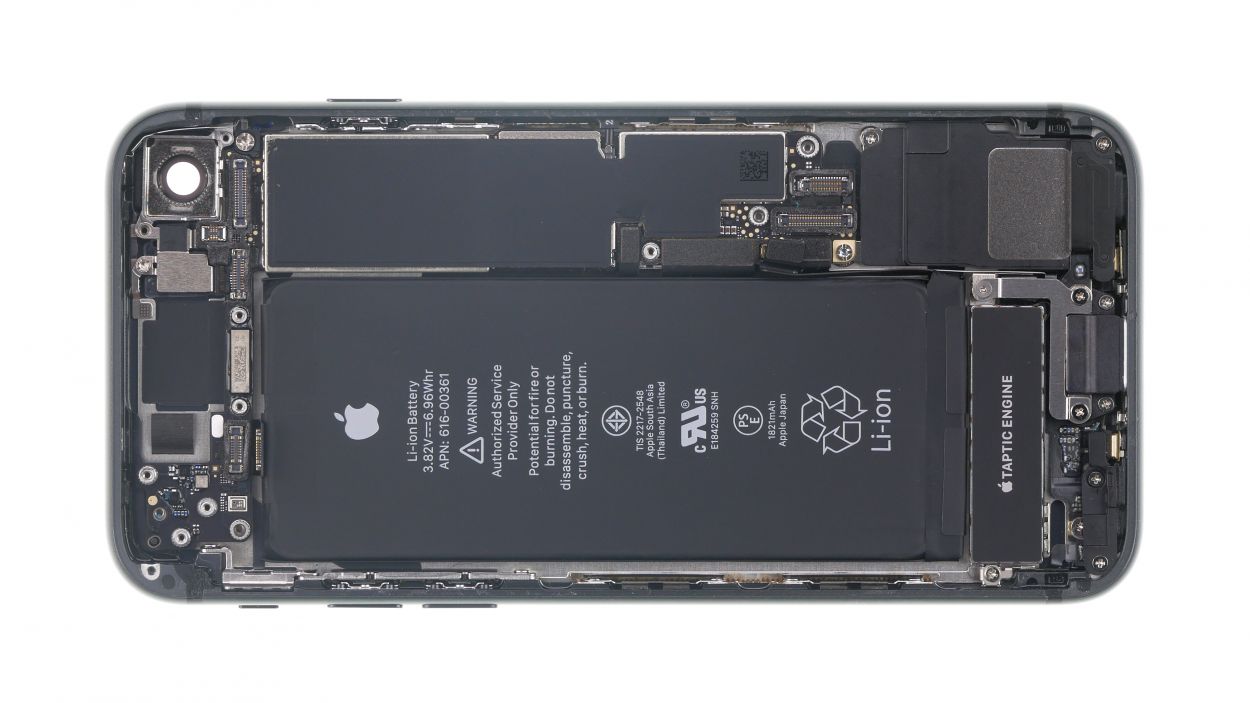
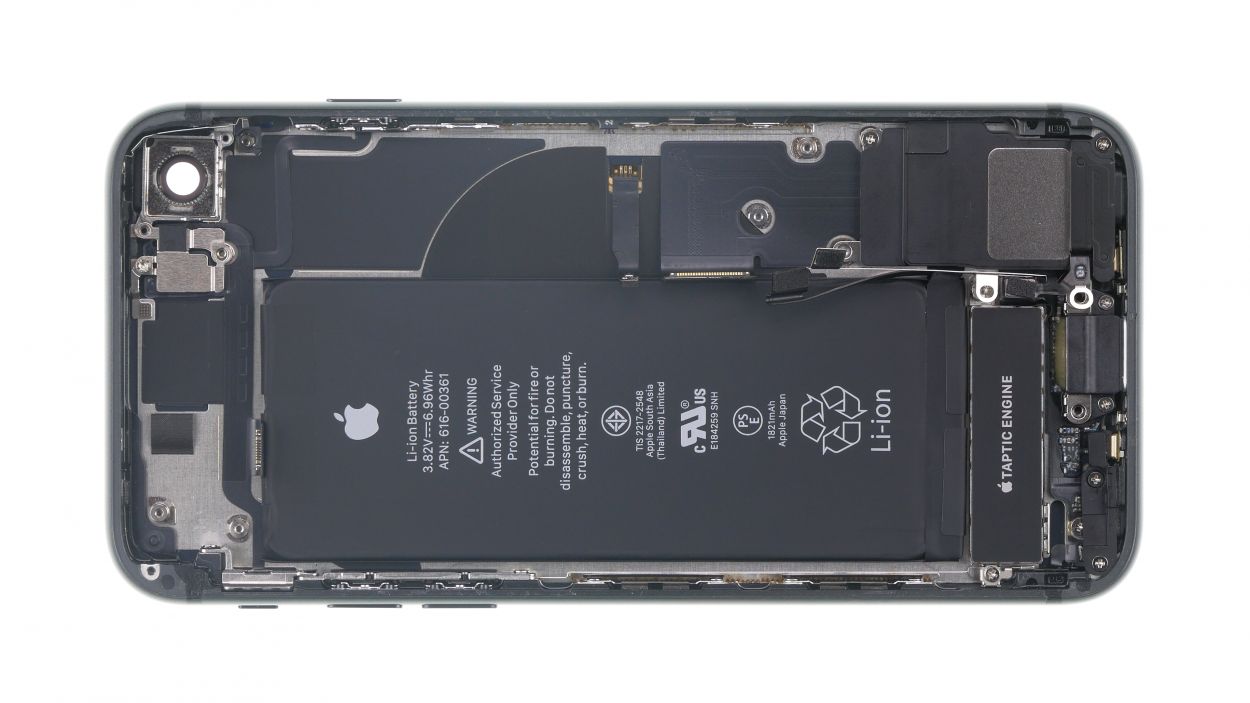
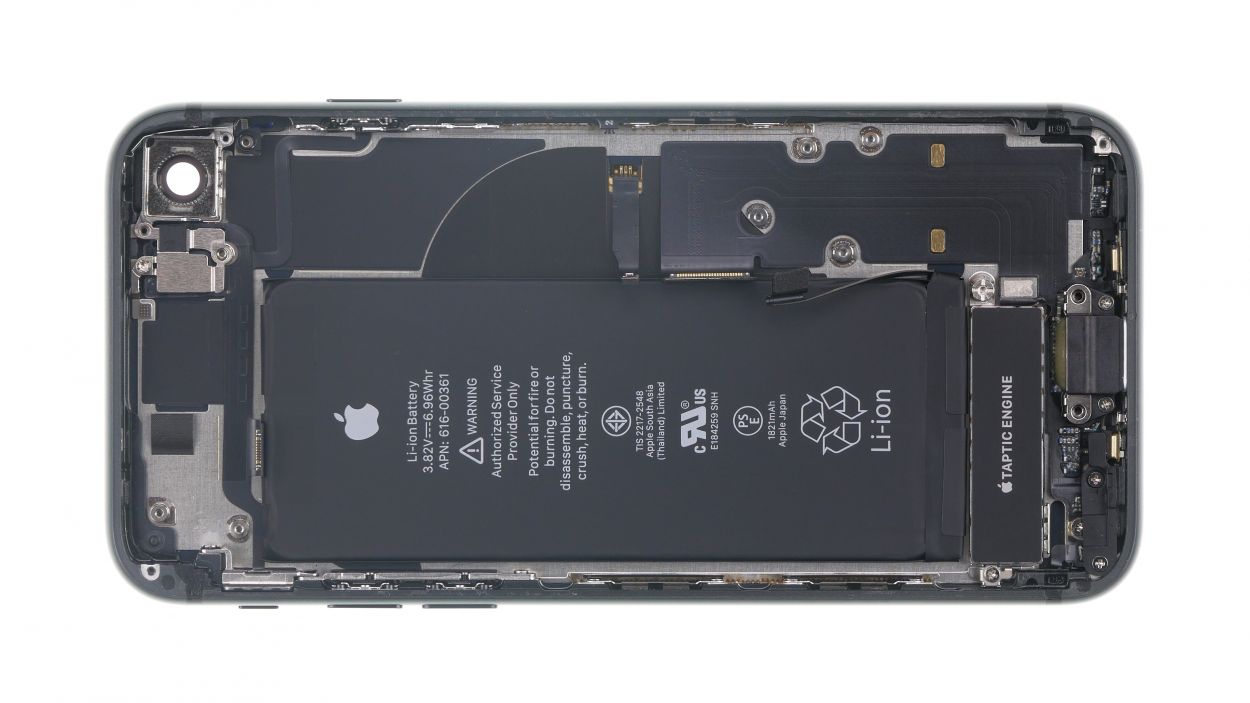
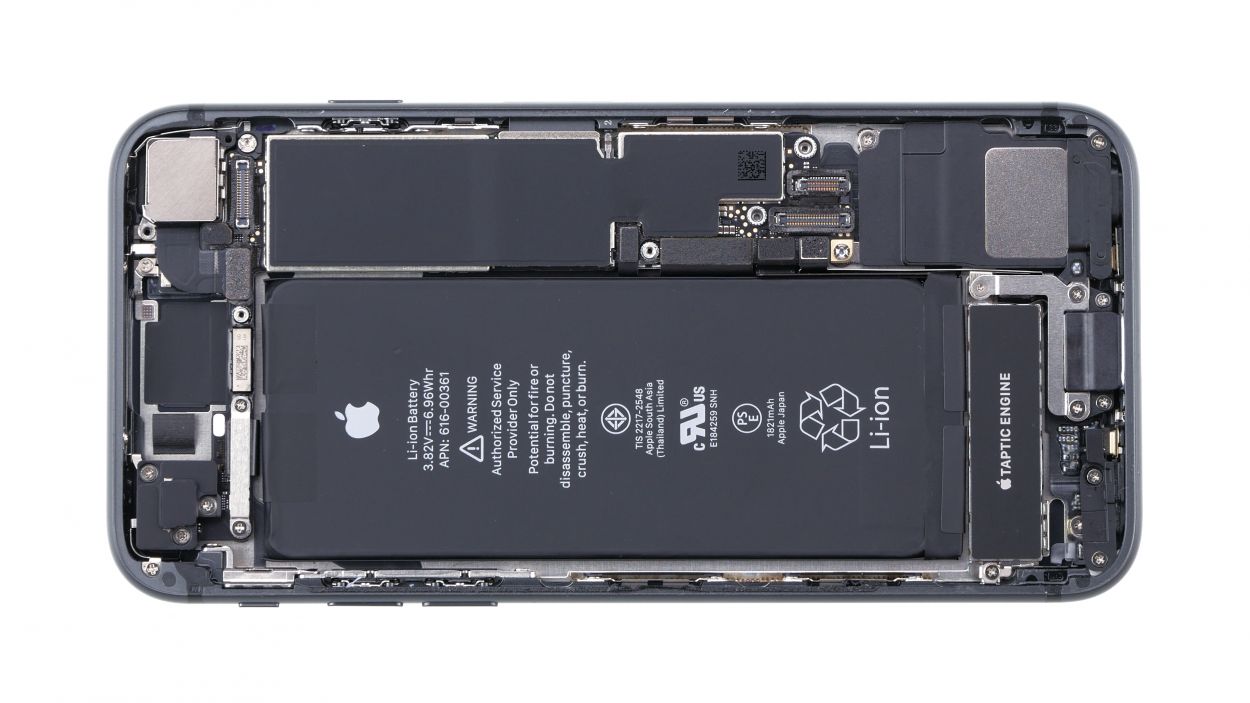
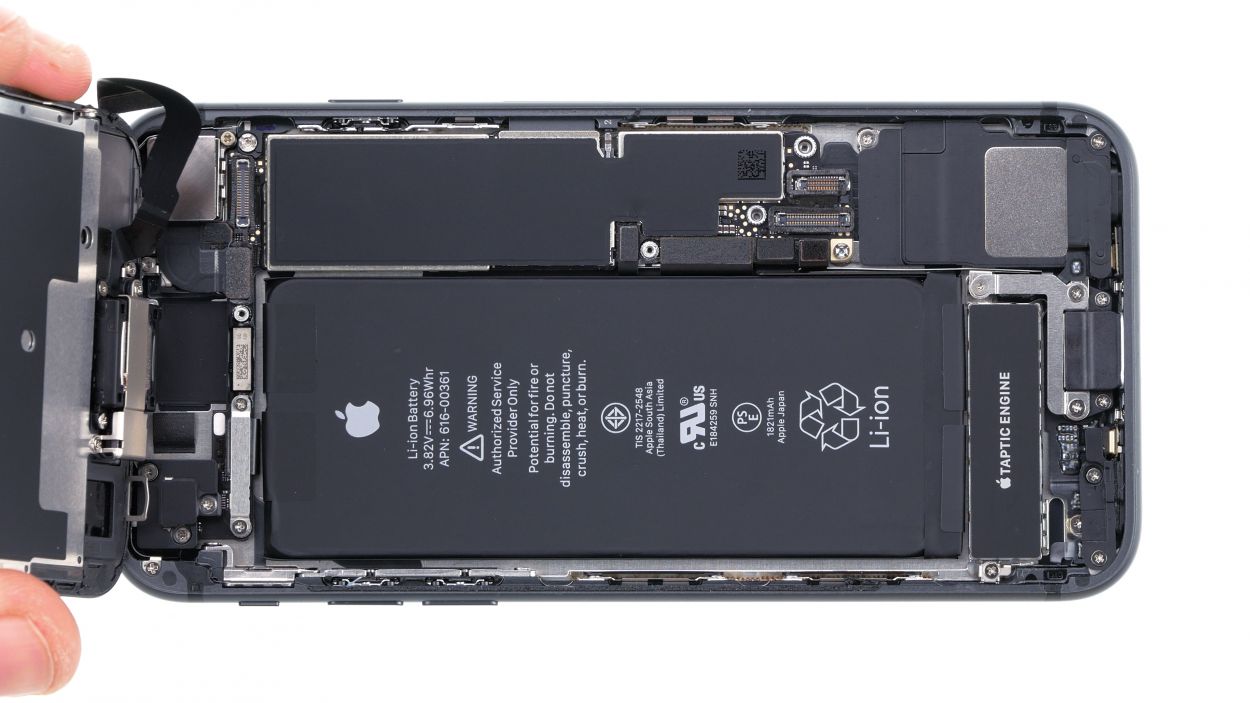
In this guide, we’re rocking some iPhone 8 photos! The battery connector might have a slightly different vibe on the iPhone SE (2nd generation), but don’t worry—it’s still hanging out in the same spot in the device.
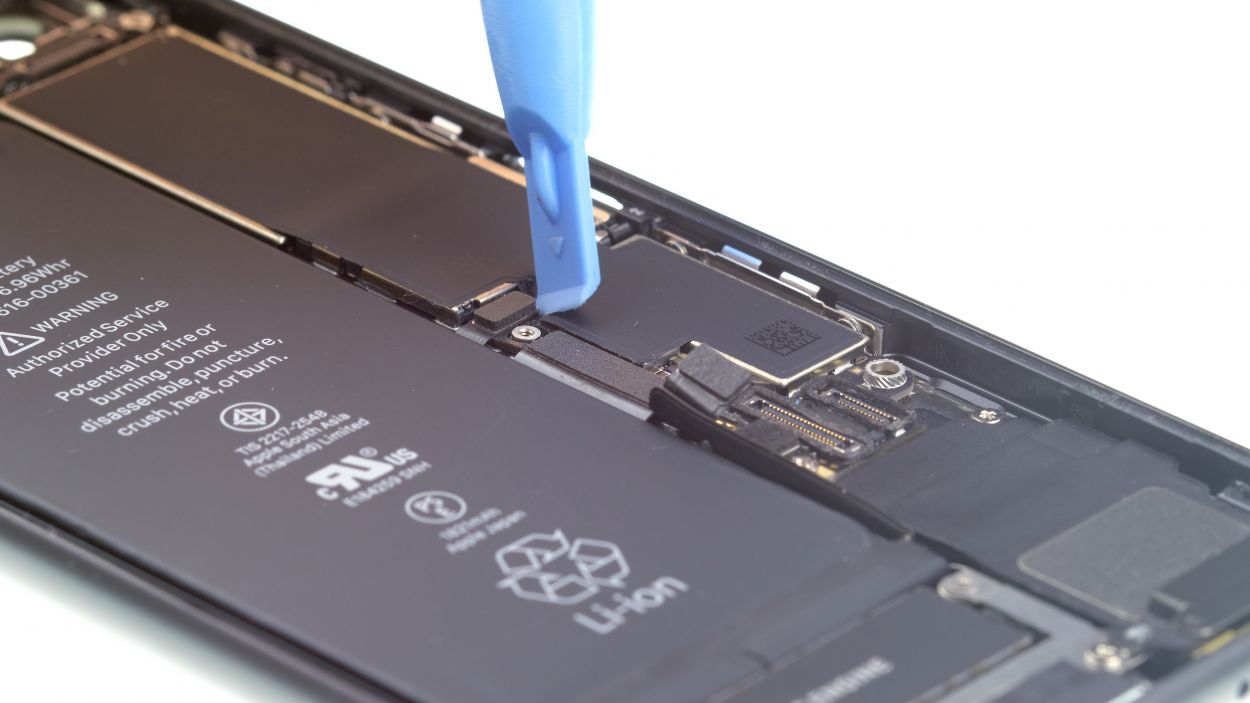
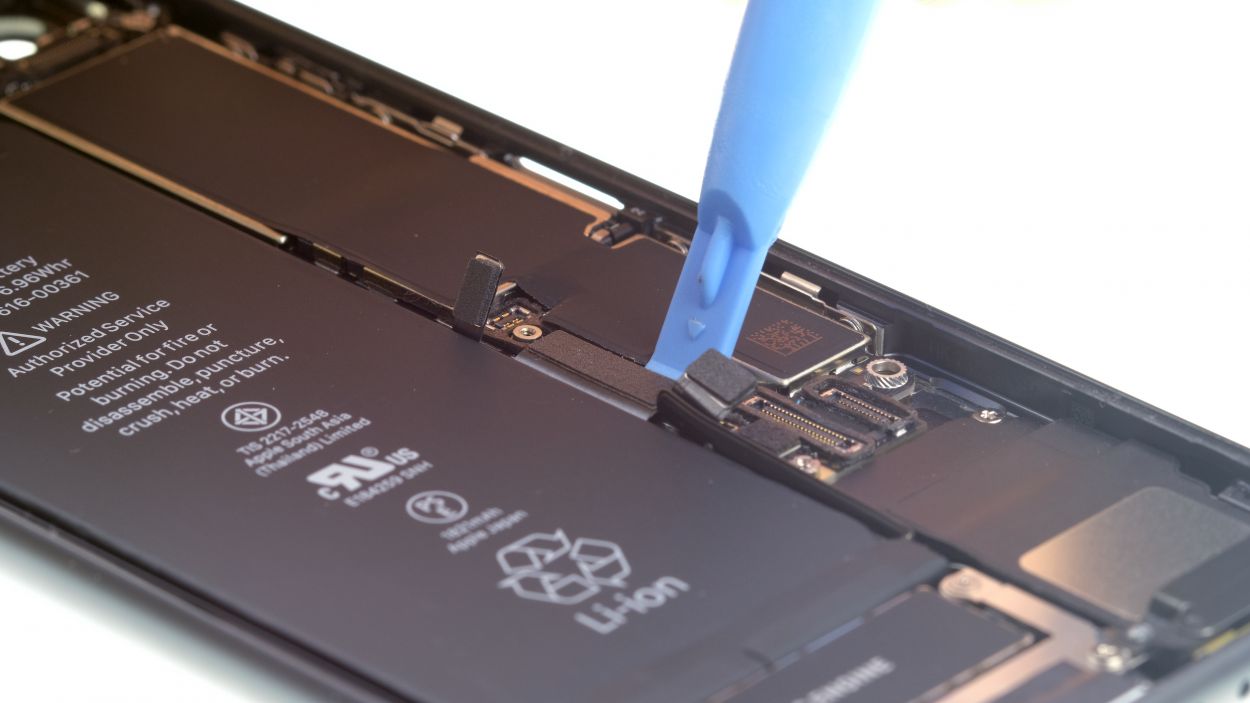
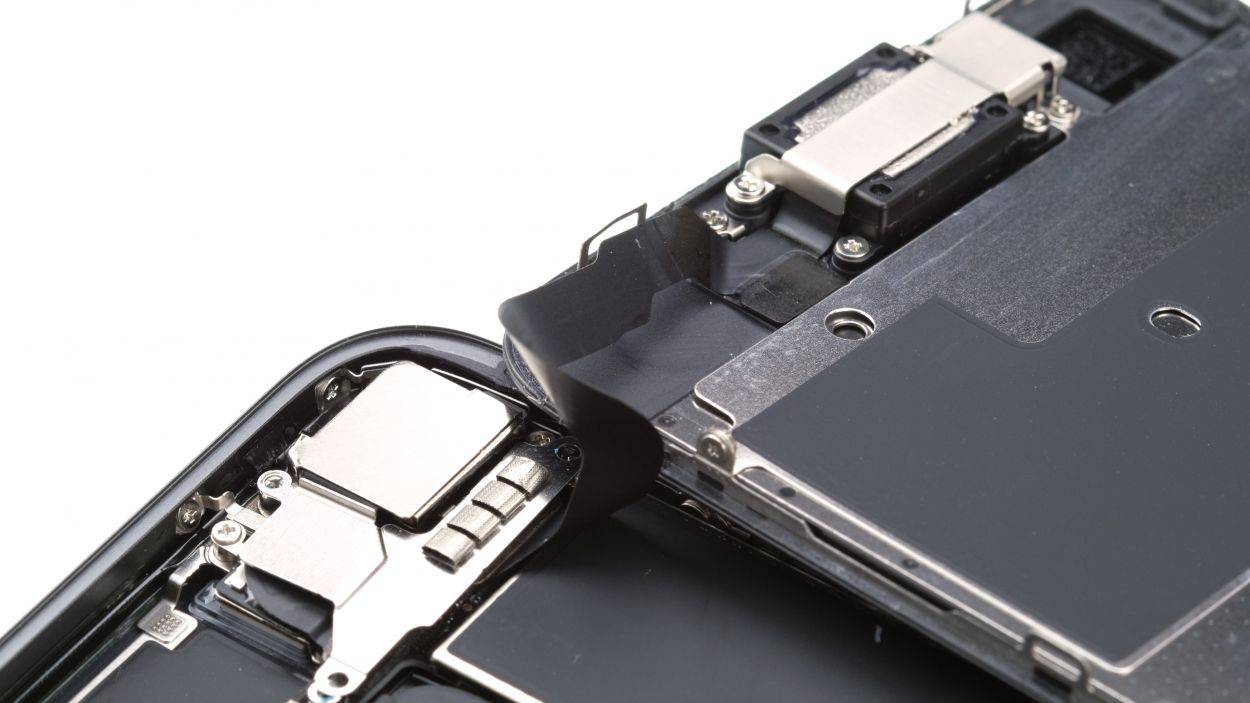
Step 7


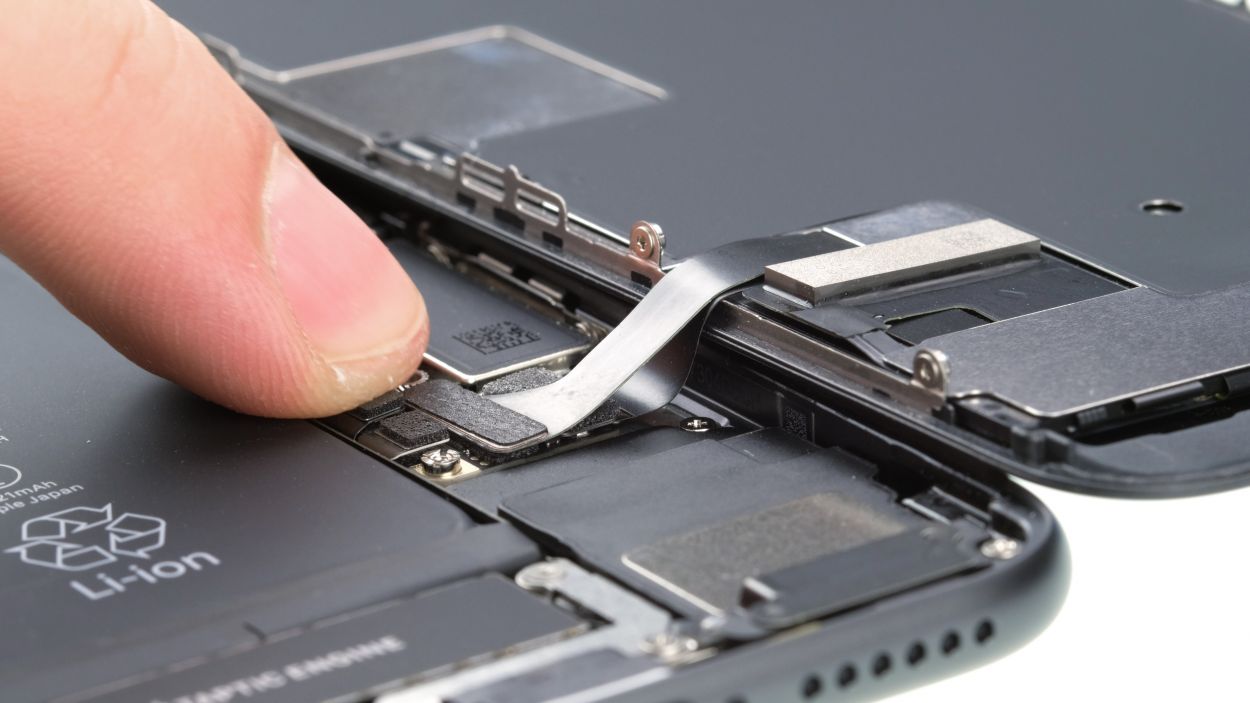
– With your trusty plastic spudger in hand, give a gentle nudge to the two connectors that are cozying up to the display (that’s the display and home button). You’re almost there!
Tools Used
Step 8


3 × 1.0 mm Phillips
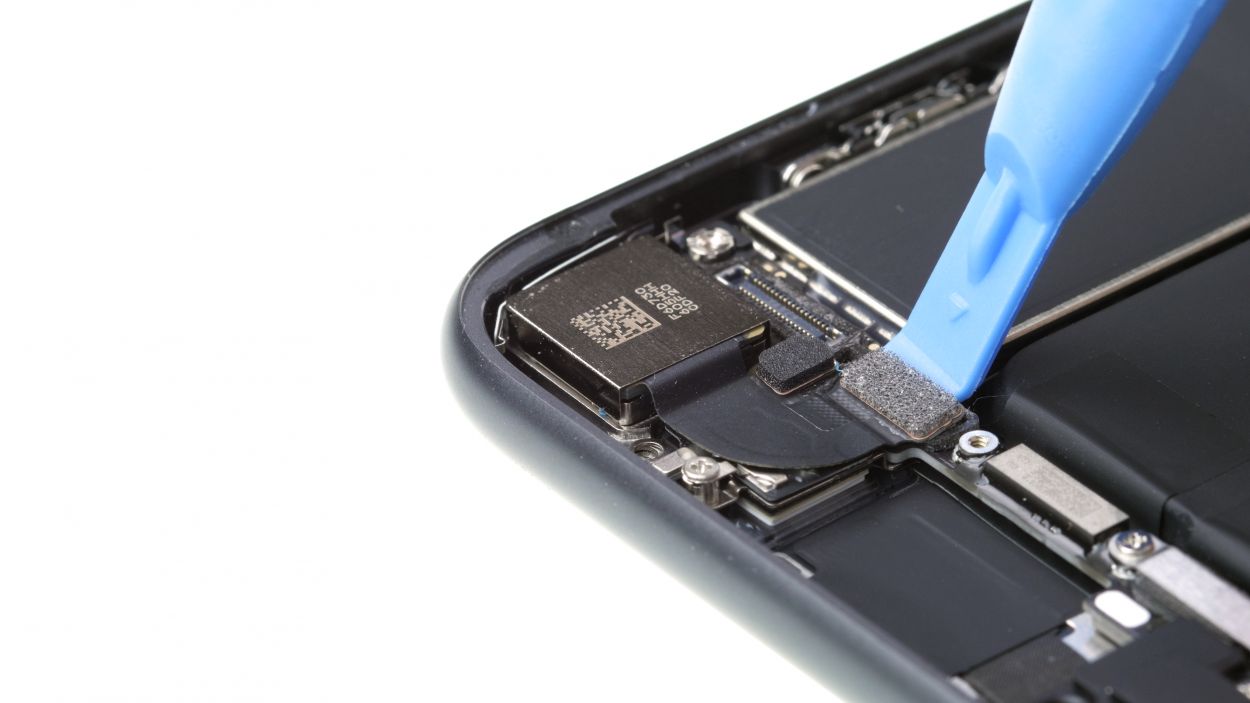
– Grab your Phillips screwdriver (PH00) and give those three screws a little twist to loosen them up. This will let you pop off the cover over the FaceTime connector.
– Now, take your spudger and gently pry the FaceTime connector away from the board. You’re doing awesome!
– And just like that, you can now lift the display right off. Go you!
Step 9

1 × 2.9 mm Phillips
1 × 3.0 mm Standoff
While there are fancy screwdrivers designed just for those tricky internal thread screws, a regular, slim slotted screwdriver can do the trick too! So grab what you have and let’s get to work!
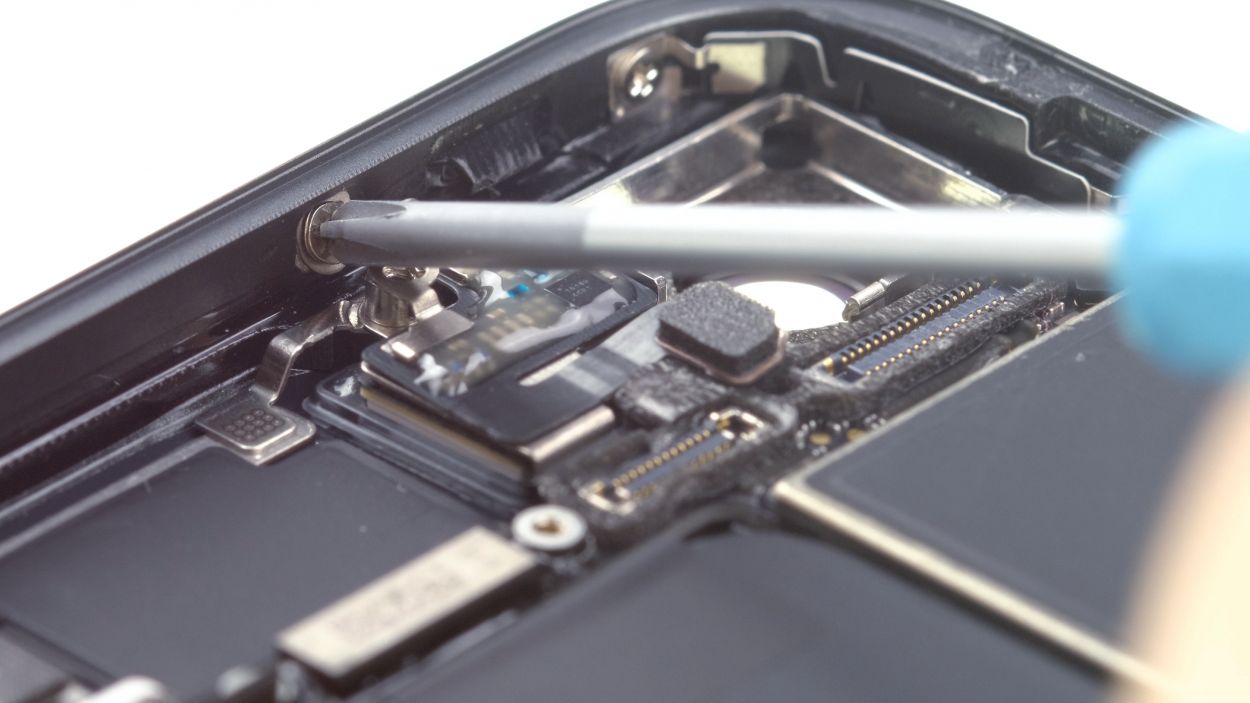
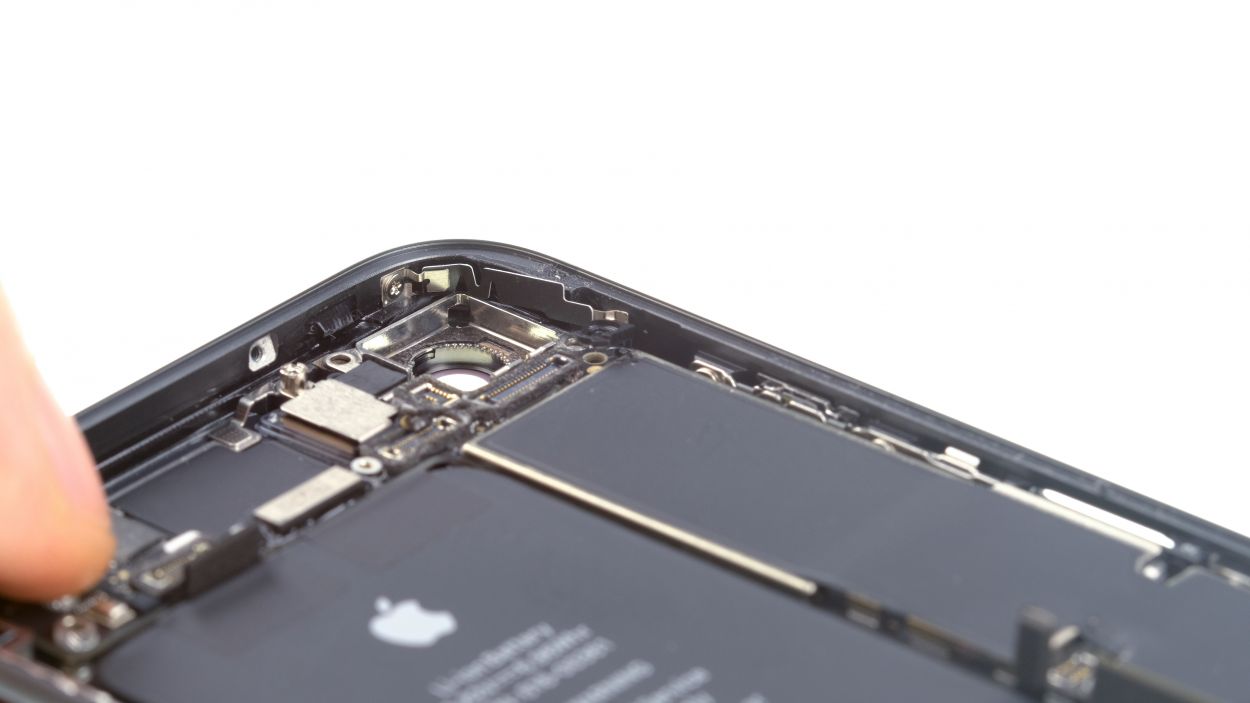
– Unscrew the two screws that hold the iSight camera bracket plate in place, then set that plate aside like a pro.
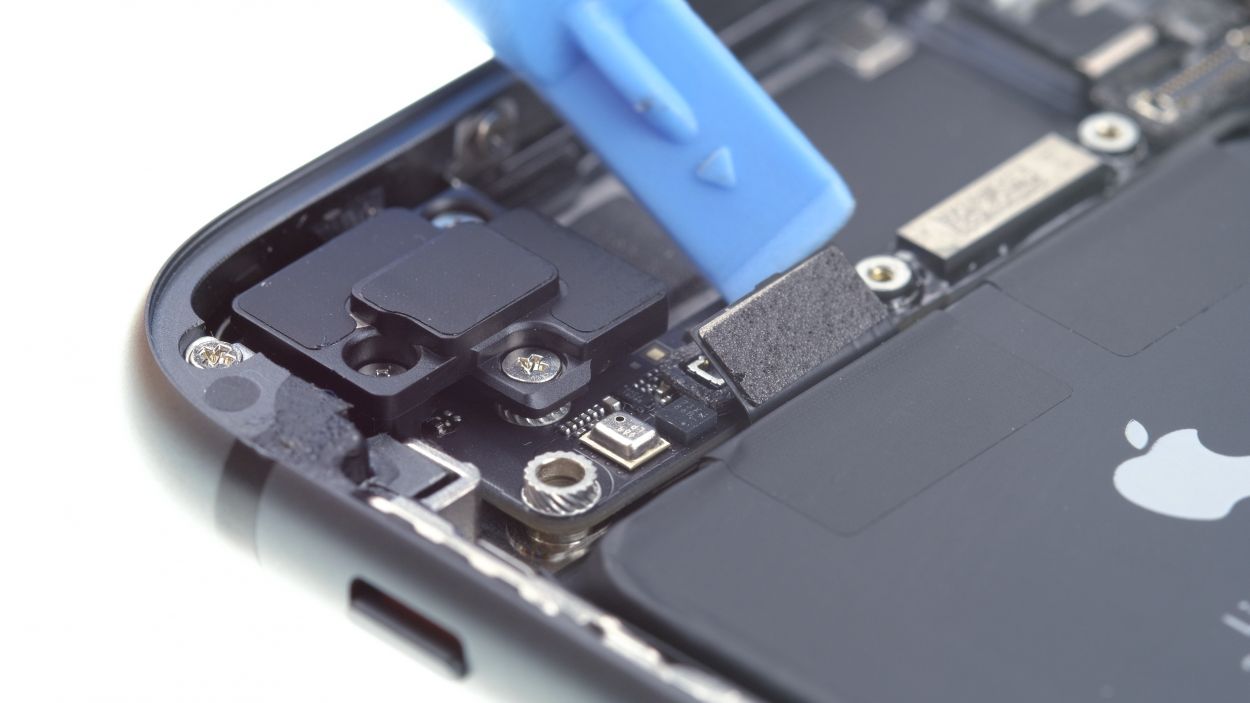
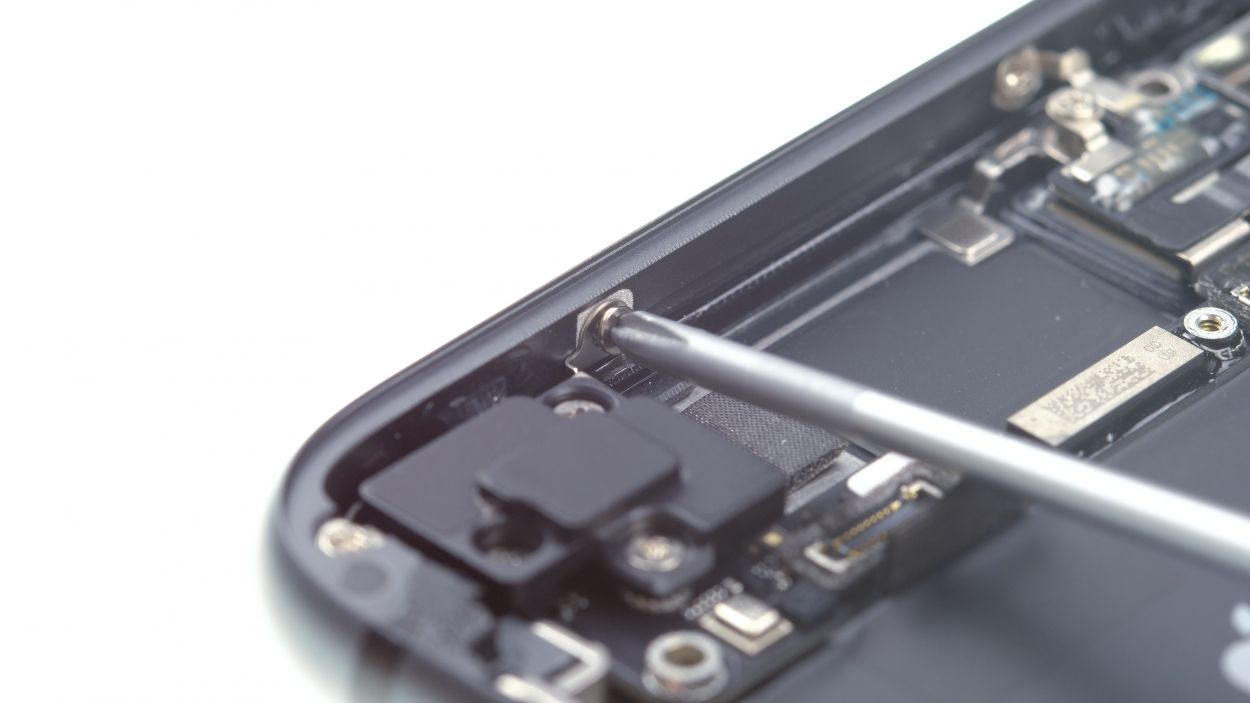
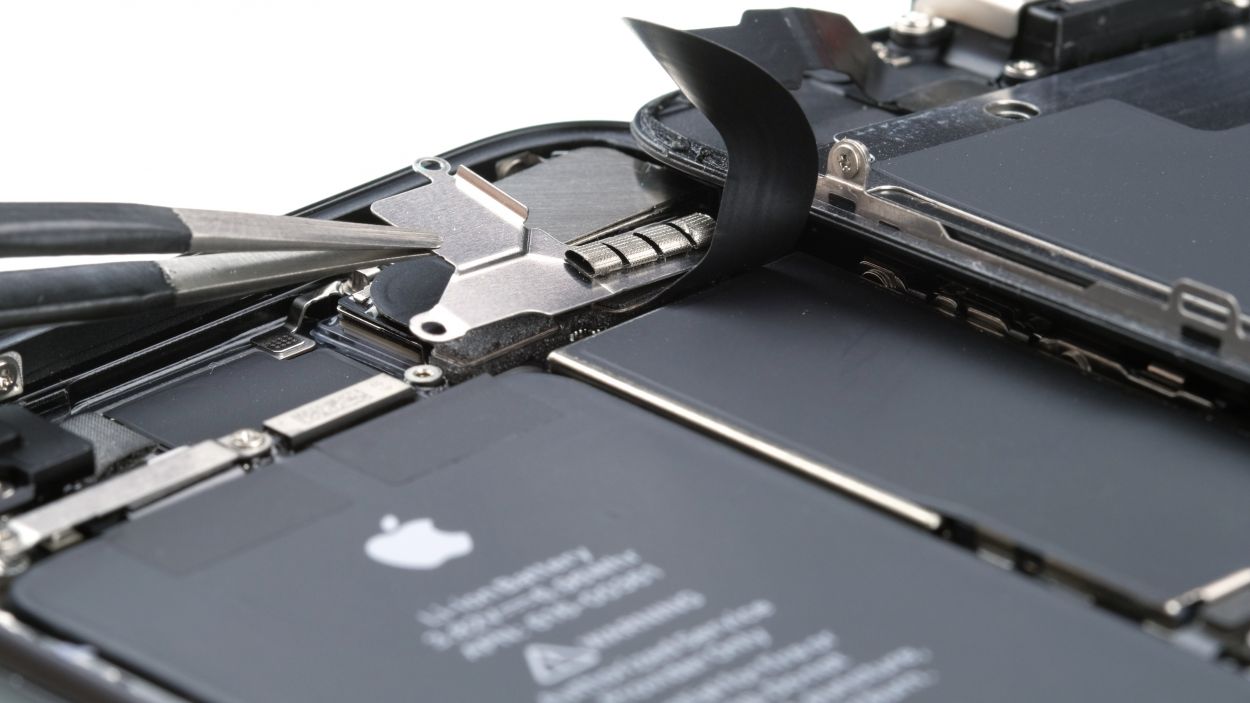
Step 10
1 × 1.1 mm Phillips
1 × 2.7 mm Phillips
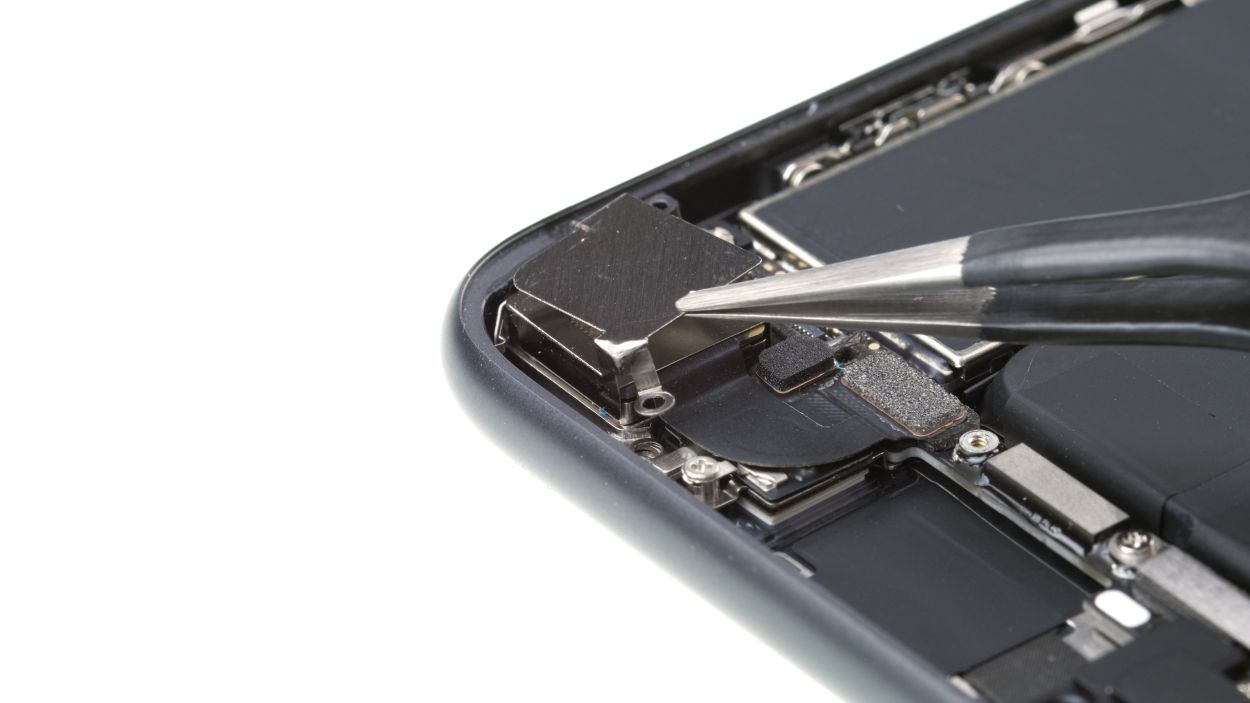
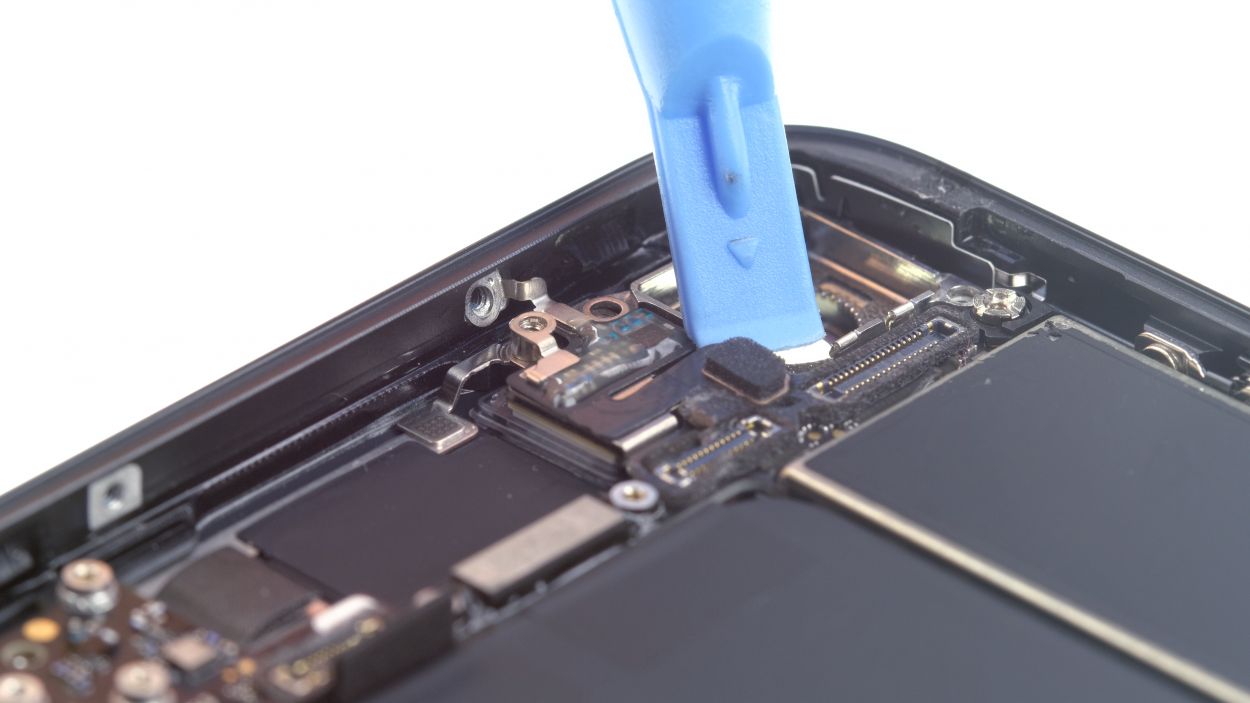
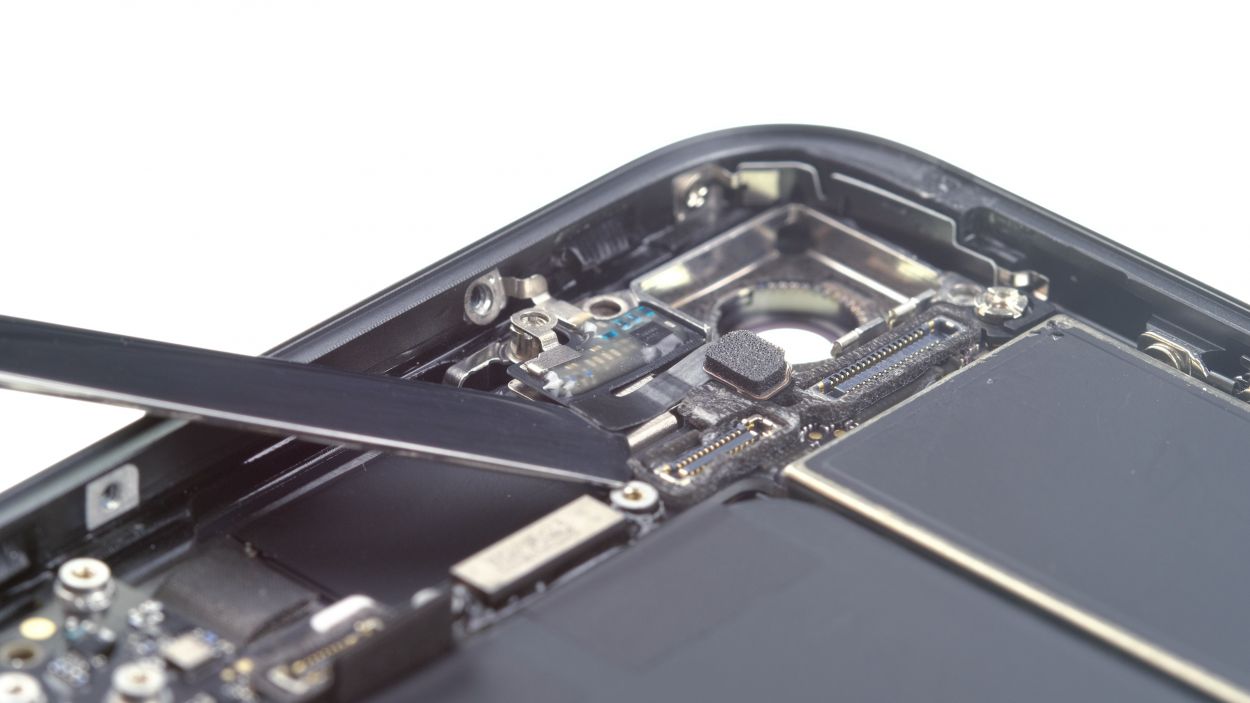
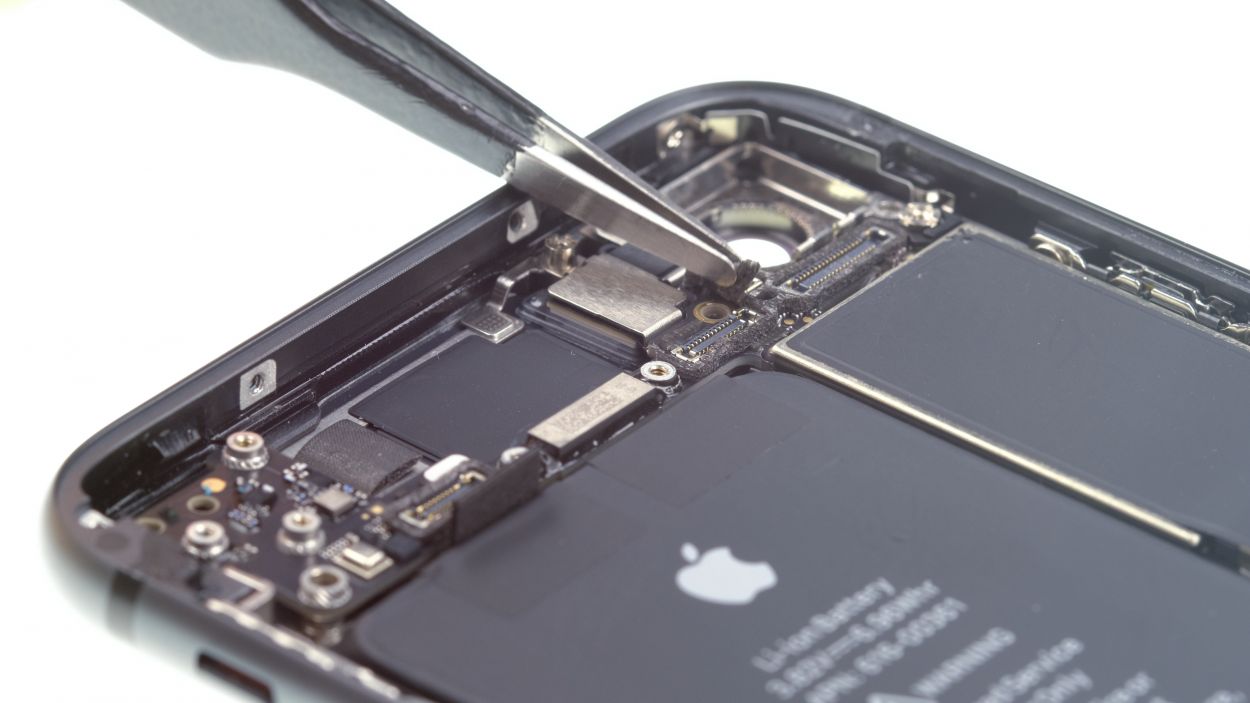
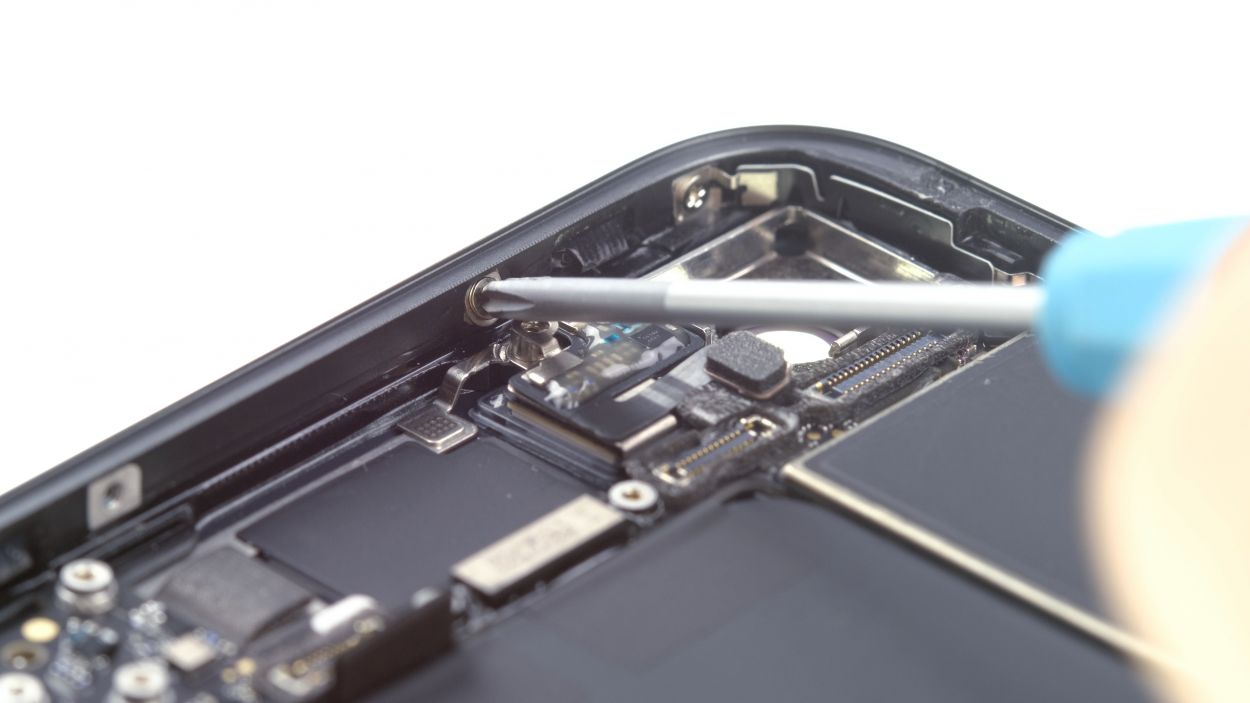
– First, let’s tackle those screws holding the bracket plate snugly above the standby and volume button connector. Unscrew them like the pro you are!
– Now, gently coax the connector away from the logic board using your trusty spudger. You’re doing fantastic!
Step 11


2 × 1.2 mm Phillips
2 × 1.0 mm Phillips
1 × 2.5 mm Phillips
1 × 1.4 mm Phillips
One of those sneaky screws is cozied up on the side of the back cover, just waiting for you to give it some attention!
– Alright, time to get those four Phillips screws out of the plastic bracket! Unscrew them with a smile, because once they’re gone, the bracket can finally say goodbye and come off!
Step 12
1 × 1.3 mm Phillips
1 × 1.2 mm Phillips
– Alright, let’s get those Phillips screws out that are holding the Wi-Fi antenna in place. Unscrew them like the pro you are!
– Next, gently use a plastic spudger to pop that antenna connector off the board. Take your time—you’re doing great!
– If the antenna is feeling a bit stubborn, a little hot air can work wonders! Use a flat, stable lever tool to slide underneath it. A steel spatula does the trick perfectly here!
– Once everything is nice and loose, go ahead and remove the antenna from your iPhone SE. You’ve got this!
Step 13
– Grab your trusty SIM tool or a paperclip and let’s liberate that SIM card tray from your phone! Simply press the tool into the tiny hole on the tray, and voilà! You’re on your way to some serious phone fixing!
Tools Used
Step 14

– Gently lift away the three connectors from the logic board using your spudger. You’re doing awesome!
Tools Used
Step 15


1 × 2.4 mm Standoff
1 × 2.1 mm Standoff
1 × 1.6 mm Phillips
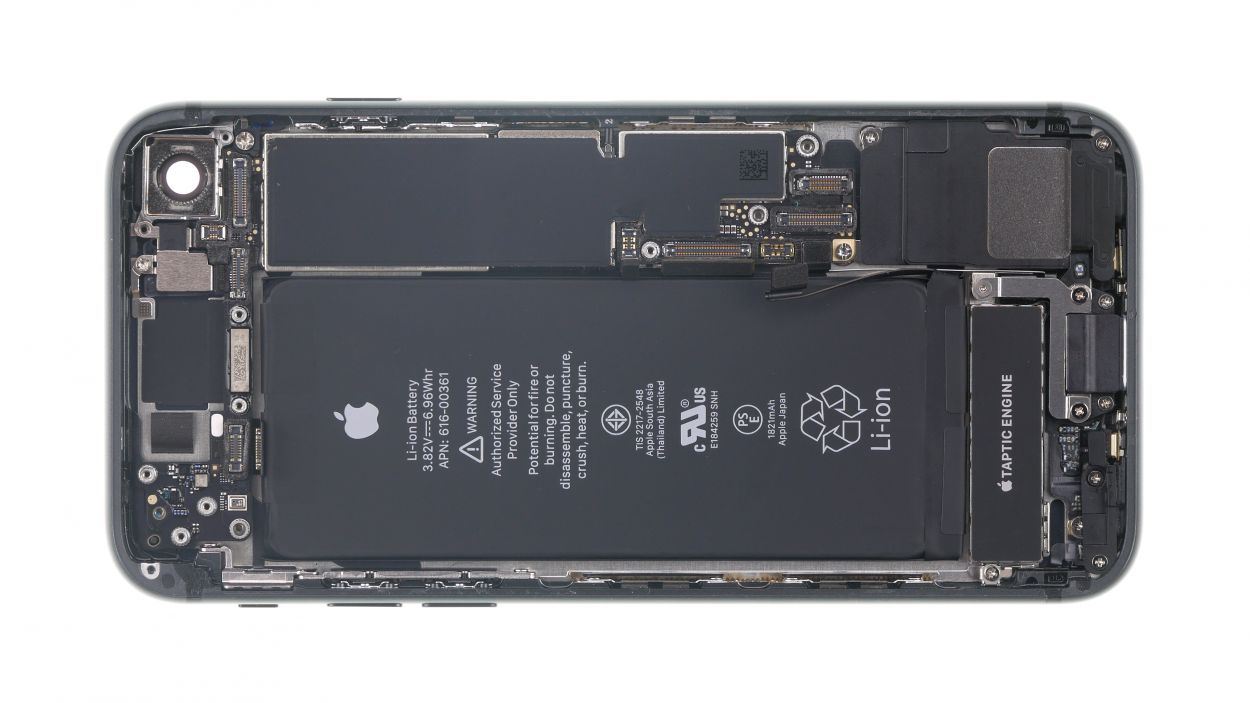
Just a heads up, that sneaky Phillips screw is hiding under a sticker—check out our photo for a sneak peek!
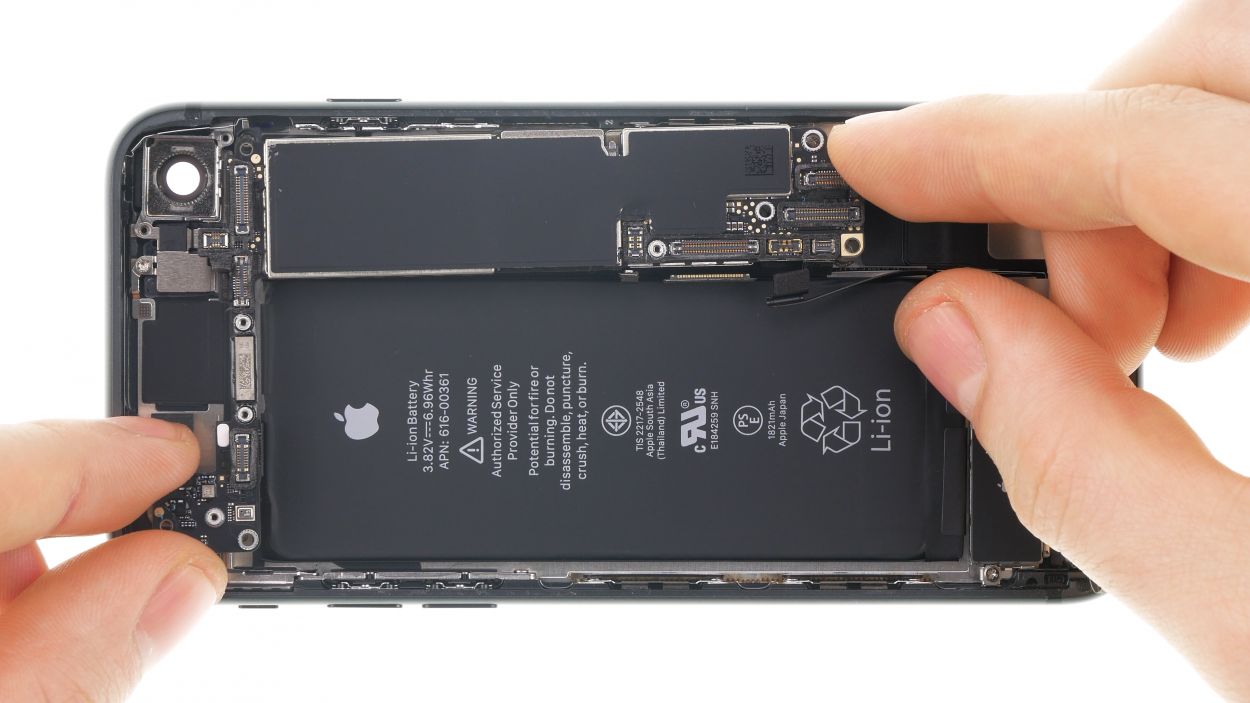
– Loosen up those three screws that are keeping the logic board snug as a bug in a rug!
– With the screws all relaxed, you can gently lift the logic board out. Just a heads up, there’s a little plastic holder for a screw next to the two holes for the iSight camera, sitting right above the logic board. Keep an eye on it!
Step 16


1 × 1.2 mm Y-type
1 × 2.9 mm Phillips
1 × 2.5 mm Phillips
1 × 1.4 mm Phillips
1 × 2.1 mm Phillips
To tackle that Y-type screw, make sure you’ve got the right Y-type screwdriver in hand. You’re all set to unscrew like a pro!
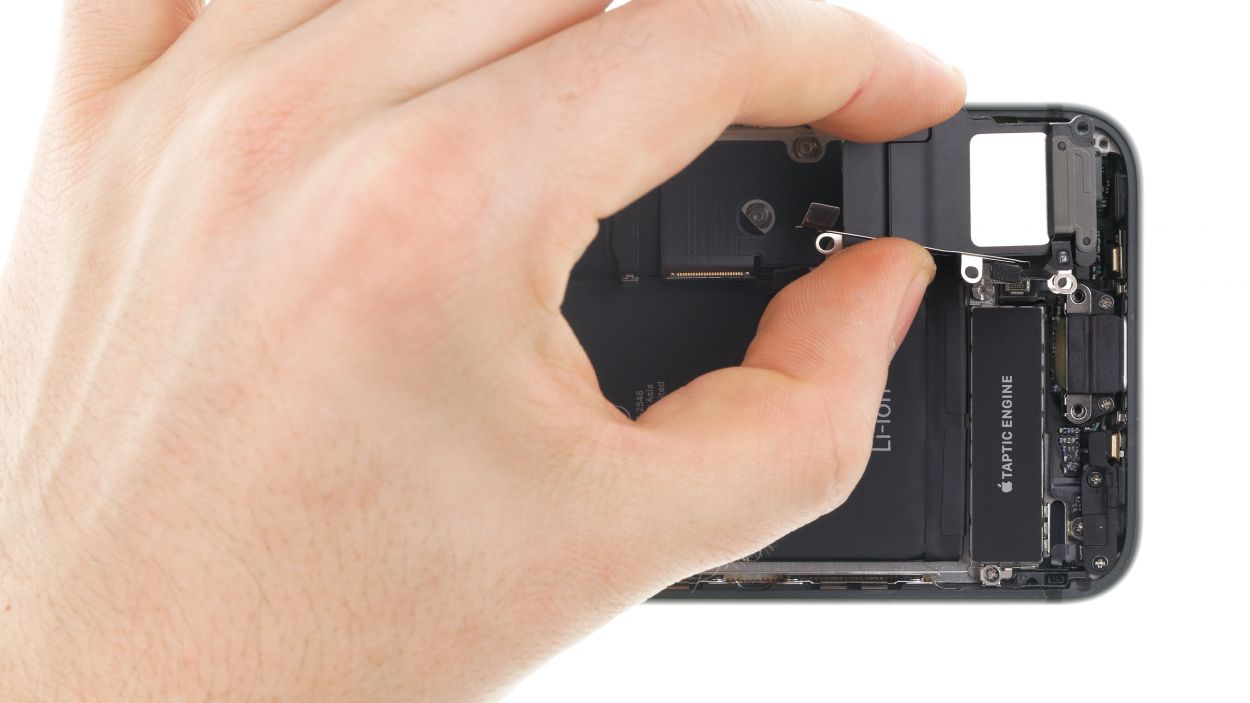
– To kick things off, unscrew those three little screws holding the cover plate snugly above the flexible speaker cable. Once they’re out, you can carefully lift off the cover plate and set it aside. You’re doing great!
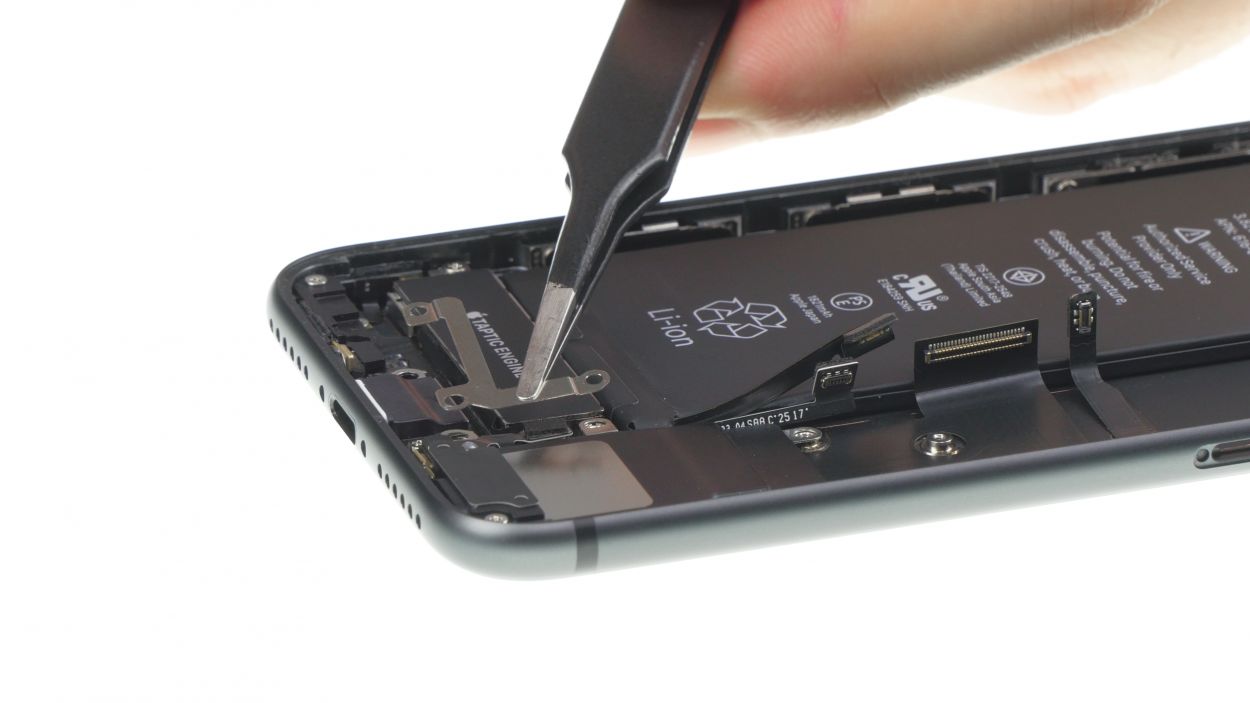
Step 17


1 × 2.0 mm Standoff
1 × 2.0 mm Phillips
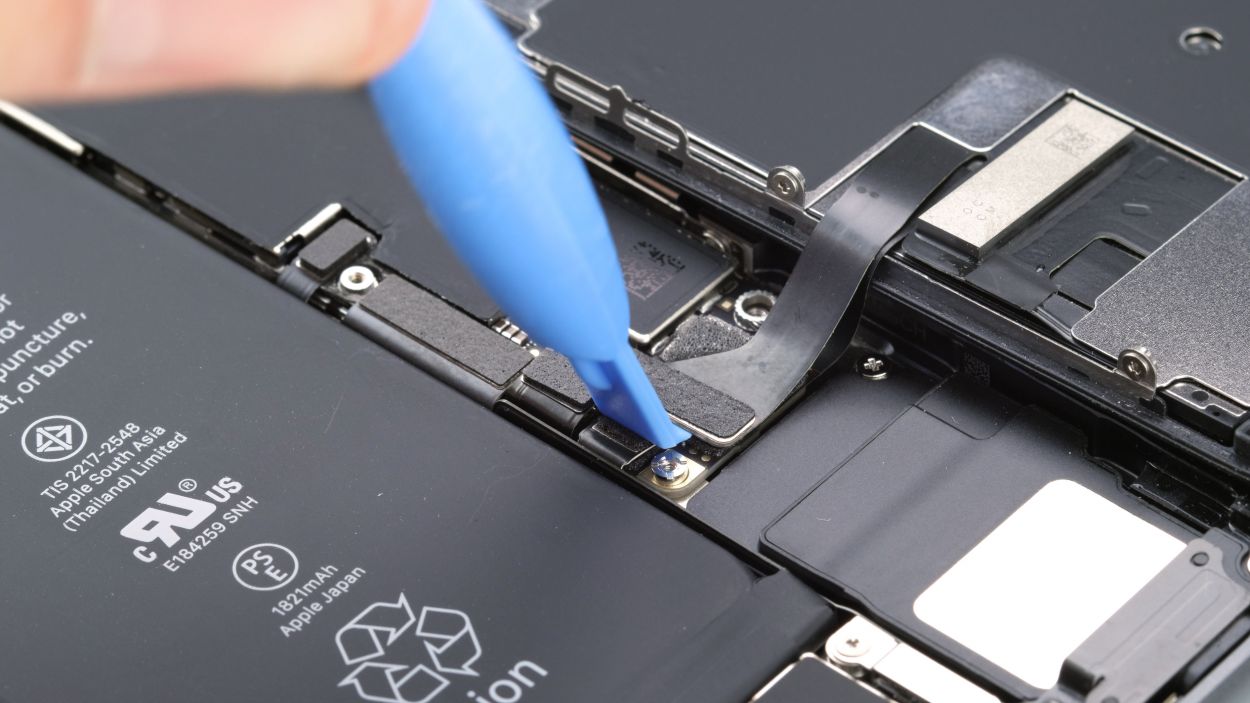
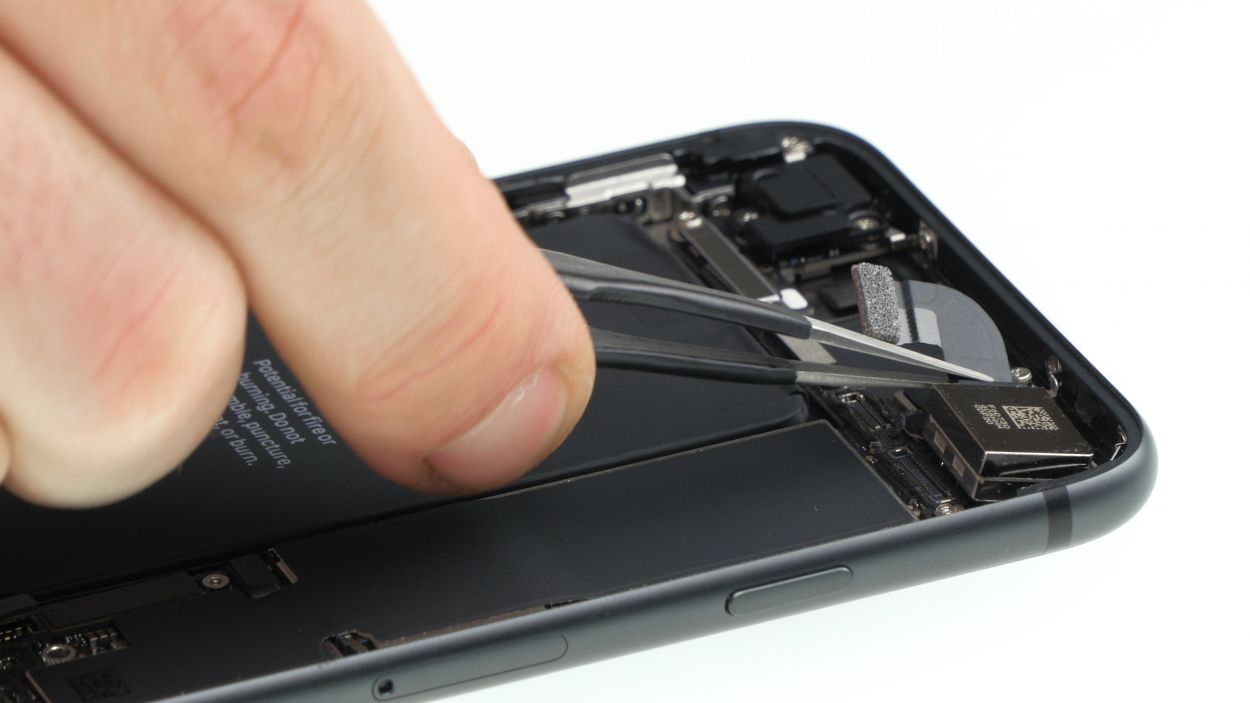
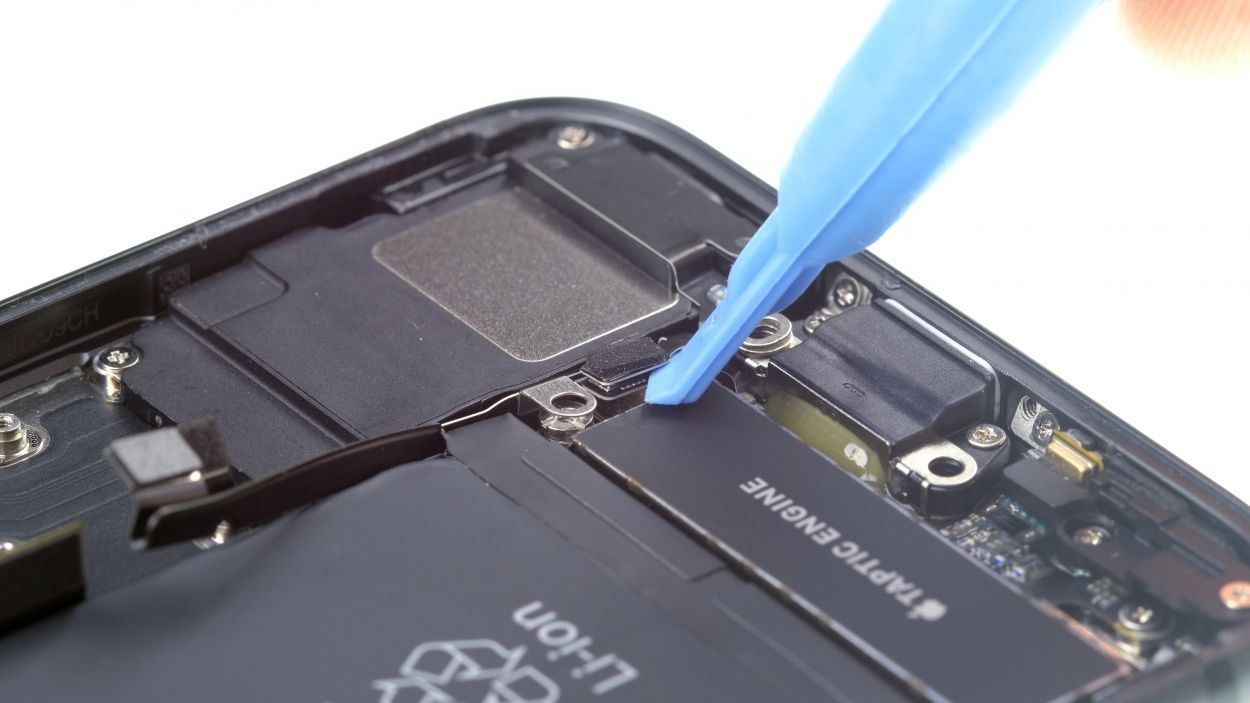
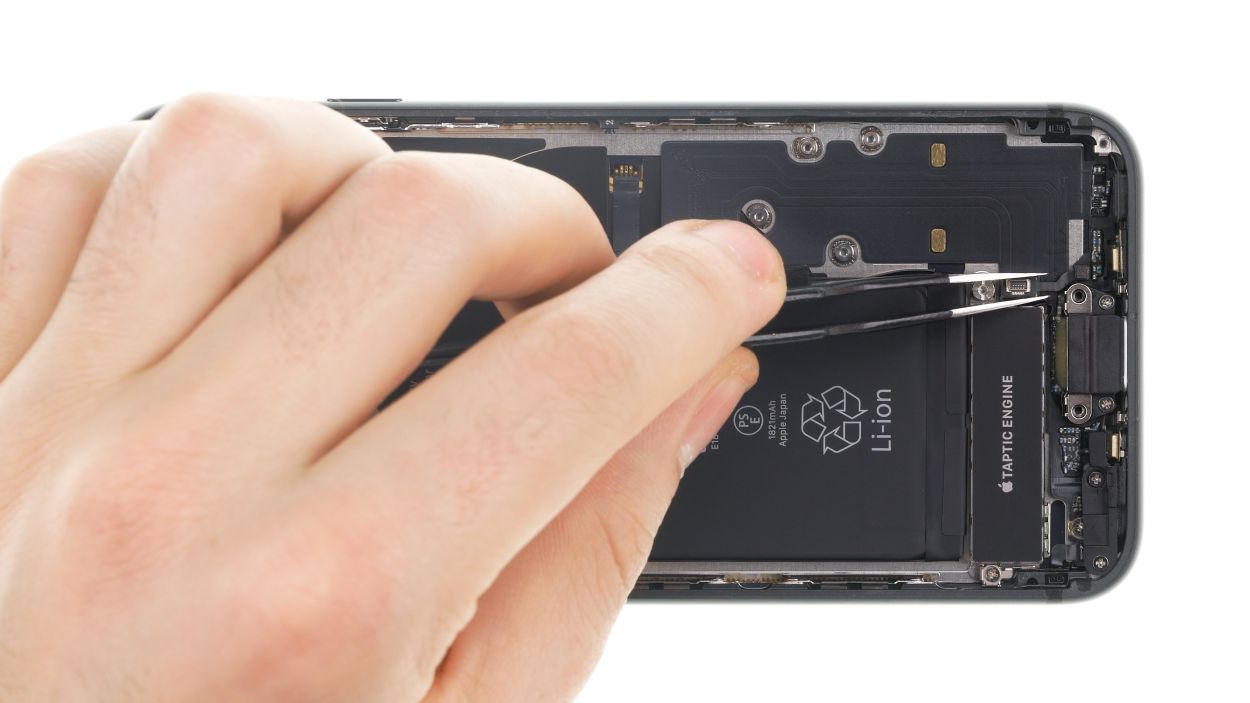
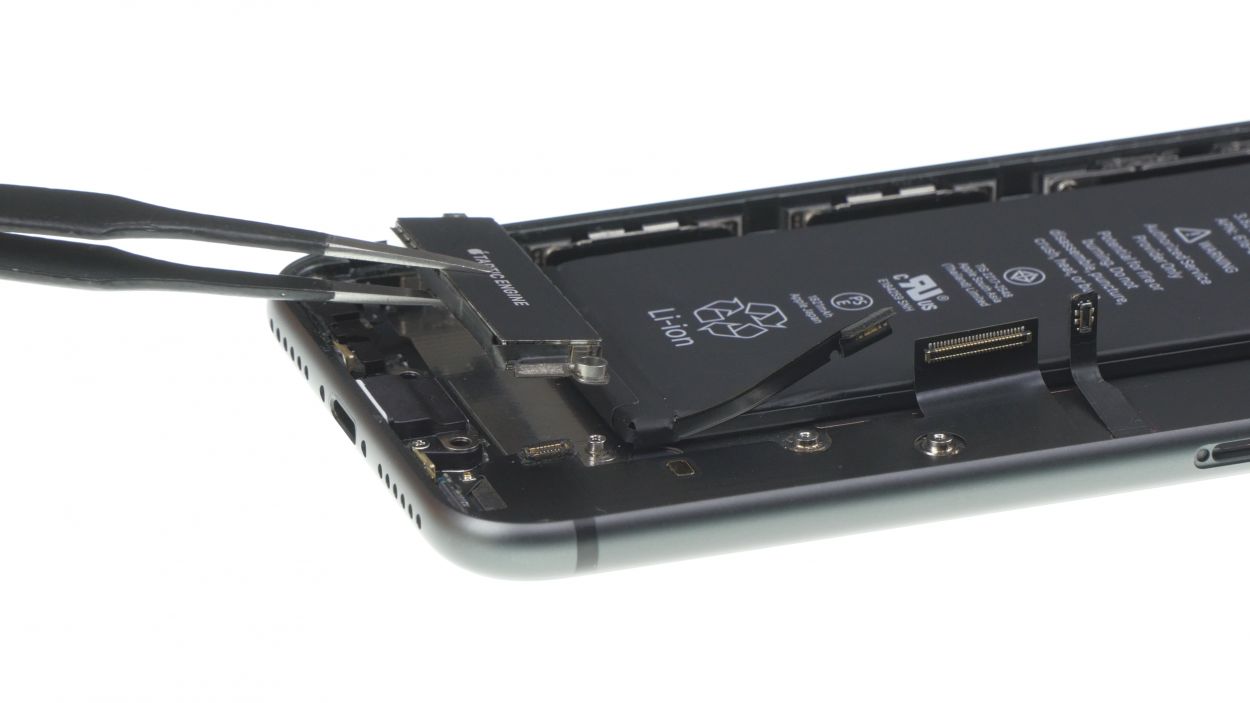
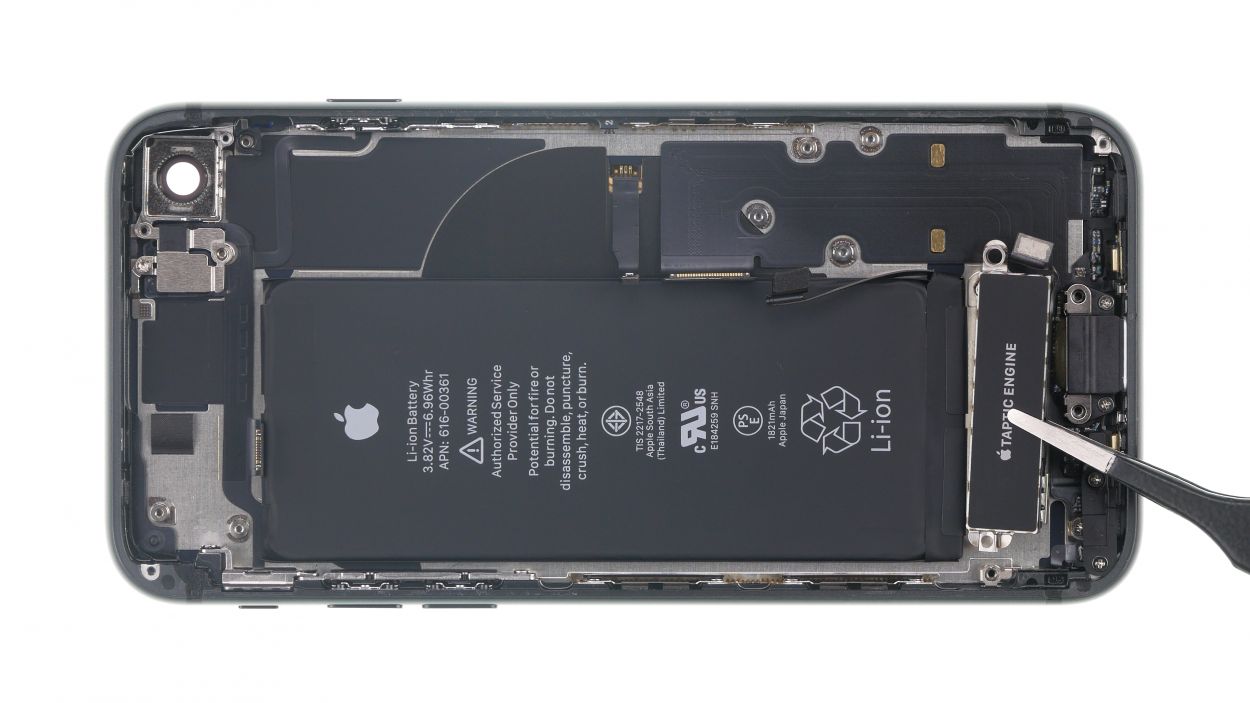
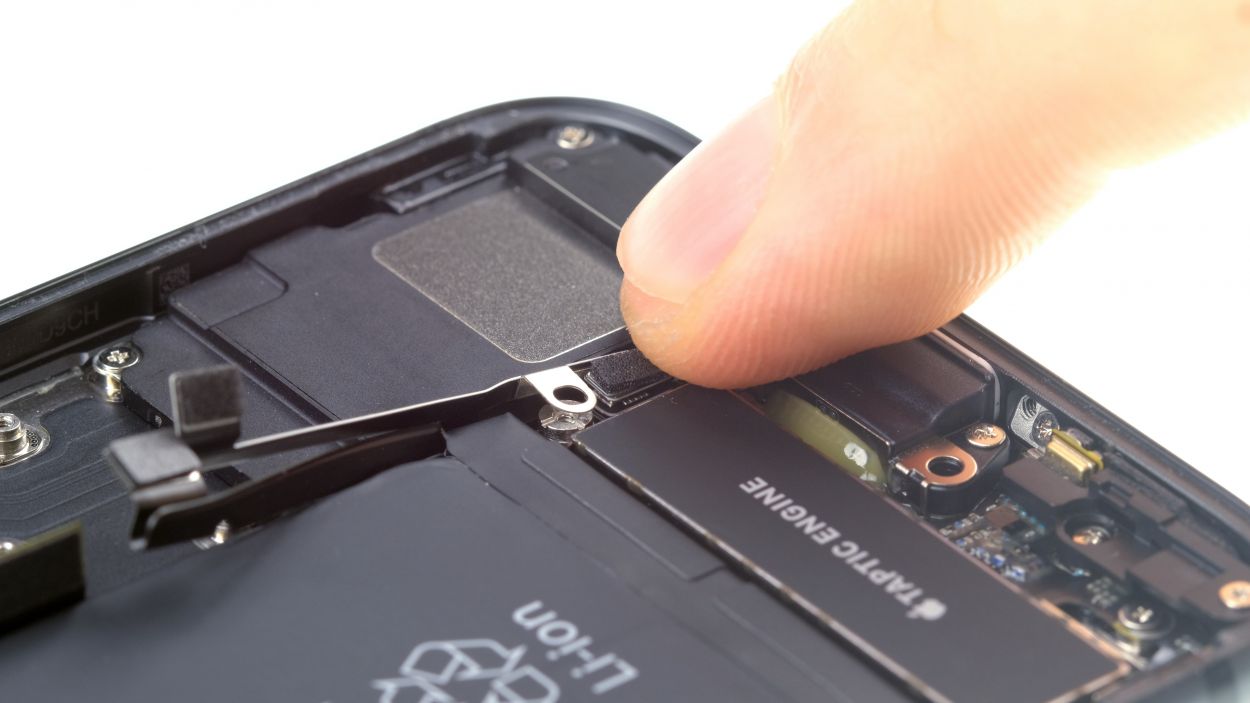
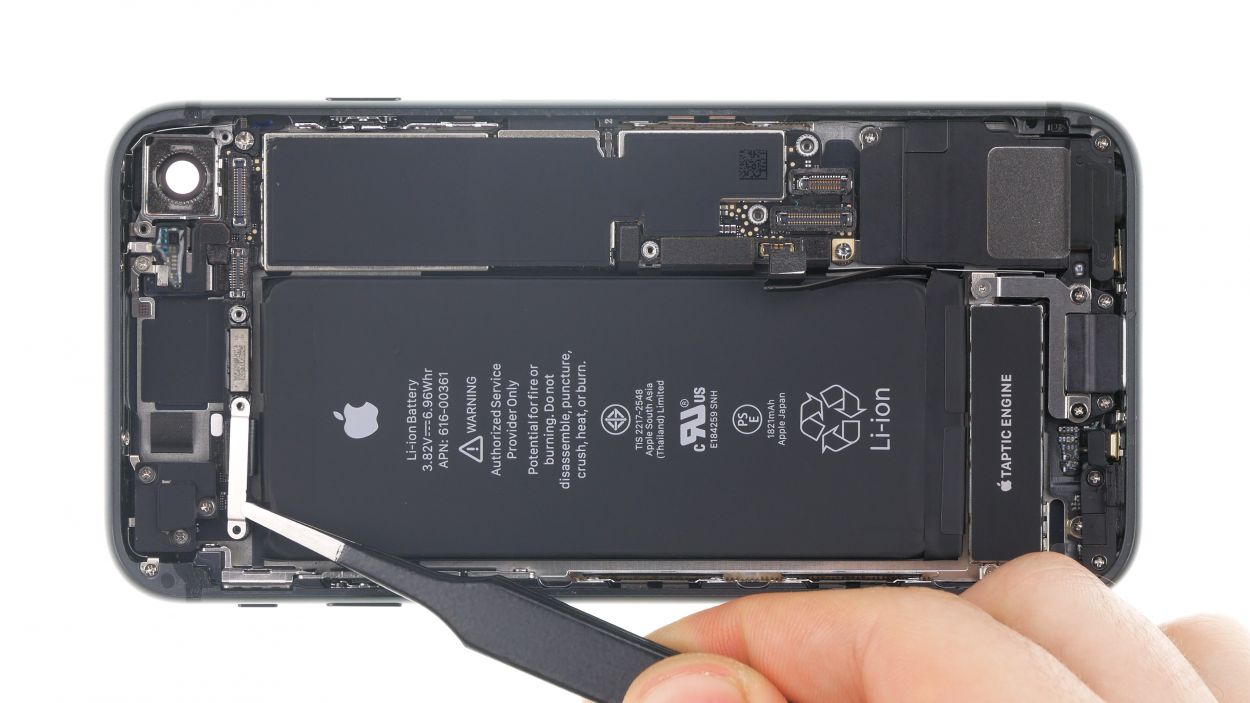
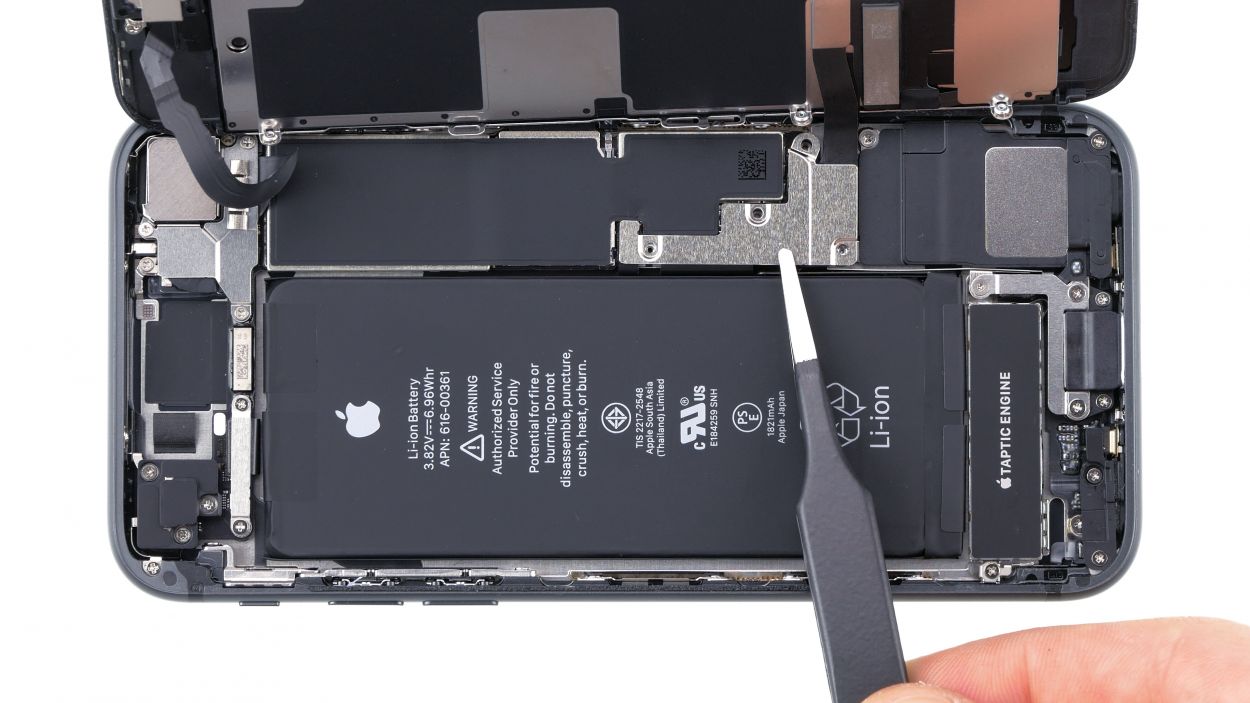
– First up, gently peel away that little flex cable hanging out above the Taptic Engine connector. You got this!
– Next, let’s loosen those screws that are keeping the Taptic Engine snug and secure. Give them a little twist!
– Finally, grab your trusty spudger and carefully lift off the Taptic Engine connector. You’re almost there—just pop it out of your phone!
Step 18
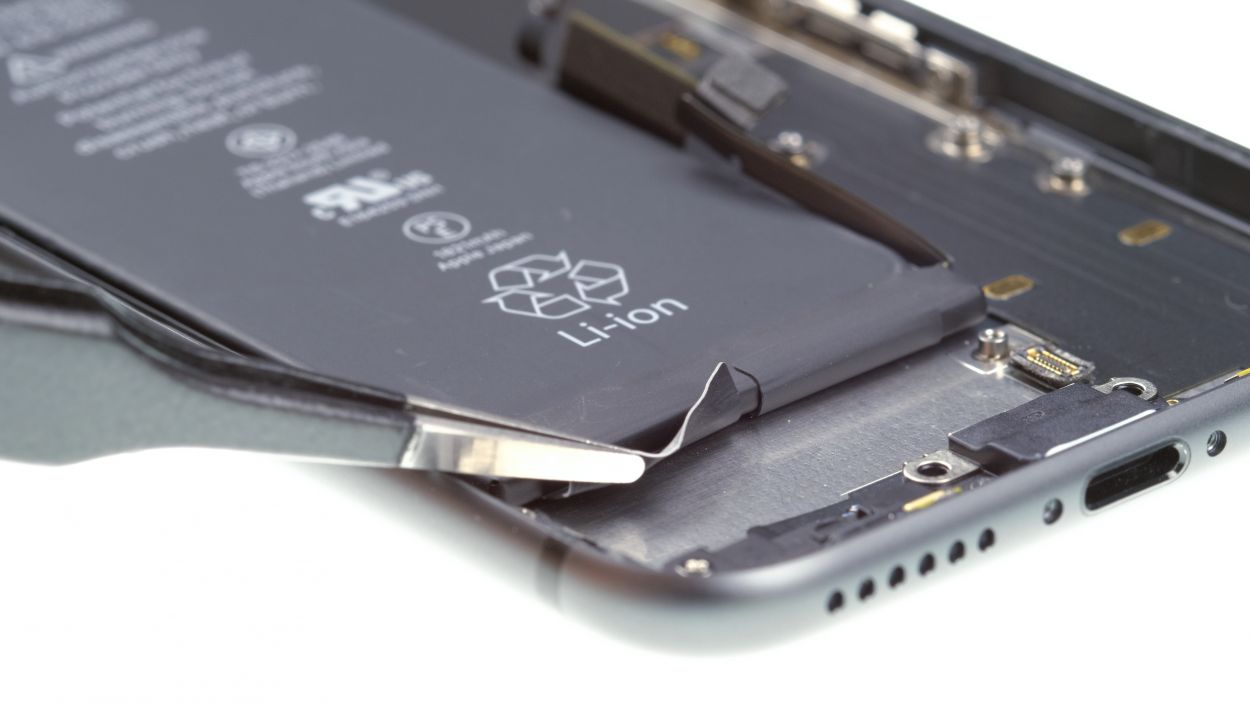

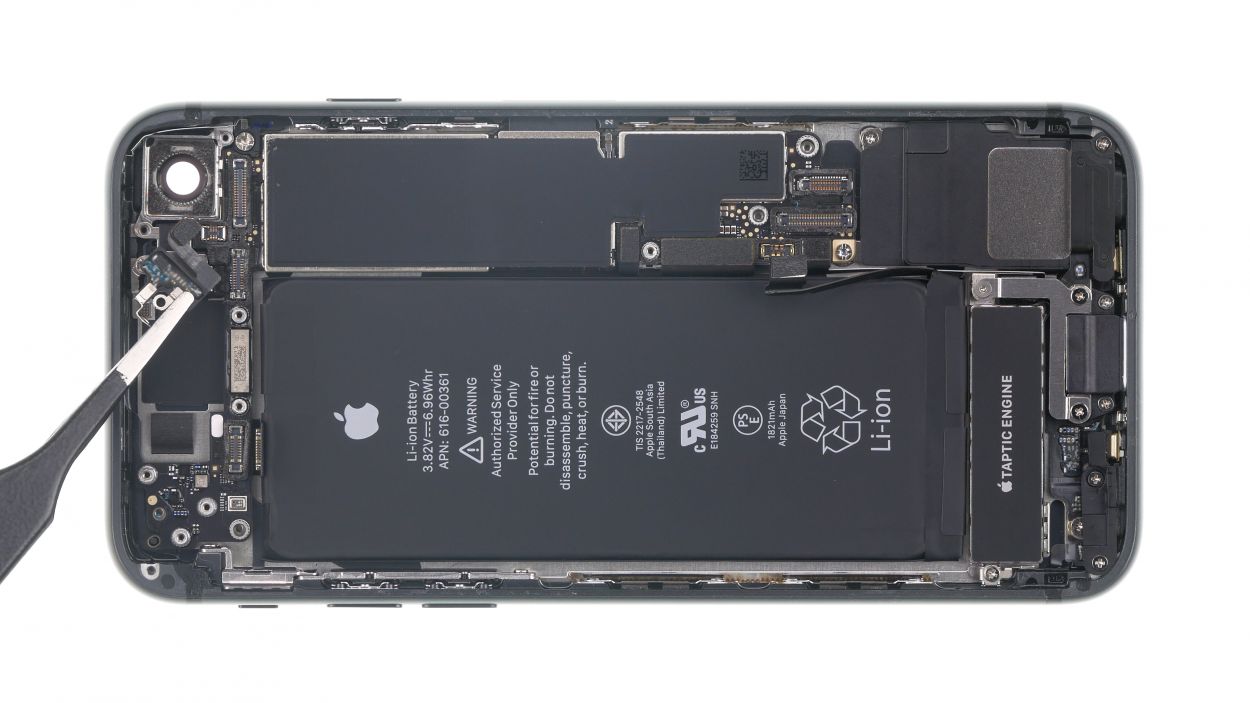
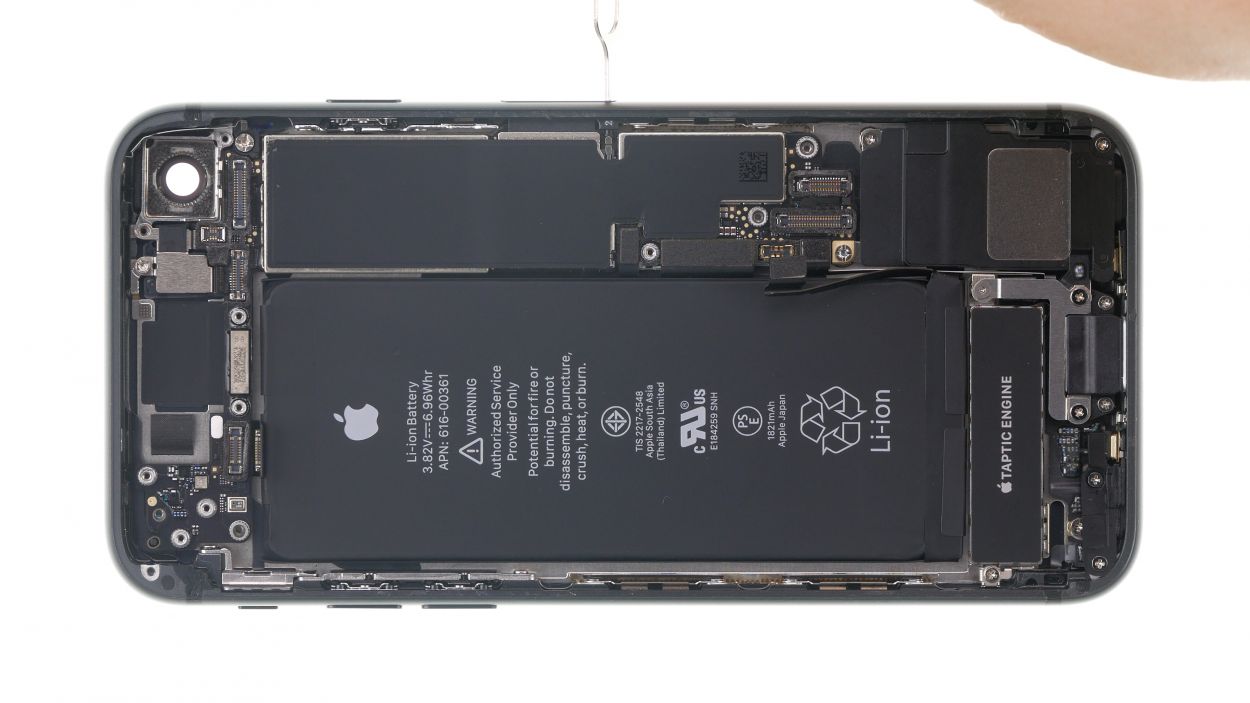
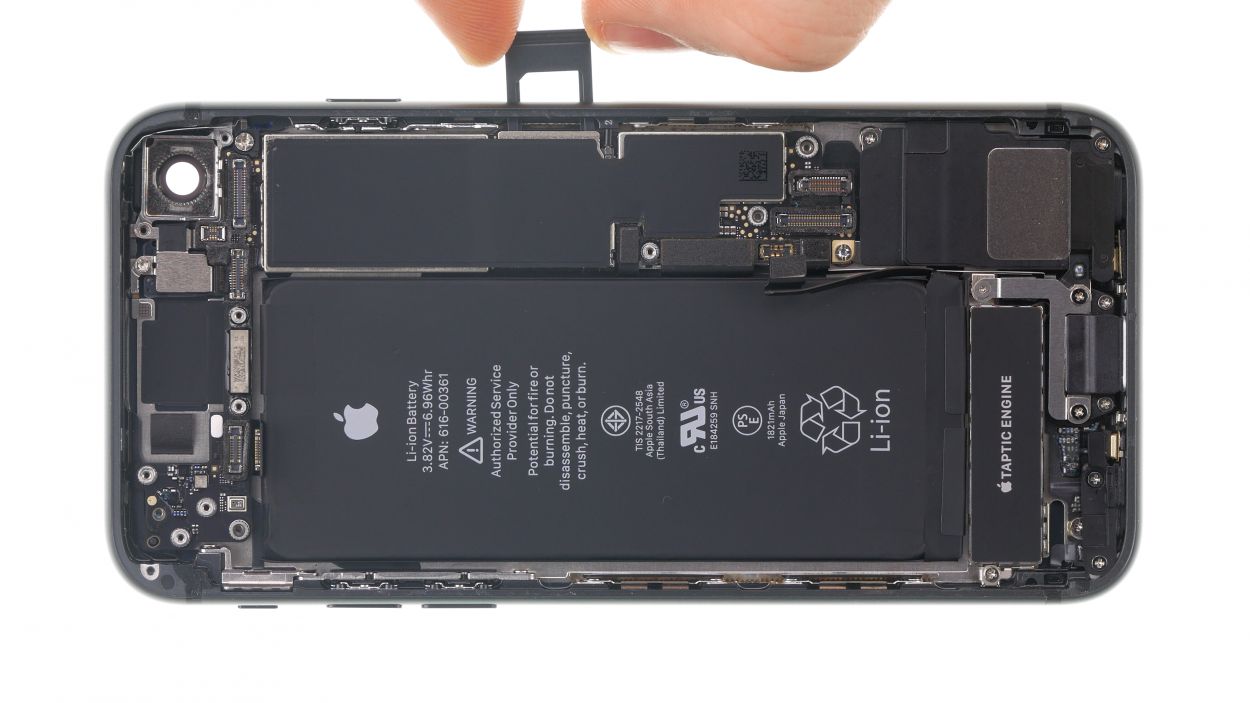
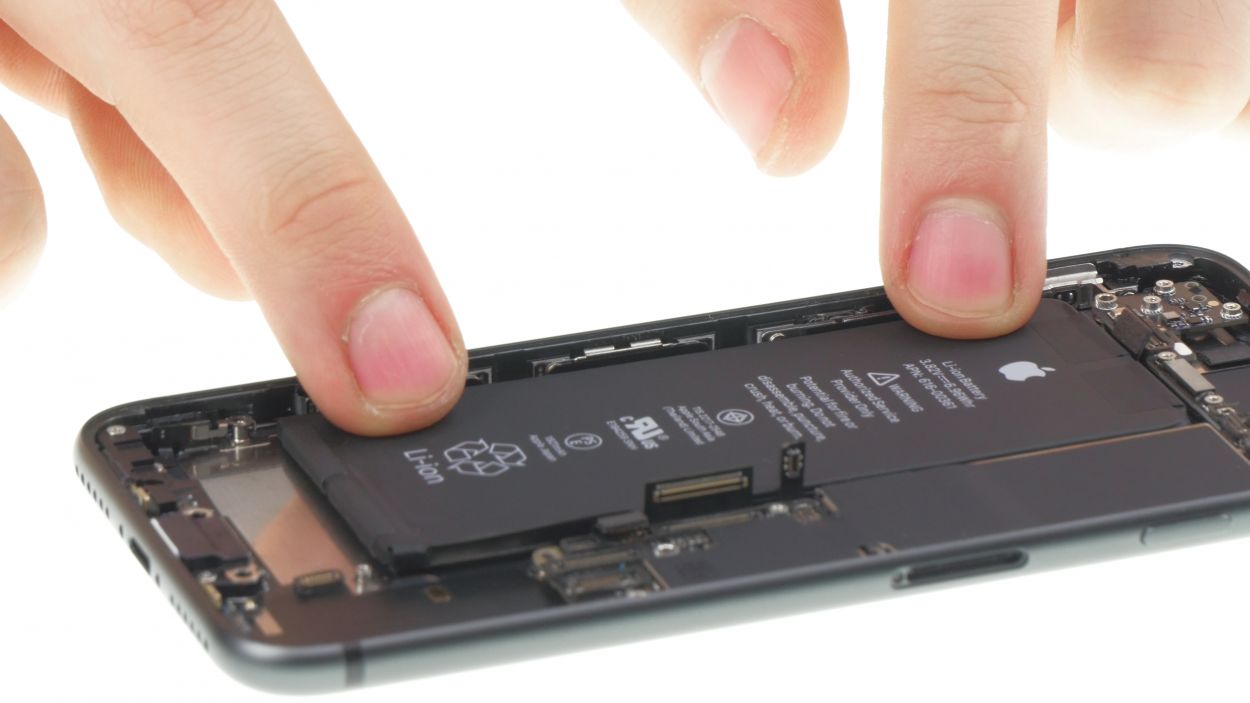
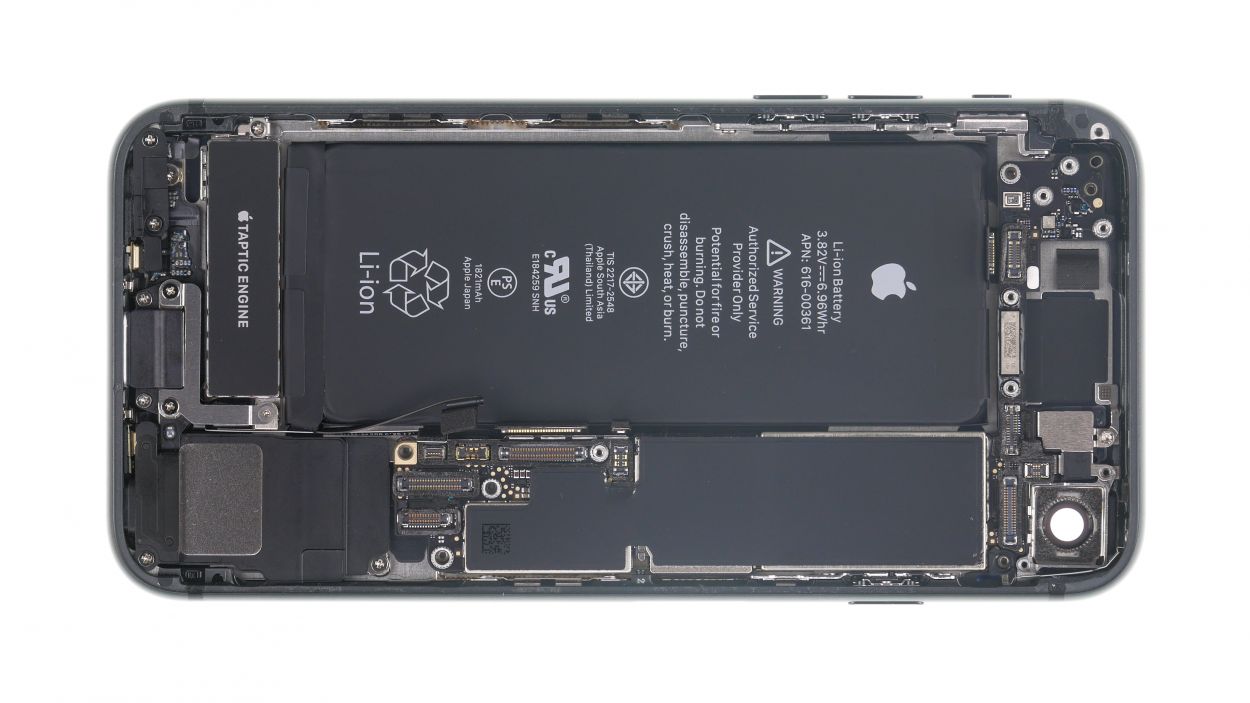
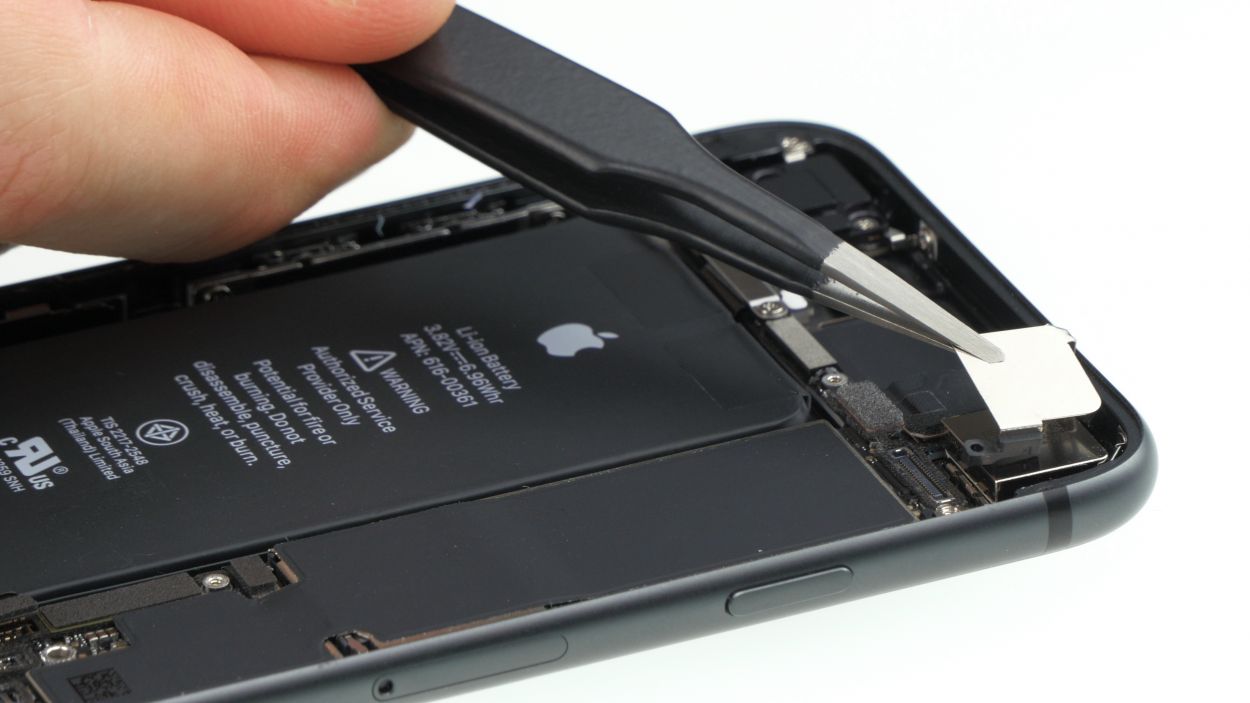
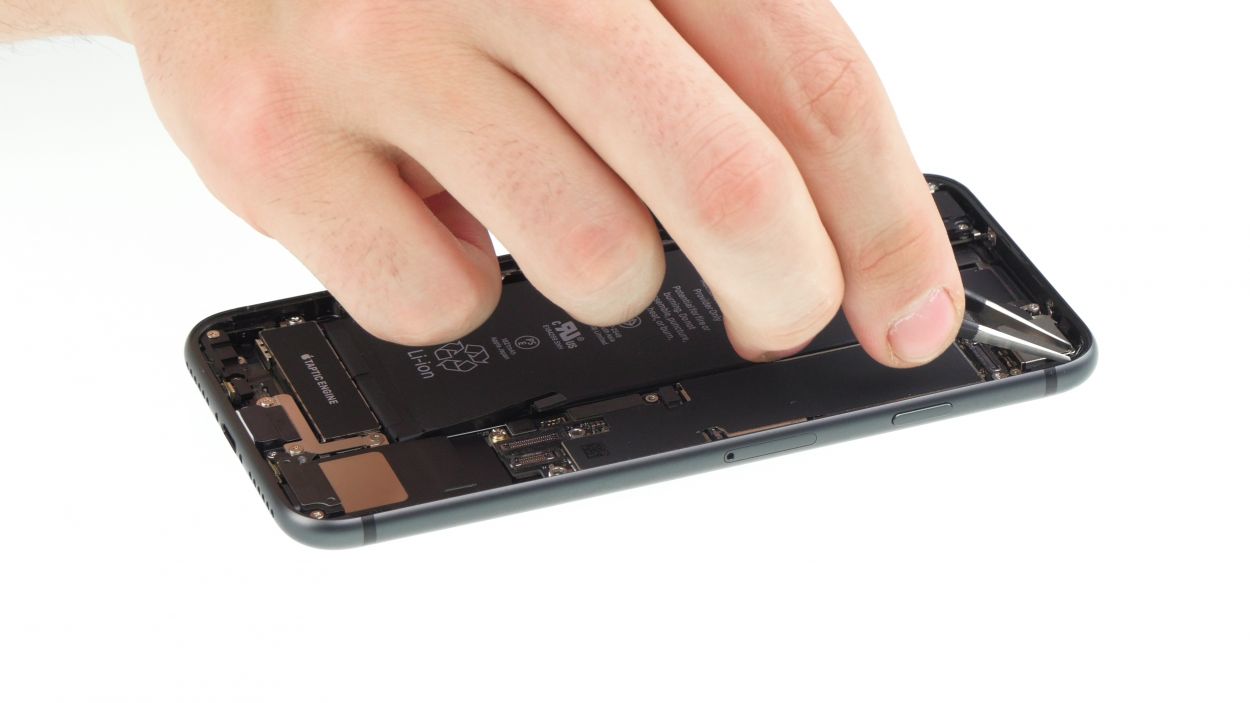
– Grab your tweezers or a spatula and gently peel off those black tabs like a pro. Underneath, you’ll find the white adhesive strips just waiting for you!
– Now, take it slow and steady as you pull out those adhesive strips. Keep them nice and flat at the level of your iPhone for the best results.
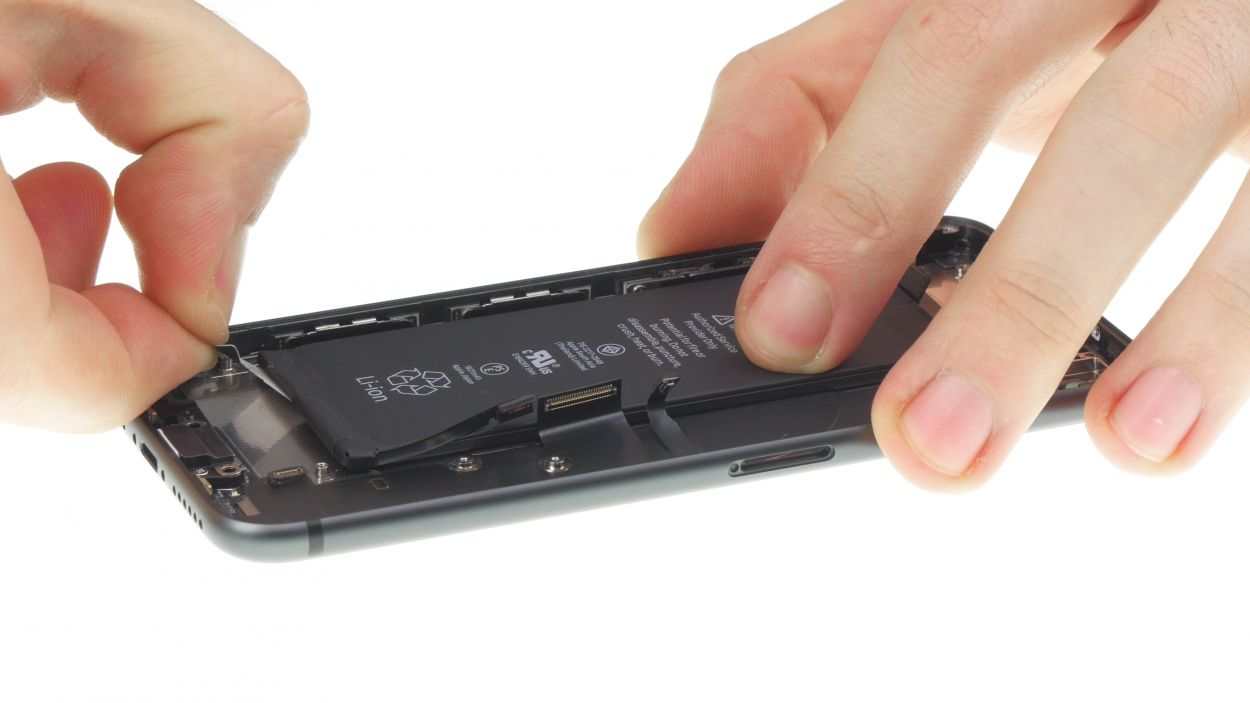
– Once you’ve successfully removed all the adhesive strips, it’s time to say goodbye to the battery. You’ve got this!
Hold onto the battery and your iPhone like a pro while you gently pull out that last adhesive strip. We want to keep the battery snug and secure, no unexpected drops allowed!
If one of those sticky adhesive strips decides to throw in the towel, no worries! Just grab your trusty battery spudger and gently coax that battery out. Remember to keep the bending to a minimum—let’s treat that battery with care!
Tools Used
Step 19


1 × 2.4 mm Standoff
2 × 1.6 mm Phillips
1 × 2.6 mm Phillips
2 × 2.3 mm Phillips
Give that flex cable a little warmth with some hot air for a smoother exit from the back cover. You’ll be surprised at how much easier it is to remove!
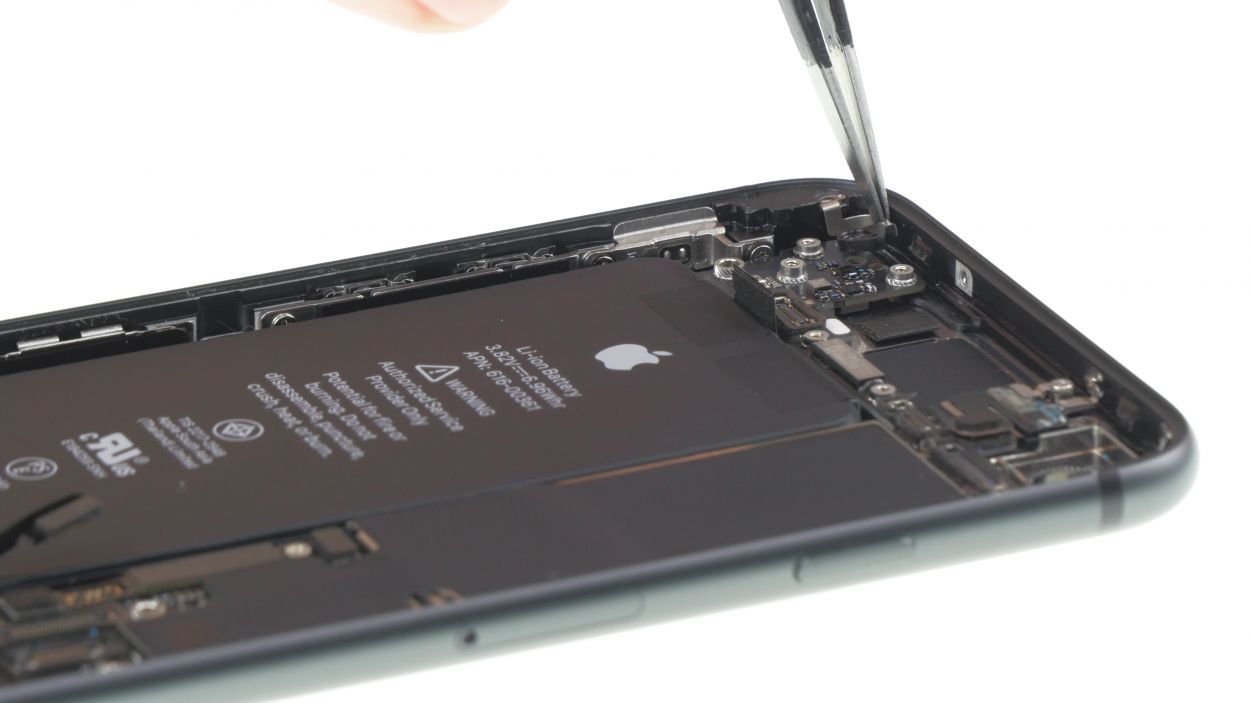
– First up, let’s loosen that standoff screw holding the cover plate snugly over the flash and gently lift it out of your device.
– Next, it’s time to tackle those five Phillips screws that are keeping the flex cable of the standby and volume button in place. You got this!
Step 20


2 × 1.6 mm Phillips
1 × 2.6 mm Phillips
2 × 2.3 mm Phillips
1 × 2.4 mm Standoff
When you’re sliding in that flex cable, give it a warm welcome by laying it flat—no bends allowed! Let’s keep it smooth and stylish!
– Slide that flex cable for the standby and volume button back into the back cover and secure it with those five Phillips screws like a pro!
– After tightening, give those keys a little test for pressure sensitivity. If they need a little adjustment, just tweak them with the screws.
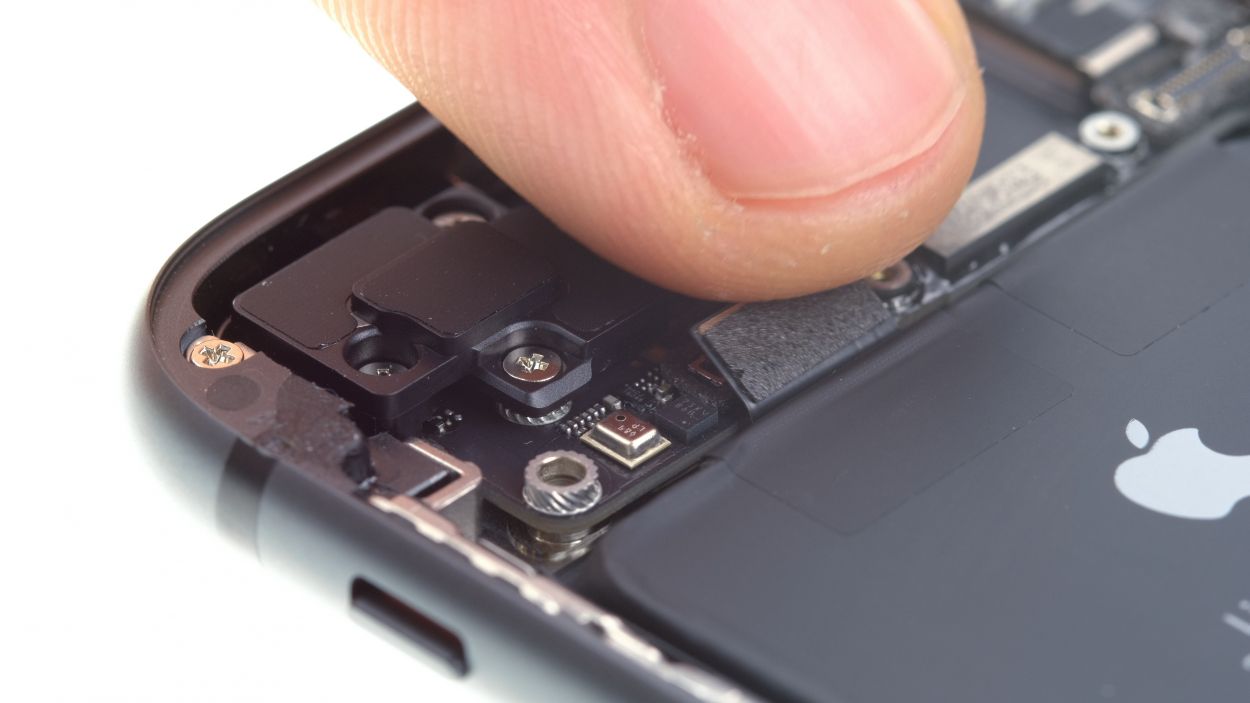
– Press that entire cable, including the microphone and flashlight, snugly into the housing—you’re doing great!
– Finally, attach the flashlight cover with the stand-off screw. You’ve got this!
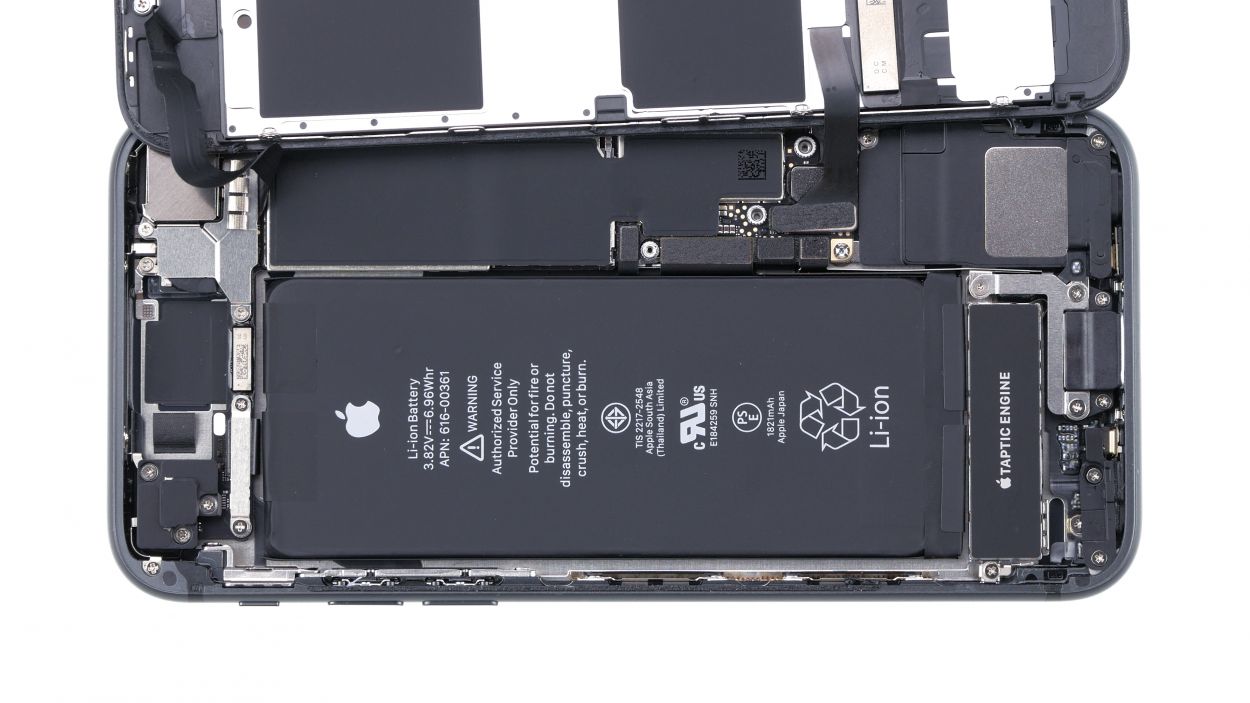
Step 21

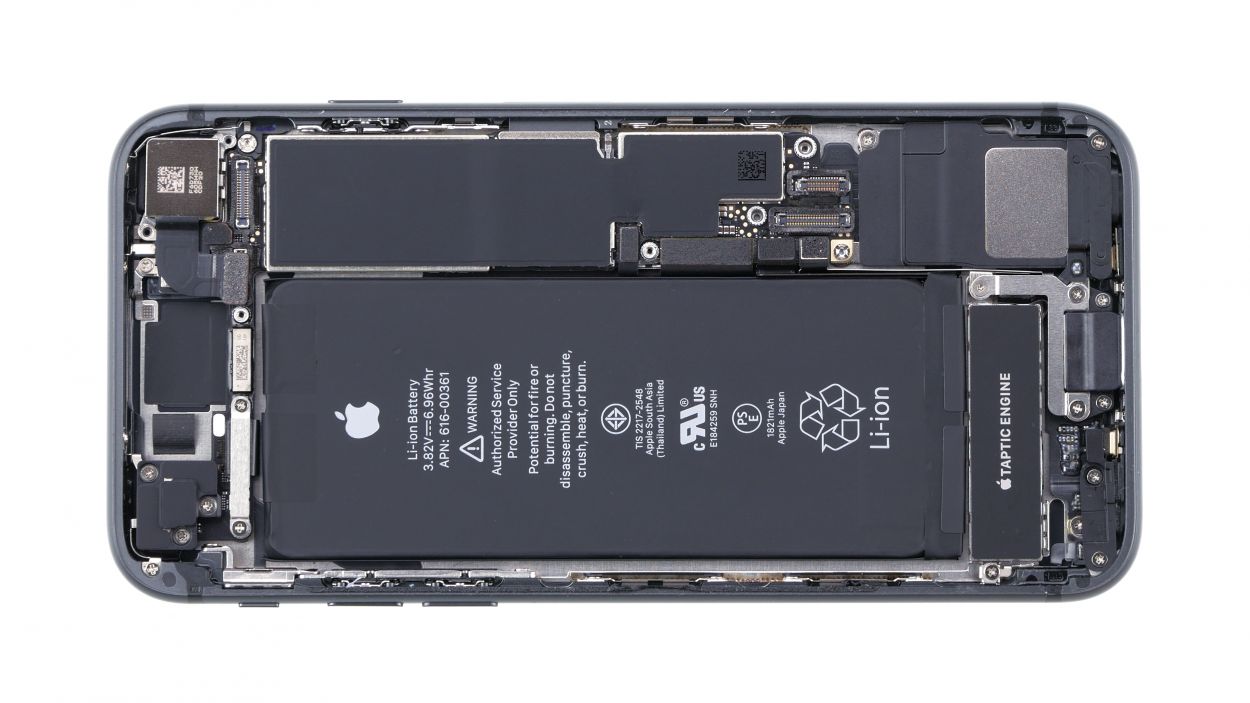
Keep a friendly gap all around your new battery, the frame, and other components. Give them some personal space while you work your magic!
After you’ve popped that battery in, it’s time to give the logic board a little nudge! Removing it will help you get the battery just right, so it fits snugly in its new home.
Step 22


1 × 2.0 mm Standoff
1 × 2.0 mm Phillips
Make sure the screw holes of the Taptic Engine are lined up just right! We want everything to fit snugly, so it can do its thing without a hitch.
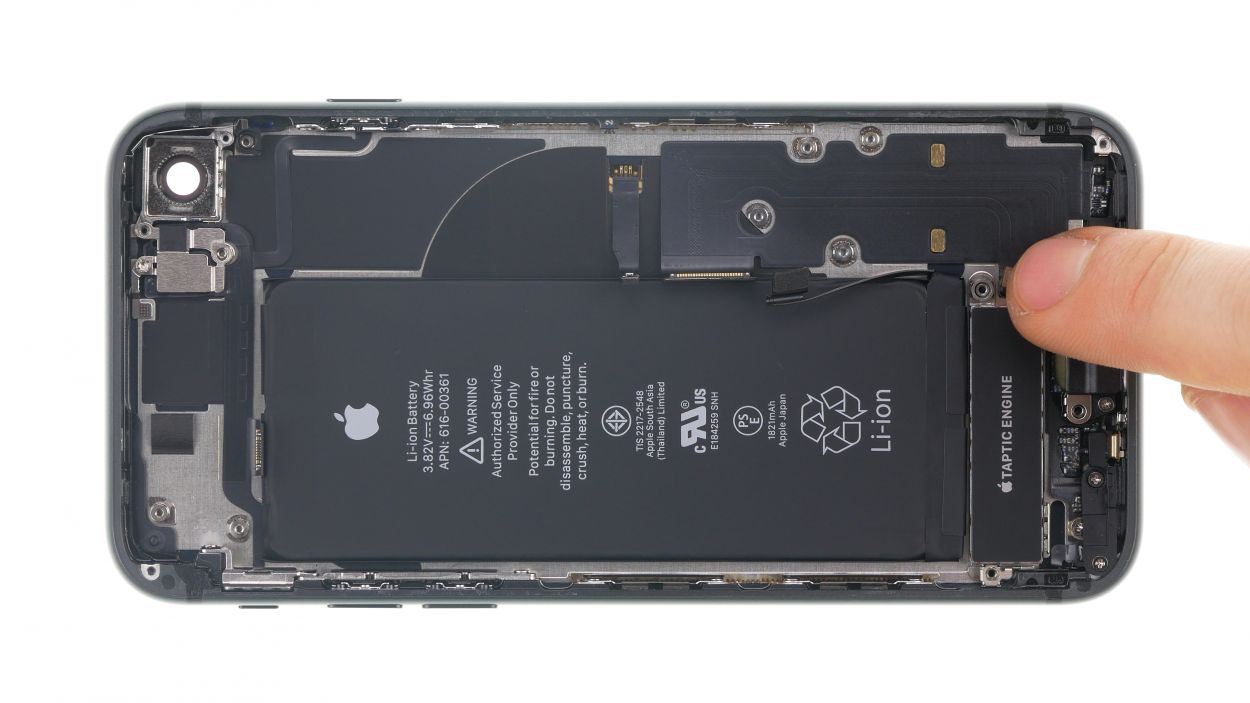
– Nestle the Taptic Engine back in its cozy spot between the battery and Lightning connector. You’re almost there!
Step 23


1 × 2.1 mm Phillips
1 × 1.4 mm Phillips
1 × 1.2 mm Y-type
1 × 2.9 mm Phillips
1 × 2.5 mm Phillips
Make sure to lay that flex cable down just right between the battery and the speaker. We want it to feel snug and happy in its new spot!
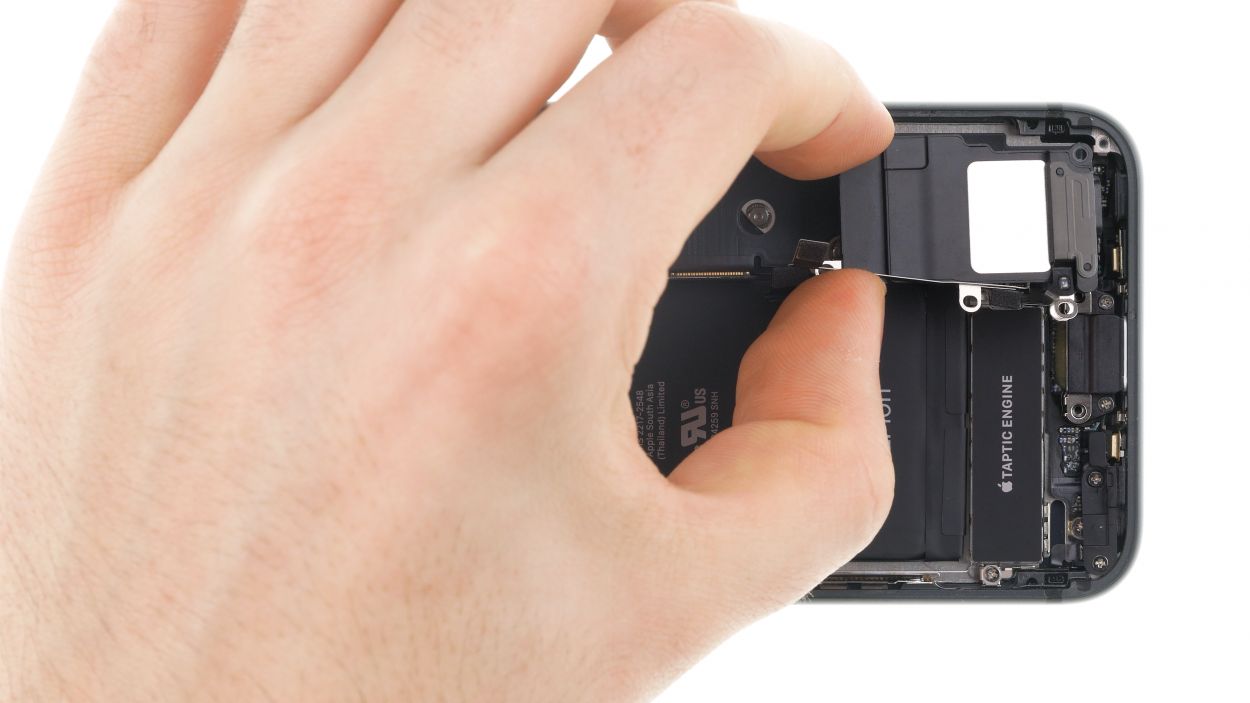
– Gently place the speaker back where it belongs and give it a good press to make sure it’s snug as a bug!
Step 24
1 × 2.4 mm Standoff
1 × 2.1 mm Standoff
1 × 1.6 mm Phillips
– Carefully place the logic board back where it belongs, making sure that the camera bracket is snugly positioned above it. You’re doing great!
– Now, tighten those screws on the logic board to keep everything secure. You’ve got this!
Step 25
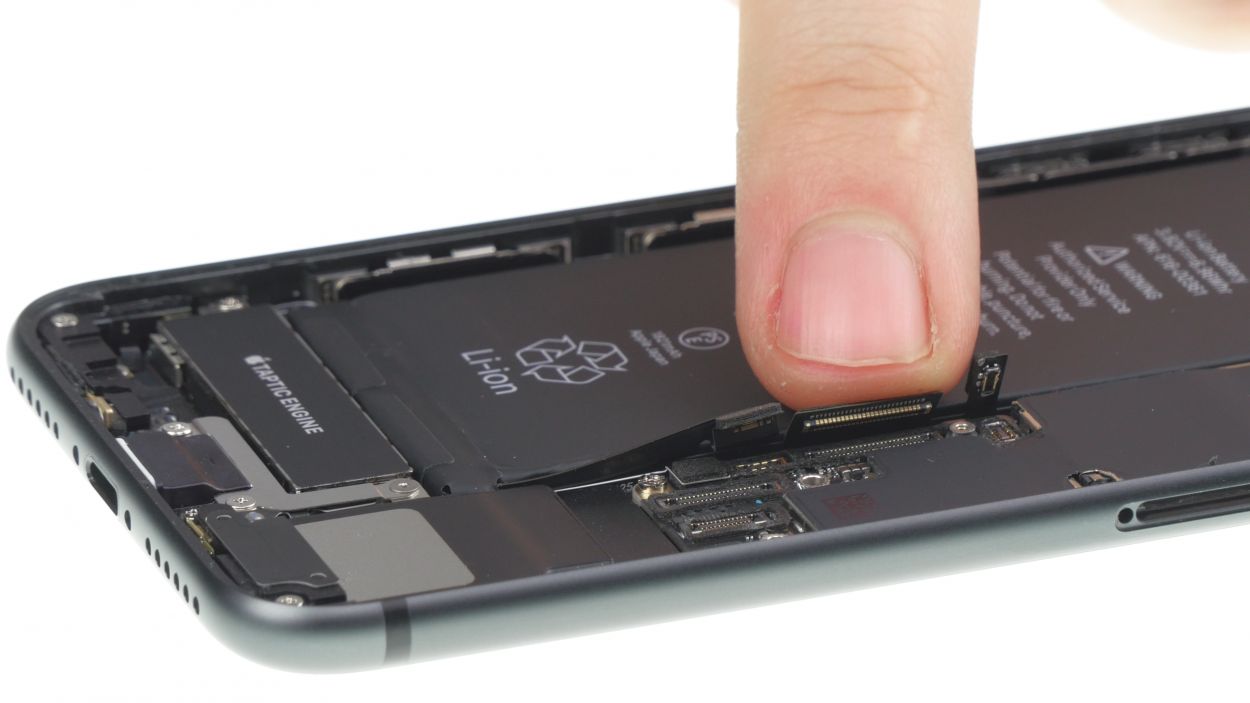
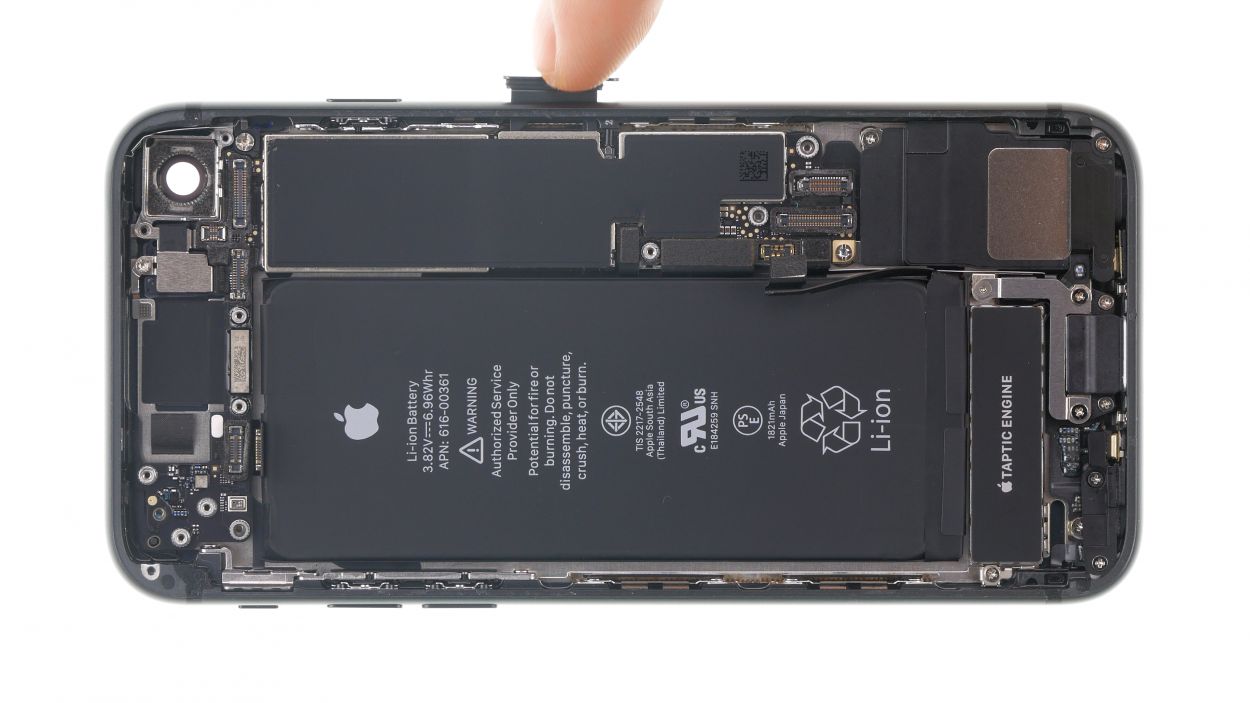
– First, let’s get those connectors lined up perfectly over their sockets. Once they’re just right, give them a gentle press down with your finger. You’re doing awesome!
Step 26
If your holder is being a bit stubborn and doesn’t slide in smoothly, take a moment to double-check the logic board’s position. It might just need a little adjustment!
– Now it’s time to slide that SIM card holder back into its cozy little home on the device frame. Just give it a gentle nudge, and it’ll fit right in!
Step 27

1 × 1.3 mm Phillips
1 × 1.2 mm Phillips
– Put the Wi-Fi antenna back into the case of your iPhone SE.
– Screw the antenna mount to the case frame.
– Then press it lightly to reattach the adhesive film.
– Now attach the connector of the antenna.
Step 28


1 × 2.5 mm Phillips
1 × 1.4 mm Phillips
2 × 1.2 mm Phillips
2 × 1.0 mm Phillips
– Place that little connector piece back where it belongs and give it a good twist to secure it—nice and snug!
– Next, slide in the plastic bracket and tighten it up just like you did with the connector. You’re on a roll!
Step 29


1 × 1.1 mm Phillips
1 × 2.7 mm Phillips
– Reconnect the standby and volume button connector like a champ!
– Now, place the bracket plate back over the connector and secure it with those trusty screws. You’ve got this!
Step 30

1 × 2.9 mm Phillips
1 × 3.0 mm Standoff
– Slide that camera back into its cozy little spot and give it a firm press to make sure it’s snug.
– Now, let’s connect that camera connector like a pro!
– Finally, pop the camera cover plate back on and tighten those screws to keep everything in place.
Step 31
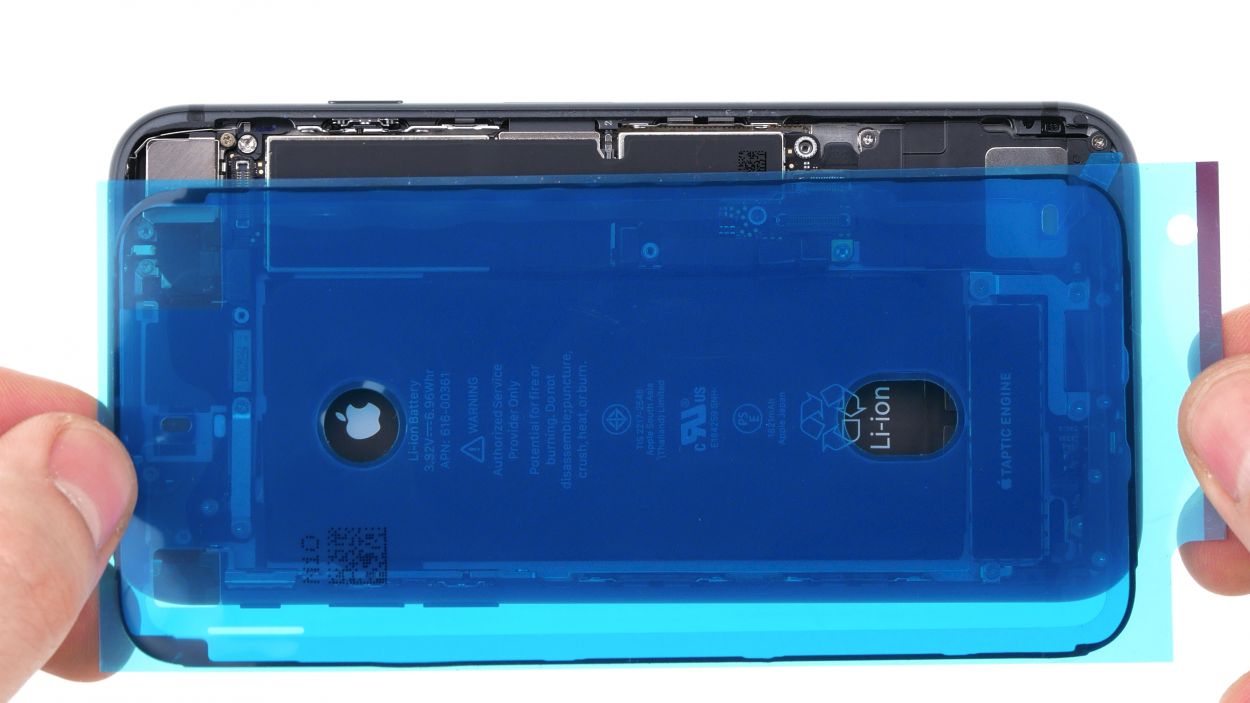
Once you’ve opened up your iPhone SE (2nd generation) and added a new adhesive frame, it’s ready to fend off dust and splash water again—just remember, it’s not quite a submarine!
The corners of the adhesive frame differ and help with the correct alignment on the back cover.
– First up, let’s clear away any leftover adhesive gunk from the metal frame and display. We want that new adhesive frame to fit like a glove! Grab your tweezers or a spudger to lend a helping hand.
– Next, take a moment to line up the adhesive frame on the back cover of your iPhone SE. Getting it just right ensures everything clicks into place perfectly!
Tools Used
Step 32
3 × 1.0 mm Phillips
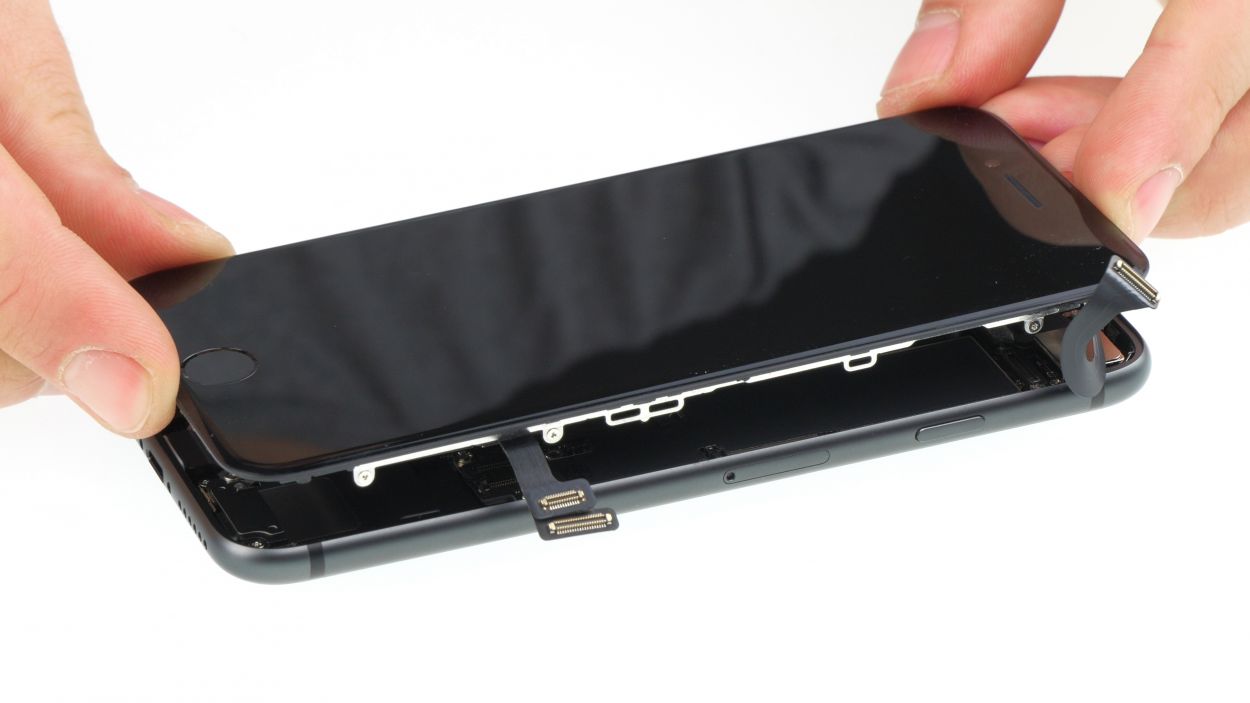
– First, set that display upright on the upper case frame and connect the FaceTime connector to the logic board. You’re doing great!
– Next, gently place the display aside on the case frame. Keep it cozy!
– Finally, pop the bracket plate back over the FaceTime connector and secure it with those three Phillips screws. You’ve got this!
Step 33


– Connect the home button and display cables to the logic board, giving them a warm welcome! You’re almost at the finish line!
Step 35

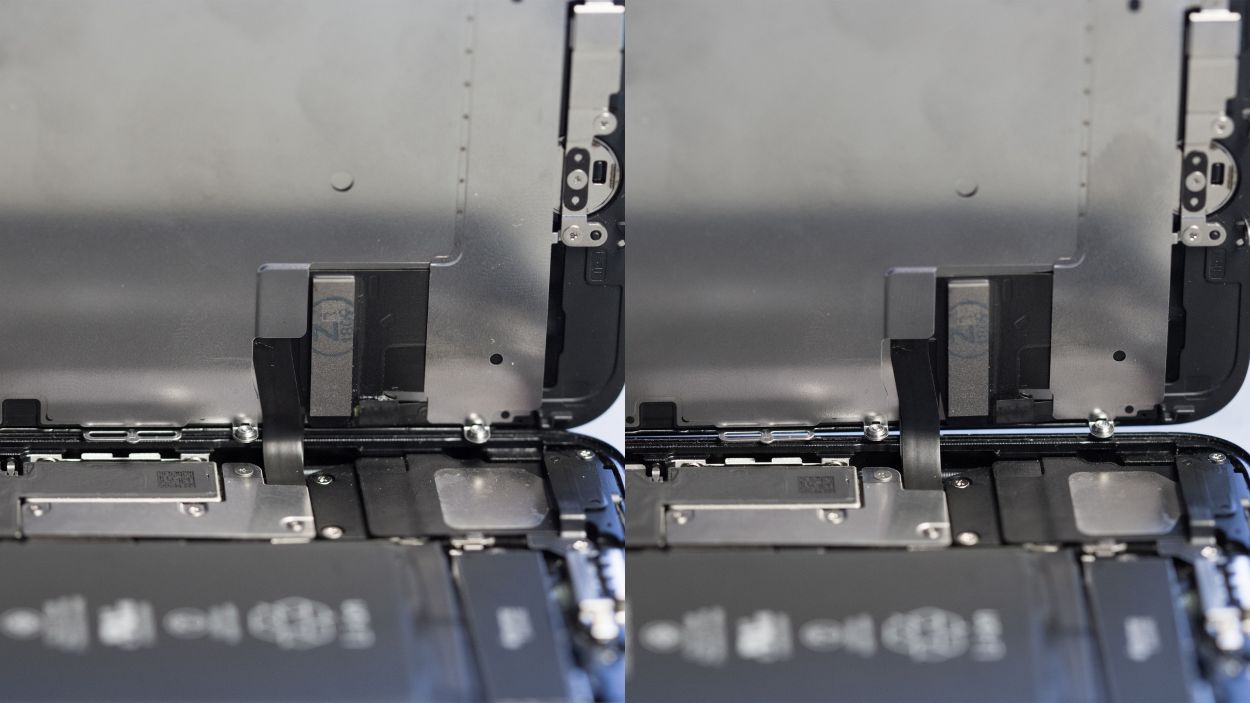
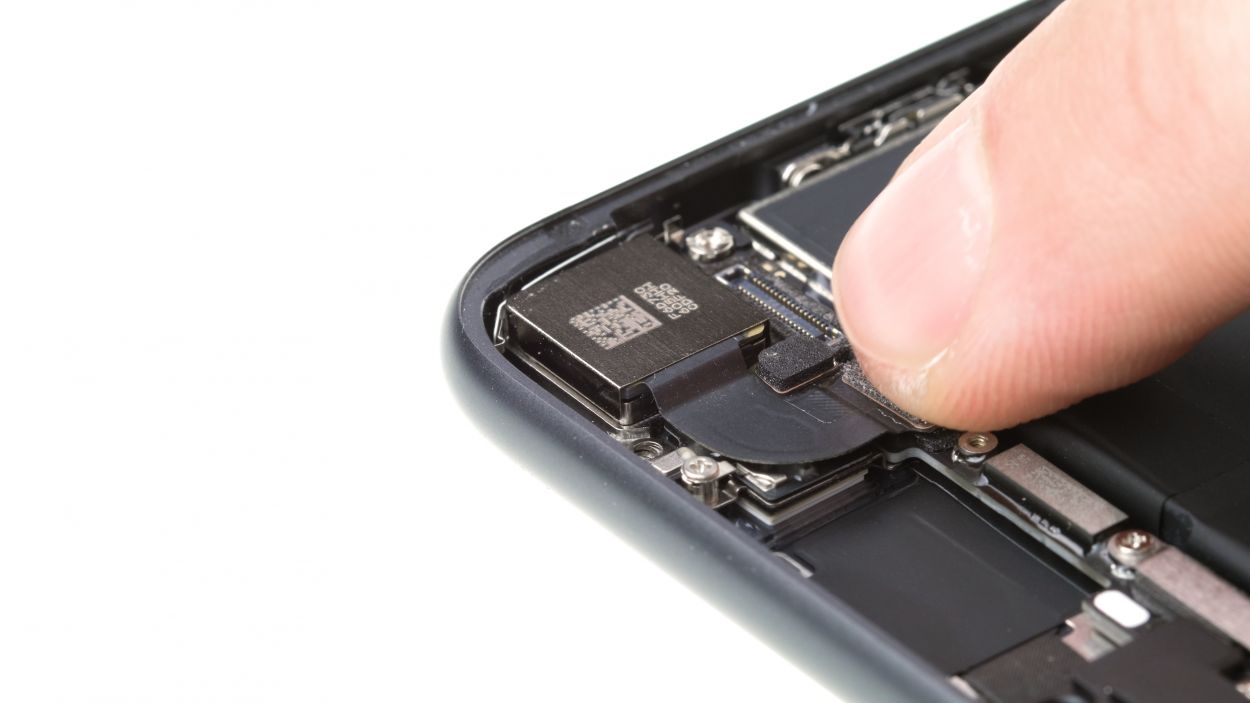
Wrong position
Right position
If that cable isn’t snug as a bug, you might see some funky spots on your display. So, before you seal things up, double-check that the chip is sitting pretty in its spot. Our handy photo will guide you to the perfect position!
Step 36

2 × 3.4 Pentalobe
– Let’s grab those two pentalobe screws hanging out on either side of the Lightning connector and screw them back into the rear case of your iPhone SE. Make sure they’re nice and snug—no one likes a loose screw!
Tools Used