DIY Guide: How to Replace iPhone SE (2020) iSight Camera – Step-by-Step
Duration: 30 min.
Steps: 15 Steps
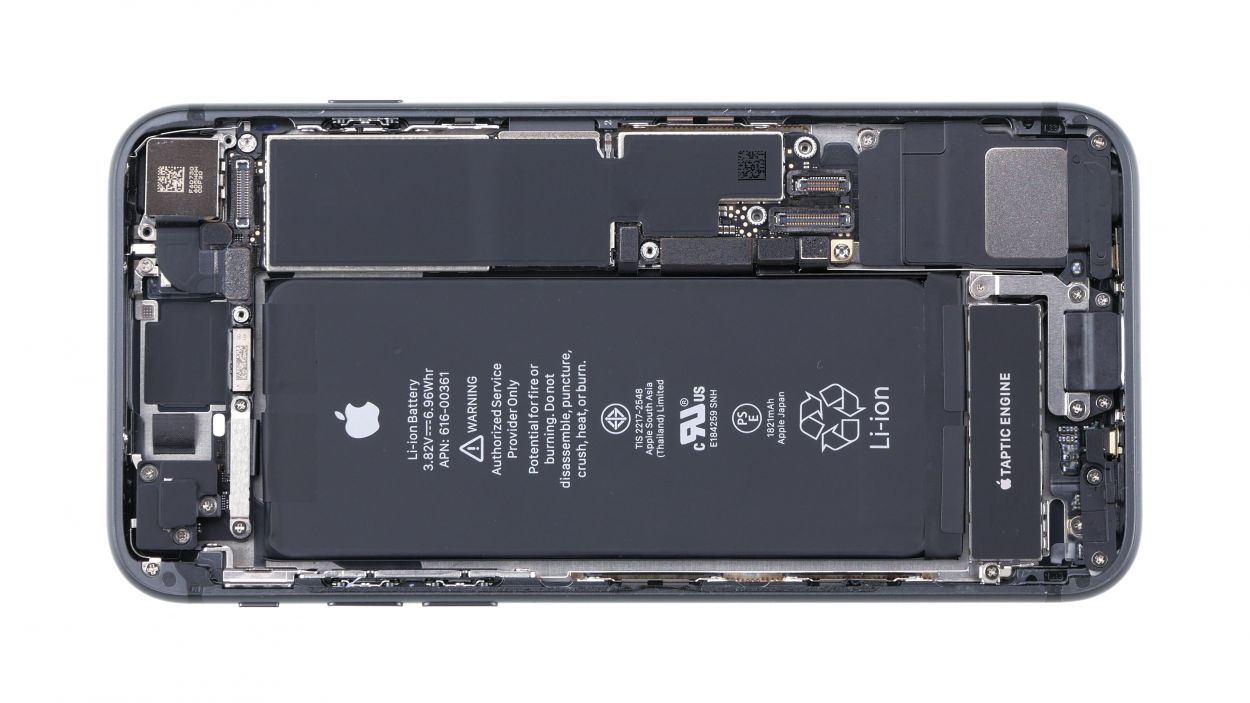
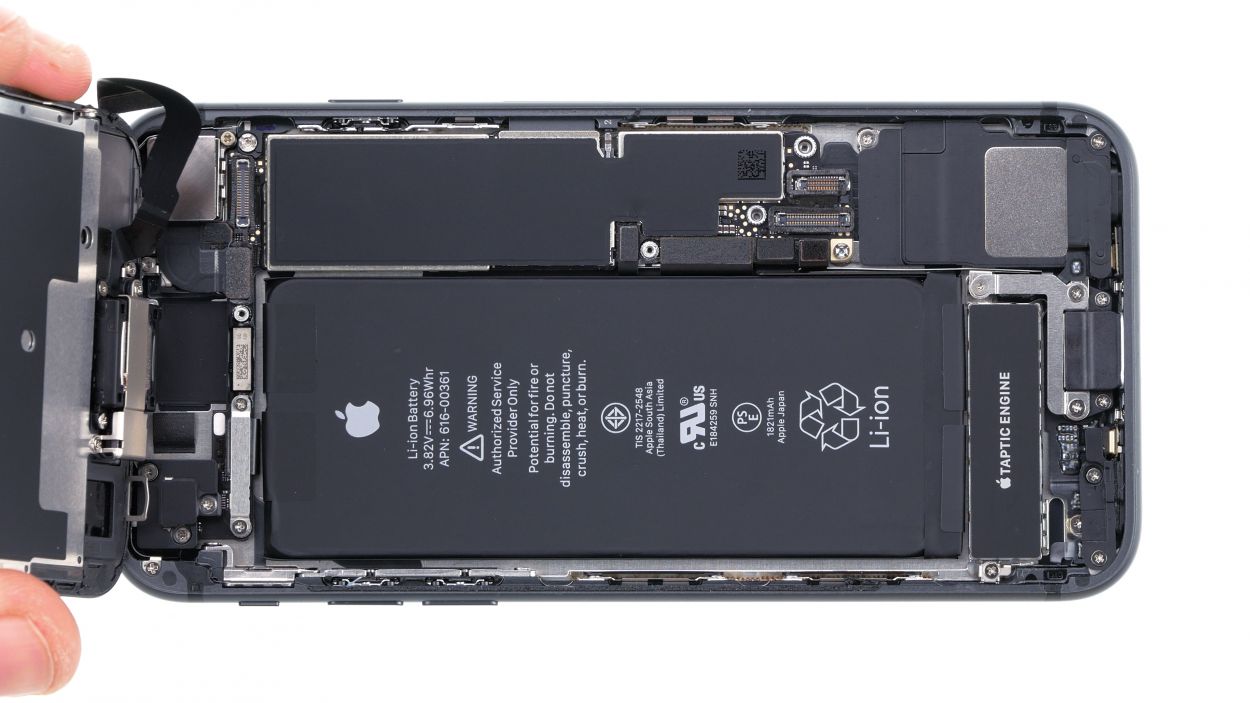
No need to stress! In this guide, we’ll walk you through the simple process of swapping out the faulty rear iSight camera on your iPhone SE, so you can get back to snapping those crisp photos. The images in this guide feature the iPhone 8, but don’t worry—we’re using them because the iPhone SE (2nd generation) and the iPhone 8 are basically twins in terms of design. Plus, the steps for the repair are exactly the same. Wishing you the best of luck with your repair! And hey, if you find our instructions helpful, feel free to give us some feedback. Remember, you got this!
Step 1

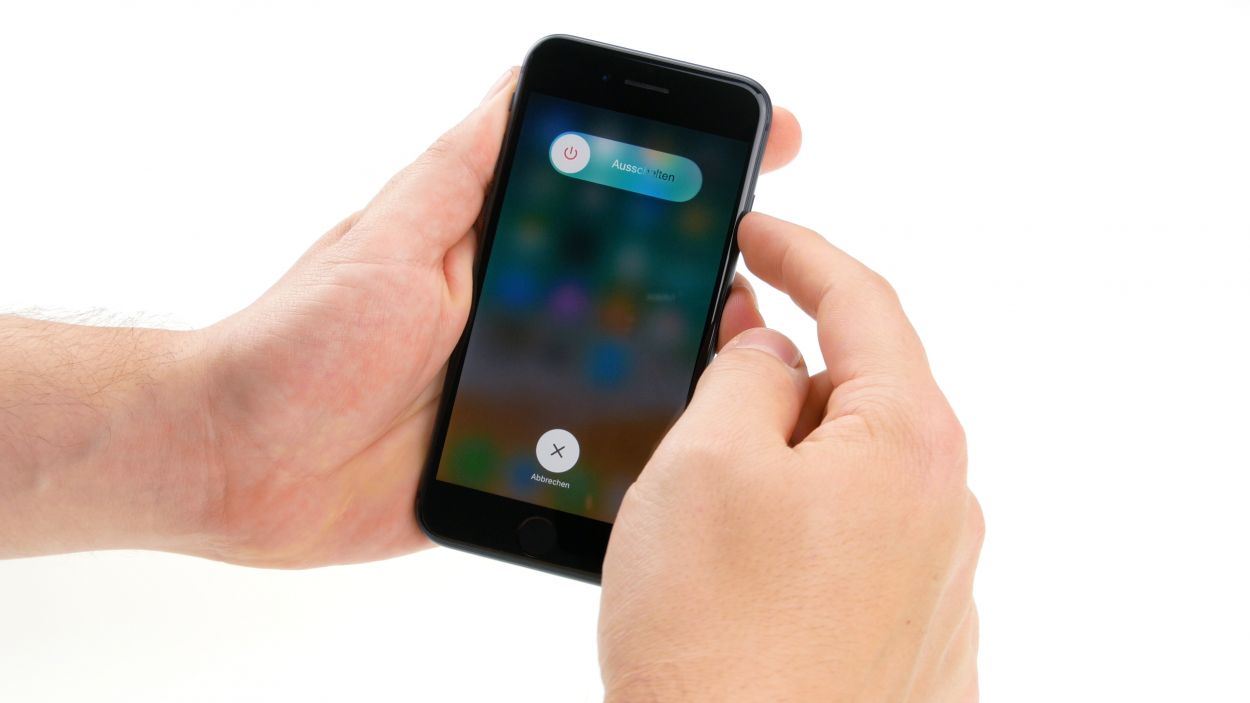
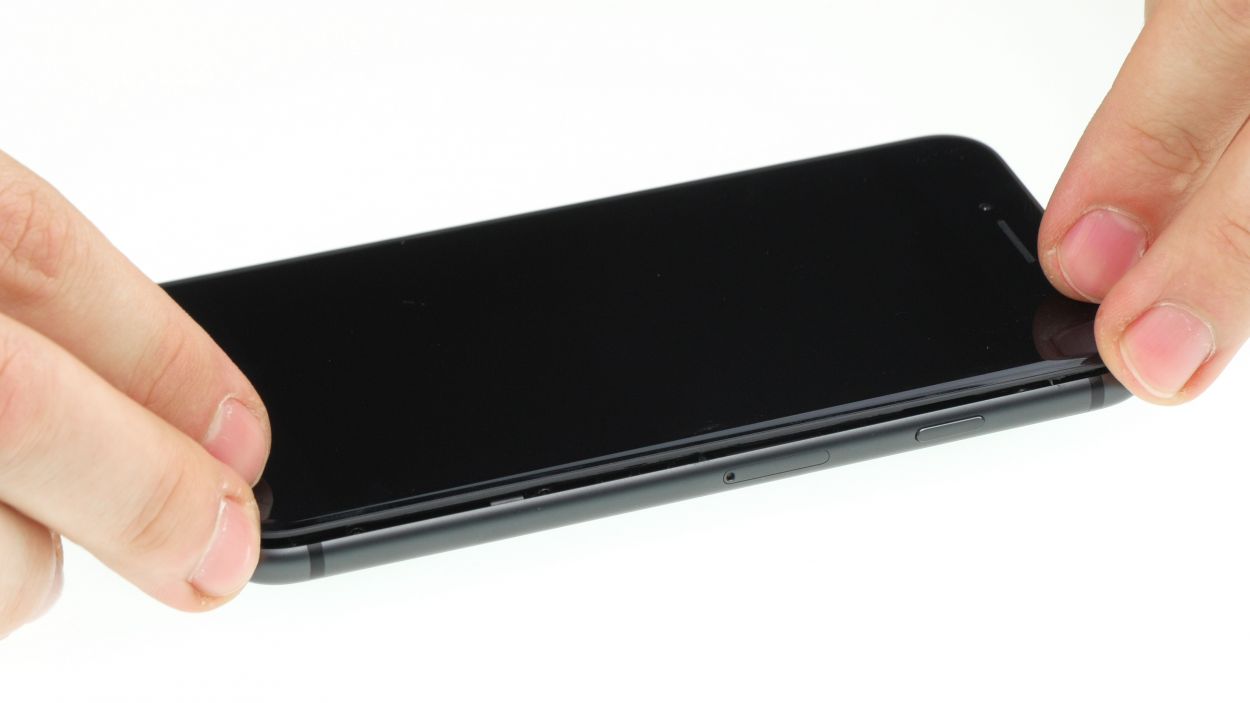
– First things first, let’s power down your iPhone SE (2nd generation) to keep it safe during the repair. Just hold down the standby button until you see that ‘Power off’ slider pop up.
– Now, give that slider a gentle swipe from left to right. In about ten seconds, your iPhone will be completely off and ready for the next steps!
Step 2
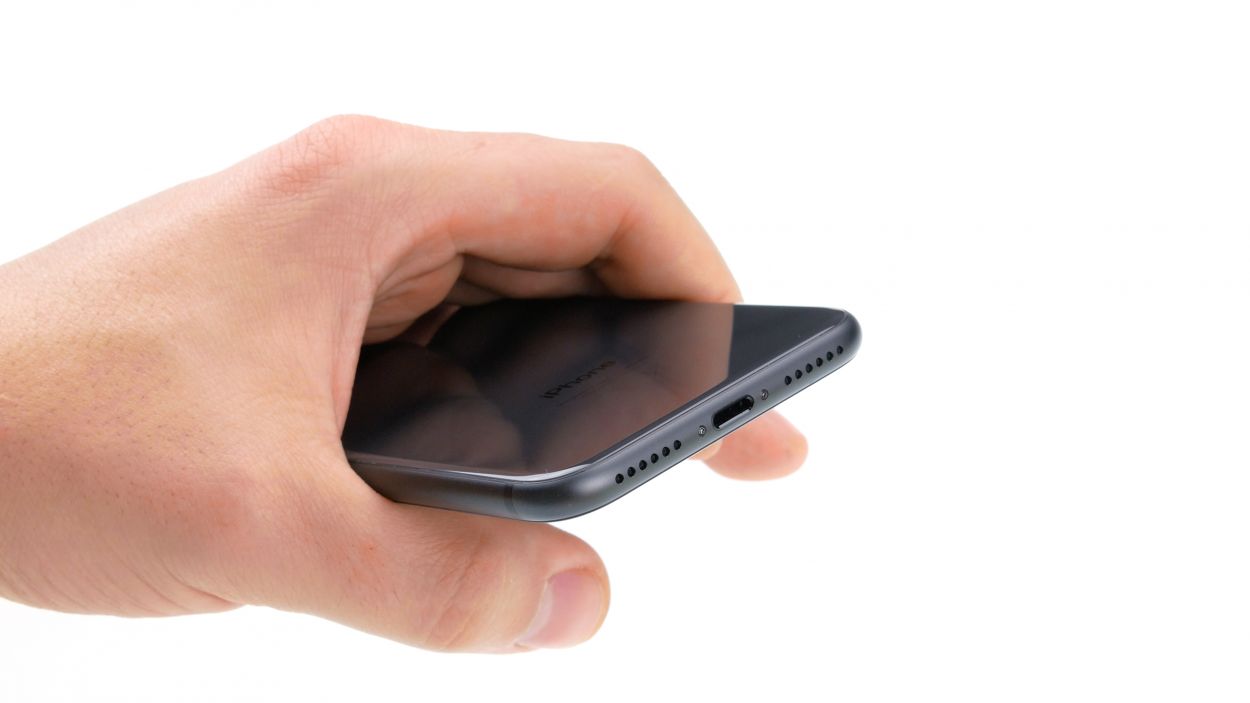
– Let’s tackle those two Pentalobe screws hanging out on either side of the Lightning connector. Grab your trusty Pentalobe screwdriver and give them a twist. Once they’re out, make sure to toss them into your screw storage box so they don’t go wandering off!
2 × 3.4 mm Pentablobe
To keep track of all those tiny screws and parts you just removed, we suggest using a nifty screw storage box. Got an old sewing box lying around? Perfect! You can turn that into your new screw sanctuary. We also recommend a high-quality magnetic pad, where you can neatly arrange everything just like you found it in your phone. This way, you’ll know exactly where each screw belongs, making reassembly a breeze!
Step 3
Here’s a handy tip for warming things up: your device should feel warm, but not so hot that it makes you go ‘ouch!’ Keep it comfy while you work your magic!
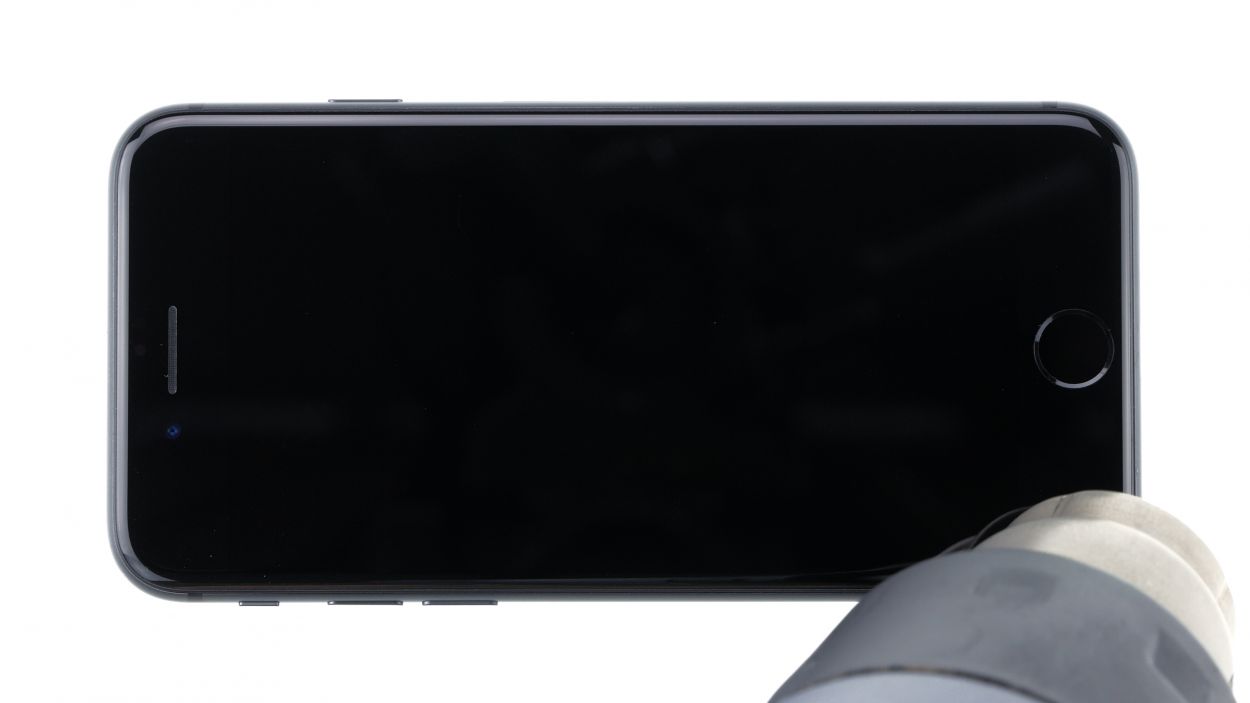
– To kick things off, lay your iPhone SE on a soft, clean surface. This will keep it safe from scratches while you’re lifting the display.
– Since the display is glued around the edges, it’s time to warm things up a bit! Grab a heat gun or a good old hairdryer and gently wave it over the display’s edge from the outside. This will help loosen it up for an easier detachment.
Tools Used
- heat gun to heat parts that are glued on so they’re easier to remove.
In most cases, you can also use a hairdryer.” rel=”noopener”>Heat gun
Step 4
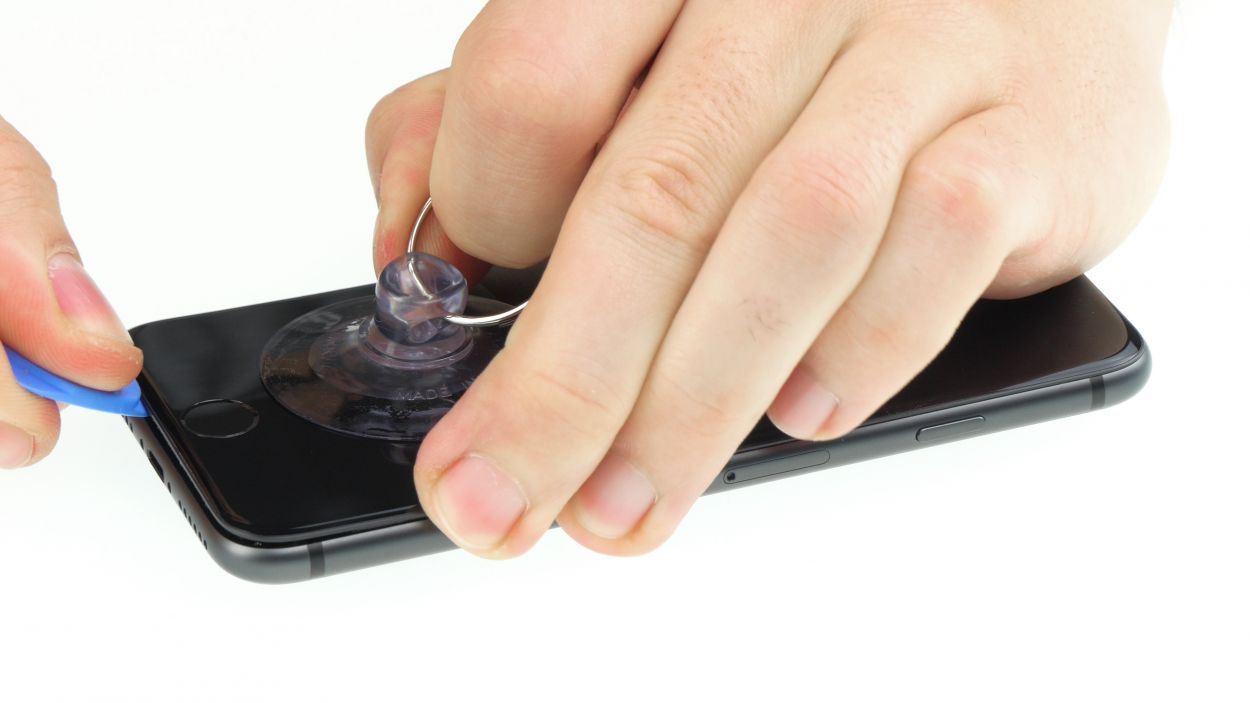

– Stick that suction cup right above the home button on your display and give it a gentle pull upwards. Lifting the display screen will create a snug little gap between the aluminum and display frames, making it easier for you to work your magic.
Just a heads-up! Once you crack open that iPhone SE (2nd generation), the warranty for its dust and splash protection (IP67 rating) goes poof! So, let’s be careful and keep it safe.
Tools Used
Step 5
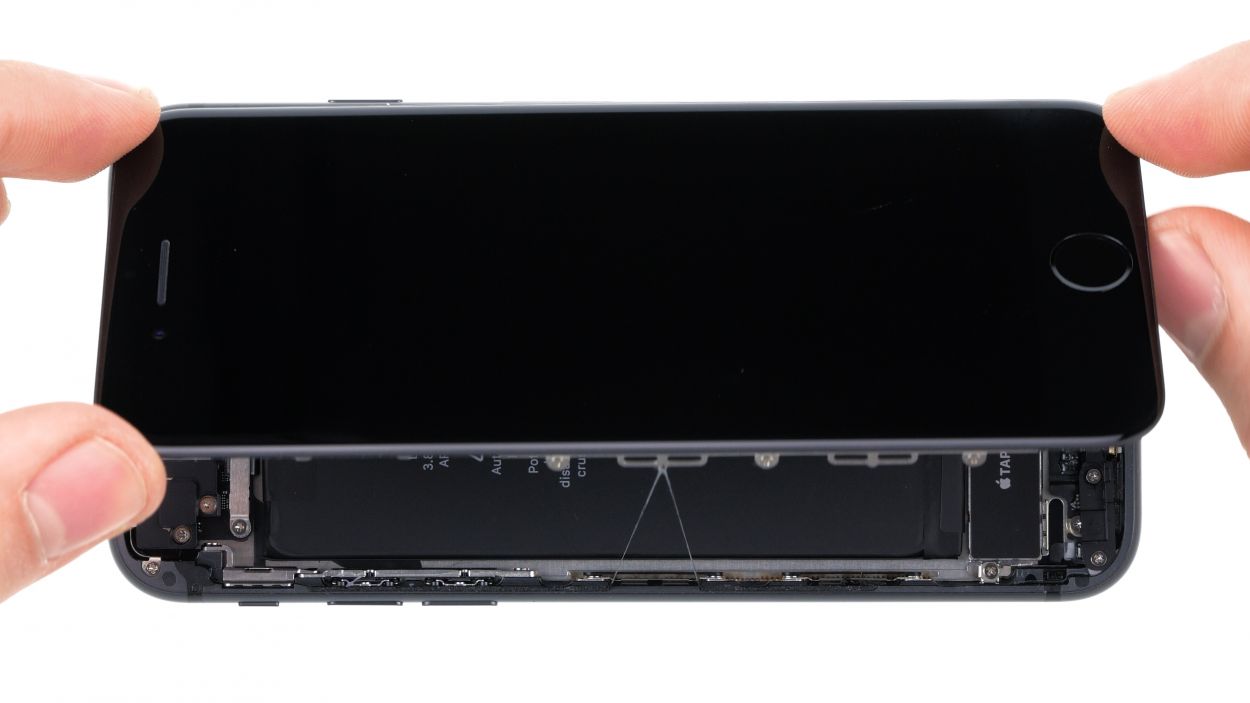
Hey there! Just a quick tip: keep that display angle under 180° while it’s still connected. Going beyond that might stretch those flex cables a bit too much, and we definitely don’t want that!
Step 6


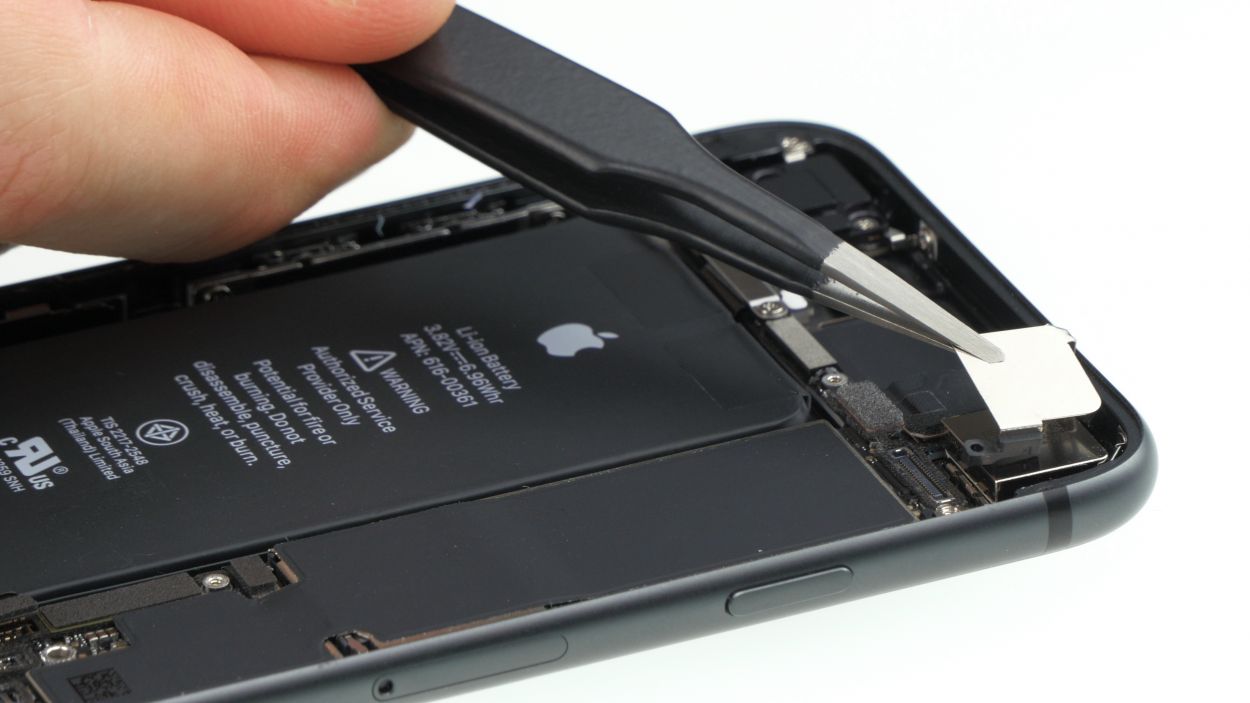
– Grab your Phillips screwdriver and gently loosen those four screws on the contact cover. Once they’re ready to come out, use your trusty tweezers to lift it out of your device with care.
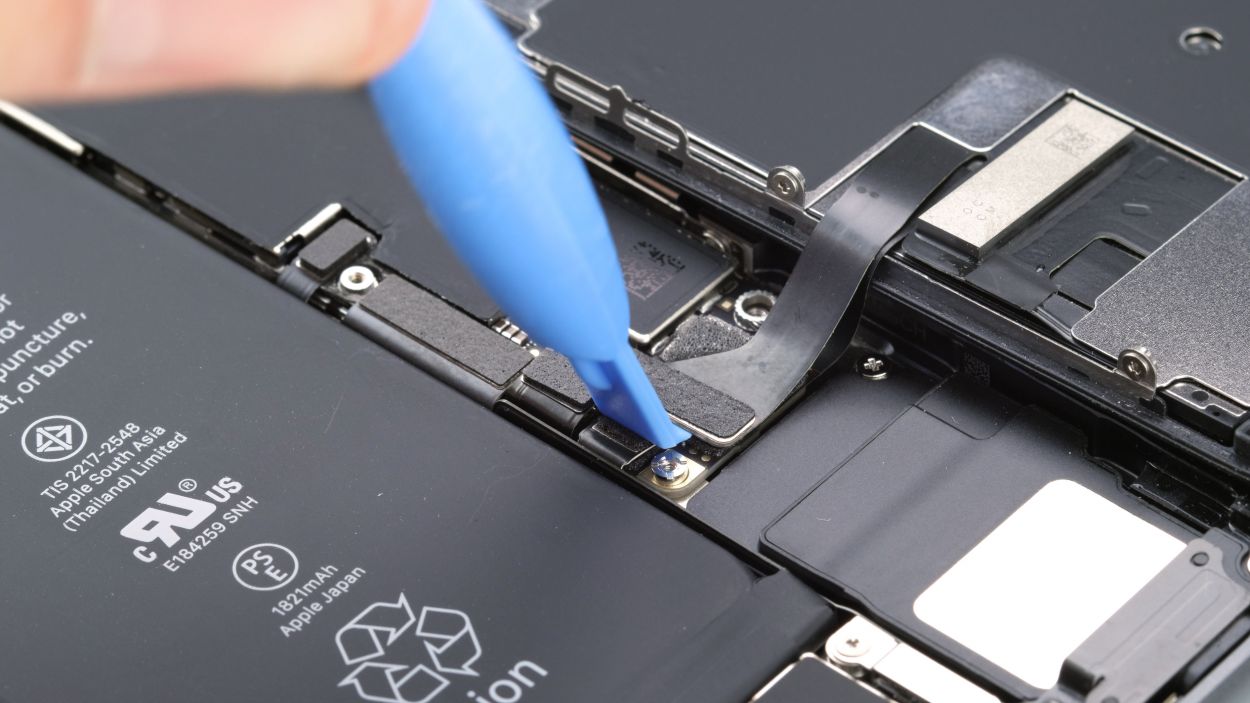
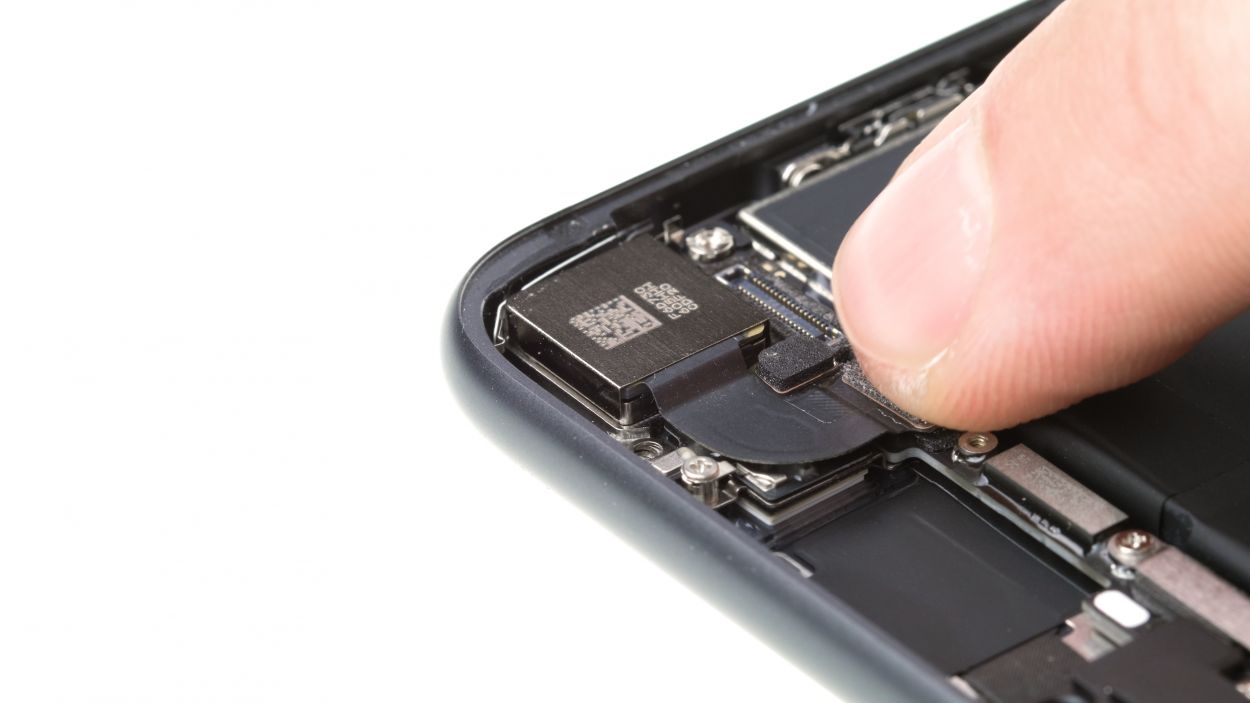
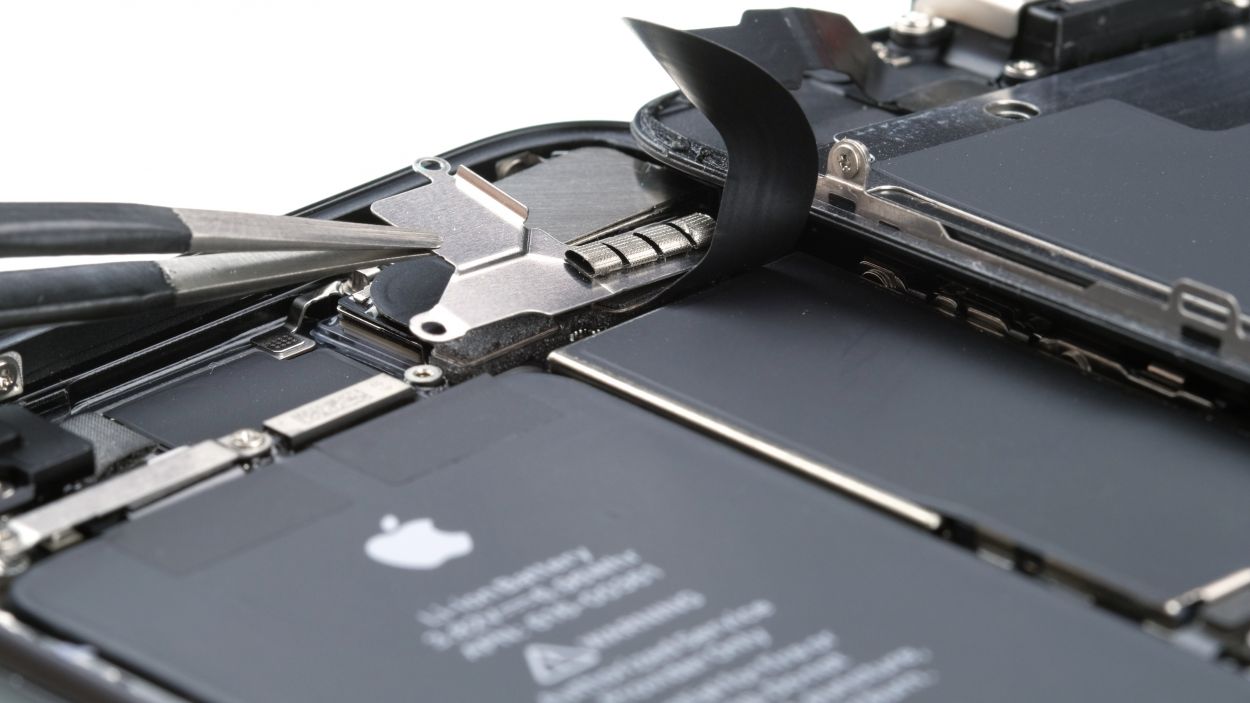
– Now it’s time to disconnect the battery contact! Slide a plastic spudger under the plug and give it a little lift. Remember, we always go for the plastic spudger for this task!
2 × 2.6 mm Phillips
2 × 1.0 mm Phillips
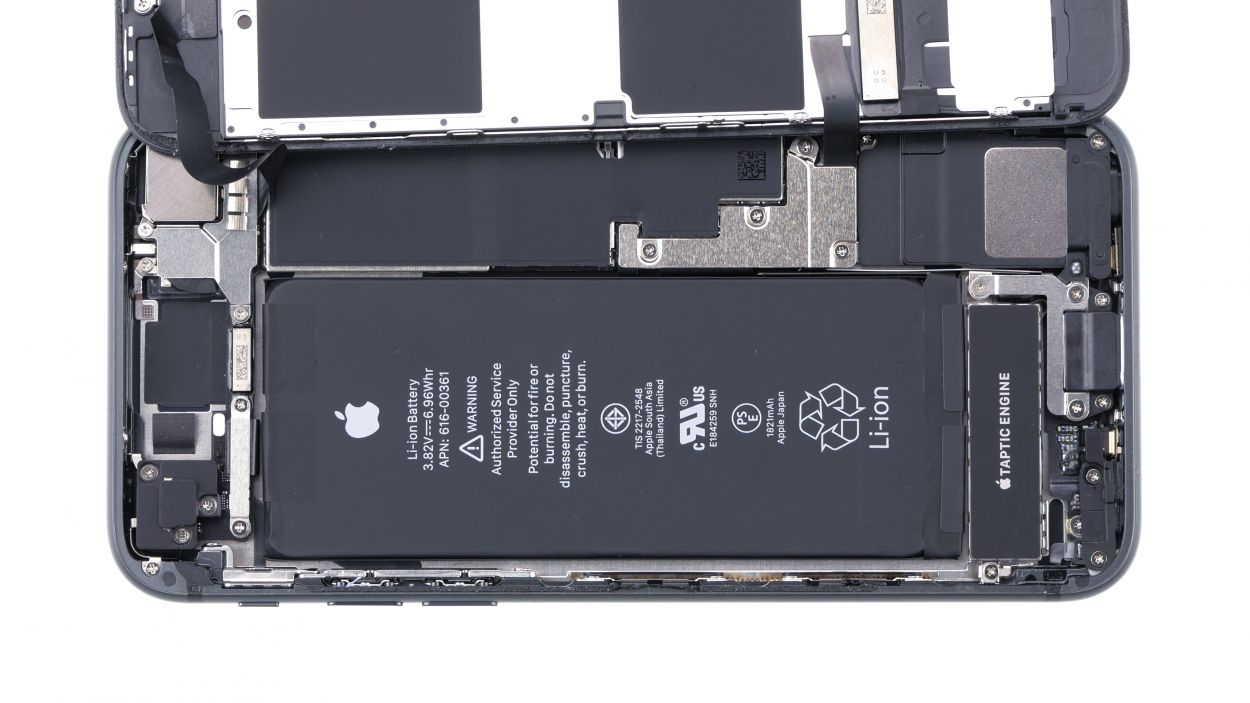
Disconnect the battery connector immediately at the beginning of the repair. This not only prevents a short circuit, but also ensures that you do not accidentally switch on your phone during the repair.
In this guide, we’re showcasing some snazzy photos of the iPhone 8. While the battery connector on the iPhone SE (2nd generation) might have a slightly different look, don’t sweat it—it’s still hanging out in the same spot on the device!
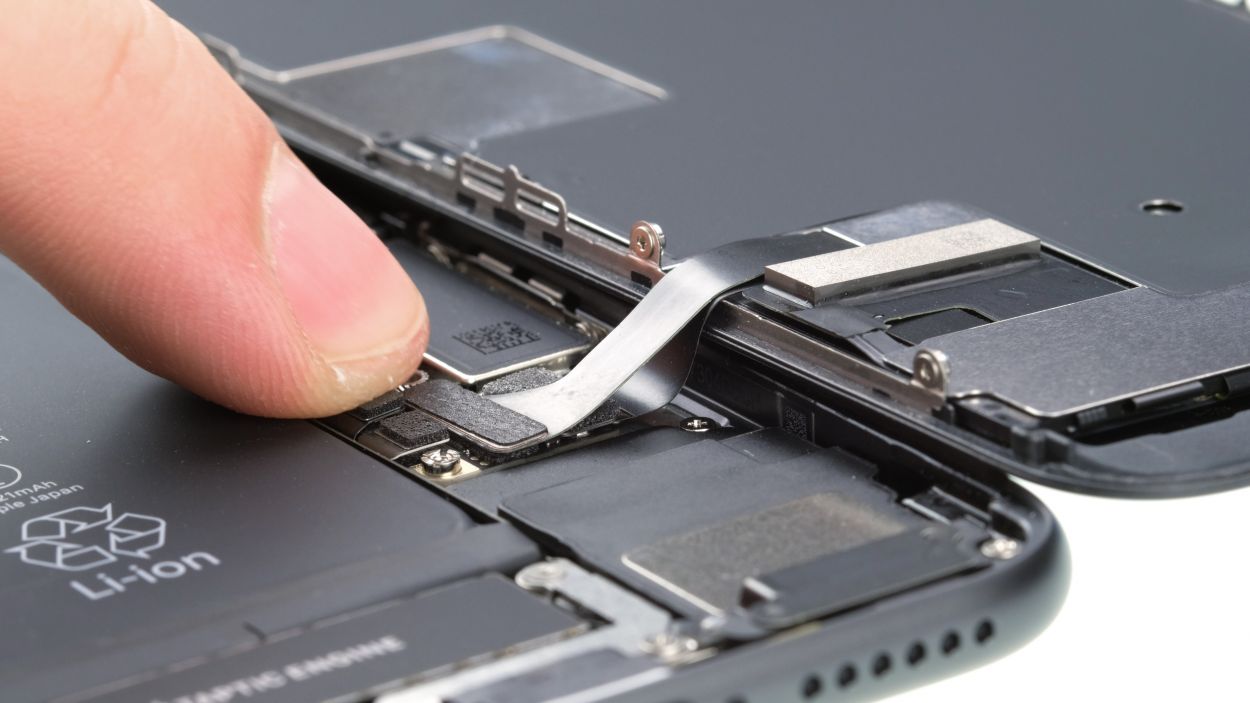
Step 7


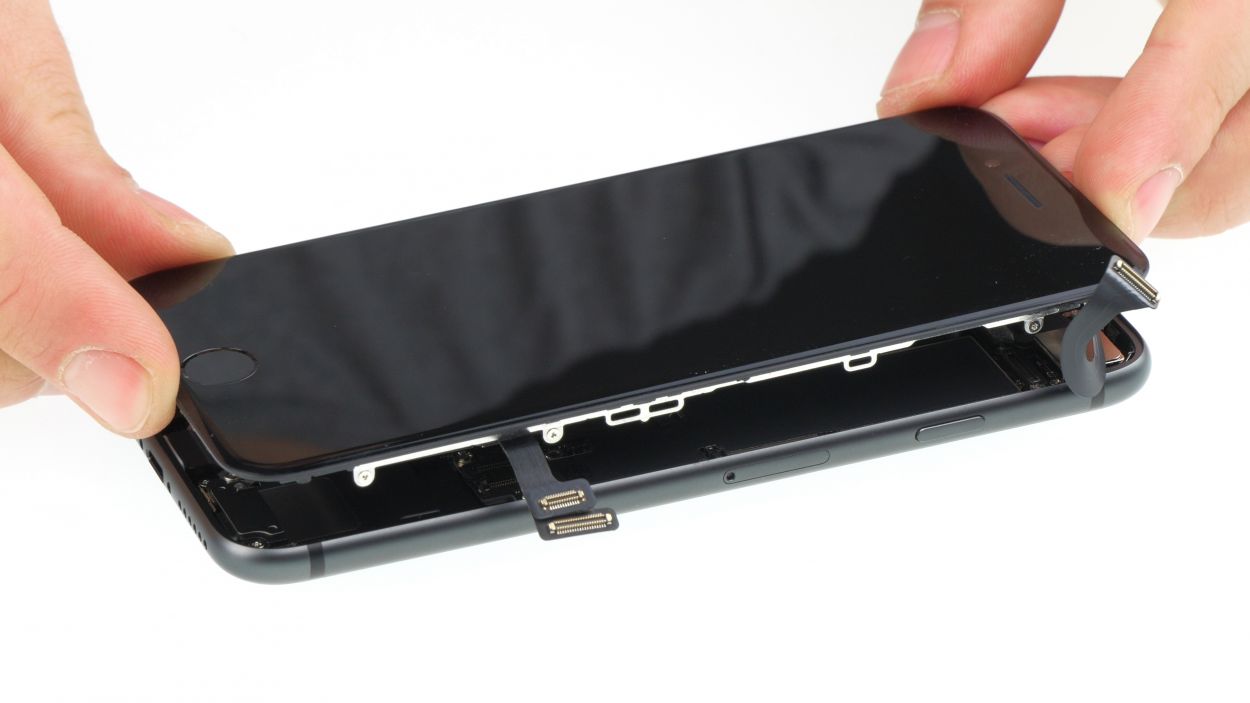
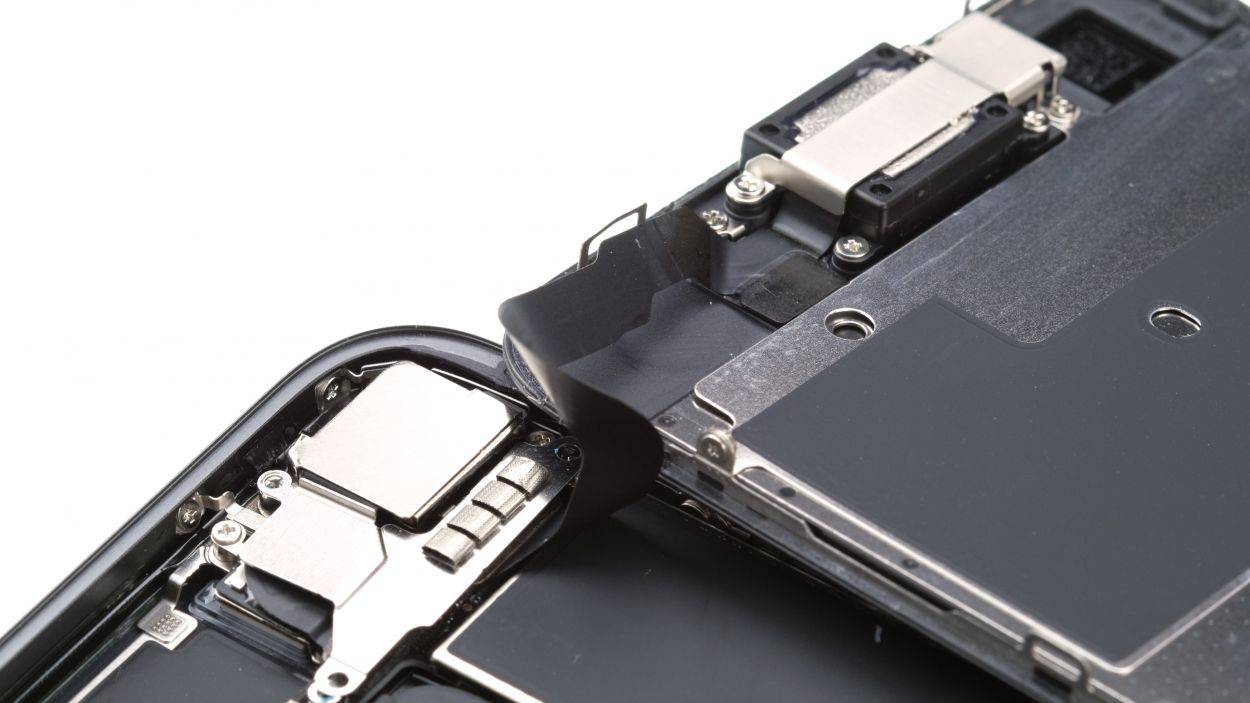
– Grab that trusty plastic spudger and gently pry off the two connectors that are hanging out with the display (you know, the display and the home button).
Tools Used
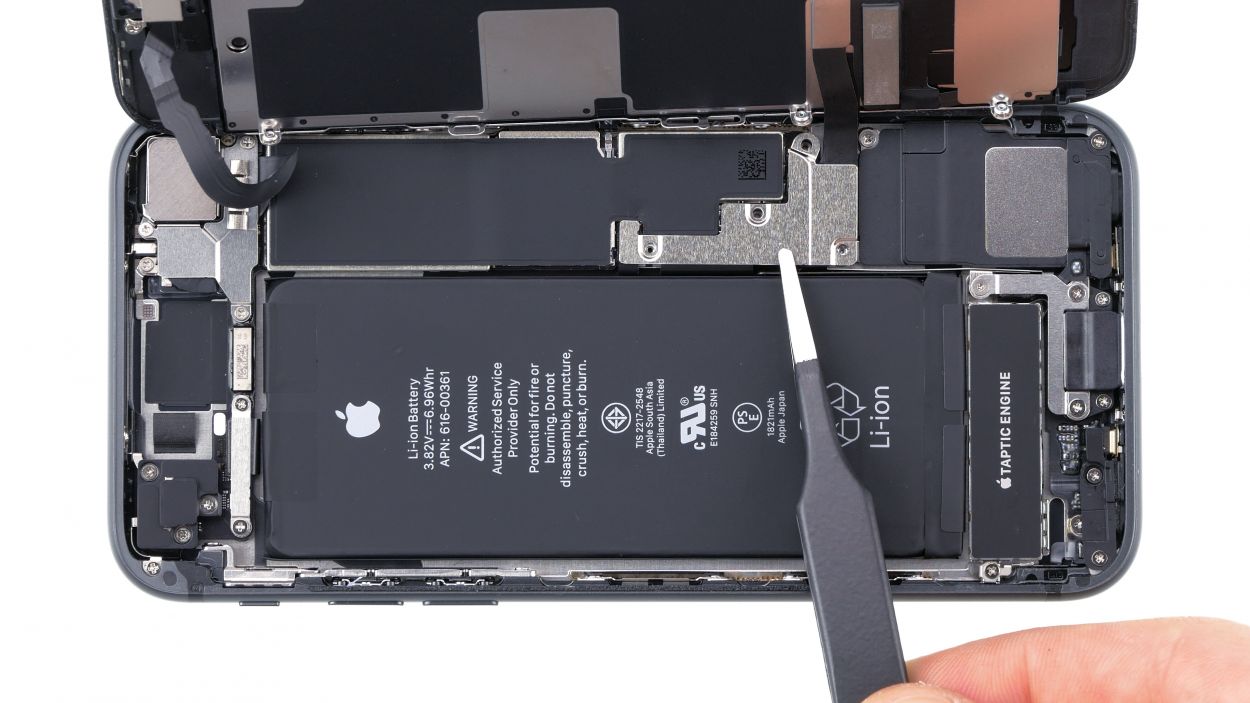
Step 8


3 × 1.0 mm Phillips
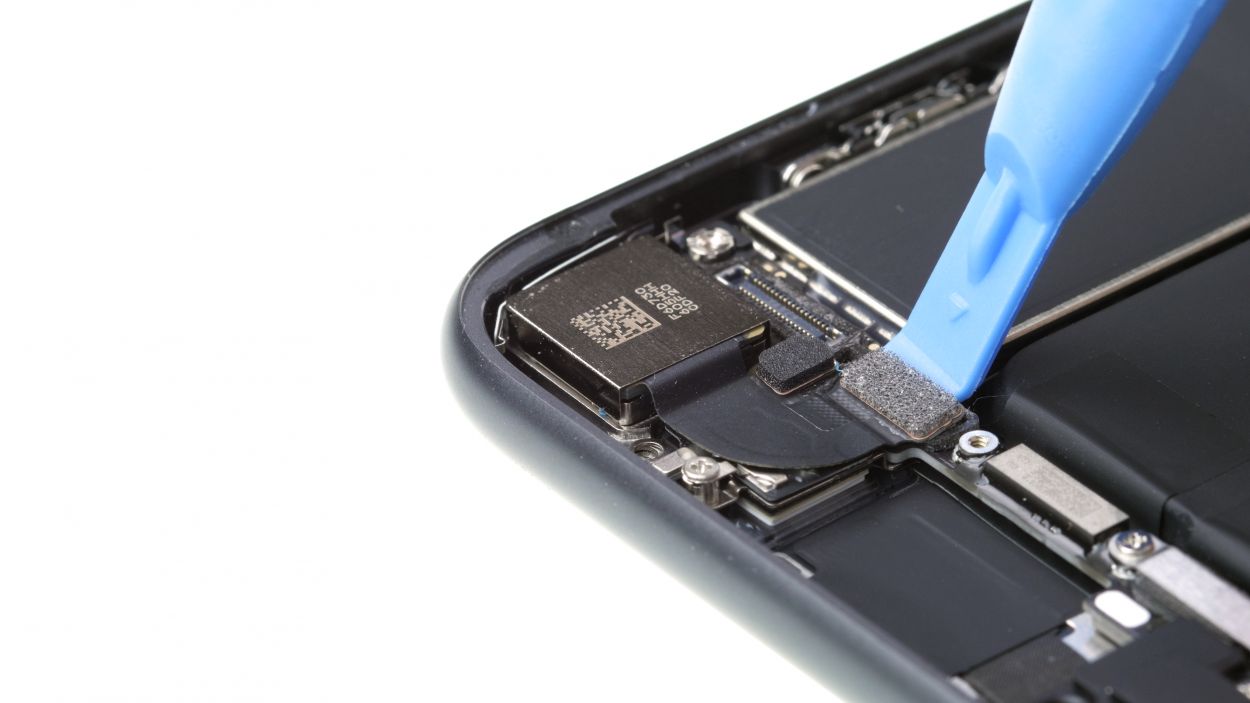
– Grab your Phillips screwdriver (PH00) and gently loosen those three screws holding the cover over the FaceTime connector. We’re almost there!
– Now, with your trusty spudger, carefully detach that FaceTime connector from the board. Easy does it!
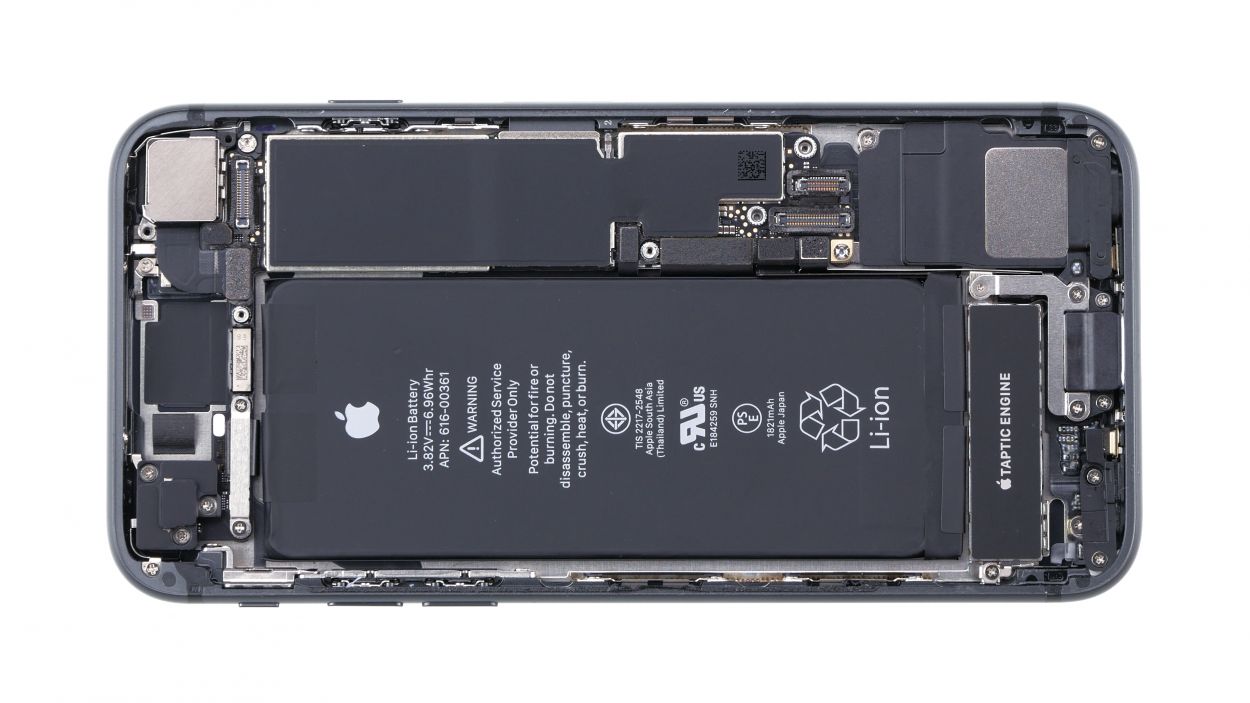
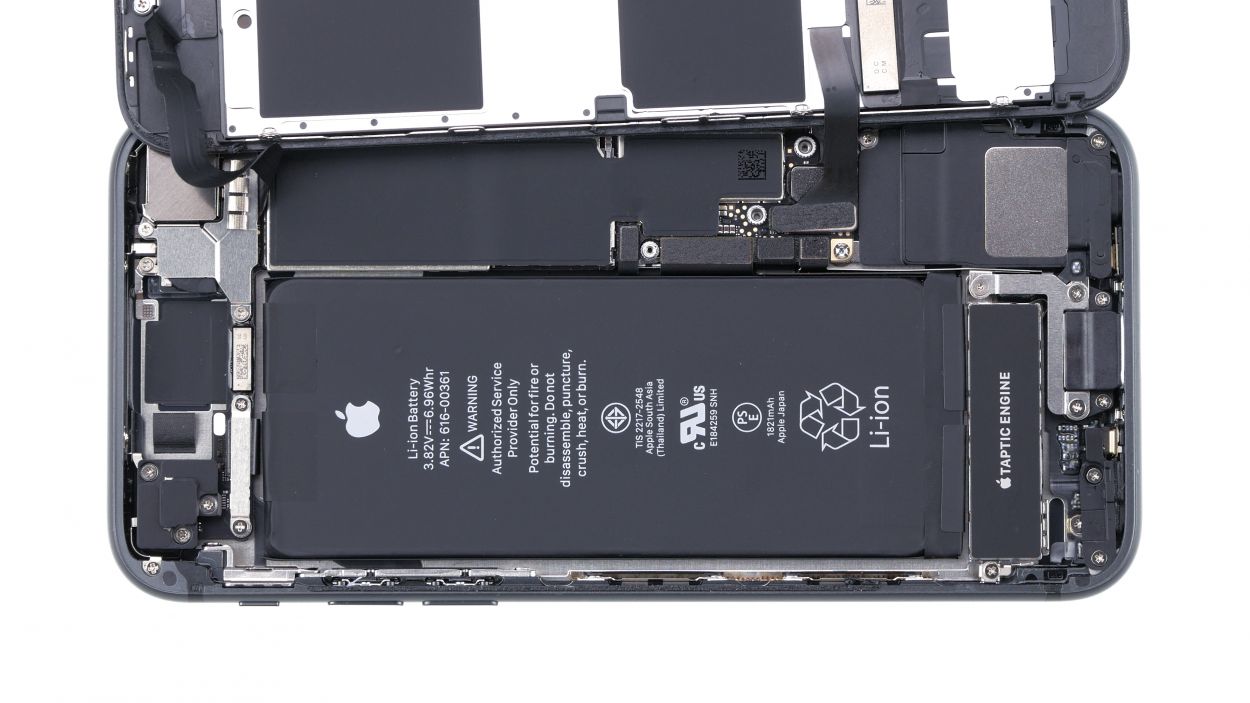
– And voilà! You can now completely remove the display. You’re doing great!
Step 9

1 × 2.9 mm Phillips
1 × 3.0 mm Standoff
While there are some cool screwdrivers designed just for those tricky internal thread screws, don’t worry if you don’t have one! A regular, slender slotted screwdriver will do the trick just fine. You’ve got this!
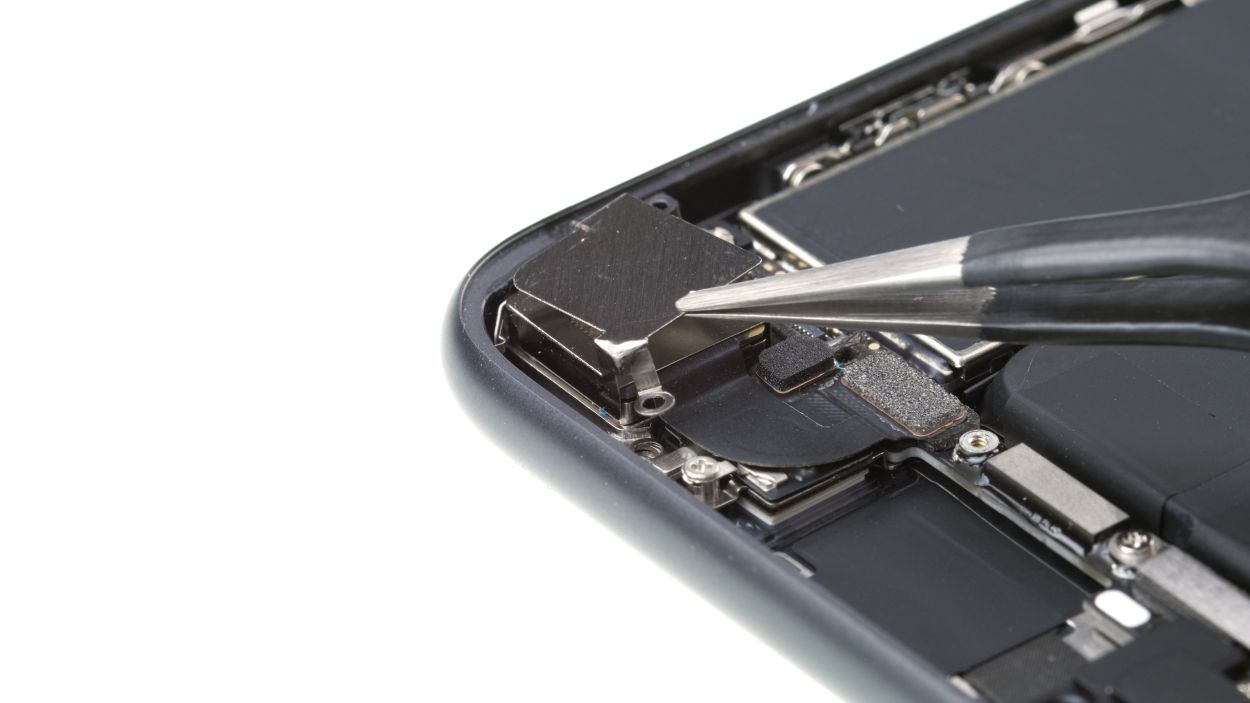
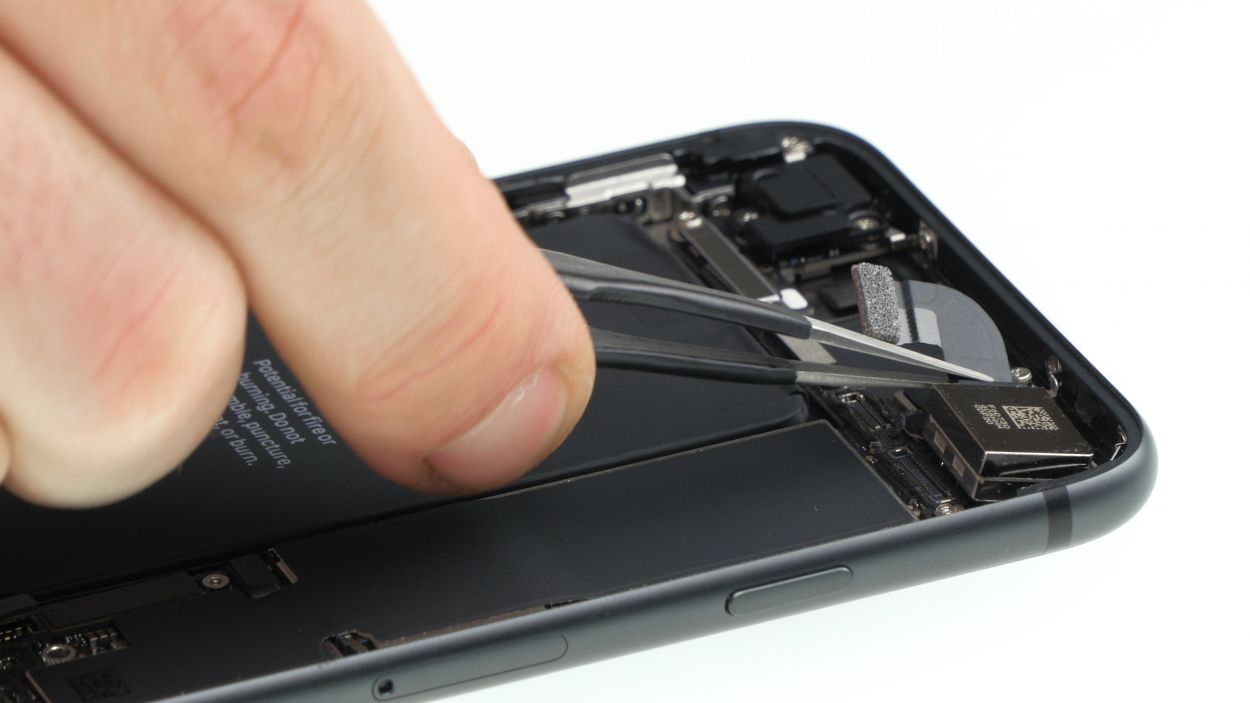
– Unscrew the two screws that hold the bracket plate of the iSight camera in place, and then set that bracket plate aside like a pro.
Step 10

1 × 2.9 mm Phillips
1 × 3.0 mm Standoff
– Gently slide the camera back into its cozy little home in the case and give it a firm press to settle in.
– Next up, connect the camera connector like a pro!
– Finally, pop the cover plate back on the camera and give those screws a nice tight twist to keep everything secure.
Step 11
3 × 1.0 mm Phillips
– Stand the display tall on the upper case frame and connect that FaceTime connector on the logic board like a boss!
– Now, give that display a little nudge to the side on the case frame.
– Pop the bracket plate back over the FaceTime connector and secure it with those three Phillips screws. You’re almost there!
Step 12


– Connect the home button and display connectors to the logic board with a little care and finesse. You’ve got this!
Step 14

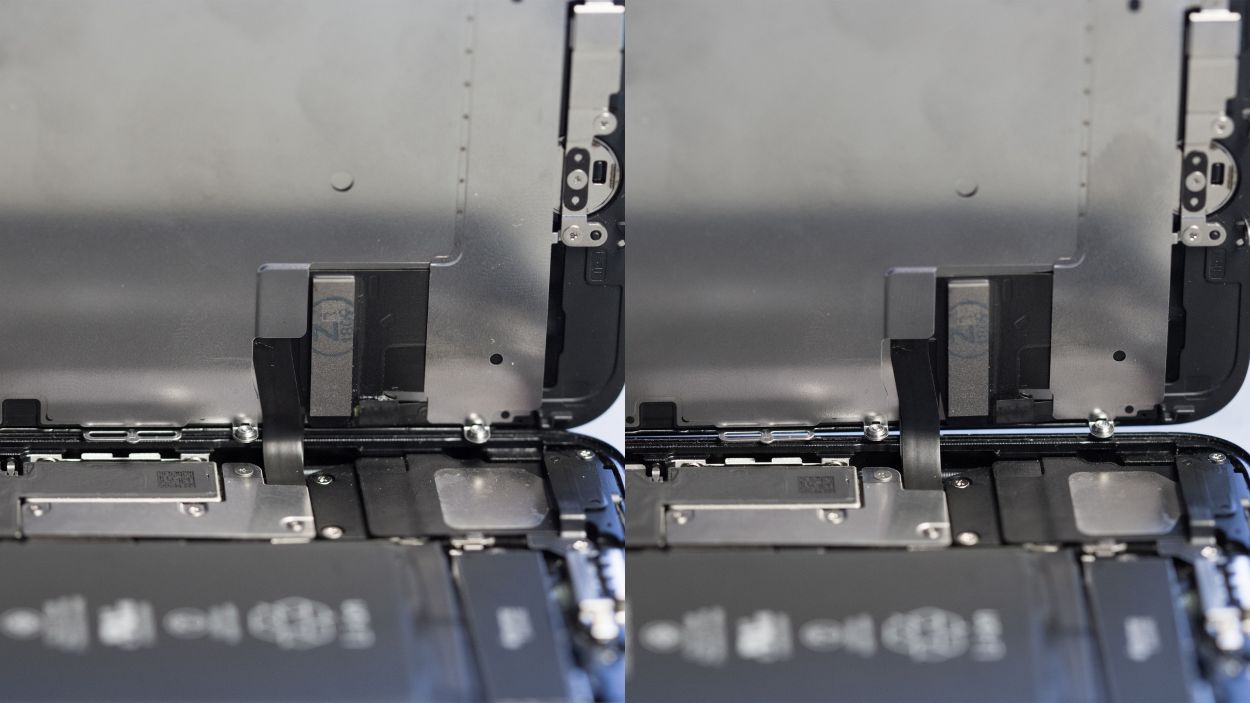
Wrong position
Right position
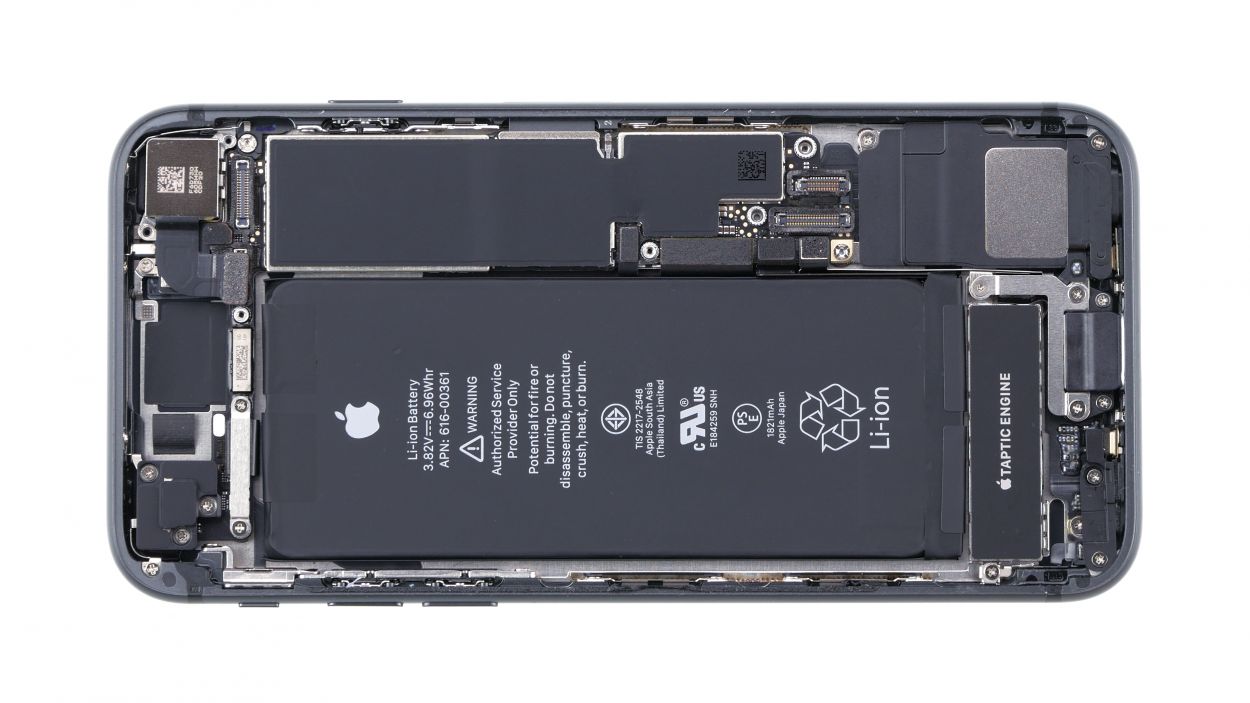
Heads up! If that cable isn’t snugly in place, you might see some funky spots on your display. So, before you seal everything up, double-check that the chip on the cable is in its happy spot. Our photo will help you nail that perfect position!
Step 15

2 × 3.4 Pentalobe
– Time to bring those two Pentalobe screws back home! Grab your trusty Pentalobe screwdriver and twist them into place on either side of the Lightning connector. Once they’re snug, you’re one step closer to a fully functional iPhone SE!