DIY Guide to Replace iPhone 11 Pro Earpiece
Duration: 60 min.
Steps: 14 Steps
Welcome to your DIY adventure! In this guide, we’ll walk you through the steps to swap out your iPhone 11 Pro’s earpiece, so you can enjoy crystal clear calls once more. Check out our online store for the perfect iPhone tool kit and a top-notch replacement earpiece specifically for your device. Happy repairing, and may your sound be as clear as your enthusiasm!
Step 1
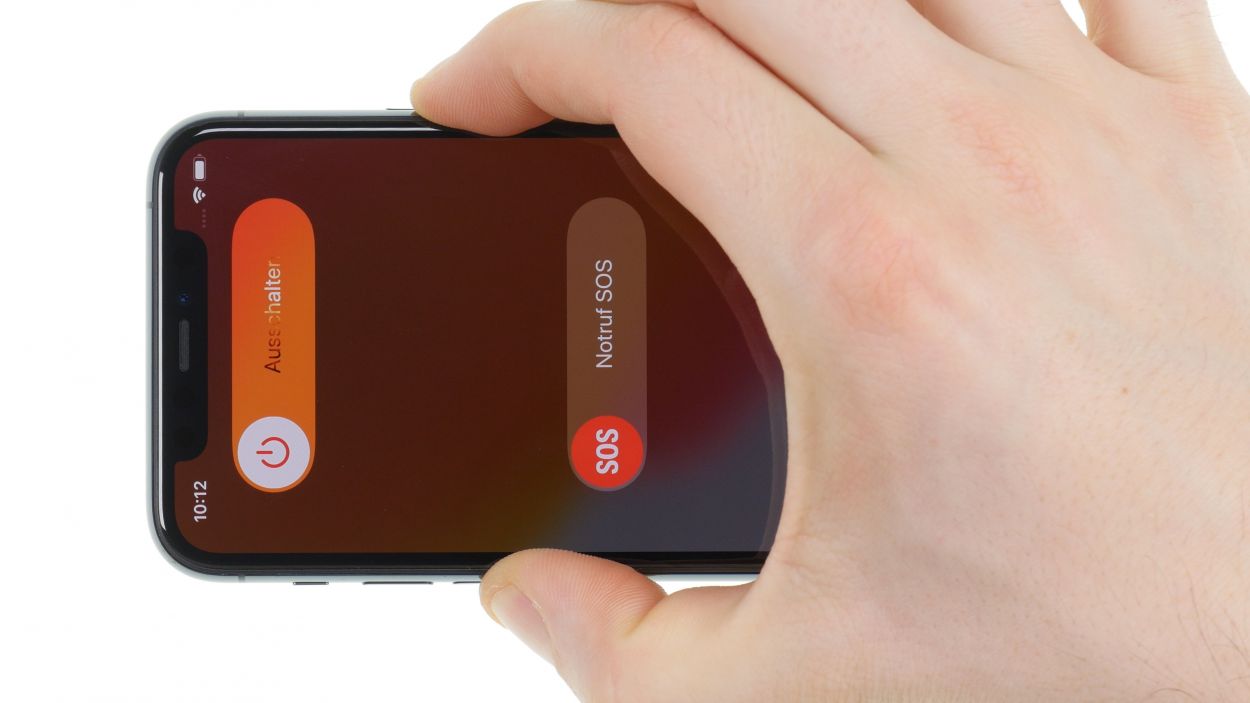
– Press and hold both the sleep/wake button and the volume button together for a few seconds to power it down.
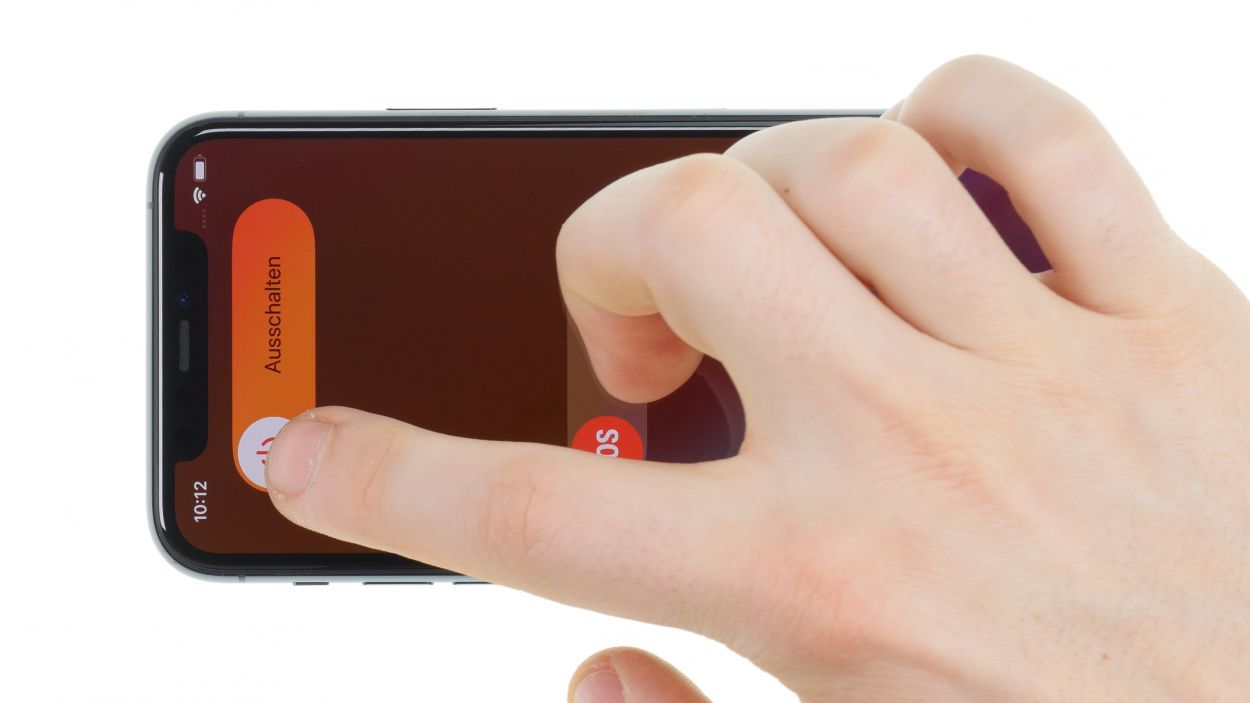
– Swipe the ‘Switch off’ slider from left to right to confirm.
– In just a few moments, your smartphone will be completely powered off.
Step 2

– Grab your trusty Pentalobe screwdriver and twist out those two Pentalobe screws like a pro!
– Once they’re free, toss them into your screw storage so they don’t wander off.
2 × 6.7 mm Pentalobe
To keep track of all those tiny screws and parts you’ve removed, we suggest grabbing a screw storage solution. An old sewing box could do the trick! Here at Salvation Repair, we love using our handy magnetic pad, which allows you to organize the parts just like they were originally in your device. This way, you won’t lose any screws or mix them up, helping you avoid any mishaps during your repair journey!
Step 3


A good rule of thumb is to ensure the screen stays at a comfortable temperature—warm, but not hot enough to roast marshmallows on! Keep it cozy while you work.
– First, set your iPhone down on a soft, clean surface—think of it as a cozy little bed for your device, keeping it safe from scratches!
– Next, grab that heat gun and gently warm up the edge of the display. Just glide it back and forth like you’re giving your phone a nice warm hug!
Tools Used
- heat gun to heat parts that are glued on so they’re easier to remove.
In most cases, you can also use a hairdryer.” rel=”noopener”>Heat gun
Step 4


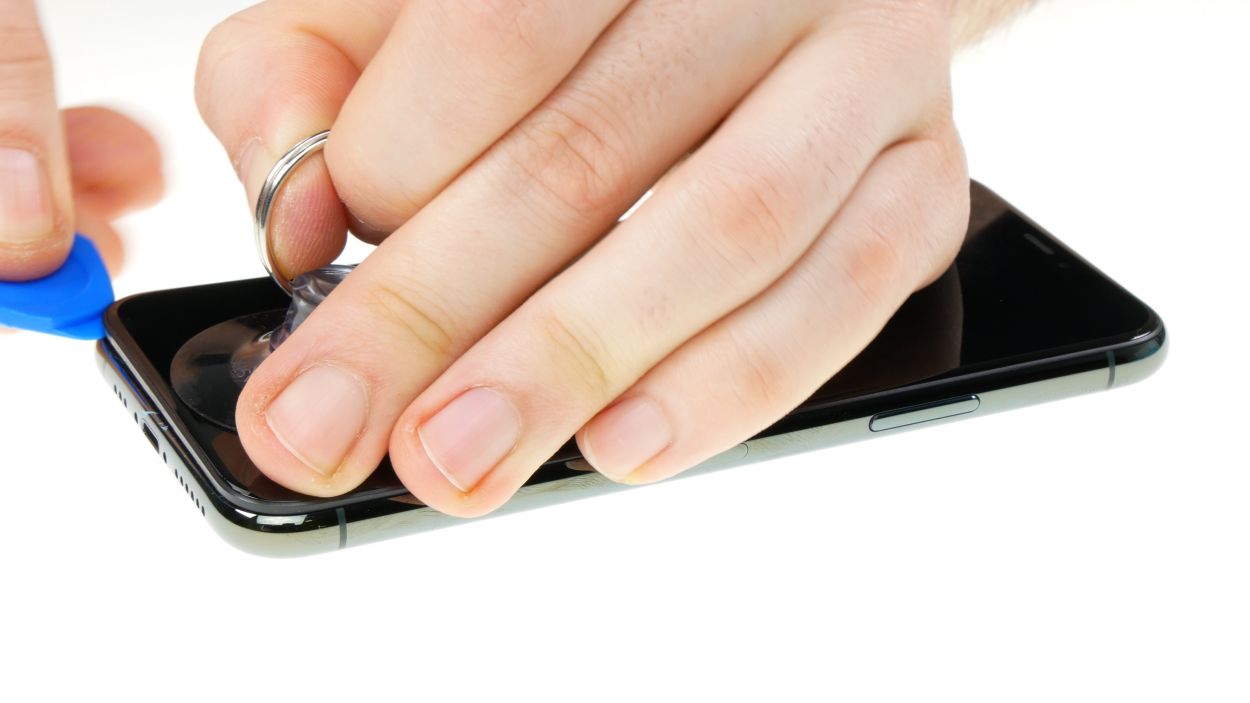
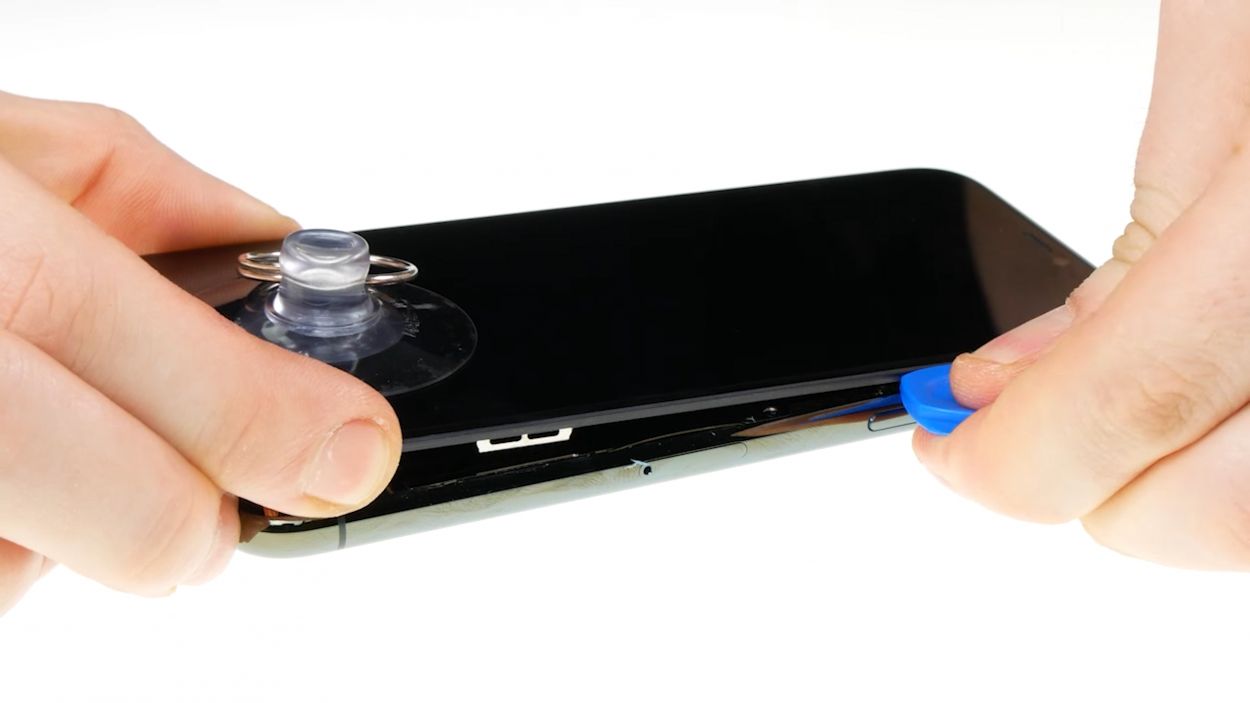
– Kick things off by placing a suction cup on the bottom edge of the display. Gently pull it upwards to create a little gap between the display and the case—you’re doing great!
– Next, slide in a flat, stable tool to widen that gap. A hard plastic plectrum and the iFlex are your best buddies for this task!
Opening up your iPhone 11 Pro means waving goodbye to the manufacturer’s warranty and that cozy IP68 dust and water protection! But hey, you’re on a repair adventure now!
The hard plastic plectrum is designed with a thinner edge at the corners, making it easier to slide in without going too deep into your device. The iFlex, on the other hand, is a super slim, sturdy metal tool with sharp edges. To keep your device’s frame scratch-free, we suggest kicking things off with the iFlex and switching to the hard plastic plectrum as soon as you can. You’re doing great, keep it up!
Tools Used
- Pick Set
- screen and the frame. The practical iFlex is made of stainless steel and sits comfortably in the hand. This makes it the perfect assistant for every smartphone repair.” rel=”noopener”>iFlex Opening Tool
- VAKUPLASTIC Suction Cup
Step 5


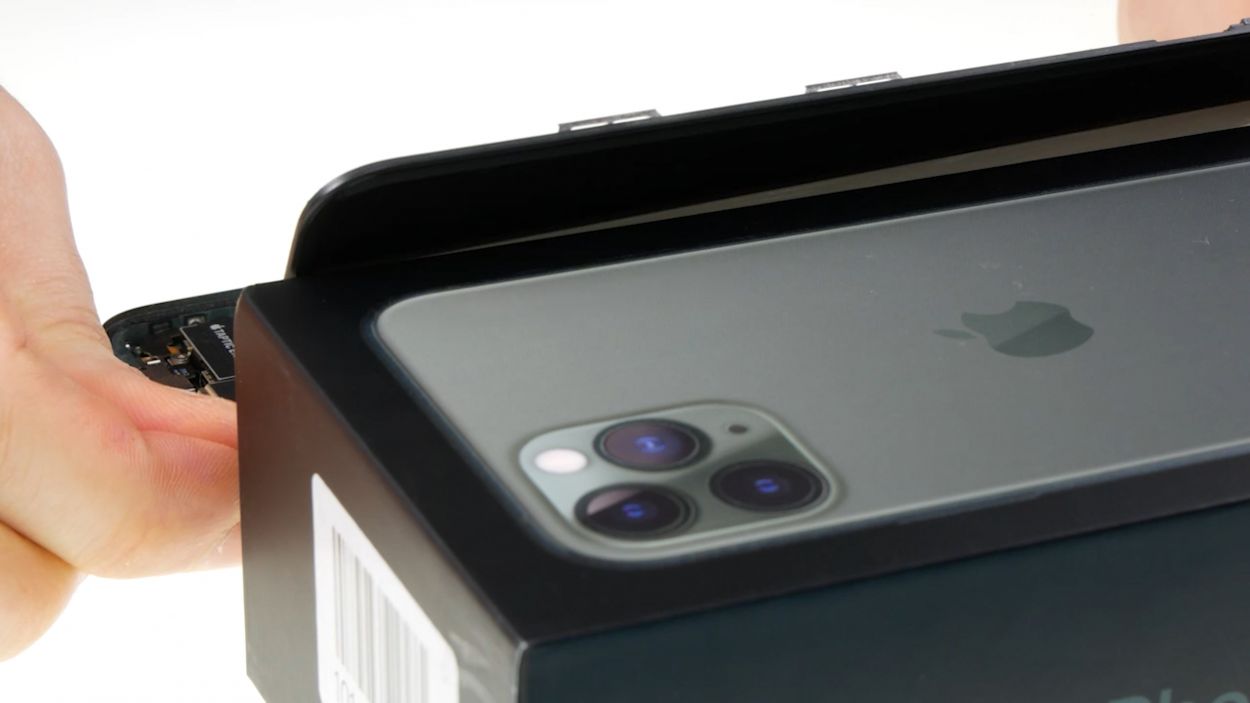
While you’re in the zone, just a friendly reminder: keep that display angle under 180°! We want to avoid any unfortunate flex cable mishaps. You’ve got this!
Give that glue a little love by reheating it with hot air every now and then. It makes the removal process a breeze!
– Take that hard plastic plectrum and glide it all around the display frame like you’re painting a masterpiece. As you do this, give it a little upward push to gently release those hooked lugs of the display from the rear case. You’re doing awesome!
Tools Used
Step 6


2 × 1.5 mm Y-Type
4 × 1.46 mm Y-Type
When you’re about to detach connectors, start from the side without those tiny components hanging around. This way, you can keep your repair journey smooth and avoid any unexpected bumps!
– First, let’s take off that bracket plate covering the battery connector by unscrewing those Y-type screws. You’ve got this!
Step 7


6 × 1.16 mm Y-Type
Connectors
When you’re about to detach connectors, kick things off from the side that’s free of those tiny components. This little tip helps keep your repair journey smooth and avoids any unexpected bumps along the way!
– To kick things off, let’s take off that bracket plate covering the display connectors by loosening those Y-type screws. You can do it!
Step 8


1 × 1.3 mm Y-Type
1 × 1.75 mm Y-Type
1 × 1.25 mm Y-type
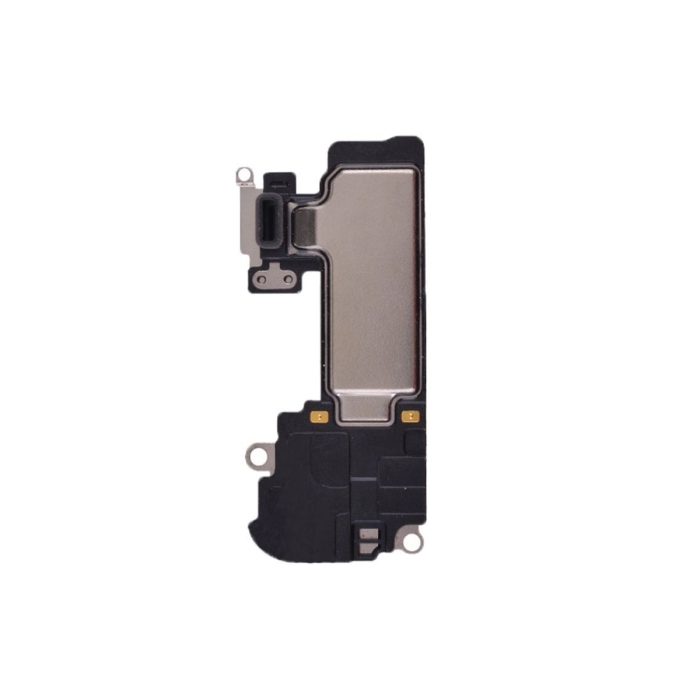
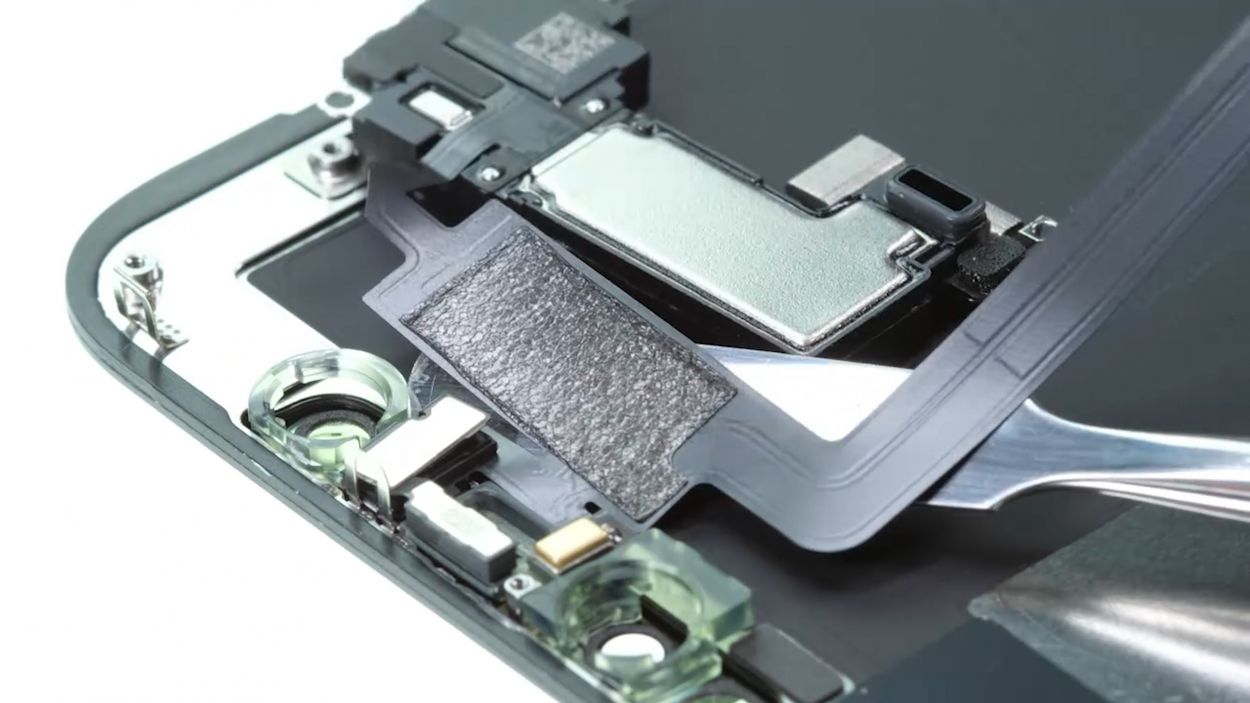
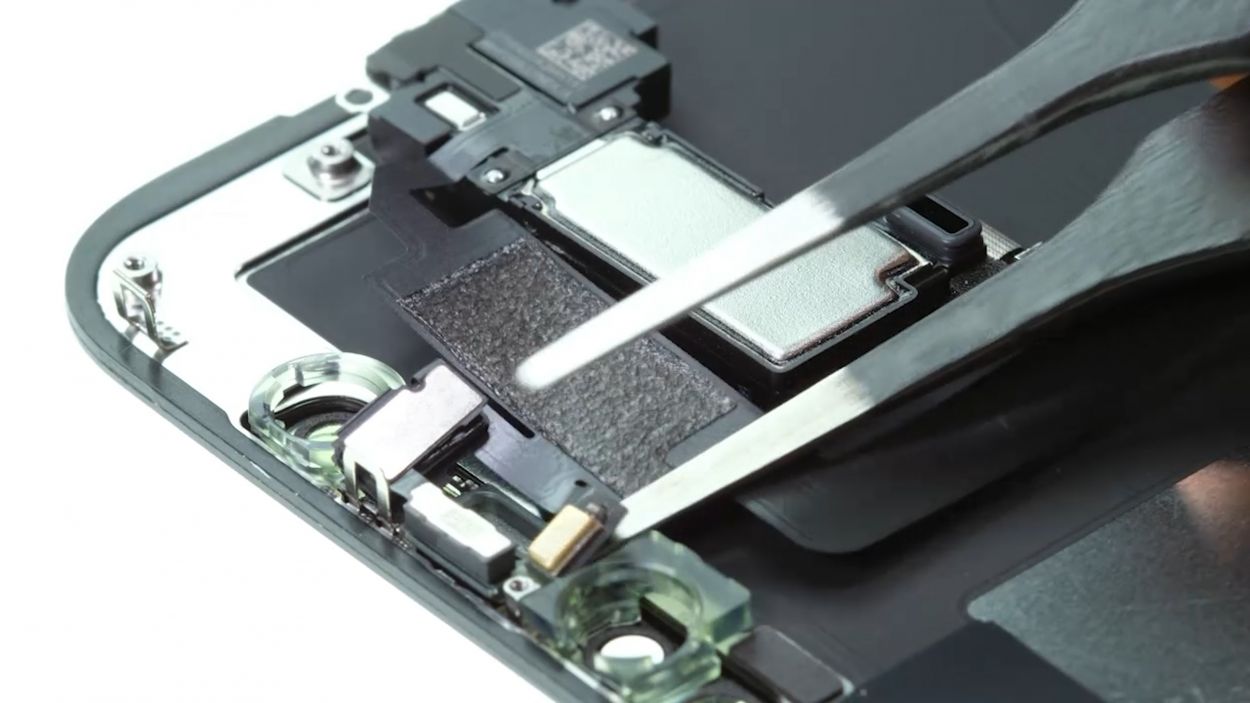
– First up, let’s unscrew those three little screws holding the earpiece in place on the display unit. You’ve got this!
– Next, use your tweezers to gently loosen the earpiece from the sensor cable and fold it over like a pro.
– Now, grab your steel spatula and slide it under the sensor cable. Carefully work your way to remove it piece by piece from the display unit. Take your time!
– Lastly, use that trusty steel spatula or tweezers to gently pry the sensors out from their leads at the top edge of the display. You’re doing fantastic!
Step 9

1 × 1.3 mm Y-Type
1 × 1.75 mm Y-Type
1 × 1.25 mm Y-Type
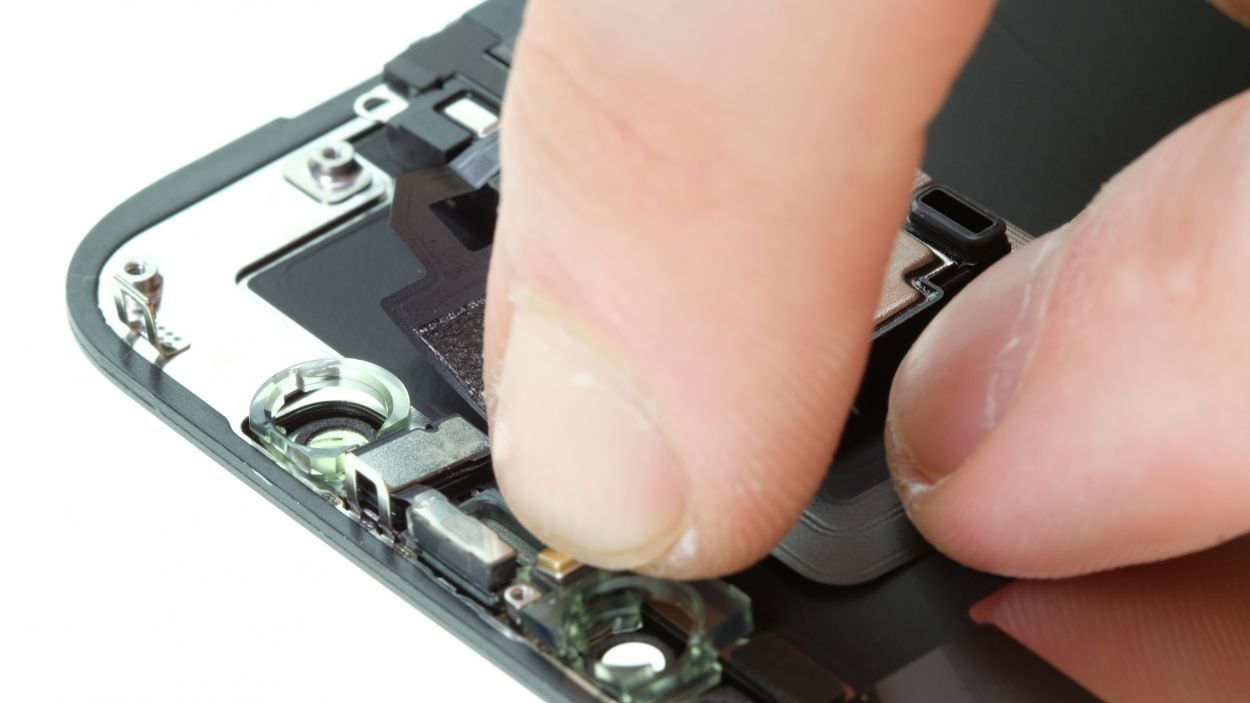
Be sure to give those sensors a snug fit in their leads; if they’re not seated just right, they might decide to take a break or only work part-time. Let’s keep everything in tip-top shape!
– Line up the earpiece with the top edge of the display unit and gently nudge the sensors into their cozy little leads.
Tools Used
Step 10


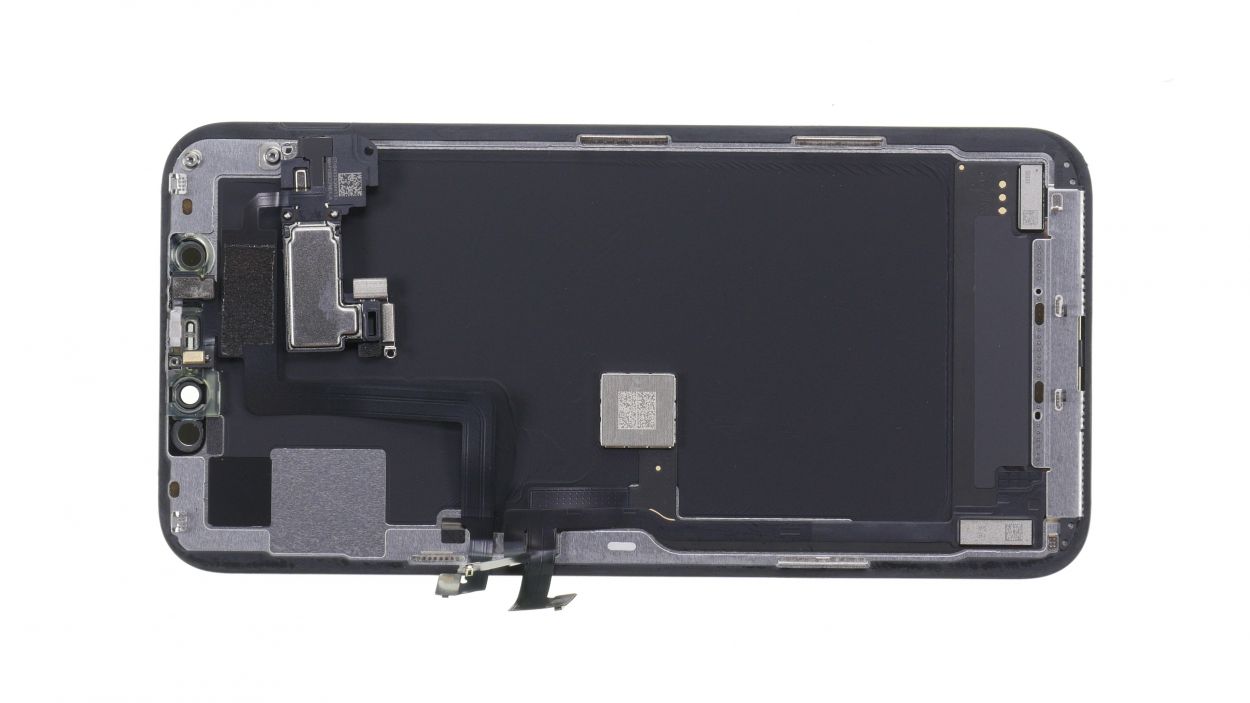
Connectors
6 × 1.16 mm Y-Type
Hey there! Just a friendly reminder: don’t force those connectors together. Giving them a little love and care is key—forcing it could lead to a major bummer where an entire component might just throw in the towel!
– Rest the display against something sturdy to keep those flex cables from getting stretched out while you connect them. You’ve got this!
Step 11


4 × 1.46 mm Y-Type
2 × 1.15 mm Y-Type
– Gently press down on the battery connector until you hear a satisfying click, making sure it’s snug and secure.
– Place the bracket plate over the connector and fasten it with screws, ensuring everything is nice and tight.
Step 12

Step 13


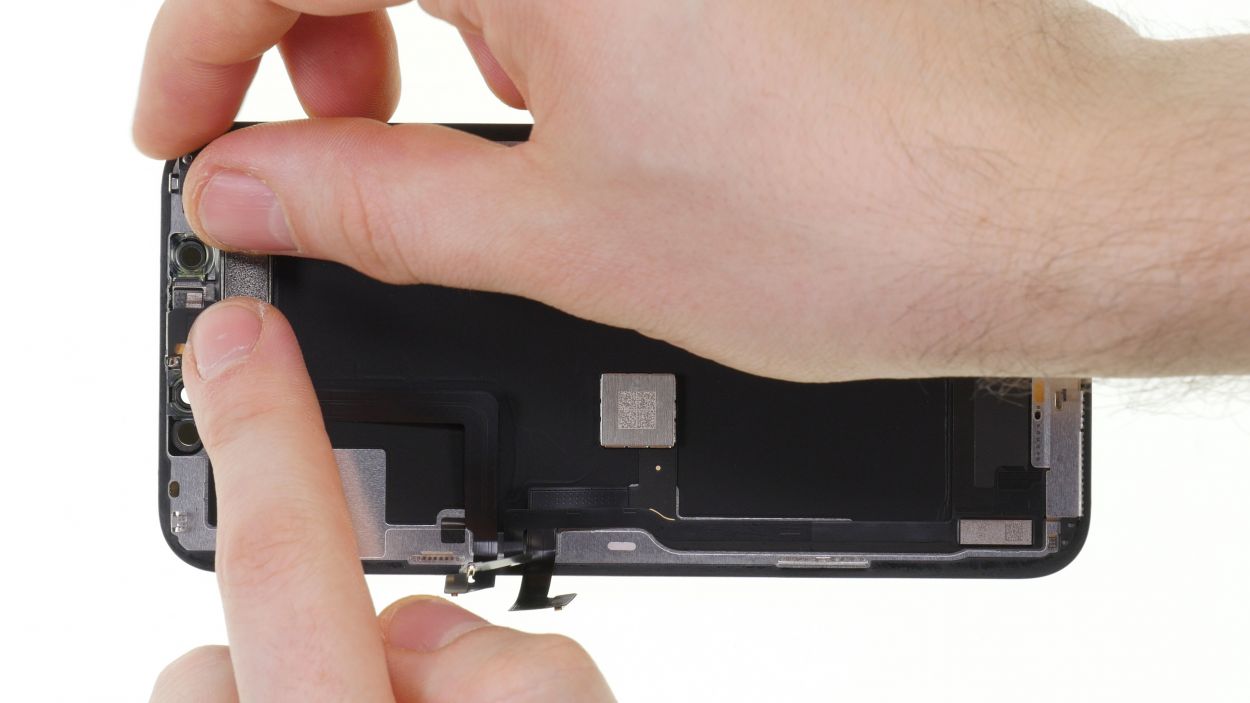
As you close up that display, remember to keep those flex cables safe and sound—no pinching allowed! You’re almost there!
– To wrap things up, gently fold the display over and press it down evenly into the rear case until you hear that satisfying click. You’re doing great!
Tools Used
Step 14

2 × 6.7 mm Pentalobe
– Secure those Pentalobe screws on either side of the Lightning connector, and you’re one step closer to victory!
Tools Used