DIY Guide to Replace Taptic Engine in iPhone 12
Duration: 60 min.
Steps: 22 Steps
Is your iPhone 12’s vibration feeling a bit off? It might be time to check that Taptic Engine! Don’t worry, we’ve got your back with a step-by-step photo guide that’ll make replacing it a breeze. While it’s a bit of a challenge, you’ll need to remove the speaker and SIM module first to get to it. You’ve got this! And if you need the right tools, hop over to our online store to grab a handy toolkit for your iPhone. Good luck with your repair adventure!
Step 1
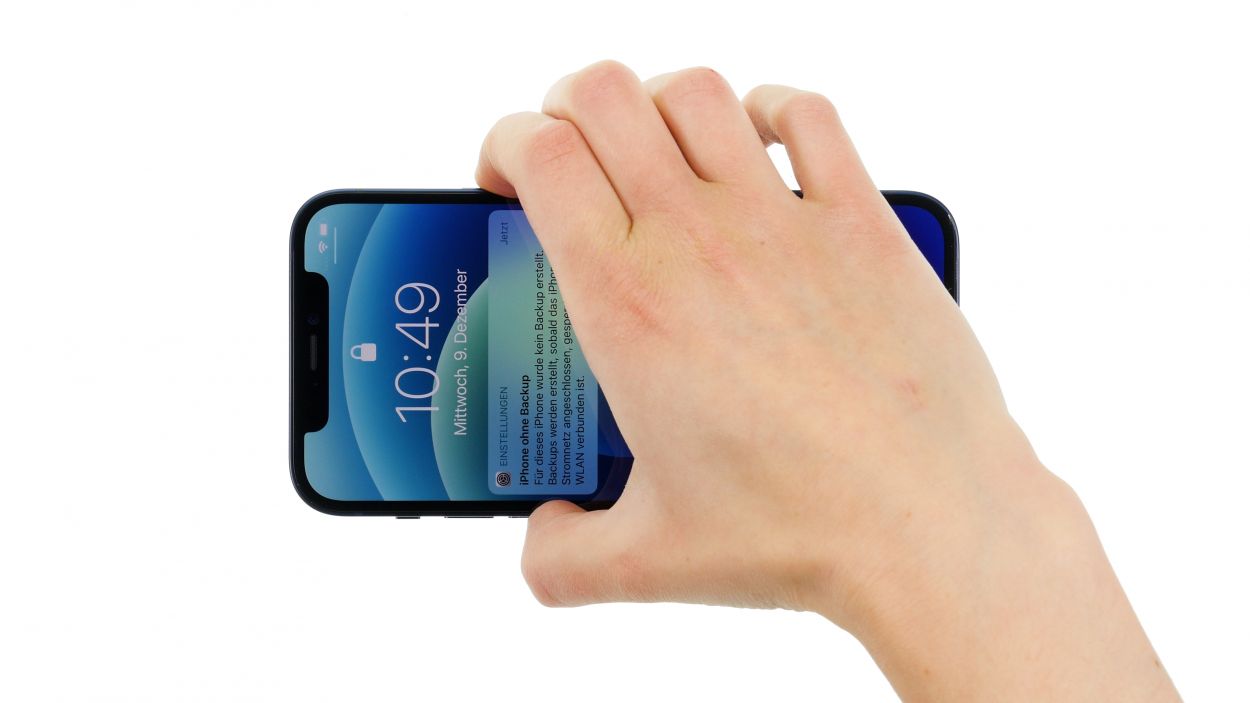
– Press and hold the side button and the volume down button together for a few seconds. You’ve got this!
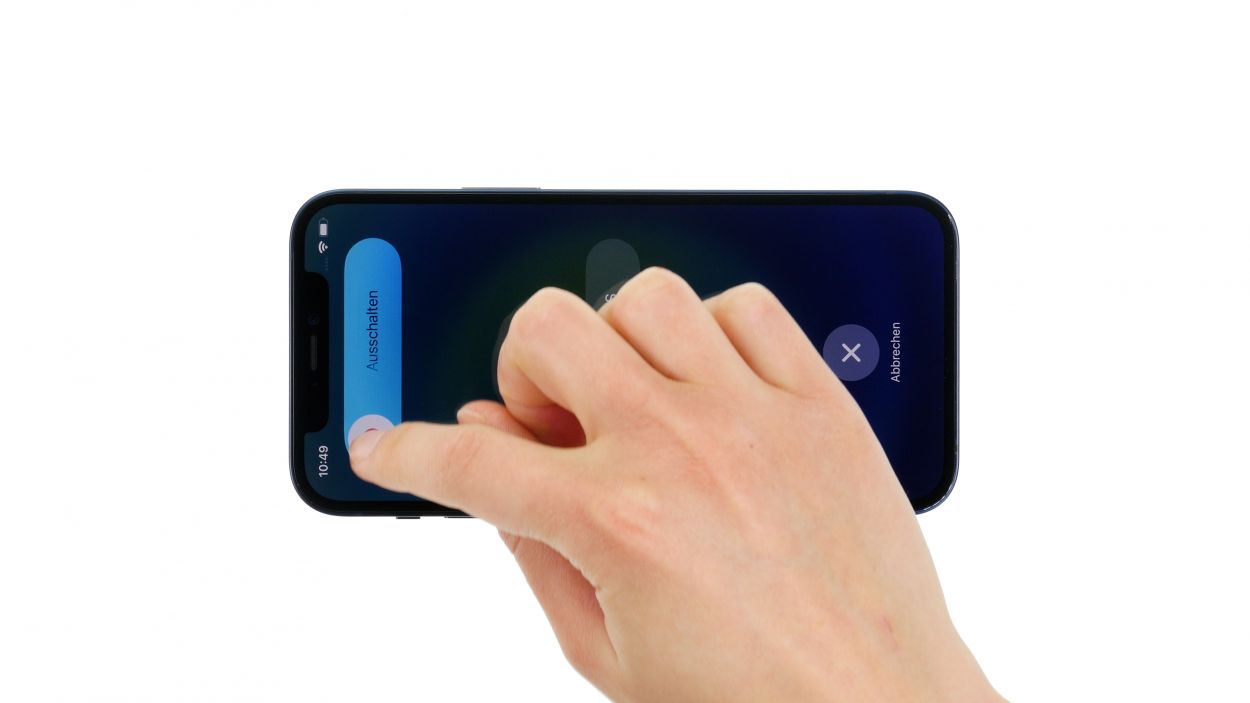
– Slide that ‘Switch off’ slider from left to right like a pro!
– In just a few seconds, your phone will be completely powered down. Nice work!
Step 2
– Grab your trusty pentalobe screwdriver and twist out those two pentalobe screws like a champ!
– Once you’ve got them out, toss them into your screw storage to keep everything organized and ready for the next step.
2 × 6.8 mm Pentalobe
Once you pop open your device, the warranty that protects against dust and splash water (IP68 rating) says goodbye. So, proceed with caution!
We suggest getting yourself a nifty screw storage solution for your repair escapade (think of an old sewing box!). This way, you can safely stash away all the parts and screws you’ve removed, keeping everything in check. Plus, our awesome magnetic pad ensures that nothing goes awry and you can keep everything nice and organized!
Step 3
Just a friendly tip: your screen should be warm, but not hot enough to roast marshmallows on it! If you can touch it comfortably, you’re good to go.
Step 4
The iSclack is a super handy alternative to the suction cup! It makes creating a gap a piece of cake with way less effort. Give it a try!
– Begin by sticking a suction cup on the bottom edge of the screen. Gently pull it upwards to create a little gap between the screen and the case. Easy peasy!
Tools Used
- Pick Set
- screen or back of your phone is glued very strong. With an iSclack evo, you can simplify the process. The pincer-like handle allows you to create a gap between the screen and the frame with minimal effort. At the same time, you have the other hand free to use a narrow tool such as a plectrum or the iFlex to enlarge the gap. The included cover foils allow you to use the iSclack evo even if the screen is splintered.” rel=”noopener”>iSclack evo Opening Tool
- VAKUPLASTIC Suction Cup
Step 5
Keep your screen’s angle in check! Opening it beyond 180° with those delicate screen cables still attached can lead to some serious tears. So, let’s keep it safe and sound!
Feel free to give that glue a little warm-up with some hot air every now and then! It’ll make the removal process smoother and easier, just like spreading butter on warm toast.
Step 6
6 × 1.0 mm Y-Type
Don’t forget to hook in the larger of the two cover plates before you tighten those screws! It’s like giving it a warm hug before securing it in place.
– Grab your Y-type screwdriver and carefully unscrew the six Y-type screws from those two cover plates. Don’t forget to stash them away in your trusty screw storage!
– Now, with a gentle touch, use your tweezers to lift off the two cover plates from your device. You’re doing great!
Step 7
When you’re disconnecting those connectors, kick things off from the side without the tiny components on the logic board. It’s the best way to keep things safe and sound!
– Next, take your trusty plastic lever tool and gently slide it under the connector. With a little finesse, separate it from the board. A plastic spudger works wonders for this task!
Tools Used
Step 8
When you’re disconnecting those connectors, kick things off from the side without the tiny components on the logic board. It’s the best way to keep everything safe and sound!
We’ve got a little situation here: two connectors decided to stack up on each other! No worries, just take your time and gently pry them apart with your trusty spudger.
– Gently slide your spudger under each of the three connectors, one at a time, and carefully lift them off the logic board. You’re doing great!
Tools Used
Step 9
4 × 1.5 mm Phillips
– Unscrew those four Phillips screws with your trusty Phillips screwdriver—you’re doing awesome!
– Now, gently lift out the speaker from your device. You’ve got this!
Step 10
– Grab a sleek, pointy object and give that tiny hole next to the SIM tray a gentle poke. A SIM tool works wonders for this!
– Once it pops out, set it aside like a pro!
Tools Used
- SIM card slot. This tool is designed especially for ejecting the SIM card from all iPhones and iPads, and fits perfectly into the appropriate opening.” rel=”noopener”>SIM Tool
Step 11
4 × 1.4 mm Y-Type
1 × 1.1 mm Y-Type
1 × 2.8 mm Standoff
When you’re unplugging those connectors, start from the side that’s free of tiny components on the logic board. It’s the best way to keep everything safe and sound!
– First, unscrew the two cover plates by removing the two Y-type screws.
Tools Used
- Pry Tool
- screwdriver+with…+Repair&linkCode=ll2&tag=salvationrepa-20&linkId=1c0aa533b7b8148cb48741a4635ea648&language=en_US&ref_=as_li_ss_tl” rel=”noopener”>WIha PicoFinish Phillips screwdriver with…
- Piergiacomi Tweezers 2a SA ESD
- Wiha PicoFinish Y-Type Screwdriver Y000
Step 12
2 × 2.8 mm Standoff
1 × 1.8 mm Phillips
When you’re unhooking the Taptic Engine’s connector, just remember to treat that Lightning connector cable with extra care—it’s a sensitive little thing! Don’t let it get tangled up in your excitement.
– First, gently unhook that connector connected to the Lightning cable set. It’s like giving it a little high-five!
– Now, take your tweezers and loosen those three screws before carefully lifting out the Taptic Engine from your device. You’ve got this—just a little finesse!
Tools Used
- Pry Tool
- Wiha PicoFinish Phillips Screwdriver PH00
- screwdriver+with…+Repair&linkCode=ll2&tag=salvationrepa-20&linkId=1c0aa533b7b8148cb48741a4635ea648&language=en_US&ref_=as_li_ss_tl” rel=”noopener”>WIha PicoFinish Phillips screwdriver with…
- Piergiacomi Tweezers 2a SA ESD
Step 13
2 × 2.8 mm Standoff
1 × 1.8 mm Phillips
When connecting those little buddies, remember to be gentle! Forcing them together could lead to some serious mishaps, and nobody wants that. Keep it cool!
– Secure the Taptic Engine in place using those three screws. You’ve got this!
Tools Used
- Wiha PicoFinish Phillips Screwdriver PH00
- screwdriver+with…+Repair&linkCode=ll2&tag=salvationrepa-20&linkId=1c0aa533b7b8148cb48741a4635ea648&language=en_US&ref_=as_li_ss_tl” rel=”noopener”>WIha PicoFinish Phillips screwdriver with…
- Piergiacomi Tweezers 2a SA ESD
Step 14
1 × 1.1 mm Y-Type
1 × 2.8 mm Standoff
4 × 1.4 mm Y-Type
When you’re connecting those little buddies, just remember to keep it gentle! Forcing them together could lead to some serious trouble, and nobody wants that. Stay cool!
– Pop that SIM module back into its cozy spot and give it a good twist with the tiniest Y-Type screw and the standoff screw. You’re on the right track!
Tools Used
- screwdriver+with…+Repair&linkCode=ll2&tag=salvationrepa-20&linkId=1c0aa533b7b8148cb48741a4635ea648&language=en_US&ref_=as_li_ss_tl” rel=”noopener”>WIha PicoFinish Phillips screwdriver with…
- Piergiacomi Tweezers 2a SA ESD
- Wiha PicoFinish Y-Type Screwdriver Y000
Step 15
– Slide that SIM tray back into its cozy little home in the SIM module. Just make sure everything lines up perfectly—no one likes a crooked tray!
Step 16
4 × 1.5 mm Phillips
– Secure it in place by tightening those four Phillips screws like a pro!
Step 17
Hey there, repair rockstar! Just a friendly reminder: don’t force those connectors together. A little extra pressure can turn a tiny connector into a big problem for the whole component. So, let’s keep it gentle and smooth!
– Rest the screen against something sturdy to keep those flex cables from stretching too much while you connect them. You’ve got this!
Step 18
Hey there, repair superstar! When you’re connecting those little buddies, remember to keep it gentle! Forcing them together could lead to some serious mishaps, and nobody wants that. So, let’s keep it cool and smooth!
– Gently press that connector onto the logic board until you hear and feel it snap into place. You’ve got this!
Step 19
– Gently wrap the display around, giving it a little hug.
– Turn on your device and give it a whirl.
– Choose a vibration pattern to see how your new Taptic Engine is feeling.
– Once that’s done, take a moment to check out other components to make sure they’re still in tip-top shape, like the speaker, screen, and Face-ID.
Step 20
2 × 1.0 mm Phillips
4 × 1.0 mm Phillips
Don’t forget to give that larger cover plate a snug little hug before you tighten those screws! It’s all about making sure everything feels secure and cozy.
– Place the two cover plates over the connectors like a pro! Those screw holes are your best friends for getting everything lined up just right.
Step 21
When you’re folding down that screen, be super careful not to squish any of those delicate flex cables. We want everything to stay happy and intact!
– Gently fold the screen down and press it snugly into the rear case until you hear that satisfying click. You’ve got this!
Step 22
2 × 6.8 mm Pentalobe
– Attach the display to the back case by securely fastening a pentalobe screw on both the left and right sides of the Lightning connector.


