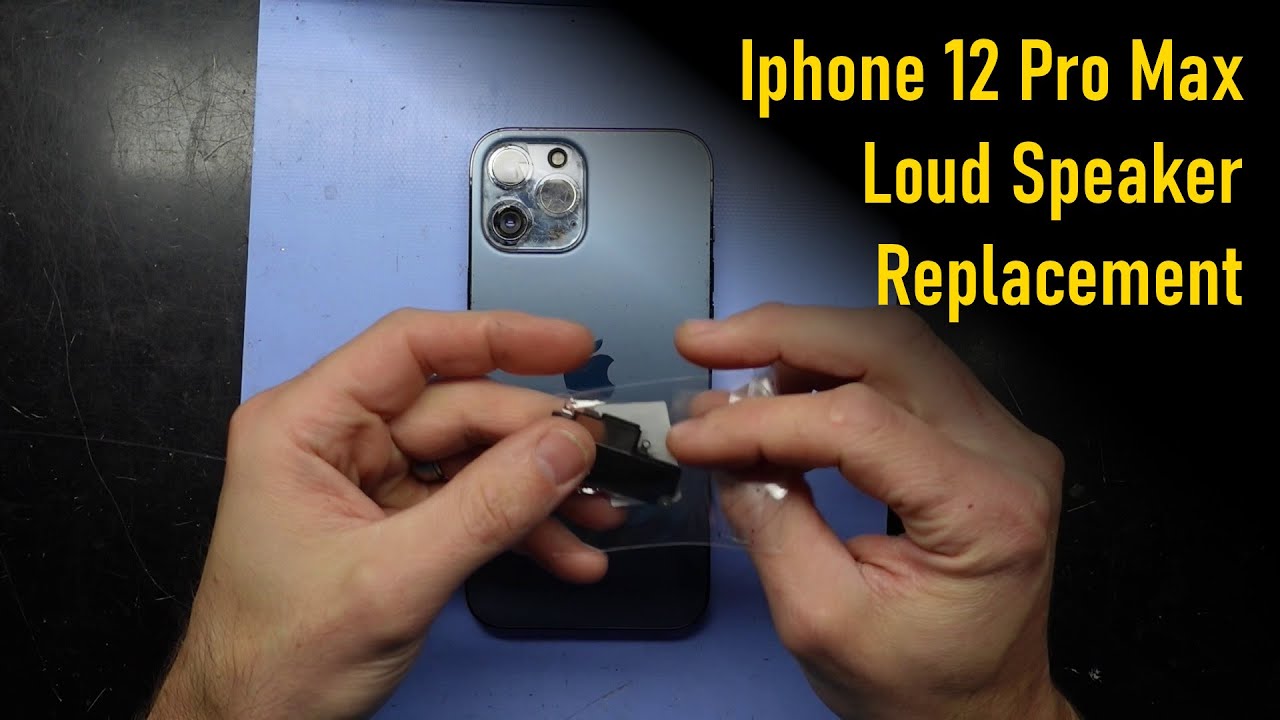
DIY Guide to Replace Speaker in iPhone 12
Duration: 45 min.
Steps: 16 Steps
Welcome to your DIY adventure! In this photo guide, we’re here to help you swap out the speaker of your iPhone 12 like a pro. Don’t worry, it’s a breeze since you won’t have to deal with a ton of components. Just a little heads-up for the first-timers: take your time and enjoy the process—no need to rush! Wishing you all the best with your repair journey! If you’re looking for the perfect tool kit for your iPhone, check out our online store schedule a repair.
Step 1
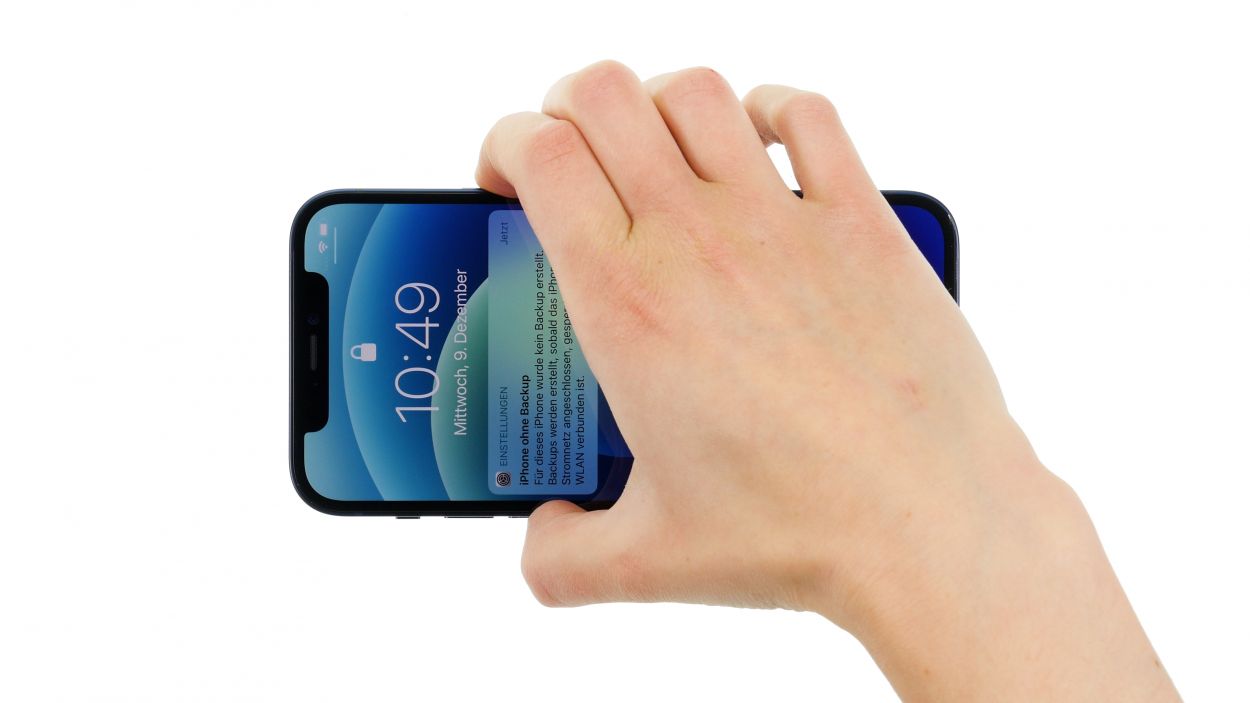
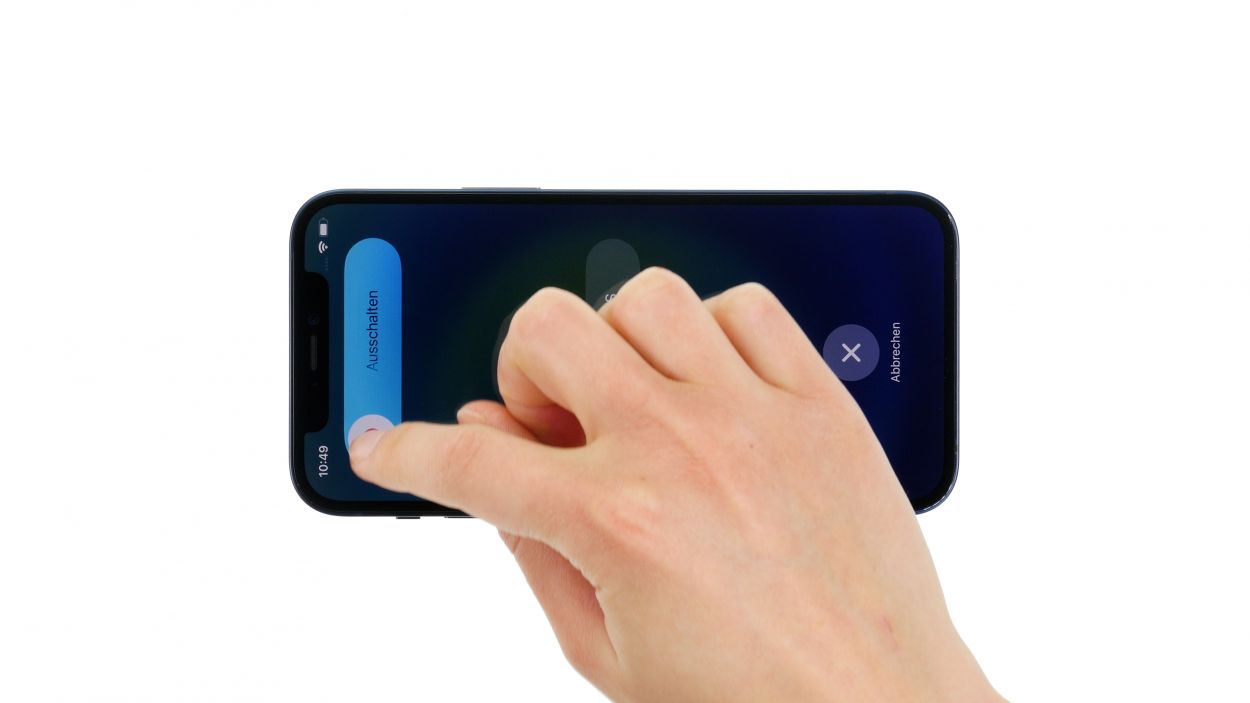
– Give that side button and the volume down button a friendly press and hold together for a few seconds.
– Slide the ‘Switch off’ slider from left to right like a smooth operator.
– And just like that, your phone will power down completely in just a few seconds!
Step 2

– Grab your trusty pentalobe screwdriver and twist out those two pentalobe screws with a flourish!
– Once you’ve got them out, toss them into your screw storage like a pro.
2 × 6.8 mm Pentalobe
Once you crack open your device, the warranty for dust and splash protection (IP68 classification) waves goodbye. So, handle with care!
We suggest snagging a screw storage solution for your repair gig—think of an old sewing box or something similar. It’s a fantastic way to keep all those tiny screws and parts safe and sound while you work your magic. Plus, with our top-notch magnetic pad, everything stays put, and you can keep things organized like a pro!
Step 3
As a friendly tip, keep it cool! You should be able to touch the screen without feeling like you just high-fived a hot stove.
– First, set your iPhone down on a soft and tidy surface—this will help keep that case scratch-free!
– Next up, grab your heat gun and gently run it along the edge of the screen to warm it up evenly.
Tools Used
- heat gun to heat parts that are glued on so they’re easier to remove.
In most cases, you can also use a hairdryer.” rel=”noopener”>Heat gun
Step 4
Why not try the iSclack instead of the suction cup? It requires way less muscle power to create that gap, making your repair journey smoother and easier!
– Begin by sticking a suction cup on the bottom edge of the screen. Gently pull it upwards to create a snug little gap between the screen and the case.
Step 5
Keep that screen angle under 180° while those delicate screen cables are still plugged in! Going beyond that could lead to some unfortunate tearing. So, be gentle!
Feel free to give that glue a little extra warmth with hot air every now and then! It makes the whole removal process a lot smoother and easier.
Step 6
6 × 1.0 mm Y-Type
Don’t forget to give that larger cover plate a little hook-in love before you tighten it all up! It’s the finishing touch that keeps everything snug and secure.
– Grab your Y-type screwdriver and twist out those six Y-type screws from the two cover plates. Don’t forget to stash them away safely in your screw storage!
– Now, gently use your tweezers to lift off those two cover plates from your device. You’ve got this!
Step 7
When you’re unplugging those connectors, kick things off from the side without the tiny components on the logicboard. It’s a smart move to keep everything safe and sound!
– Now grab your trusty plastic lever tool and slide it gently under the connector. With a little finesse, carefully separate it from the board. We like to use a plastic spudger for this task!
Tools Used
Step 8
When you’re disconnecting those connectors, start from the side without the tiny components on the logic board. It’s a smart move to keep everything safe and sound!
Looks like we’ve got a little connector party happening here—two connectors are stacked right on top of each other! Time to carefully separate them like pros.
– Grab your trusty spudger and slide it gently beneath each of the three connectors, one after the other. With a little care, pry them off the logic board like a pro!
Tools Used
Step 9
4 × 1.5 mm Phillips
– Unscrew those four Phillips screws with your trusty Phillips screwdriver—you’re doing great!
– Now, gently lift the speaker out of your device. You’ve got this!
Step 10
4 × 1.5 mm Phillips
– Secure it in place with those four Phillips screws—you’re nailing this!
Step 11
Hey there! Remember, when connecting those little guys, don’t force it! Forcing a connector or its slot could spell trouble for the whole component. So take it easy and be gentle!
– Propping the screen against something sturdy is a smart move! This way, you won’t overstretch those delicate flex cables while making your connections. Keep it chill!
Step 12
Hey there! When you’re hooking up those connectors, remember to take it easy! Forcing them can lead to some serious hiccups for the whole component. So, be gentle and let it slide in smoothly!
– Gently press the connector onto the logic board until you hear and feel that satisfying click. It’s like music to your ears!
Step 13
– Gently wrap that display around like a cozy blanket!
– Time to power up your device and bring it back to life!
– Pick a catchy ringtone to give that new speaker a test drive.
– Once you’re done, feel free to check out the other components to make sure they’re all in tip-top shape. Think screen and Face-ID functionality!
Step 14
2 × 1.0 mm Phillips
4 × 1.0 mm Phillips
Don’t forget to give that larger cover plate a little hook-in love before you tighten it all up! It’s the finishing touch that keeps everything snug and secure.
– Align the two cover plates over the connectors like a perfect puzzle piece. Those screw holes are your best friends for getting everything lined up just right!
Step 15
When you’re folding down that screen, just be sure to keep those flex cables out of the pinch zone! We want them to stay happy and healthy!
– Gently fold that screen down and press it snugly into the rear case until you hear that satisfying click. It’s like giving your device a warm hug!
Step 16
2 × 6.8 mm Pentalobe
– Time to connect that display back to the rear case! Just grab your pentalobe screwdriver and snugly screw in those two pentalobe screws—one on the left and one on the right of the Lightning connector. You’ve got this!