Step-by-Step iPhone 12 Screen Replacement Guide
Duration: 45 min.
Steps: 17 Steps
Welcome to your DIY adventure! In this step-by-step photo guide, we’ll walk you through replacing that pesky broken screen on your iPhone 12. Don’t worry, swapping out the screen is a breeze—just a few parts to remove and you’re golden! Remember, if you want to keep your Face ID working like a charm, make sure to transfer the earpiece along with the sensor cable from your old screen; that’s where all the magic happens. Good luck with your screen swap! And hey, if you need a top-notch replacement screen, check out our online store for the best quality available for your iPhone 12. We’ve also got a handy iPhone tool kit packed with everything you need for this repair. Let’s get started!
Step 1
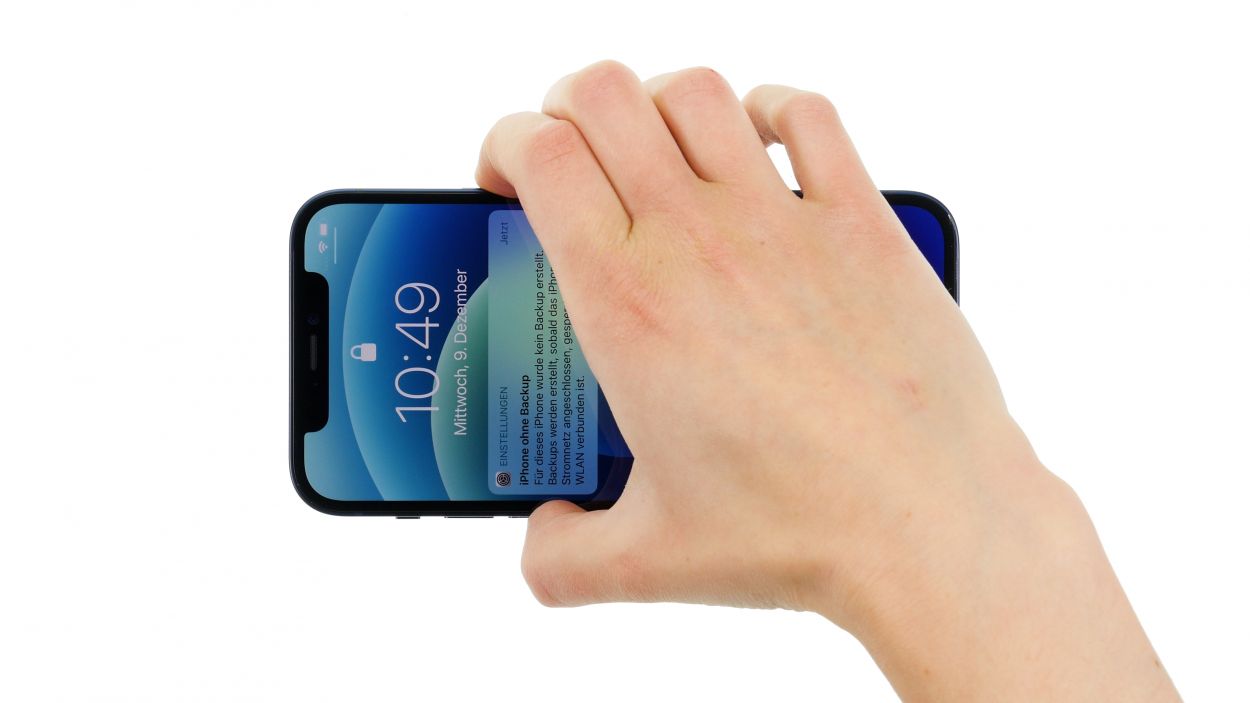
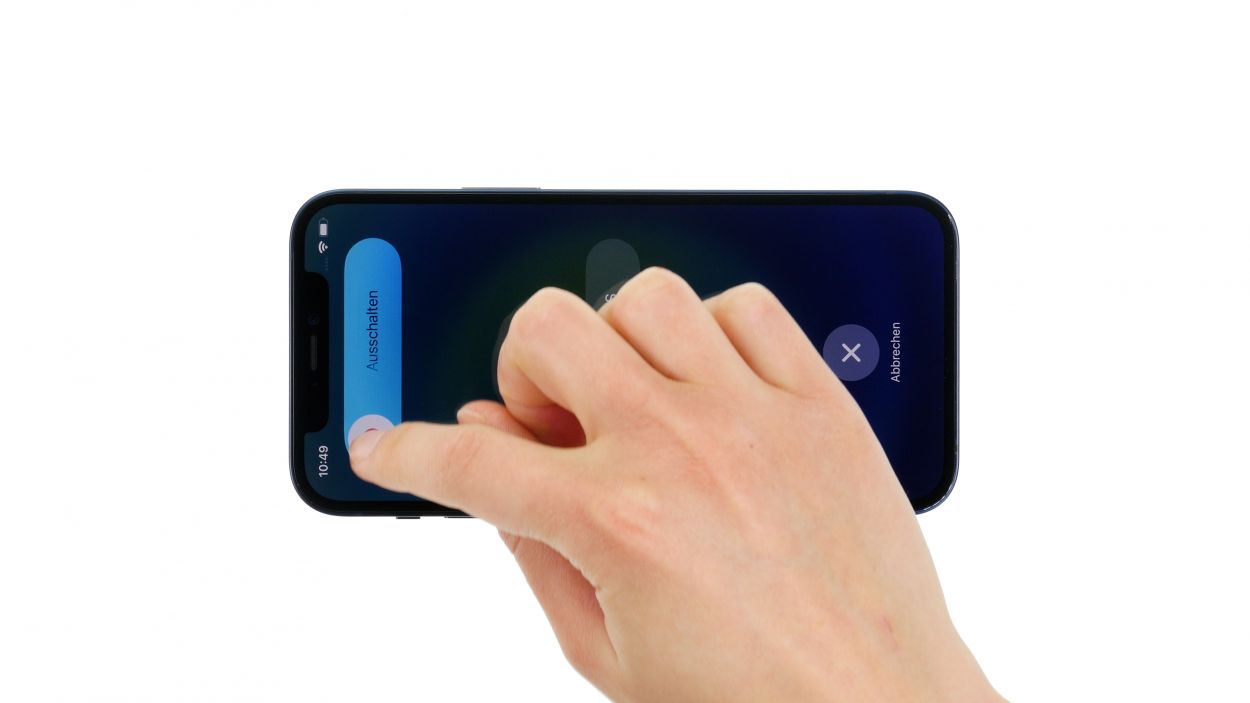
– Hold down both the side button and the volume down button at the same time for a few seconds—you’re doing great!
– Slide the ‘Switch off’ slider from left to right like a pro.
– In just a few moments, your phone will power down completely. Easy peasy!
Step 2

– Grab your trusty pentalobe screwdriver and twist out those two pentalobe screws. You’ve got this!
– Once you’ve conquered those screws, toss them into your screw storage like a pro.
2 × 6.8 mm Pentalobe
Once you crack open your device, the warranty covering dust and splash protection (IP68 classification) takes a little vacation. So, handle with care!
For your repair escapade, we suggest snagging a screw storage solution—think of an old sewing box! It’s a nifty way to keep all those tiny screws and parts safe while you work your magic. Plus, with our top-notch magnetic pad, nothing will go astray, and you can keep everything nice and tidy. Happy repairing!
Step 3
When you’re heating things up, just a little tip: the screen should still be cool enough to touch without turning your fingers into crispy critters. Keep it comfy while you work your magic!
– First, set your iPhone down on a soft, clean surface—let’s keep that case scratch-free, shall we?
– Next up, grab your heat gun and gently warm the edge of the screen by moving it back and forth. This will help loosen things up a bit!
Tools Used
- heat gun to heat parts that are glued on so they’re easier to remove.
In most cases, you can also use a hairdryer.” rel=”noopener”>Heat gun
Step 4
The iSclack is a fantastic alternative to the suction cup! It requires way less muscle power to create that essential gap. So go ahead, give it a try and make your repair journey smoother!
– Kick things off by sticking a suction cup on the bottom edge of the screen. Gently pull it upwards to create a cozy little gap between the screen and the case.
Step 5
Keep your screen opening under 180° while those delicate cables are still connected—otherwise, they might just decide to part ways!
Feel free to give that glue a little warmth with your hot air tool at regular intervals—it’ll help you peel things apart much easier. You’re on the right track!
Step 6
6 × 1.0 mm Y-Type
Don’t forget to give that larger cover plate a little extra love by hooking it in securely before you tighten everything up. It’s the finishing touch that keeps your device snug as a bug!
– Grab your Y-type screwdriver and unscrew those six Y-type screws from the two cover plates. Don’t forget to stash them away in your screw storage—it’s like a treasure chest for tiny bits!
– Now, with a gentle touch, use your tweezers to carefully lift off those two cover plates from your device. You’re doing awesome!
Step 7
When you’re disconnecting those connectors, kick things off from the side without any tiny components on the logic board. It’s a smart move to keep everything safe and sound!
– Next, grab your trusty plastic lever tool and slide it gently beneath the connector. With a little finesse, separate it from the board. A plastic spudger works wonders for this task!
Tools Used
Step 8
– Grab your trusty spudger and slide it gently beneath each of those three connectors, one at a time. Give them a little nudge and watch them pop off the logic board like magic!
When you’re disconnecting those connectors, it’s best to start from the side without any tiny components on the logic board. This little tip helps keep everything safe and sound!
Looks like two connectors decided to stack up on each other—how cozy! Just take your spudger and gently slide it under each one, prying them off the logic board in sequence. You’ve got this!
Tools Used
Step 9
2 × 1.3 mm Phillips
1 × 1.2 mm Y-Type
1 × 1.7 mm Y-Type
Take it easy when prying those sensors out of their spots—let’s keep them safe and sound!
– First, let’s tackle those screws! Remove the two Phillips and two Y-type screws from the earpiece—you’re off to a great start!
– Next up, gently unfold that earpiece like a pro.
– Now, grab your hot air gun and warm up that glued sensor cable. A little heat goes a long way!
– Finally, loosen the cable from the inside of the display by sliding a flat tool underneath it. A steel spatula works wonders here!
Step 10
Tools Used
Step 11
2 × 1.3 mm Phillips
1 × 1.2 mm Y-Type
1 × 1.7 mm Y-Type
Take it easy when pressing those sensors into their spots—let’s make sure they fit snugly without any drama! They should all sit nice and even.
– Get that module in line and fold the earpiece back in like a champ!
– Gently press the sensor cable down to the inside of the display. You’ve got this!
Step 12
Hey there, just a friendly reminder: don’t force those connectors together! Doing so could harm a connector or its slot, which might lead to a complete component meltdown. Let’s keep everything in tip-top shape!
– Propping the screen against something sturdy is a smart move! This way, you won’t accidentally stretch those delicate flex cables while connecting them.
Step 13
When connecting those little cables, remember to be gentle—no need to muscle them in! A rough touch can lead to a connector or slot throwing a fit, which might cause a whole component to misbehave. Let’s keep everything running smoothly!
– With a gentle touch, press that connector onto the logic board until you hear and feel it snap into place. You’ve got this!
Step 14
– Gently wrap that display around like a cozy blanket.
– Time to power up your device and see the magic happen!
– To check if everything’s working smoothly, slide an app across the screen—let’s make sure that touch and display are in tip-top shape.
– After you’ve swapped in the old earpiece, give Face ID a quick test to see if it’s still got its charm!
Step 15
2 × 1.0 mm Phillips
4 × 1.0 mm Phillips
Don’t forget to give that larger cover plate a friendly little hook before you snug it down tight. It’s the final touch that keeps everything cozy and secure!
– Align those two cover plates like a pro over the connectors. The screw holes are your trusty guides, making sure everything fits just right!
Step 16
When you’re folding down that screen, just be sure to give those flex cables some space—no pinching allowed! Let’s keep everything cozy and safe!
– Gently fold that screen over and give it a nice, even press into the rear case. You want it to click into place like it’s settling in for a cozy nap!
Step 17
2 × 6.8 mm Pentalobe
– Secure the display to the back case by tightening a pentalobe screw on both the left and right sides of the Lightning connector. You’ve got this!