DIY Guide to Replace Battery in iPhone 12 mini
Duration: 90 min.
Steps: 37 Steps
If your battery looks like it’s been hitting the gym a little too hard, remember that the gas inside is a bit of a fire hazard and could escape. If you’re not feeling up to the challenge, no worries! Just schedule a repair at a shop and let the pros handle it.
If your one-year manufacturer’s warranty has run out, it’s time to give that battery a fresh start! In this straightforward photo guide, we’ll walk you through each step of the process. Good luck with your repair adventure!
Step 1
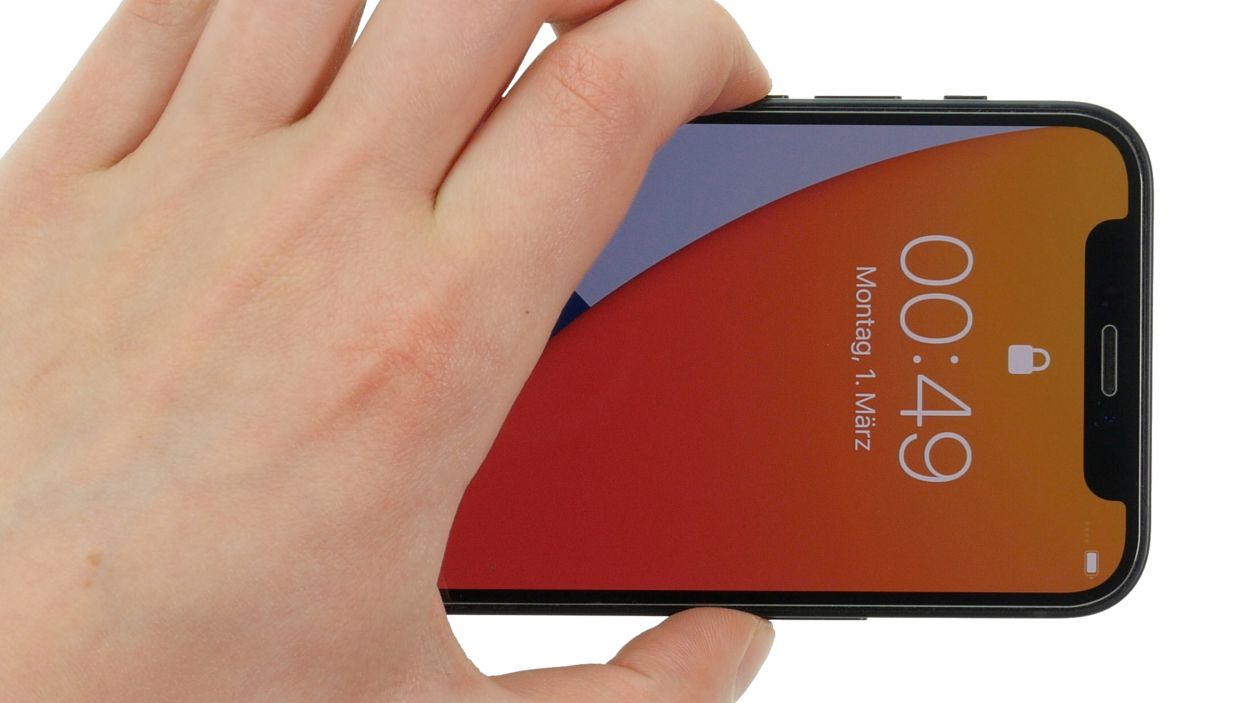

Before diving into your repair, why not give our handy checklist a whirl to test the basic functions of your iPhone 12 mini? This little step will help you confirm if your repair adventure was a success!
– To turn off your iPhone, simply press and hold the side button and the volume down button together for a few seconds. It’s like giving it a little nap!
– After that, just swipe the slider from left to right, and watch as your phone gracefully powers down in just a few moments.
Step 2

2 × 6.7 mm Pentalobe
Keep your screws and tiny parts organized during your repair journey! Grab an old sewing box or better yet, our nifty magnetic pad to make sure nothing goes missing. It’s like having a personal assistant for your screws—so you can focus on the fun part of fixing!
– Get your Pentalobe screwdriver ready and gently loosen those two Pentalobe screws. You’ve got this!
– Once they’re free, place them on your trusty magnetic pad. It’s like a cozy bed for your screws!
Step 3
Watch out for those hot fingers after heating! It’s best to warm up the display just enough so you can still give it a friendly tap.
The display edge is glued down pretty tightly, so let’s give it a little love with some heat first! Grab your trusty hot air tool, whether it’s a heat gun or a regular hair dryer, and warm it up nicely.
Step 4
To create a snug little space between the display’s edge and the case, grab a flat and stable tool. We think the iFlex is your best buddy for this job, thanks to its super sharp edges that slip in like a charm!
– Stick a suction cup on the lower edge of the display and give it a gentle pull upwards. While you’re at it, slide the iFlex tool between the display and the case like you’re sneaking in for a surprise!
– Now, grab a flat pick and slide it into a spot you’ve already loosened up. This way, the glue won’t have a chance to get all clingy again!
Tools Used
- Flat Picks
- screen and the frame. The practical iFlex is made of stainless steel and sits comfortably in the hand. This makes it the perfect assistant for every smartphone repair.” rel=”noopener”>iFlex Opening Tool
- VAKUPLASTIC Suction Cup
Step 5
When you’re ready to detach the display, remember to swap out that sharp iFlex for a plastic tool to keep the case edge safe and sound. A hard plastic pick is your go-to buddy for this task!
– Run that hard plastic pick all the way around the edge of the display like you’re giving it a little massage. While you’re at it, give it a gentle push upwards to help free those hooked lugs of the display from the casing’s frame. You’re doing awesome!
Tools Used
- heat gun to heat parts that are glued on so they’re easier to remove.
In most cases, you can also use a hairdryer.” rel=”noopener”>Heat gun - Pick Set
- Flat Picks
- VAKUPLASTIC Suction Cup
Step 6
Keep that screen unfolding to a cool 180° or less while those sensitive cables are still connected. Going beyond that could lead to a tear, and nobody wants that drama!
– Once you’ve completely freed the display, it’s time to say goodbye to those plastic picks. You can do it!
– Next, gently open the display towards the volume buttons. Support it against something stable to keep those flex cables from overstretching. You’ve got this!
Step 7
1 × 1.0 mm Y-Type
5 × 1.2 mm Y-Type
– Unscrew those six Y-type screws from the two cover plates using your trusty Y-type screwdriver. You’re doing great!
– Once you’ve got them loose, make sure to place them on your magnetic pad. It’s like giving your screws a little vacation!
Step 8
– Use your trusty tweezers to gently lift off those two cover plates from your device. You’ve got this!
– Once they’re free, make sure to place them along with their matching screws on your magnetic pad. It’s like giving them a cozy little home!
Tools Used
Step 9
Make sure to unplug that battery connector as soon as you can—it’s the best way to keep those pesky short circuits at bay!
– Gently take your plastic lever tool and slide it under the battery connector to separate it from the board. A plastic spudger works wonders for this task!
Tools Used
Step 10
The iPhone 12 mini is equipped with not one, but two display connectors! One of these little guys connects the earpiece right to the logic board. So, when you’re in there, make sure to handle them with care!
– Slide your trusty spudger under each of the two display connectors, one at a time, and gently coax them off the logic board. You’ve got this!
Tools Used
Step 11
– Once you’ve fully liberated the display, go ahead and lift it off with a smile and set it aside like a pro!
Step 12
4 × 1.6 mm Phillips
– Grab your Phillips screwdriver and gently loosen those four Phillips screws on the speaker module. Once they’re all nice and loose, go ahead and take them out of your device. You’re doing awesome!
Step 13
– With your trusty tweezers in hand, gently lift that loosened speaker out of your device. You’re on a roll!
– Now, find a cozy spot for it next to the screws on your magnetic pad. It’s like giving your speaker a little vacation!
Tools Used
Step 14
1 × 1.3 mm Phillips
1 × 2.0 mm Phillips
– Unscrew those two Phillips screws from the cover plate. It’s the guardian of the Taptic Engine connector, keeping it safe and sound!
– Once they’re free, just pop them out of the device.
Step 15
– With the help of your trusty tweezers, gently lift the cover plate of the Taptic Engine out of your device. You’re doing great!
– Once it’s free, make sure to place it along with its matching screws on your magnetic pad. It’s like giving them a cozy little home!
Tools Used
Step 16
The Taptic Engine connector hangs out with the Lightning connector cable set. So, when you’re in there, just remember to treat them like best buds!
– Slide your trusty spudger under the Taptic Engine connector and gently pry it away from the logic board. You’re doing great—keep it steady!
Tools Used
Step 17
1 × 1.6 mm Y-Type
1 × 3.0 mm Standoff
– Now, let’s get those two screws that are holding the Taptic Engine in place nice and loose. You’re on the right track!
– Once you’ve loosened them up, go ahead and take them out. You’re doing great!
Tools Used
- screwdriver+with…+Repair&linkCode=ll2&tag=salvationrepa-20&linkId=1c0aa533b7b8148cb48741a4635ea648&language=en_US&ref_=as_li_ss_tl” rel=”noopener”>WIha PicoFinish Phillips screwdriver with…
- Magnetic Pad
- Wiha PicoFinish Y-Type Screwdriver Y000
Step 18
– Gently lift the Taptic Engine out of your iPhone. You’ve got this!
– Now, set it down on the magnetic pad along with its matching screws. It’s like giving them a little family reunion!