DIY Guide to Replace iPhone 13 Battery Step-by-Step
Duration: 60 min.
Steps: 20 Steps
If your battery looks like it’s been hitting the gym a bit too hard, remember that the gas inside is a bit of a fire hazard! If you’re not feeling up to the challenge, it’s totally cool to schedule a repair at a shop.
In this fun and informative photo guide, we’ll walk you through the steps to swap out that battery like a pro! Good luck with your repair adventure!
Step 1
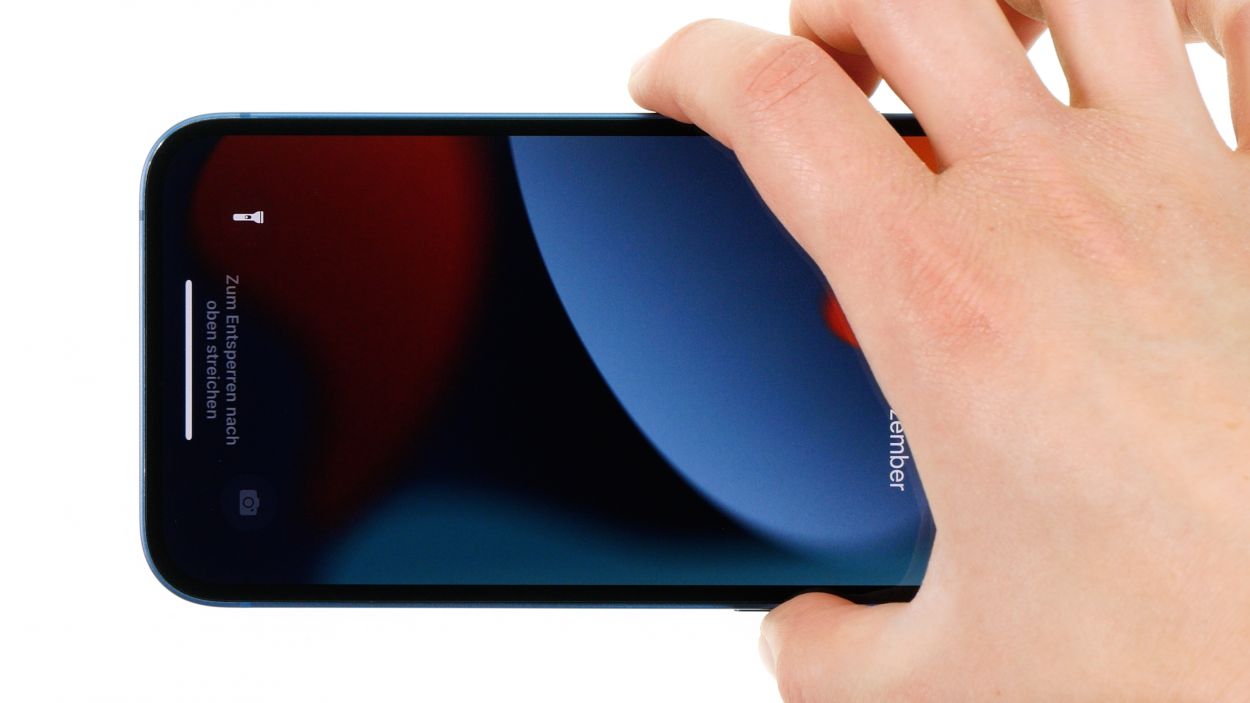
Before diving into the repair fun, give our checklist a whirl to test your iPhone 13’s basic functions. This way, you’ll know if your repair mission was a success!
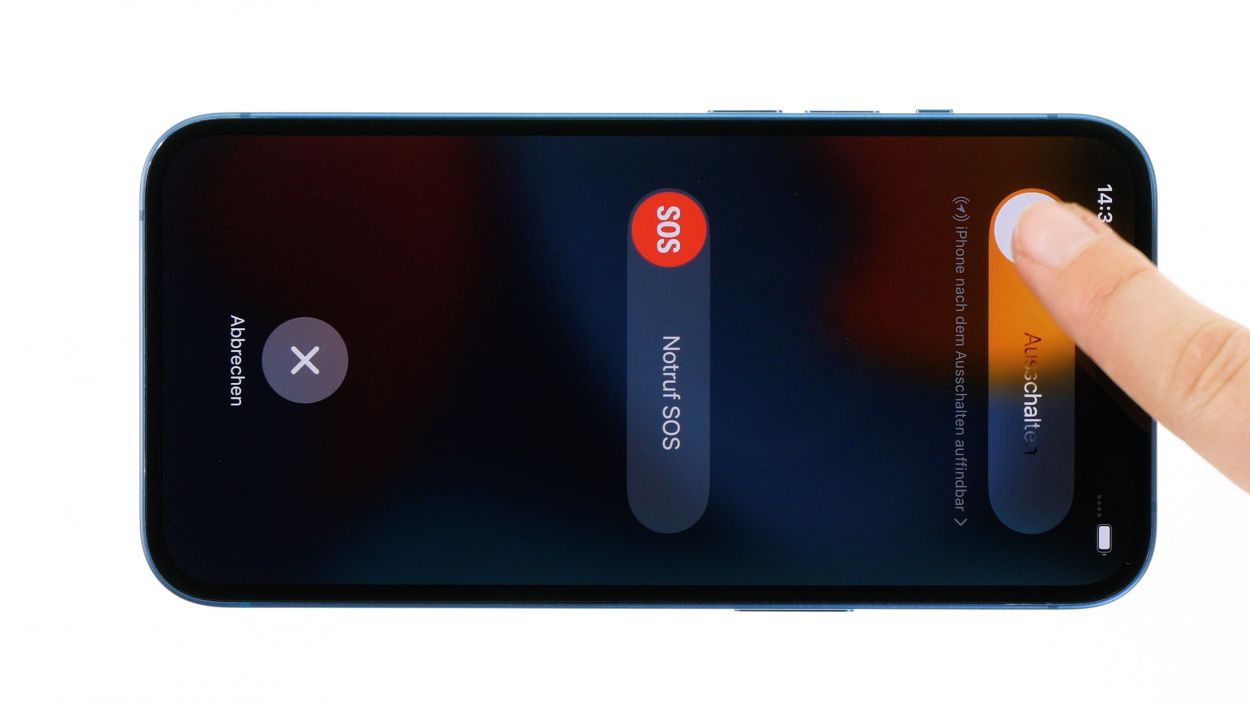
– Press and hold the side button and the volume down button at the same time for a few seconds. You’ve got this!
– Slide that nifty slider from left to right like a pro.
Step 2

2 × 6.8 mm Pentalobe
Opening up your iPhone? Just a heads-up: that shiny IP68 certification is going to take a little vacation!
We suggest using a screw organizer to keep all your disassembled bits and bobs safe and tidy. Plus, our magnetic pad ensures that everything stays put, so you can focus on the fun parts of the repair!
– Twist off those two Pentalobe screws flanking the Lightning connector like a pro!
– Then stash them safely in your screw storage, so they don’t wander off.
Step 3
Step 4
– Grab a suction cup and stick it to the lower edge of the screen. Give it a good pull upwards to create a sneaky little gap between the screen and the case unit.
– Now, slide a flat, sturdy tool into that gap to make it a bit wider. You’re doing great!
Step 5
When you’re getting your tool in there, be sure to keep it chill and not too deep near the volume buttons! We don’t want any cables getting squished inside your device.
– Take that plastic tool and glide it all around the edge of the screen like a pro! Give it a little upward nudge to pop those hooked lugs free from the case unit.
– Once the screen is fully free, gently fold it towards the volume buttons and lean it against something sturdy. You’ve got this!
Tools Used
Step 6
4 × 1.2 mm Phillips
1 × 1.7 mm Y-Type
1 × 1.6 mm Phillips
To fully liberate that screen, you’ll need to disconnect the battery connector and the two screen connectors. They’re hiding under a couple of cover plates, so be sure to give them a gentle nudge!
– Unscrew those six little screws from the two cover plates and pop them into your trusty screw storage.
– Now, with a gentle touch, use your tweezers to lift those plates off your device. You’re doing great!
Step 7
To keep your repair safe and sound, always remember to unplug that battery connector first. It’s like giving your device a little break before the big workout!
– Grab your trusty plastic lever tool and slide it gently under the connector. Give it a little wiggle to separate it from the board. A plastic spudger works wonders for this task!
Tools Used
Step 8
– Gently coax those two screen connectors off the logic board with your trusty spudger—like you’re giving them a little nudge to go on their way!
– Once the screen is free, just set it aside and give it a little wave goodbye!
Tools Used
Step 9
4 × 1.6 mm Phillips
– Start by loosening those four Phillips screws holding the speaker in place. You got this!
– Once they’re loose, gently lift the speaker out of your device like a pro!
Step 10