Samsung Galaxy Buds+ Repair Guide
Duration: 45 minutes
Steps: 6 Steps
Ready to dive into fixing up your Samsung Galaxy Buds+? This guide will walk you through the steps, using the left earbud for the photos, but don’t worry, the process is exactly the same for both earbuds. Just a heads-up: the Galaxy Buds+ are IPX2 rated, so they’re splash-resistant. After the repair, though, they might lose some of that water resistance. If you need help, you can always schedule a repair.
Step 1


If possible, give your Galaxy Buds+ a little breather and discharge them before you dive into replacing that battery. It’ll make the process a lot smoother!
– Gently peel off the silicone eartip by pulling upward, slipping it off the earbud with a bit of care. If you need help along the way, you can always schedule a repair.
Step 2


– Grab your fingers or a pair of blunt-tipped tweezers and gently pop off the earbud’s rubber wingtip by pulling it upward and slipping it away from the earbud.
Step 3

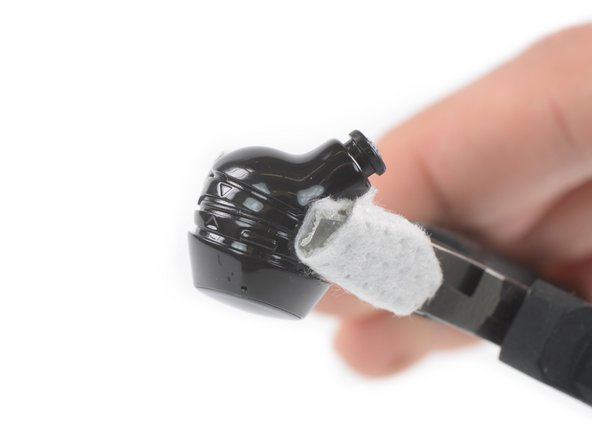
Keep your earbud scratch-free by wrapping the pliers with tape or slipping a cloth between the jaws before you get started.
– Grab your trusty pliers and hold the earbud steady, positioning it horizontally along the seam where the upper and lower halves of the case meet.
– Now, apply some gentle yet firm pressure to either side of the earbud along the main housing seam – you’re aiming to create a gap, and with a bit of patience, you’ll get there! If you need help, you can always schedule a repair
Step 4


Hold up! The upper case is still attached to the board, so don’t lift it off just yet.
You might need to gently work your way around the entire earbud with the opening tool to loosen things up. Stay patient and keep at it—success is just a little finesse away. If you hit a tricky spot, remember you can always schedule a repair for extra help.
– Gently slide an opening tool into the small gap between the two earbud cases.
– Carefully use the opening tool to separate the two cases. Take your time, it should come apart smoothly!
Step 5


Be sure the flex cable isn’t being stretched or pulled during this step. Keep it relaxed!
– Set the earbud down on the table to easily reach the connector and gently detach the top part from the board.
Step 6


– Take your opening tool and gently pop the upper earbud case connector out of its socket—think of it like unplugging a tiny, stubborn headphone jack.
– Lift off the upper earbud case and set it aside like the VIP it is.
Success!