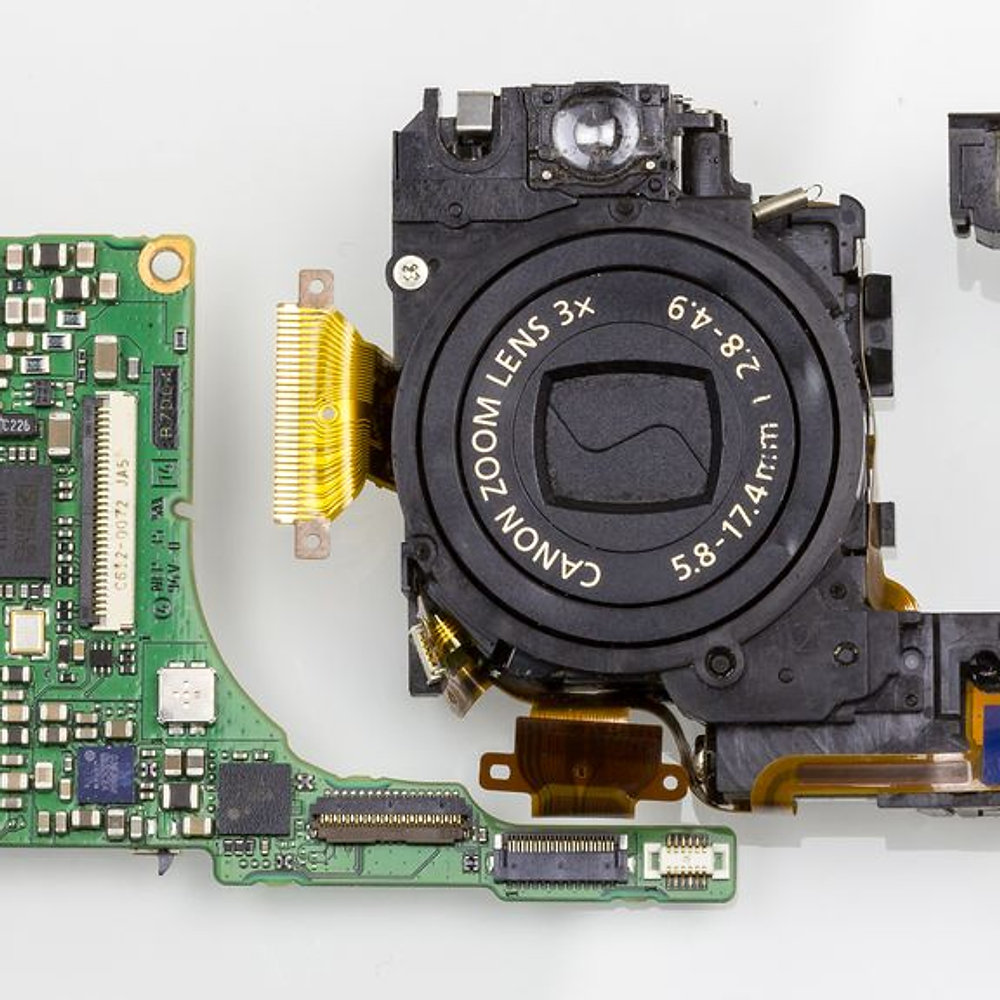
Canon EOS 70D Motherboard Replacement Tutorial Guide
Canon EOS 70D Camera Motherboard Replacement Tutorial
Step 1: Prepare the Camera
First, hold the camera with the lens pointing down. Press the highlighted button with your finger to release the cover.
Next, pull the cover over to expose the battery.

Step 2: Remove the Battery
Press the white button with your finger to release the battery.
 battery release” />
Once released, the battery will eject out about two inches.
Step 3: Remove the Touchscreen
Pull the touchscreen out and rotate it 90 degrees.

Step 4: Remove the Screws
Remove the four 3 mm Phillips #000 head screws that are now exposed at the hinge.

Remove the two 5 mm Phillips #000 head screws that near the viewfinder.
Step 5: Pry Apart the Plastic Columns
Use a spudger and pry apart the two plastic columns surrounding the screen hinge.

Step 6: Remove the Screen
Rotate the screen forward 90 degrees and push it back into its housing against the camera.

Step 7: Remove the Backplate
Use a spudger to peel rubber matting on the left hand side to expose the camera backplate mounting screws.

Remove the three 4 mm Phillips #000 head screws that mount the backplate to the left side of the camera.
Step 8: Remove the Right Hand Side Screws
Use tweezers to pry rubber matting on the right hand side to expose the backplate mounting screws.

Remove the four 4 mm Phillips #000 head screws that mount the backplate to the right side of the camera.
Step 9: Remove the Bottom Screws
Turn the camera upside down. Remove the five 5 mm Phillips #000 head screws securing the backplate to the bottom of the camera.

Step 10: Remove the Motherboard
Grab the backplate and gently pull it away from the camera.

The backplate will still be attached by the wires running to the LCD touchscreen.
Use tweezers to gently pry the metal bar connector from the camera motherboard.

Remove the two 4 mm Phillips #000 head screws that mount the LCD touchscreen to the hinge on the camera.
Step 11: Remove the Ribbon Cables
Use a spudger to lift the edge of the black heat tape.

Slowly peel back the black heat tape.
Very carefully, use a spudger to remove the nine orangish ribbon cables.
Step 12: Remove the Motherboard
Using tweezers, unattach the two wire cables holding the motherboard in.
 motherboard removal” />
Carefully remove the motherboard.
Conclusion
At Salvation Repair, we offer a limited lifetime guarantee of all parts and labor. If you need assistance with your Canon EOS 70D camera motherboard replacement, schedule a repair at https://salvationrepair.com/repair.

