How to Replace the Canon EOS 60D Rear Cover: Step-by-Step Repair Guide
Canon EOS 60D Rear Cover Removal Tutorial
Are you having trouble with your Canon EOS 60D camera? Do you need to access the internal components for repair or maintenance? Look no further! This tutorial will guide you through the process of removing the rear cover of your Canon EOS 60D camera.
Step 1: Remove the LCD Screen
To begin, you’ll need to remove the LCD screen from its housing. This will give you access to the screws that hold the rear cover in place. Use a plastic opening tool to carefully pry the LCD screen away from the camera body.
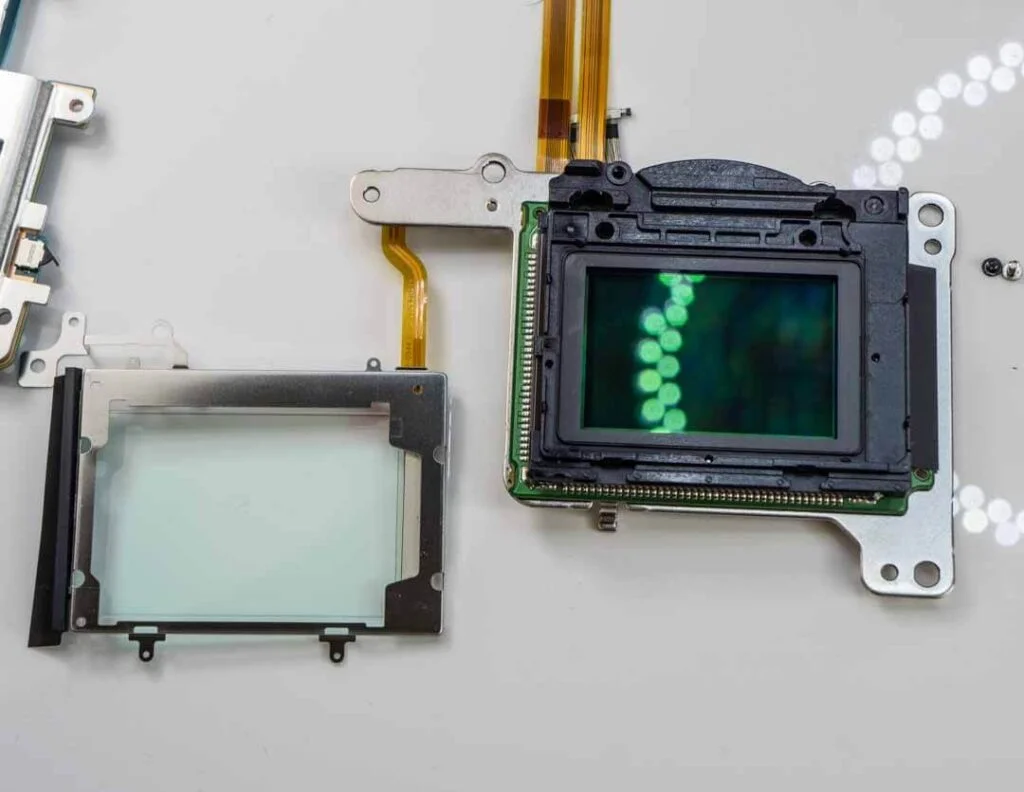 screen“>
Step 2: Remove the Phillips #PH00 Screws
Next, you’ll need to remove the Phillips #PH00 screws that hold the rear cover in place. There are several screws located around the camera body, so make sure to remove them all. Use a PH00 screwdriver to remove the screws.

Step 3: Remove the Rear Cover
Once you’ve removed all the screws, you should be able to carefully pry the rear cover away from the camera body. Use a plastic opening tool to gently pry the cover away from the camera.

Step 4: Disconnect the Rear Connector
Next, you’ll need to disconnect the rear connector from the camera body. Use tweezers to carefully pull the connector away from the camera.
Step 5: Remove the Remaining Screws
There are several remaining screws that need to be removed in order to access the internal components of the camera. Use a PH00 screwdriver to remove the screws.
Step 6: Remove the Eye Piece
Finally, you’ll need to remove the eye piece from the camera body. Use a firm push upwards to remove the eye piece.
That’s it! You’ve successfully removed the rear cover of your Canon EOS 60D camera. If you need further assistance or have any questions, feel free to contact Salvation Repair for professional repair services. We offer a limited lifetime guarantee on all parts and labor, and our expert technicians are here to help you get your camera up and running again.