Acer Aspire 4520-5464 CD/DVD Drive Replacement
Duration: 45 minutes
Steps: 6 Steps
Ready to swap out that old CD/DVD drive in your Acer Aspire 4520-5464? No worries—this straightforward guide will walk you through the process step by step. Just follow along, stay patient, and you’ll have your laptop back in action in no time. If you hit a snag or need a pro touch, you can always schedule a repair with Salvation Repair. Let’s get started!
Step 1

– Power down your computer and unplug all accessories and cables—yes, even that one.
– Turn the computer over so it’s facing bottom-side up.
Step 2


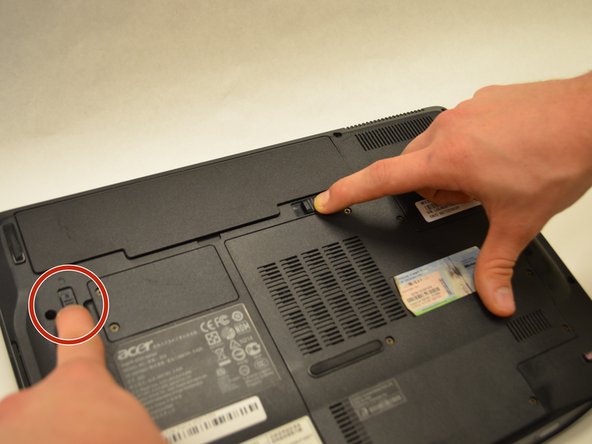
– Make sure the battery compartment lock tab is in the unlocked position, ready to go.
– Now, slide that sleek black tab away from the battery compartment – it’ll slide like butter.
– Once that’s done, the inside edge of the battery should pop free just a bit, like it’s excited to be out of there.
Step 3

– Grab the inner edge of the battery and give it a gentle lift to fully detach it from the device. It’s like setting the battery free!
Step 4


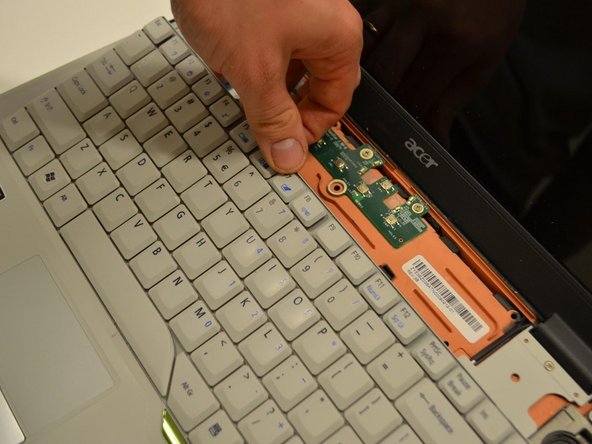
– Let’s get started by removing 7 of the 2mm Phillips #1 screws from the largest panel on the back of your laptop. This is the first step to unlocking the inside of your device!
– Next, carefully lift up the panel from the indent on the right side. It’s like opening a little door to the inside of your laptop!
Step 5

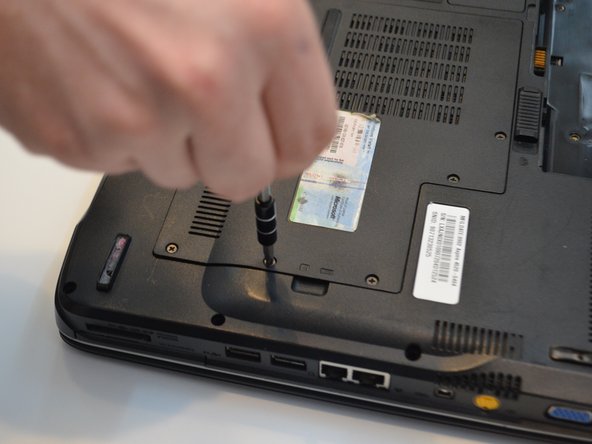
– Unscrew the tiny 0.5mm Phillips #1 black screw chilling on the left side of the panel opening.
Step 6

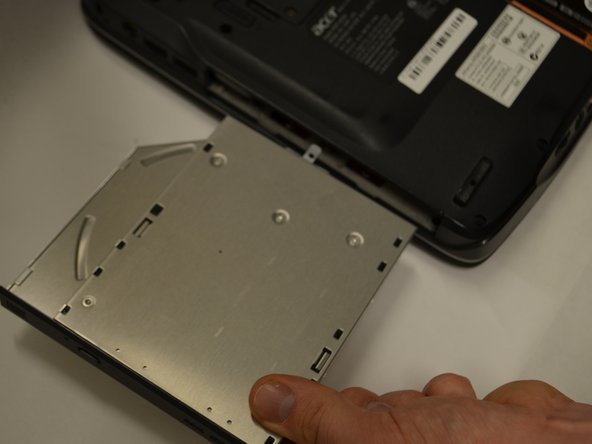
– Grab your screwdriver and gently slide the CD drive out through the exposed panel. Easy does it!