Acer Aspire 3 A315-58-350L Screen Replacement
Duration: 45 minutes
Steps: 10 Steps
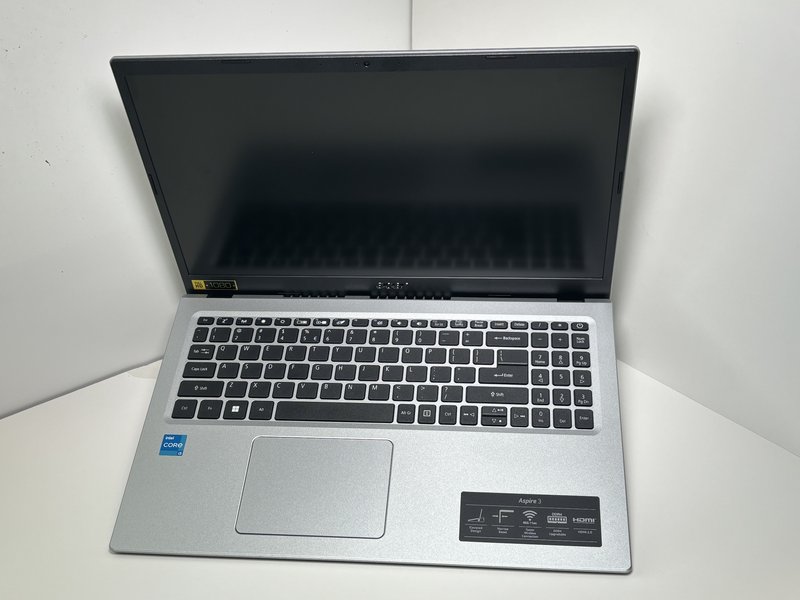
Your laptop’s screen is basically its window to the world, making it super important for getting stuff done. If you’re seeing weird colors or a totally black screen when you turn it on, it might be time for a screen replacement. Don’t worry, it’s a pretty straightforward fix, but we’ll walk you through it step by step. First, make sure your laptop is powered off for at least 30 seconds and unplugged from any other devices. Then, you’re ready to get started.
Step 1


– Let’s get started by removing the eleven 7 mm Phillips screws that hold the lower case in place. Take your time and make sure you’ve got them all – it’s an easy step, but an important one!
Step 2


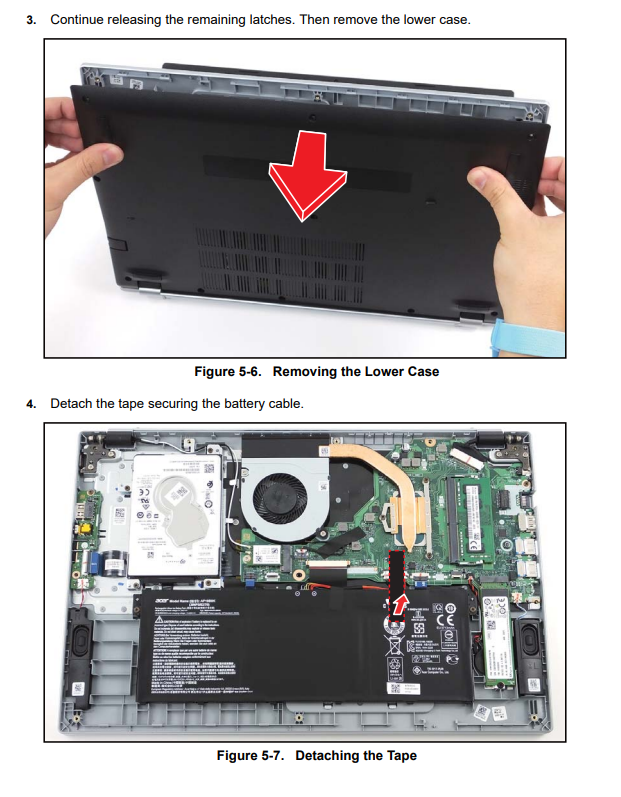
– Gently slide an opening tool into the gap between the lower case and chassis.
– Work your way around the edges, prying carefully until the lower case pops free.
– Lift the lower case off with ease, revealing the inner components.
Step 3
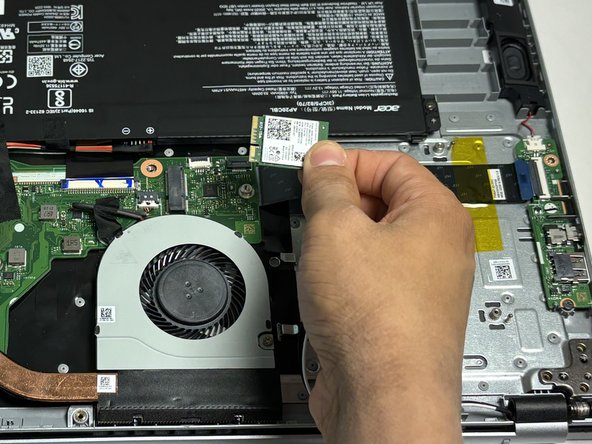

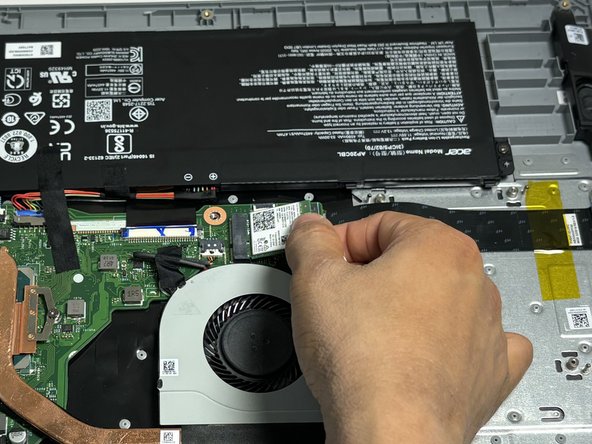
– Grab an opening tool and gently lift to disconnect the Wi-Fi antenna cables—no twerking needed.
– Remove that single 2 mm Phillips screw holding down the Wi-Fi card—it’s a tiny but mighty fastener.
– Carefully pull the Wi-Fi card straight out of its socket—easy does it, no force required.
Step 4
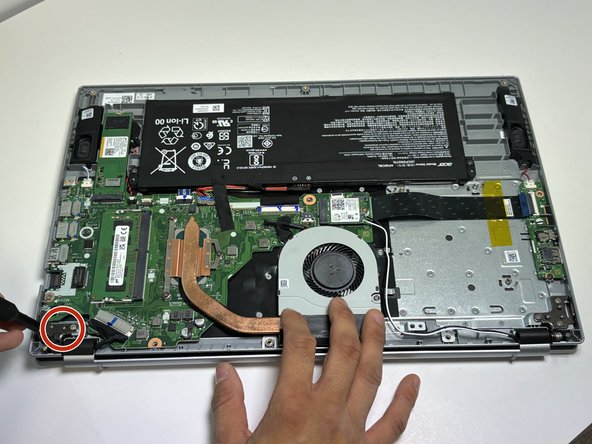

Each bracket is held in place by three screws. Make sure to carefully remove all of them before moving on!
– Let’s get started by removing the six 4 mm Phillips screws that hold the hinges in place. This is a great opportunity to get familiar with the device’s internals, so take your time and make sure to keep those screws organized!
Step 5
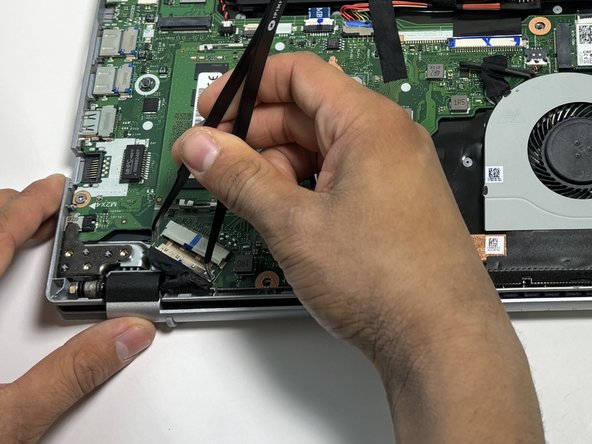

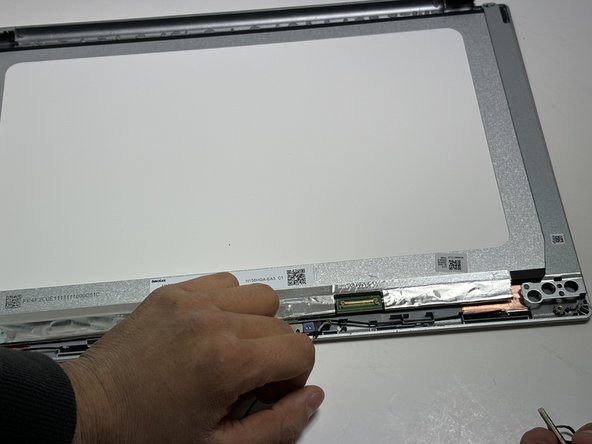
– Grab those tweezers and get a good grip on both ends of the display connector – you’re about to set it free from its socket!
– Gently pull the connector straight out of its home. Easy does it, you’ve got this!
Tools Used

Step 6

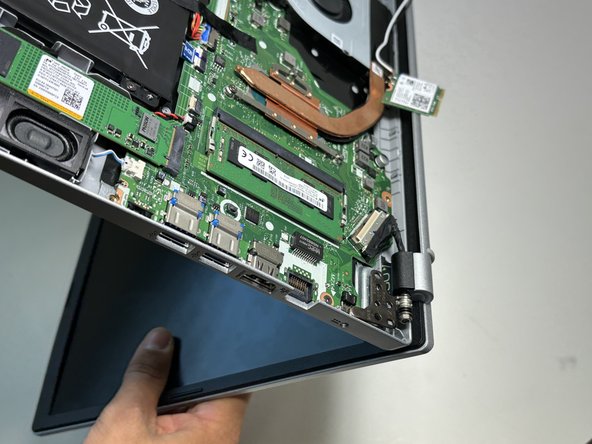
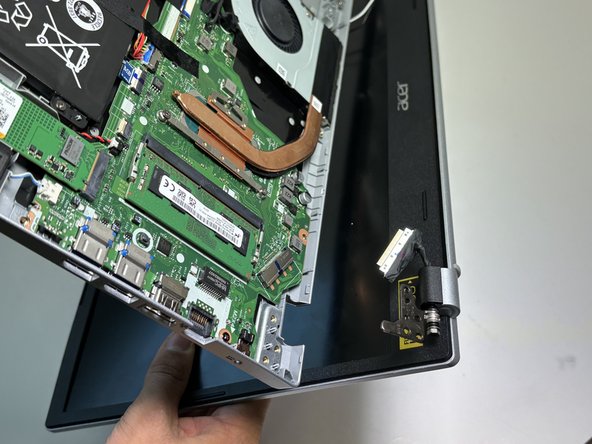
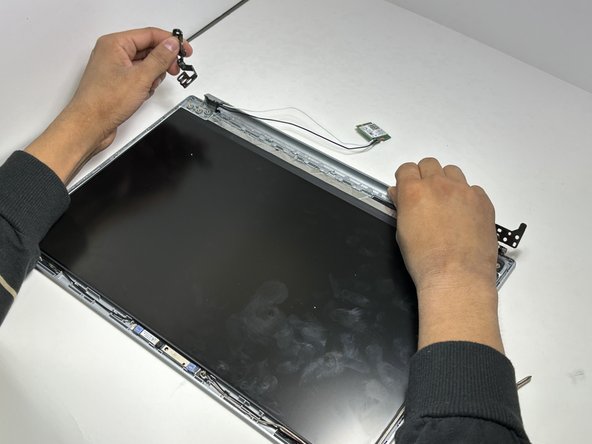
– Gently lift the laptop and carefully detach the display assembly from the lower chassis. Take your time here, no rush!
Step 7
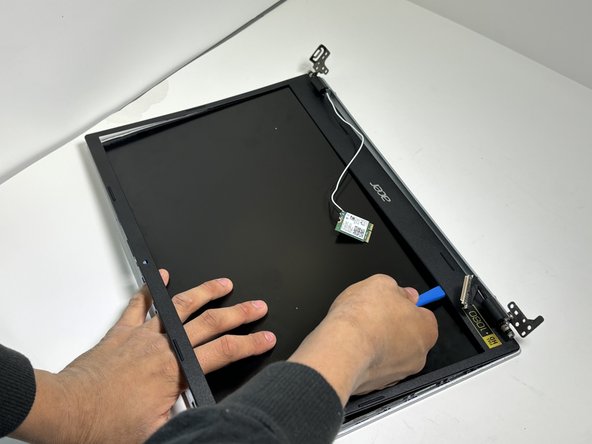

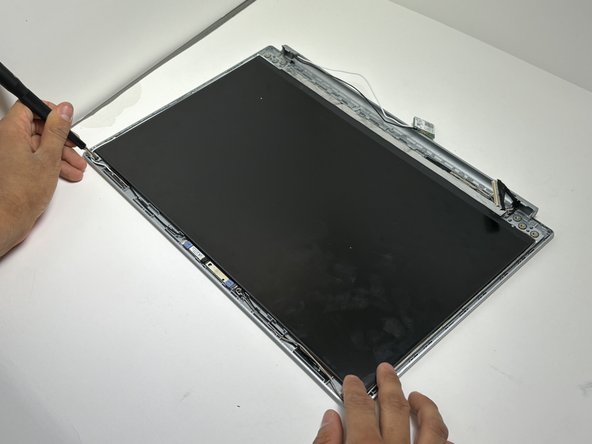
– Gently slide an opening tool between the bezel and the display, being careful not to crack anything.
– Work your way around the entire edge of the screen, gently prying until the bezel starts to separate from the display.
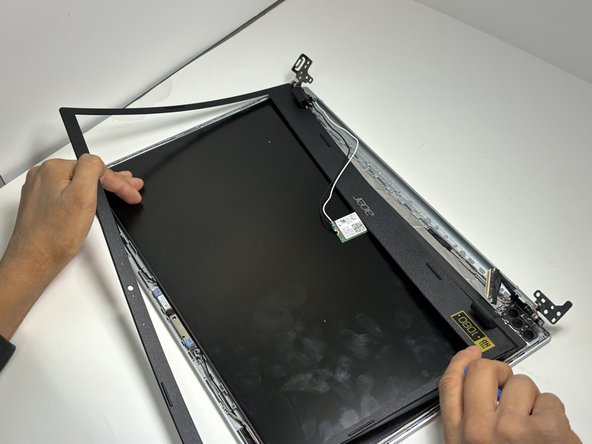
– Carefully lift the bezel away from the hinges to remove it, making sure not to force anything.
Step 8

Let’s get started by removing the three screws that hold each hinge in place.
– Let’s get started by removing the six 3 mm Phillips screws that hold the two hinges in place. This is the first step in freeing up the hinges, so take your time and make sure to remove all six screws.
Step 9
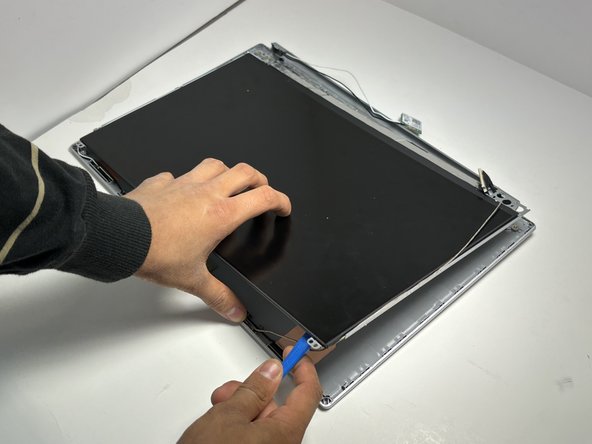

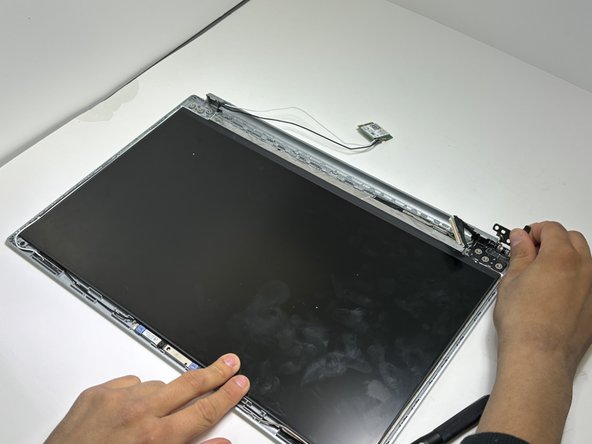
– Start by unscrewing the two 3 mm Phillips screws located at the bottom left and right corners of the screen. Then, grab an opening tool and gently pry between the display and the display assembly to separate them. Take your time and work carefully to avoid damage. If you need help, you can always schedule a repair.
Step 10


– You made it! To put everything back together, just follow these steps in reverse. Nice job!
–
Tools Used
Success!