Acer Aspire 3 A315-24P-R7VH Speaker Replacement
Duration: 45 minutes
Steps: 7 Steps
If your Acer Aspire 3 laptop speakers are on strike—whether it’s from overuse, old age, or an unexpected splash of water—don’t panic! This guide will walk you through replacing those speakers, getting your sound back in action. It’s a simple fix that’ll have your laptop rocking and rolling again in no time. And hey, if you get stuck, just schedule a repair and we’ll help you out!
Step 1

– Power down your device and unplug it from the wall outlet. Easy does it—just switch it off and disconnect the power to get ready for the next steps. If you need help, you can always schedule a repair.
Step 2


– Flip the laptop upside down and close it up, ready for the next step.
– Unscrew the eleven 6.5 mm Phillips screws from the bottom cover to loosen things up.
Step 3

– Slide an opening pick between the bottom cover and the frame.
– Work your way all the way around the edge, gently popping the cover loose.
– Lift off the lower case and set it aside.
Step 4

Optional: Wear an anti-static wrist strap to keep your static electricity in check. Just clip the metal end to any unpainted metal surface outside the laptop to ground yourself and prevent any zaps. If you need a hand, you can always schedule a repair.
Step 5

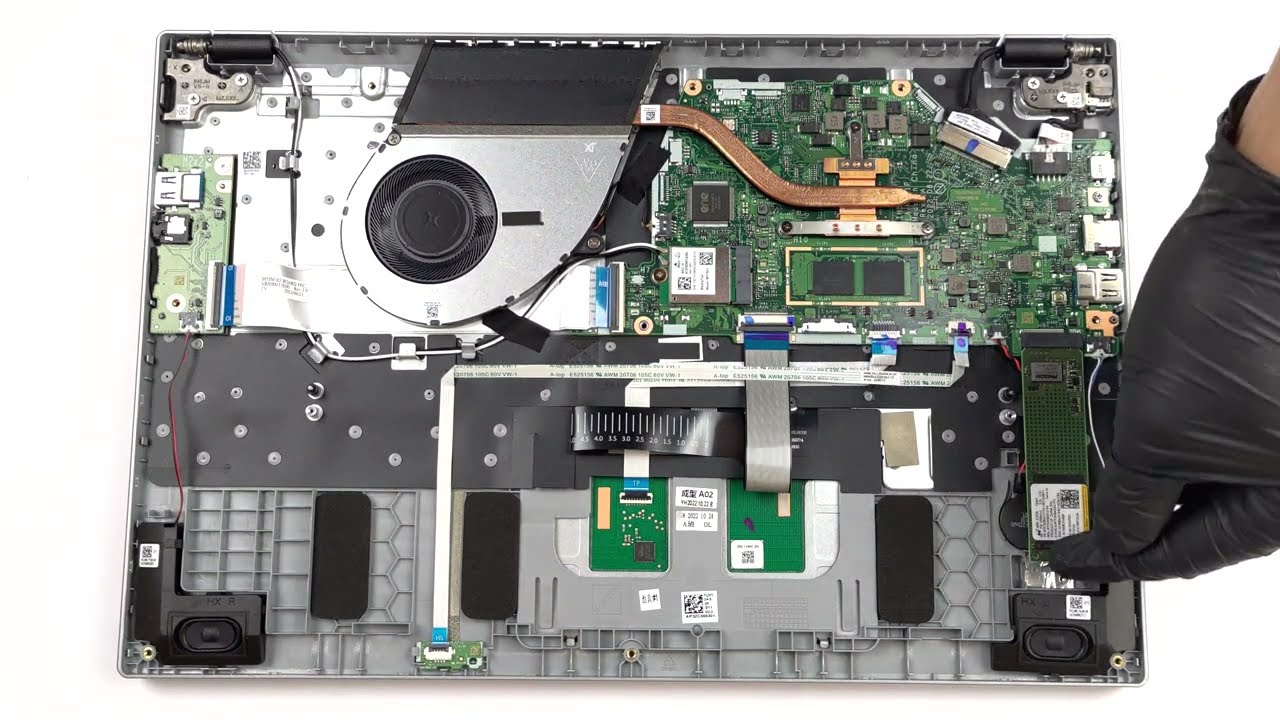
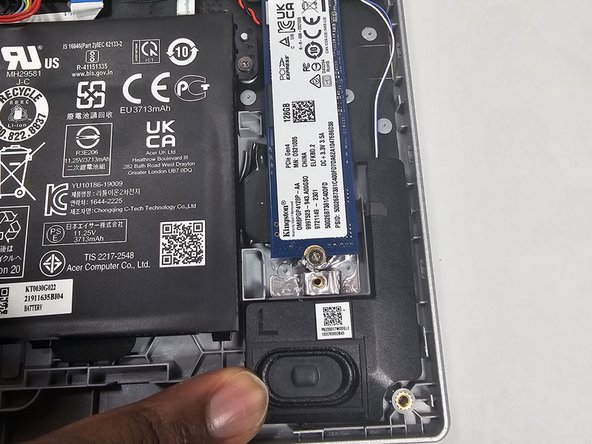
– Locate the speakers at the bottom left and right corners of your laptop. They’re there to bring the sound to life, so don’t miss them!
Step 6

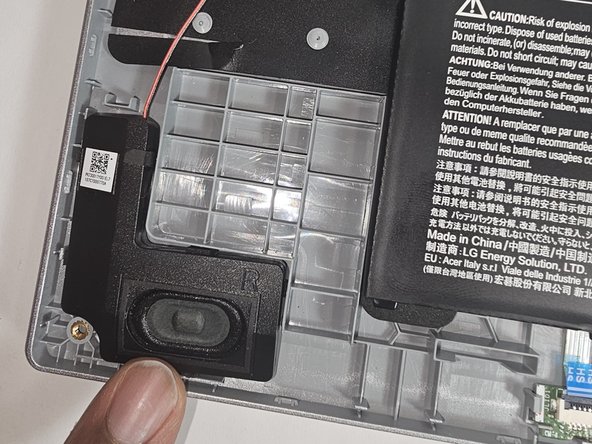
No screws here! Once you unplug the speakers, just lift them right out.
– Gently disconnect each speaker—take it slow and avoid pulling on the wires.
Step 7

– Now it’s time to plug in your shiny new speaker and find its perfect spot! The speaker headed to the left corner of your laptop will have a cool ‘L’ label on it, and the one for the right corner will have an ‘R’ label – easy peasy! Just match them up and you’re good to go.