Acer Aspire 3 A315-24P-R7VH Motherboard Replacement
Duration: 45 minutes
Steps: 18 Steps
Time for a motherboard makeover on your Acer Aspire 3! If your laptop’s throwing more blue screens than a fireworks display, showing lots of Windows errors, or just refusing to turn on before giving up, it might be time to swap out that essential component. Don’t worry, with this step-by-step guide from Salvation Repair, you’ll be back to a happy, healthy machine in no time. If you need extra help along the way, you can always schedule a repair.
Step 1

– Shut down your device and disconnect it from the wall outlet.
Step 2


– Flip the laptop upside down and close it up.
– Unscrew the eleven 6.5 mm Phillips screws from the bottom case to get things started.
Step 3

– Carefully slip an opening pick between the lower case and the chassis to get started.
– Gently work your way around the entire edge until the lower case pops free.
– Lift out the lower case and set it aside.
Step 4

Optional: Wear an anti-static wrist strap to stay grounded. Just clip the metal end to any unpainted metal surface outside the laptop, and you’re good to go. If you need a hand, you can always schedule a repair.
Step 5

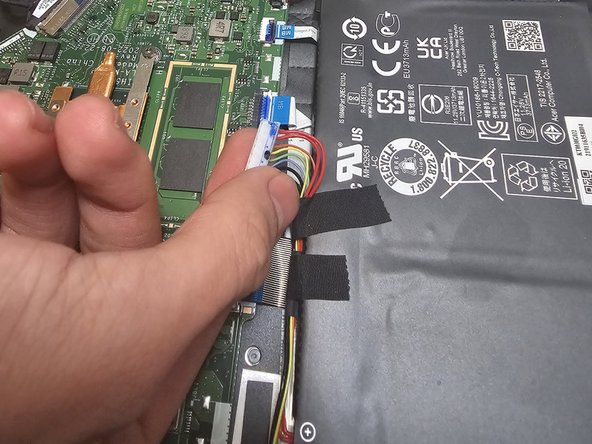
Give those wires a break—avoid tugging on them.
– Grab onto the white battery connector and gently pull it straight out of its socket. Keep it steady and avoid any twisting or bending to keep things smooth. If you need a hand, you can always schedule a repair.
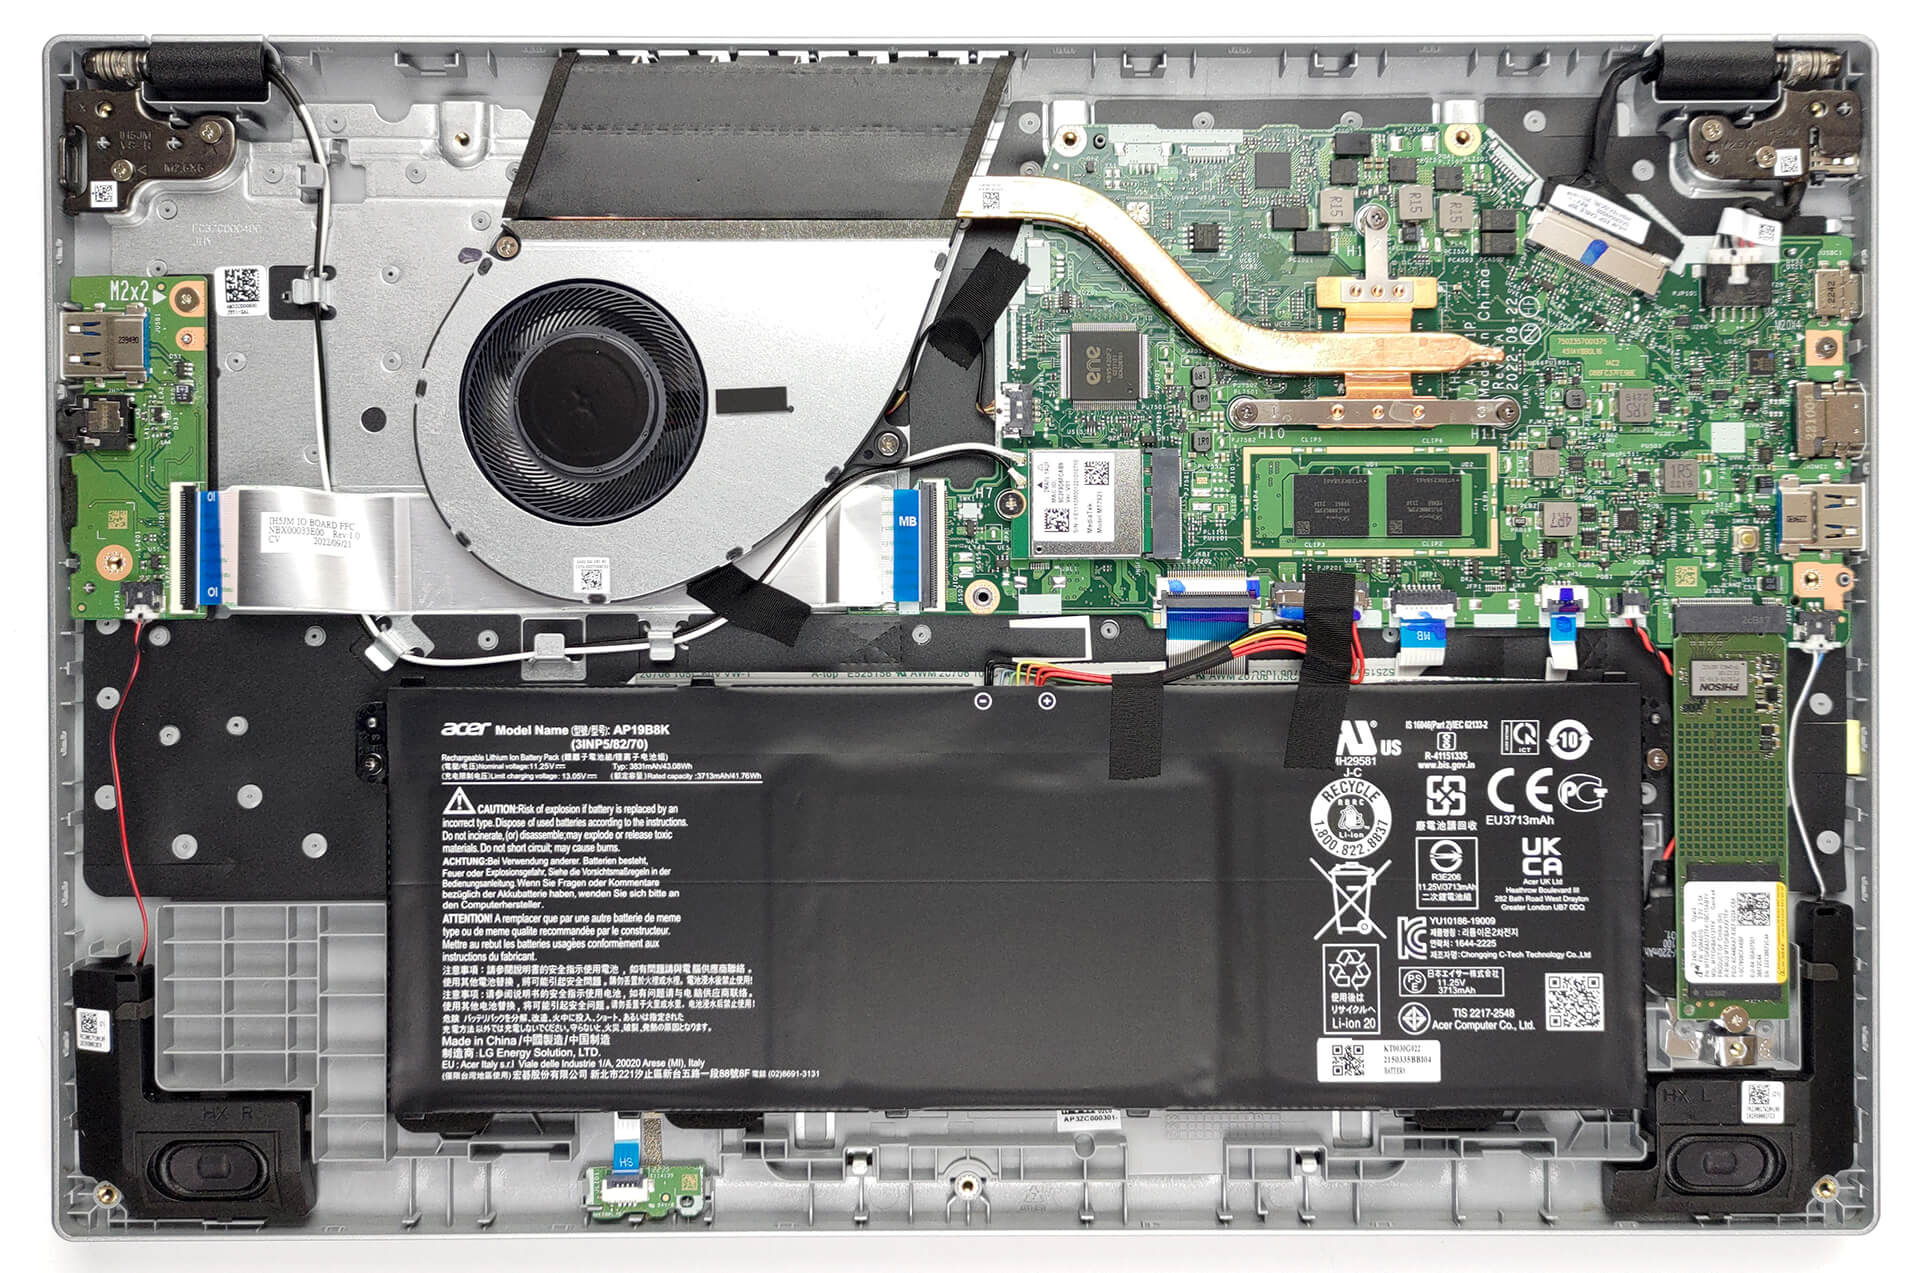
Step 6


– Let’s get started by removing the four 4.5 mm Phillips head screws that hold the battery in place.
Step 7

– Gently lift the battery out of the chassis, giving it a friendly tug to free it up for the next step. If you need help along the way, you can always schedule a repair.
Step 8

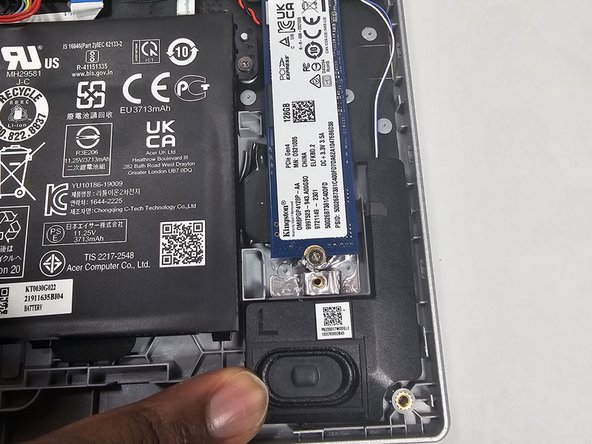
The SSD will pop up at a gentle angle—just enough to slide it out easily.
– Grab your Phillips screwdriver and remove the single 2.2 mm screw holding the SSD in place. Easy does it—no need to flex those muscles.
Step 9

– Give the drive a gentle tug and carefully pull it straight out of its socket. No need for brute force—just a smooth, steady move.
Step 10

– Take a moment to double-check that the replacement SSD is the right size, specifically 2280. You got this!
Step 11
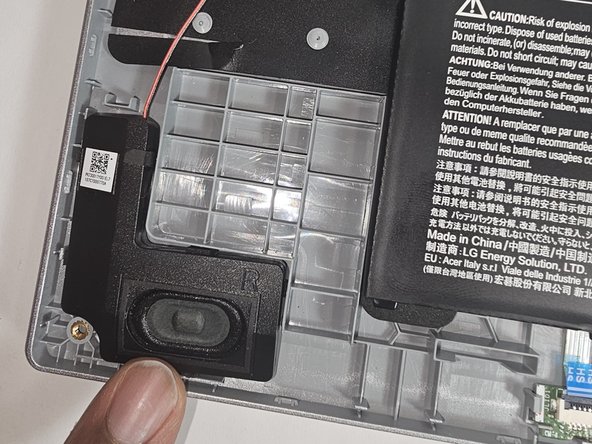

– Locate the speakers tucked away at the bottom left and right corners of the laptop. Ready to give your device a little tune-up? If you need help along the way, you can always schedule a repair.
Step 12

No screws are holding the speakers in place, so once you’ve unplugged them, you can simply lift them out.
– Time to get started! Carefully unplug each speaker to begin the repair process.
Step 13

– Connect the new speaker and slide it into the corner that matches its shape. The speaker destined for the left corner gets an ‘L’ label, while the one for the right corner gets an ‘R’. Remember, a little patience goes a long way—if you need a hand, you can always schedule a repair.
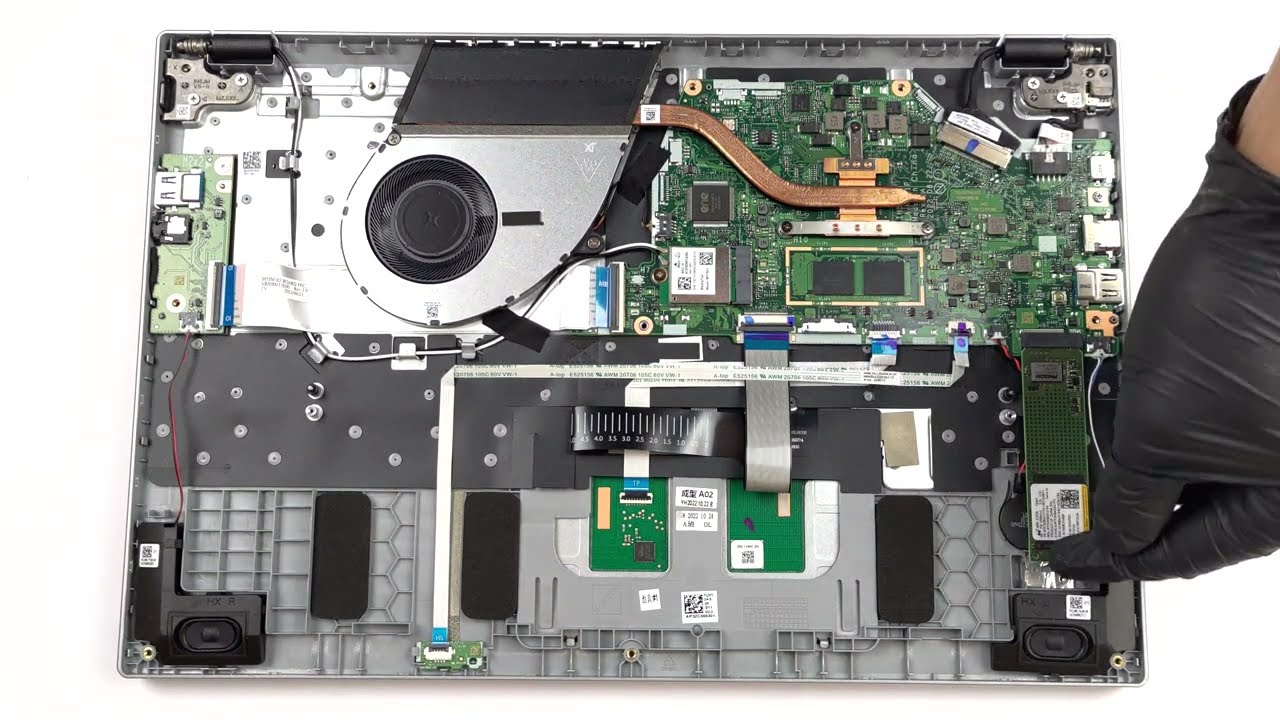
Step 14

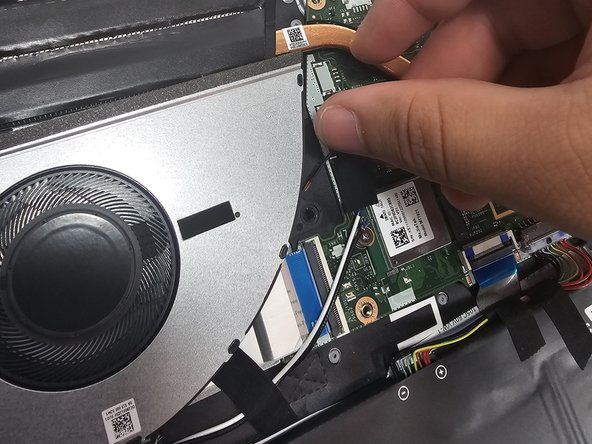
– Gently lift the black locking flap to release the white ribbon cable from the motherboard, right near the Network Interface Card. Once the flap is up, carefully pull the cable out of its socket. Easy peasy!
Step 15
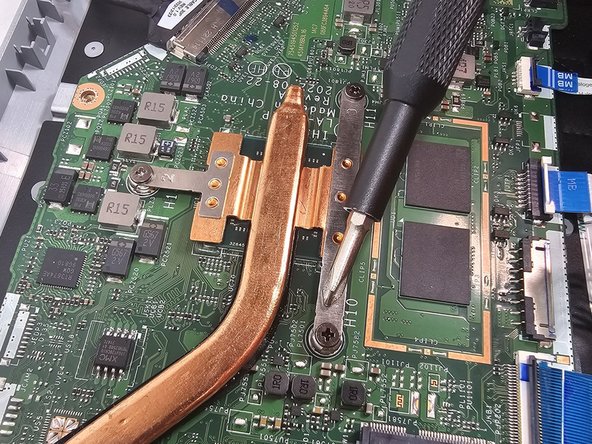
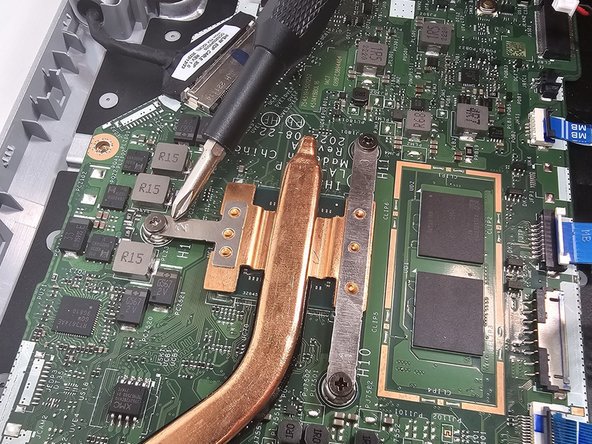

– Take out the three 4.5 mm screws holding the heatsink in place.
Step 16


– Grab your screwdriver and remove the two 5.6 mm Phillips screws that are holding the fan in place.
– Next, gently disconnect the fan cable – it’s time to free the fan from its cozy spot.
– Now, go ahead and carefully lift out the fan. You’ve got this!
Step 17

– Let’s get started by removing the one 4.5 mm Phillips screw that’s holding the motherboard in place within the laptop frame.
Step 18
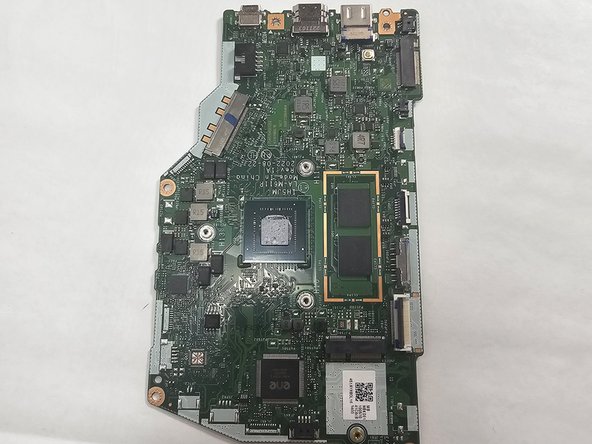

– Carefully lift the motherboard out of the chassis, making sure it’s free from any pesky connections. You’ve got this!