Acer Aspire 3 A315-24P-R7VH Display Assembly Replacement
Duration: 45 minutes
Steps: 7 Steps
Looking to understand how your Acer Aspire 3’s display is hooked up or need to swap out a busted screen? This straightforward guide walks you through disconnecting and removing the monitor, whether you’re replacing a cracked display, dealing with poor picture quality, or just want to upgrade. Follow these steps to get your laptop looking and functioning like new—no fuss, no drama. If you need help at any point, you can always schedule a repair.
Step 1

– Power down the device and unplug it from the charger to get ready for the repair. If you need a hand, you can always schedule a repair.
Step 2


– First, give your laptop a little break by closing it and flipping it over, so we can get to the good stuff underneath.
– Now, grab your trusty screwdriver and remove the eleven 6.5 mm Phillips screws from the bottom. They’re a little tight, but no worries—you’ve got this!
Step 3

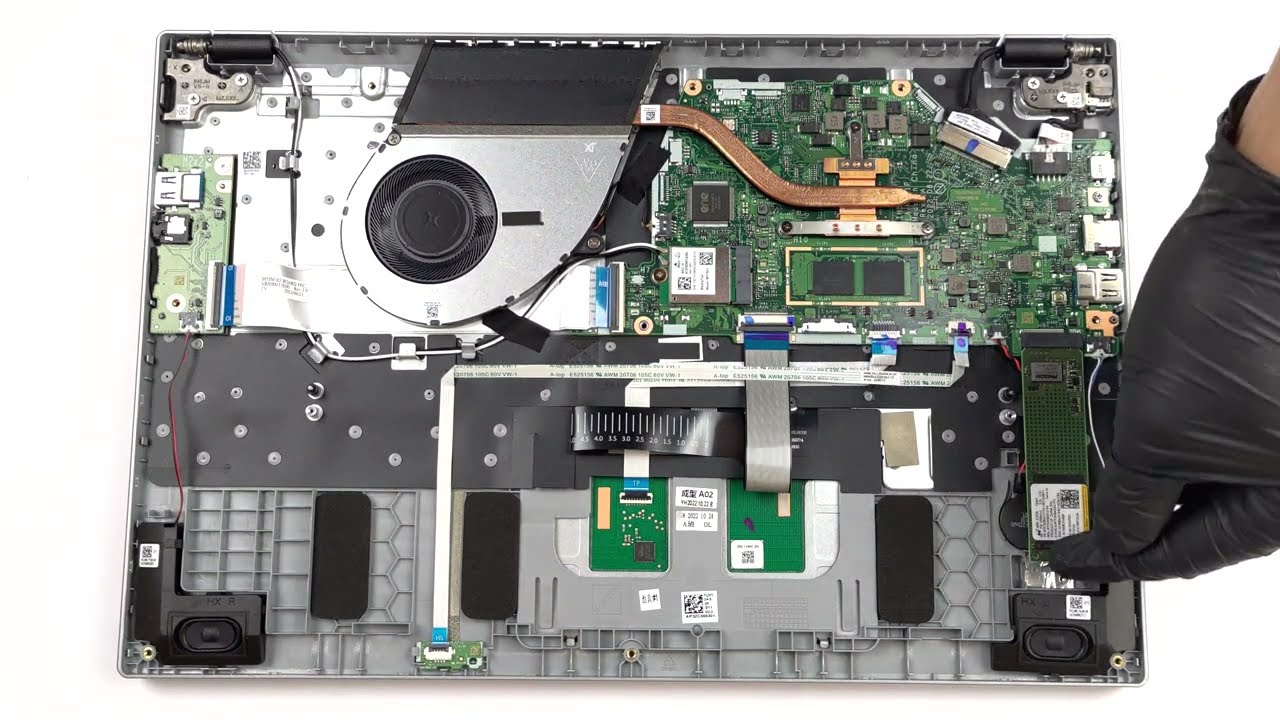
– Start by inserting a pick between the lower case and the chassis to gently pry them apart. Work your way around the entire edge, carefully releasing the lower case as you go. Once you’ve loosened all sides, lift off the lower case to access the inside. If you need help at any point, you can always schedule a repair.
Step 4

Optional: Wear an anti-static wrist strap to keep static at bay. Clip the metal end to an unpainted metal surface outside your laptop to ground yourself and prevent static buildup during the repair process. If you need help, you can always schedule a repair.
Step 5

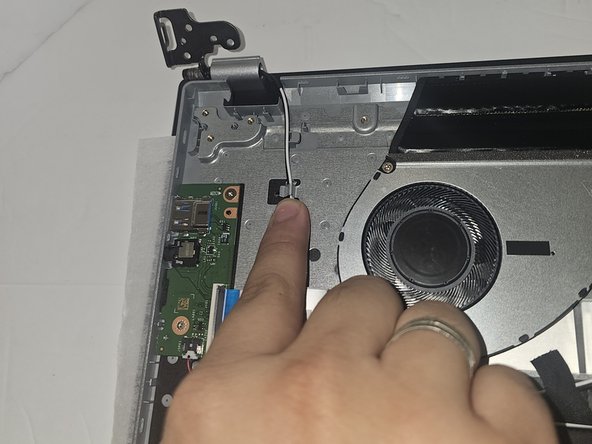
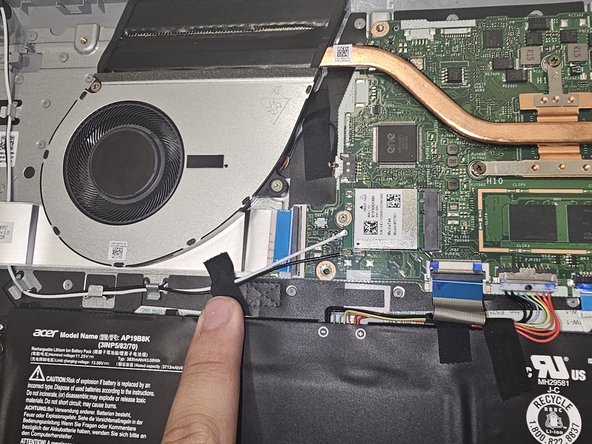
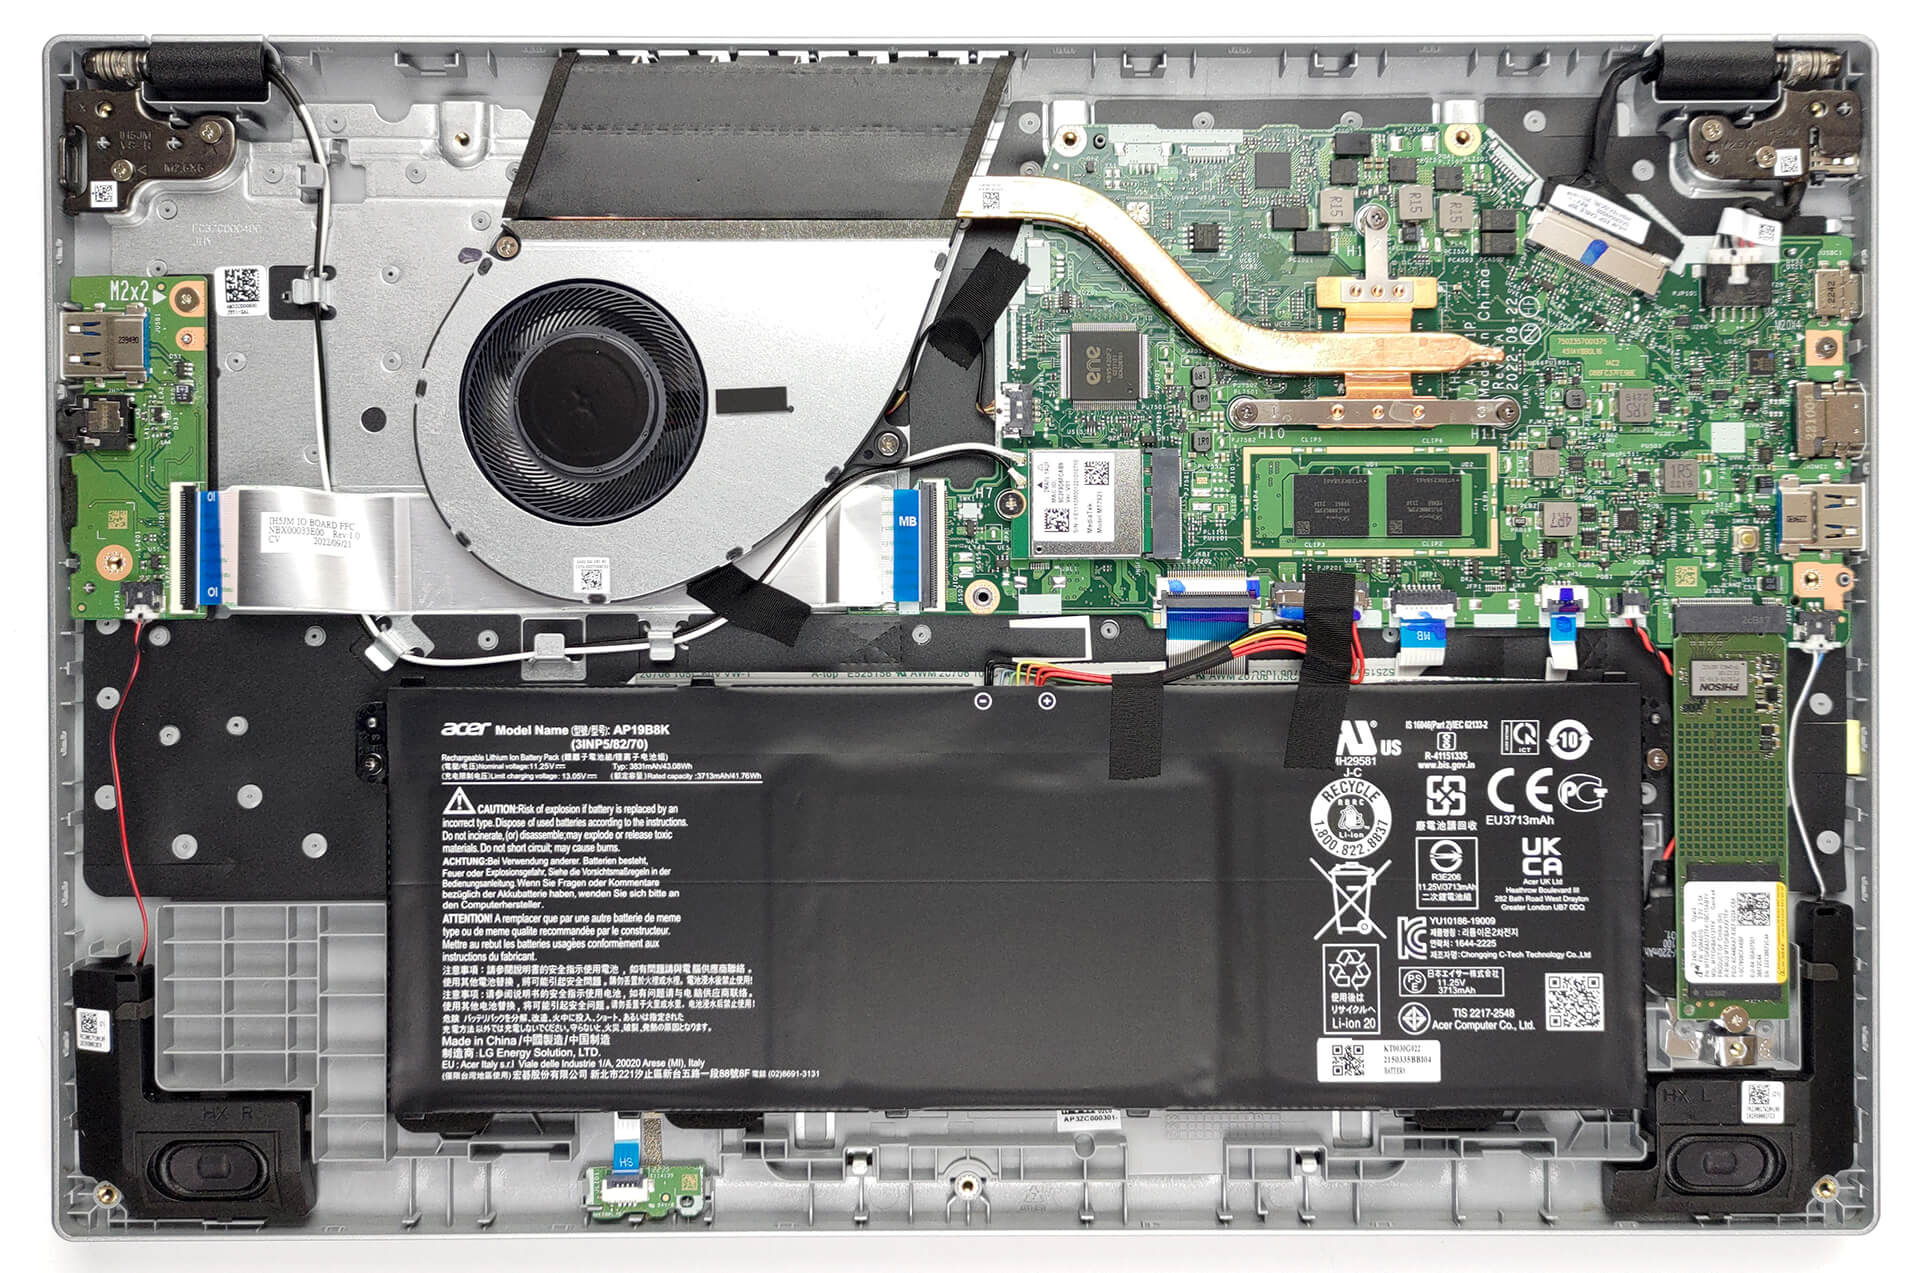
– Now it’s time to disconnect the black and white antenna cables from the network card on the motherboard. Gently pull them out to release the connection.
Step 6
– Grab your screwdriver and take out the four 5.5 mm Phillips screws that are keeping the monitor hinges snugly attached to the laptop frame.
Step 7

– With the hinges unscrewed, the display assembly should pop off without a fuss.