Acer Aspire 3 A315-24P-R7VH Battery Replacement
Duration: 45 minutes
Steps: 7 Steps
Battery issues are a common headache for laptop users, especially as your battery gets older and starts to swell or lose its juice. Whether your battery looks normal or has puffed up like a balloon, replacing a faulty laptop battery is a must-do fix. These steps are tailored for the Acer Aspire 3 but are pretty similar for most other laptops out there. Ready to get that battery replaced? If you need a hand, you can always schedule a repair.
Step 1

– Power down your device and disconnect it from the charger to get started with the repair. If you need a hand along the way, you can always schedule a repair to have the pros handle it.
Step 2


– Flip the laptop over and close it up, ready for the next step.
– Unscrew the eleven 6.5 mm Phillips screws from the bottom cover and set them aside.
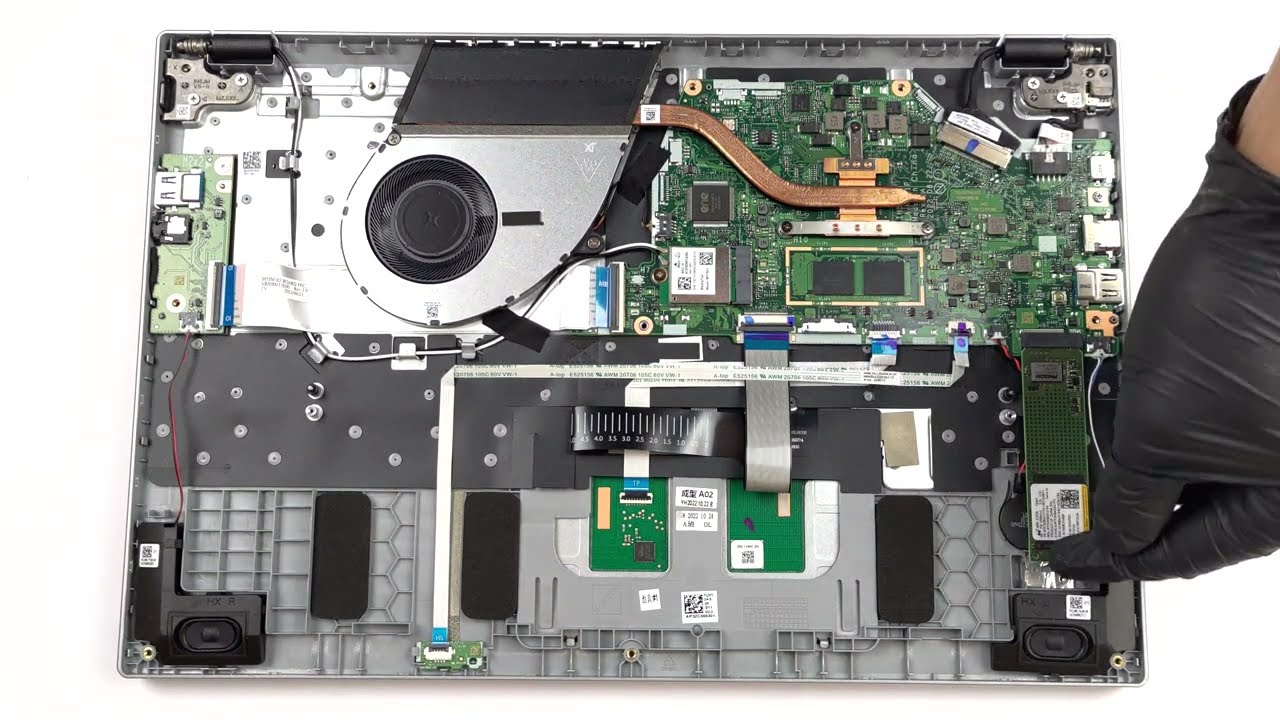
Step 3

– Slide an opening pick between the bottom cover and the main body.
– Work your way gently around the whole edge until the lower case pops free.
– Lift off the lower case and set it aside.
Step 4

Optional: Wear an anti-static wrist strap to keep static at bay. Just clip the alligator end to any unpainted metal surface outside the laptop chassis to discharge any static buildup. Quick, easy, and keeps your components safe during the fix. If you need help, you can always schedule a repair.
Step 5

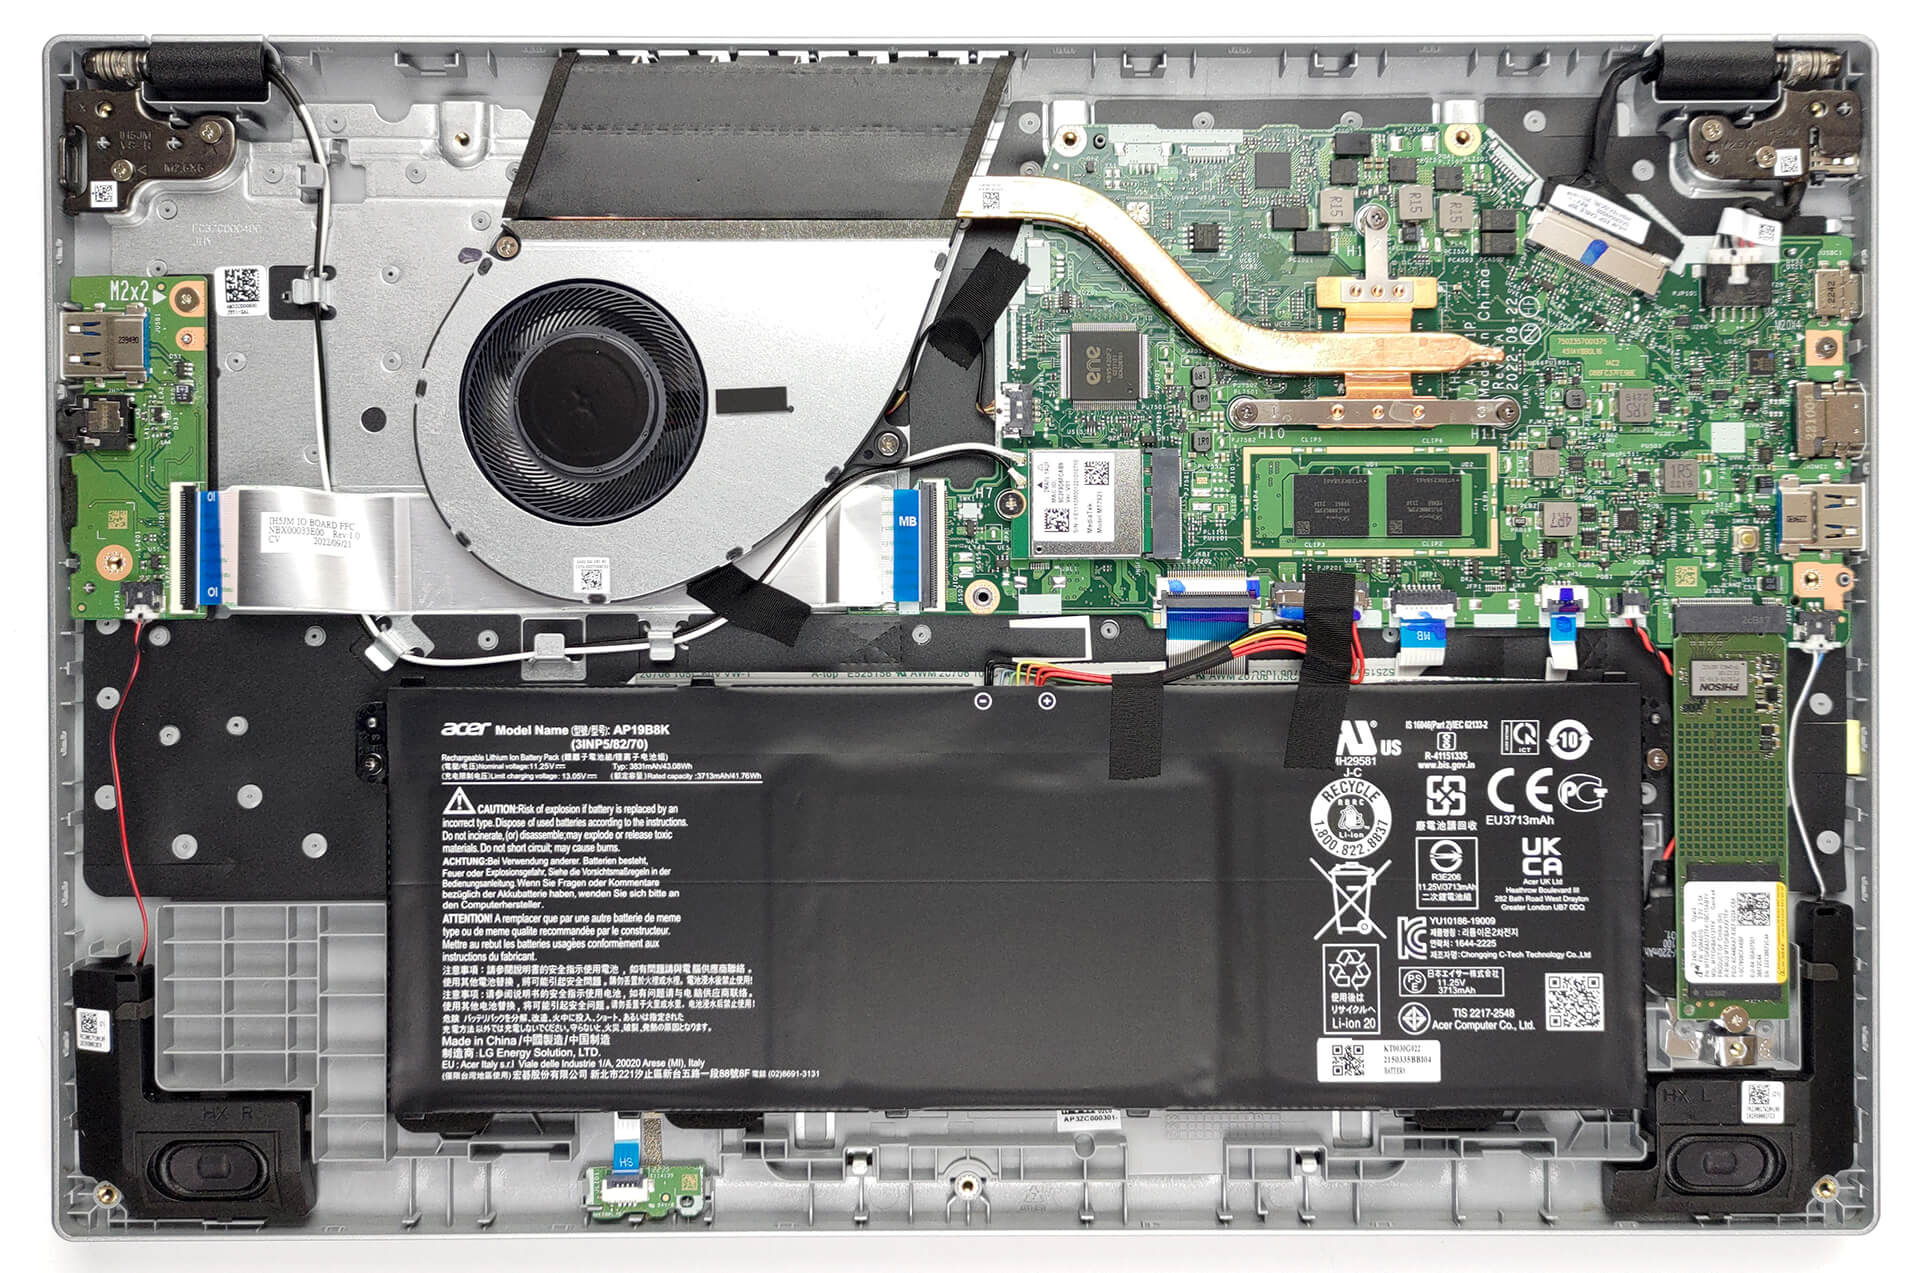
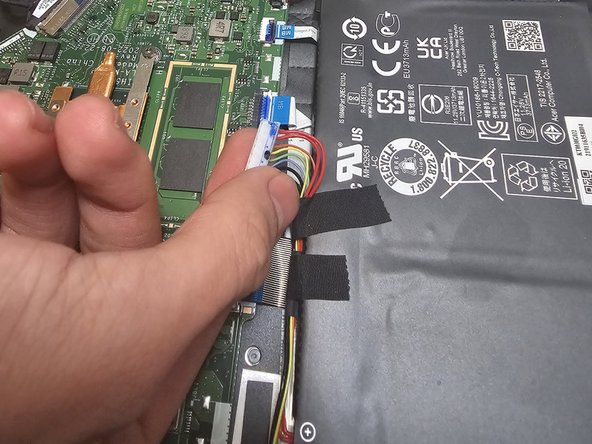
Be gentle with the wires—no tugging or pulling. They’re delicate little things, and we want them to stay in one piece!
– Grab hold of that white battery connector and gently pull it straight out of its socket. Easy does it—no twisting or yanking needed. If you run into trouble, you can always schedule a repair with Salvation Repair for assistance.
Step 6


– Time to tackle those four 4.5 mm Phillips screws holding the battery in place—grab your screwdriver and set them free!
Step 7

– Now, it’s time to put everything back together—just reverse the steps and you’ll be good to go.
– Once you’ve finished, give your new battery a little calibration love for optimal performance. Also, take a quick moment to compare your new part with the old one. You might need to transfer a few components or peel off some adhesive backing before installing the new piece. Oh, and don’t forget to recycle responsibly—take your e-waste to an R2 or e-Stewards certified recycler!
–