Motorola Photon 4G MB855 Headphone Jack Replacement
Duration: 45 minutes
Steps: 6 Steps
Having trouble getting your headphones to cooperate? It might be time to swap out that pesky headphone jack. Follow this straightforward guide to get your audio back on track and your tunes flowing smoothly. If you hit a snag, remember you can always schedule a repair with Salvation Repair to sort things out.
Step 1


– Grab a plastic opening tool and gently slide it into the gap at the bottom of the phone, right between the front and back covers.
– Now, carefully lift the back cover from the bottom and pop it off the phone. You’re almost there!
Step 2


– Grab a plastic opening tool, or just use your finger, and gently slide it into the gap between the SIM card and the battery. Lift the battery up carefully, and you’ll be one step closer to your goal!
– Now, go ahead and remove that battery from your phone. You’re doing great!
Step 3


– With your trusty tweezers, pluck out all five screw covers shown in the picture.
Tools Used

Step 4


– Let’s get started by removing the 10 T4 Torx screws that hold the midframe in place on the display assembly. Take your time and make sure they’re all out.
– Now it’s time to gently pry the midframe away from the display assembly. Be careful not to damage any of the surrounding components as you remove it.
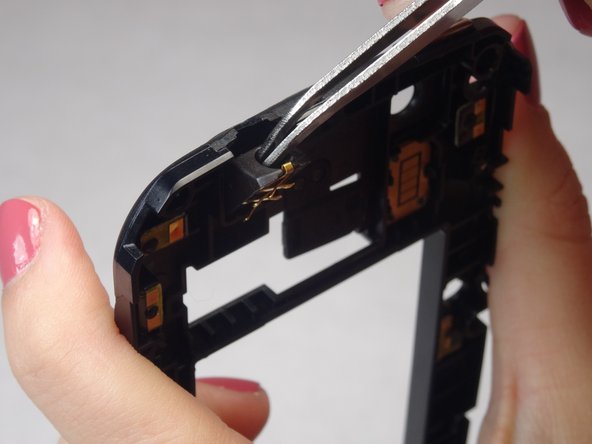
Step 5

– Find the headphone jack connected to the midframe. Carefully disconnect it to free up the component for removal or replacement. If you need help, you can always schedule a repair.
Step 6

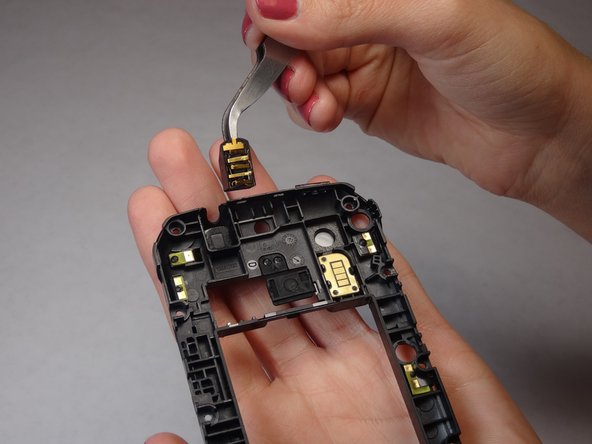
Heads up: The Headphone Jack is stuck on with adhesive, so take it slow and easy to avoid any sticky situations.
– To get your device up and running again, just reverse the steps you followed to take it apart. Easy peasy!
– You’re almost done! If you need help or want to make sure everything is done correctly, you can always schedule a repair