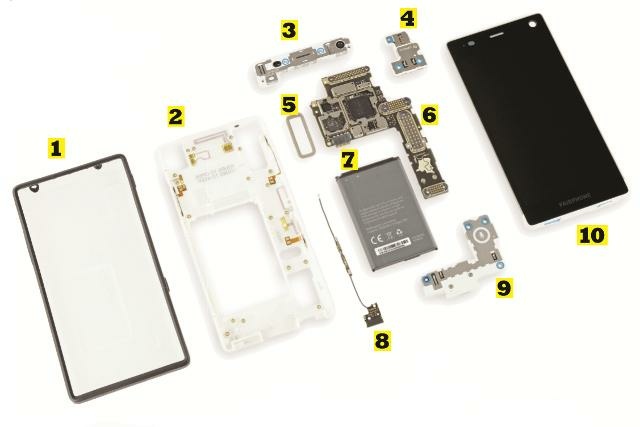
Fairphone 2 Microphone Module Replacement
Duration: 45 minutes
Steps: 9 Steps
Ready to give your Fairphone 2 a fresh voice? This guide walks you through swapping out the microphone module—step by step. Grab your tools, follow along, and soon your phone will be chatting away like new.
Step 1
– Find a corner of your slim case and gently wedge your thumbnail between the two parts.
– Lift the back section of the slim case to pop apart the tiny snap-fit connectors holding it in place.
– Carefully take off the back part of the slim case.
Step 2
– Slip your thumbnail gently between the front edge of the sleek case and the phone’s body.
– Carefully detach the snap fit connectors on the front by sliding them sideways while pressing against the display.
Step 3
– Pop off the front part of the slim case. Easy does it!
Step 4
– Gently nudge the battery towards the top of your phone, like you’re giving it a little push to get moving.
– Now, carefully pull the battery away from the phone, as if you’re inviting it to join you for a little adventure out of the phone.
Step 5
– Once the battery is out, you’re all set to unlock the display assembly.
– Flip those two blue switches inward like you mean it.
– Gently slide the display assembly down towards the bottom of the phone to free it.
Step 6
Want another approach to sliding that display assembly open? Here’s an alternative method to get you moving forward with your repair.
Step 7
– Gently remove the display assembly to move on to the next step.
Step 8
– Grab your Phillips #0 screwdriver and take out the four screws marked with blue circles.
Step 9
– Now, just reverse these steps to put everything back together and get your device working like new!
– Wondering what to do with the old module? Check out the FairPhone support page or visit their forum for more details.
– If you hit any bumps along the way or just want a little help, feel free to schedule a repair.
Success!


