Samsung Galaxy S20 FE 5G Ultra Wide Camera Replacement
Duration: 45 minutes
Steps: 27 Steps
Is your Samsung Galaxy S20 FE 5G's ultra-wide camera giving you trouble? If it's not focusing, taking blurry or grainy photos, or just being generally uncooperative, it might be time for a replacement. Before diving in, double-check that the issue is actually with the camera and not the rear lens cover. If the lens is the culprit, check out our guide to replace that instead. Remember, you'll need to remove the motherboard to get to the ultra-wide camera, so make sure you're ready for that. Once you're done, don't forget to grab some replacement adhesive for the back cover when putting everything back together. Need a hand? If you're feeling stuck, feel free to schedule a repair.
Step 1

Heads up: let your battery dip below 25% before starting—lithium-ion batteries pack a punch when charged and don’t play nice if poked.
- Power down your device and disconnect all cables to get ready for the fix. Keeping things unplugged and off makes the repair safer and smoother. If you need a pro hand, you can always schedule a repair.
Step 2

Oops! If the SIM eject tool took a detour into the microphone hole, it’s usually no big deal—your microphone should still be just fine.
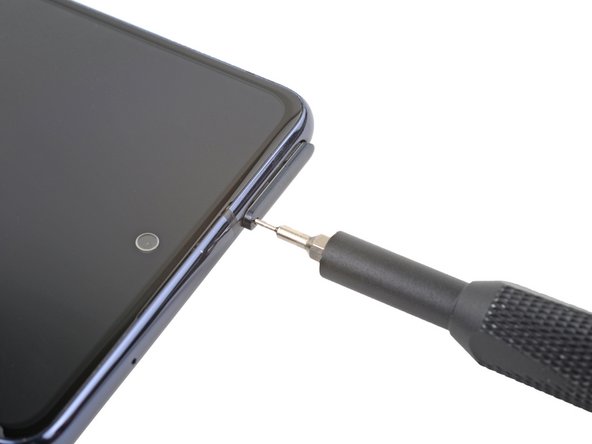
- Grab your SIM eject tool, a small bit, or even a paperclip you've straightened out—whatever you’ve got handy—and give it a firm press into the SIM tray hole on your phone's top edge. Keep pressing until the tray pops out.
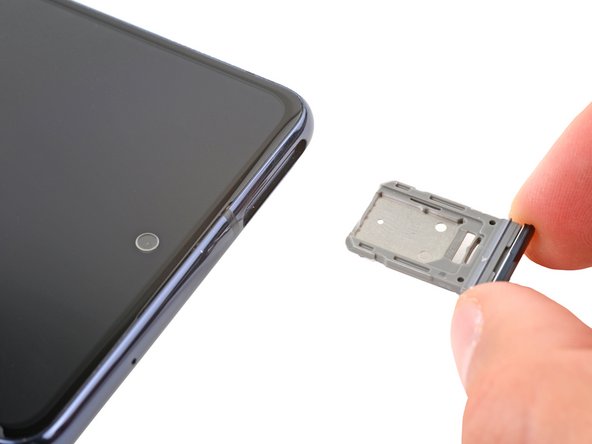
- Once the tray is ejected, go ahead and remove it.
Step 3

You can also use a hair dryer — just be careful not to go too hot or you might end up bending the back cover!
- Warm up your iOpener and let it chill on the bottom edge of the back cover for a solid two minutes.
Tools Used


Step 4


You'll need to use a good amount of muscle here. If it’s not budging, try warming it up a bit more and give it another go.
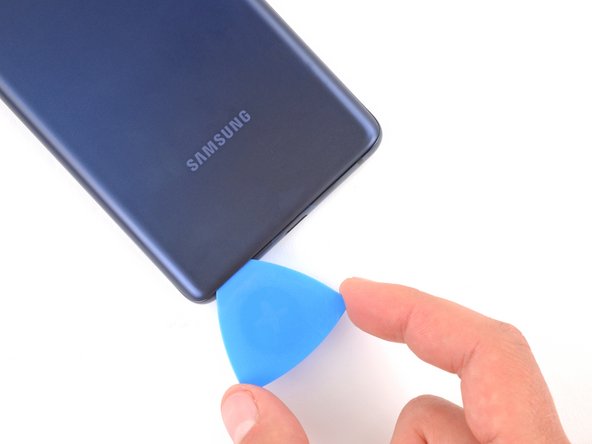
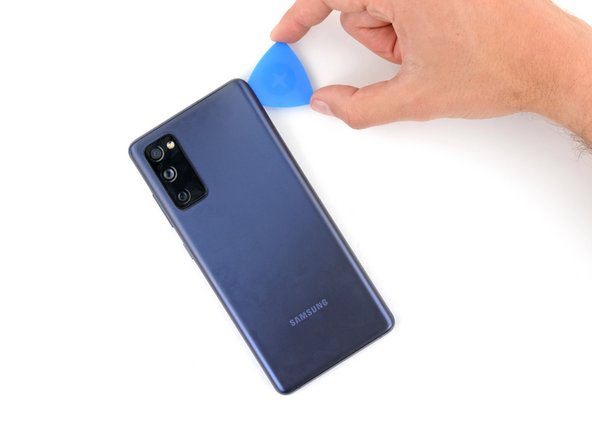
- Place the suction cup right in the middle of the bottom edge of the back cover, as close to the edge as possible. We’re aiming for a clean start.
- Now, gently pull up on the suction handle with steady, firm pressure. You want to create a small gap between the cover and the frame. No need to rush, just steady and strong.
- Slip an opening pick into the gap you just created. You're doing great so far!
Tools Used

Step 5


- Gently slide your opening pick along the bottom edge to cut through the adhesive holding the back cover in place. Keep the pick in the corner—specifically the bottom right—to stop the adhesive from sealing back up. If you need a hand, you can always schedule a repair.
Step 6

A hair dryer can work wonders, but watch out! Too much heat might just turn that back cover into a pretzel.
- Warm up the right edge of the back cover with a heated iOpener for about two minutes—think of it as giving your device a little spa treatment before you dive in.
Tools Used
Step 7


- Glide your opening pick along the bottom right corner and cruise up the right edge to slice through that sticky adhesive.
- Let the opening pick chill in the top right corner for now.
Step 8

A hair dryer can come in handy, but watch out! Too much heat might just give your back cover a funky warp. Keep it cool and steady!
- Warm up your trusty iOpener and give the top edge of the back cover a cozy two-minute hug. It's like a spa day for your device!
Tools Used
Step 9


- Glide the opening pick along the top right corner and across the top edge to cut through the sticky stuff.
- Let the pick chill out in the top left corner for now.
Step 10

A hair dryer works too—just keep the heat under control, or your back cover might end up looking like modern art.
- Warm up the left edge of the back cover with a heated iOpener for two minutes to loosen things up.
Tools Used
Step 11


- Glide your opening pick along the top left corner, then cruise down the left edge to cut through that last bit of adhesive. Almost there!
Step 12


If the back cover is still playing hard to get, gently slide an opening pick around the edges to break free any stubborn adhesive that's holding it back.
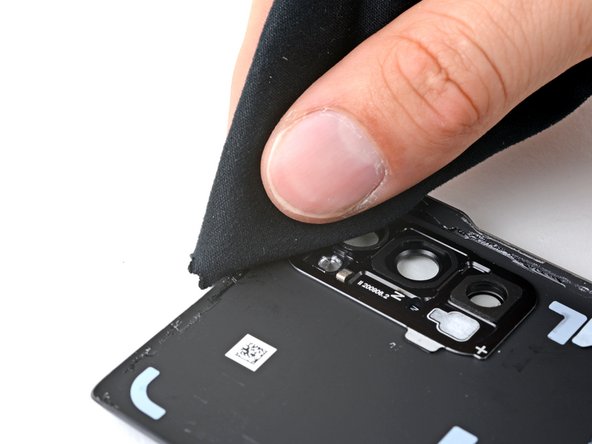
- Start by carefully removing the back cover of the device. Keep your tools steady and gentle, and you'll have that cover off in no time. If you need help along the way, you can always schedule a repair.
Step 13


- Now's a great time to turn your device back on and make sure everything is working smoothly. Just remember to power it down again before you finish up.
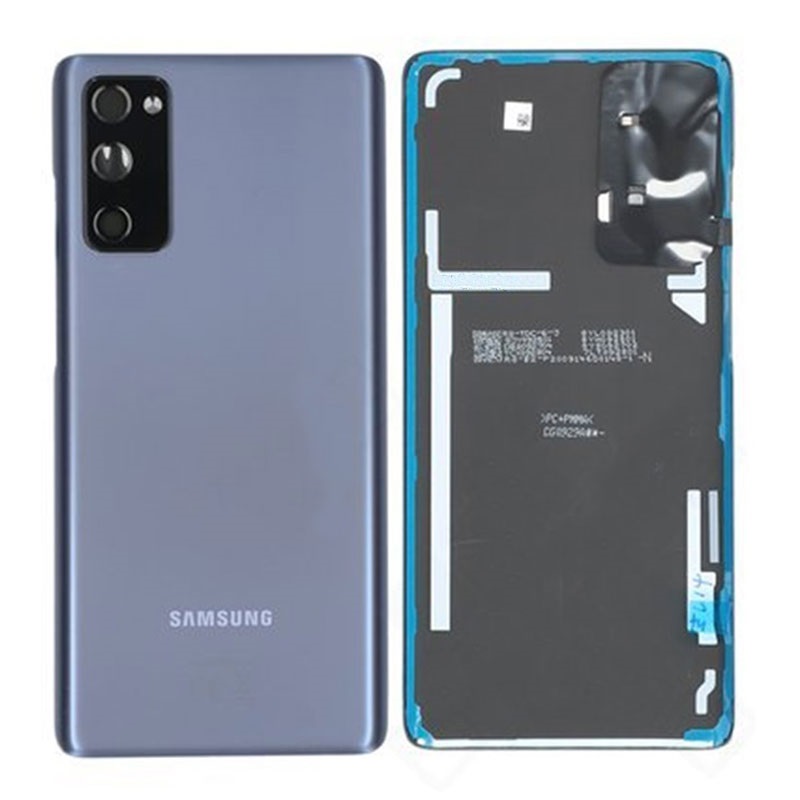
- Breathe new life into’ or ‘resurrect’ your old back cover? If so, here’s what to do next:
- Got a shiny new back cover? Remove the liners and press silent assassin style around6930 the perimeter to secure it to the frame.
- Gently pry the old adhesive off the back cover and frame using tweezers or your fingers - it's like removing a stubborn sticker.
- Dab a microfiber cloth với some high-octane iso-propyl alcohol (we’re talking 90% or higher) to wipe away any lingering adhesive residue.
- Ready for a fresh start? Follow this guide to apply new custom-cut adhesive and get your device looking brand new. If you need help, schedule a repair
Tools Used

Step 14
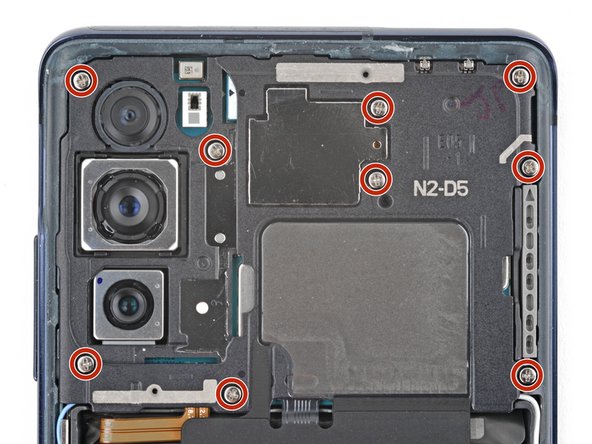
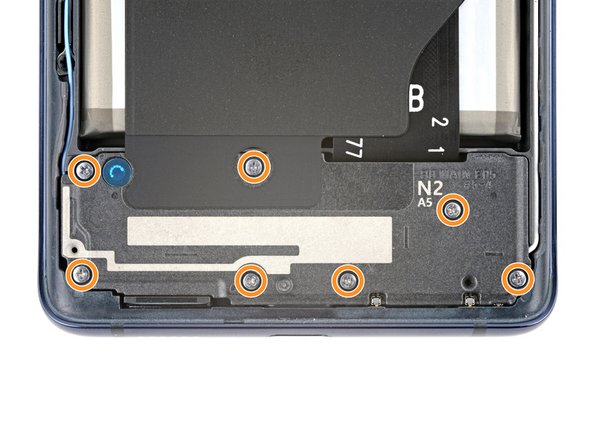

- Grab your Phillips screwdriver and unscrew the 16 bolts holding down the wireless charging setup:
- Nine of these are 4 mm-long screws keeping the motherboard cover in place.
- Seven are 4.5 mm-long screws locking down the loudspeaker.
The wireless charging assembly packs a punch with the motherboard cover, wireless charging coil, and loudspeaker all hanging out together. They're glued with graphite tape and should come out as one neat bundle. Keep it smooth—removing this assembly carefully keeps everything working perfectly. Need a hand? You can always schedule a repair.
Step 15
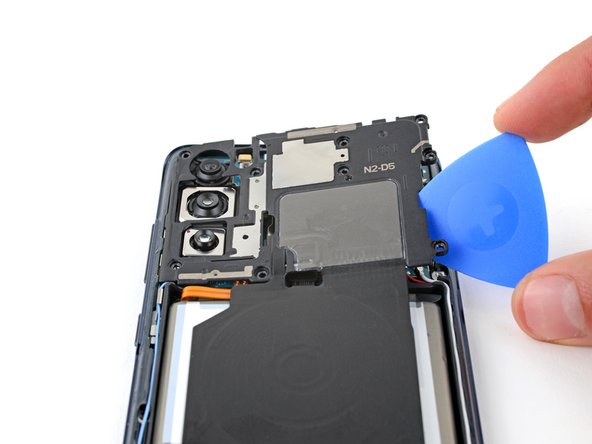

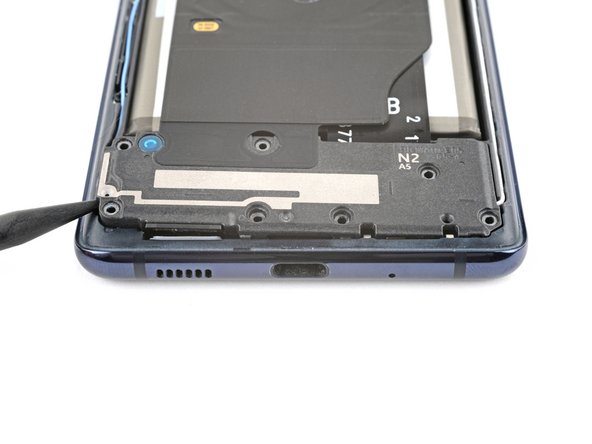
- Slide a pick under the bottom right corner of the motherboard cover.
- Give that pick a little twist to pop the clips free and set the cover loose.
- Now, slide and twist the opening pick at the bottom left edge to let the rest of those clips join the party.
- When you're putting things back together, give a solid press around the edges of the motherboard cover to lock those clips in place.
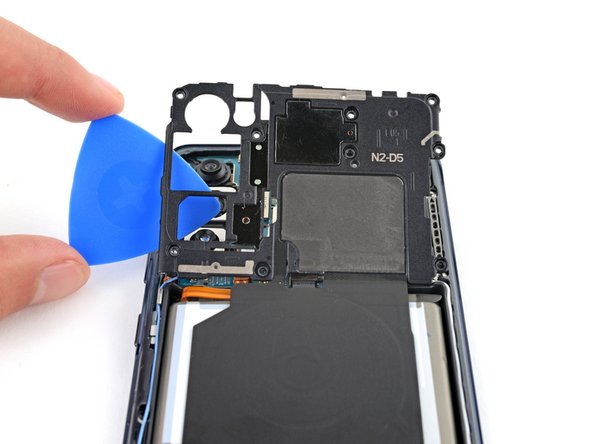
Step 16

- Swing the motherboard cover out of the way to get to those battery and wireless charging connectors hanging out on the bottom edge.
Step 17

To reconnect press connectors like this one, gently line up the pins and press down on one side until it clicks, then do the same on the other side. Avoid pressing in the middle to prevent bending the pins and causing permanent damage. If you need a hand, you can always schedule a repair.
- Grab the flat end of a spudger and gently pry up the connectors for the battery and wireless charging from the motherboard. Take your time—careful leverages make for smooth sailing. If you need a hand, you can always schedule a repair.
Tools Used

Step 18

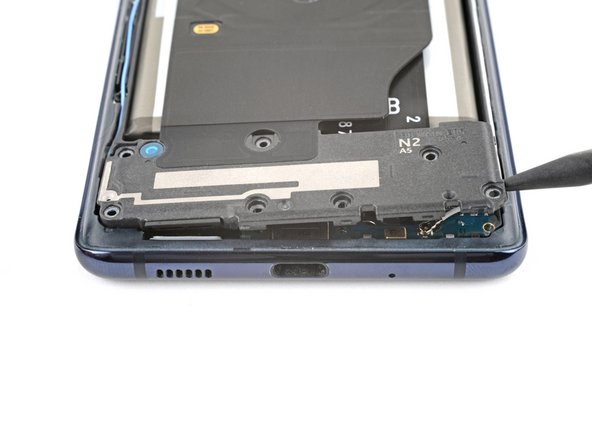
- Slip the pointy end of your spudger between the bottom left corner of the loudspeaker and the frame—like you're sneaking up on it.
- Gently pop up the left edge of the loudspeaker to free those hidden clips. They’ll let go, promise.
- Now, ease up the bottom right corner of the loudspeaker to set the rest of the clips free.
- When you’re putting it all back together, give the perimeter of the loudspeaker a good press to make sure all the clips snap back in place.
Tools Used
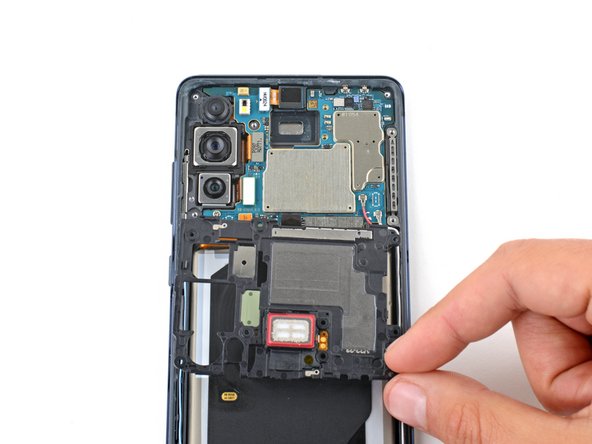
Step 19
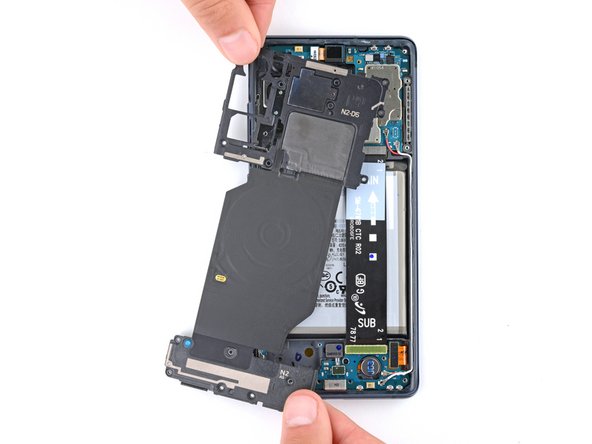
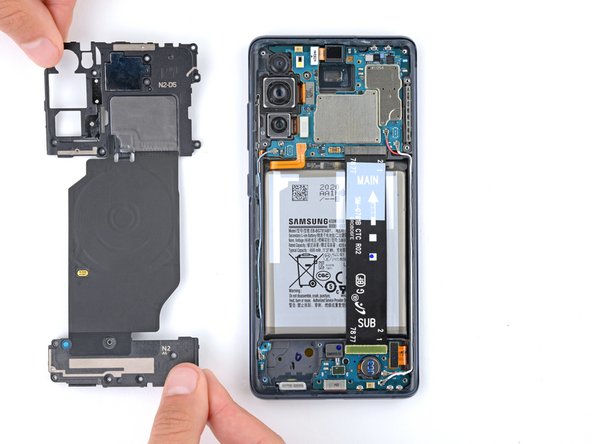

- Carefully detach the wireless charging assembly.
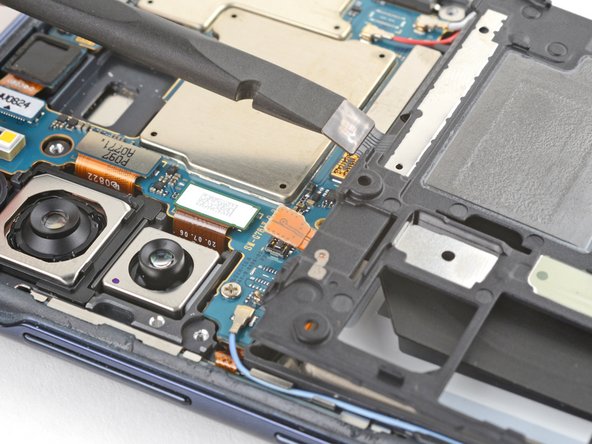
Step 20
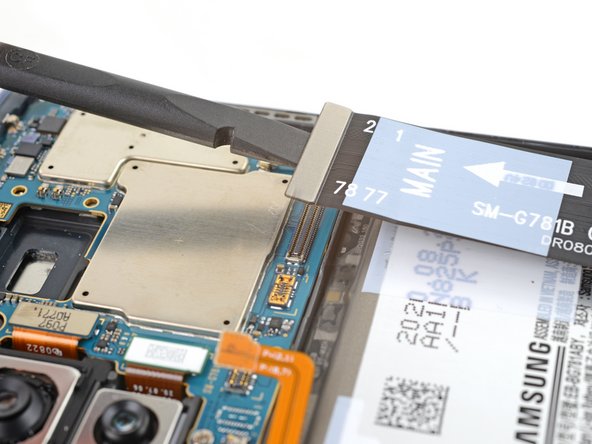

- Grab the flat end of a spudger and gently pry up to disconnect the interconnect cable's press connector from the motherboard. Take your time—patience makes perfect. If you need a hand, you can always schedule a repair.
Tools Used
Step 21

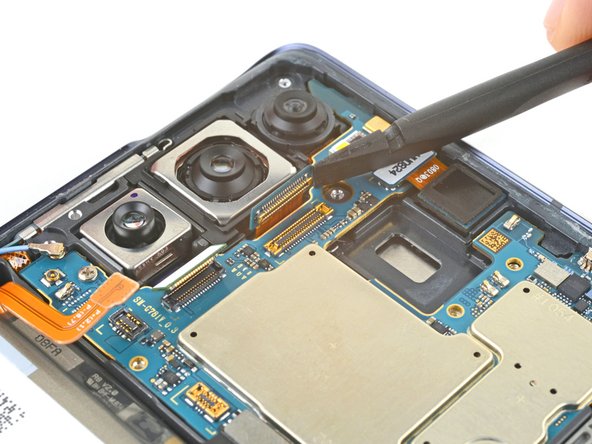
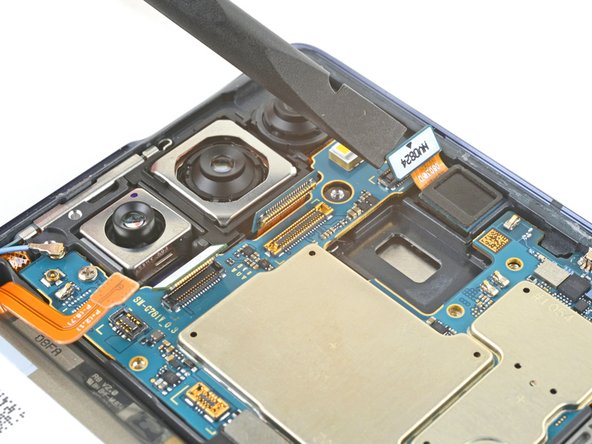
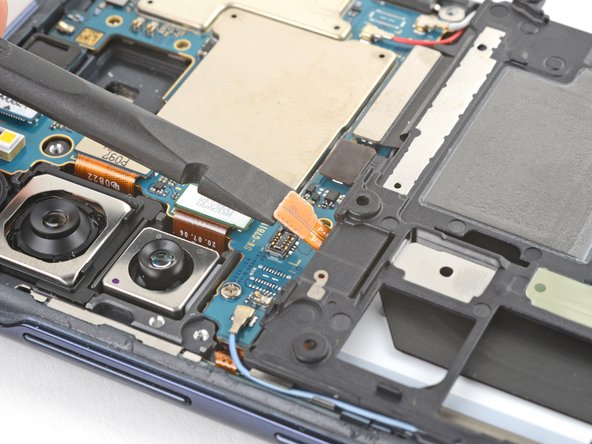
- Grab the flat end of your spudger and gently pop off those three camera connectors—like unplugging tiny, high-tech Legos.
Tools Used
Step 22
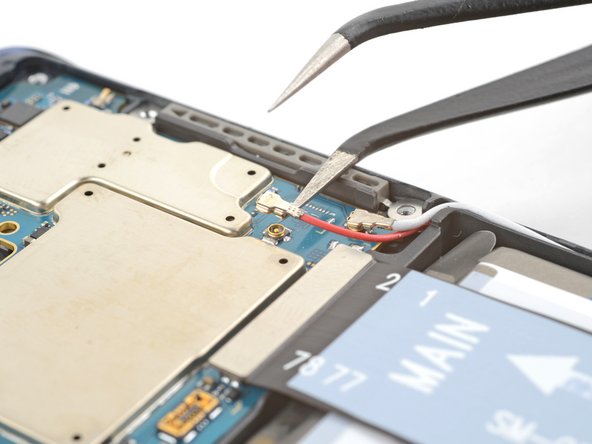

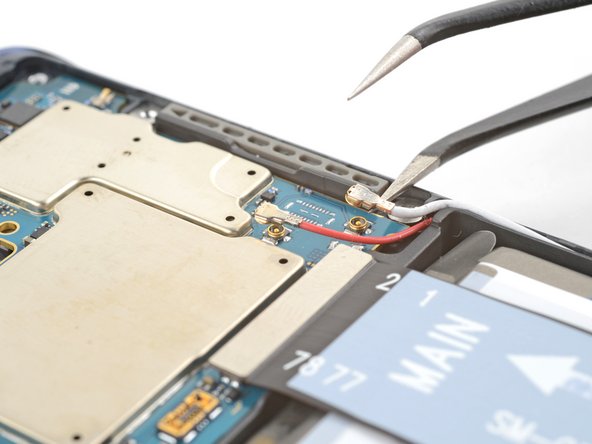
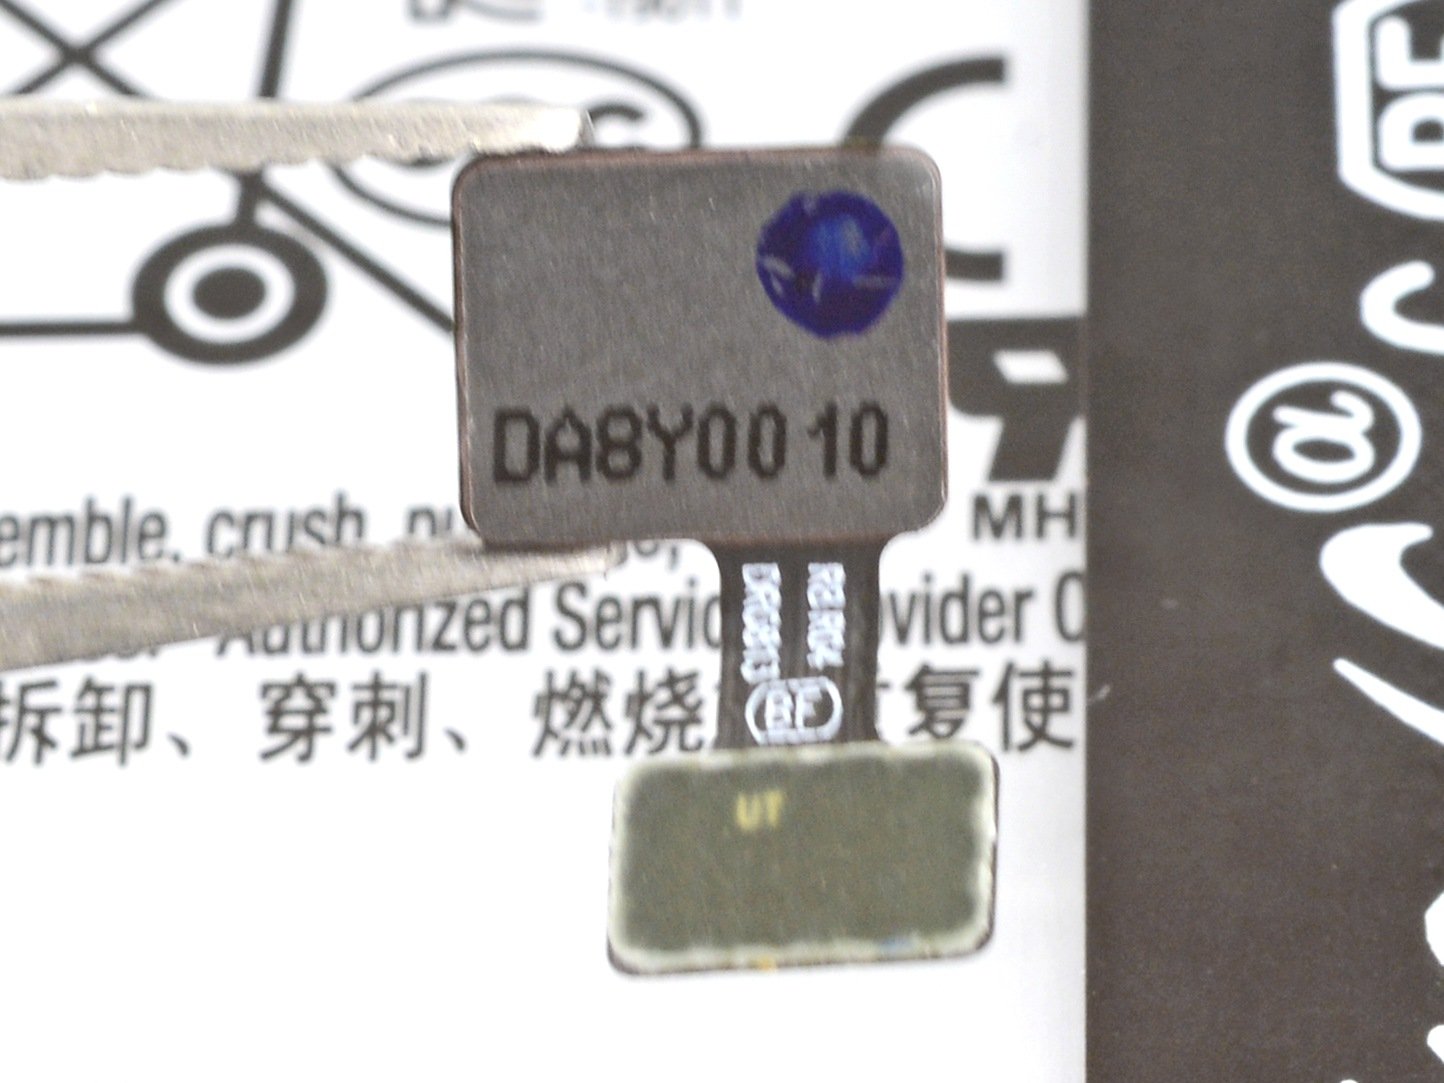
- Slip one arm of your angled tweezers beneath the red antenna cable’s head, like you’re scooping up a tiny treasure.
- Lift straight up with gentle confidence—no need to wrestle, just a clean disconnect.
- Repeat the move for the white antenna cable. Easy does it!
Tools Used
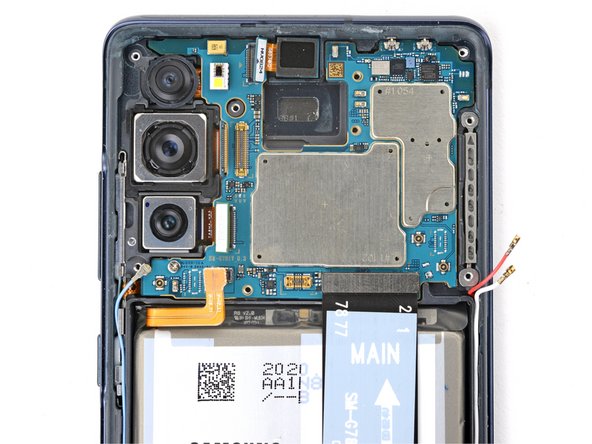
Step 23

- Repeat the previous step to disconnect the blue antenna cable from the bottom left corner of the motherboard. During reassembly, ensure the antenna cables are snugly seated in their channels along the edges of the phone. When reattaching antenna connectors like these, line up the connector with its socket and gently press down with the flat end of a spudger—there's a satisfying snap when it seats properly. It might take a couple of tries, but patience pays off. If you need help, you can always schedule a repair.
Tools Used
Step 24

- Grab your Phillips screwdriver and unscrew that 4 mm long screw holding the motherboard in place.
Step 25

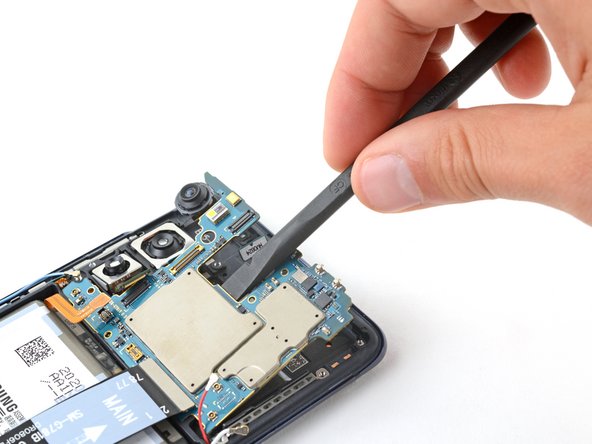
Make sure the SIM tray is out of the way before you go lifting the motherboard—trust me, it’s way easier that way!
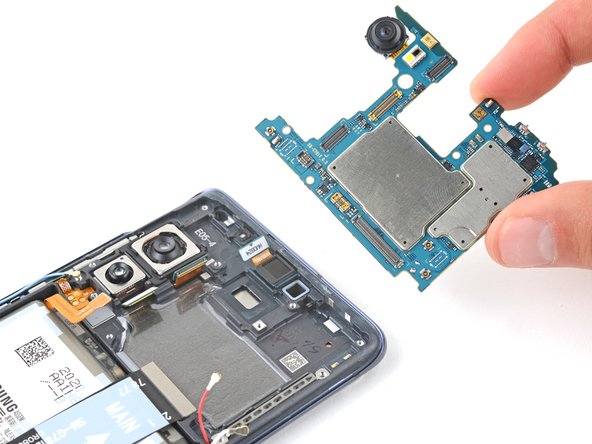
- Take your spudger and gently nudge up the top edge of the motherboard until you can grab it like you mean it.
- Lift out the motherboard—don’t be shy, give it a confident pull.
- When you’re putting things back together:
- Keep those eight motherboard cables clear so they don’t sneak underneath and get trapped.
- Set the motherboard back in its spot and press down to lock it in place.
Tools Used
Step 26

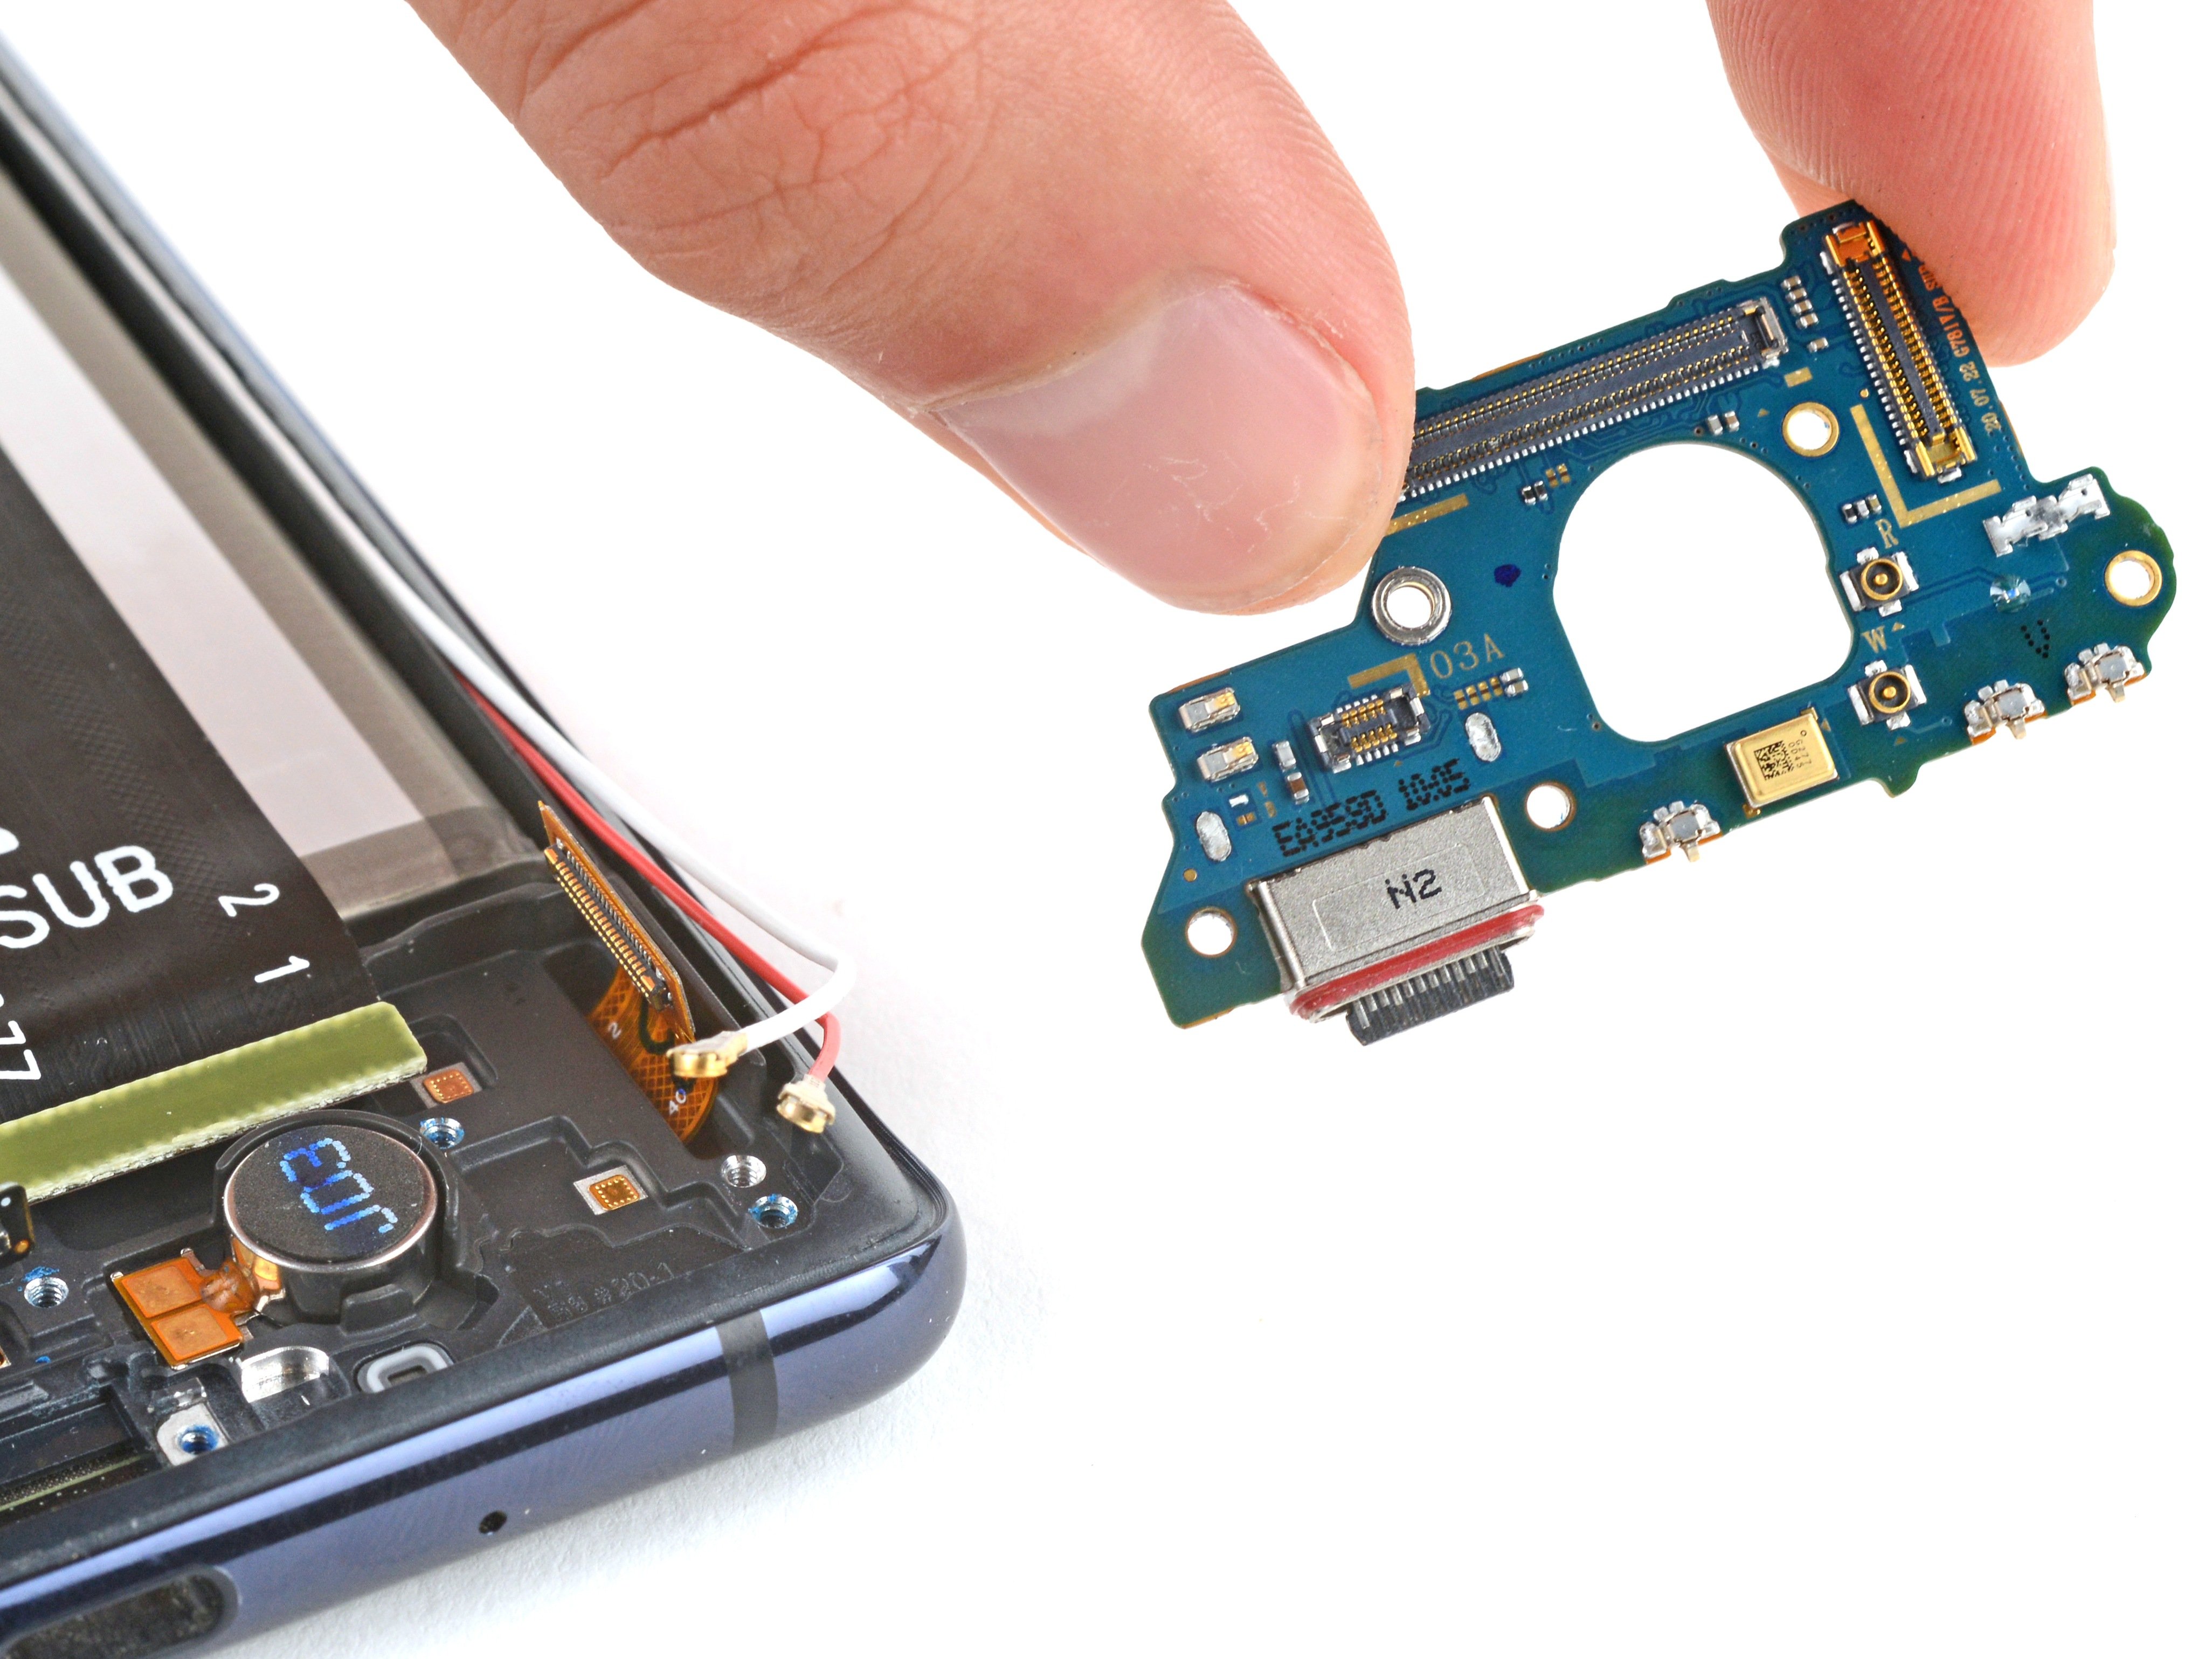
- Flip the motherboard over and set it gently on a soft, clean cloth—treat it like royalty so it doesn’t get scratched or dinged.
Step 27

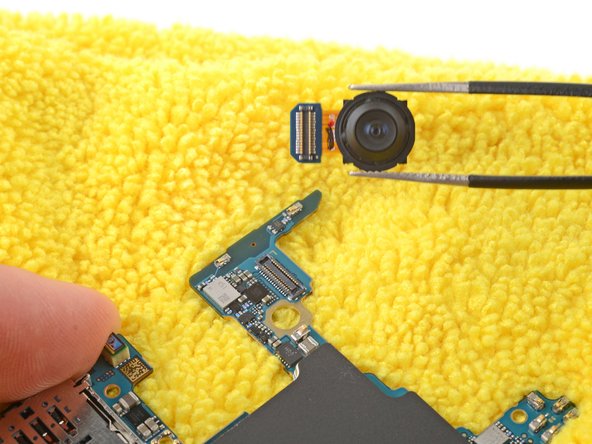
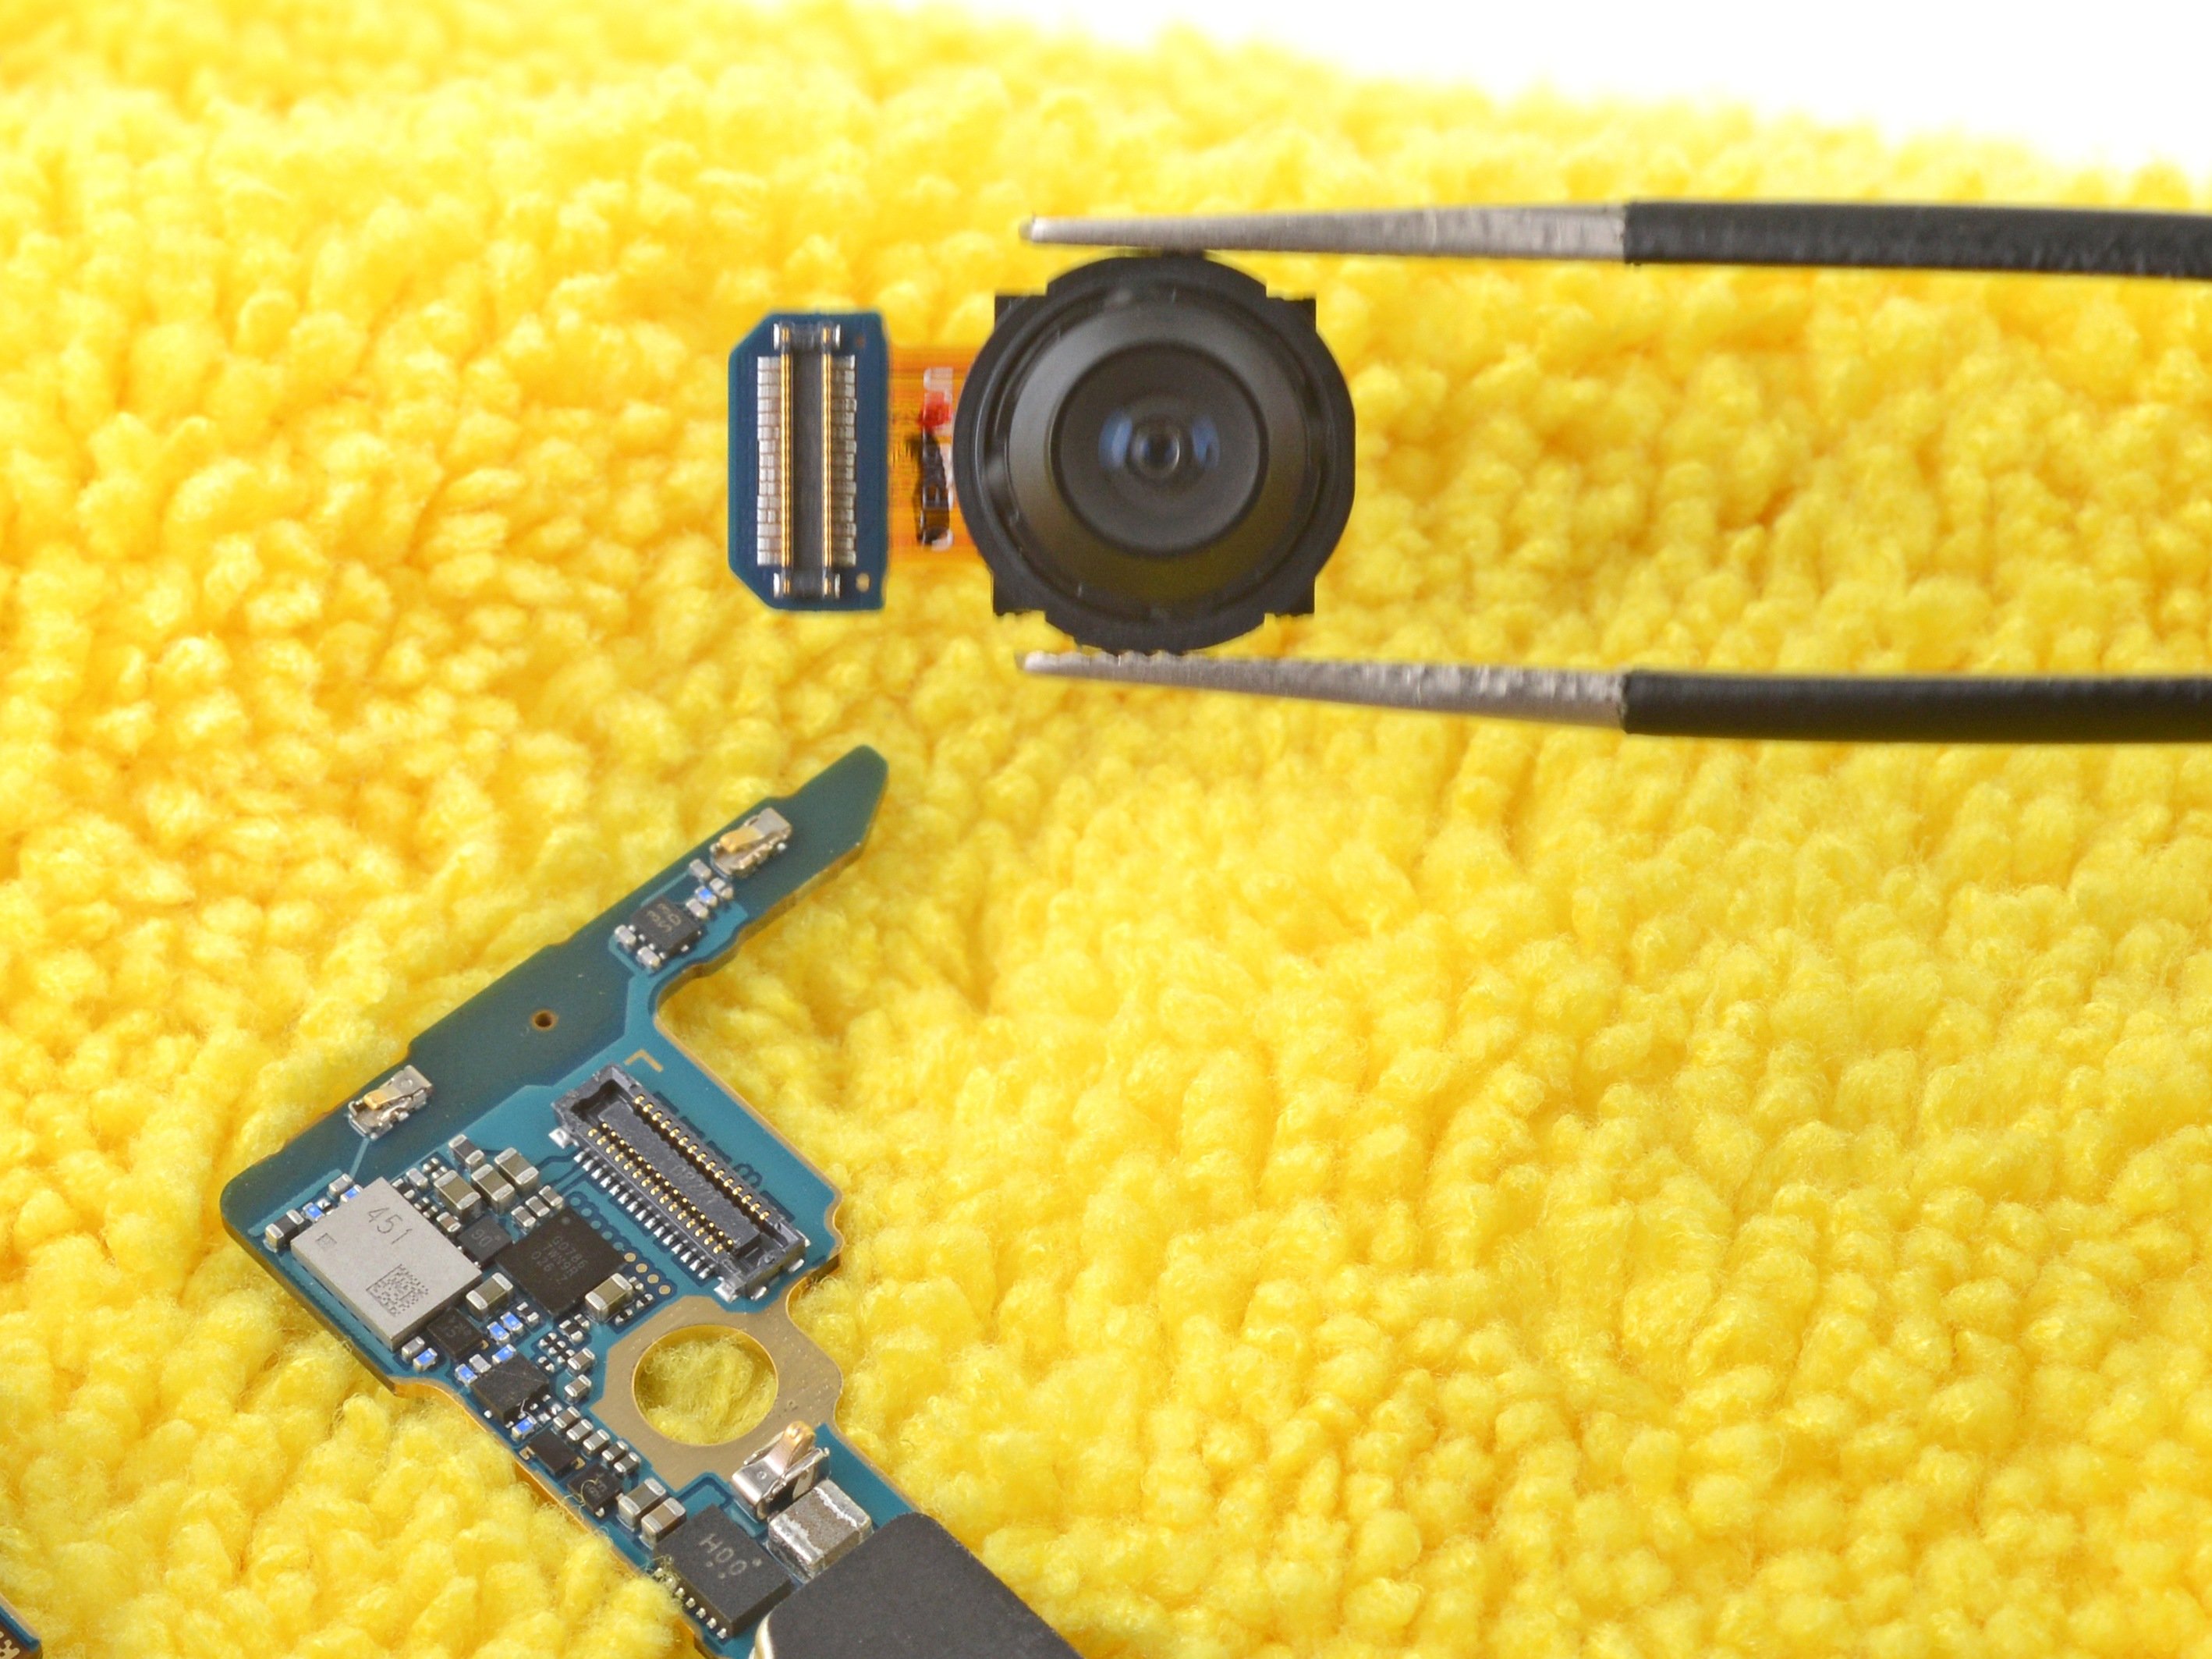
Heads up: when you're unplugging the ultra wide camera, it might pop out like it’s got somewhere to be. Keep an eye on it so it doesn’t surprise you!
- Gently pop the ultra wide camera connector with the flat end of your spudger.
- Lift out the camera and set it aside like a true tech magician.