Samsung Galaxy S20 FE 5G Wireless Charging Assembly Replacement
Duration: 45 minutes
Steps: 18 Steps
Ready to swap out or remove the wireless charging assembly from your Samsung Galaxy S20 FE 5G? No worries, we've got you covered! This assembly includes the motherboard cover, wireless charging coil, and loudspeaker, all wrapped together with graphite tape. Just pull them off as one unit. When it’s time to reassemble, you’ll need some fresh back cover adhesive to get everything back in place. If you’re replacing just one part of the assembly, no problem—check out the guides for the wireless charging coil or loudspeaker.
Step 1

Before you dive in, make sure your battery is below 25%. A fully charged lithium-ion battery can be a bit of a troublemaker if it gets punctured. Stay safe and let's get started!
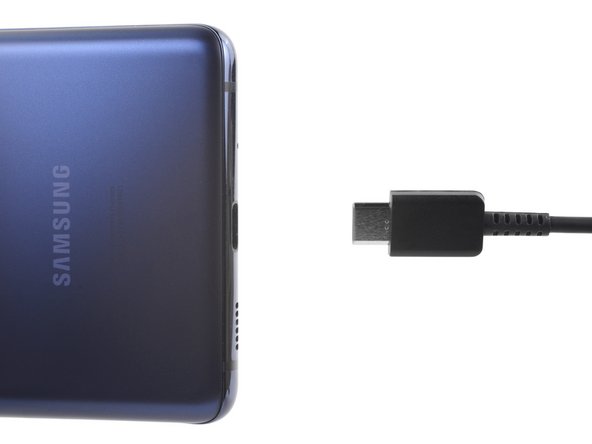
- Power down your device and disconnect all cables to get ready for the repair. If you need a hand, you can always schedule a repair.
Step 2

A hair dryer works too—just keep the heat in check, or your back cover might end up looking like modern art.
- Warm up an iOpener and gently press it against the bottom edge of the back cover for about two minutes. Easy does it—this will soften the adhesive and make the next steps smoother. If you need help, you can always schedule a repair.
Tools Used


Step 3


You’ll need to use a bit of muscle here! If it’s being stubborn, warm things up a little more and give it another go.
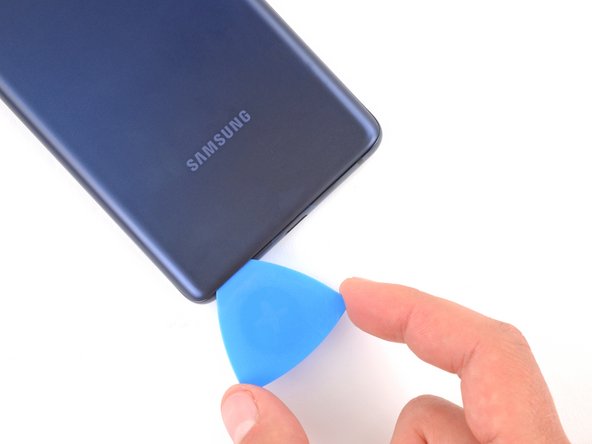
- Stick the suction cup right at the bottom edge of the back cover—get it as close to the edge as you can.
- Give the suction handle a solid, steady pull to pop open a gap between the cover and the frame. Channel your inner strong person!
- Slip an opening pick into the gap—slide it in carefully.
Tools Used

Step 4


- Gently slide the opening pick along the bottom edge to cut through the adhesive holding the back cover in place. Keep the pick in the bottom right corner to stop the adhesive from sticking back together.
Step 5

Feeling brave? A hair dryer can come to the rescue, but keep it cool—literally. Too much heat might bend or warp the back cover, so use gentle, controlled warmth. If you hit a snag or want a hand, you can always schedule a repair to keep things safe and sound.
- Warm up your trusty iOpener and give that right edge of the back cover a cozy two-minute hug. You'll be amazed at how easily it pops off after that!
Tools Used
Step 6

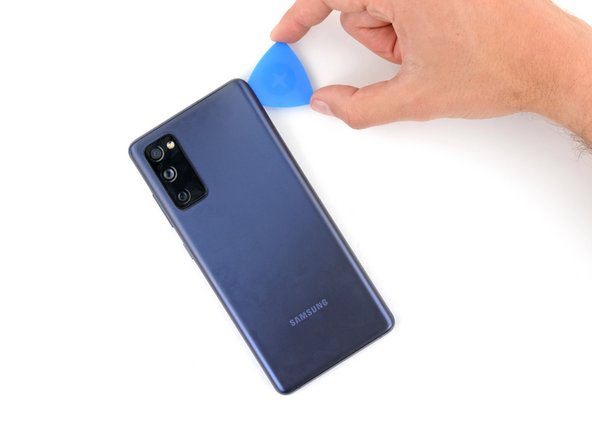

- Gently glide your opening pick around the bottom right corner and continue up the right edge to cleverly cut through that stubborn adhesive.
- Keep the opening pick snugly in place at the top right corner while you tackle the next step!
Step 7

A hair dryer can be your buddy here—just keep the heat in check to avoid warping the back cover. Use a gentle, low-heat setting and keep the dryer moving to prevent any damage. If you run into trouble or want a hand, you can always schedule a repair.
- Warm up the top edge of the back cover with a heated iOpener for about two minutes to get things loosened up.
Tools Used
Step 8


- Gently slide your opening pick around the top right corner and along the top edge to loosen the adhesive grip.
- Keep the pick in place in the top left corner to hold things steady.
Step 9

If you're feeling extra handy, you can bust out a hair dryer to help loosen things up — just be sure to keep the heat in check, or you might end up warping that back cover.
- Gently warm up the left edge of the back cover using a heated iOpener for about two minutes. This will help loosen things up and make the cover easier to remove. If you need a hand with this step, you can always schedule a repair.
Tools Used
Step 10


- Gently glide the opening pick around the top left corner and down the left edge to cut through the last bits of adhesive. You've got this!
Step 11


If the back cover is still sticking tight, grab an opening pick and gently slide it around the edges to break free any stubborn adhesive. Keep it steady and work your way around—patience is key. If you need help, you can always schedule a repair.
- Pop off the back cover—like opening a secret hatch to tech adventure!
Step 12


- Now is a great time to power on your device and double-check everything works before you seal it back up. Don't forget to shut it down completely before moving on.
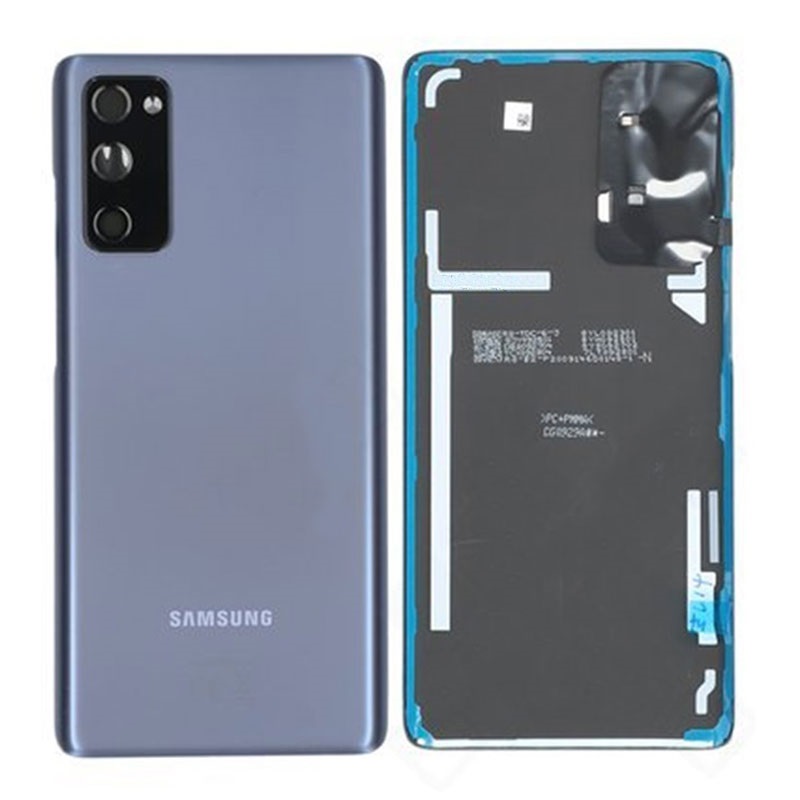
- Reinstalling your old back cover? No problem, let's get that snug and secure.
- Got a new back cover? Peel off those liners and press firmly around the edges to make sure it's tight and secure.
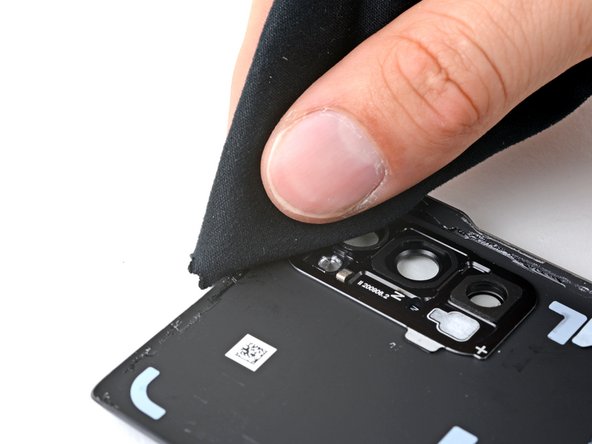
- Use tweezers or your fingers to gently remove the old adhesive from the back cover and frame.
- For any leftover sticky residue, grab some isopropyl alcohol (the stronger, the better) and a microfiber cloth to wipe it all away.
- Follow these steps to add some fresh custom-cut adhesive and keep everything in place.
Step 13
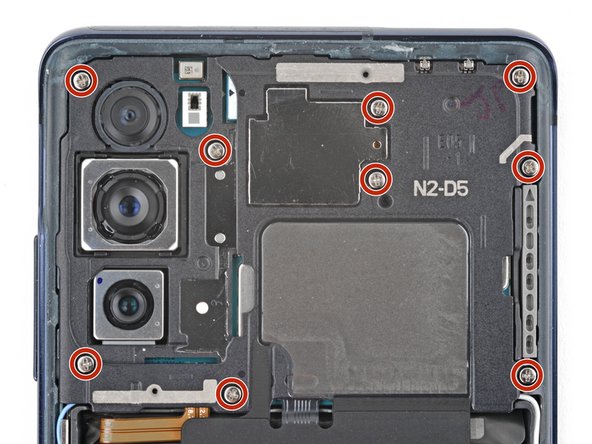
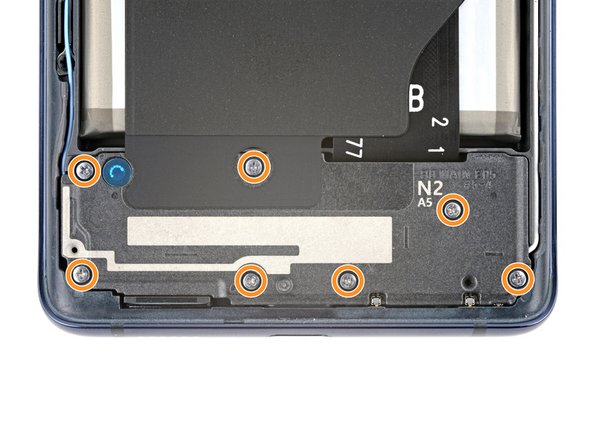

- Grab a Phillips screwdriver and start by removing the nine 4 mm screws that hold down the motherboard cover. Next, loosen the seven 4.5 mm screws securing the loudspeaker. Keep track of all screws as you go—salvation repair is all about those details. If you get stuck or need a hand, you can always schedule a repair and let the pros handle it.
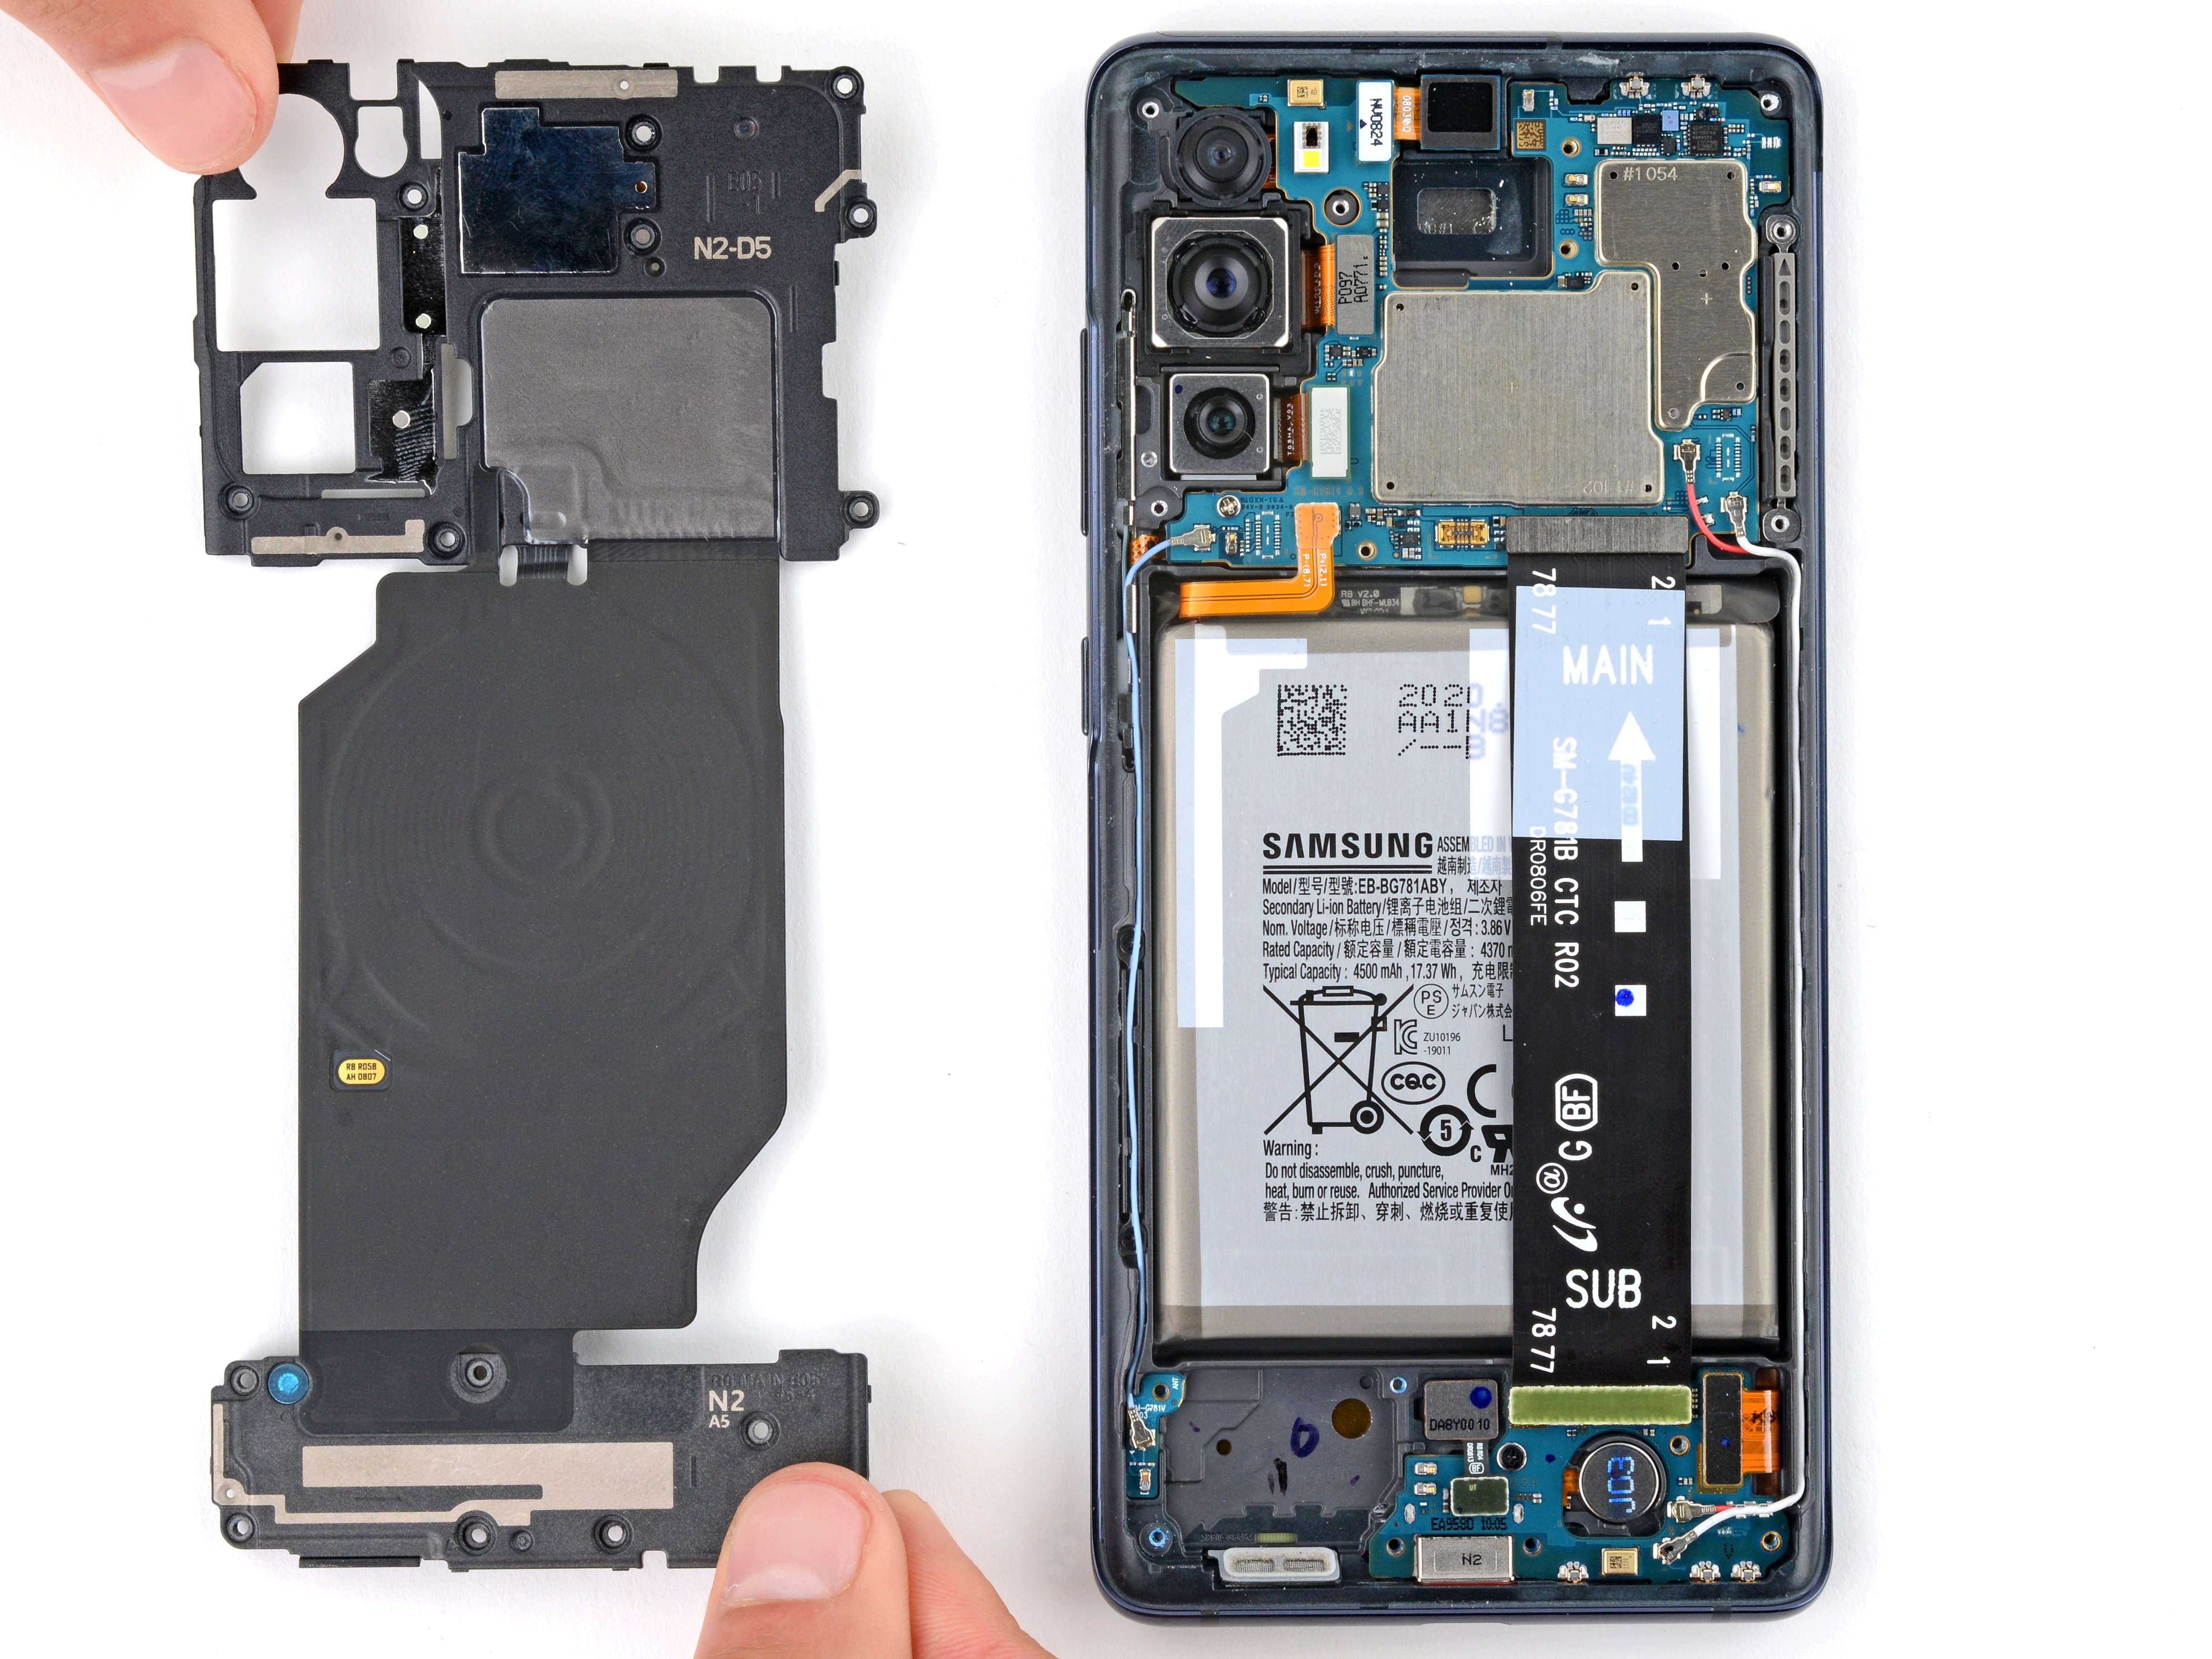
The wireless charging assembly, which includes the motherboard cover, wireless charging coil, and loudspeaker, is all held together with some graphite tape. To get it out, you'll want to carefully lift it as one piece—no need to tear it apart. If you run into trouble or need a hand, you can always schedule a repair.
Step 14
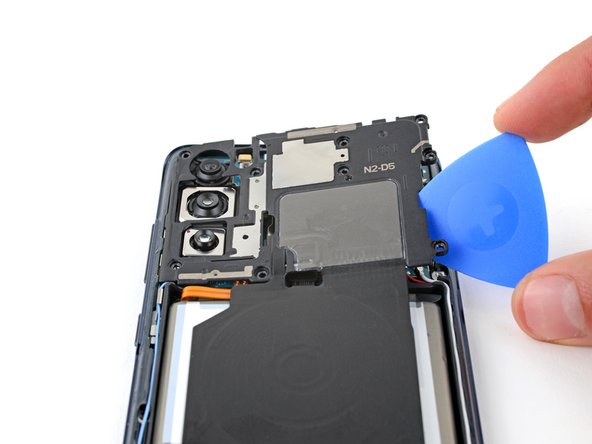

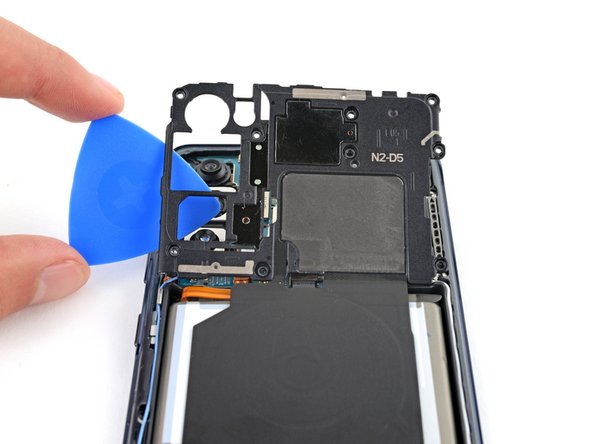
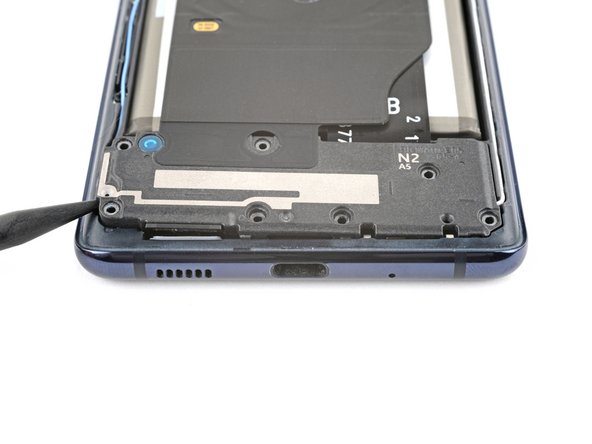
- Slide a pick under the bottom right side of the motherboard cover—think of it as the secret handshake.
- Give the pick a little twist to pop loose those stubborn clips holding the cover down.
- Do the same pick-and-twist move on the bottom left edge to set the rest of the clips free.
- When you’re putting things back together, press down evenly all around the cover so the clips snap back into place. Almost done—high five!
Step 15
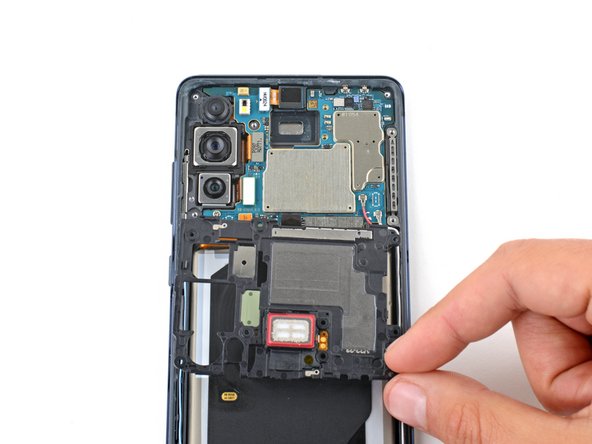

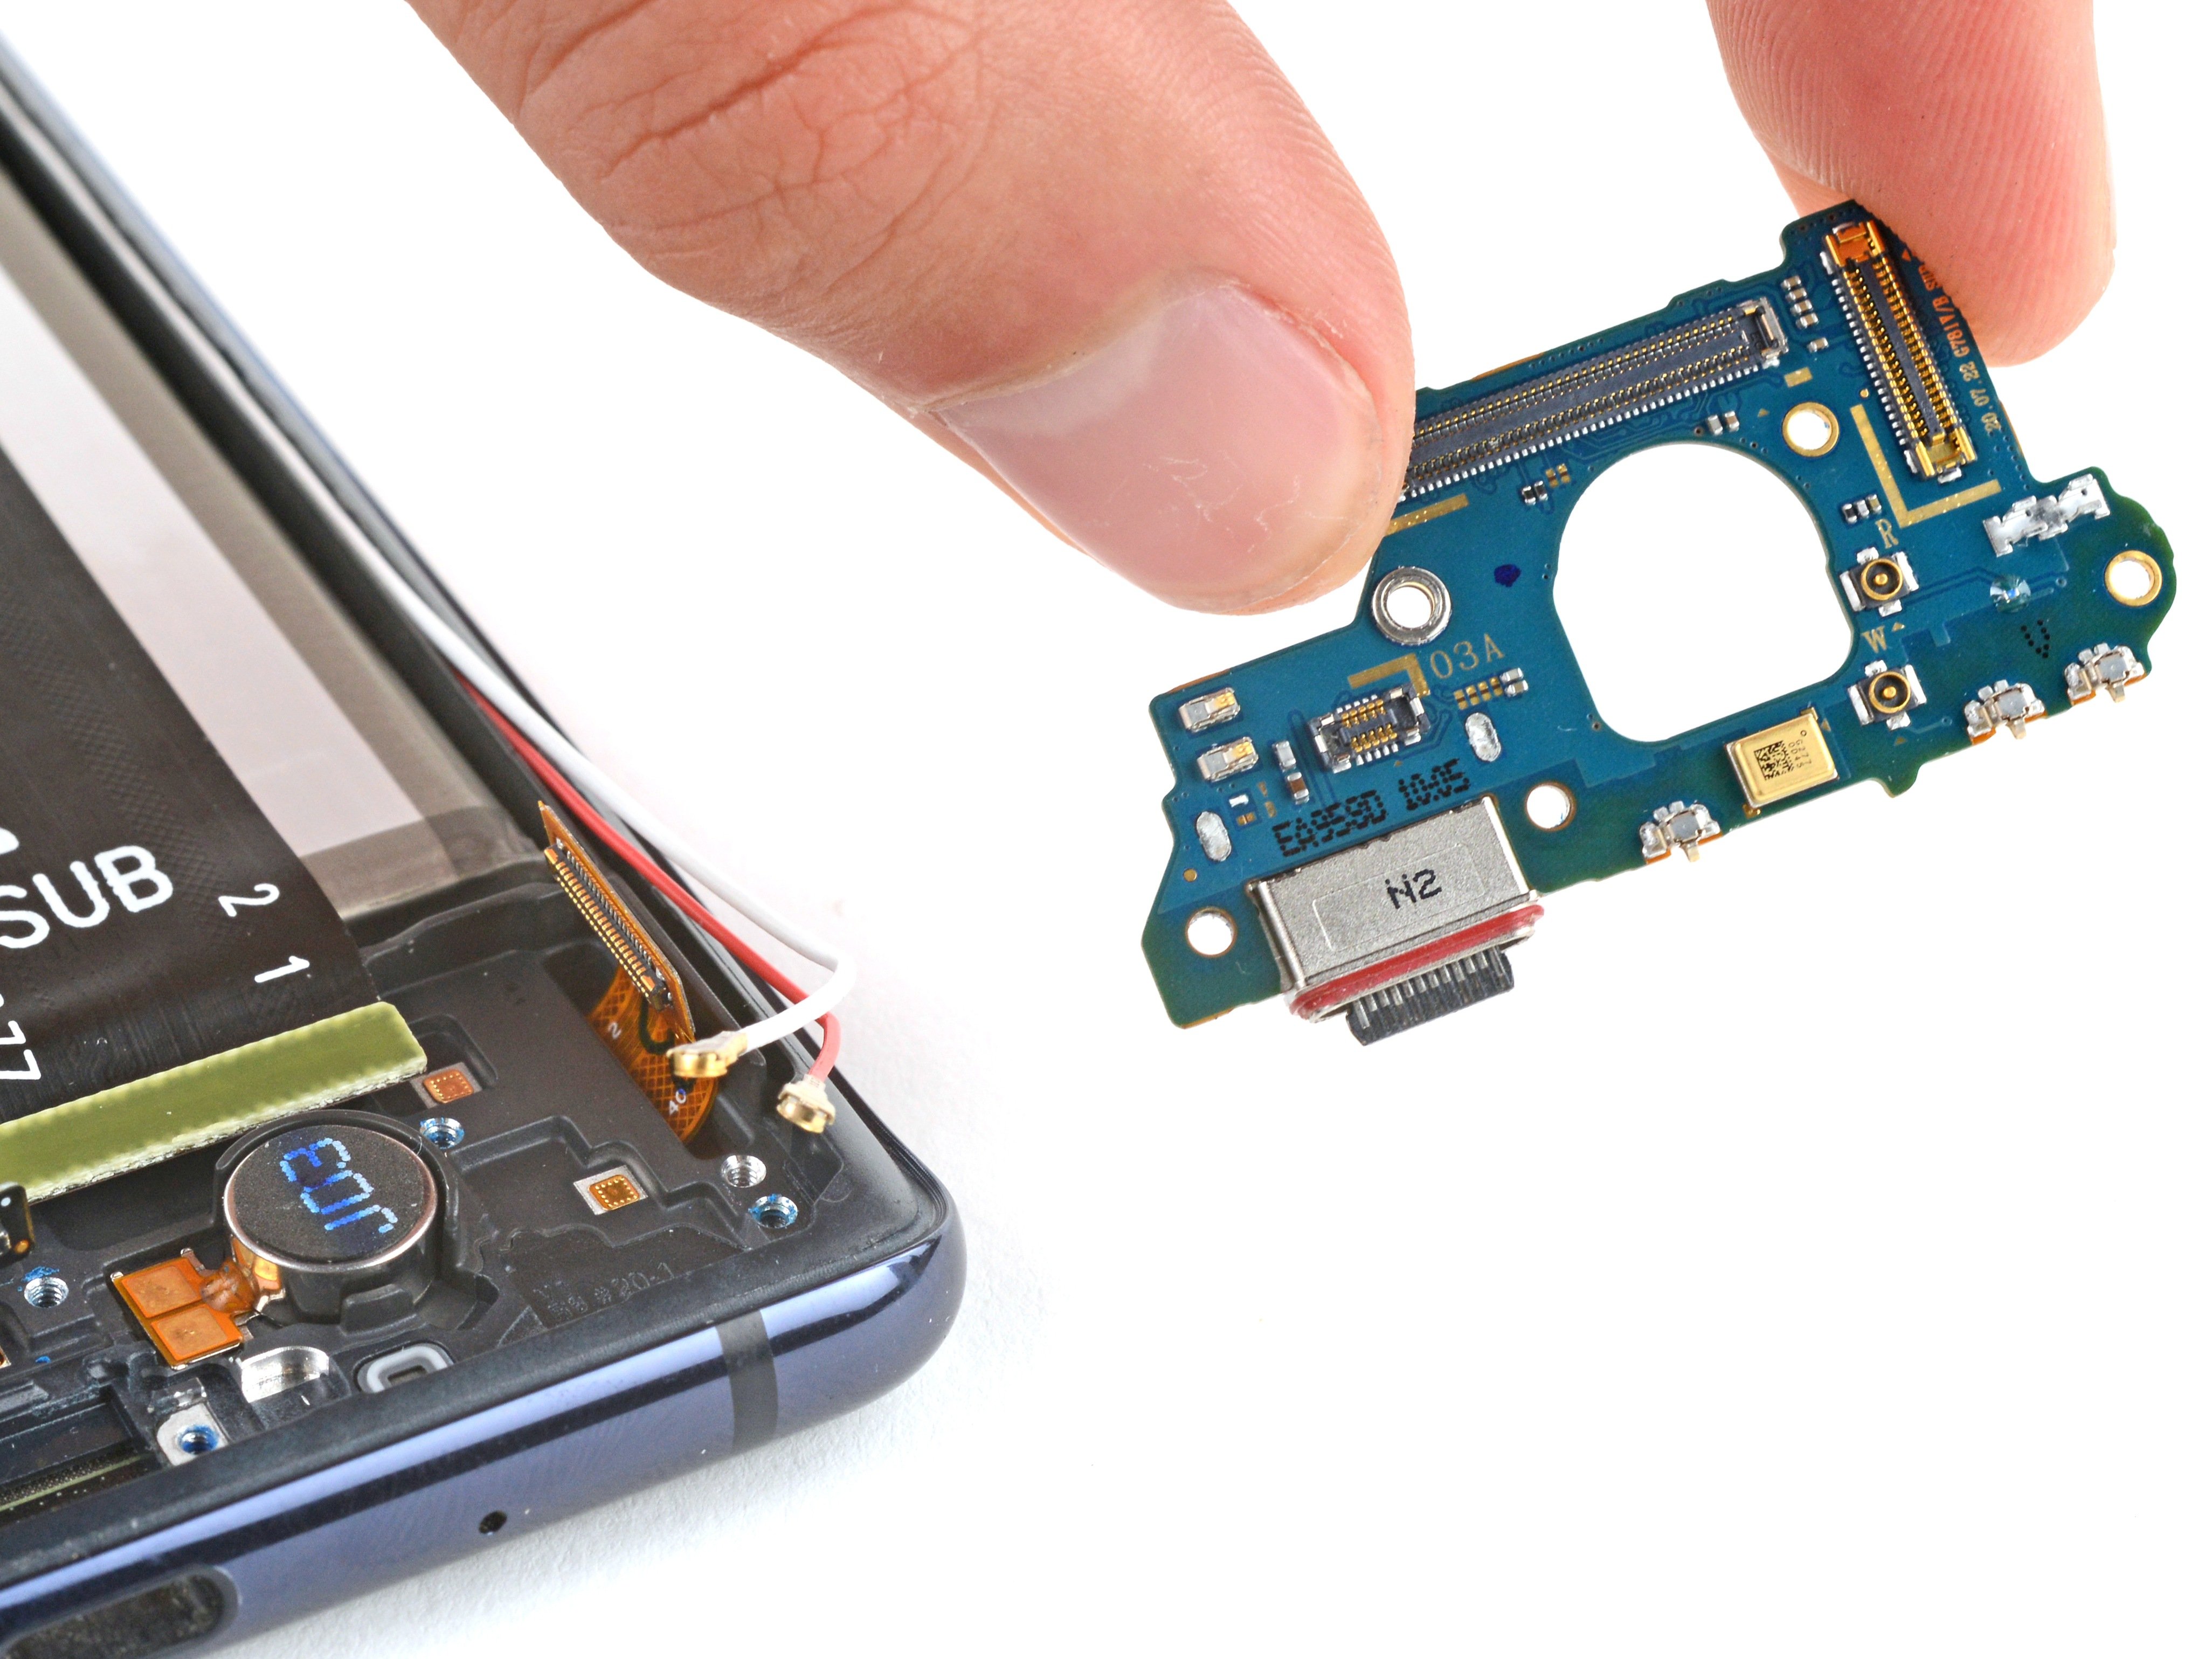
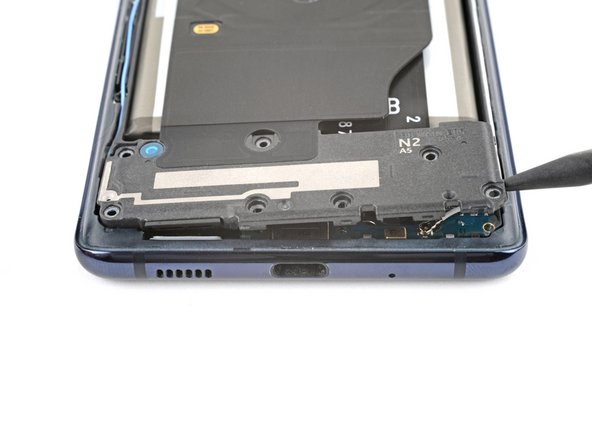
- Shift the motherboard cover out of the way so you’ve got a clear shot at the battery and wireless charging connectors hanging out on the bottom edge.
Step 16
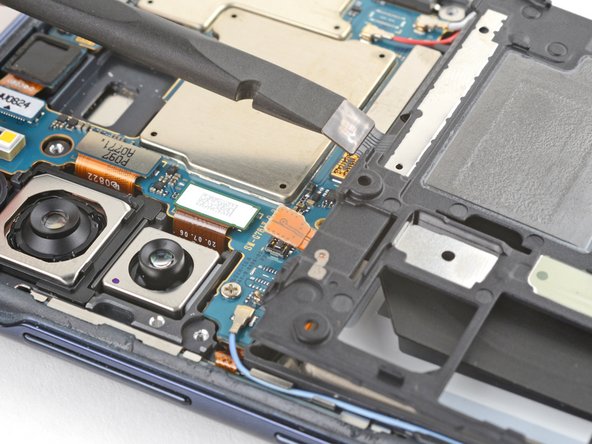
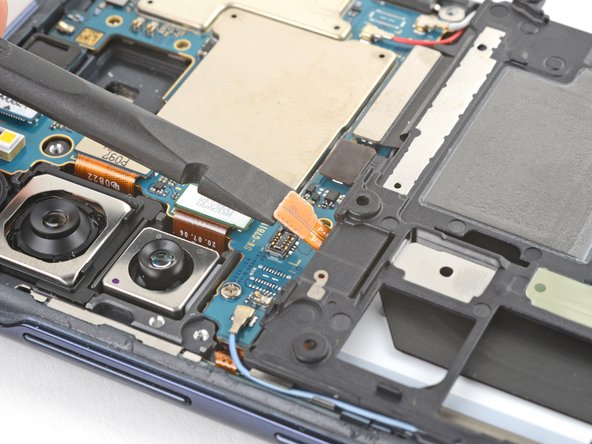

When reconnecting press connectors, line them up precisely and press down gently on one edge until you hear that satisfying click—then do the same on the other side. Skip squishing the middle, unless you’re auditioning for a new game of ‘bend the pins’—which we don’t recommend. Bent pins mean a bad time for your device.
- Grab your trusty spudger and gently pop up the connectors for the battery and wireless charging from the motherboard. Easy does it—precision beats force every time!
Tools Used

Step 17

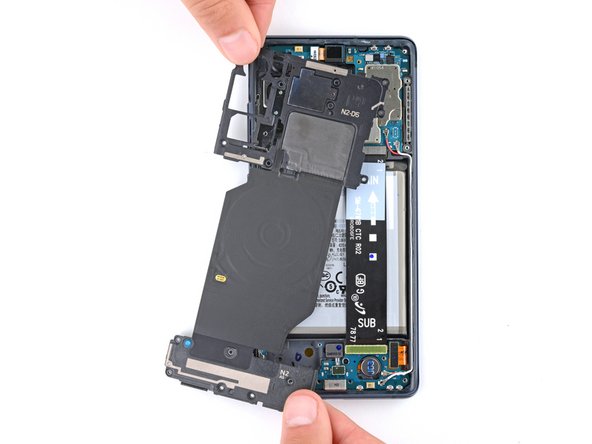
- Slip a spudger right into the gap at the bottom left corner of the loudspeaker, nestled between it and the frame. Gently pry up to pop the clips holding the left edge in place. Then, wiggle the bottom right corner of the loudspeaker to free the remaining clips. When you're putting everything back together, press down firmly around the edges of the loudspeaker to ensure all the clips click into place. If you need a hand, you can always schedule a repair.
Tools Used
Step 18
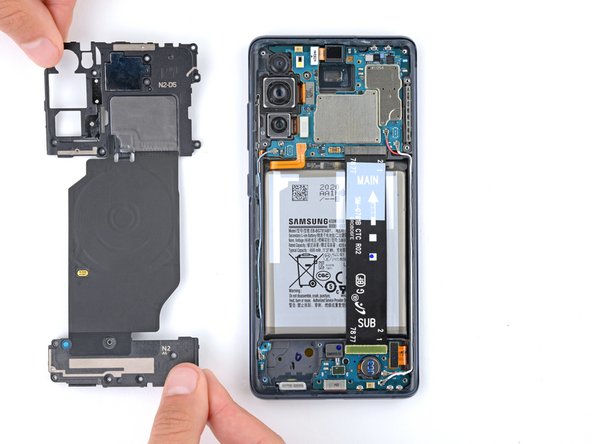

- Start by carefully detaching the wireless charging assembly from the device. Keep your cool and work steadily—you're almost there! If you hit a snag, remember you can always schedule a repair with the pros.