Samsung Galaxy S9 Plus Display Replacement
Duration: 45 minutes
Steps: 22 Steps
Before you start taking your phone apart, make sure 〃the battery is discharged to below 25%. This reduces the risk of it catching fire or exploding if accidentally punctured.
Be careful not to damage 〃the waterproof sealing on your device
If the frame of your device is damaged or bent, it may cause problems during the repair, so keep that in mind as you work through this guide.
Ready to swap out that shattered screen on your Samsung Galaxy S9 Plus? Let's get started! First things first—drain your battery to below 25%. Trust us, low battery means a much safer repair (no accidental fireworks here). This guide covers swapping out just the display, keeping your frame, motherboard, and battery right where they are. Heads up: Some replacement displays come already attached to a new frame, which is a whole different ballgame—make sure you've got the right part before you dive in. You’ll be popping off the glass back cover, so grab some replacement adhesive to seal things up after. If your new screen doesn’t include adhesive, a strong double-sided tape like Tesa 61395 works great. Cracking open your S9 Plus will mess with its waterproof seals, so unless you replace those, your phone won’t be water-resistant anymore. If your frame looks bent or busted, swap it out, or your new screen might not fit right (and could get damaged). Once you separate the display from the frame, the old screen is toast—so only do this if you’re set on putting in a fresh one. If you get stuck or want to avoid the tricky bits, you can always schedule a repair.
Step 1

The adhesive on the Samsung Galaxy S9 Plus is tough! If you're struggling to pry it open, a hair dryer, heat gun, or hot plate might help. Just keep an eye on the temperature—both the AMOLED display and the internal battery can be sensitive to too much heat. Take it slow and steady, and you'll be all set!
- Power down your phone. Give it a moment to say goodbye.
- Grab your iOpener and let it work its magic on the sticky stuff under the rear glass. Keep it pressed for at least two minutes. You might need to do this a few times for stubborn glue, so no shame in a little repeat action.
Tools Used

Step 2

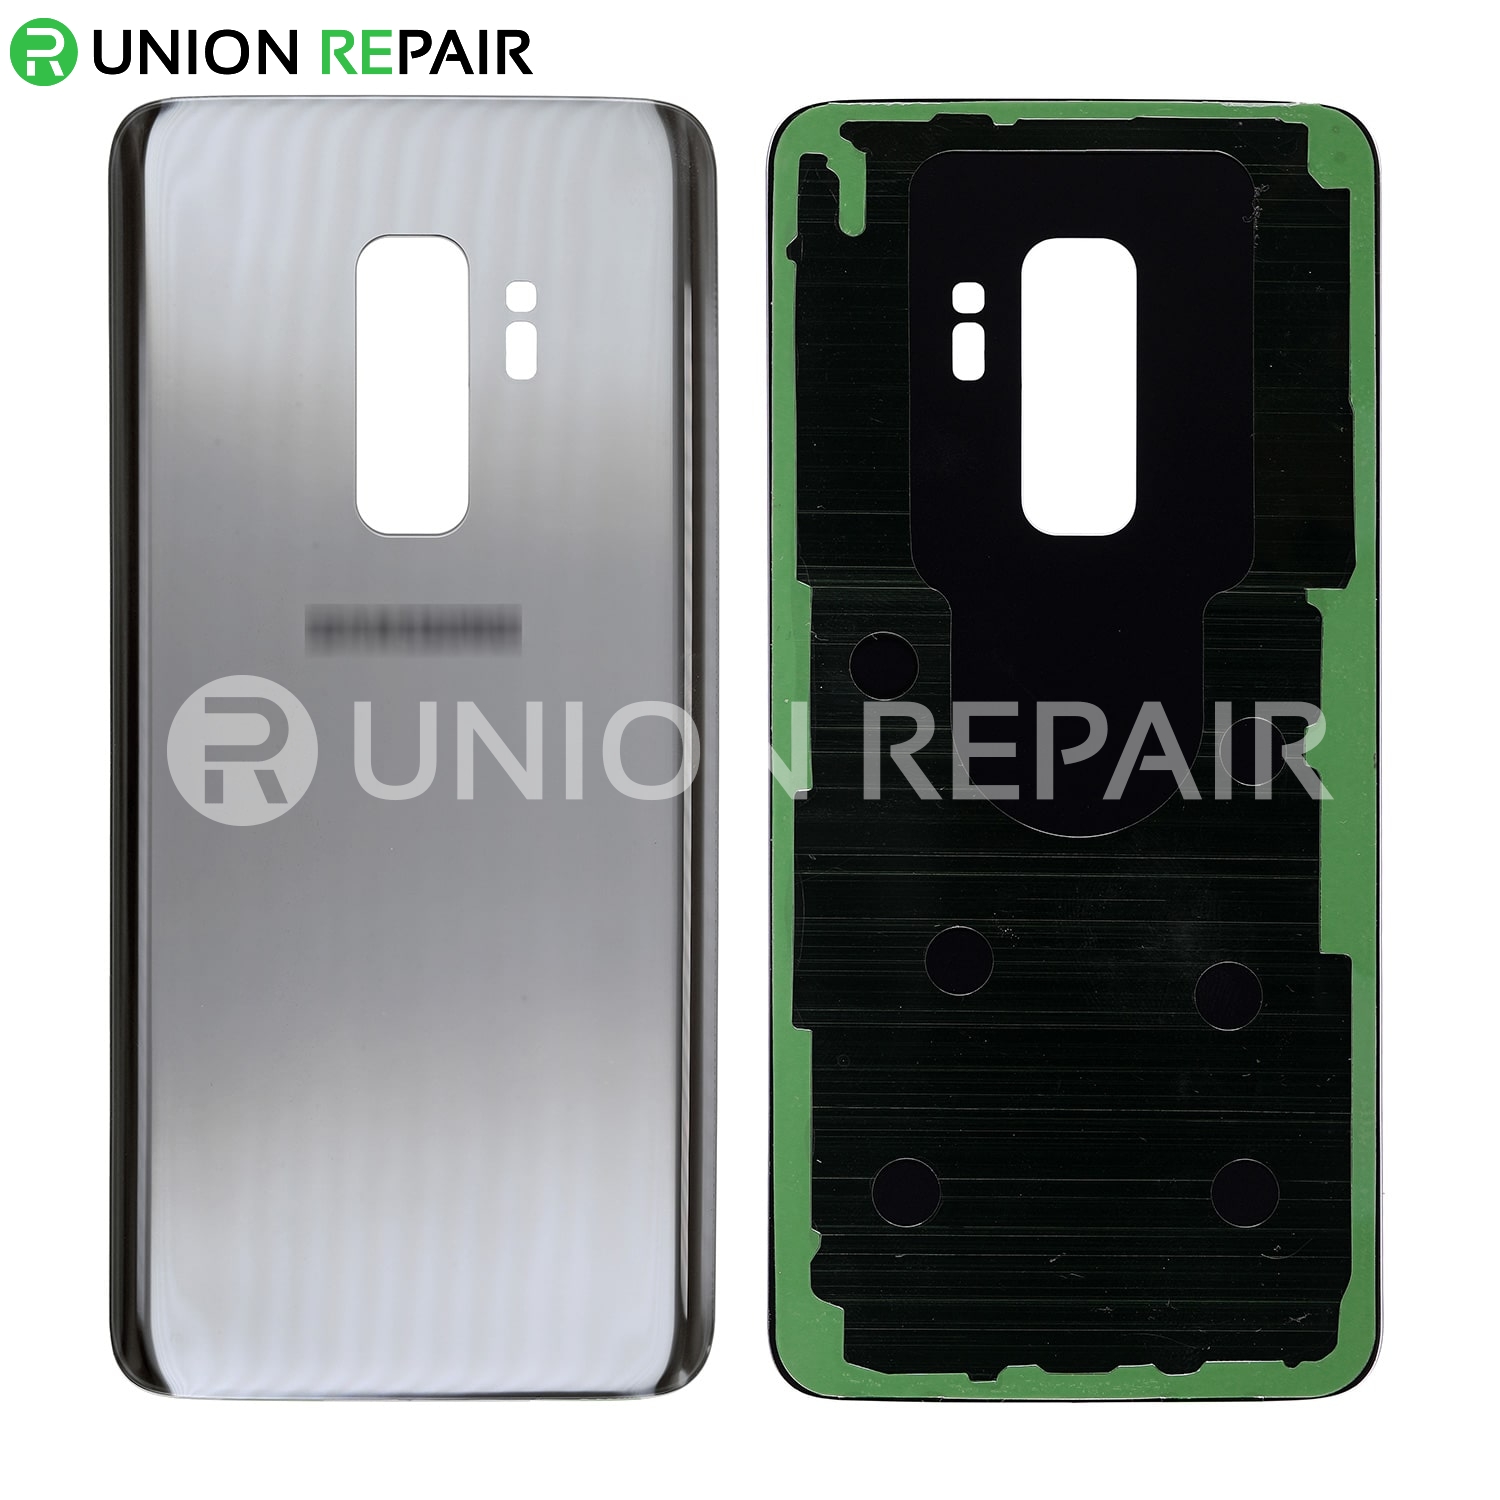
The sticky stuff inside the back cover is arranged just like you see in the picture.
- Alright, it's time to get rid of that back cover! We're going to carefully cut through the adhesive holding it in place.
- Focus on slicing through the sticky spots in these areas:
- Thicker adhesive spots that need a little extra effort
- Thinner adhesive areas that are a bit more forgiving
- A quick reminder—don't go prying or slicing near the fingerprint sensor flex cable. You don't want to damage that little guy!
Step 3


If the rear glass of your phone is cracked, the suction cup might not have a solid grip. Give it a shot with some sturdy tape, or you can superglue the suction cup in place and let it set. Once it's ready, you can carry on with the repair!
You might need to exert a bit of force, but don't worry! Just a tiny gap with the suction cup is all you need to slide your tool in. If things get tricky, warm it up a bit more to soften the adhesive, and try again. Remember, that adhesive cools down pretty quickly, so you might find yourself heating it up a few times.
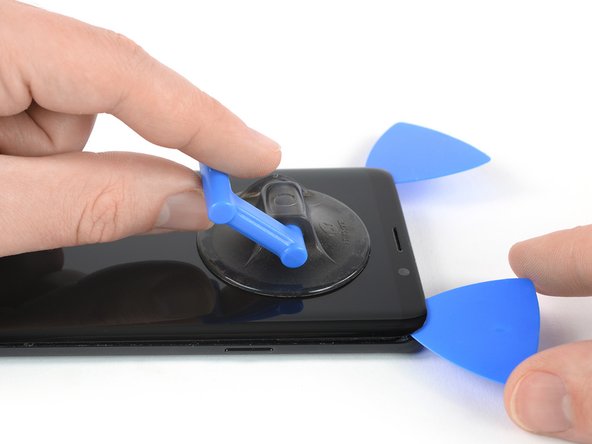
- Stick your suction cup right onto the back cover—it’s about to be your best friend.
- Gently pull up on the bottom edge using the suction cup, just enough to crack open a tiny gap between the cover and the frame.
- Slide an opening pick into the gap you just made, then cruise it over to the bottom right corner.
Step 4


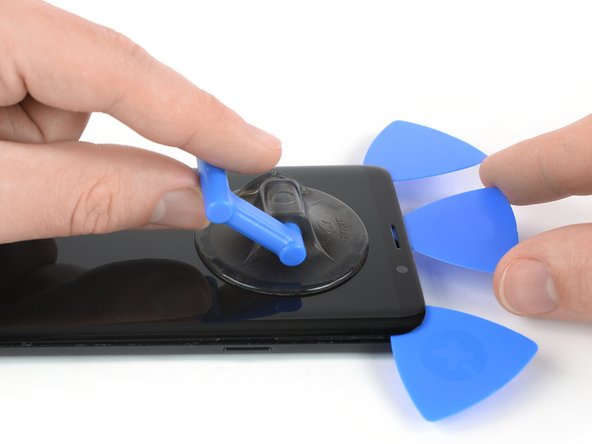
- Grab a second opening pick and slide it down to the bottom left corner—like you’re drawing a little line dance for your phone.
- Now, bring in a third pick and stick it at the bottom of your device. Let it hang out there! It’ll keep the sticky adhesive from sneakily closing up shop while you work your magic on the rear glass.
Step 5


- Begin by sliding the tip of your opening pick gently from the bottom left corner up along the side of the S9 Plus.
- Once you've sliced through the adhesive halfway up the left side, just let that pick chill in place.
- Now, slide your opening pick from the bottom right corner halfway up the frame and leave it there, just like a pro!
Step 6


Hold your horses! Don't go fully opening the phone just yet. The flex cable for the fingerprint reader is still happily connected to the motherboard.
- Pop in a fourth pick on the right edge and slide it up to the top right corner—think of it as your trusty sidekick.
- Take a fifth pick for a spin up the left edge until you hit the top left corner—like marking your territory.
- Work that pick along the upper part of the rear glass to slice through the last bits of clingy adhesive. Keep going, you're almost there!
Step 7


- Gently lift up the side of the rear glass where the volume button hangs out—no need for superhero strength here.
- Grab your trusty spudger and pop up the fingerprint sensor flex cable like you’re flipping the lid on your favorite snack.
Tools Used

Step 8

- Gently remove the rear glass—it's like peeling a sticker off, but more satisfying.
- When putting things back together, make sure to replace the adhesive and snug that rear glass back into place.
- If you're swapping out the rear glass, follow this guide to carefully move the rear camera bezel and fingerprint sensor to the new one.
Step 9

- Unscrew those nine 4 mm Phillips #00 screws—think of it as your device’s way of letting you in. Keep them safe for the grand reassembly!
Step 10


- Slide an opening pick under the right edge of the plastic cover—yep, the one with the NFC antenna and charging coil hiding underneath.
- Give the pick a little twist to pop the cover out of its plastic clips, like you're flipping the switch on a secret door.
- Keep cruising around the cover, prying up gently to free those last stubborn clips. Almost there!
Step 11

- Carefully peel off the plastic cover that’s hiding the NFC antenna and charging coil. If you need a hand or run into trouble, you can always schedule a repair.
Step 12

- Take the flat end of your spudger and gently pop up the battery flex cable—like giving your phone a little nudge to wake up.
Tools Used
Step 13

- Unscrew those two 4 mm Phillips #00 screws and set them aside. Keep track of them so you don’t lose any tiny treasures during the process. If you run into any trouble, remember you can always schedule a repair with Salvation Repair for extra help.
Step 14

- Pop off that plastic cover from the motherboard—just lift it gently and set it aside for now.
Step 15


- Grab the flat end of your spudger and gently pop off that display flex cable—easy does it!
Tools Used
Step 16

Pop on some safety glasses—nobody wants a surprise shower of glass in their eyes while getting their fix on.
If your display glass is looking a bit worse for wear, let's keep it from shattering into a million pieces and protect those precious fingers of yours! A little tape over the glass can work wonders during your repair.
Getting your phone nice and toasty might take a few rounds with the iOpener. Just remember to follow the instructions to keep things cozy without going overboard!
- Get an iOpener and warm it up a bit, then gently press it onto the display for at least two minutes to loosen up that sticky adhesive underneath.
- Cover the entire screen with overlapping strips of clear packing tape. This keeps any glass shards in check and adds some strength before you start prying and lifting.
- Think of it as giving the display a little armor—making sure everything stays intact and safe as you work your magic.
Tools Used
Step 17


Got a cracked screen and your suction cup is playing hard to get? Try sticking it down with strong tape, or for the committed types, glue the suction cup in place and let it settle so you can keep going.
- Once the screen feels a little toasty, grab your suction cup and gently place it on the top edge of your phone.
- Now, slide an opening pick into the gap and start slicing through the adhesive, heading up to the top-left corner. Easy does it!
Step 18

- Slide another opening pick up to the top right corner like you’re tracing a secret map.
- Pop in a third pick to keep that sneaky adhesive from gluing itself back together while you work.
Step 19

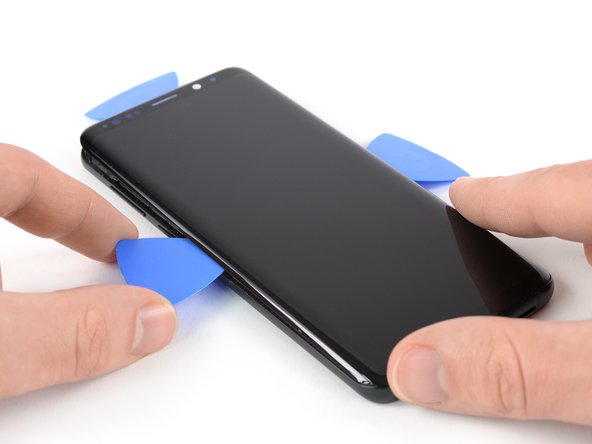
- Grab your right opening pick and slide it halfway down the side of the frame—think of it as slicing through a stubborn sandwich.
- If it feels like you’re arm-wrestling the adhesive, give it another warm-up session with the iOpener and try again.
- Now, take a left opening pick, glide it halfway down the other side of the frame, and let it hang out there for moral support.
Tools Used
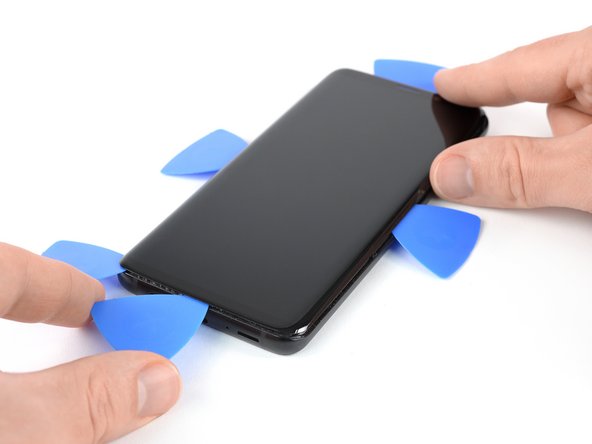
Step 20


The flex cable for the screen is tucked just below the center near the power button, so watch out—your cutting tool might want to tangle with it. Keep it in mind as you work to avoid any surprises.
- Grab a fourth pick and work it along the left edge, sliding down to the bottom left corner. This will slice through that stubborn adhesive—almost there!
Step 21

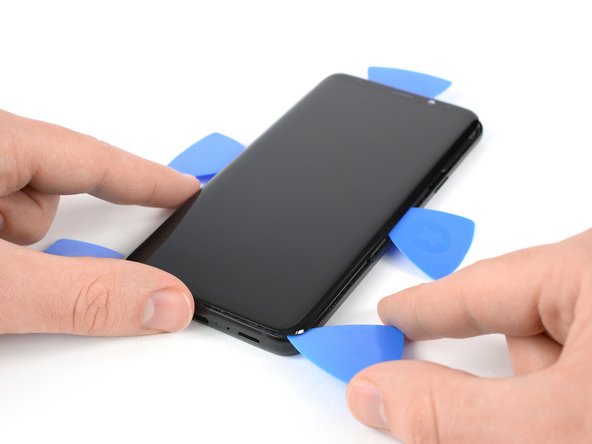
- Grab a fifth pick and cruise down the right side like you own the place.
- Swing around that bottom right corner and slice through the last bit of sticky stuff holding the display in place.
Step 22


A wonky frame or leftover glue and glass bits can mess up your new display and even cause damage. So, double-check the frame and swap it out if things look rough.
The display cable does a little limbo through a hole in the midframe—go slow and give it a gentle guide to slip it out and set the display free.
- After you've snipped the adhesive all around the phone, gently lift the display upwards and say goodbye to the old screen!
- Before you pop in that shiny new display, make sure to wipe away any remnants of the old adhesive from the frame. Grab some isopropyl alcohol (over 90% is best) and a lint-free cloth to give those glued areas a good clean.