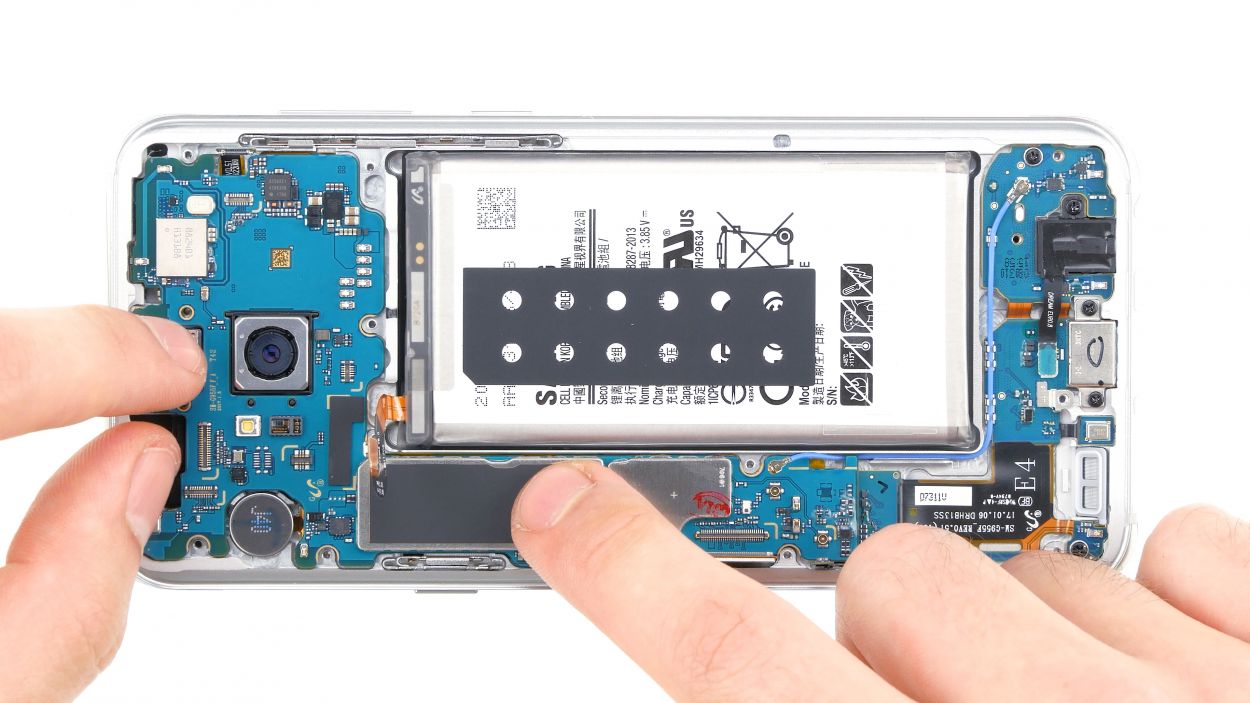
Samsung Galaxy S8 Plus Display Adhesive Replacement
Duration: 45 minutes
Steps: 4 Steps
Ready to swap out that stubborn display adhesive on your Galaxy S8+? This step-by-step guide will walk you through the process with clear, friendly instructions. Remember, this is just one part of the full screen replacement adventure—so keep your tools handy and take your time. If you hit a wall or need a pro touch, you can always schedule a repair to get it done right.
Step 1


Make sure to clean up any leftover glue or glass bits before mounting the new display, or it might not sit properly and could get damaged.
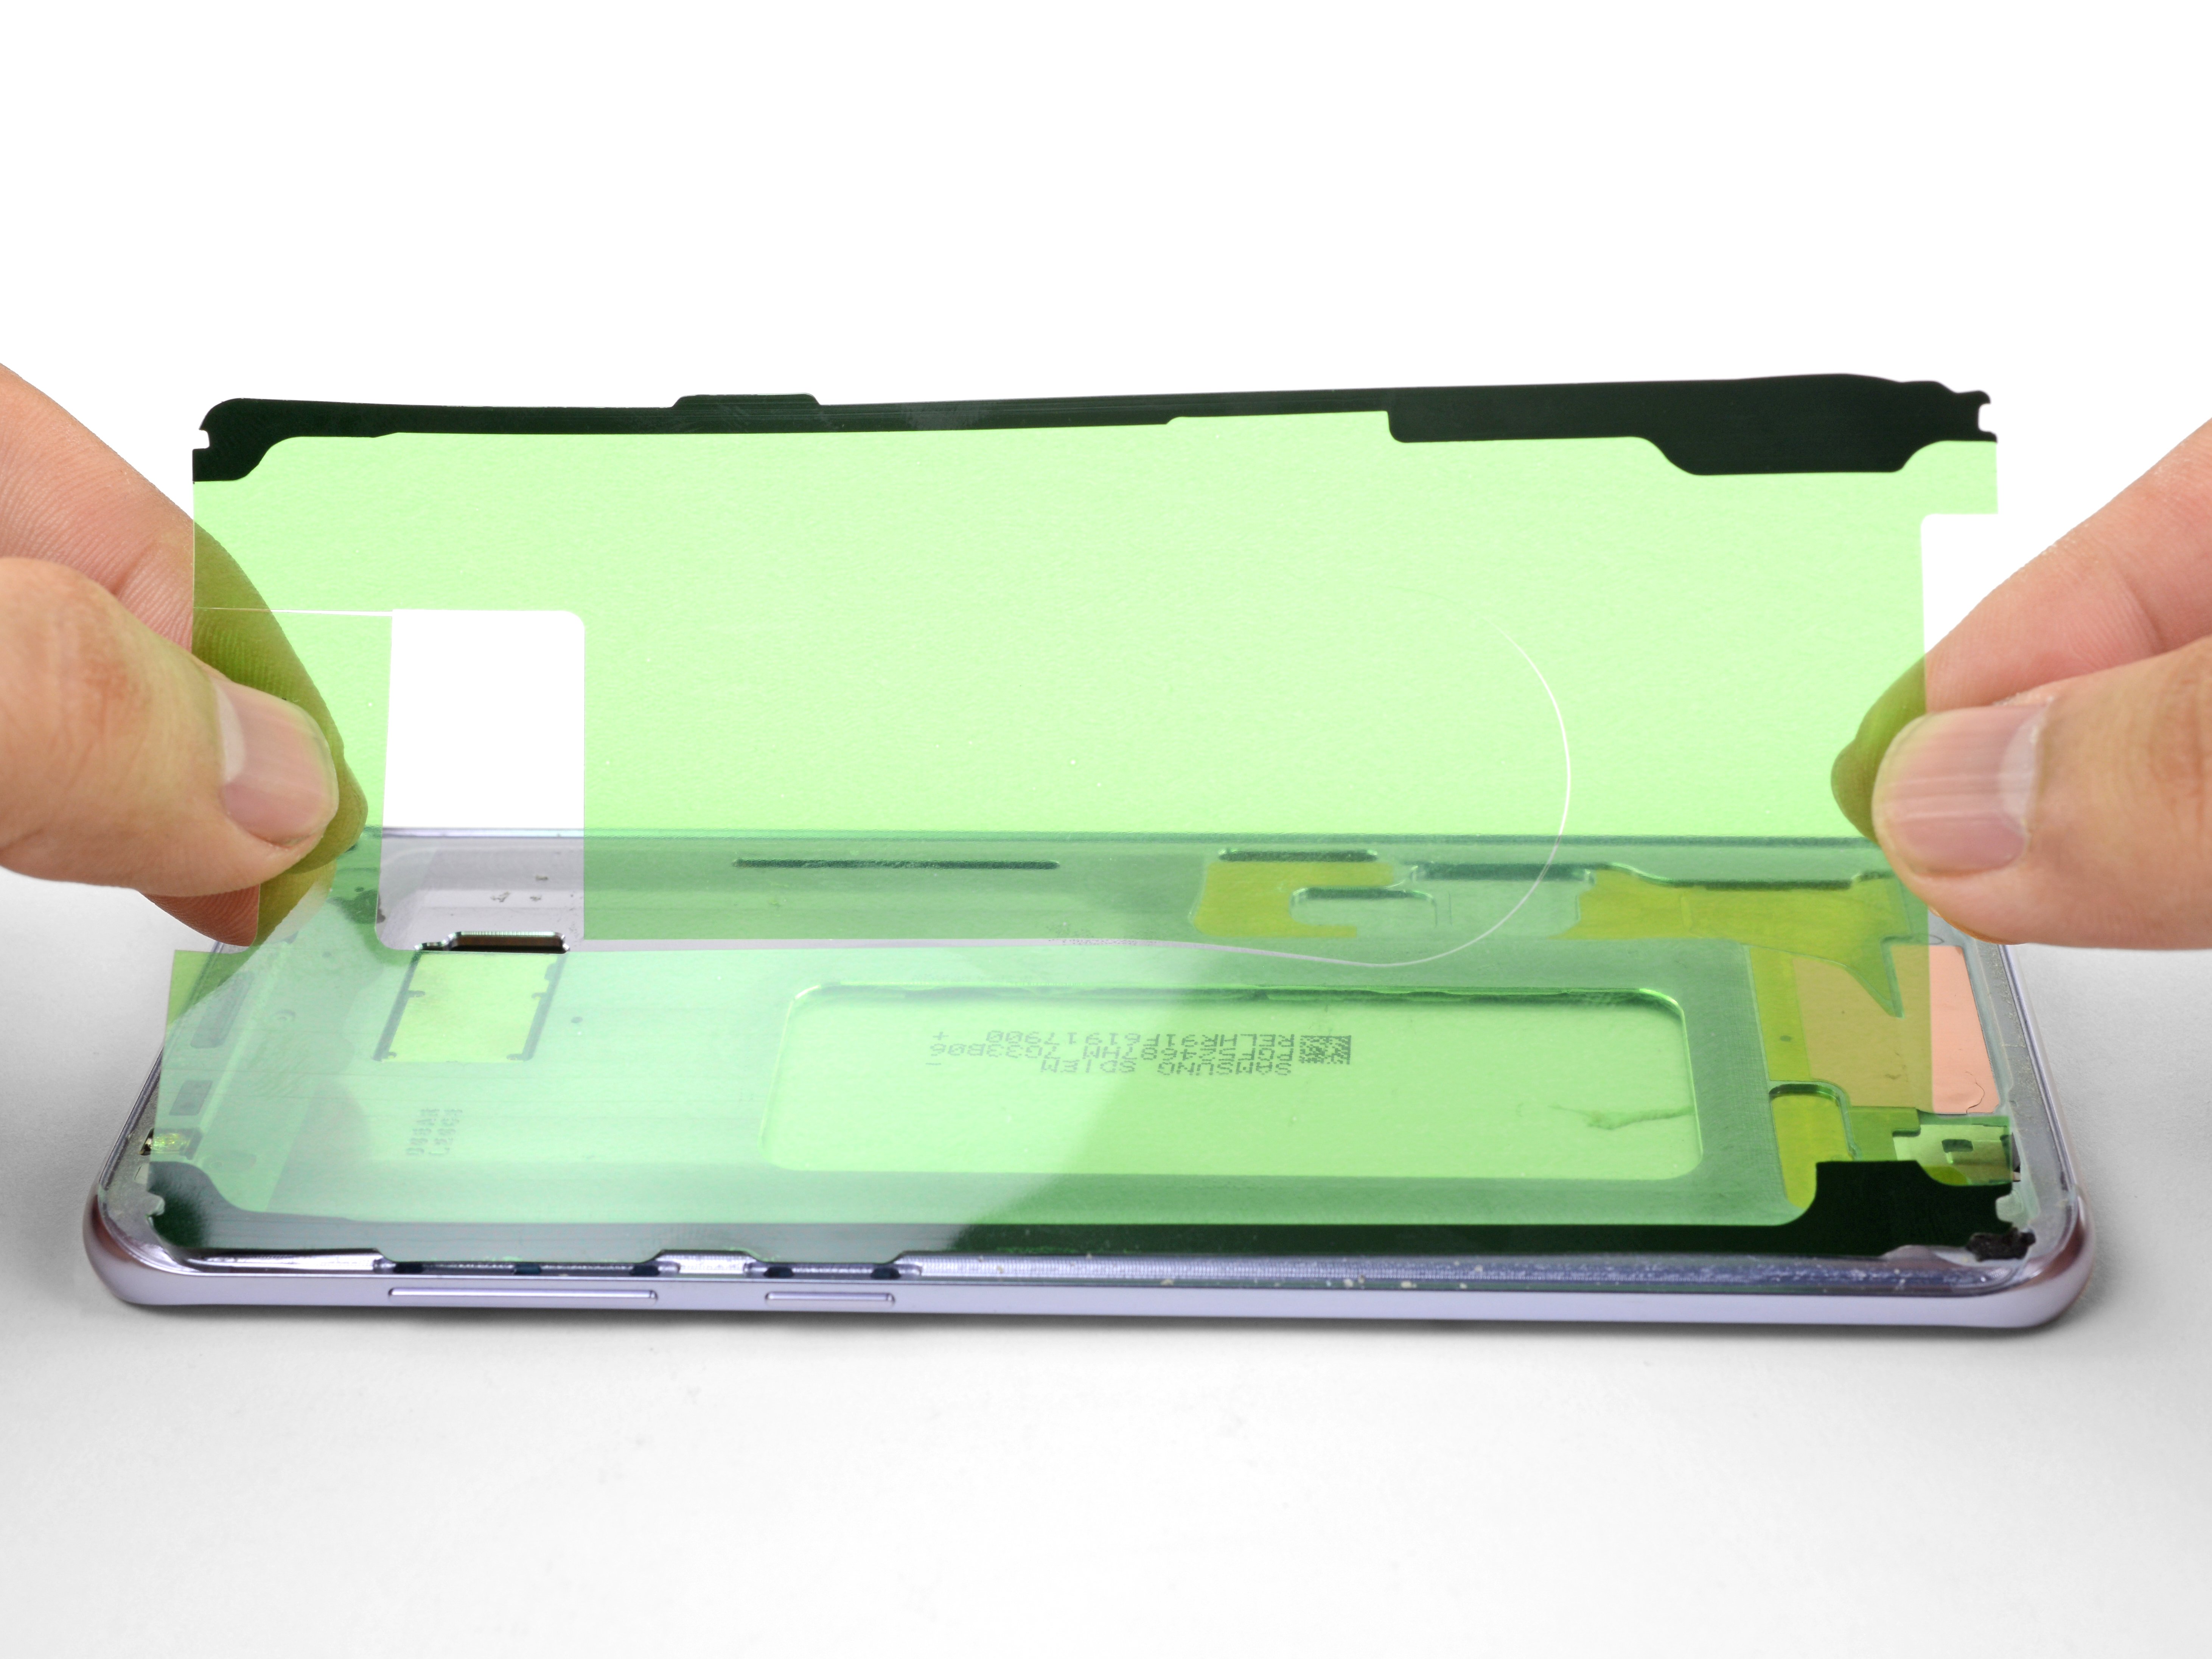
- Sweep away every last bit of sticky gunk and crumbs from the frame—your phone deserves a fresh start! Grab some high-octane isopropyl alcohol (90% or above), give the adhesion area a good scrub, then wipe it down with a lint-free cloth so it's squeaky clean.
- Lay out the adhesive strips like puzzle pieces to see where each one fits. No surprises here!
- Peel away the clear plastic backing from the big pre-cut adhesive strip, revealing the sticky side. It’s showtime for your masterpiece.
Tools Used

Step 2


Double-check that your adhesive shapes line up perfectly with your phone—no funky overlaps allowed!
- Gently line up one edge of the adhesive with the phone frame—think of it like a puzzle piece, just waiting to fit!
- Once you've got that edge in place, lightly set the adhesive down on the frame, like it's settling in for a nice nap.
- Now, with a little finesse, use your fingers to press the adhesive into place. It should feel snug, but not too tight.
- If it’s not looking quite right, don’t worry—just peel it back up slowly and try again. You’ve got this!
Step 3


The strips are tailored for a specific purpose and can't be swapped around. Make sure to use the right ones for the job to keep everything working smoothly.
- Grab one of the end adhesive strips and peel it away from the clear backing—like you're unwrapping a secret snack.
- Hold the strip by those green tabs and match it up with the frame, like you're lining up the perfect selfie.
- Gently lay the adhesive onto the phone. Double-check that all those little cutouts are lining up where they should.
- Once things look straight, press the adhesive down with your fingers to lock it in place.
- Repeat all that for the other adhesive strip and you're good to go.
Step 4

Before you stick your screen down for good, give it a quick test run and make sure everything’s working smoothly.
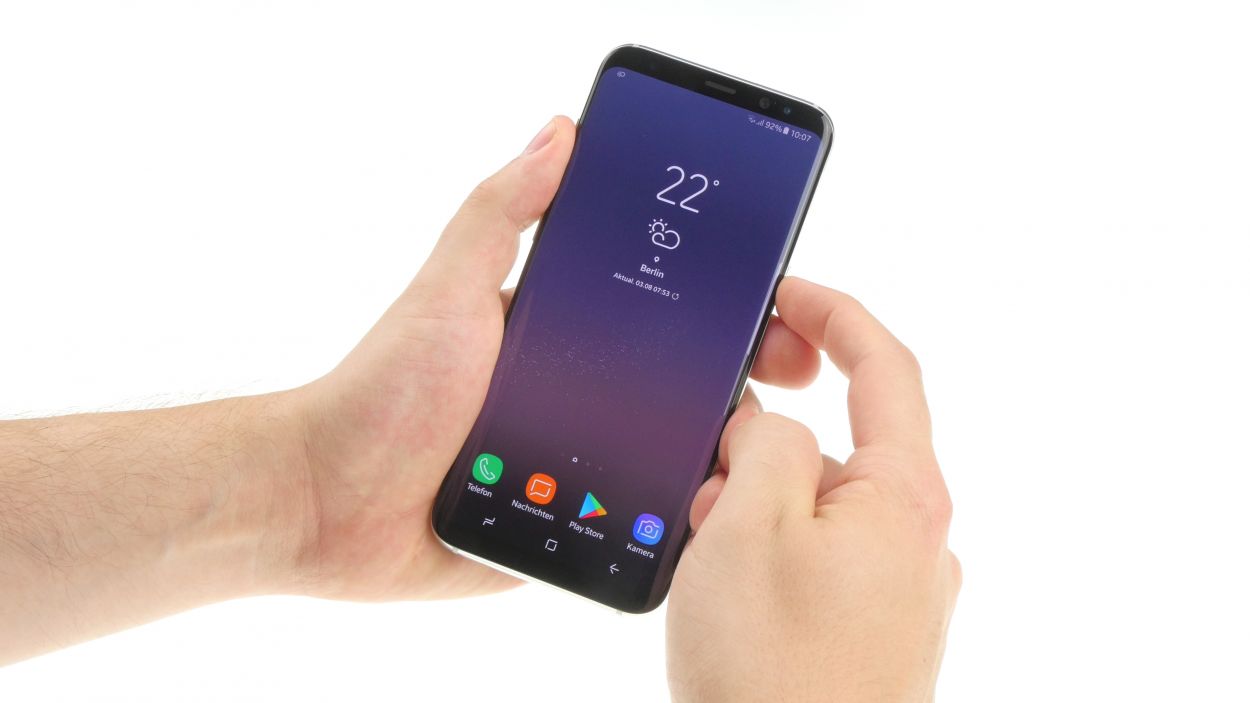
- Ready to wrap things up? Just hop on over to the Galaxy S8+ screen replacement guide by following this link! If you find yourself in a pickle, don’t hesitate to schedule a repair for some expert help.