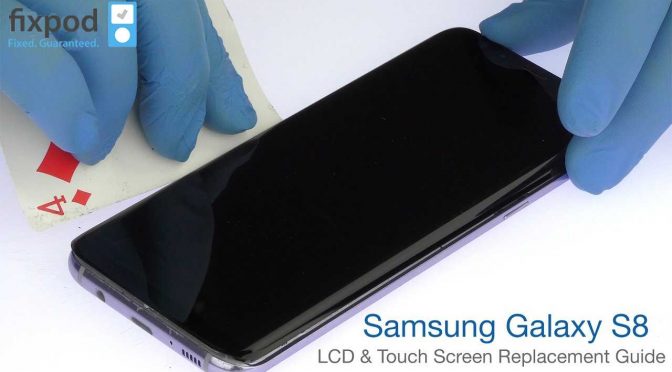
Samsung Galaxy S8 Display Adhesive Replacement
Duration: 45 minutes
Steps: 4 Steps
Ready to swap out that stubborn screen adhesive on your Galaxy S8? Just follow this straightforward guide to get your display back in top shape. Remember, this step works best alongside the Galaxy S8 screen replacement instructions. If you hit a snag or need a pro hand, you can always schedule a repair. Let’s get that phone looking fresh again!
Step 1


Leaving glue or bits of glass behind will mess with your new display’s fit and could even damage it—so give that surface a good clean before you move on!
- First things first, let's tidy up! Get rid of any sticky residue and dust from the phone's frame. Grab some high concentration isopropyl alcohol (over 90%) and a lint-free cloth, and give that adhesion surface a good cleaning.
- Next up, lay out those adhesive strips and take a moment to visualize where each one belongs.
- Now, carefully peel off the clear plastic backing from the large pre-cut adhesive strip to reveal the sticky side.
Tools Used

Step 2


Ensure the adhesive cutouts align perfectly with your phone.
- Align one edge of the adhesive with the matching edge of the phone frame—think of it as your first step to a smooth finish. Gently lay the adhesive onto the frame, making sure it sits nicely without sticking prematurely. Once it's in the right spot, use your fingers to press and smooth it out, ensuring a snug fit. If things aren’t perfectly aligned, no worries—carefully peel it back up and try again until it looks just right. Need a hand? You can always schedule a repair.
Step 3


The strips are designed with a specific end in mind, so they’re not interchangeable. Make sure to use the right one for the job to keep everything working smoothly.
- Carefully peel off one end of the adhesive strip from its clear backing. Yep, just like opening a new snack.
- Grab the strip by the two green tabs—like you mean it—and match it up with the frame of your phone.
- Gently lay the adhesive onto your phone, making sure all the cutouts are lining up where they’re supposed to.
- Once everything is lined up, press the adhesive down with your fingers to lock it in place.
- Now, repeat the process for the other adhesive strip. You’re on a roll!
Step 4

Before you stick down the screen, give it a quick test run to make sure everything’s working like it should.
- Keep putting your device back together until you’re at the screen step. Almost there!
- Peel off the green plastic from all the sticky strips so the glue can do its thing.
- Line up the phone screen carefully and place it gently on top of the adhesive.
- Press all around the edge of the phone with your fingers to make sure the adhesive sticks.
- Stack a couple of books on top of the screen for about an hour to help everything bond together. You’ve just leveled up your repair game!