Samsung Galaxy Tab 4 10.1 Loudspeaker Replacement
Duration: 45 minutes
Steps: 11 Steps
A fun guide to swapping out the loudspeakers on your Samsung Galaxy Tab 4 10.1 Android tablet. Let’s dive in and get that sound back to booming in no time!
Step 1


– Take your nylon spudger and gently slide the wedge between the front and back panels. Keep pushing until the back panel pops off. Easy peasy!
Tools Used

Step 2

– Gently peel off the green tape that’s hiding the connectors for those three black strips. You got this!
– Carefully use the tip of your spudger (or your nail if you’re feeling adventurous) to flip up the small retaining flaps. It’s a simple move, just a little flick.
Tools Used
Step 3

– Grab a Phillips #00 screwdriver and carefully remove the four 3.2mm screws. It’s a quick step, just keep your focus and you’ll be done in no time!
Step 4
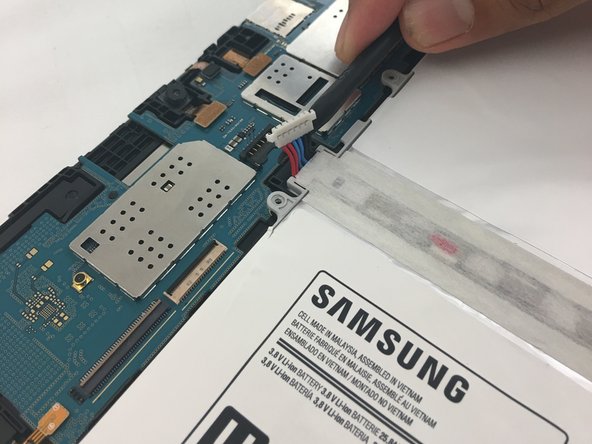
Be gentle! Pulling too hard can damage the connector on the circuit board. Use a spudger or tweezers to carefully press down on the black connector while you gently ease the battery connector off. The connector is pretty delicate, so take it slow!

Step 5

– Grab your trusty nylon spudger and gently pop that battery out by nudging it up at the edges. You’re doing great!
Tools Used
Step 6
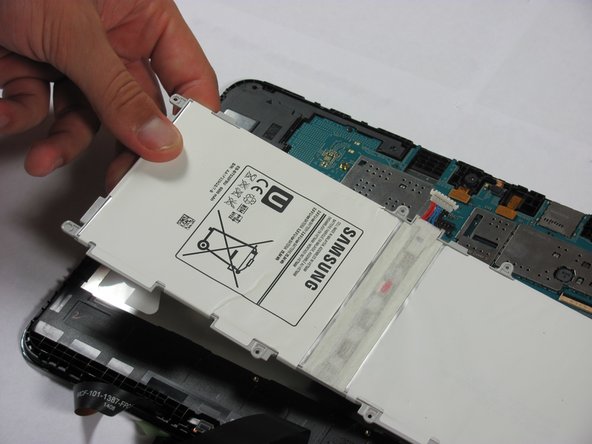
– Once the battery is feeling a bit wobbly, gently lift it out of the device with a smile!
Step 7


– Time to get your screwdriver ready! Carefully take out those two 2.7mm Phillips #00 screws from the motherboard. You got this!
Step 8


– Take your spudger and use the flat end to gently lift and disconnect the five press-fit connectors from the motherboard. It might take a little patience, but you got this!
Tools Used
Step 9


– Grab your trusty spudger and gently coax the motherboard upward. Once it’s free, lift it out of the device with care!
Tools Used
Step 10


– Gently slide the sharp end of your spudger under the ribbon connector of the left loudspeaker. You’ve got this!
– Carefully pry upwards to pop that loudspeaker out. It’s as easy as pie!
Tools Used
Step 11


– Gently slide the pointed end of your spudger under the headphone jack, just like you’re sneaking in to make a great escape.
– Carefully lift up to release the loudspeaker—think of it as giving it a little nudge out of its comfy home.