Samsung Galaxy Tab 4 10.1 LCD Display Replacement
Duration: 45 minutes
Steps: 13 Steps
Time to swap out that cracked LCD display on your Samsung Galaxy Tab 4 10.1! This guide will walk you through the process step by step, making the repair a lot less intimidating. No need to stress, just follow along and you’ll have your tablet looking good as new in no time. If you need help, you can always schedule a repair.
Step 1


– Take your trusty nylon spudger and gently insert the wedge between the front and back panels. Now, slide it along until the back pops off like a surprise gift!
Tools Used

Step 2

– Gently remove the green tape that’s hiding the connectors for the three black strips. You’ve got this!
– With the tip of a spudger or your trusty fingernail, lift up those tiny retaining flaps like a pro.
Tools Used
Step 3

– Grab a Phillips #00 screwdriver and use it to unscrew the four 3.2mm screws. Easy, right? Just take it slow and steady.
Step 4
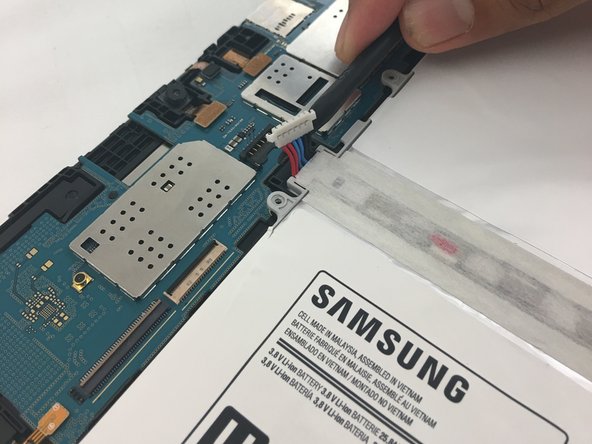
Be gentle here! Tugging too hard might mess up the connector on the circuit board. Grab a spudger or tweezers, press down on the black connector on the board, and carefully pry the battery connector loose. That connector is super fragile, so take it slow and steady.
– Gently wiggle the red, blue, and black cables free by lifting up on the white connector attached to the motherboard. You’ve got this!
– If you’re opting for a finger approach, just remember to pull evenly across the whole width of the cable to keep those wires happy and unstrained.

Step 5

– Grab your trusty nylon spudger and gently slide it under the edges of the battery. A little prying, and it should pop right out—easy does it!
Tools Used
Step 6
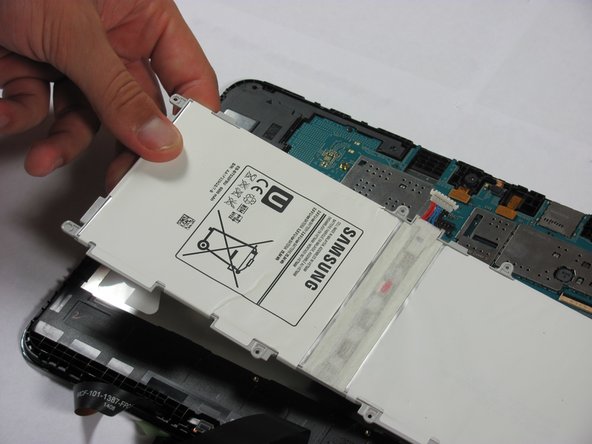
– Once the battery has given you a little wiggle, gently lift it out of the device.
Step 7

– Gently pry the home button loose using the flat end of your trusty spudger.
Tools Used
Step 8

– Grab your trusty iOpener and give that adhesive around the display a little love to loosen it up.
Tools Used

Step 9

– Carefully slide an opening pick between the digitizer and the display frame.
– Gently work the opening pick around the edges to separate the two pieces.
Step 10


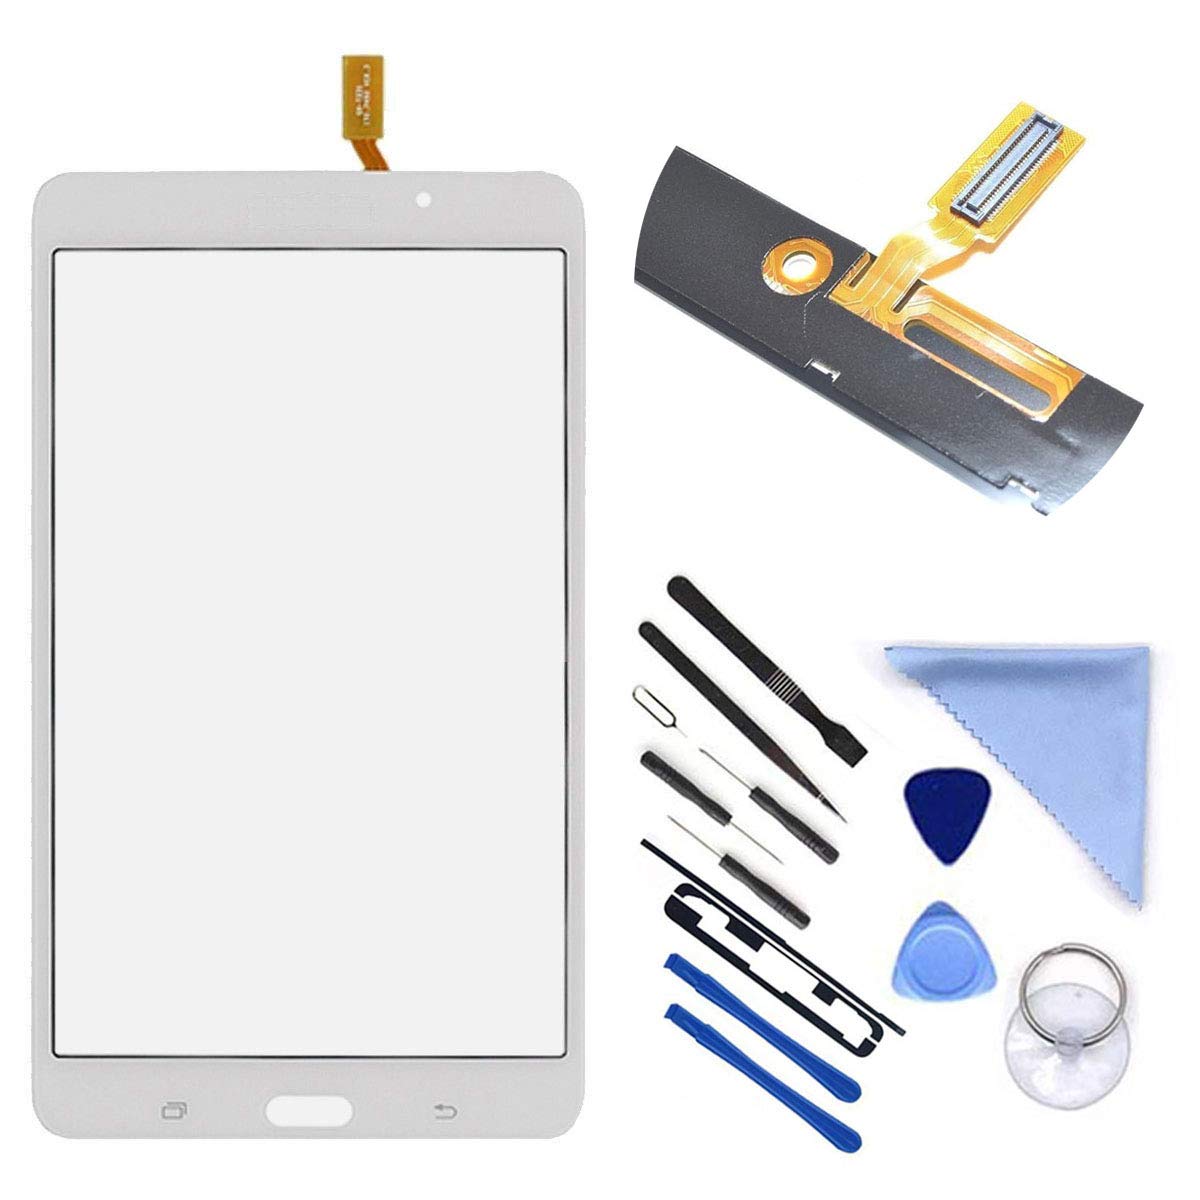
– Gently lift and remove the digitizer. Be careful not to apply too much pressure – a smooth touch will do the trick!
Step 11


– Time to get this display connected! Use a spudger to carefully flip up that tiny locking flap on the display ZIF connector.
– Next, gently remove the display ribbon cable – you’re making great progress!
Tools Used
Step 12


– Grip the frame with both hands and gently pop the LCD screen up from underneath using your fingers.
Step 13

– Time to say goodbye to that LCD display! Carefully detach it and set it aside, making sure to keep everything safe and sound.
Success!