Samsung Galaxy S7 Active Disassembly
Duration: 45 minutes
Steps: 4 Steps
Ready to give your Galaxy S7 Active's screen a fresh look? This step-by-step guide walks you through the process of safely taking apart the screen. Just follow along, stay patient, and remember—if things get tricky, you can always schedule a repair. Let’s get started and bring that device back to life!
Step 1
Your phone's feeling a bit toasty! Give it a break and avoid direct contact for now.
- Warm up the adhesive on the screen by gently applying a blow dryer directly to it. Give it a few seconds to soften up!
Step 2
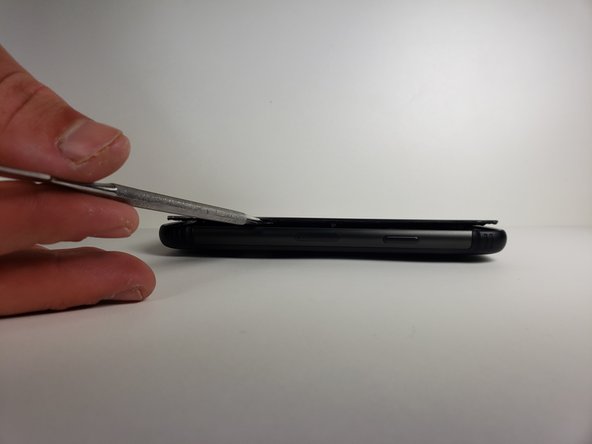
Using more than one metal spudger makes it easier to gently pry the screen away from the frame's sealing adhesive. Keep in mind, once you reassemble, your device might not be fully waterproof anymore. If you need help, you can always schedule a repair.
- Slide your metal spudger between the screen and the frame—think of it as giving them a gentle nudge to start the separation dance.
Tools Used
Step 3
Give your metal spudger a boost by warming up the area with a blow dryer as you slide—makes things glide way smoother!
- Gently slide that metal spudger around the phone at least once, giving it a little dance to loosen things up. You've got this!
Tools Used
Step 4
After you're all done, be sure to scrub those hands thoroughly with hot water and soap—your fingertips will thank you.
- Gently raise the screen using your hands.


