Samsung Galaxy Tab 4 8.0 Verizon Battery Replacement
Duration: 45 minutes
Steps: 7 Steps
Keeping your tablet powered up is key to getting the most out of it. This guide walks you through replacing the battery in your Samsung Galaxy Tab 4 8.0, step by step. The swap is pretty straightforward, but if your battery is holding on tight with extra adhesive, you might need to bring a bit more muscle to the task.
Step 1


Make sure your Samsung Galaxy Tab 4 8.0 is completely powered off and the SIM and Micro SD cards are out before you get started.
Take it easy when prying open the clips holding the case together—no need to Hulk smash it, as those clips are pretty fragile and don’t like rough treatment.
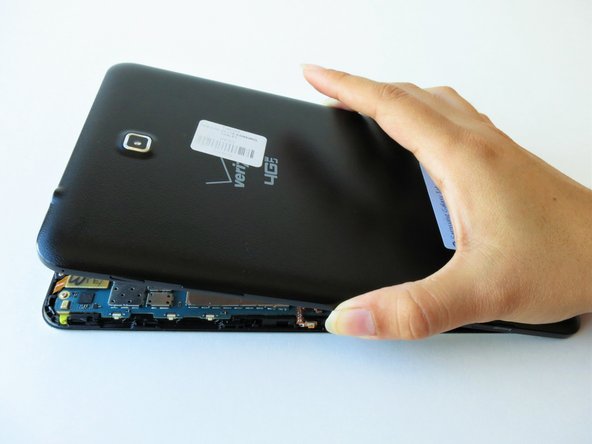
– At the top of the tablet, gently slide the blue plastic opening tool between the back plastic casing and the front panel’s metal edge to start the separation.
Step 2


As right-handers, we found it easiest to move clockwise and use more pressure around the corners to facilitate the process.
You might hear several popping noises caused by the plastic clips coming undone.
– Keep on gently nudging that blue plastic opening tool around the edge of the tablet to help release the back casing from the front panel. You’ve got this!
Step 3

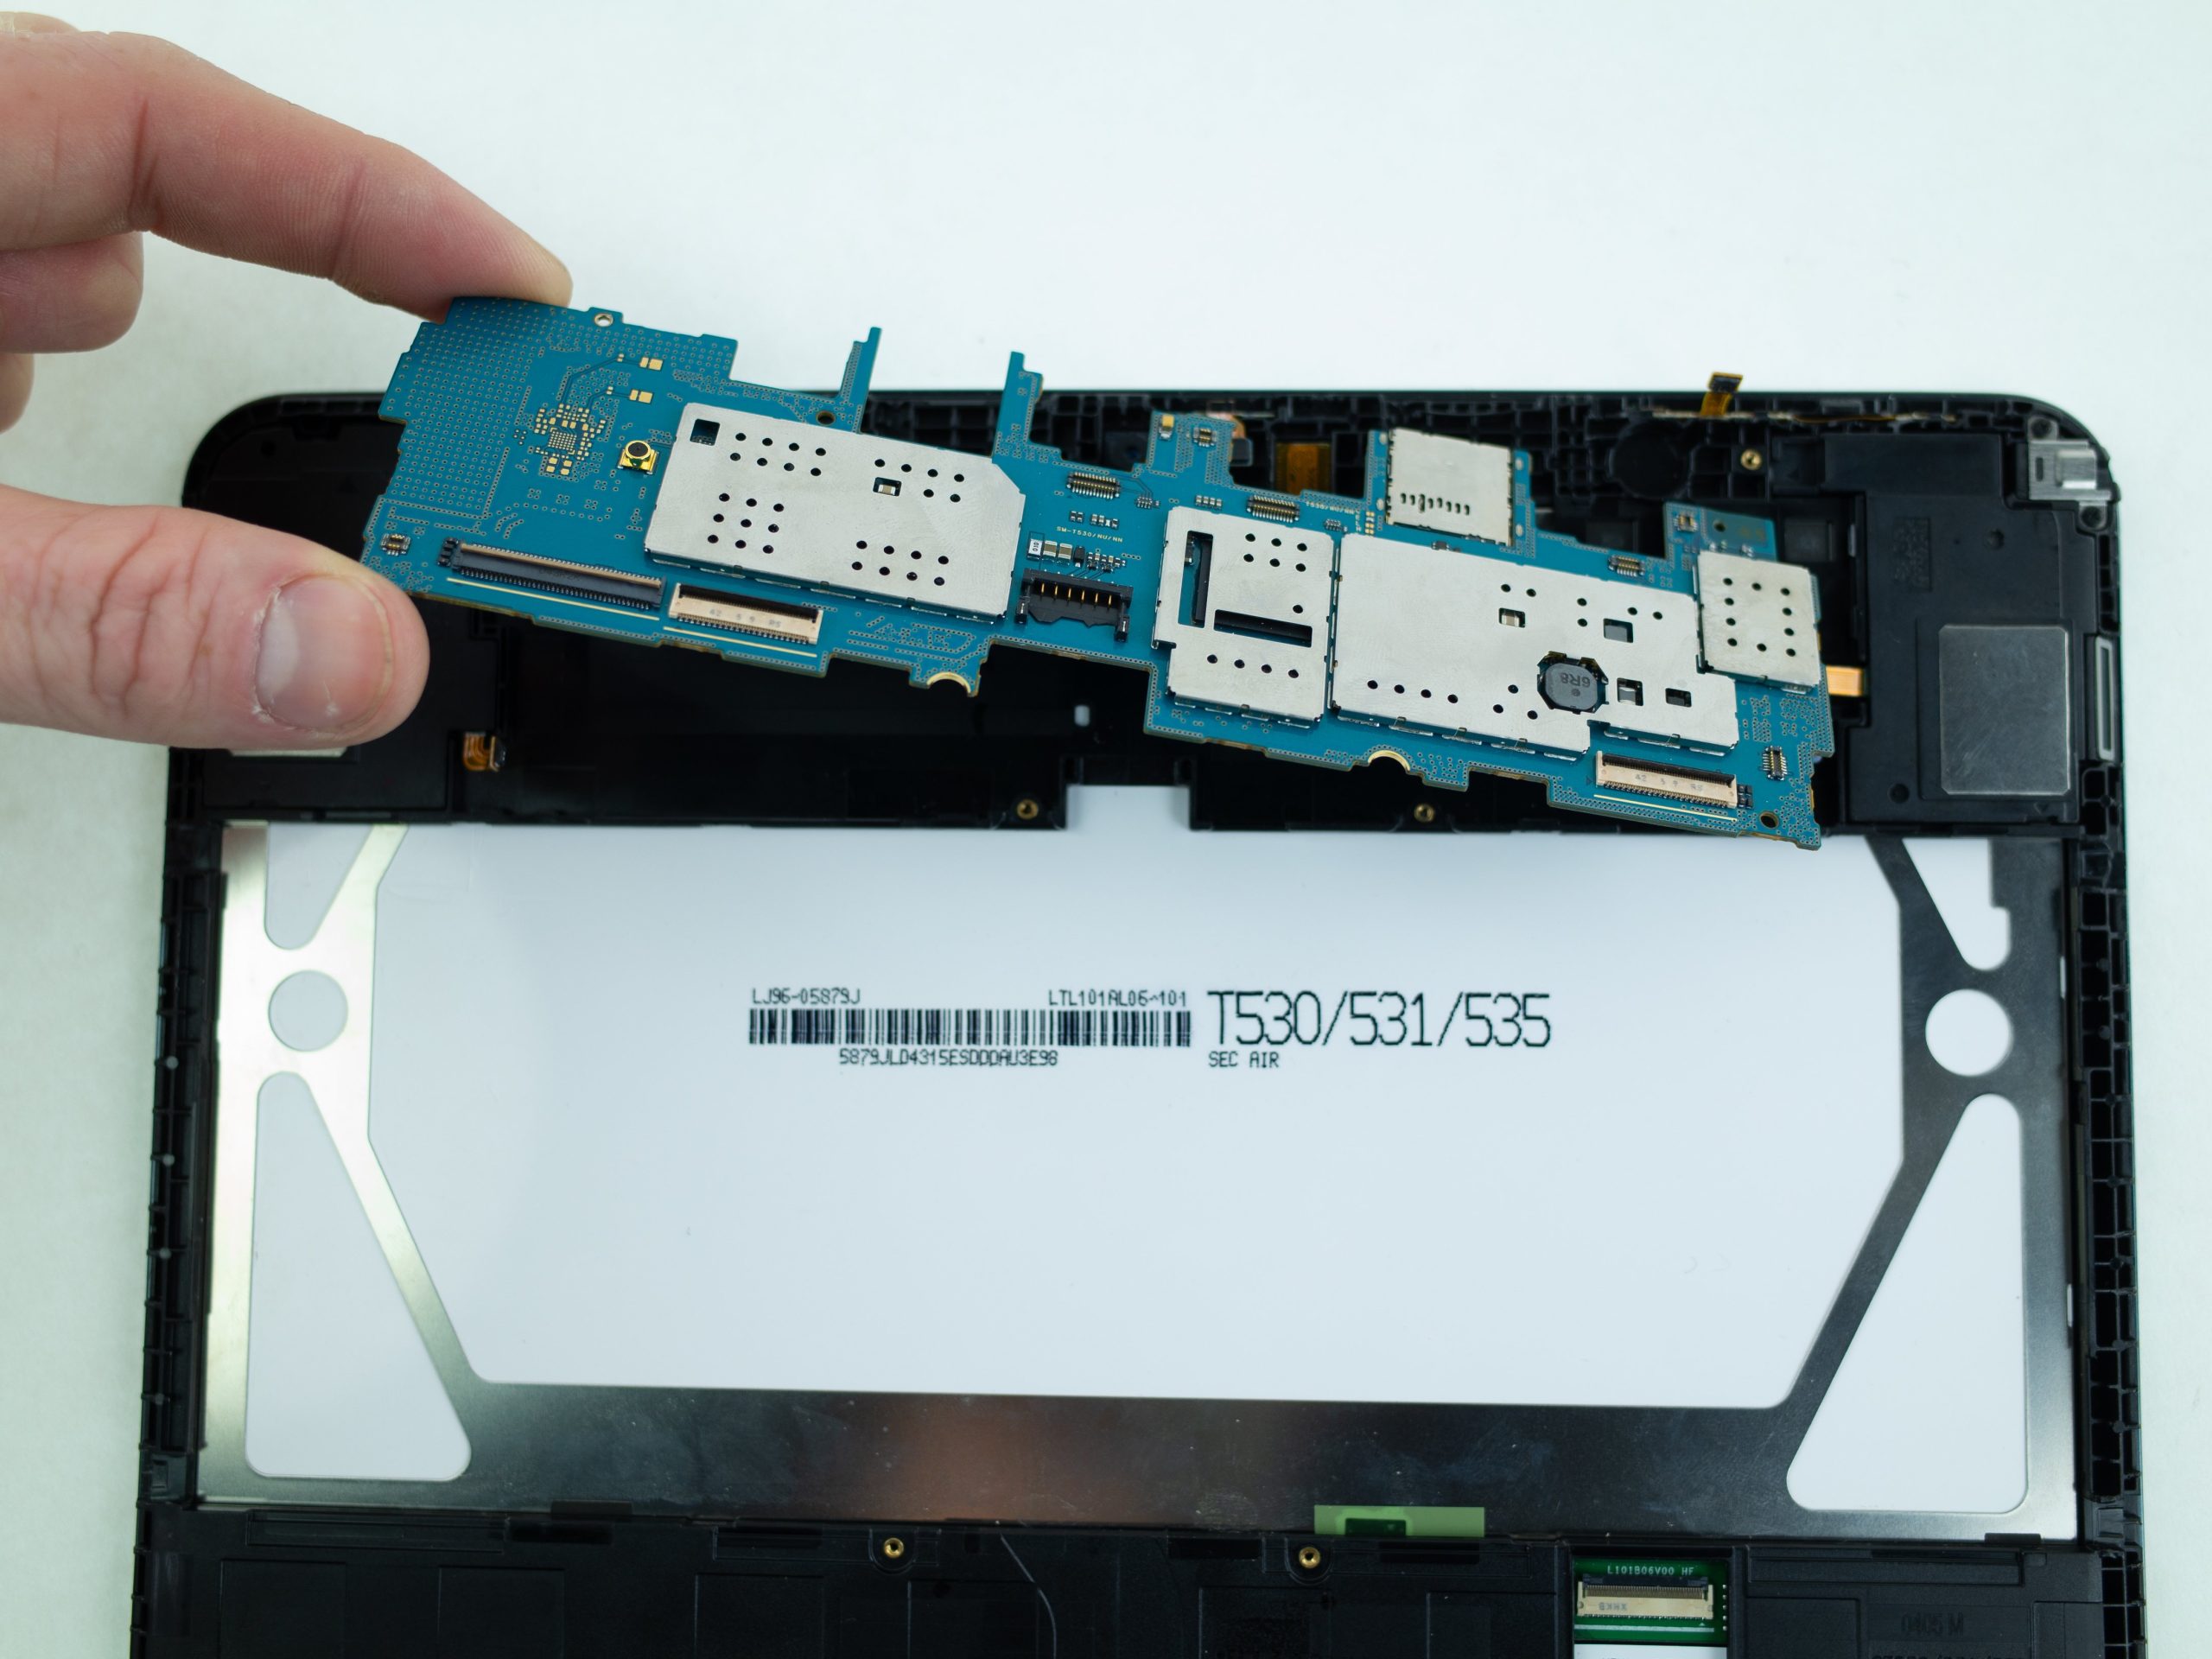
– Be kind to your screen! Carefully lay the tablet down with the LCD side facing the surface.
– Grab the back plastic casing with a solid grip and gently lift it away from the front assembly panel.
Step 4


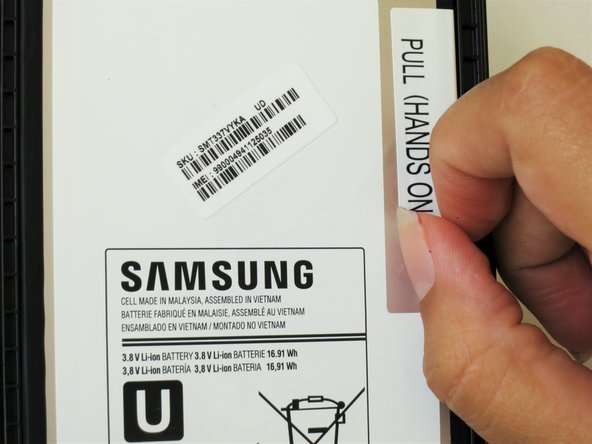
Peel back the sticker to create a handy little tab.
– Gently peel back the corner of the white plastic sticker that says ‘pull (hands only)’.
Step 5

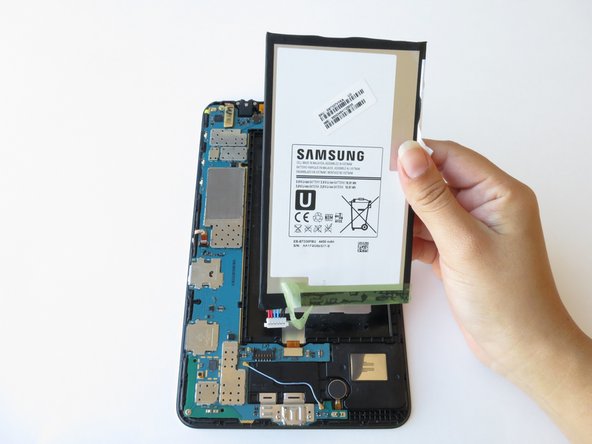
– Grab the tab with your thumb and index finger, give it a gentle pinch, and lift it up to detach the top right corner of the battery from the front panel assembly.
Don’t fully detach the battery just yet! If you do, you might end up damaging the red and blue cables near the bottom of the battery. Take it slow and steady!
If you’re facing some battery resistance due to adhesive, no worries! Grab the flat end of your spudger and gently slide it between the battery and the front panel. It’ll make that battery pop right out!
Tools Used

Step 6


Keep that green tape handy! If the replacement battery doesn’t come with one, you’ll need it for a smooth installation.
– Begin at the bottom left of the battery and carefully peel off the green tape. Take it slow—no need to rush, just a smooth and steady removal!
Step 7

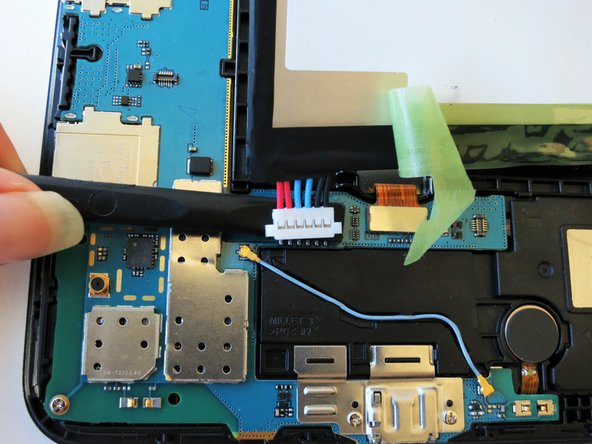
– Slide the spudger beneath the battery to unhook that red and blue cable connector from the circuit. You’re almost there!
– Now, gently lift the battery towards you, pulling it away from the front panel. Keep it steady!