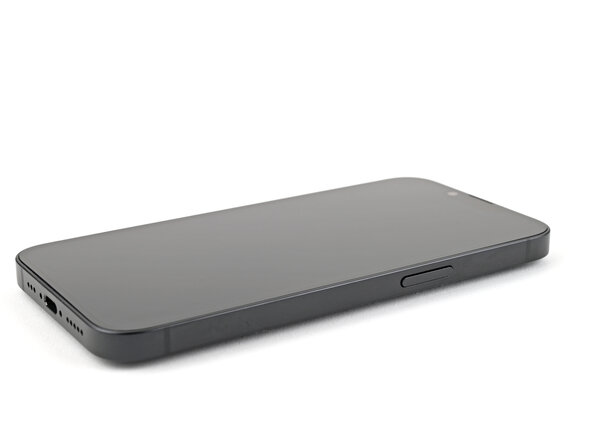
iPhone 16e Screen Replacement
Duration: 45 minutes
Steps: 41 Steps
Ready to tackle that broken or unresponsive screen on your iPhone 16e? This guide’s got your back! All you’ll need is some replacement screen adhesive to make it happen. A quick heads up: Since you can't disconnect the battery during this repair, make sure to keep metal prying tools away and steer clear of exposed contacts. Once you’re done, calibrate your new display with Apple's Repair Assistant for a perfect fit. Some of the photos in this guide might come from a different model, so don't worry if they look a little different – they won’t change the way you do the repair. If you get stuck or need a hand, feel free to schedule a repair.
Step 1

Let your phone's battery dip below 25%—a fully charged lithium-ion battery can be a bit of a drama queen when it comes to safety!
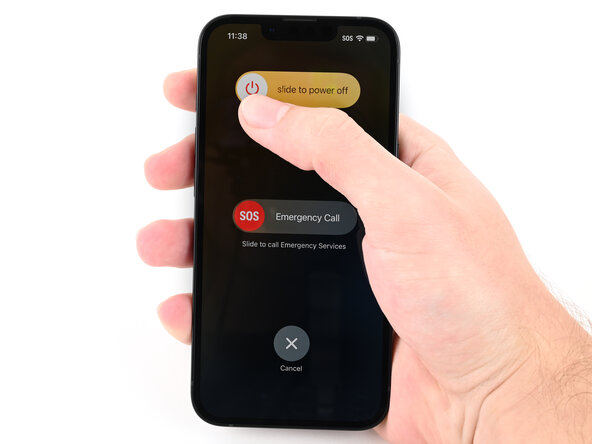
- First things first, unplug those cables from your phone, it's time to let it go free!
- Now, give that power button a good press along with either volume button, and then simply slide to turn off your device. Easy peasy!
Step 2
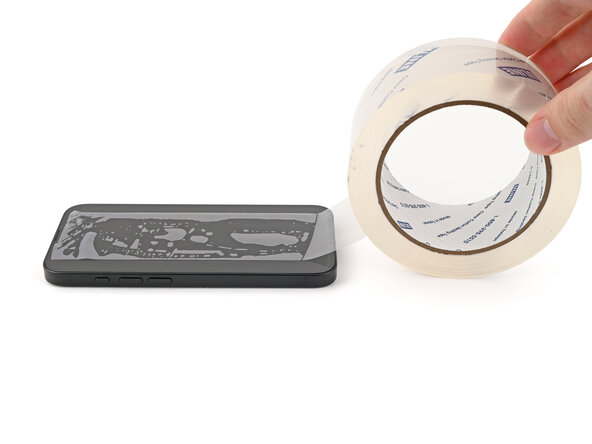
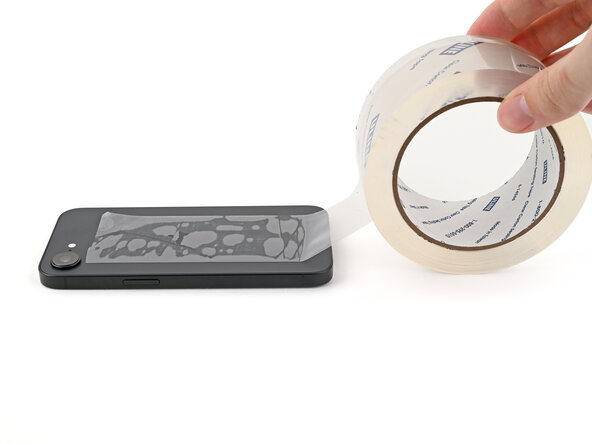
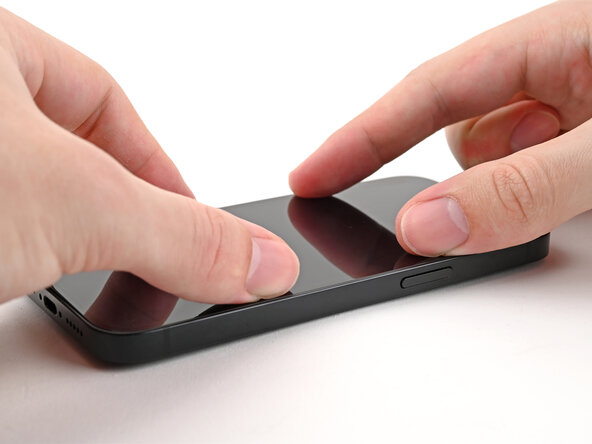
Make sure there's a smooth area near the bottom edge that's big enough for a suction cup to stick to.
- If your screen or back glass has taken a beating and is all cracked up, grab some packing tape and lay down some overlapping strips over the glass. This will keep you safe and make taking everything apart a breeze!
Tools Used

Step 3
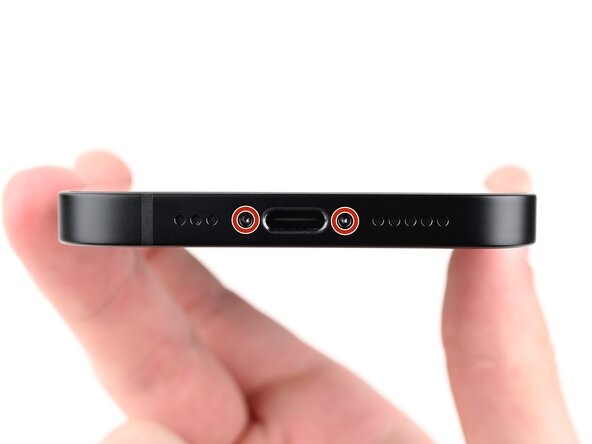
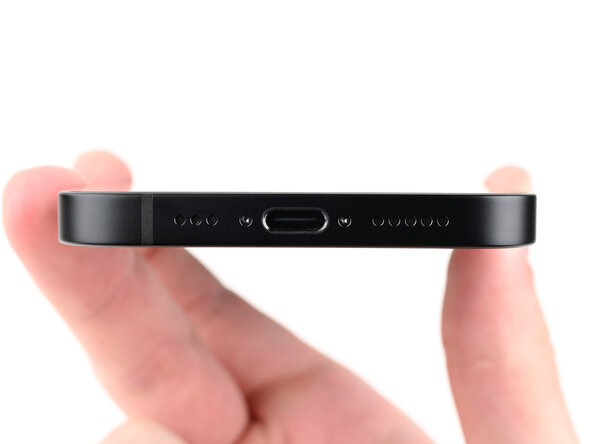
- Grab your P2 pentalobe screwdriver and carefully remove the two 7.8 mm screws on each side of the charging port. Keep them safe—they'll be your buddies in the next steps. If you need some extra help, remember you can always schedule a repair with Salvation Repair.
Step 4


Shoving an opening pick in too deep is a classic rookie move—let’s not do that! Mark your pick so you know exactly how far is too far.
Feeling fancy? Mark other edges of the pick with different depths for extra precision.
Or just tape a coin to your pick, 3 mm from the tip, and let good vibes and geometry keep your device safe.
- Grab a permanent marker and make a mark about 3 mm from the tip to indicate the opening point. Easy peasy—just a quick visual cue to keep you on track. If you need a hand, remember you can always schedule a repair.
Step 5
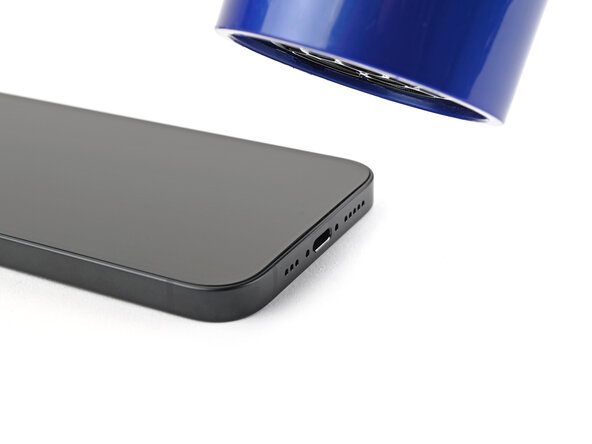
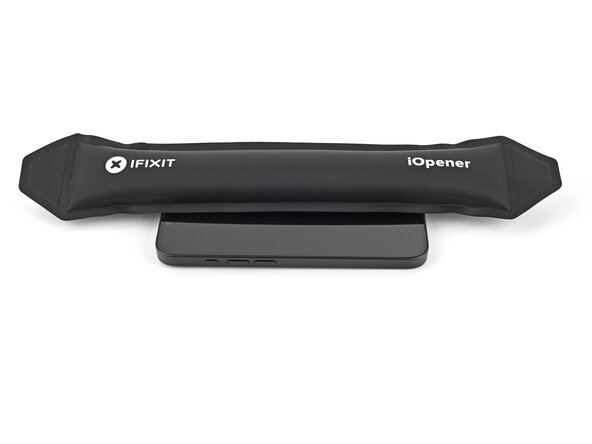
Feeling a bit stuck? No worries! Grab an iOpener to warm up that stubborn screen. Just follow these handy tips to heat and handle the iOpener like a pro!
- Grab your hair dryer or heat gun and warm up the bottom edge of the screen until it feels pleasantly toasty.
Tools Used


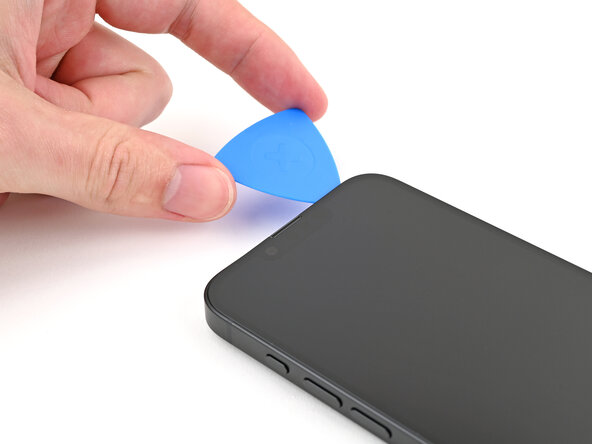
Step 6
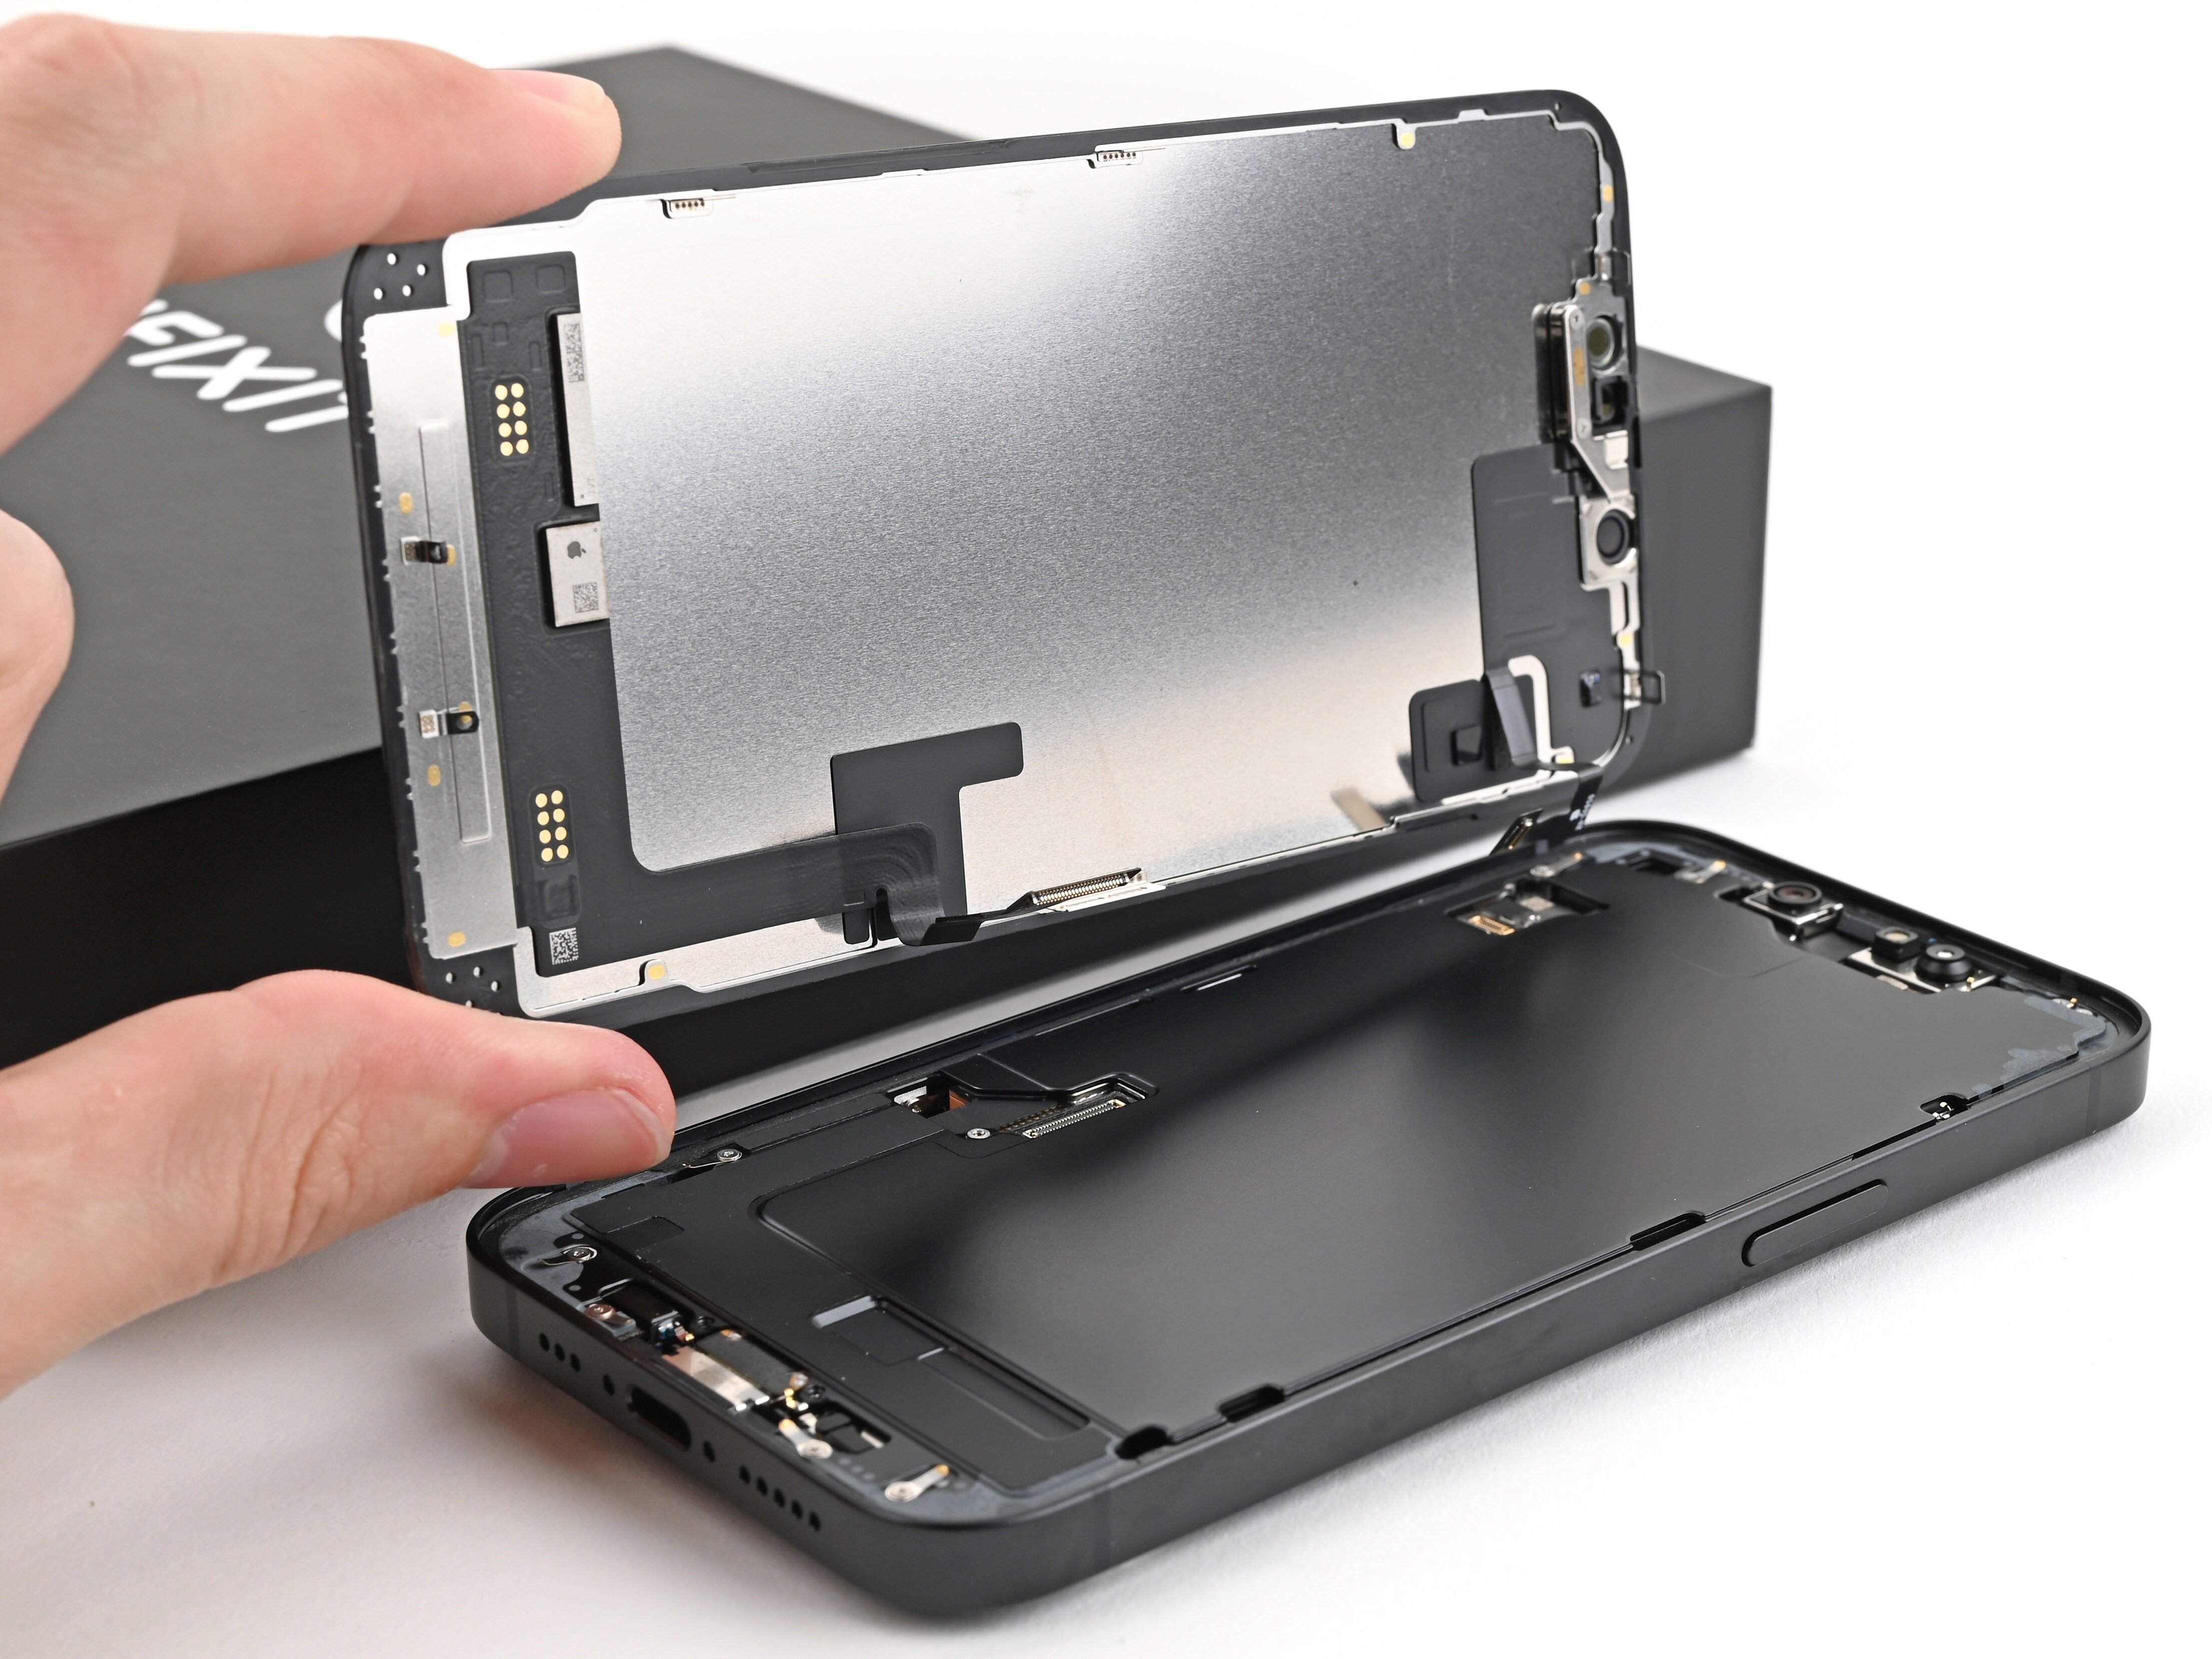
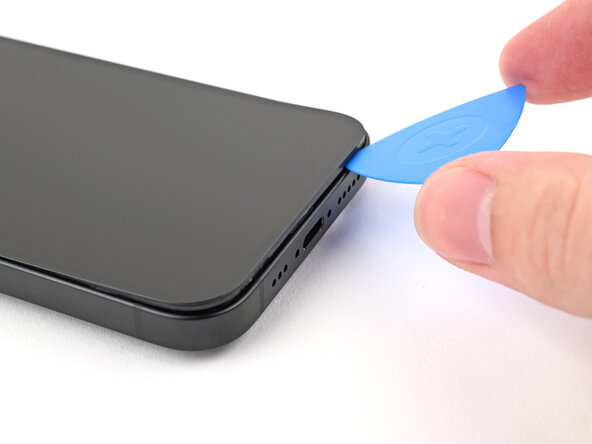
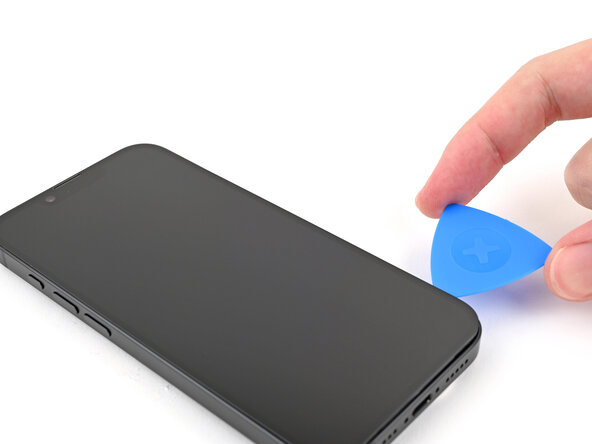
The screen is made up of a display panel and a bezel. To avoid damage, gently slide your pick underneath the bezel—this helps keep the layers intact and prevents any screen destruction. Take your time and work carefully!
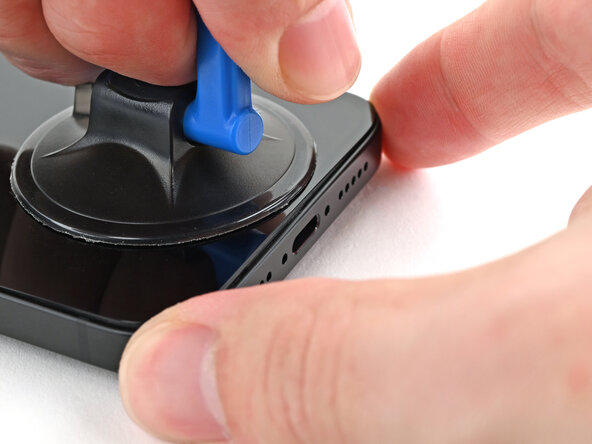
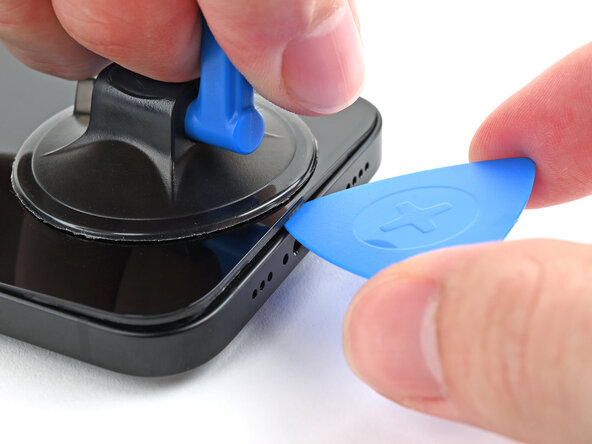
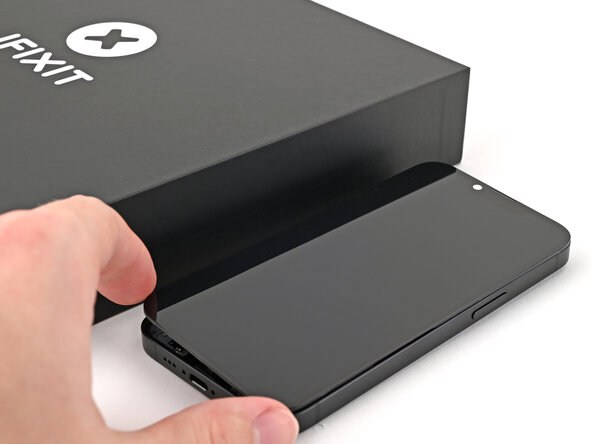
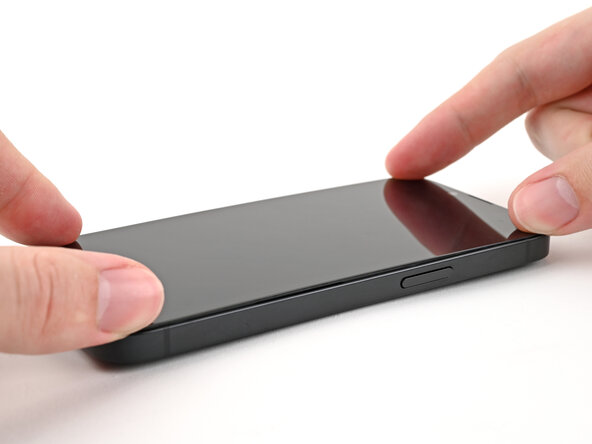
- Start by attaching a suction handle to the bottom edge of the screen.
- With one hand holding the frame steady, give the suction handle a firm pull. You should see a gap forming between the screen and the frame. Nice job!
- Now, grab your opening pick and carefully slide the tip into the gap you just made. You're making progress!
Tools Used

Step 7
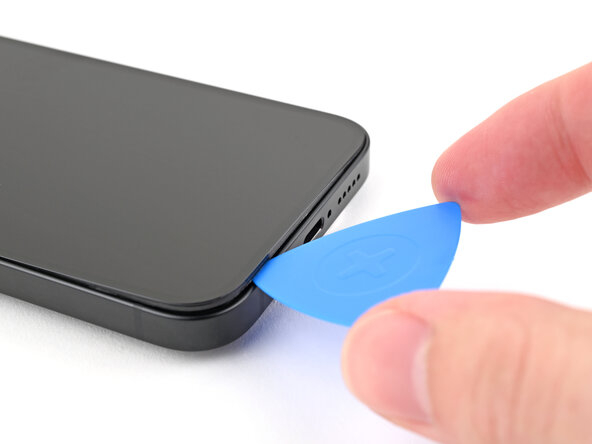
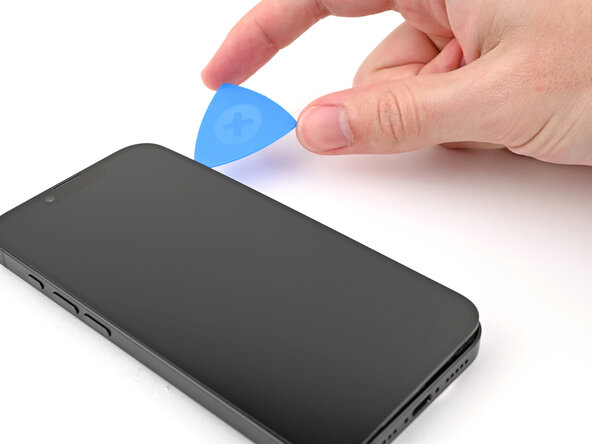
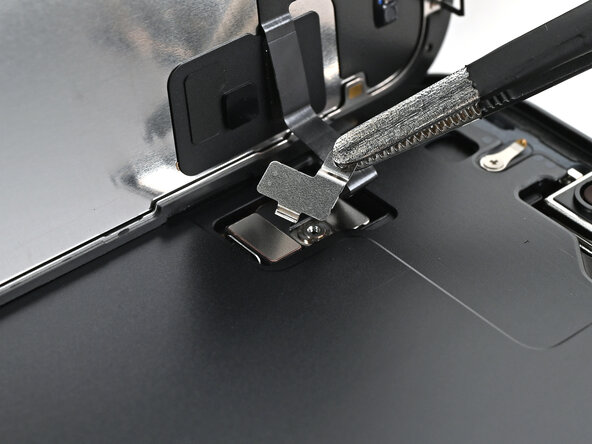
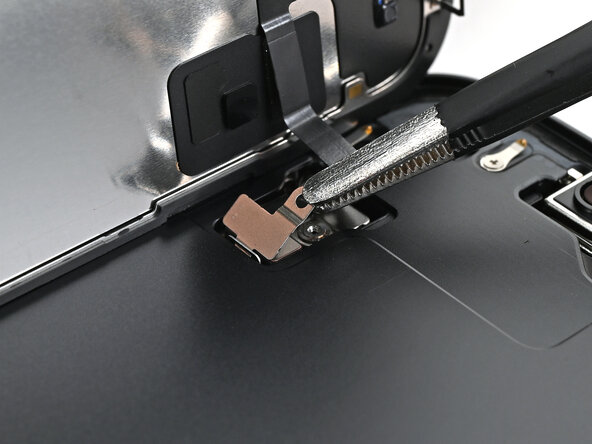
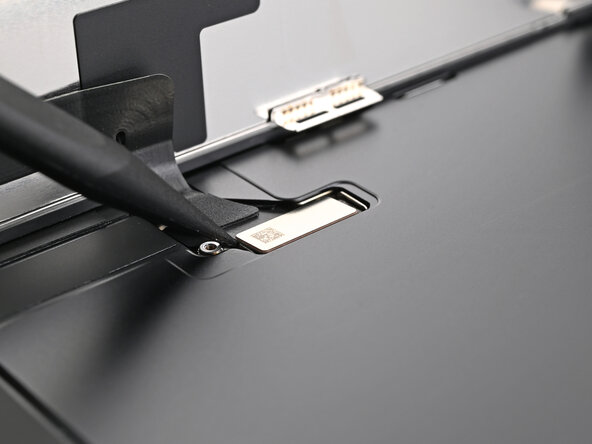
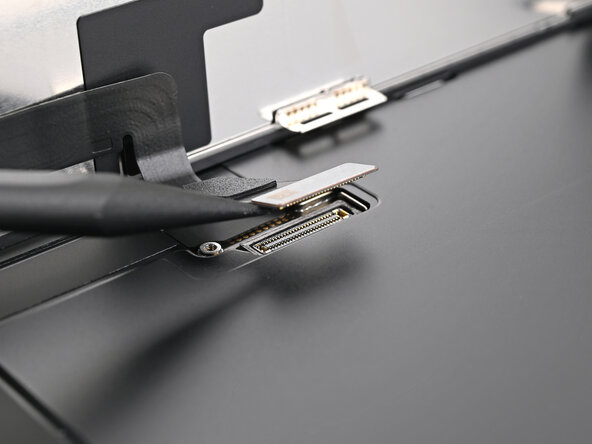
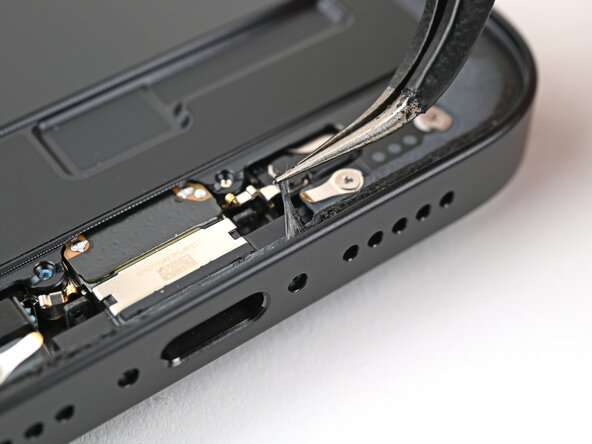
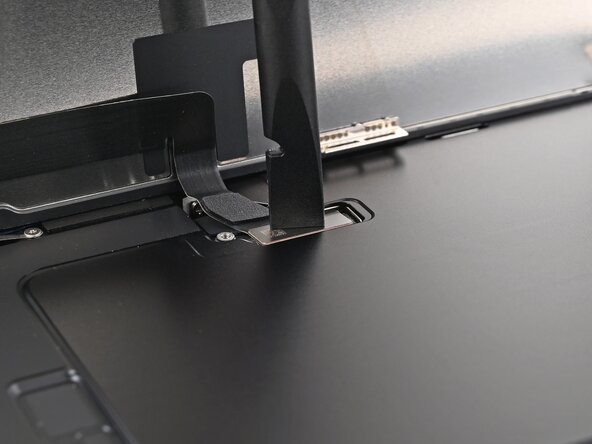
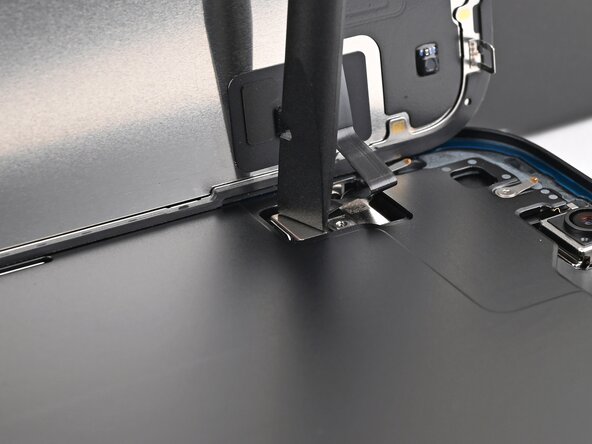
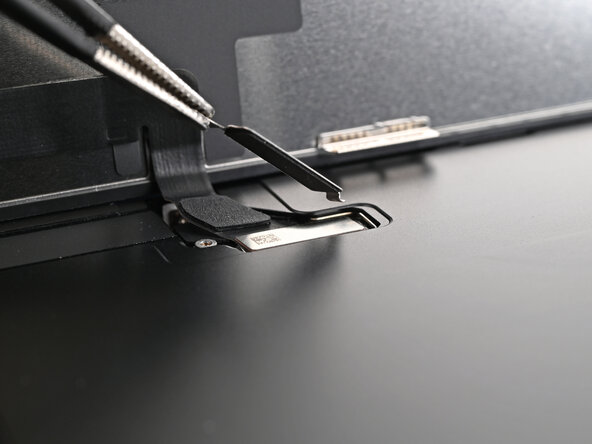
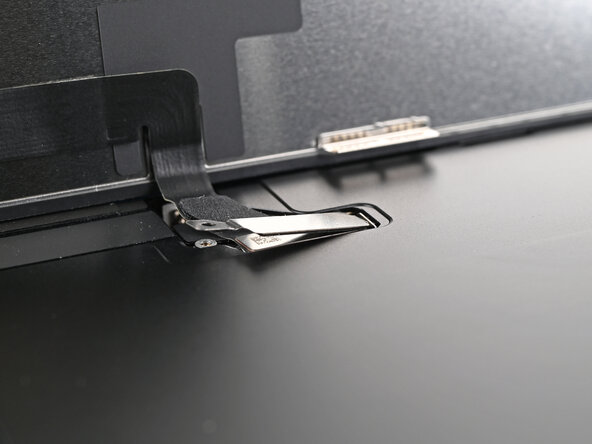
As you carefully slice through the adhesive holding the screen, remember: keep your pick no deeper than 3 mm. We want to avoid any unintentional damage to those sensitive areas below. You've got this!
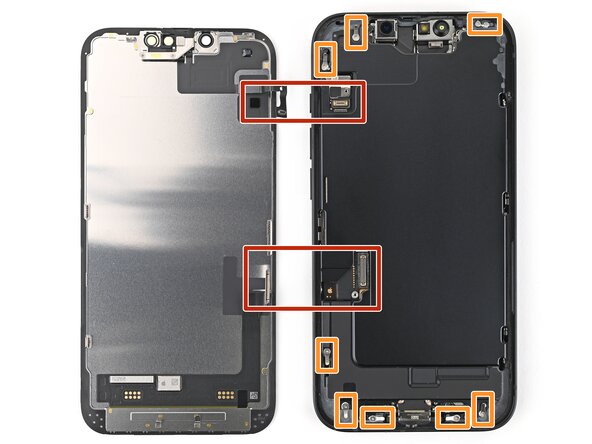
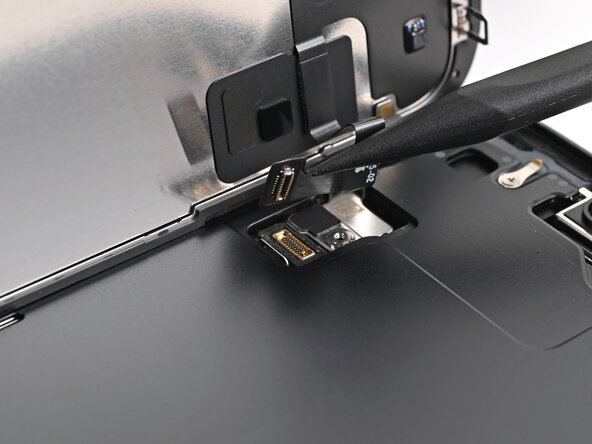
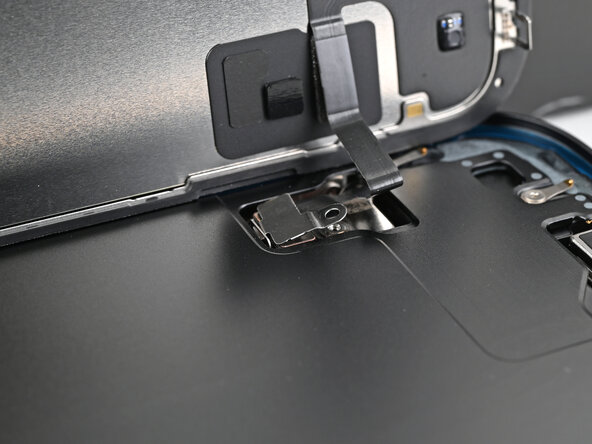
- Carefully disconnect the two delicate cables linking the screen to the phone—one tucked next to the Action button and the other about midway between the volume down button and the bottom edge of the phone. Also, watch out for the cluster of spring contacts lining the edge of the device. Handle these components gently to avoid any damage. If you need help at any point, you can always schedule a repair.
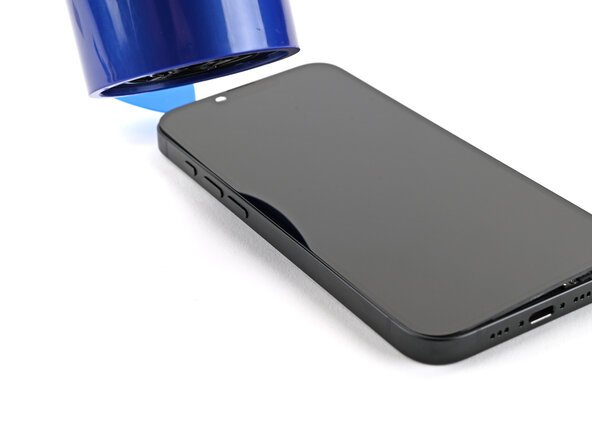
Step 8

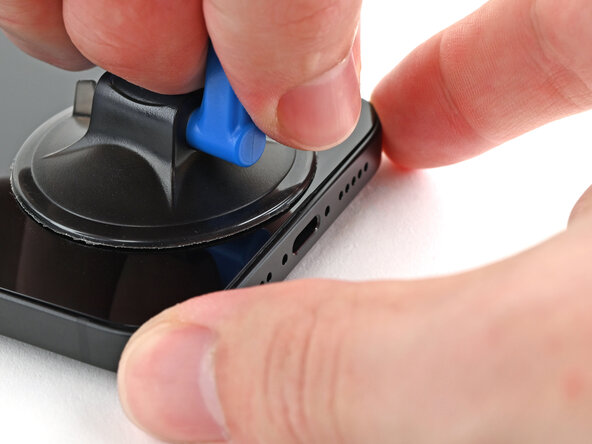
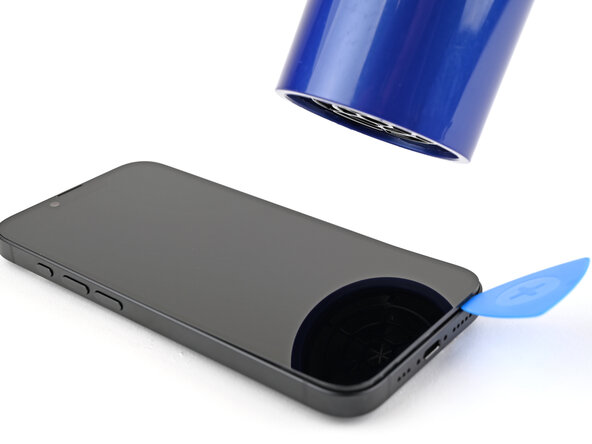
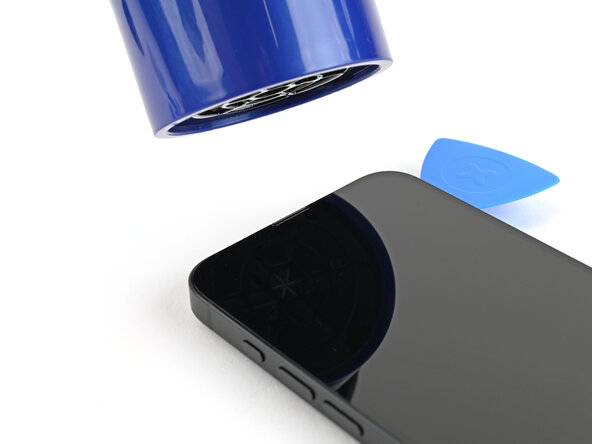
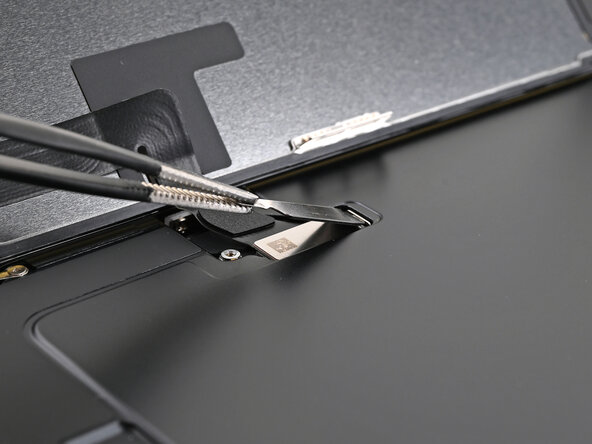
- Gently glide that trusty opening pick along the bottom edge to break free the adhesive's grip.
- Keep the opening pick resting in the bottom right corner like a pro!
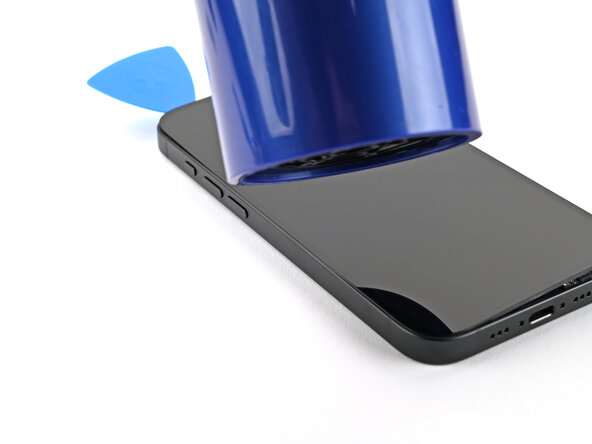
Step 9
- Warm up the right edge of the screen until it feels pleasantly hot to the touch.
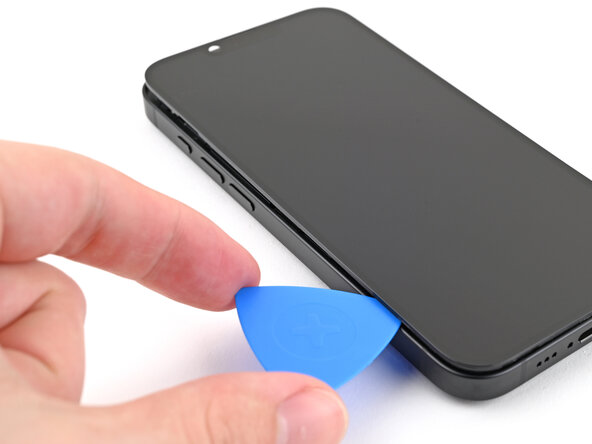
Step 10
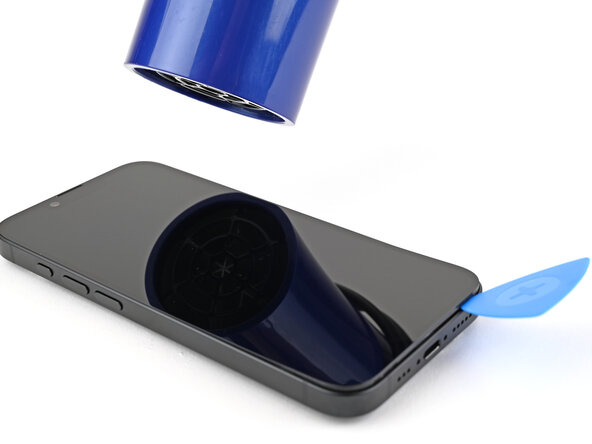
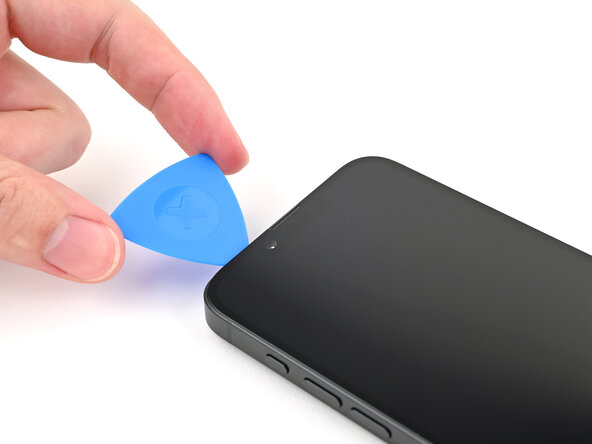
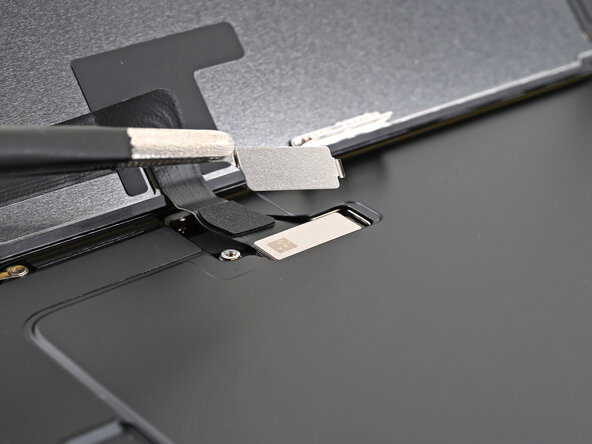
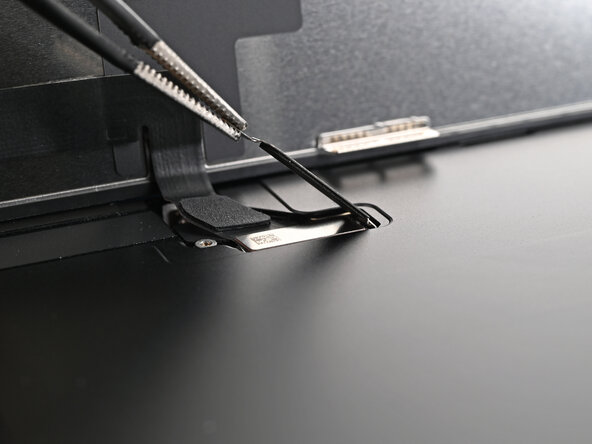
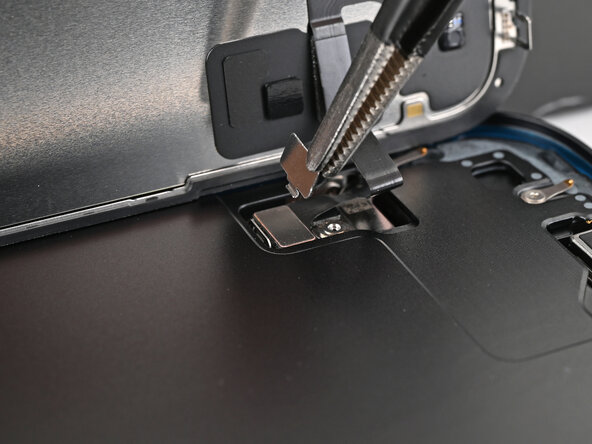
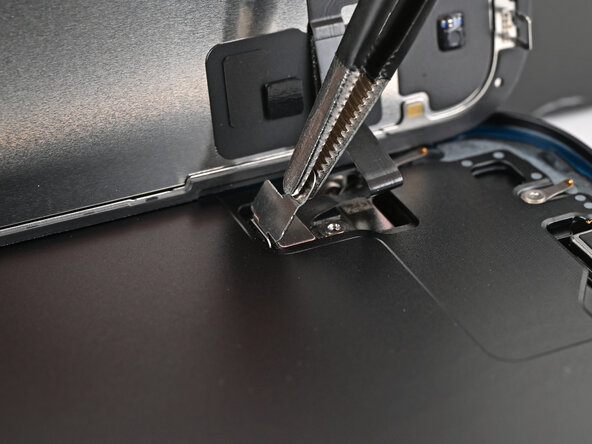
You’ll know you’ve hit the spot when you feel that metal clip give way with a satisfying little click.
- Glide your opening pick around the bottom right corner, then slide up the right edge to loosen up the adhesive and pop that metal clip free.
Step 11
- Warm up the top edge of the screen until it feels delightfully hot to the touch.
Step 12
- Keep that pick moving around the top right corner and along the top edge to break free the adhesive and pop those two metal clips loose!
Step 13
- Warm up the left edge of the screen until it feels nicely toasty.
Step 14

- Gently glide the opening pick down the left side of the screen to break free the last bit of adhesive and pop off those final two metal clips. You've got this!
Step 15

By now, the screen should be loose and free from the frame. If it's still hanging on, take another pass around the edges with your pick to make sure you didn't miss any stubborn adhesive or clips holding things up.
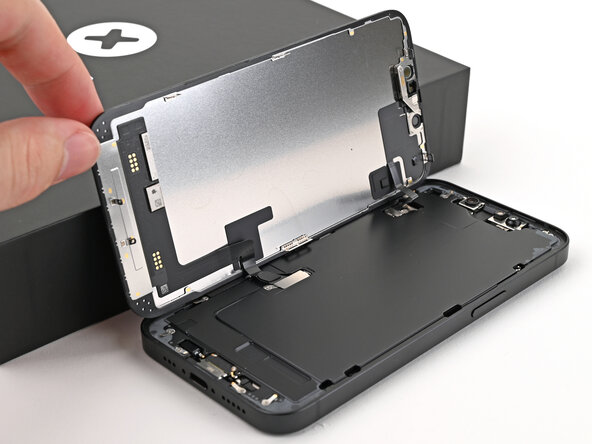
- Pop that screen open at the left edge of your phone and prop it up with something sturdy and clean. You've got this!
Step 16
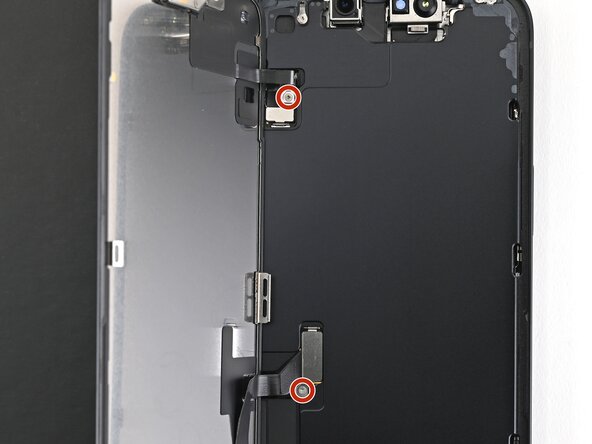
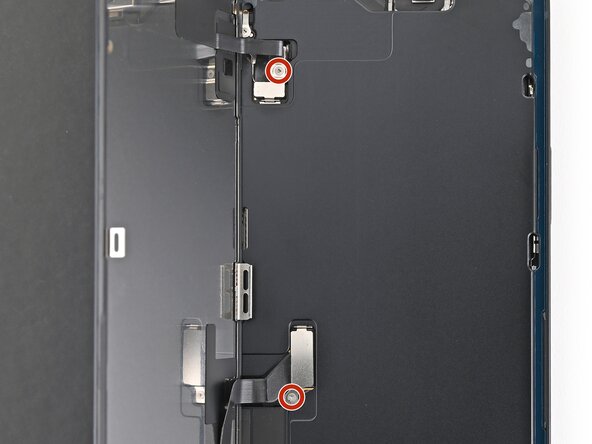
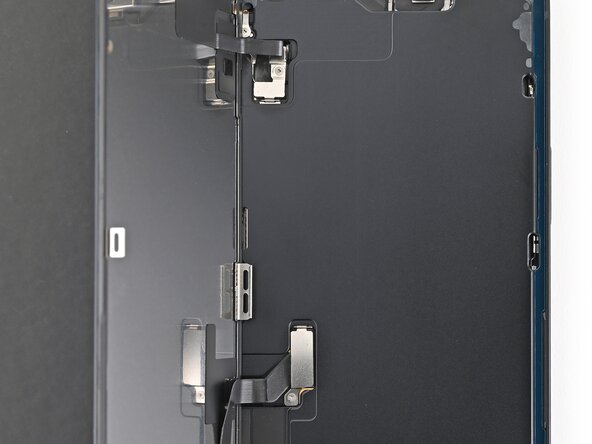
- Grab a tri-point Y000 screwdriver and carefully remove the two tiny 0.9 mm screws that hold on the front sensor connector and the screen connector covers. If you need a hand with this, remember you can always schedule a repair.
Tools Used

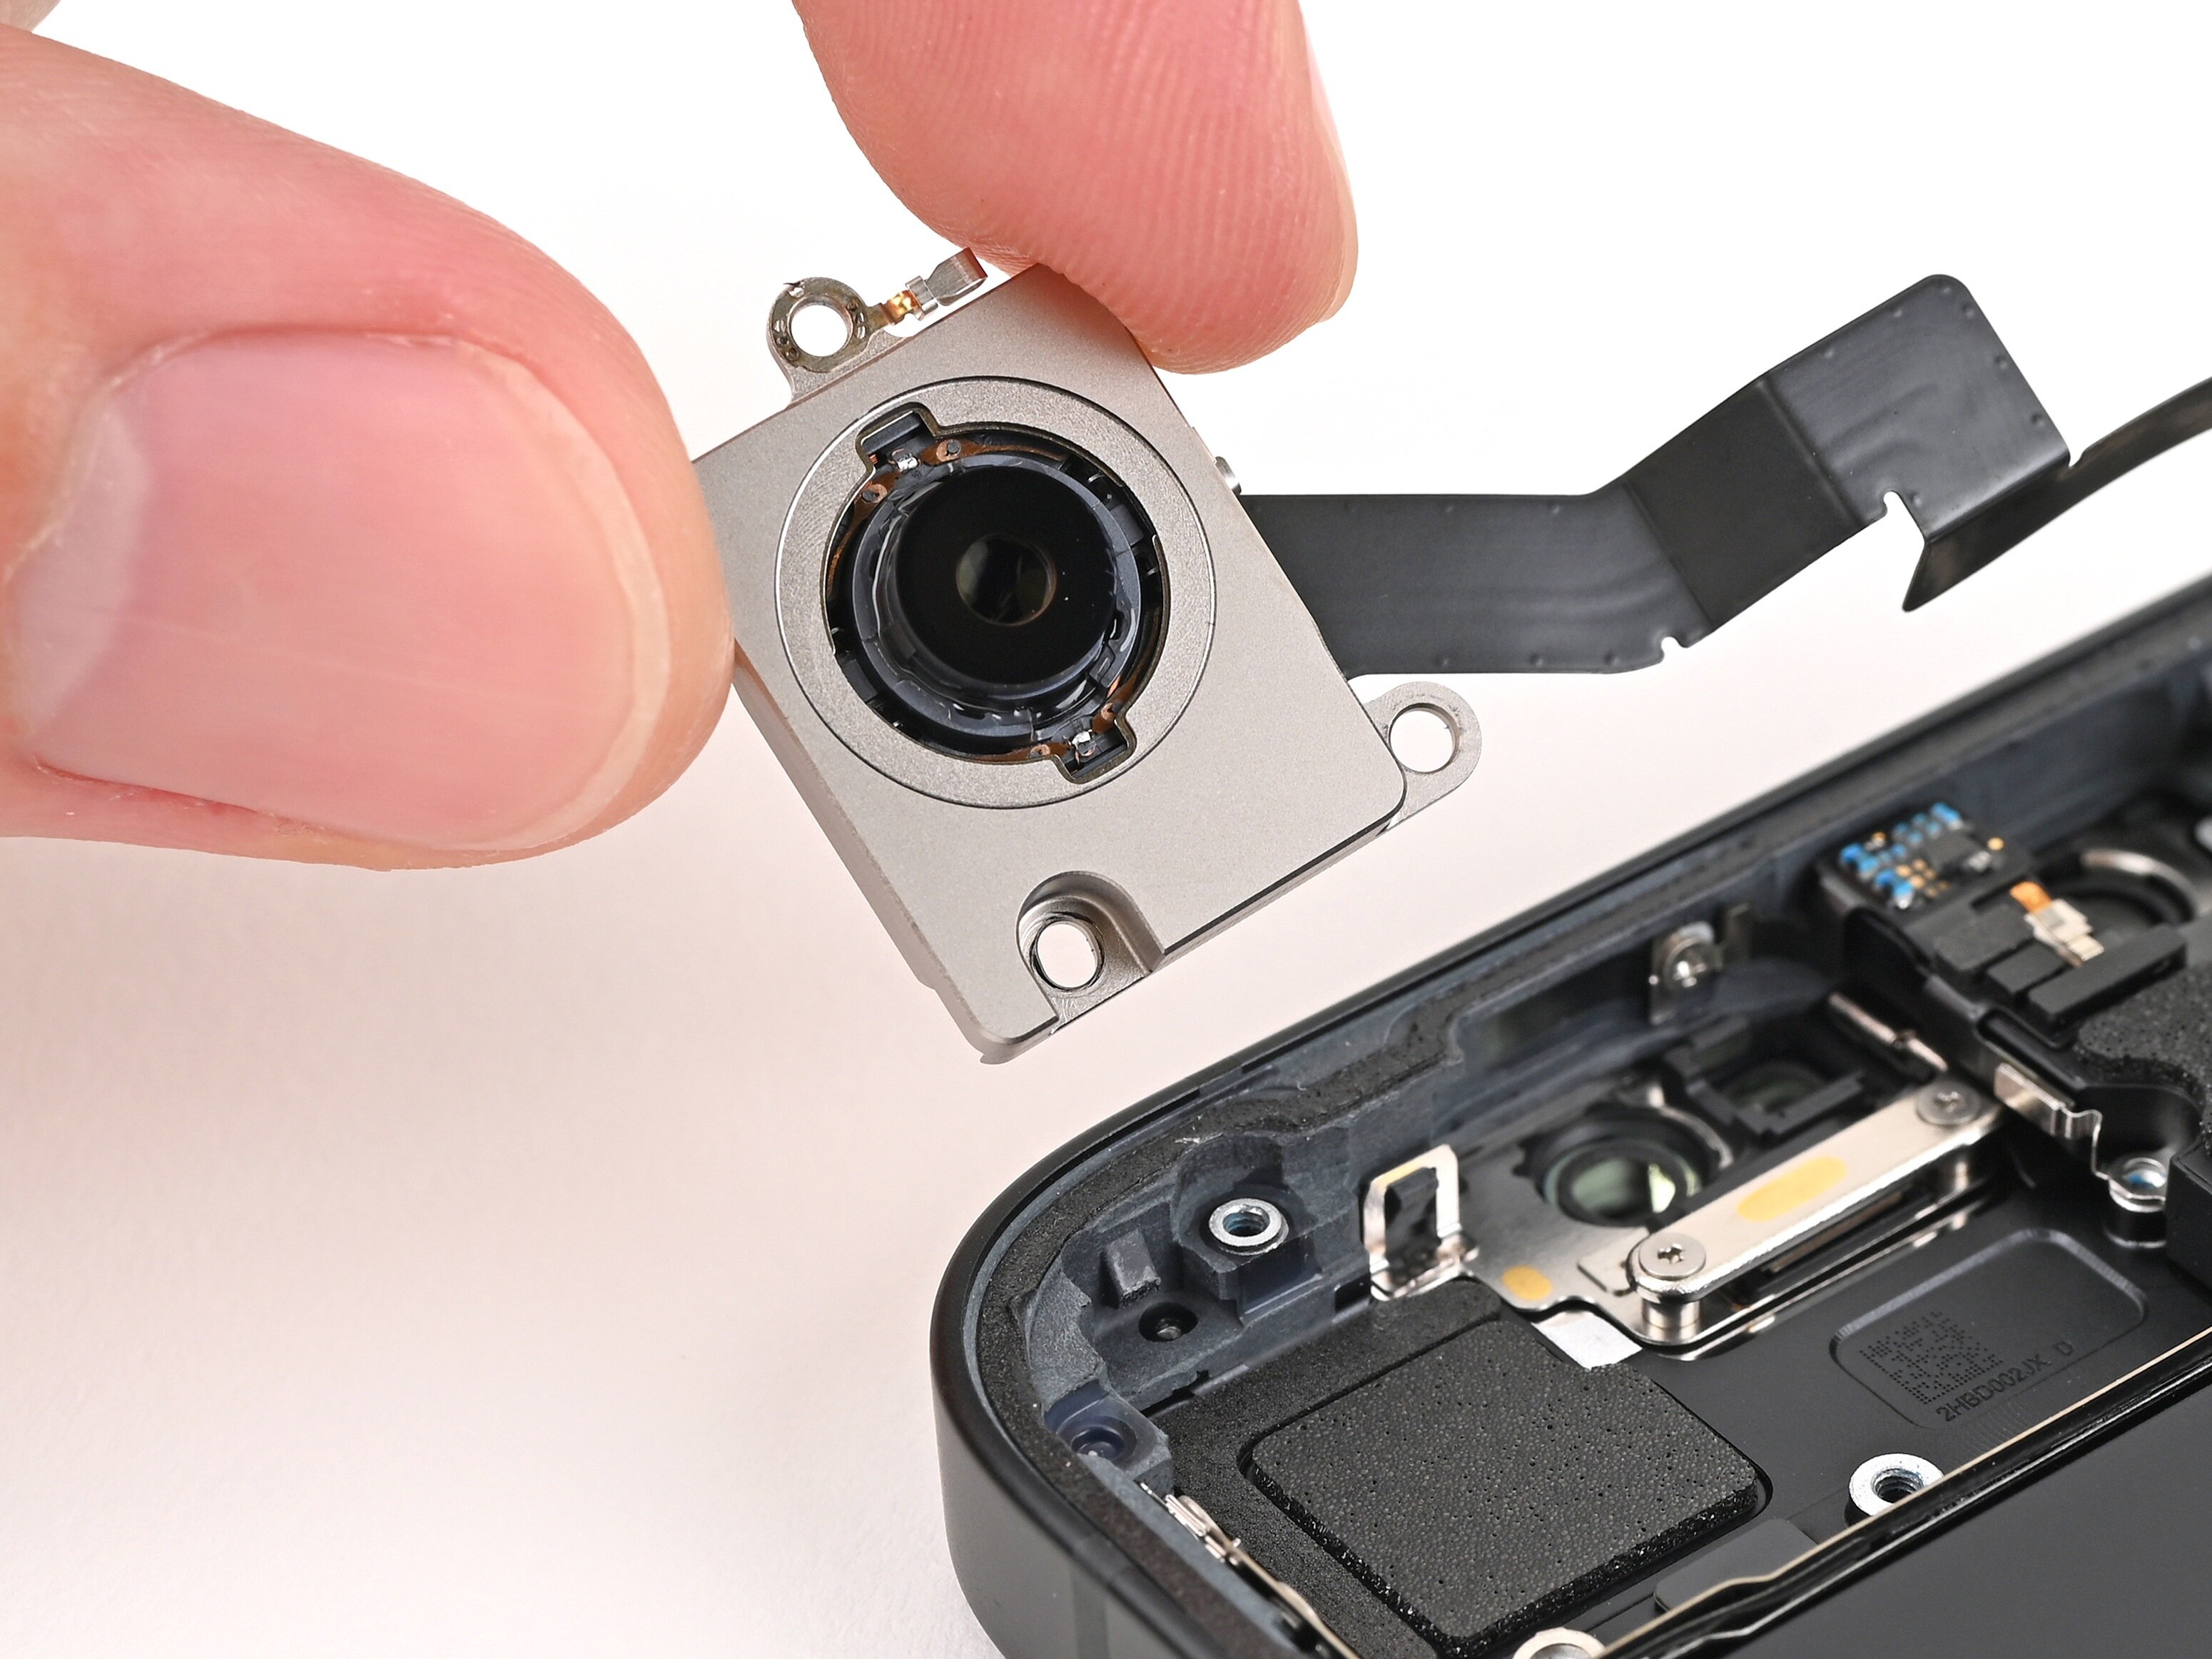
Step 17

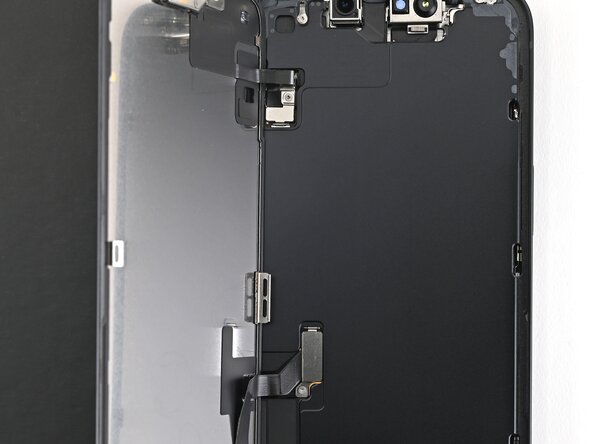
- Grab those trusty tweezers or just your fingers and gently lift that front sensor cover at a 90-degree angle. Give it a little wiggle to unhook it from its cozy spot on the logic board.
- Now, go ahead and lift the cover right out of its slot and say goodbye to it!
Tools Used

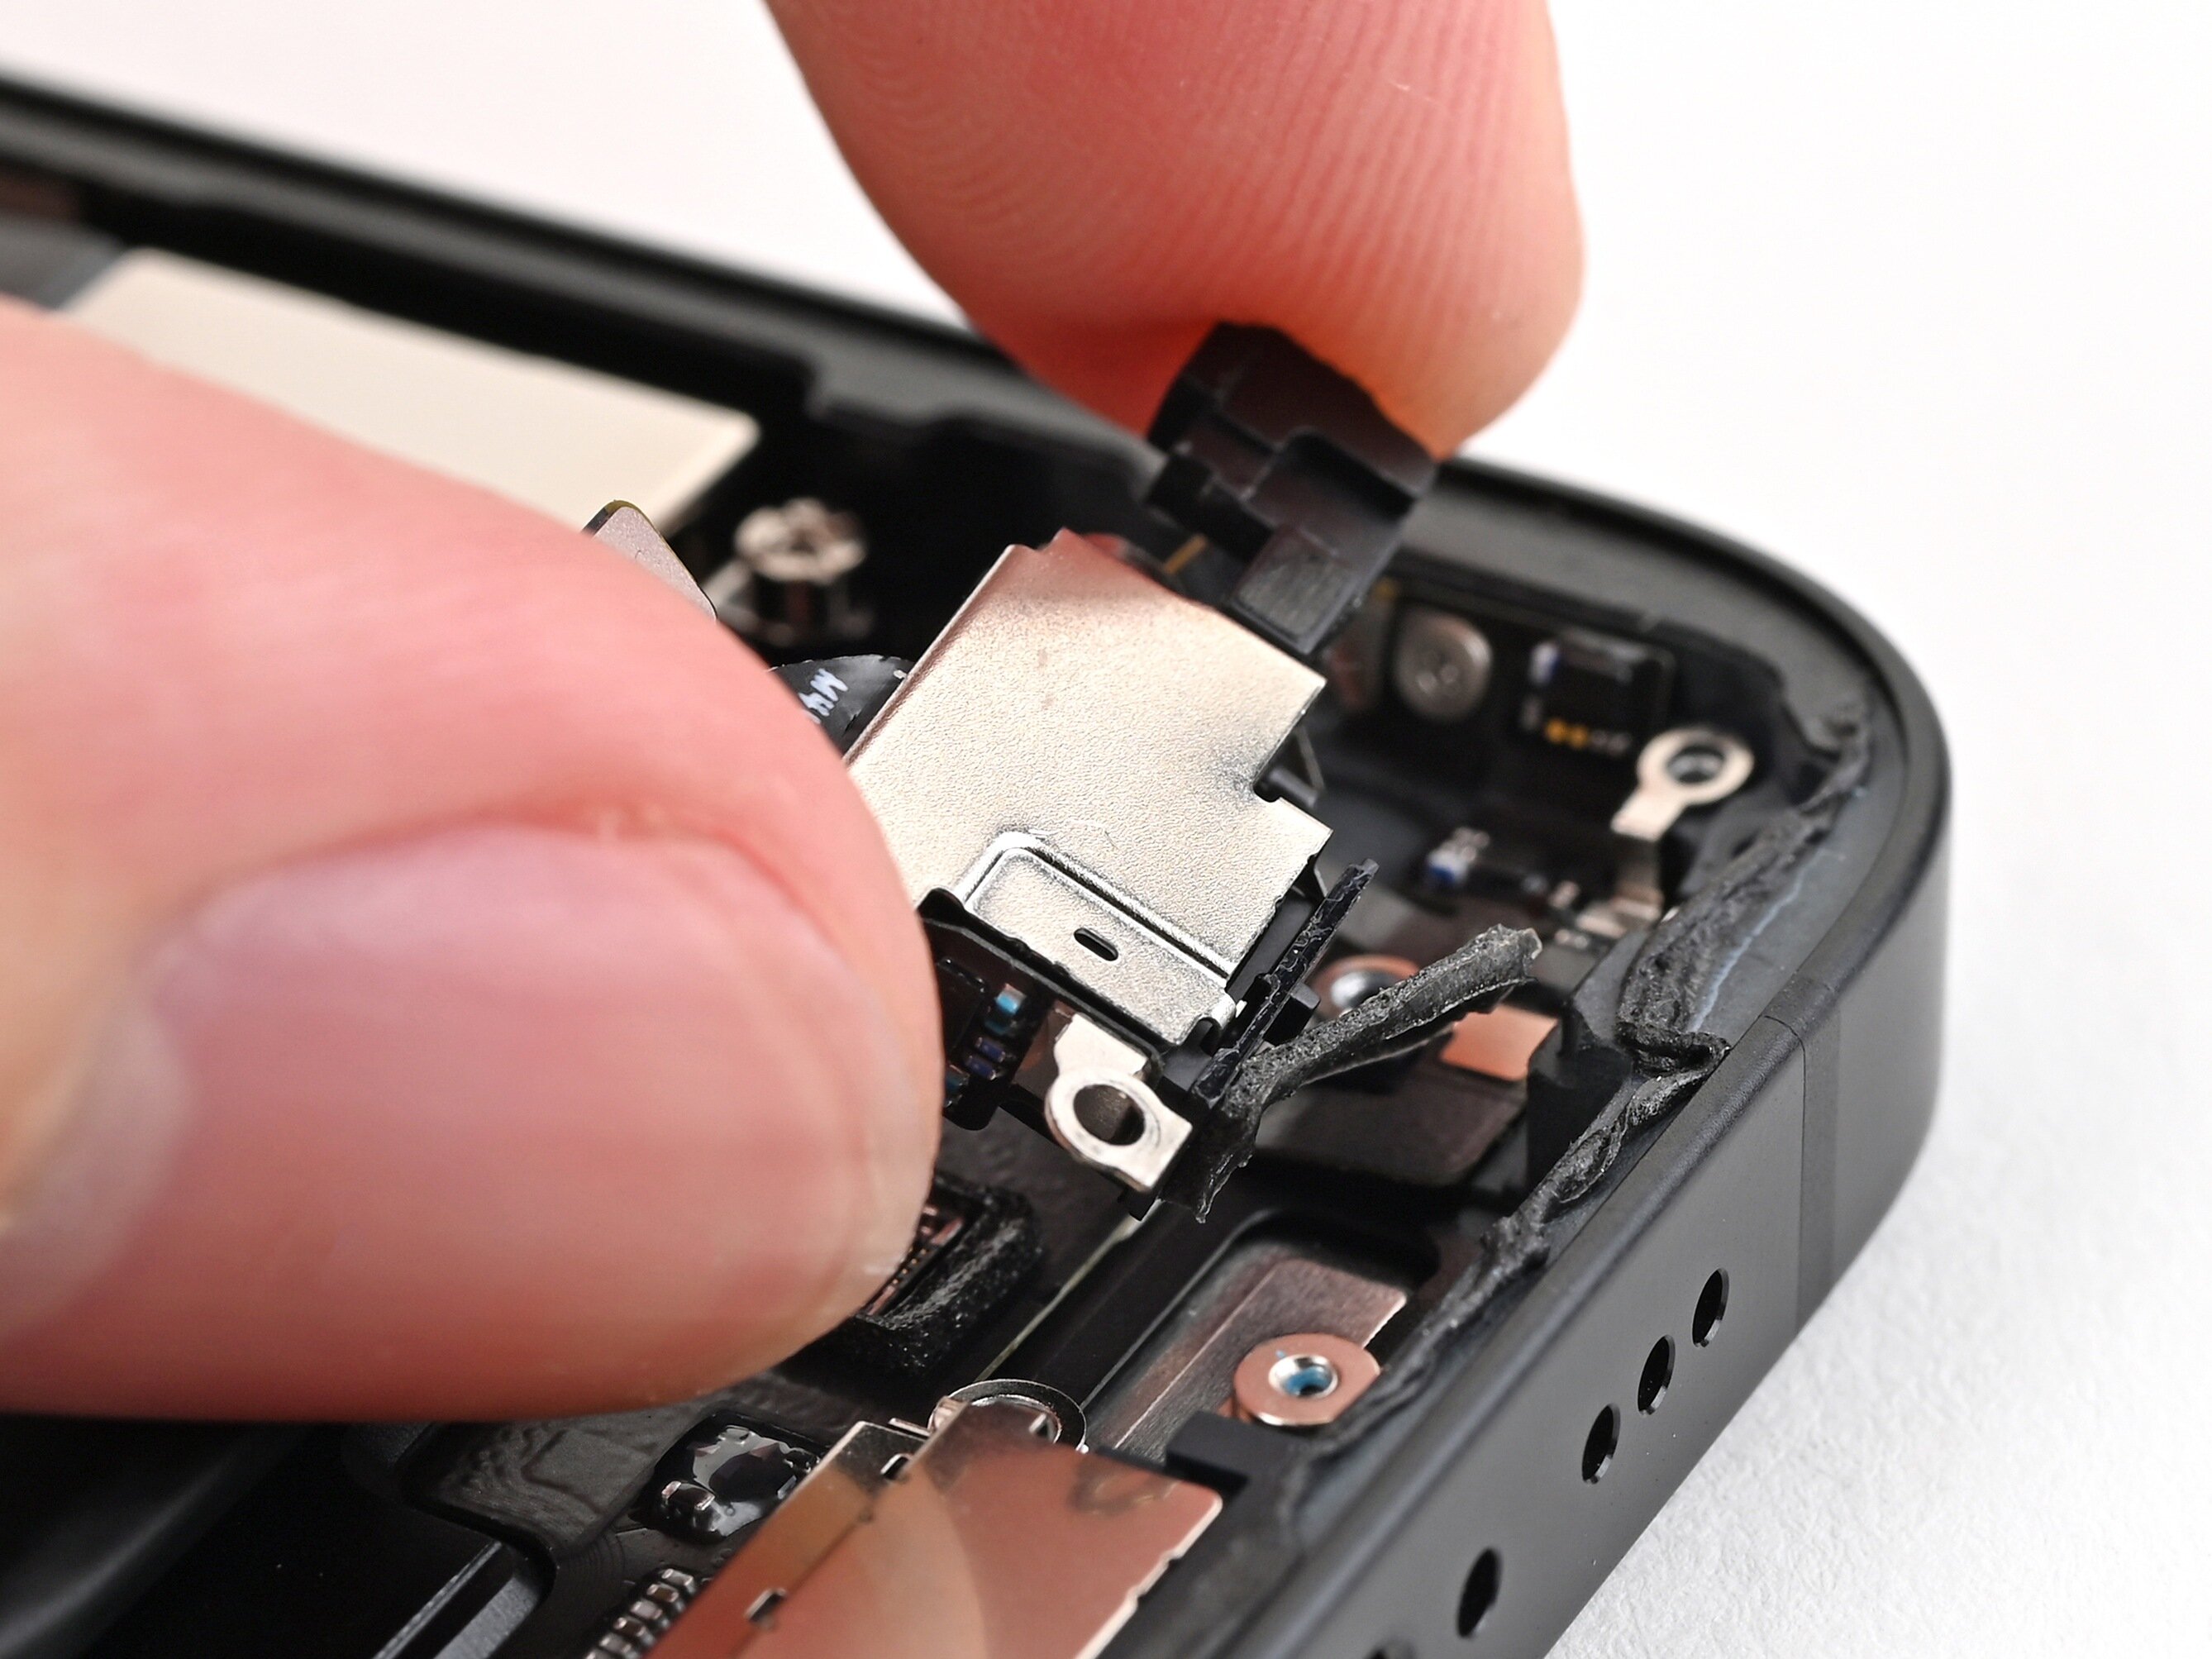
Step 18

- Grab your tweezers or use your fingers and gently flip up the screen connector cover—think of it as opening a tiny trapdoor on the logic board.
- Lift the cover out of the slot and set it aside like a pro.
Tools Used
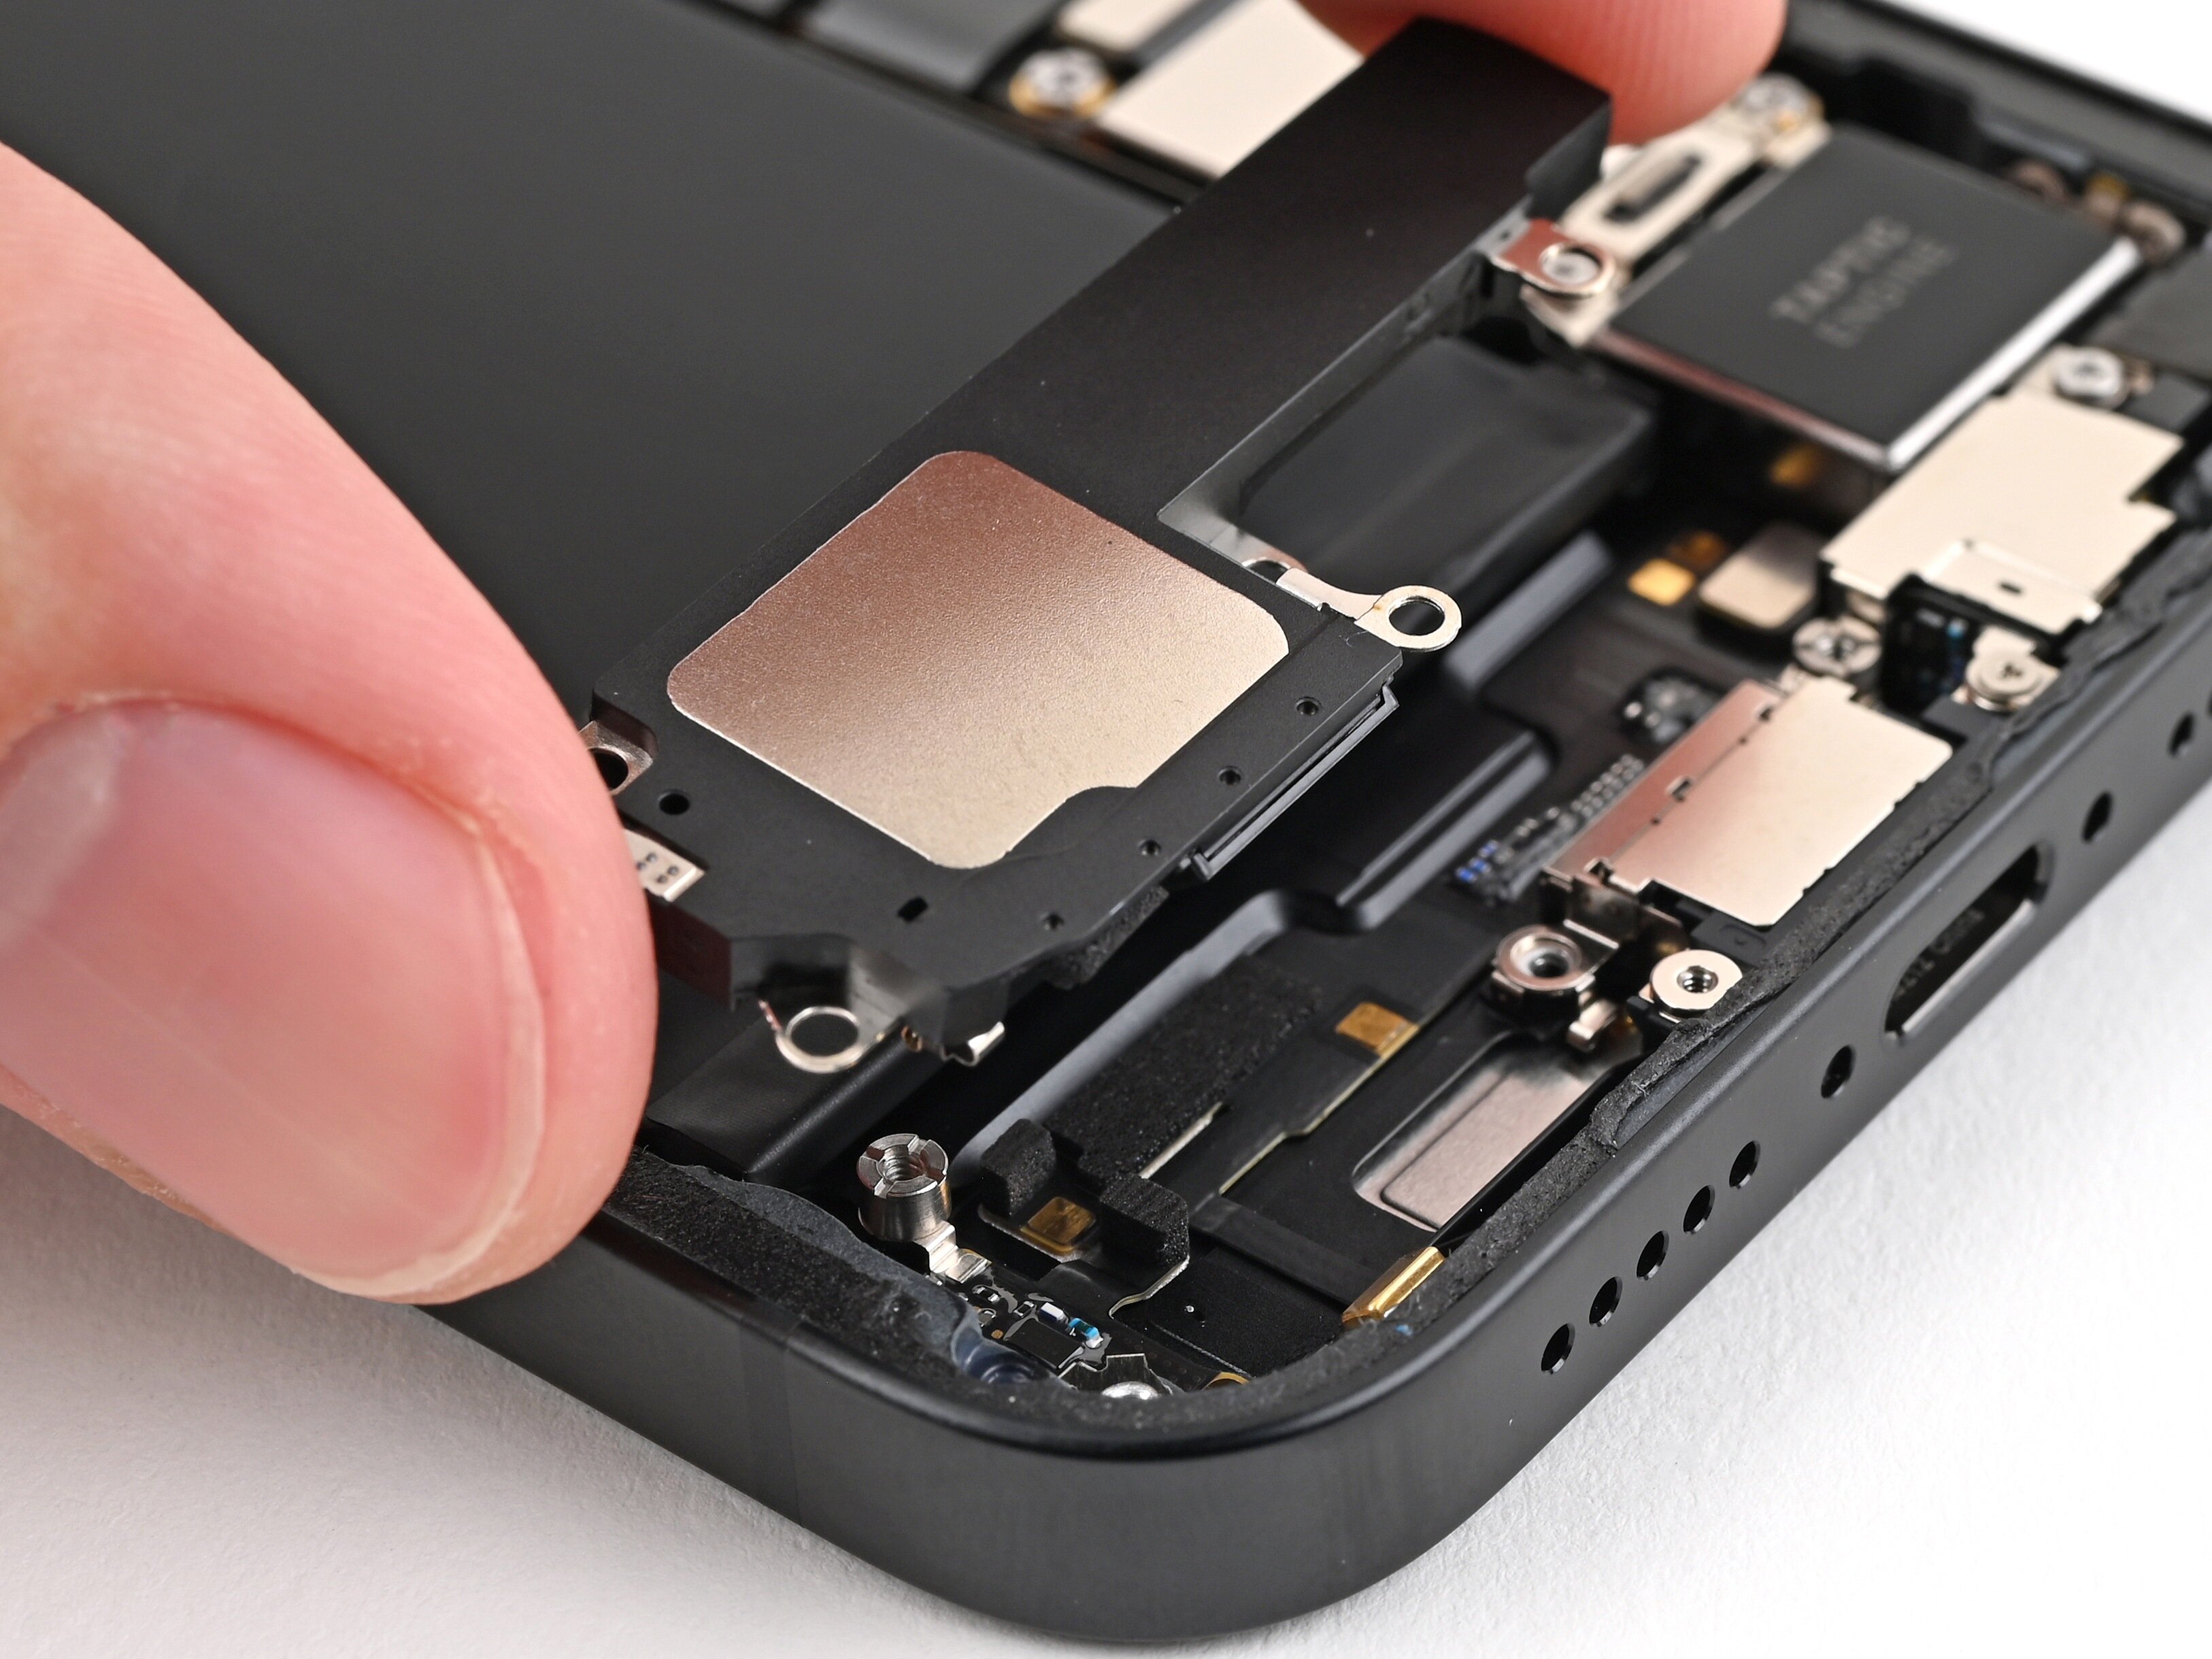
Step 19
- Gently use the tip of a spudger to lift and disconnect the screen press connector. Take your time – we’ve got this!
- Now, repeat the same steps for the front sensor press connector. It's like a mini dance move, but for your device!
Tools Used

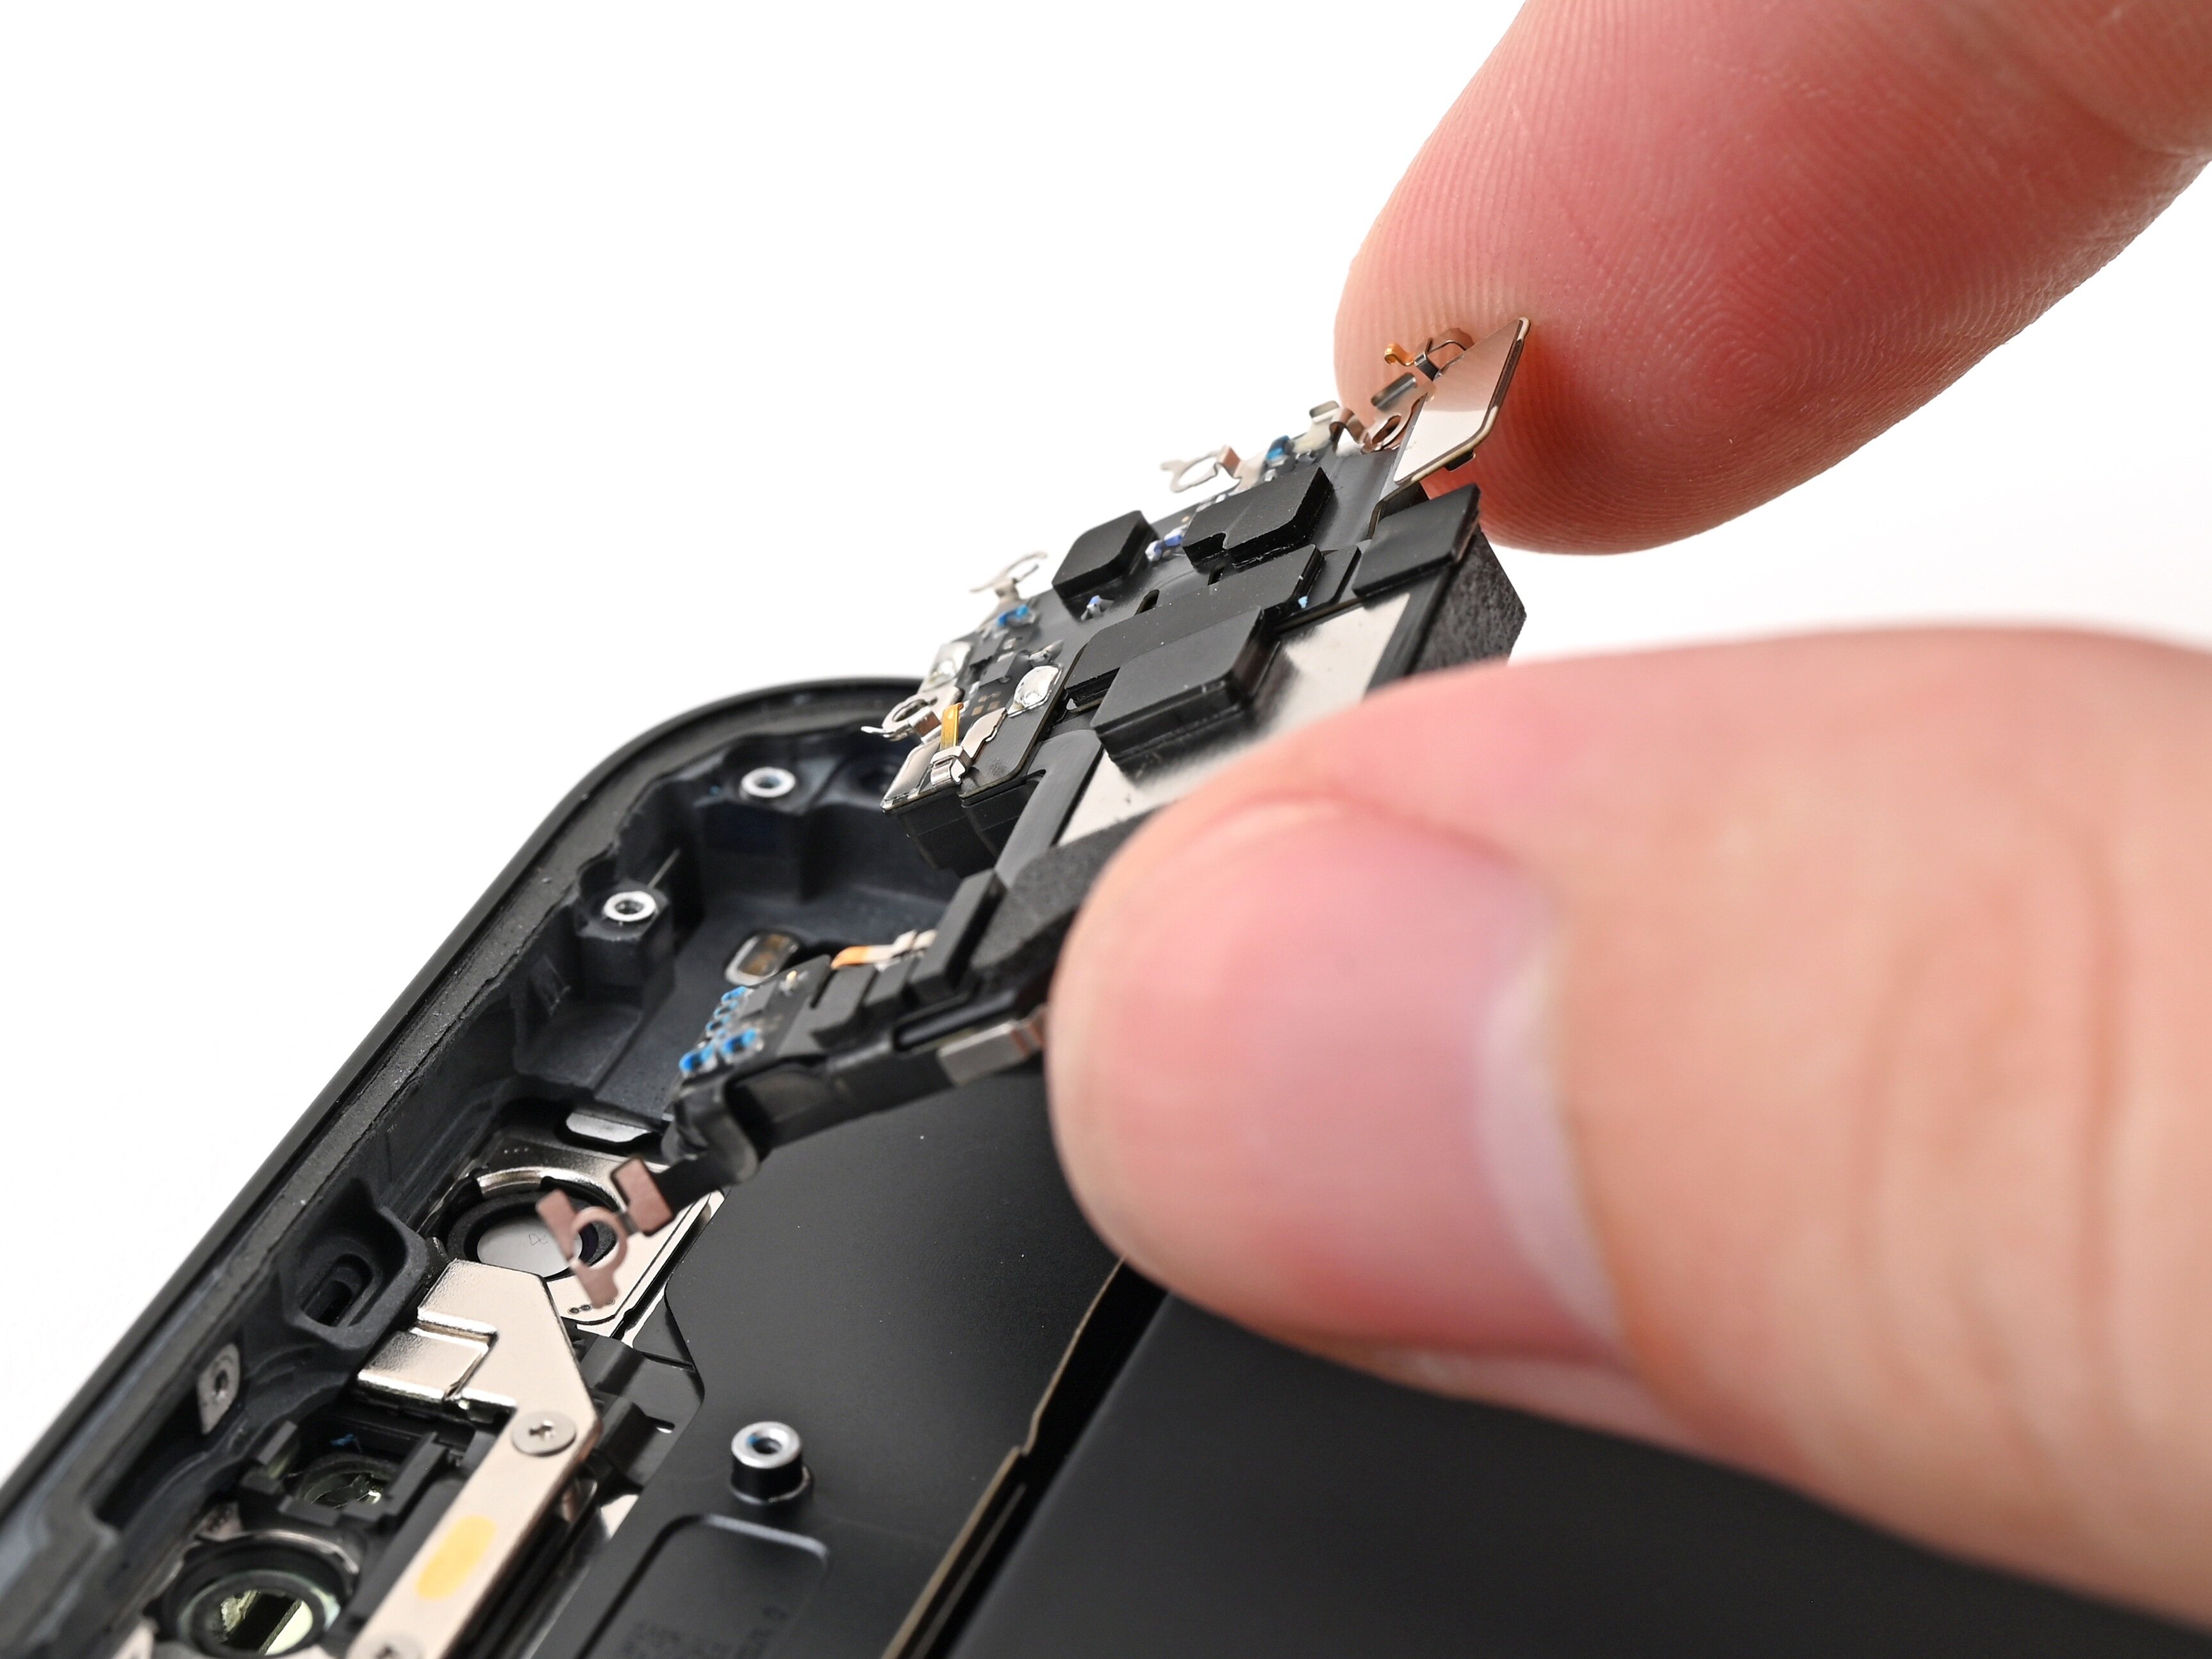
Step 20

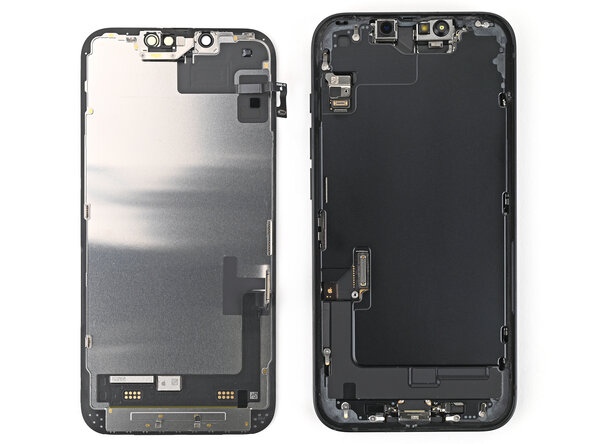
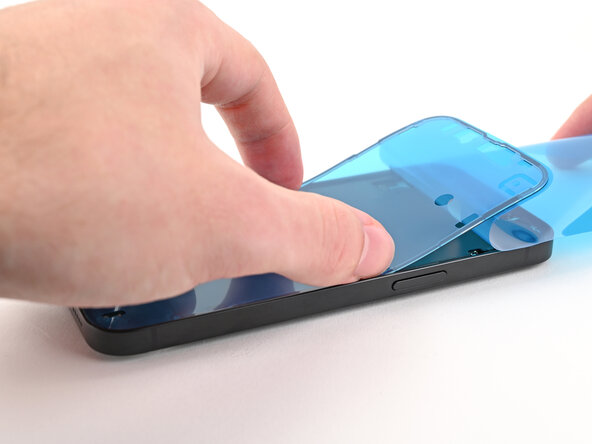
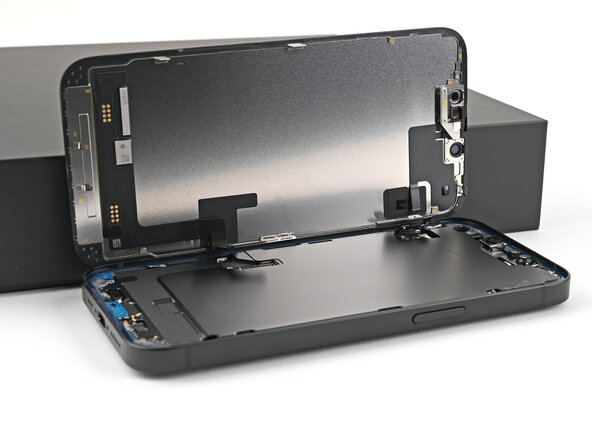
- Gently lift the screen off the frame and set it aside. Keep it safe—you're one step closer to the fix!
Step 21
- Awesome job on getting through the disassembly! Now, let's dive into the fun part - putting your device back together!
Step 22
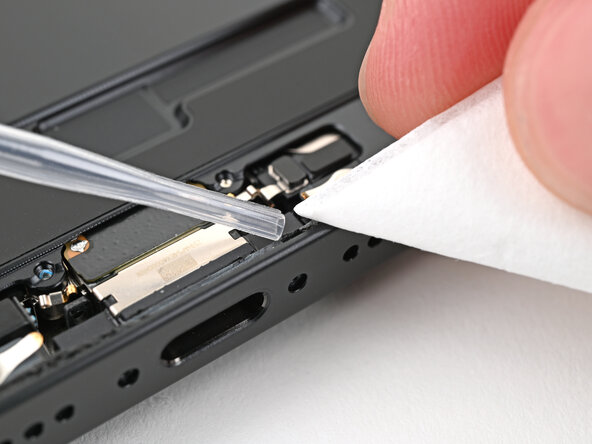
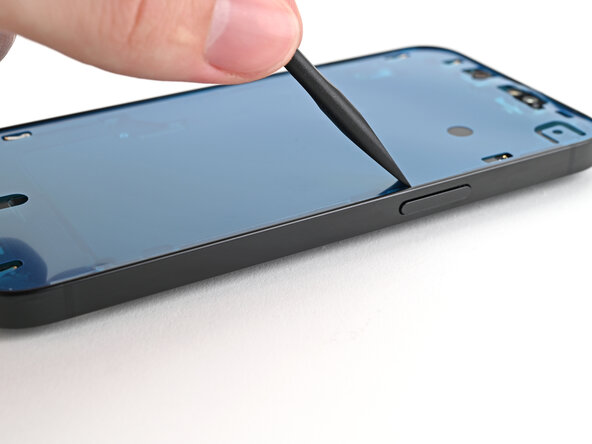
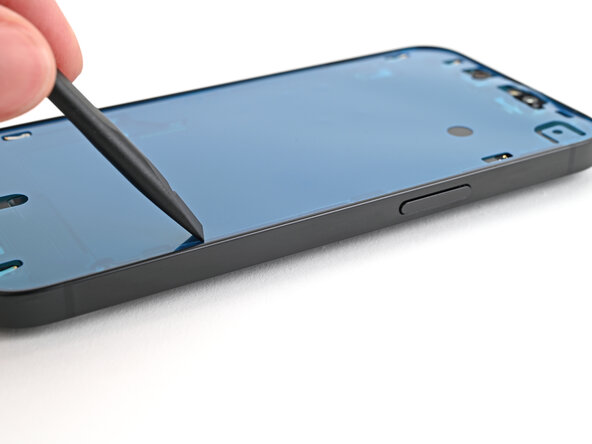
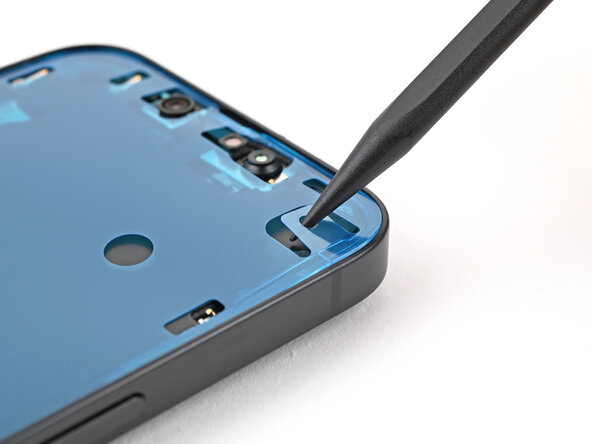
Sometimes the adhesive likes to play hard to get—try bunching it up with the tip of your spudger before grabbing it with tweezers.
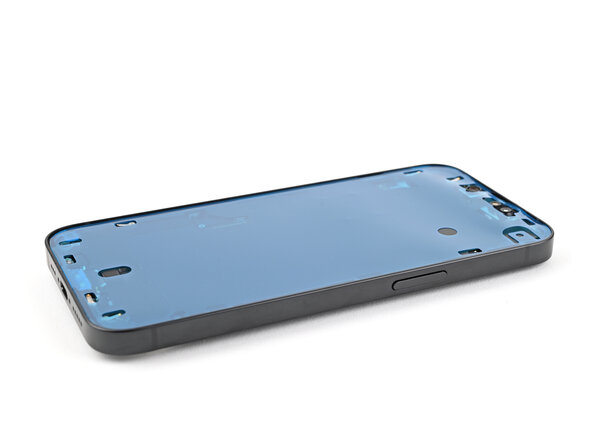
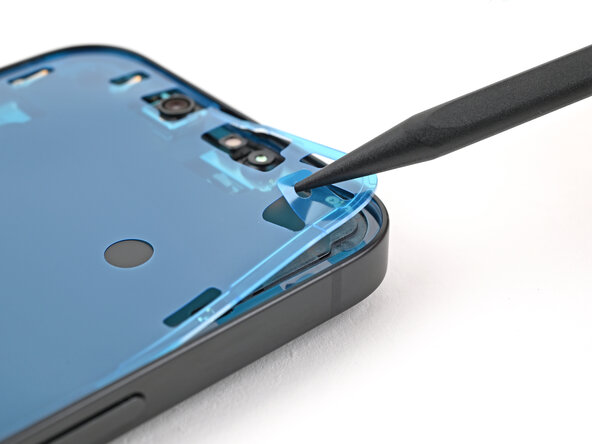
- Grab your tweezers and gently peel away the sticky adhesive lining the edge of the frame. Don’t rush—slow and steady wins this race.
- To get rid of stubborn adhesive gunk, reach for a coffee filter or a lint-free cloth, moistened with high-concentration isopropyl alcohol (over 90%). Wipe until it’s squeaky clean and ready for action.
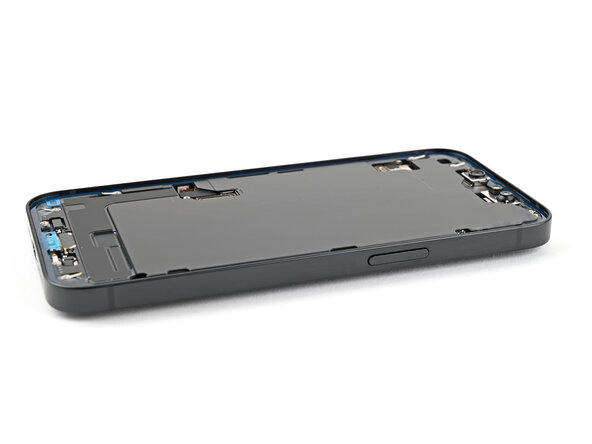
Step 23
Your adhesive might look a bit different than what's shown here—no worries, that's totally normal. Just keep going, and you'll be back in business in no time.
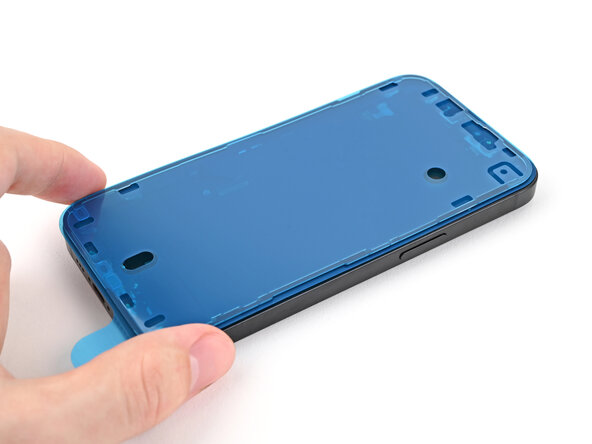
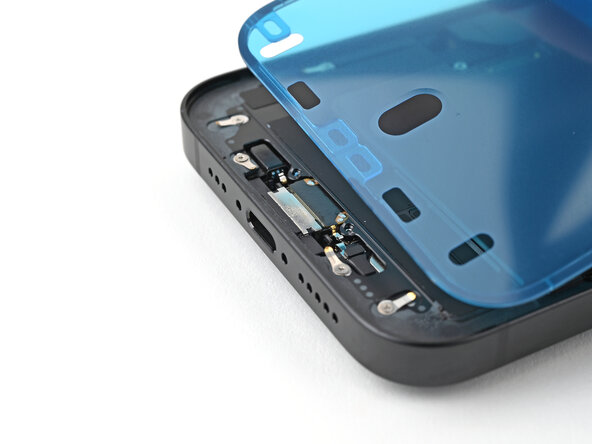
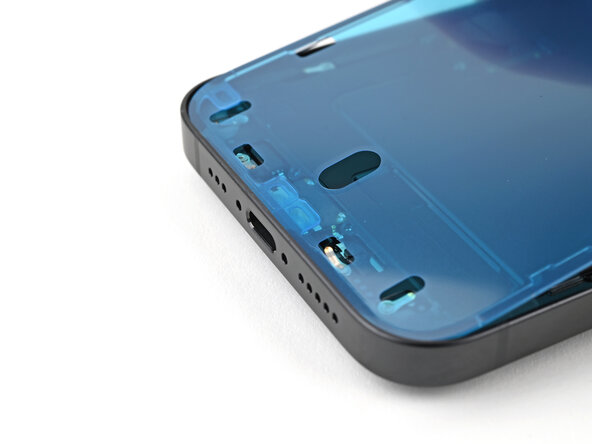
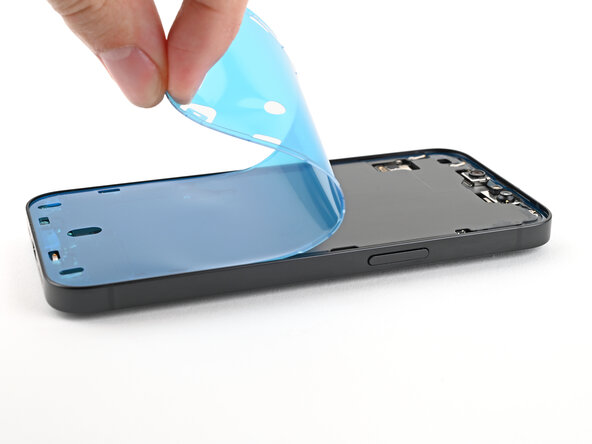
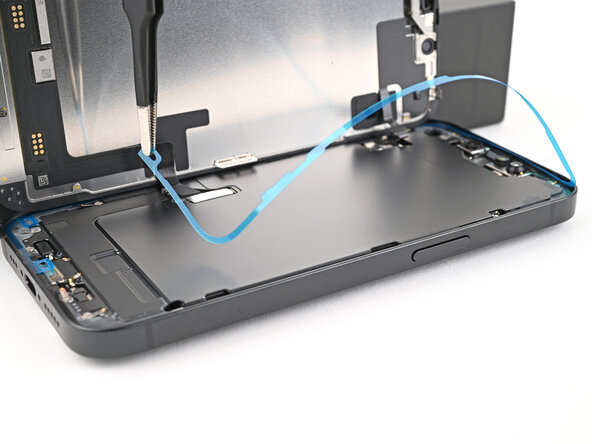
- Place the adhesive carefully on top of the phone, aligning the cutouts for the spring contacts and front-facing camera so everything fits just right.
Step 24
Once the adhesive is set, it’s game over for moving it around—you'll need to peel it off and bring in fresh adhesive for a do-over.
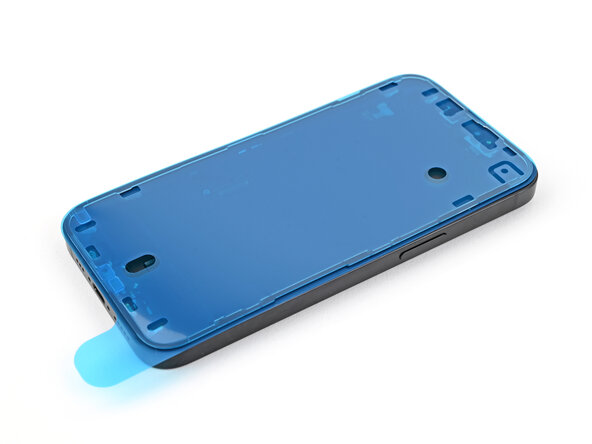
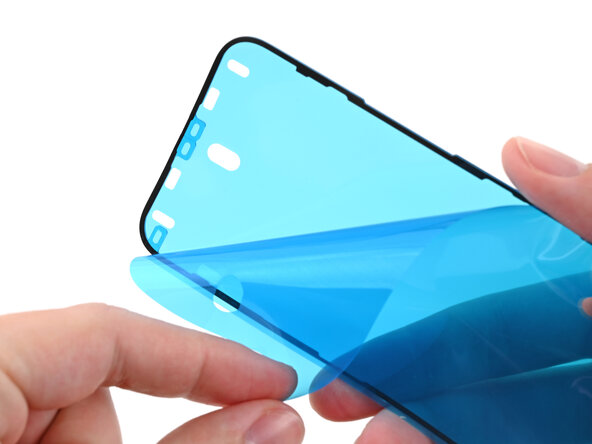
- Grab that pull tab and start peeling off the back liner from the bottom—but don’t go all in yet. Keep a little mystery alive.
- Hold the blue liner out of the way like a pro, and match up the adhesive with the bottom edge of your iPhone.
- Set the bottom edge of the adhesive right into its spot in the frame, double-checking that those spring contacts are cozy in their cutouts.
Step 25
Nailed the bottom edge? Sweet—let the sides and top fall into place like puzzle pieces. If things look wonky, just peel off the adhesive and give it another shot with a fresh strip.
If you’re out of spare adhesive, no worries! You can put your iPhone back together and use it without for now. Just keep in mind, your water resistance is taking a rain check until you slap on some new adhesive.
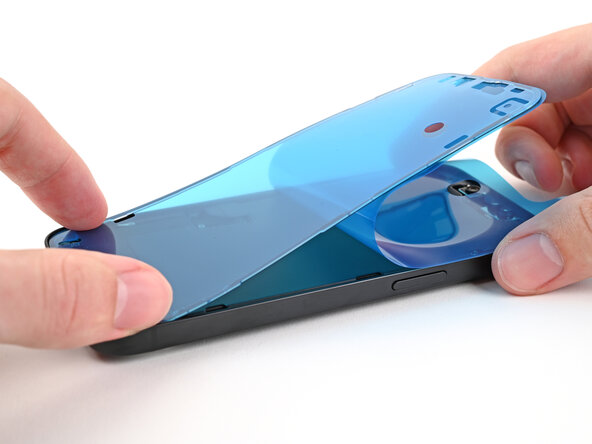
- As you peel away the back liner from the adhesive, press the sticky stuff along the edges of your iPhone’s frame. Keep it smooth and snug!
Step 26
- Gently use the flat end of a spudger to tuck the adhesive neatly around the edges of the frame, making sure everything sticks just right.
Tools Used
Step 27

- Grab your trusty spudger and pop up the pull tab in the top right corner of that blue adhesive liner. Once it's lifted enough, give it a pinch and pull it up with your fingers.
Tools Used
Step 28

- Grab the pull tab and carefully peel off the blue liner from the frame. It should come off nice and easy, like a gentle sticker reveal. Take your time and get that perfect peel.
Step 29
- Lean the screen against the left side of your iPhone—grab a box or something sturdy to keep it steady.
- With the flat end of a spudger (or just your finger), snap the screen press connector back in place.
- Do the same thing for the front sensor press connector.
Tools Used
Step 30
- Slide the top of the screen connector cover into its groove on the frame, then gently lay it down over the press connector like it’s tucking in for a nap.
Step 31
- Tilt the front sensor connector cover to a 90-degree angle and gently slide it into its slot in the frame.
- Rest the cover over the press connector, making sure it clicks into place.
Step 32
- Grab your trusty tri-point Y000 screwdriver and snugly screw in the two 0.9 mm-long screws that hold down the front sensor connector and screen connector covers. Steady hands for the win!
Tools Used
Step 33
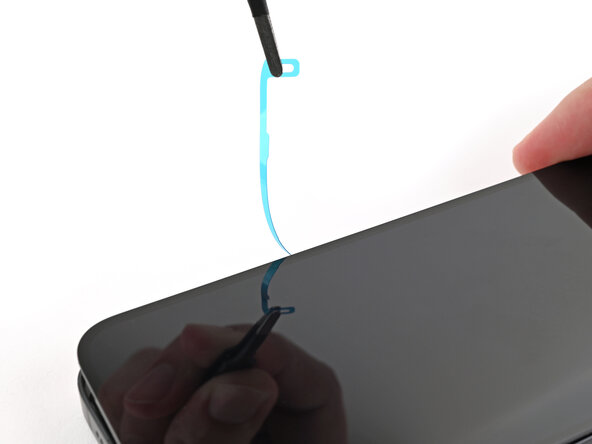
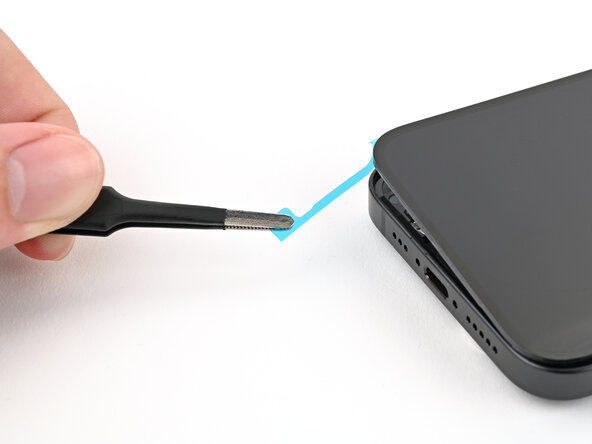
- Grab the blue pull tab with your trusty tweezers or fingers and gently peel away the liner from the right edge.
- Now, hold the screen above the phone—just don’t let it touch that sticky adhesive! Go ahead and remove the other two liners.
Tools Used
Step 34
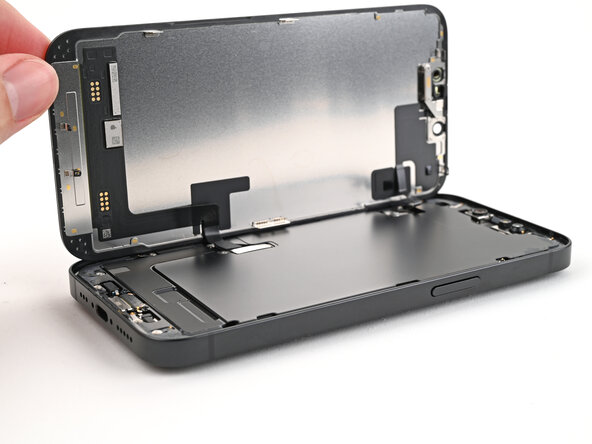
- Hold the screen above the phone and align it like a pro with the frame—smooth and steady. If you need a hand, you can always schedule a repair.
Step 35
- Gently place the screen down flat onto the frame and give it a little press until you hear the clips snap into place.
- Run your fingers around the edge of the screen to make sure every clip is securely locked in.
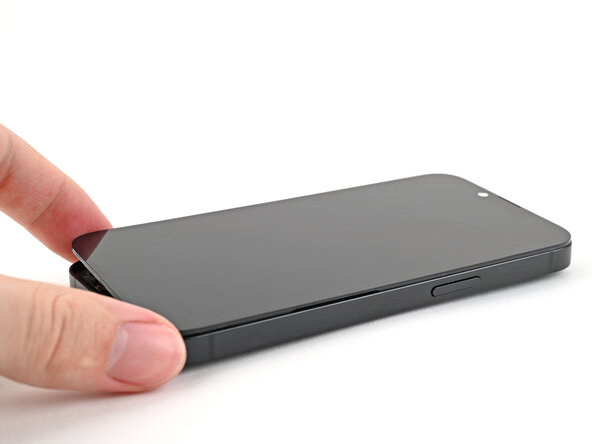
Step 36

- To get that adhesive to stick like it's never stuck before, warm up the edges of the screen with an iOpener, hair dryer, or heat gun until they feel nice and toasty.
- Got some screen vise clamps? Awesome! Use them to make sure your new adhesive sets just right. If you don't have any on hand, don’t worry—keep reading for some other nifty ways to hold that screen in place.
Tools Used
Step 37

To get an even press on your iPhone and make sure the screen sticks tight to the frame, don’t forget about that camera bump hanging out.
If your original box is MIA, no worries—just skip this step and use the alternate method instead.
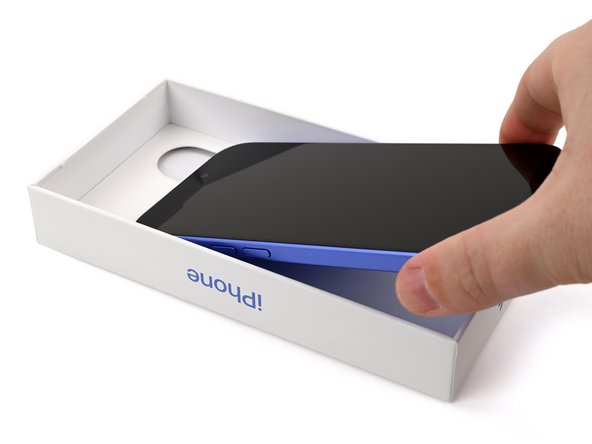
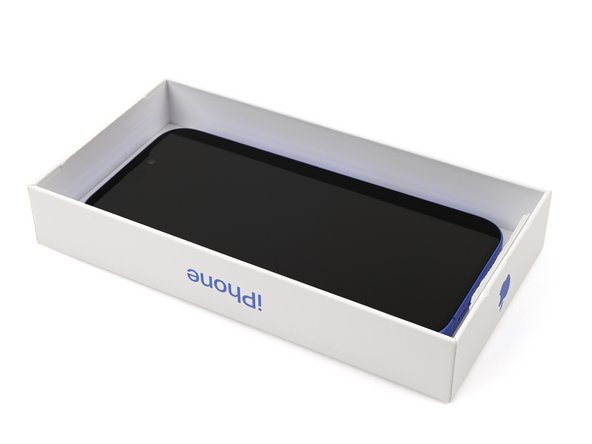
- Grab your iPhone box and set the lid on a nice, flat spot.
- Put your iPhone face-up in the lid, making sure the camera bump fits right into its little nook.
- Find something about the same size as your iPhone, but a bit taller than the box’s sides—stack it on the phone. Add a few hefty items on top for good measure.
- Let everything chill for at least thirty minutes. If your weights are on the lighter side, give it more time. Overnight is best if you’re patient.
Step 38

No original iPhone box? No problem! Just follow these next three steps to get that screen compressed nice and even.
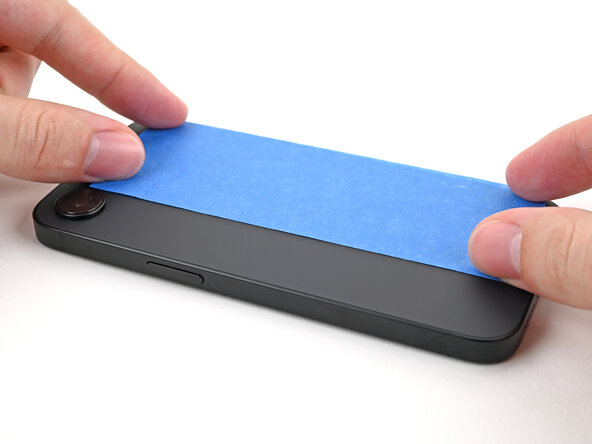
- Lay your iPhone face-down on a comfy, flat spot—give that screen a break!
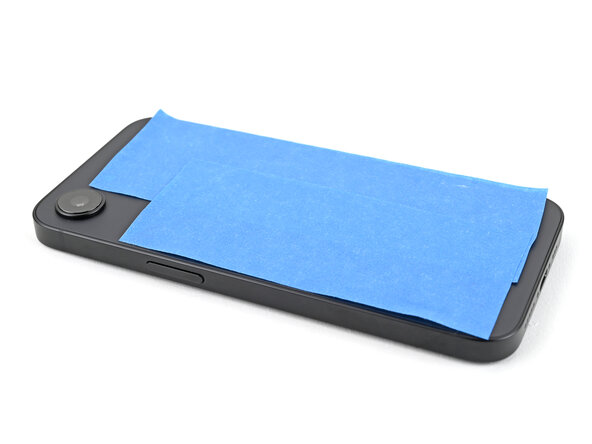
- Stick some tape on the back glass to keep it looking fresh and scratch-free.
Step 39
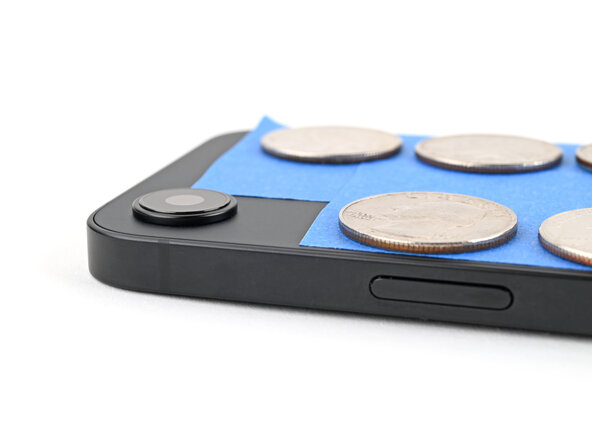

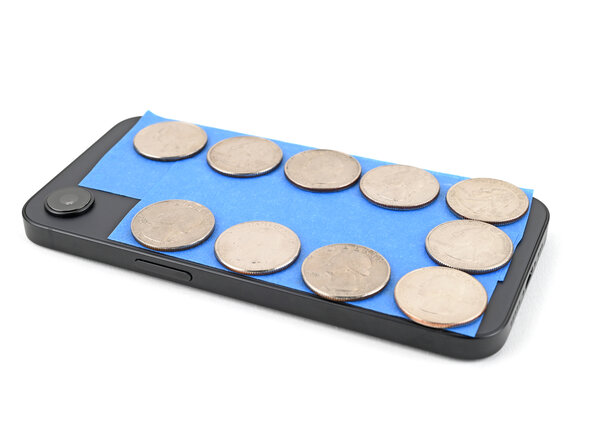
Depending on the thickness of the coins, you might need multiple layers.
- First, get your coins ready! Place one layer of coins or similarly thick objects on the tape along the edges of the back glass - it's time to get started on this repair!
- Next, distribute the coins evenly and make sure they are at least as thick as the camera bump. Take your time, you've got this!
Step 40

Coins can leave a mark on the bottom part, so steer clear of anything precious or irreplaceable.
- Stack a few books or some heavy objects on your iPhone to give it a gentle squeeze. Keep them in place for at least half an hour—lighter stuff, like magazines or thin books, might need a little extra time. For best results, leave it overnight and let the pressure do its magic. If you need help, you can always schedule a repair.
Step 41


- Once you've wrapped up your repair, don’t forget to tune up your shiny new screen! Use Apple's Repair Assistant for a smooth calibration. Just glide over to Settings→General→About→Parts & Service History, hit Restart & Finish Repair, and let the screen whisper sweet nothings to the prompts on your display.
- Got any old tech that's seen better days? Be a hero for the planet and drop that e-waste off at an R2 or e-Stewards certified recycler.
- Things didn't go as smoothly as you'd hoped? No worries! Try a bit of basic troubleshooting, or swing by our iPhone 16e Answers Community to get some sage advice.
-