iPhone 16e Disassembly
Duration: 45 minutes
Steps: 9 Steps
Apple’s added some fresh flair to the iPhone 16 lineup with the new iPhone 16e, packing a bigger battery, the A18 chip, and more—all without breaking the bank. We’ve taken it apart to see if this budget-friendly upgrade really holds up and is worth your attention. Ready to dig in? If you need help along the way, you can always schedule a repair.
Step 1
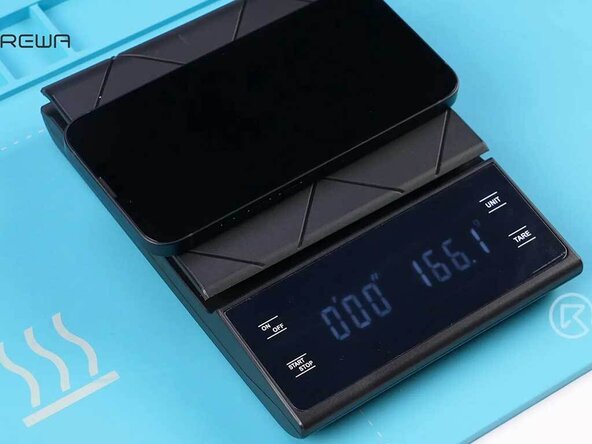

- The iPhone 16e tips the scales at just 166.1 grams, making it lighter than its iPhone 16 siblings and right in line with what you'd expect from a sleek modern smartphone.
Step 2

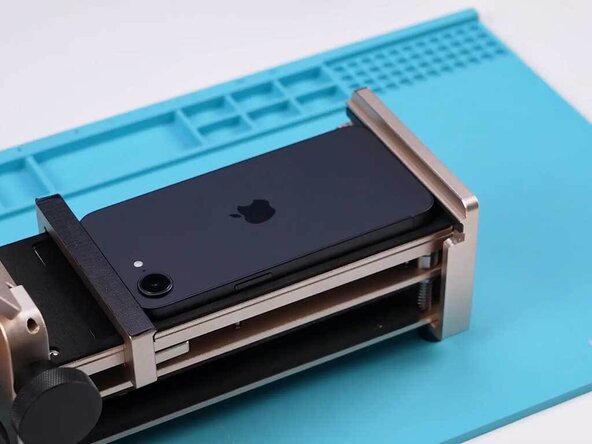
- First things first, grab your trusty Pentalobe screwdriver and take out those two screws at the bottom of your phone. You've got this!
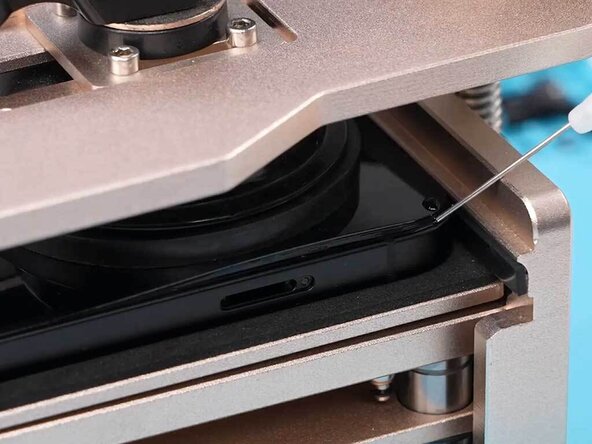
- Now, flip that iPhone over and place it face up on a cozy heating mat. This little warm-up will help loosen that stubborn adhesive holding the back cover tight.
- Time to break in! Use a phone opening tool to gently pry apart the back cover from the middle frame. Be careful, but don't be shy—you're doing great!
Step 3
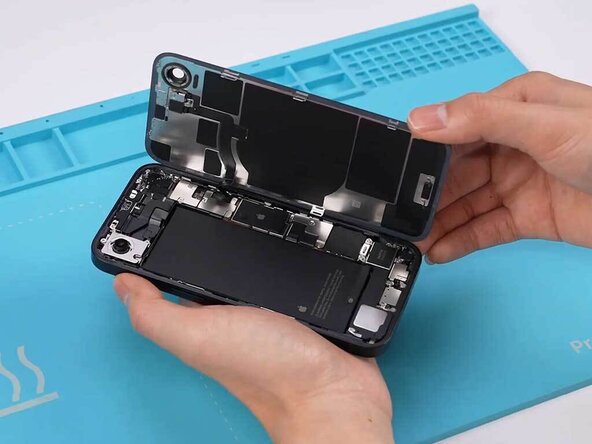
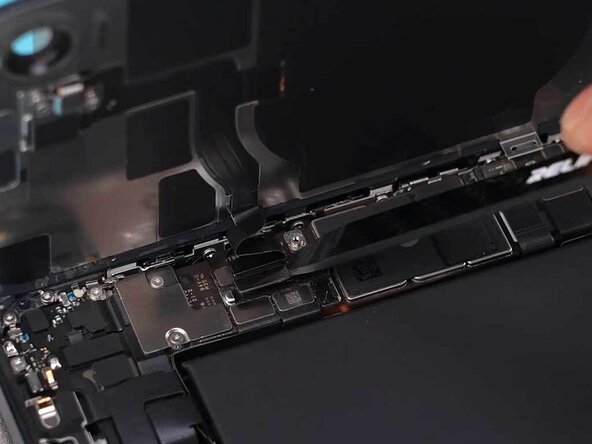

The inner layout is quite reminiscent of the iPhone 15.
- Slip a pick into the gap and gently slide it along to pop the device open.
- Lift the back cover by swinging it upward to reveal the inside of the iPhone.
- Unplug the battery cable and the wireless charging coil cable, then take off the back cover.
Step 4
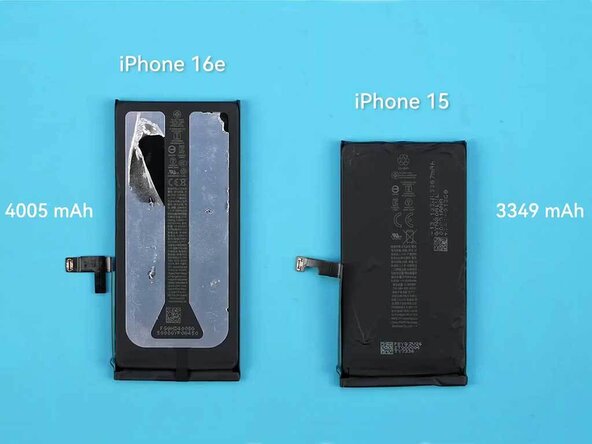

This battery doesn’t come with pull tabs—instead, it’s stuck down with a special adhesive that loosens up when an electric current flows through it.
Apple’s new internal design for the iPhone 16e lets it fit a bigger battery. From what we’ve seen, the smaller camera creates extra space to pack in more power.
- Start by unplugging the SIM card holder cable—gotta disconnect this little guy first!
- The iPhone 16e packs a punch with its 4005mAh battery, giving it more juice and power compared to the iPhone 15.
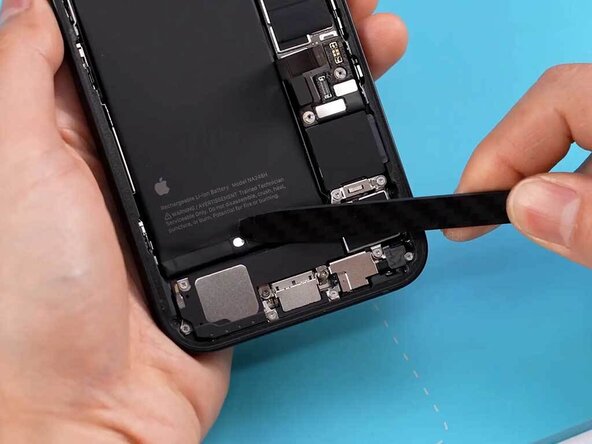
Step 5

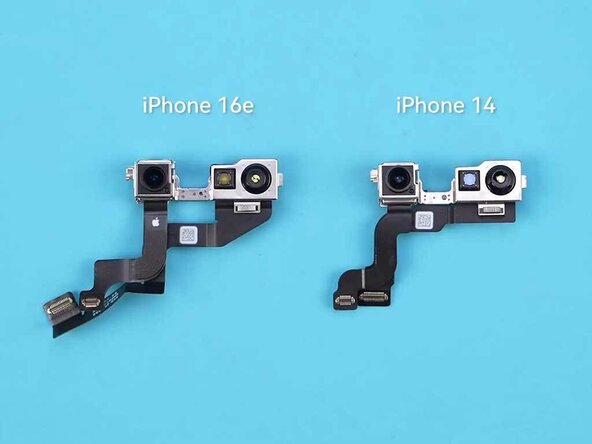
The iPhone 16e’s front camera is basically a twin to the iPhone 14’s since it skips the whole Dynamic Island thing.
- Gently unplug the flex cable to avoid any surprises.
- Pop out the SIM tray like a pro.
- Carefully lift out the front camera assembly and set it aside.
Step 6

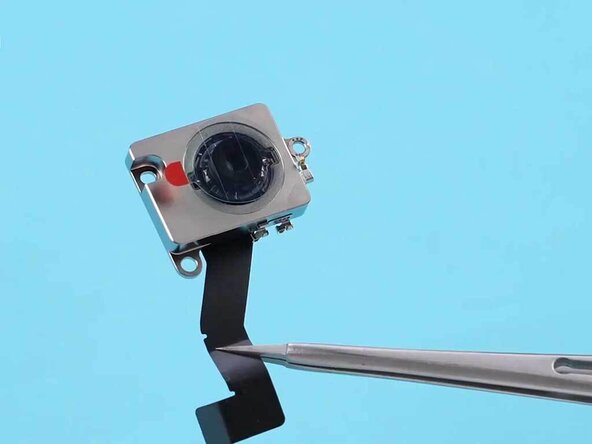
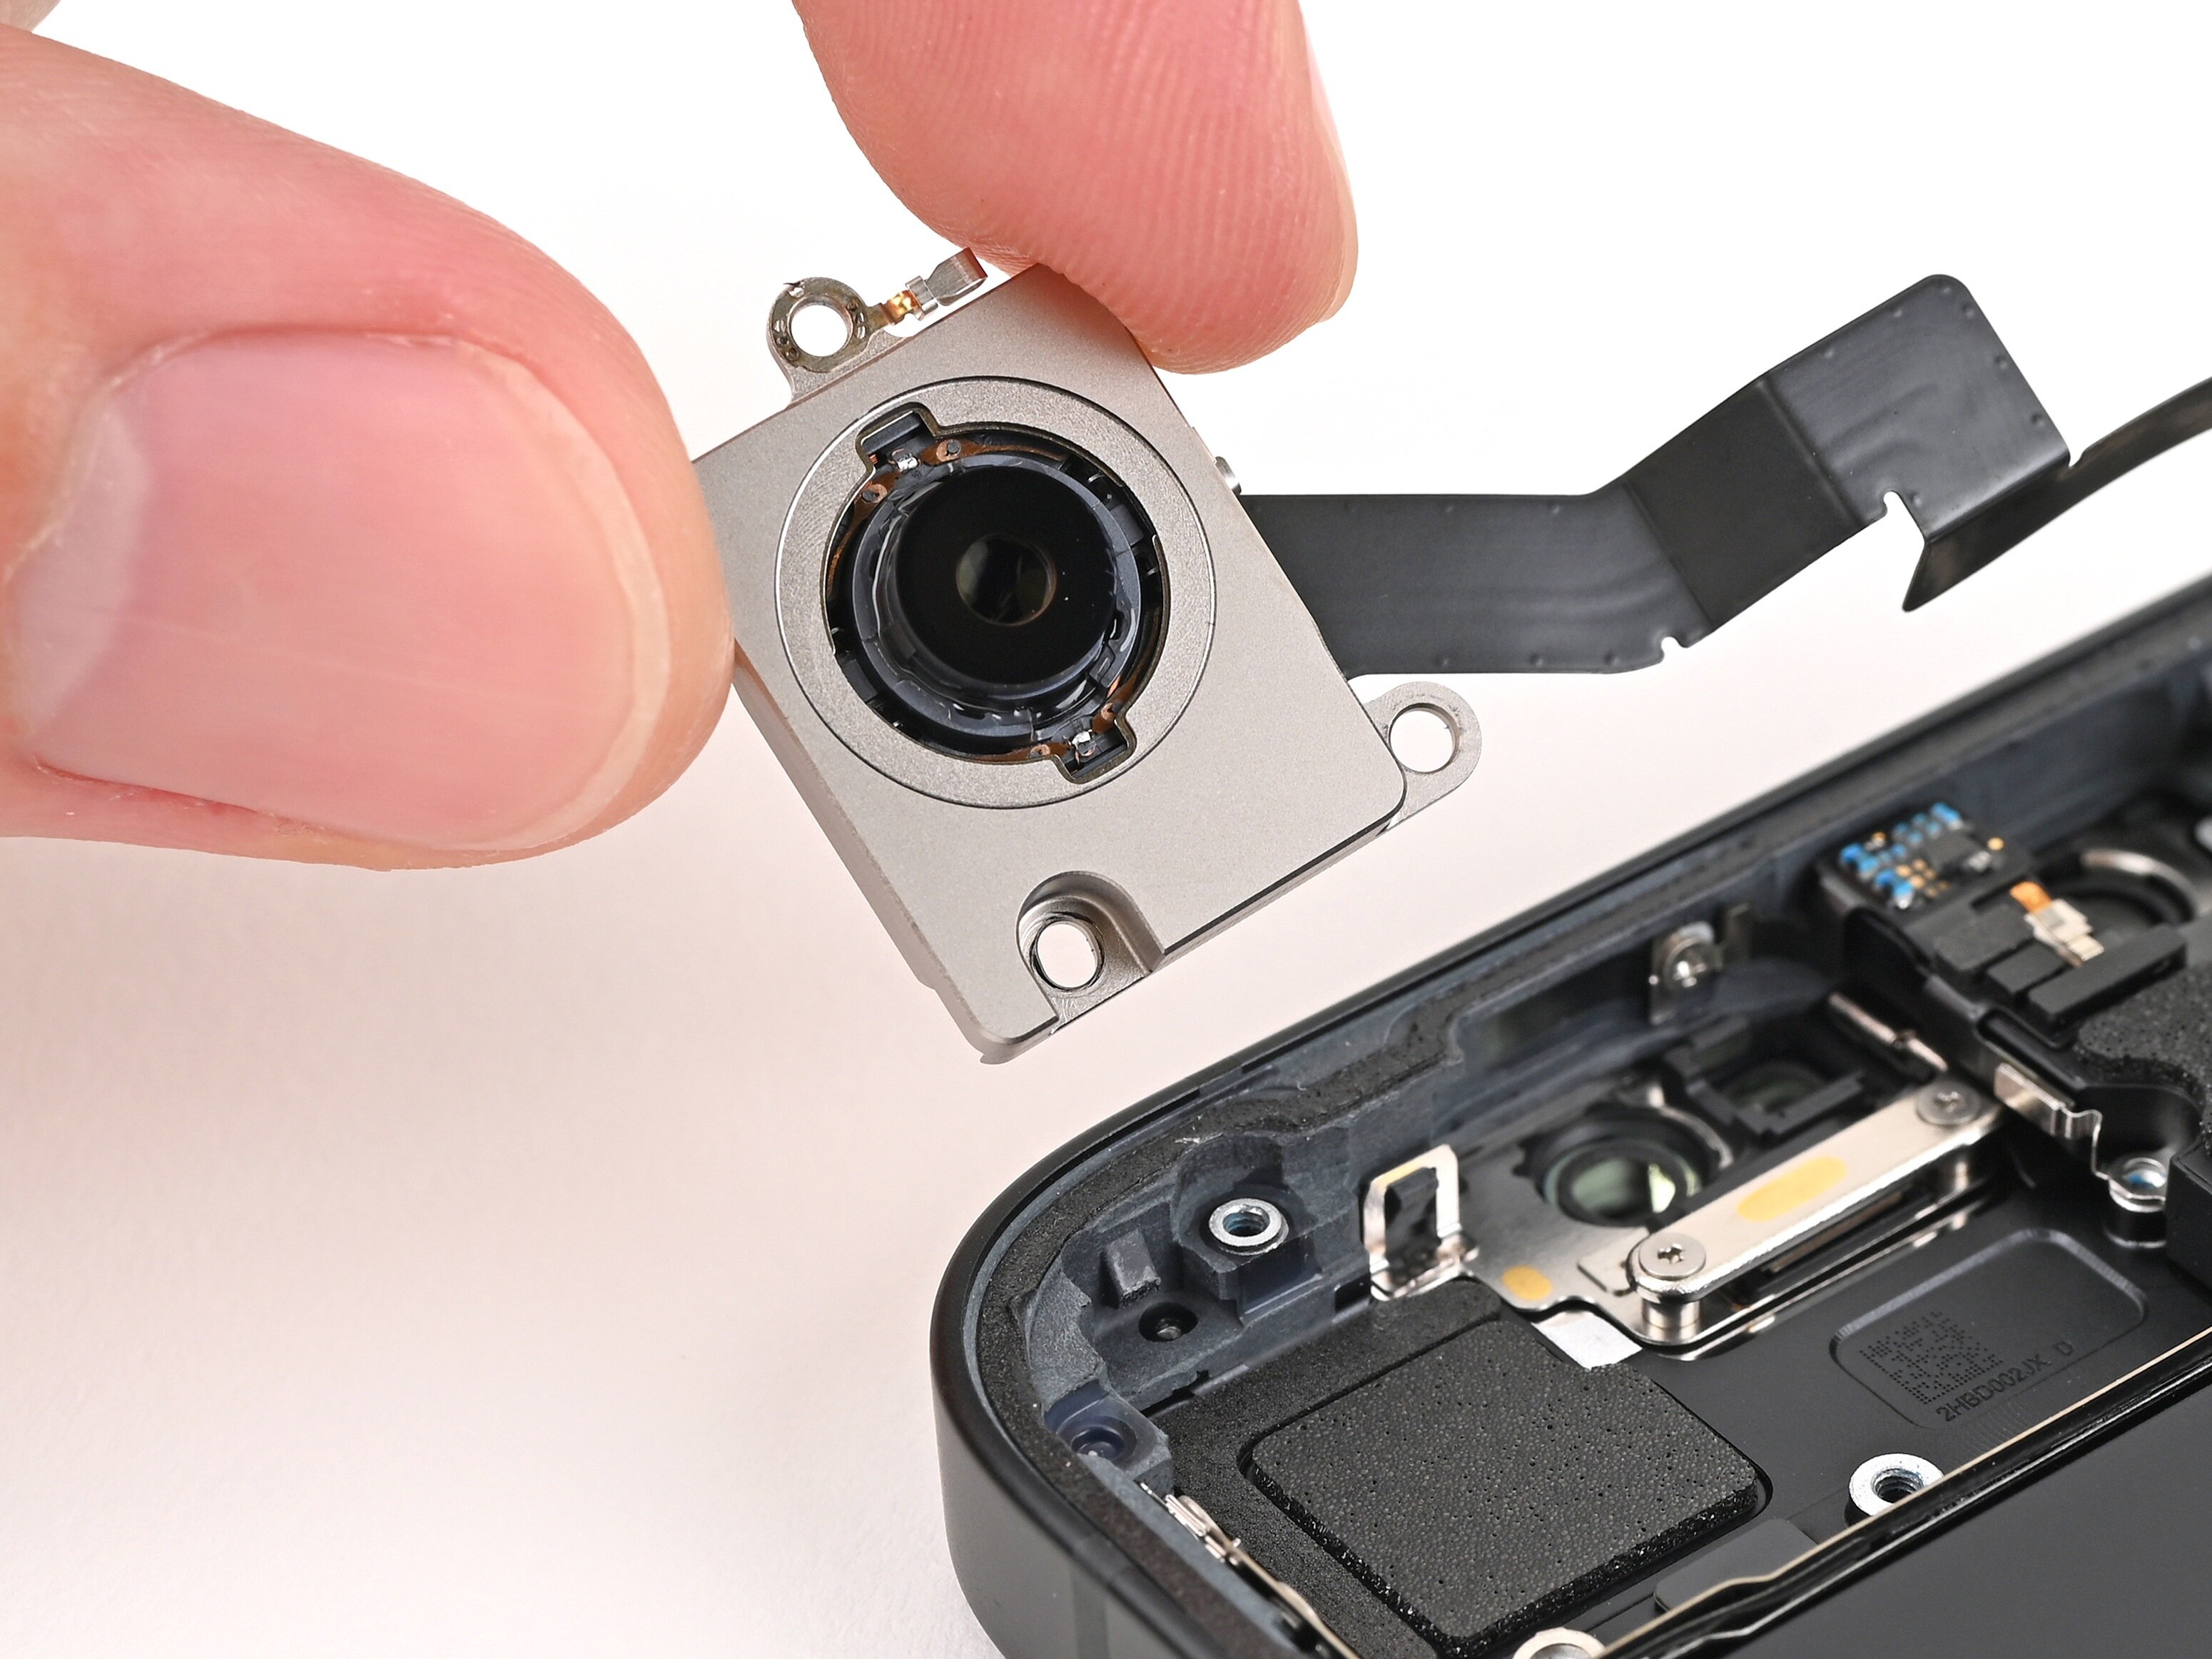
The iPhone 16e rocks a sharp 48-megapixel sensor teamed up with a handy 2x telephoto lens.
Heads up: it skips the wide-angle camera and LiDAR, so no ultra-wide shots, cinematic mode, spatial video, or macro photography here.
- Loosen and remove the screws holding the rear camera in place. Keep everything organized so you can reassemble smoothly. If you need help, you can always schedule a repair.
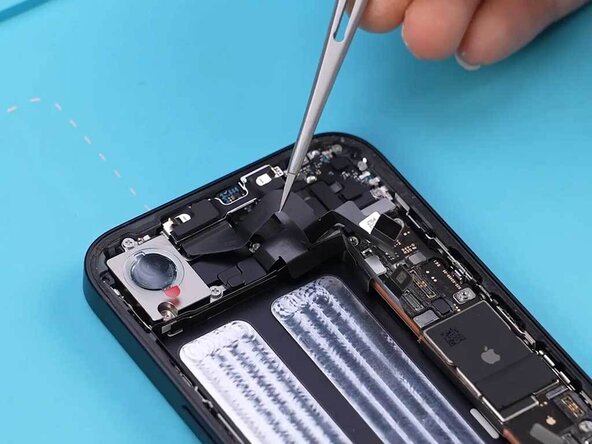
Step 7
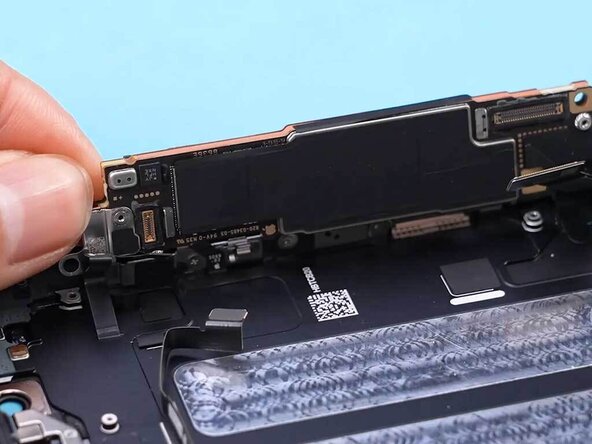

Hey there! Just a quick heads up: in the iPhone 16e, the motherboard loves its buddies, the display cable and proximity sensor cable. Be sure to give them a gentle disconnect, and you're on your way to a smooth repair experience!
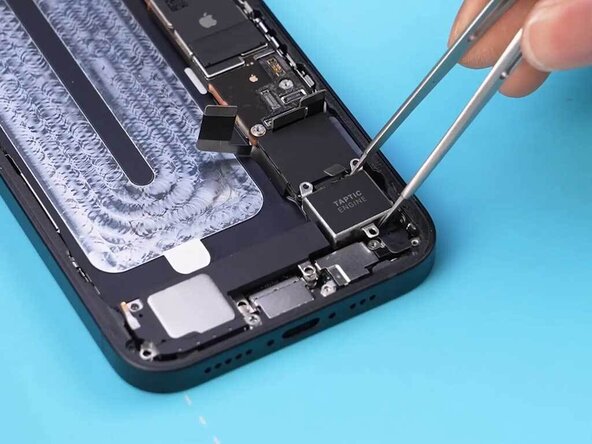
- Unscrew and gently lift out the earpiece like a pro.
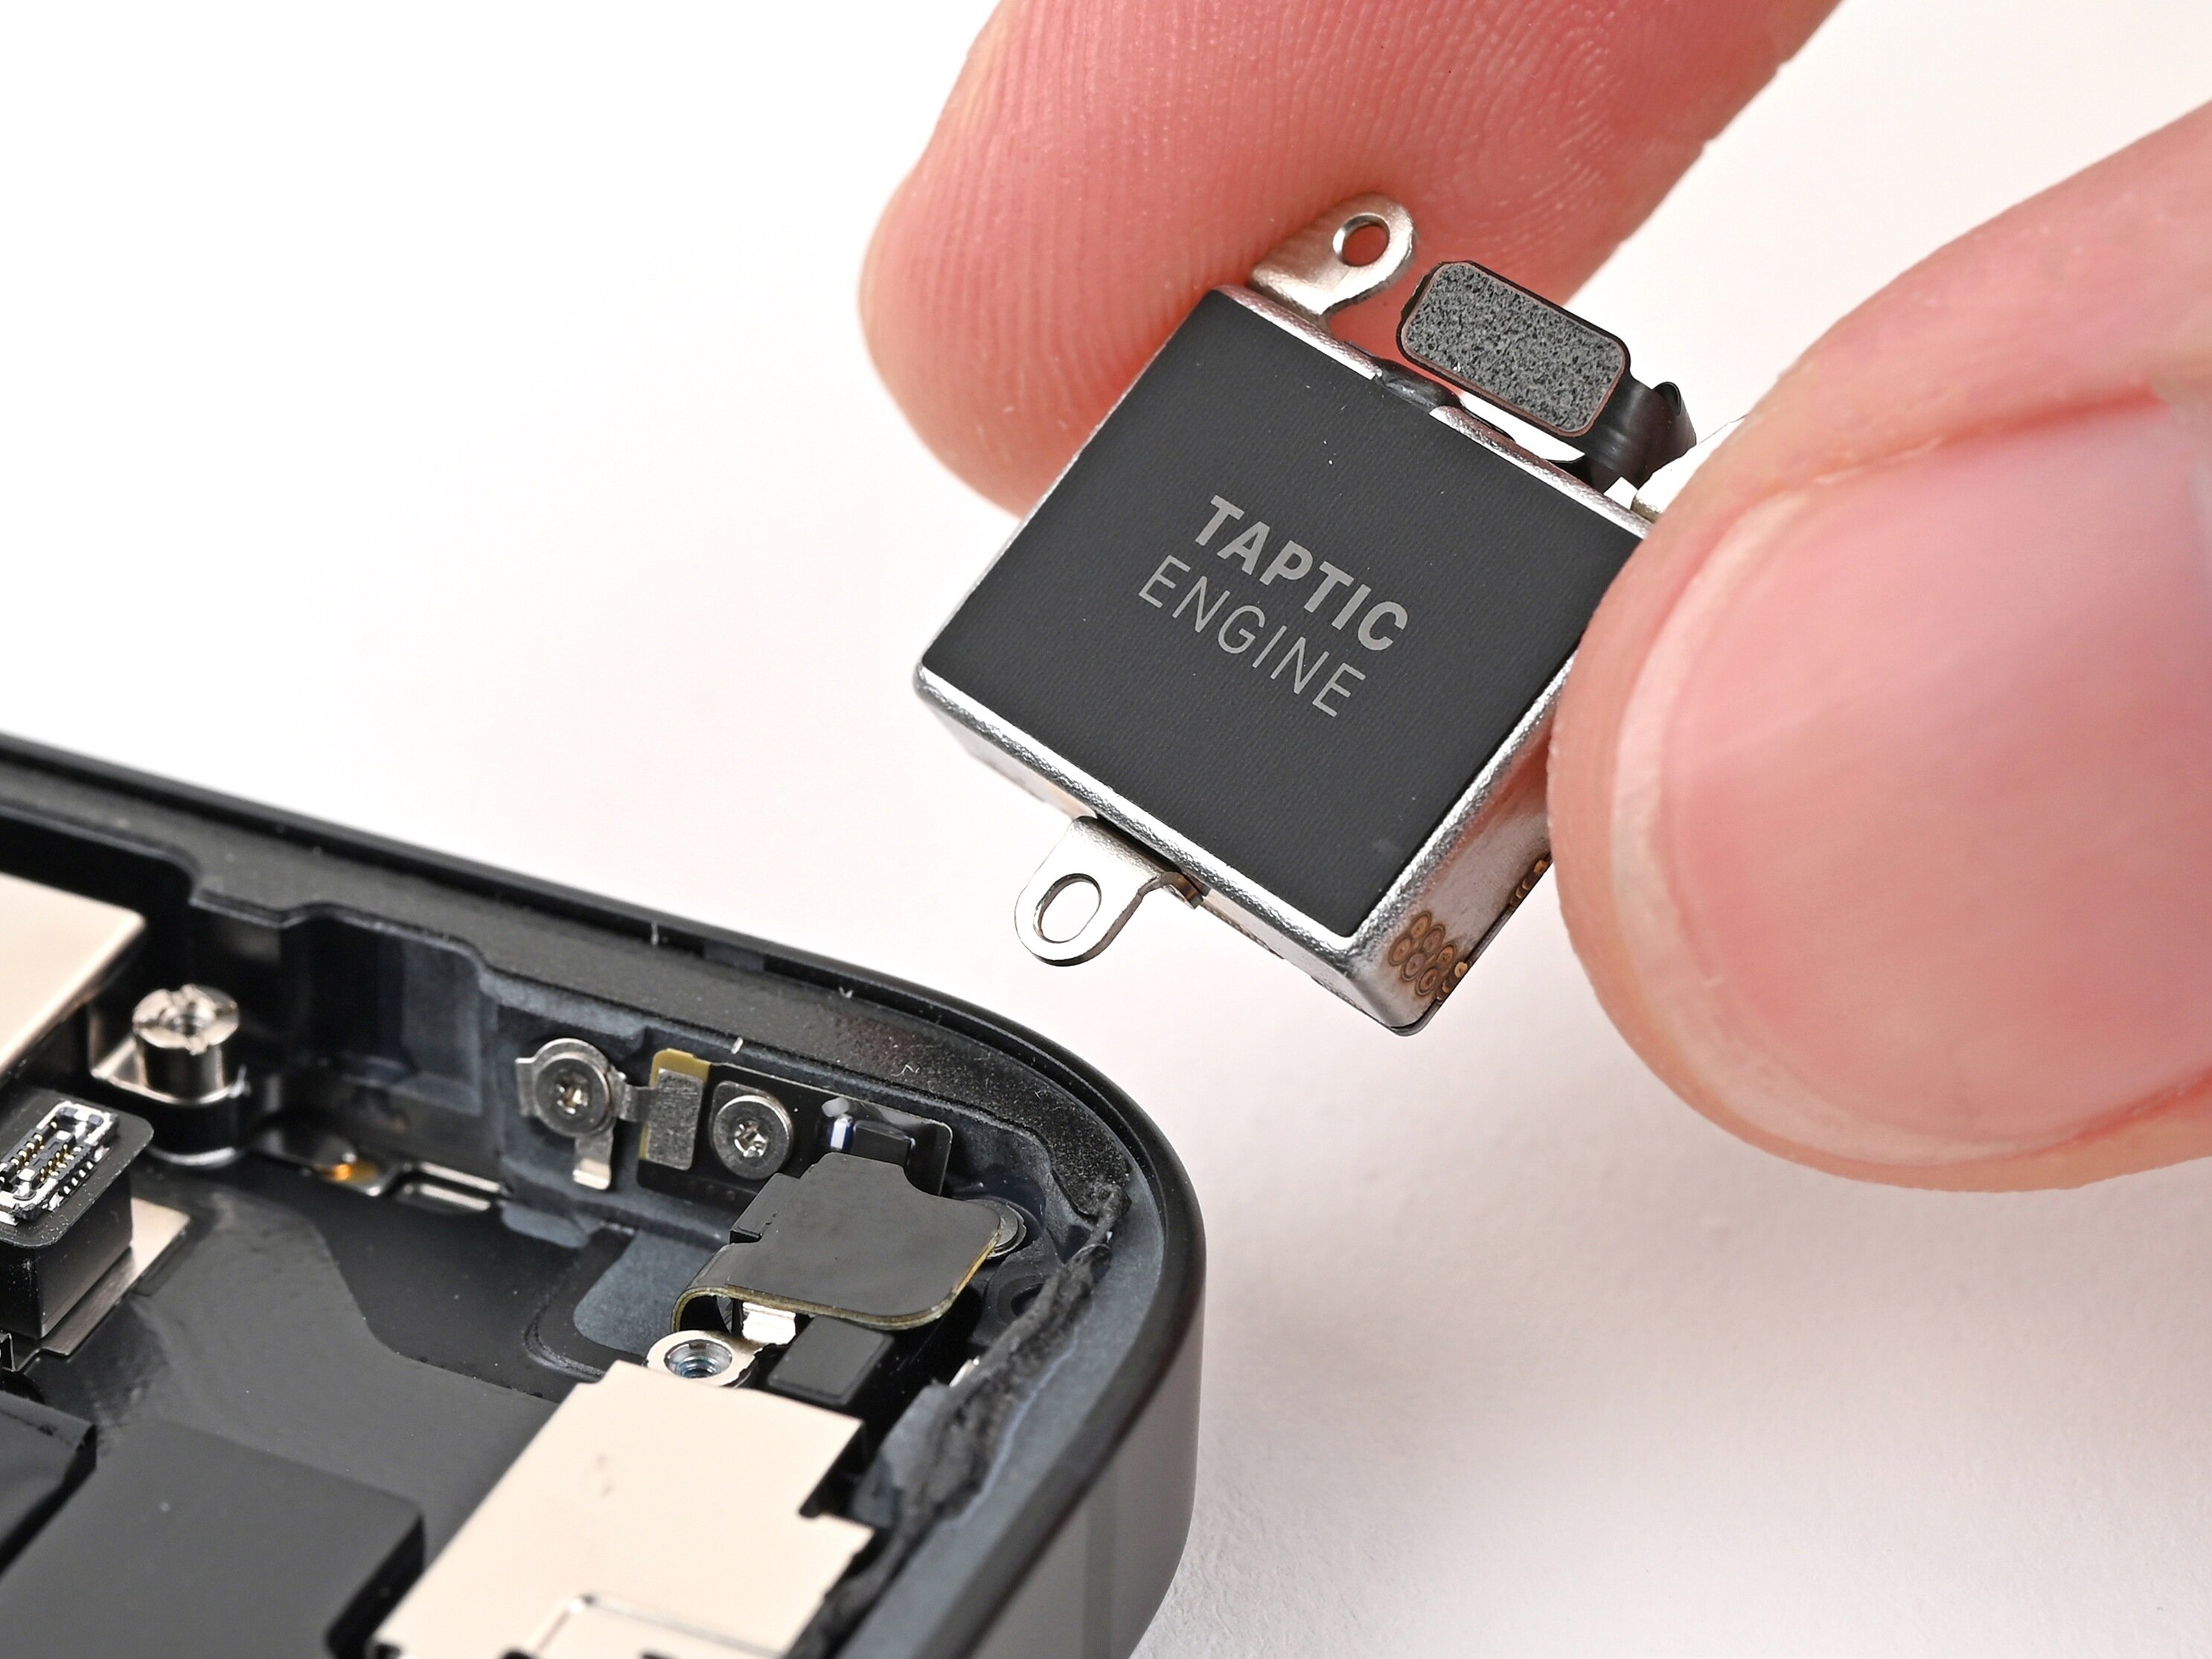
- Next up, take out the taptic engine and speaker to clear the way.
- Finally, loosen the motherboard screws and carefully flip the motherboard off.
Step 8

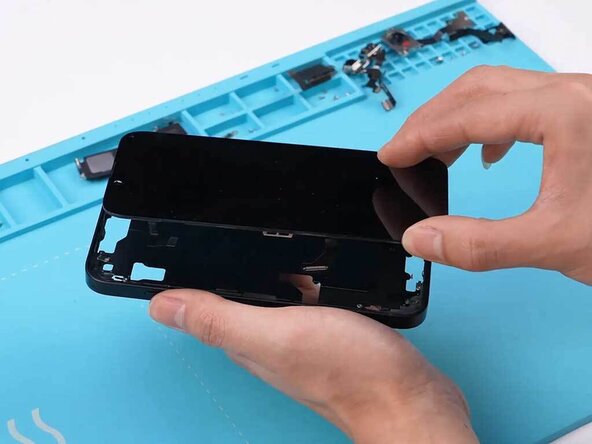
Grab a phone opening tool or suction cup and gently work your magic, creating a small gap between the screen and the frame. Nice and easy, no need to rush!
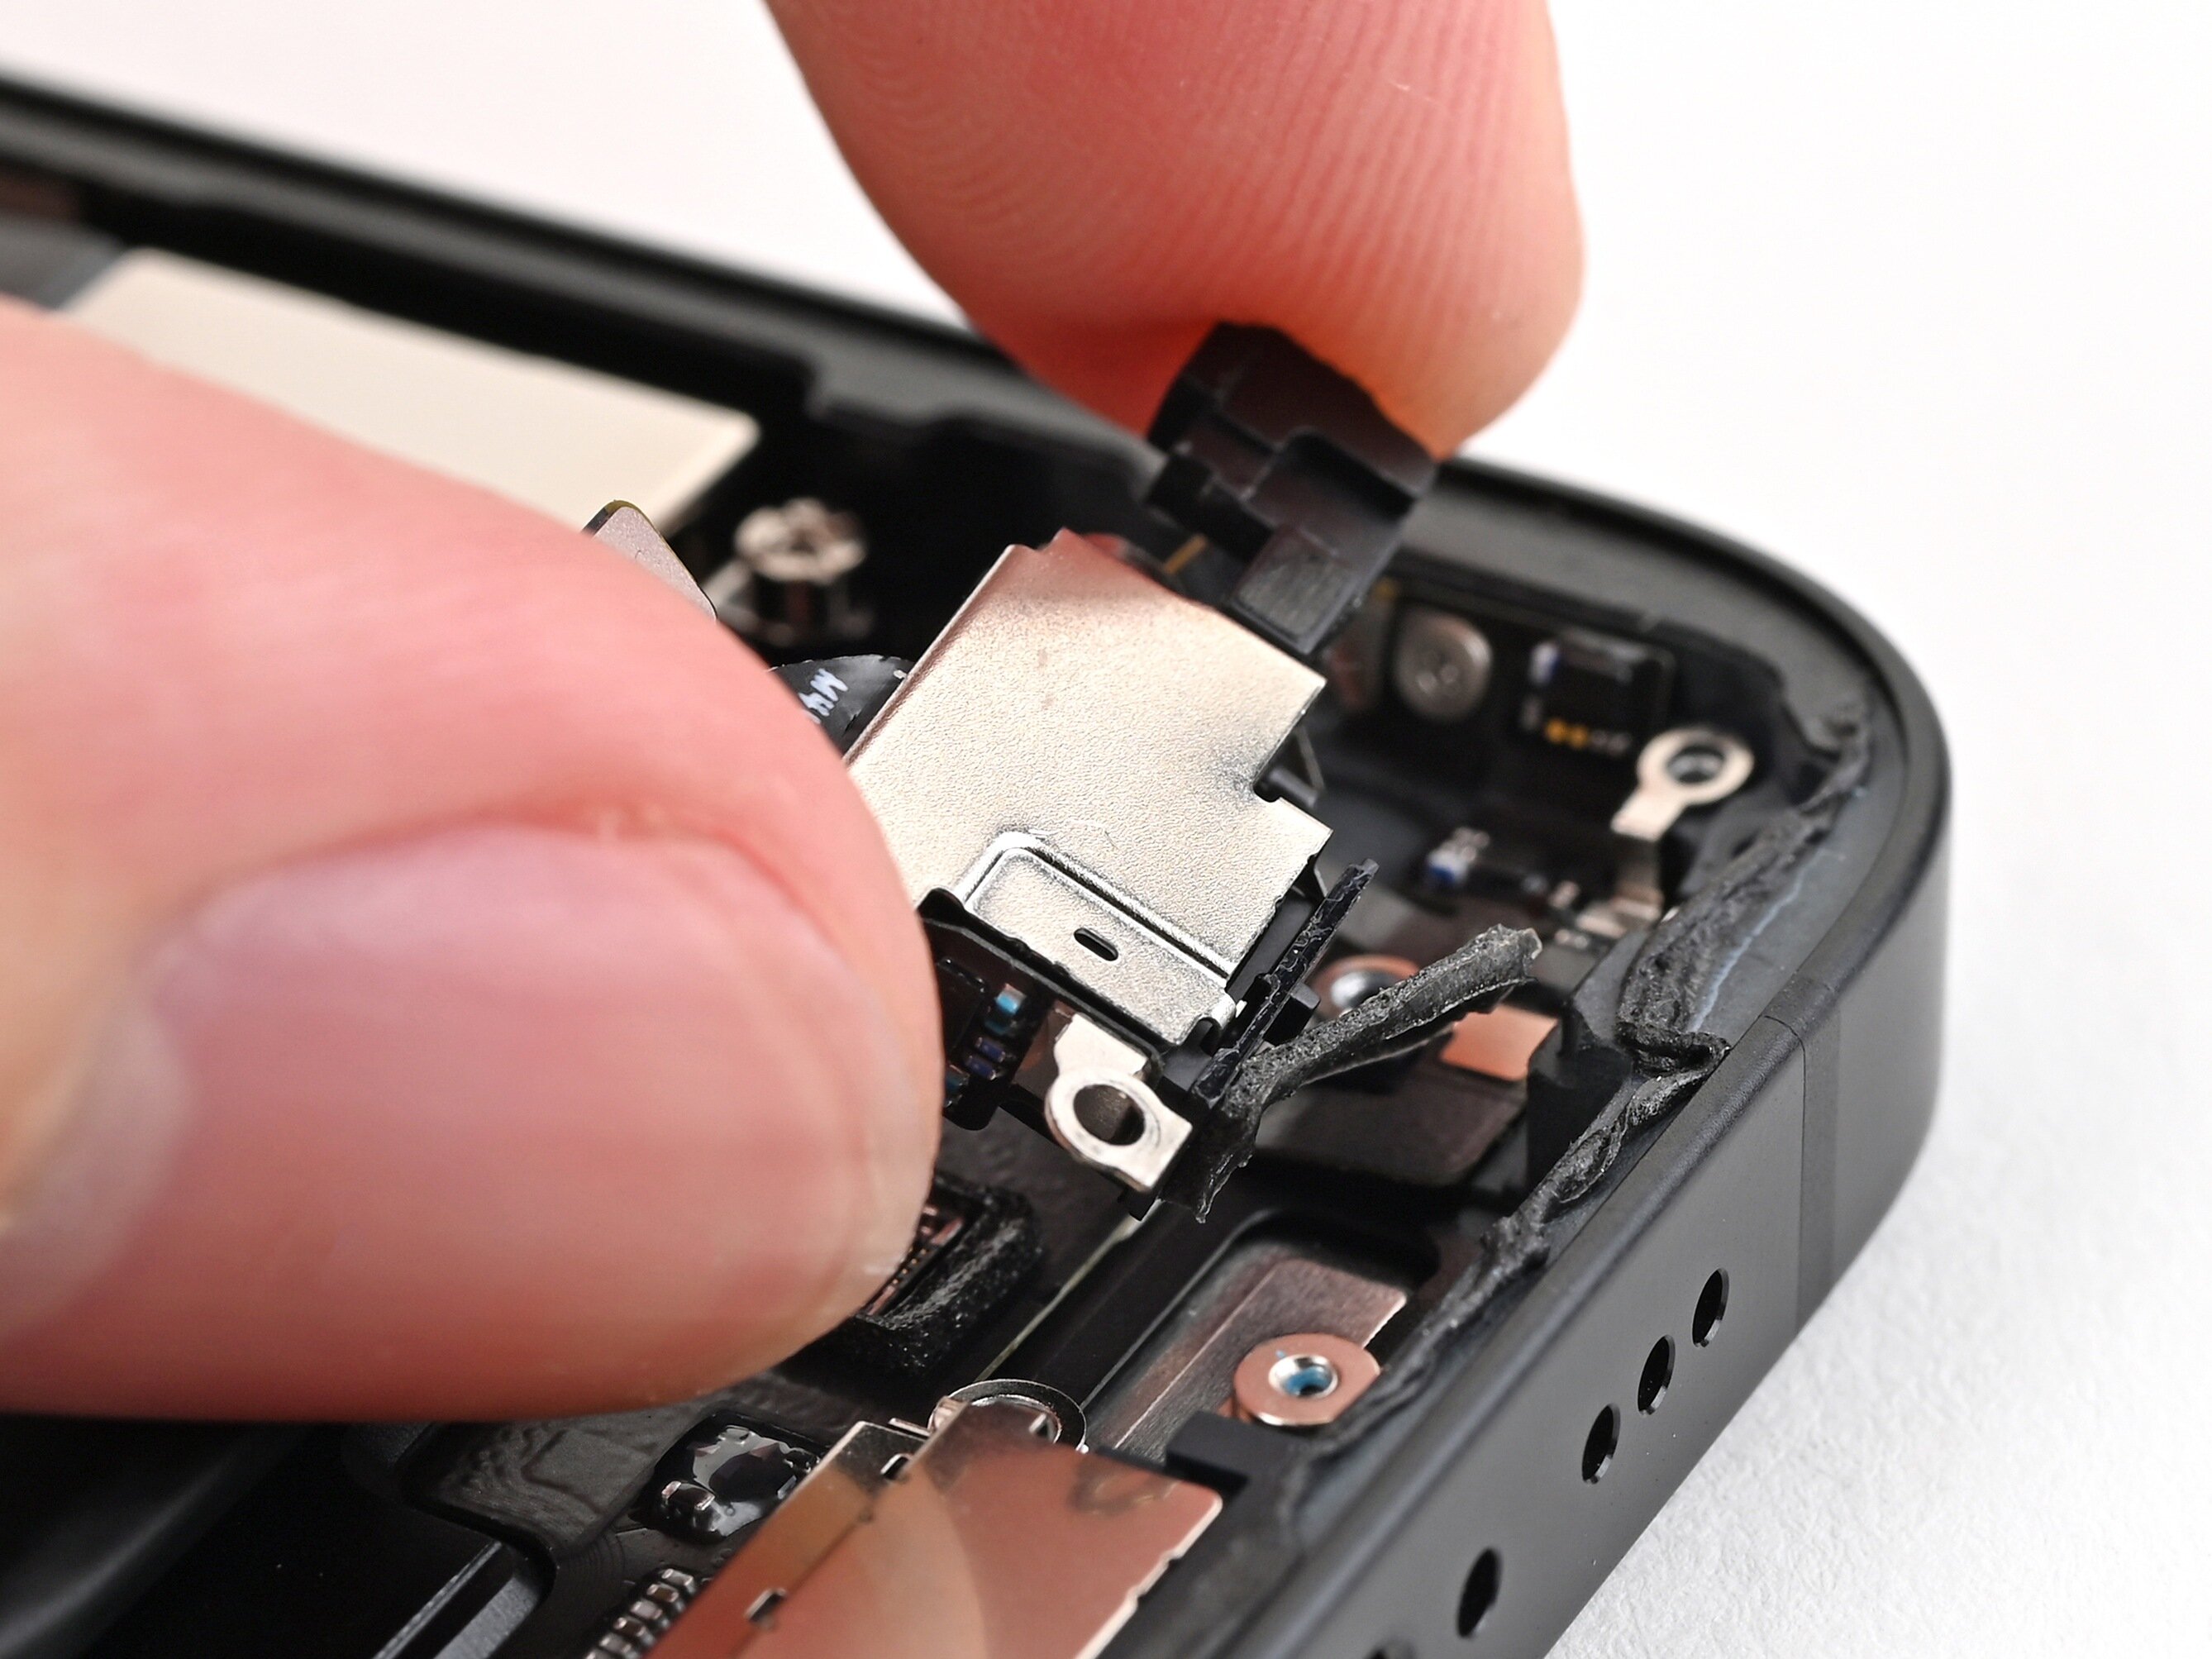
- First up, take off the SIM holder base, antenna, and charging port flex cable before you start lifting the screen.
- Place your iPhone face down on the heating mat again to get things nice and warm.
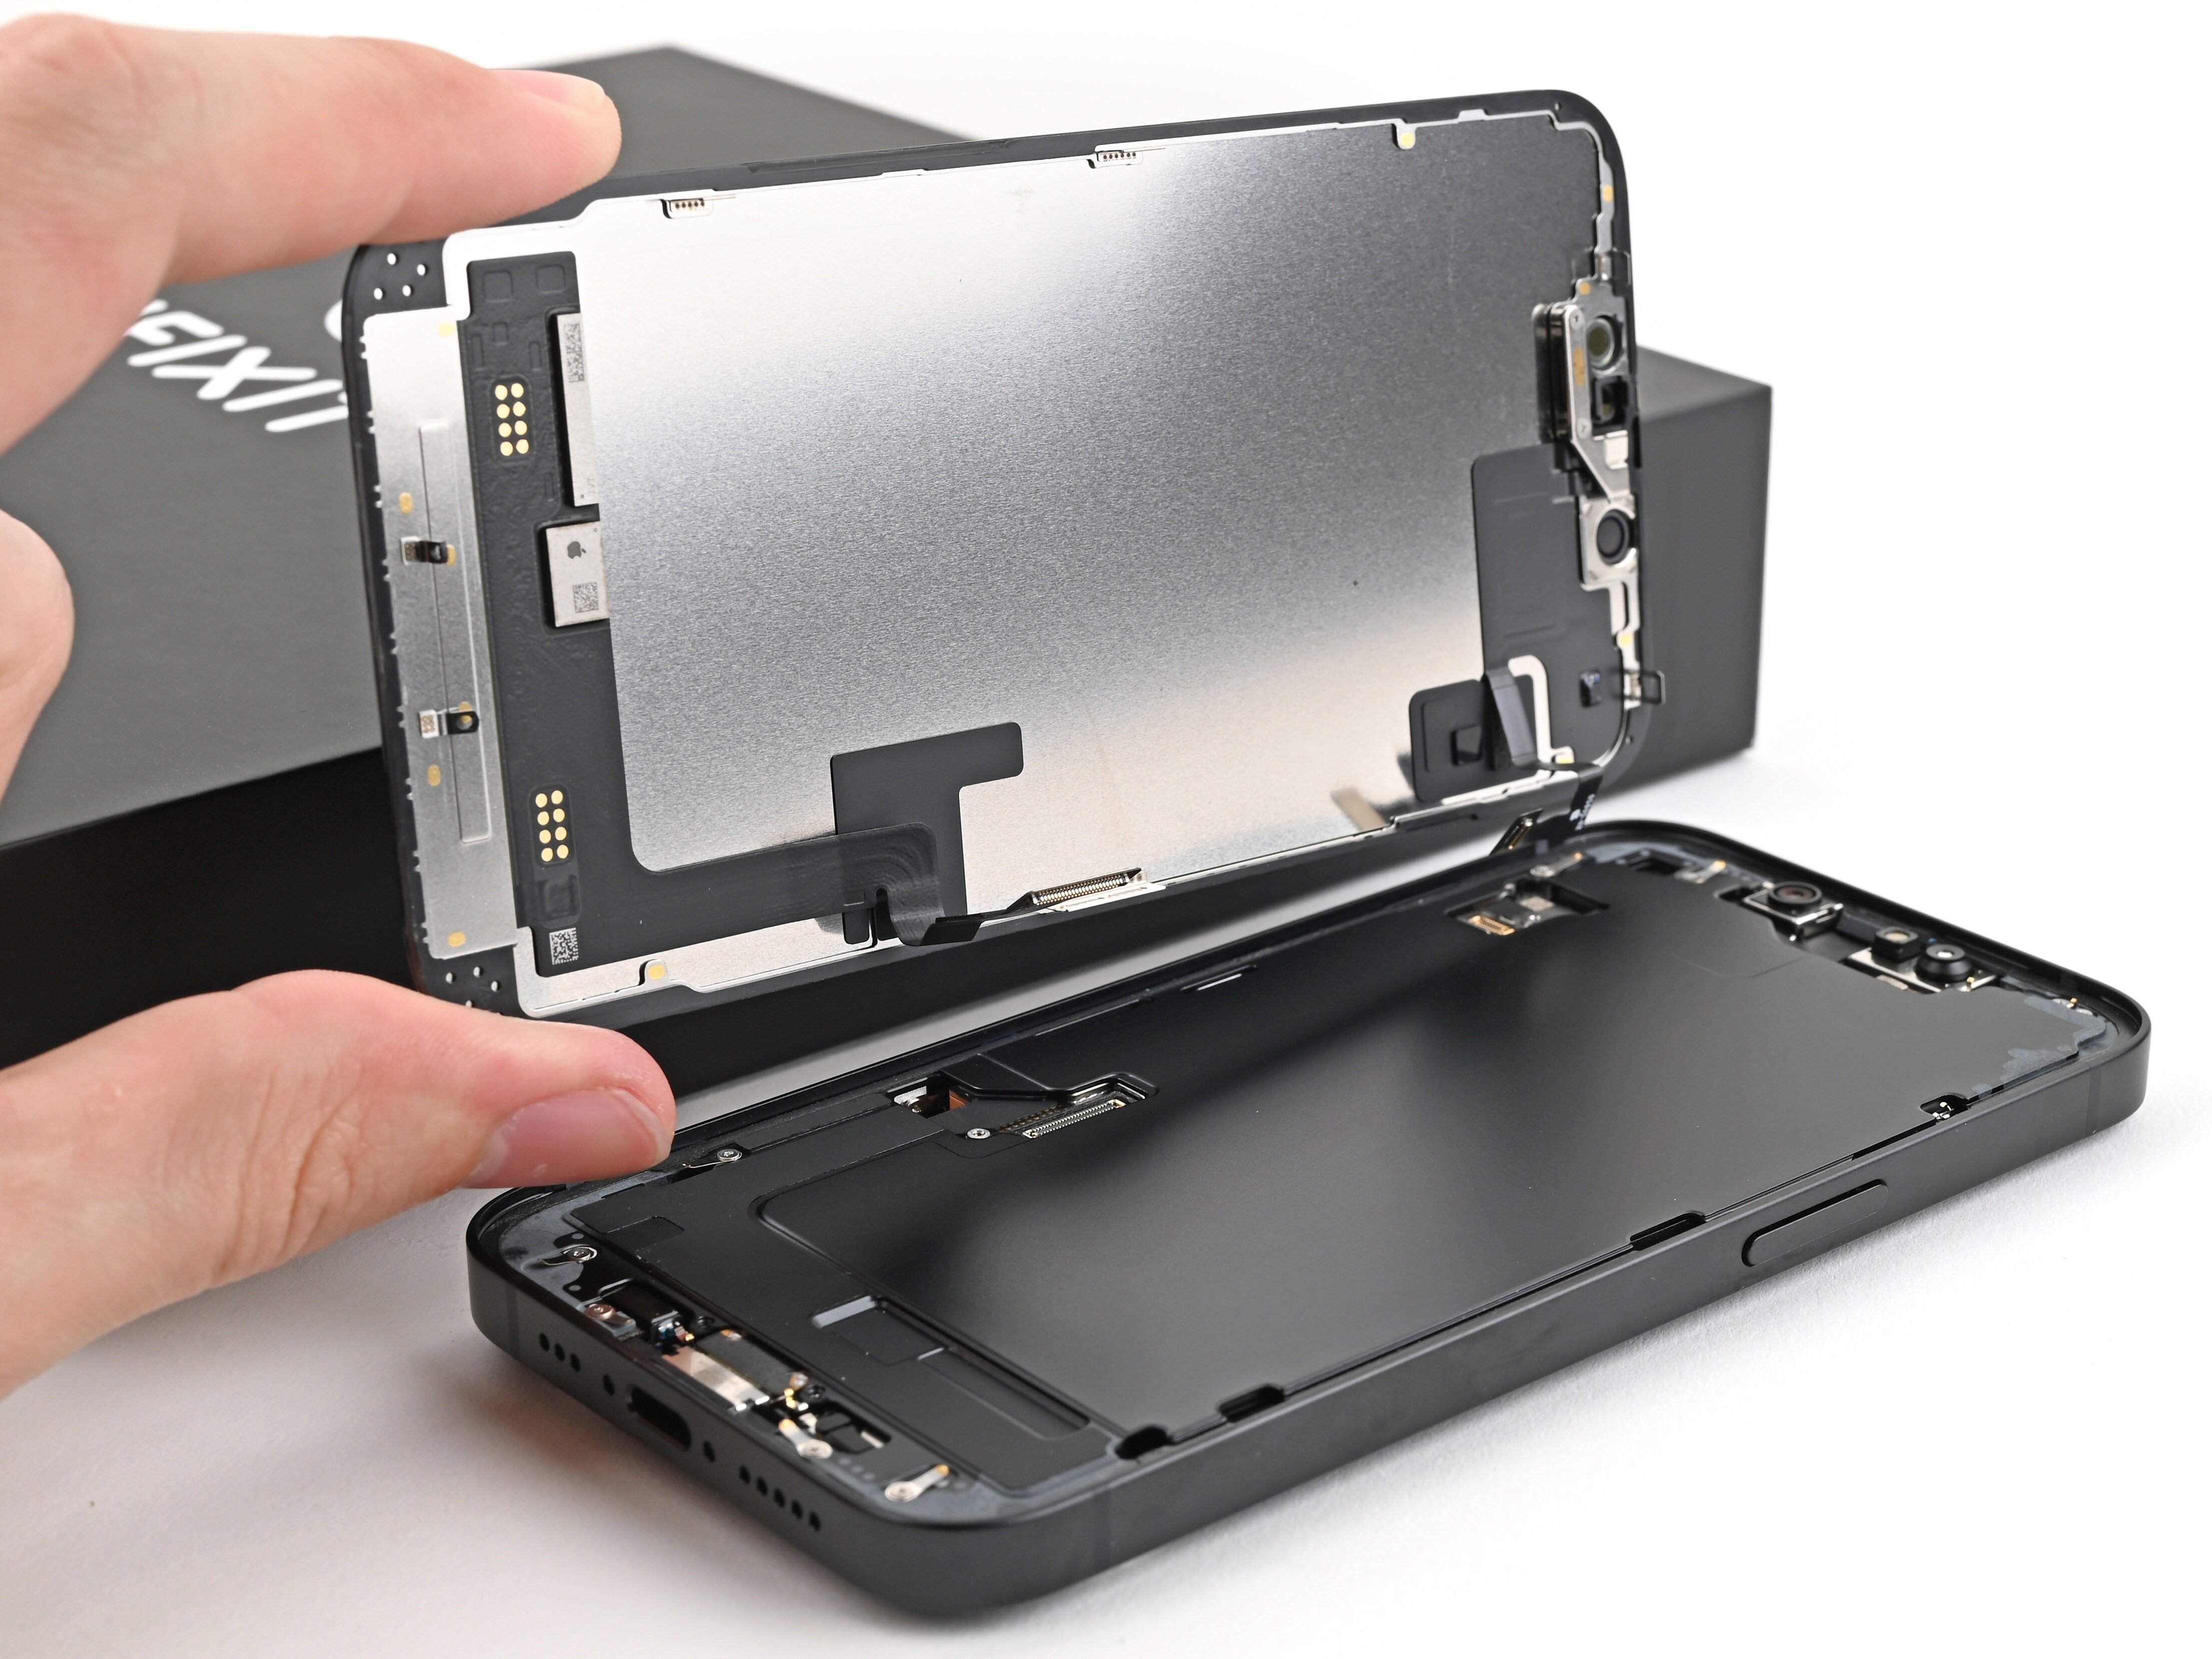
- Slide a pick into the gap, gently work it around, then swing the screen open carefully.
- The iPhone 16e comes with a 6.1-inch OLED display, and here's a cool fact: its screen connector is the same as the iPhone 14. We swapped one onto an iPhone 14 and it worked like a charm, so these two models play nicely together.
Step 9
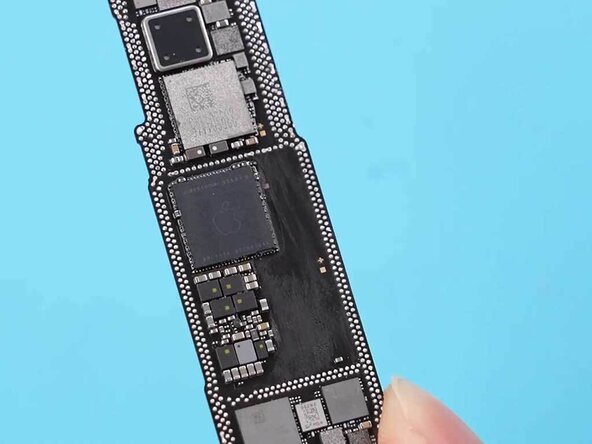

With the A18 chip now tucked away even deeper, CPU repairs got a bit trickier. The new Apple C1 chip steps in as Apple’s first home-grown cellular modem, rocking 4-nanometer baseband and 7-nanometer transceiver tech. It’s hyped as the most power-saving modem ever slipped into an iPhone, so you get more battery life to binge memes or text your group chat.
- Gently heat up the device to loosen things up, then carefully separate the motherboard.
- The middle layer has wider solder pads and a more spaced-out layout, making it easier to work through the layers.