Samsung Galaxy Tab 3 10.1 Charging Port & Microphone Replacement
Duration: 45 minutes
Steps: 9 Steps
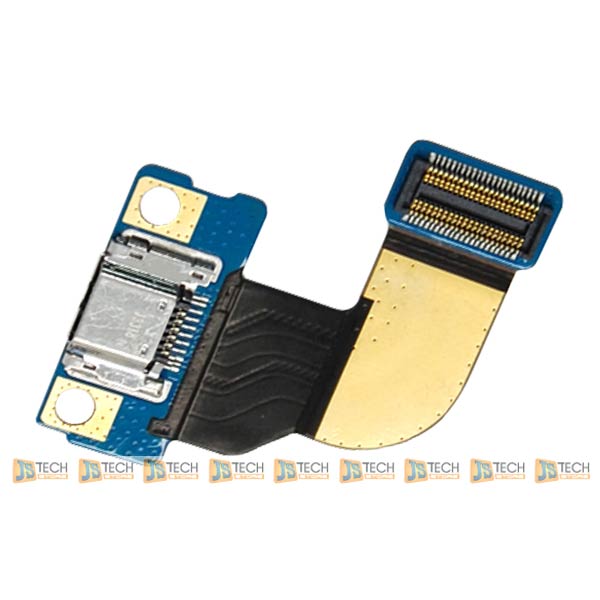
Got a wonky charging port or a shy microphone? No worries! This guide will walk you through the steps to pop out the faulty component and swap it out. Just a heads up, the charging port is buddies with a ribbon cable that also connects to the microphone. If either of these parts is acting up, you’ll need to replace the entire assembly. But hey, if you find yourself in a jam, you can always schedule a repair!
Step 1


You might want to grab a few picks to help pop those clips loose!
– Gently slide an opening pick between the back case and the plastic frame.
– Carefully run the pick along the edge to pop free the plastic clips holding the back case to the display.
– Keep sliding the pick all around the edge until every clip lets go and the back case is ready to come off.
Step 2


– Gently lift the case to set it free.
Step 3


– Grab that trusty flat end of your nylon spudger and give a gentle nudge to the black plastic tab on the ZIF connector that holds the charging port ribbon cable in place. You got this!
– Now, with a delicate touch, pull the cable straight back, away from the ZIF connector. Easy peasy!
Tools Used

Step 4

– Grab your trusty Phillips #000 screwdriver and let’s get to work! Carefully unscrew those two 3mm screws that are holding the metal plate snugly in place, connecting the charging port to the display assembly. Take your time and remember, you’ve got this!
Tools Used

Step 5


As you work your way through, you’ll hear some satisfying clicks as each plastic clip pops free from the display chassis. Don’t worry, that’s totally normal!
– Gently slide an opening pick between the plastic frame and the screen to get things started.
– Carefully glide the opening pick all around the edge of the screen to loosen it up.
Step 6

Steer clear of those three fragile ribbon cables!
– Gently lift the plastic frame to take it off.
Step 7


Heads up: there might be some sticky stuff holding these two parts together. Just a gentle reminder to take it slow and steady!
– Gently wedge the flat end of a nylon spudger to lift the microphone out of its snug black rubber home.
Tools Used
Step 8


– Gently use the flat end of a plastic spudger to lift the press-fit connector off the microphone’s ribbon cable. Take it slow, and you’ll be all set!
Tools Used
Step 9

Take your time, the board is glued in pretty well.
– To get your device back in action, just reverse the steps you followed to get here.
– You made it! If you need help with anything else, you can always schedule a repair
Tools Used
Success!