Samsung Galaxy Tab 3 Kids Motherboard Replacement
Duration: 45 minutes
Steps: 5 Steps
If your Samsung Galaxy Tab 3 Kids is acting stubborn—won’t power up or got a little too close to water or a shock—you might need to swap out the motherboard. This guide will walk you through removing it step-by-step. It’s a quick and straightforward job that doesn’t require fancy skills. All the tools you’ll need are listed in the tools section below. Just a heads up: some parts can be a bit fragile, so handle with care. And before you dive in, make sure your device is completely powered off.
Step 1


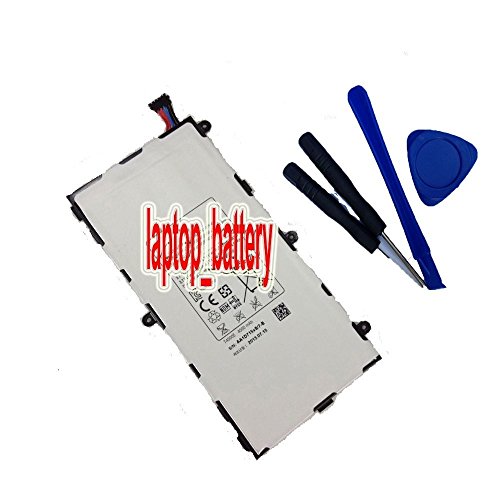
Before you dive into disassembling your phone, make sure to drain the battery below 25%. A charged lithium-ion battery can be a little too excited and might catch fire or even explode if it gets a puncture. Better safe than sorry!
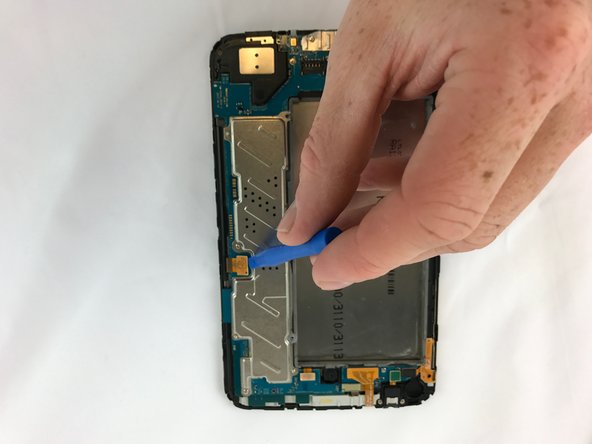
– Slip the plastic opening tool carefully into the gap between the screen and back cover.
– Gently slide the tool along the edges, loosening the screen from the back cover.
Step 2


– Gently detach the battery connection using your trusty plastic opening tool. Take it slow and steady – no rush here!
Step 3


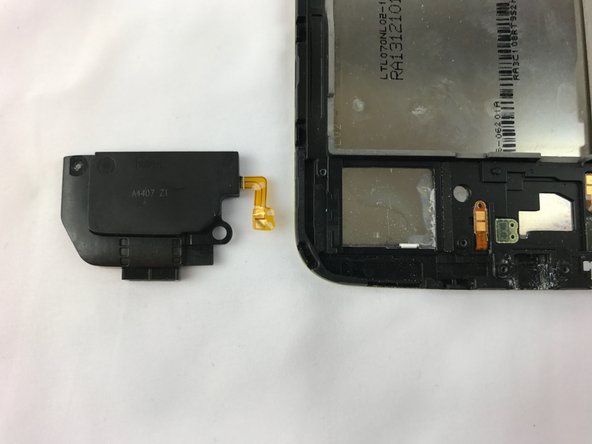
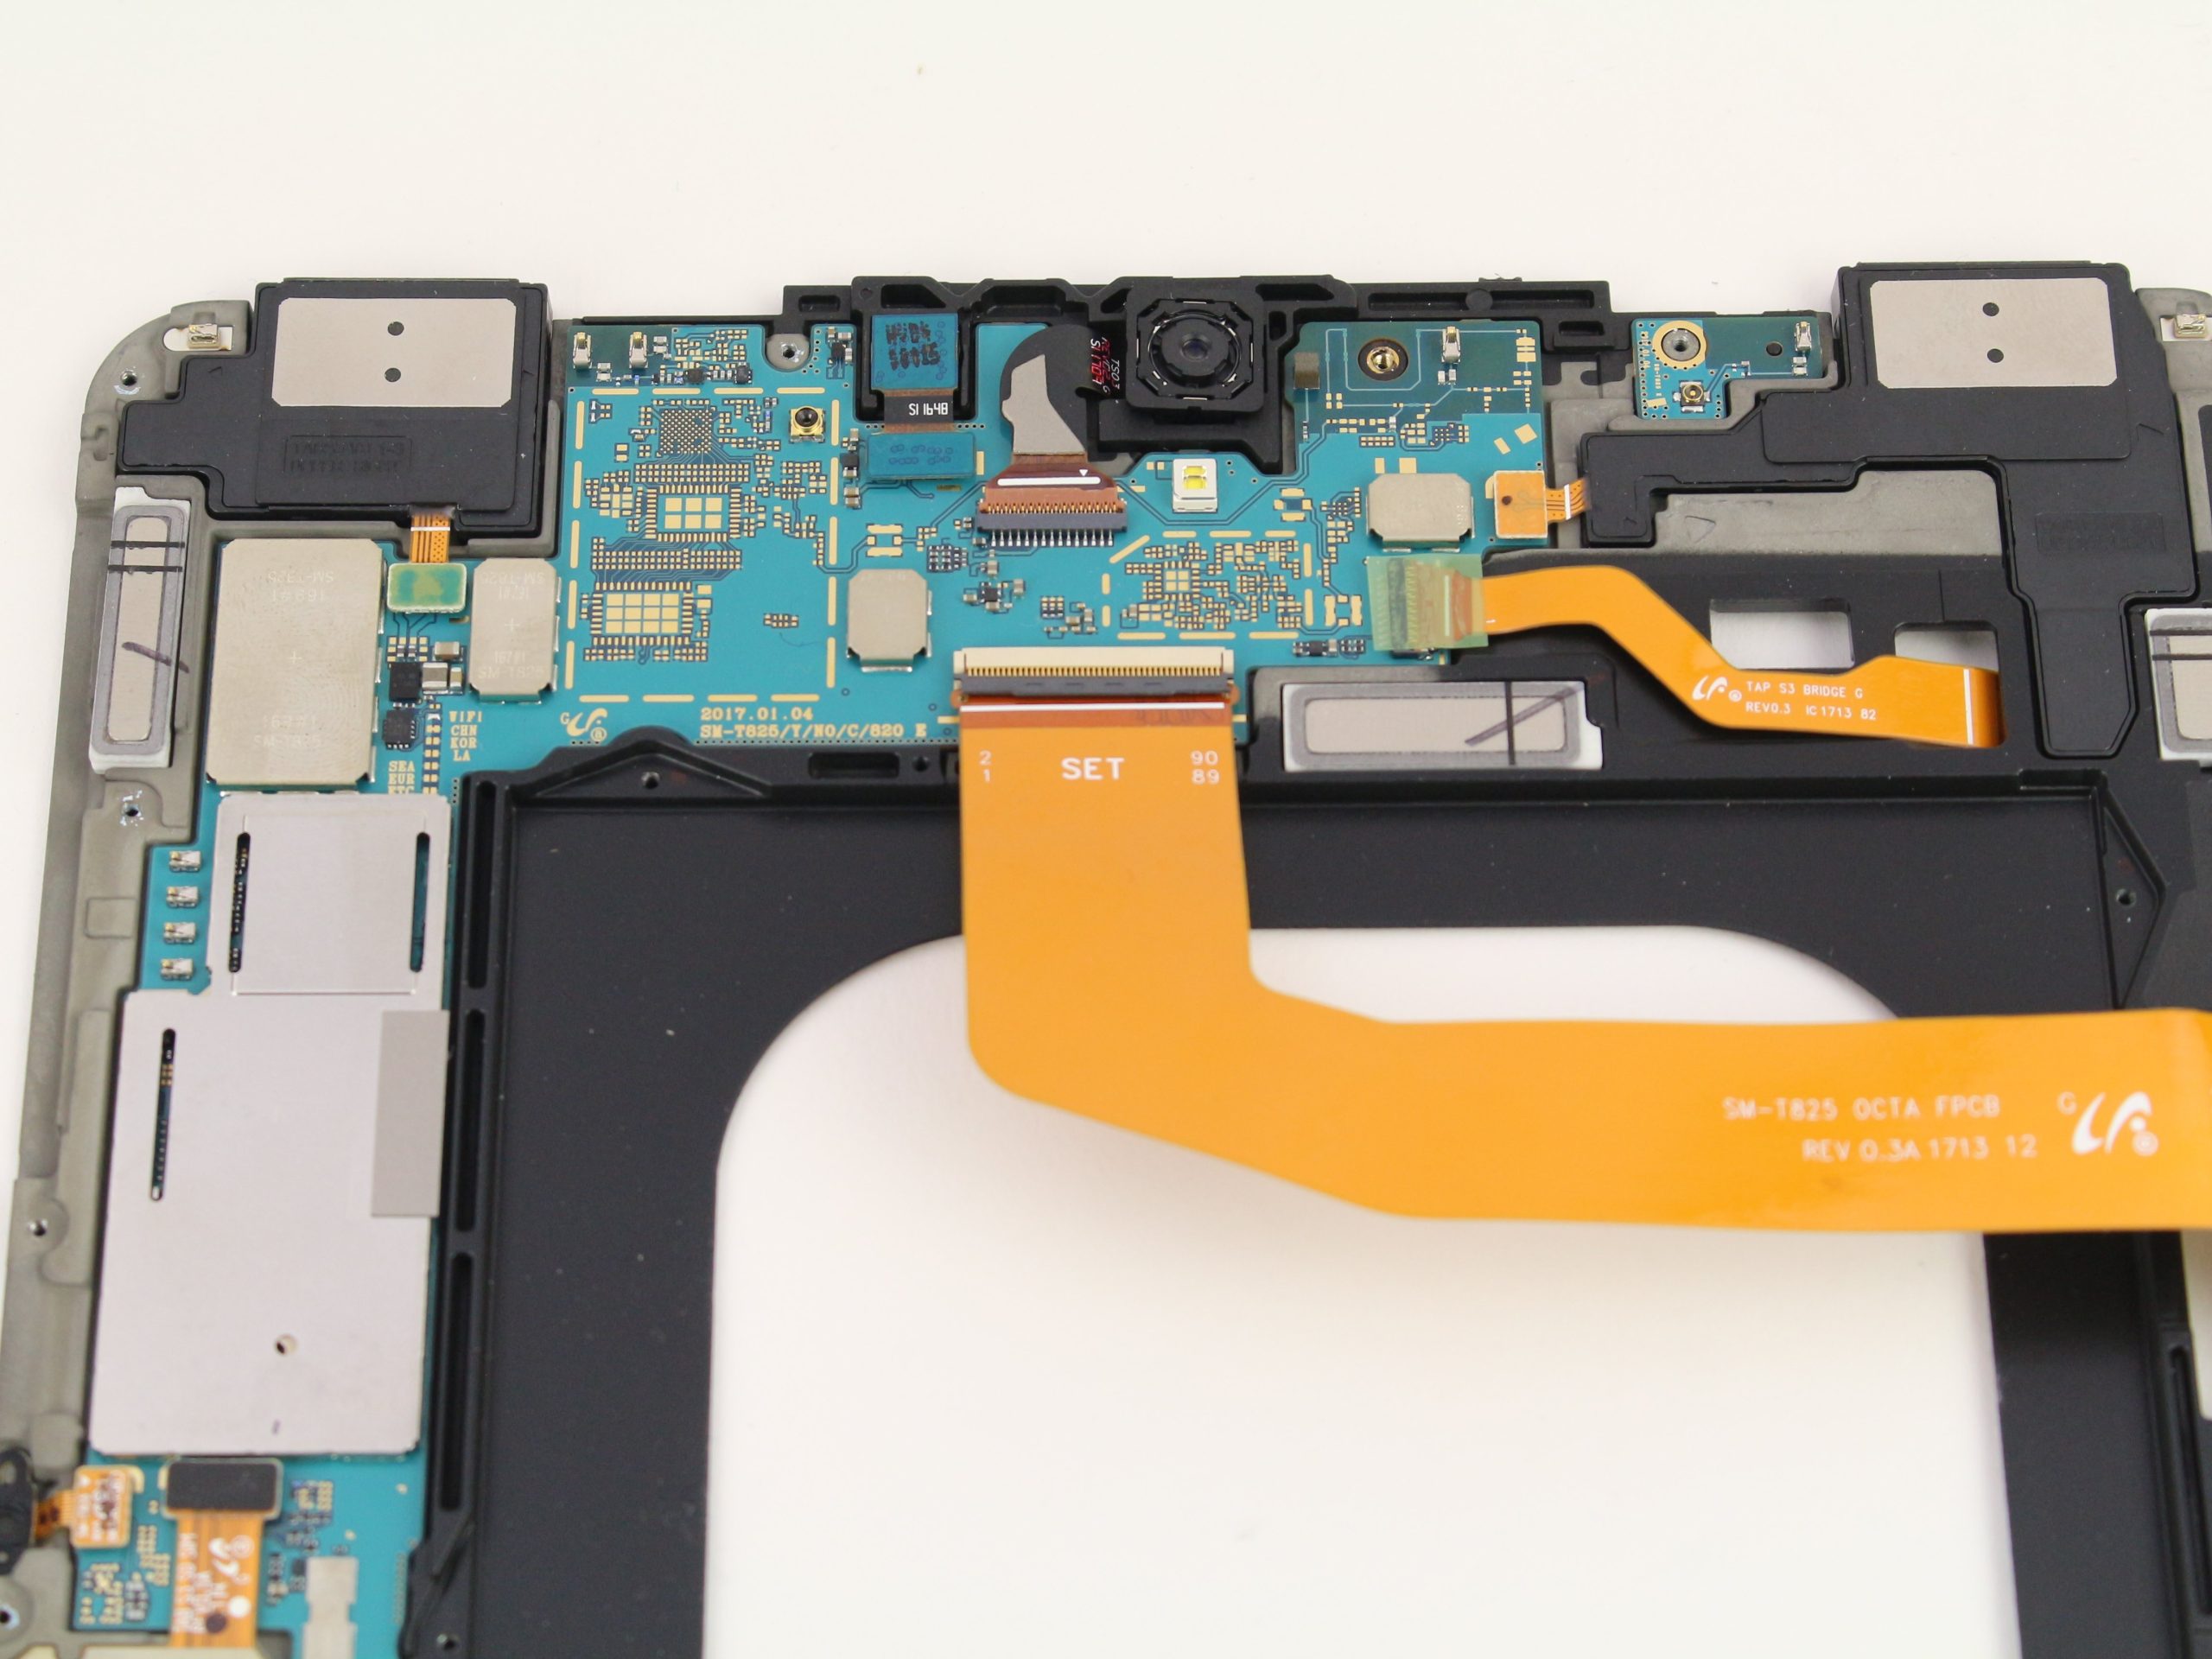
– Gently lift all the flex cables off the motherboard by popping the connectors straight up. You’ve got this!
Step 4

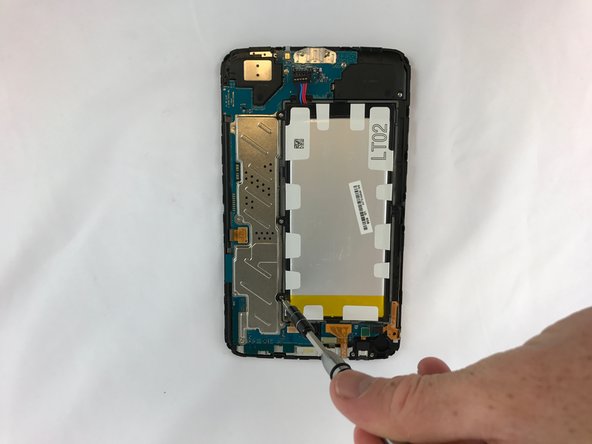
– Unscrew the ten 4 mm Phillips #000 screws holding the motherboard in place.
Step 5
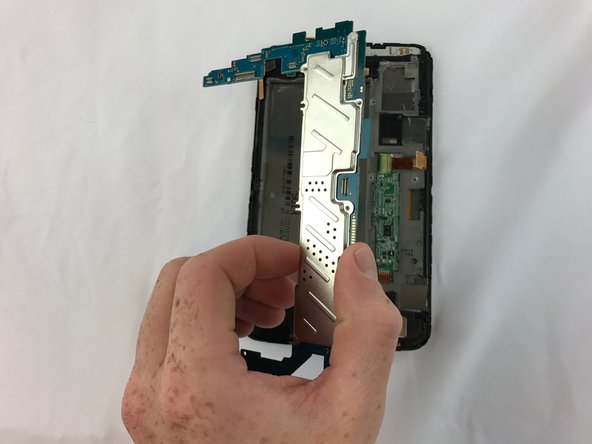
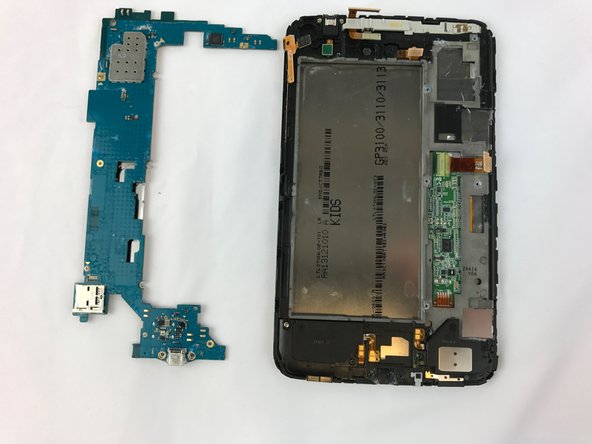

– Put your device back together by simply retracing these steps in reverse.
– If you hit a snag or want a pro to take over, you can always schedule a repair.